Find The Perfect
Apartment ThatFits Your BudgetExplore New Rentals Today
Find today's latest rentals through the list below. The information includes address, phone number, price, and more.
See allFind The Perfect
Apartment ThatFits Your BudgetFind today's latest rentals through the list below. The information includes address, phone number, price, and more.
See all

St Johns
130 N Big Cypress Dr, St Johns, FL 32259

Maurice
3503 Minvielle Blvd, Maurice, LA 70555

Moon Township
2000 Market Place Blvd, Moon Township, PA 15108

Cranberry Township
800 Brandt Dr, Cranberry Township, PA 16066

Brunswick
3500 Grande Pointe Way, Brunswick, GA 31520

Modesto
2801 Grewal Pky, Modesto, CA 95356

Portland
708 NE 99th Ave, Portland, OR 97220

Culver City
3800 S Mentone Ave, Culver City, CA 90232

Pooler
0 Memorial Blvd, Pooler, GA 31322

Salt Lake City
25 S 300 E, Salt Lake City, UT 84111

American Fork
299 S 850 W, American Fork, UT 84003

Miami
22 SW 1st St, Miami, FL 33130
Pick from over 1 million apartments, houses, condos, and townhomes for rent.
See all
Los Angeles
3638 Motor Ave, Los Angeles, CA 90034

Orlando
8669 Valencia College Ln, Orlando, FL 32825

Charlotte
423 E 36th St, Charlotte, NC 28205

Denton
1509 Canvas Way, Denton, TX 76205

Blacklick
8352 E Broad St, Blacklick, OH 43004

South Jordan
4647 South Jordan Pky, South Jordan, UT 84095

Pleasant Grove
807 S Fossil Ln, Pleasant Grove, UT 84062

Meridian
4740 W Chinden Blvd, Meridian, ID 83646

Columbus
501 W Broad St, Columbus, OH 43215

Oxnard
2640 Wagon Wheel Rd, Oxnard, CA 93036

Boerne
130 Gallant Fox Ln, Boerne, TX 78006

Clarkston
4000 Insignia Blvd, Clarkston, MI 48346
Let us help you find your dream house! Find it. Rent it. Own it.
AllInfoHome offers a comprehensive listing of affordable apartments across the US, aimed at solving the challenge of finding affordable housing in the current economic climate of high apartment prices
AllInfoHome offers free search tools for both buyers and sellers, making it easier to find the right apartment. Their online search portal allows you to refine your search criteria by category and different factors, such as location, price, and other amenities.
AllInfoHome partners with landlords and property managers to advertise their rental properties for free on their website, providing homeowners with a valuable resource to attract potential renters to their properties
The whole of AllInfoHome.com's trending articles, news about real estate is aggregated here!
See all
In this article, we will explore whether apartment admin fees are refundable if a rental application is denied

In this article, we'll navigate the often overlooked topic of what to do after the main tenant in a rental property passes away.
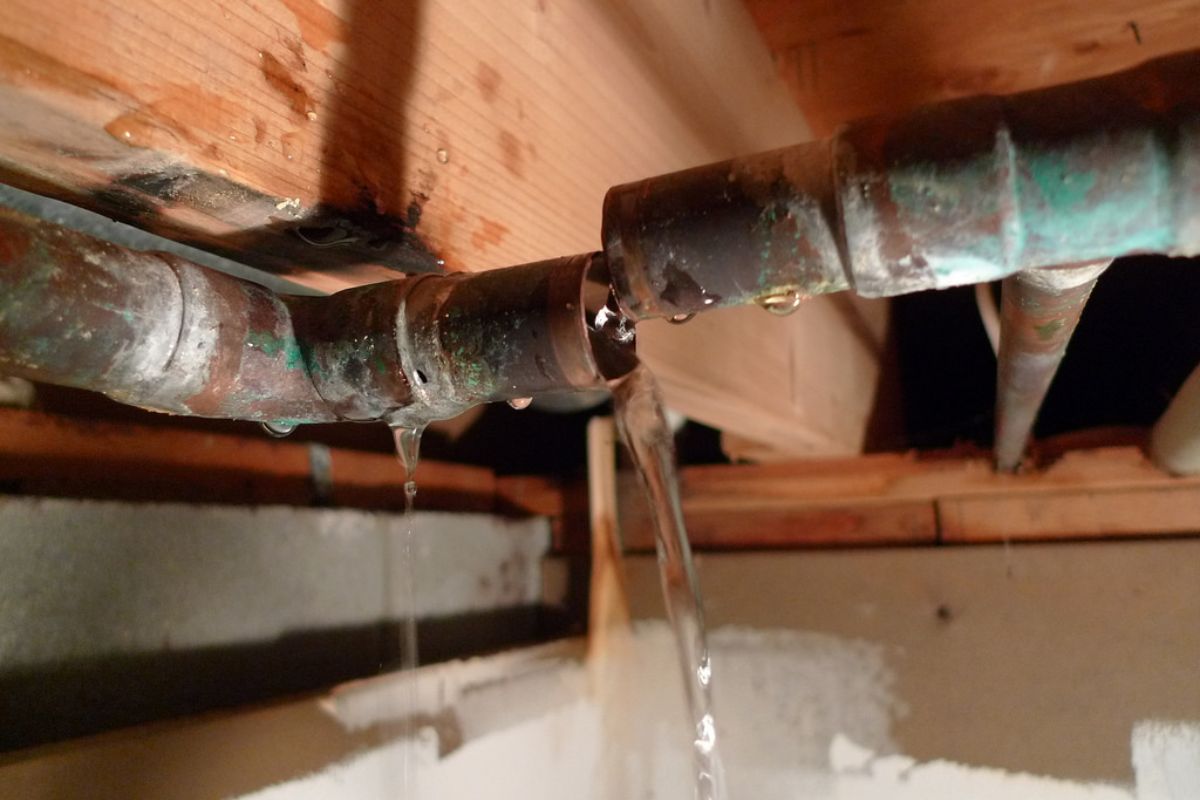
So for how long can an apartment legitimately shut off the water supply without notice?
Our carefully curated list of the top 10 Section 8 apartments in the city is designed to simplify your housing search.
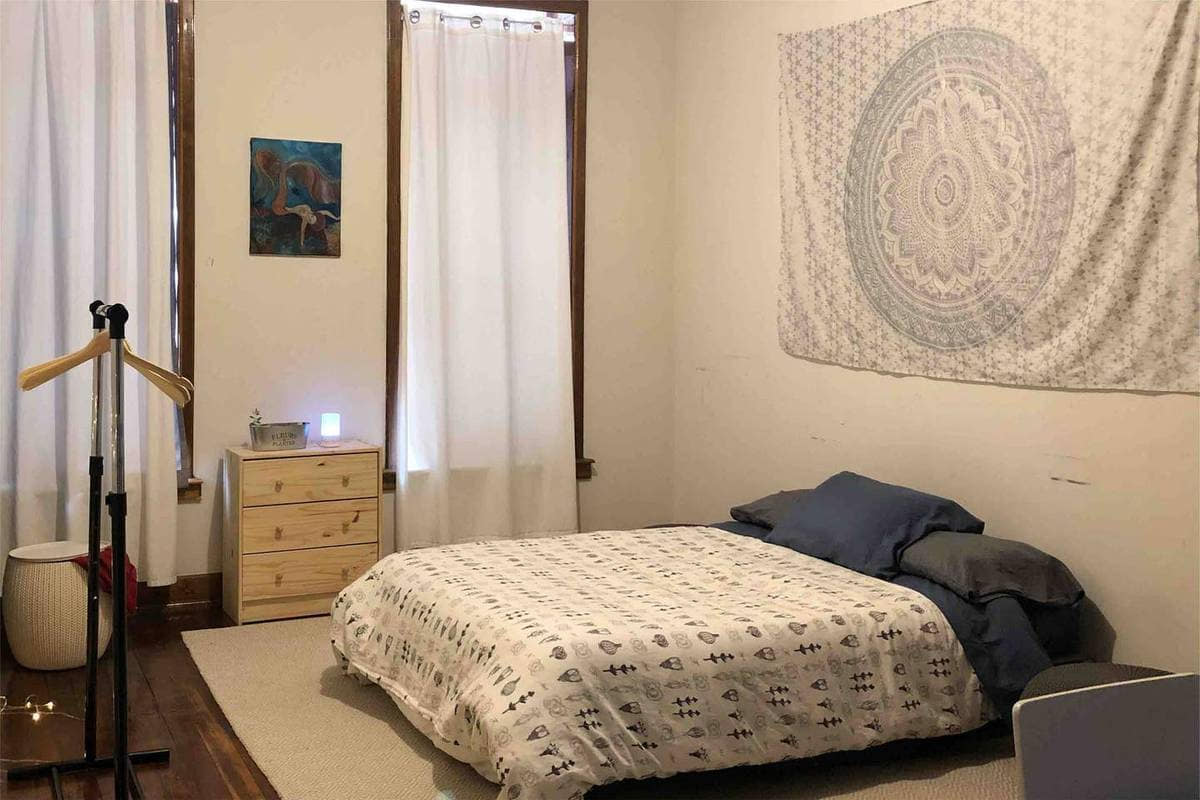
Living in a small space as a family of three can certainly present challenges.
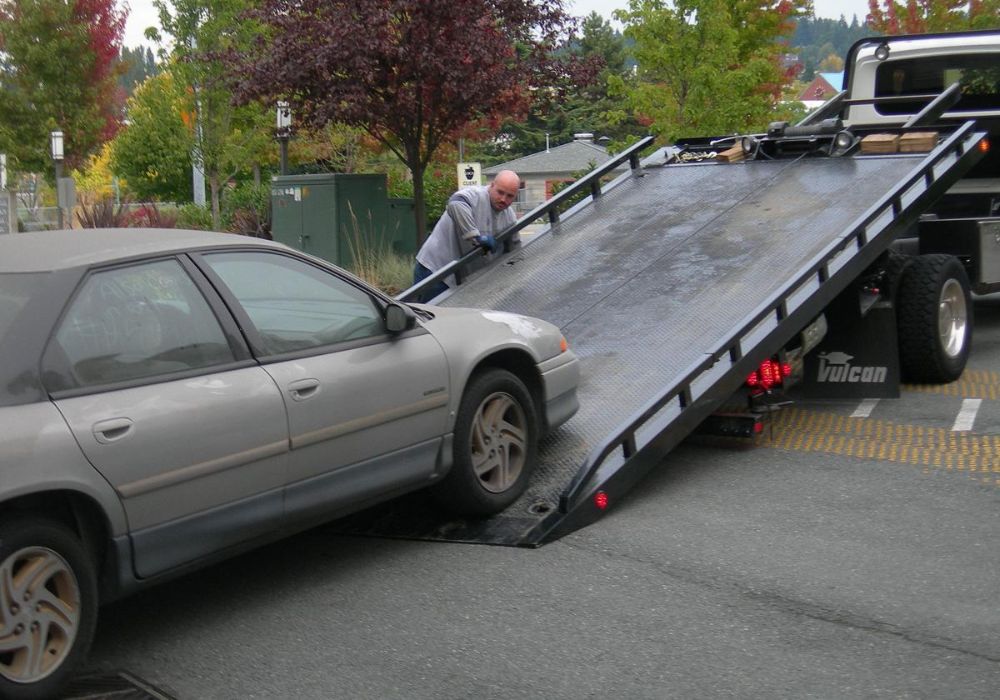
In this article, we will explore the question of whether an apartment complex has the right to tow your car without providing any notice.
Are you on the hunt for Section 8 apartments in Philadelphia? Allinfohome has you covered with our carefully curated list of the top 10 options in the city.

In this article, we will explore the process of reapplying for Section 8 after termination
Explore expert guides on renting, covering budgets, leases, and property checks to secure your ideal home.
See all
In this guide, we will explore the question of what to do with previous tenants mail and provide you with simple and practical solutions.

This article will explore the questions of when apartments change carpet and what factors landlords consider.

In this article, we will explore the possibilities and considerations when seeking an apartment after a domestic violence incident.
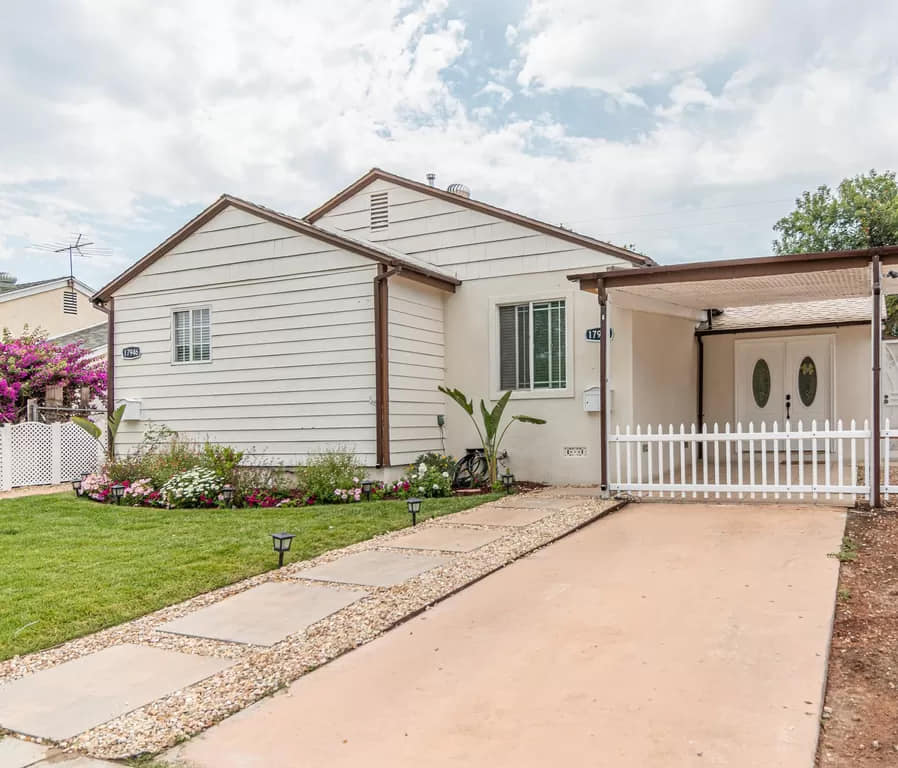
Can I Put a Mobile Home on My Parents' Property? Yes, you may be able to place a mobile home on your parents' property, but you must obtain their permission and adhere to certain regulations.
Central Methodist Apartments. This complex is an excellent option for anyone looking for an affordable apartment
Don't know where to find the answer to the question how to find the best houses for rent near me Craigslist, have a look at our details to get information.

In this article, we will explore the 6 cheapest places to live in Massachusetts, considering housing costs and living expenses.

In this article, we will explore the various factors that can potentially jeopardize your eligibility and cause the termination of your voucher.