Are you tired of looking at your old, worn out kitchen sink? Instead of replacing it with an expensive new one, consider refinishing it yourself! Not only is it a budget-friendly option, but it can also give your kitchen a fresh new look without the hassle of a full renovation. Follow these simple steps for a DIY kitchen sink refinishing project that will leave your sink looking brand new.How to Refinish a Kitchen Sink
Refinishing a kitchen sink may seem like a daunting task, but with the right tools and materials, it can be done easily and efficiently. Before you begin, make sure you have all the necessary supplies, including a refinishing kit, sandpaper, cleaner, and protective gear such as goggles and gloves. It's also important to read and follow the instructions on the refinishing kit carefully to ensure the best results.DIY Kitchen Sink Refinishing
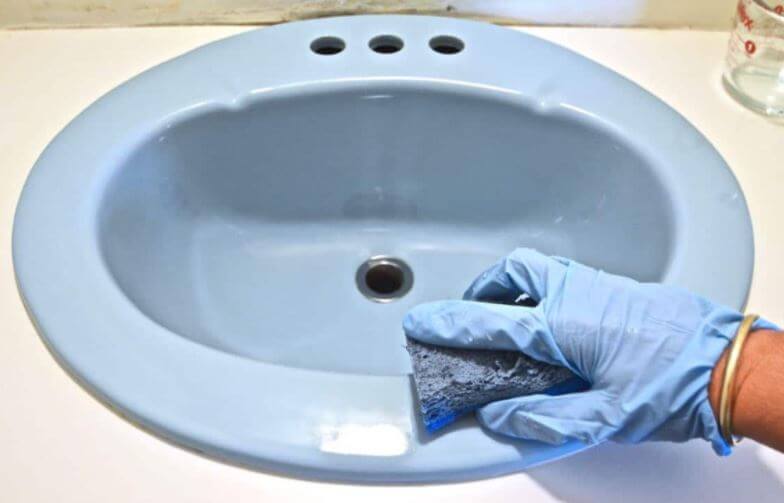
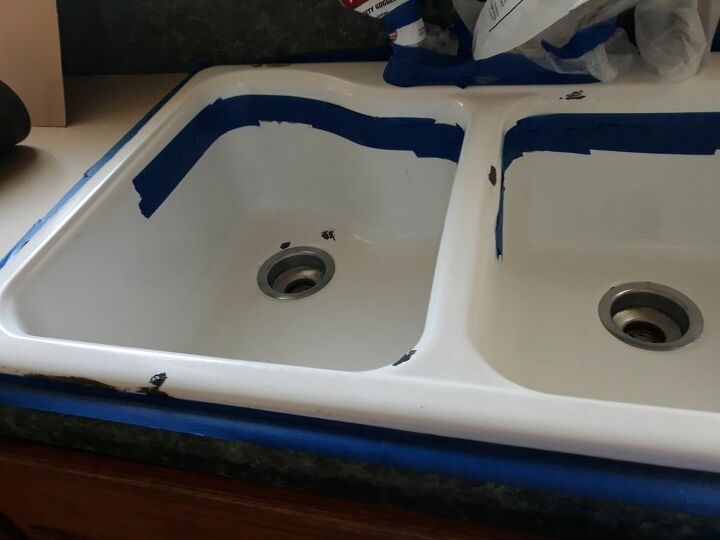
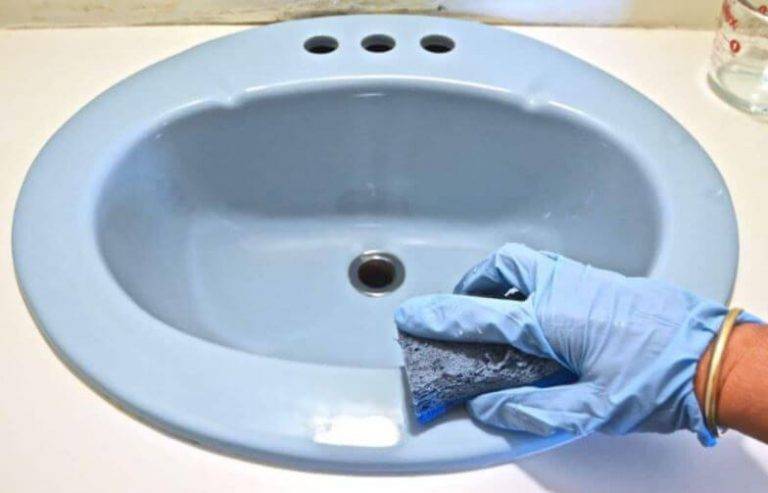
Step 1: Clean the sink thoroughly with a degreaser to remove any dirt, grime, or soap scum. Rinse well and dry with a clean cloth. This step is crucial to ensure proper adhesion of the refinishing materials. Step 2: Use sandpaper to lightly sand the entire surface of the sink. This will create a rough texture for the refinishing materials to bond to. Be sure to wear protective gear and work in a well-ventilated area. Step 3: Apply the base coat according to the instructions on the refinishing kit. This will act as the foundation for the new finish and provide a smooth surface for the topcoat. Step 4: Once the base coat is completely dry, use a fine-grit sandpaper to lightly sand the surface again. This will help to remove any imperfections and create an even surface for the topcoat. Step 5: Apply the topcoat using a brush or roller, following the instructions on the refinishing kit. Be sure to apply thin, even coats and allow the recommended drying time between coats. Step 6: Once the topcoat is dry, sand the surface one final time with a fine-grit sandpaper. This will help to smooth out any bumps or bubbles and give your sink a polished finish. Step 7: Clean up any dust or debris from sanding, and then apply a final clear coat to seal and protect the new finish. Allow it to dry completely before using the sink.Step-by-Step Guide for Refinishing a Kitchen Sink
When refinishing a kitchen sink, there are a few things to keep in mind to ensure the best results. First, make sure to choose a refinishing kit that is specifically designed for the type of sink you have. There are different kits for porcelain, stainless steel, and even cast iron sinks. Additionally, be sure to follow the instructions carefully and take your time to avoid any mistakes. It's also important to properly prepare the sink before refinishing. This includes thoroughly cleaning and sanding the surface to ensure proper adhesion. Proper ventilation and the use of protective gear are also essential for a safe and successful project.Refinishing a Kitchen Sink: Tips and Tricks
Refinishing your kitchen sink can give your entire kitchen a fresh new look. Consider painting your cabinets or updating your hardware to complete the transformation. You'll be amazed at how much a simple sink makeover can revitalize your space.DIY Kitchen Sink Makeover
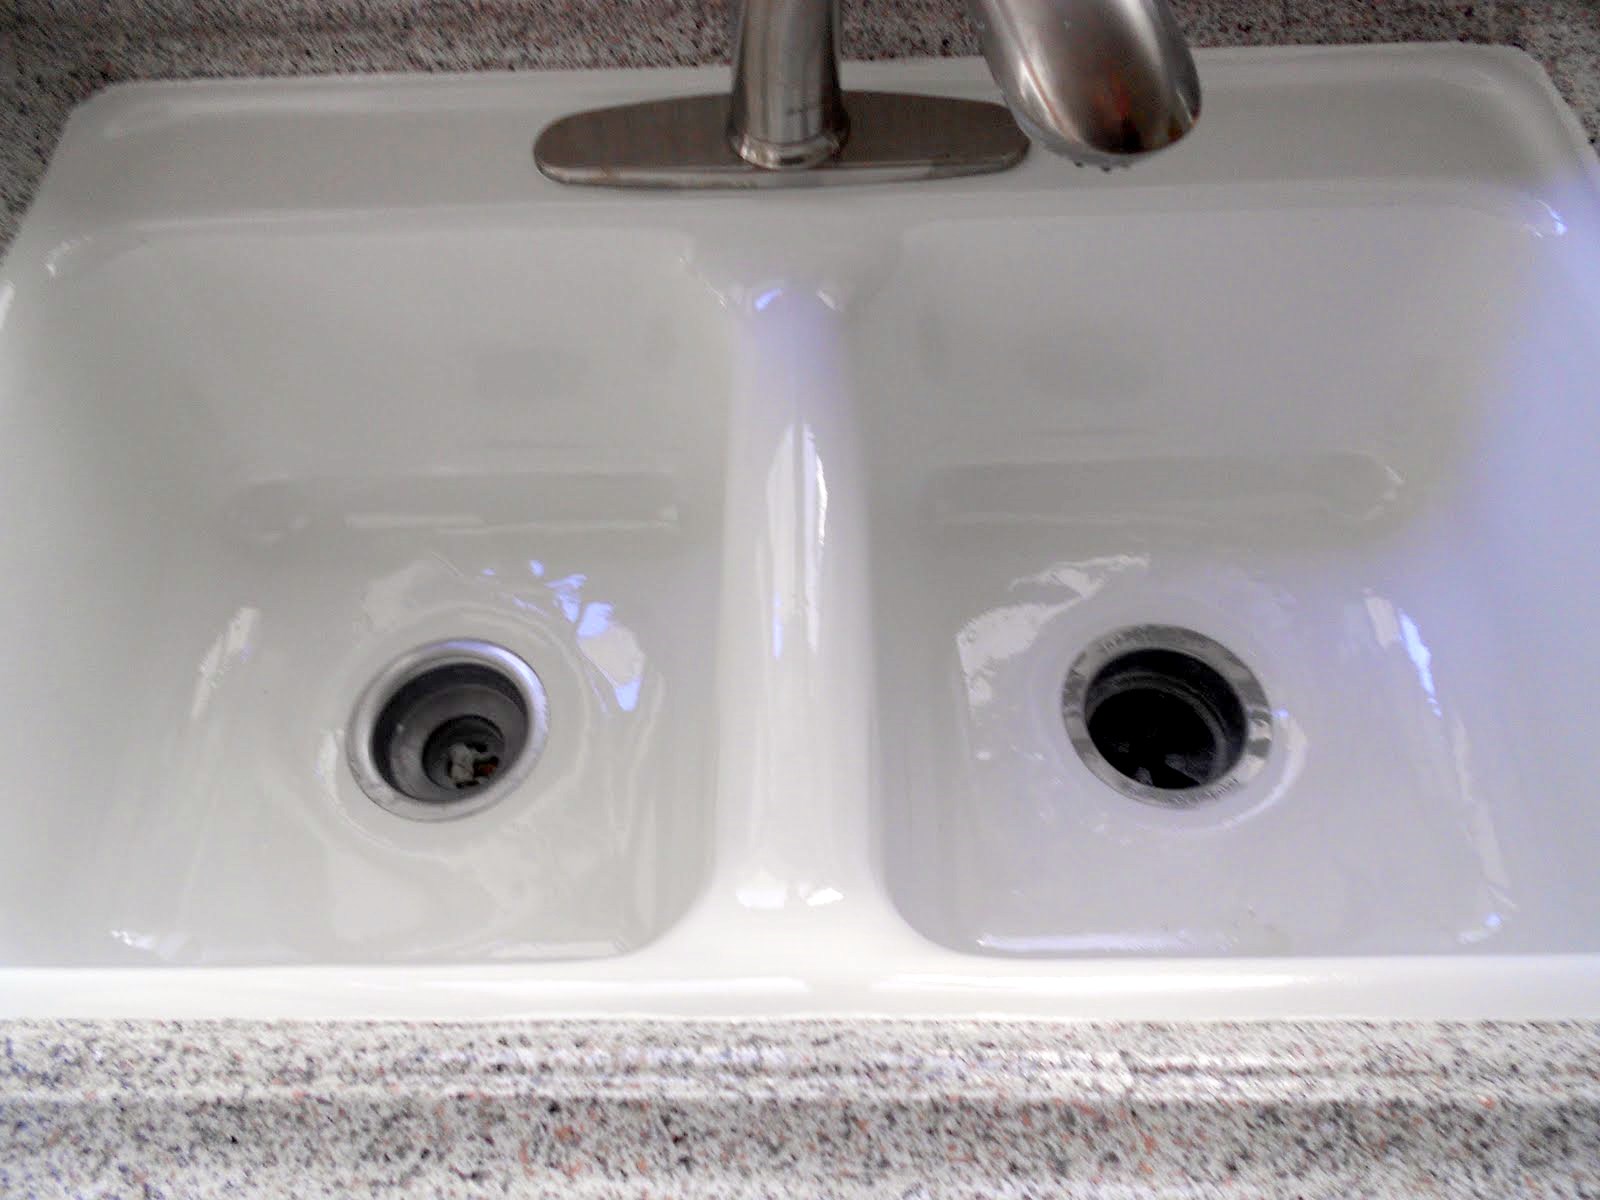
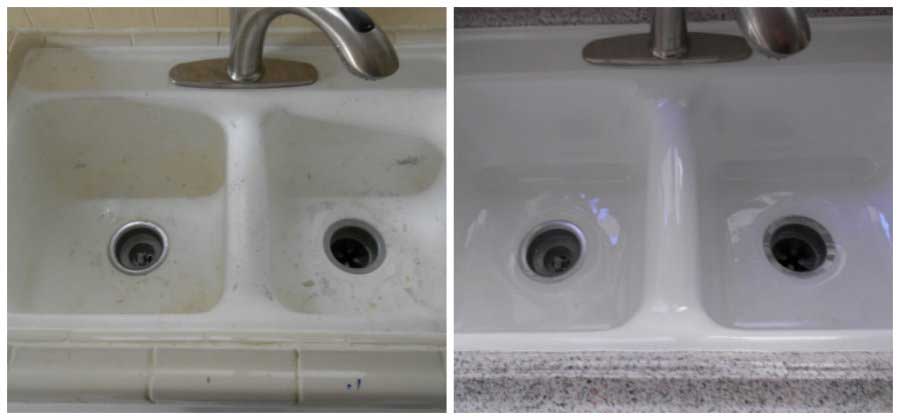
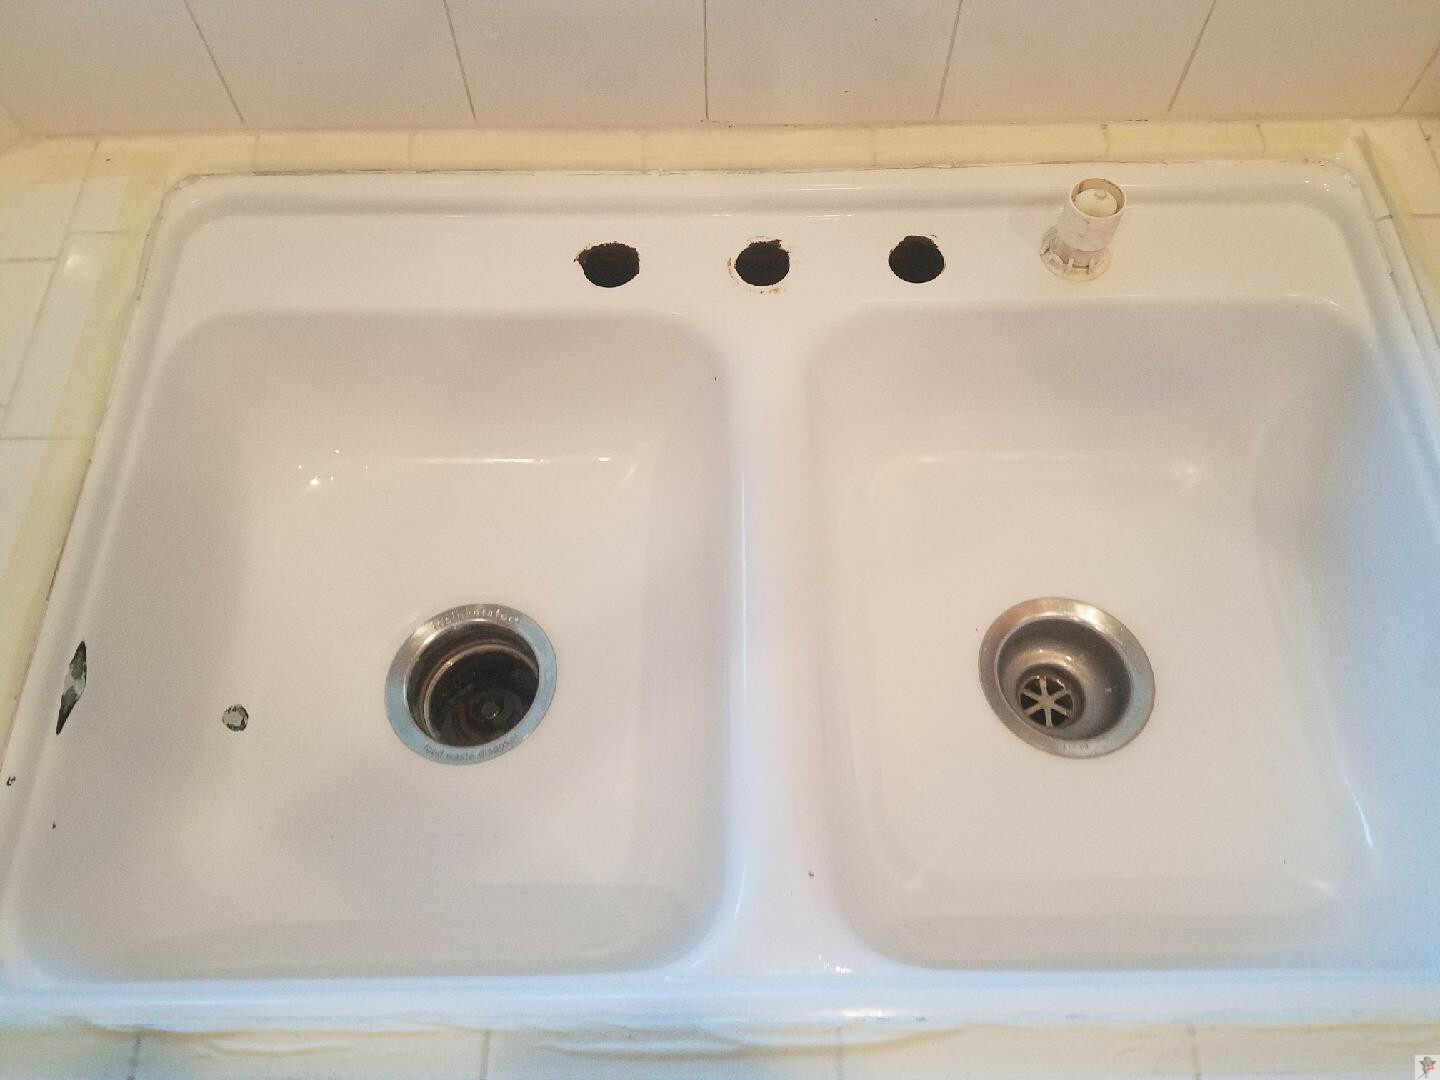
Porcelain sinks are a popular choice for many homeowners, but over time they can become dull and stained. Refinishing a porcelain sink is a great way to restore its shine and make it look like new again. With the right materials and proper technique, you can easily refinish your porcelain sink and give it a whole new lease on life.Refinishing a Porcelain Kitchen Sink
One of the main benefits of DIY kitchen sink refinishing is the cost savings. Instead of spending hundreds of dollars on a new sink, you can achieve the same results for a fraction of the cost. Plus, refinishing your sink yourself allows you to customize the color and finish, giving you a unique and personalized look for your kitchen.Budget-Friendly Kitchen Sink Refinishing
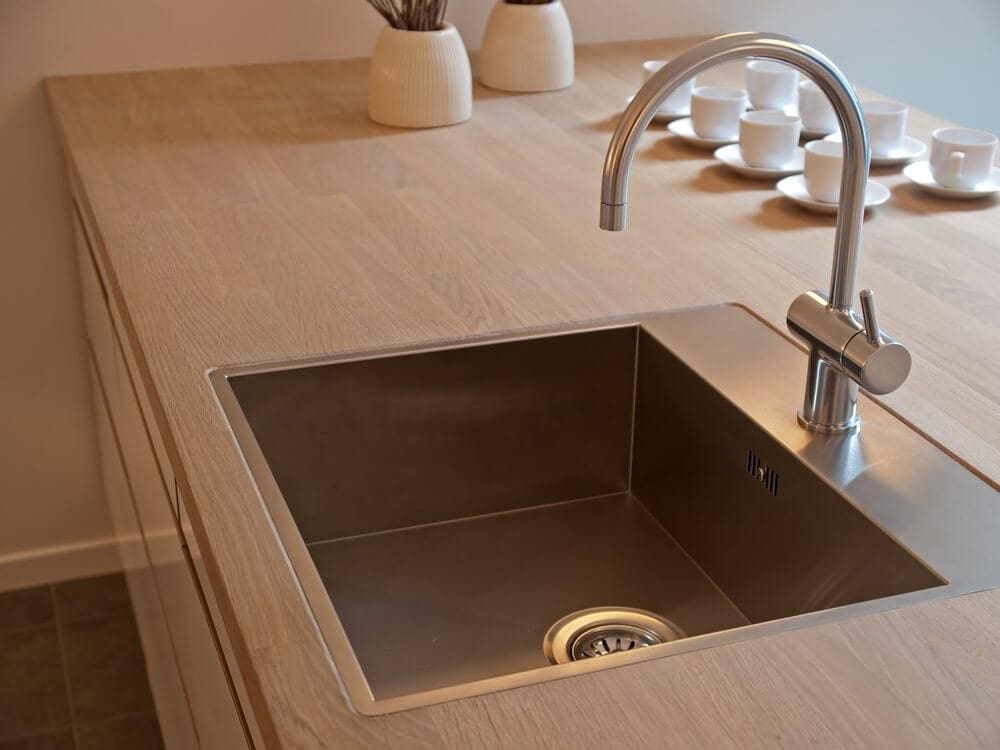
Stainless steel sinks are known for their durability and sleek, modern look. However, over time they can become scratched and dull. Refinishing a stainless steel sink can give it a new shine and make it look brand new again. Be sure to use a refinishing kit specifically designed for stainless steel to achieve the best results.Refinishing a Stainless Steel Kitchen Sink
Before starting your DIY kitchen sink refinishing project, it's important to do your research and gather all the necessary materials. This includes a refinishing kit, sandpaper, cleaner, and protective gear. It's also important to follow the instructions carefully and take your time to achieve the best results.DIY Kitchen Sink Refinishing: What You Need to Know
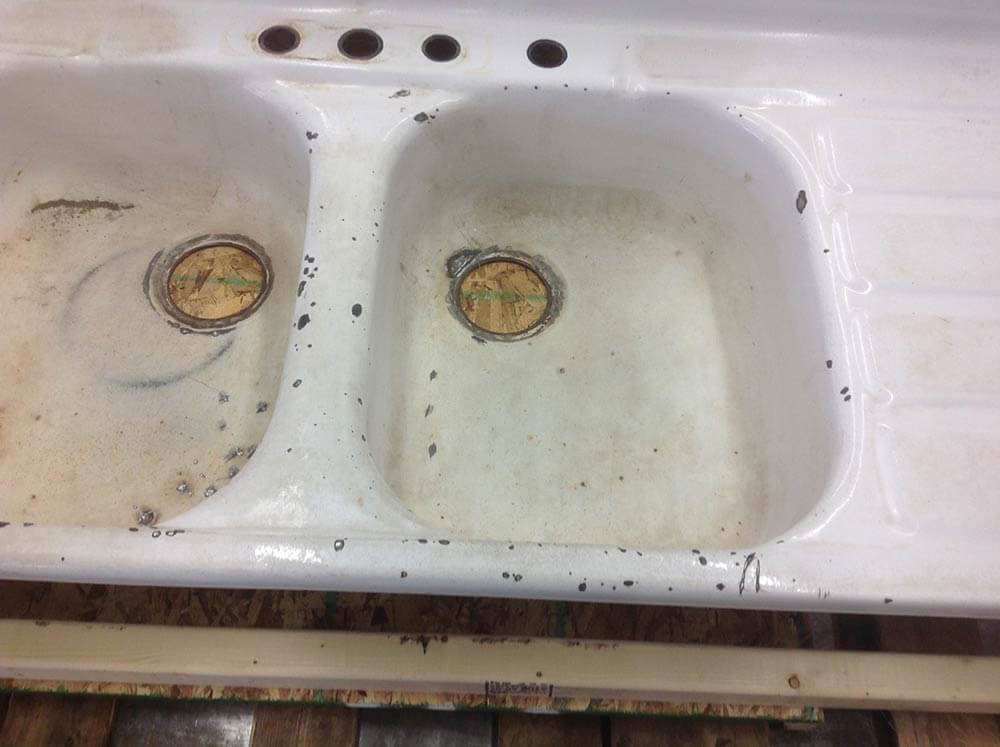
Cast iron sinks are a popular choice for their durability and classic look. However, over time they can become chipped and stained. Refinishing a cast iron sink can help to restore its original beauty and extend its lifespan. With the right tools and technique, you can easily refinish your cast iron sink and make it look brand new again. In conclusion, refinishing a kitchen sink is a cost-effective and simple way to give your kitchen a fresh new look. With the right tools, materials, and technique, you can achieve professional results and transform your old, worn out sink into a beautiful focal point in your kitchen. So why wait? Start your DIY kitchen sink refinishing project today and enjoy a shiny, new sink in no time!How to Refinish a Cast Iron Kitchen Sink
Why Refinishing Your Kitchen Sink is a Great DIY Project

Save Money and Time
 If you're looking to update your kitchen on a budget, refinishing your kitchen sink is a great place to start. Installing a new sink can be expensive and time-consuming, but refinishing your existing sink can save you both money and time. With a few simple tools and materials, you can transform your old, worn-out sink into a shining centerpiece of your kitchen. Plus, with the money you save, you can splurge on other design elements for your kitchen.
Customize Your Design
 Another great benefit of refinishing your kitchen sink is the ability to customize the design to your liking. Whether you want a sleek, modern look or a more rustic, farmhouse style, there are various techniques and finishes you can use to achieve your desired look. You can also choose to add personalized details, such as a unique color or pattern, to make your sink truly one-of-a-kind.
Extend the Lifespan of Your Sink
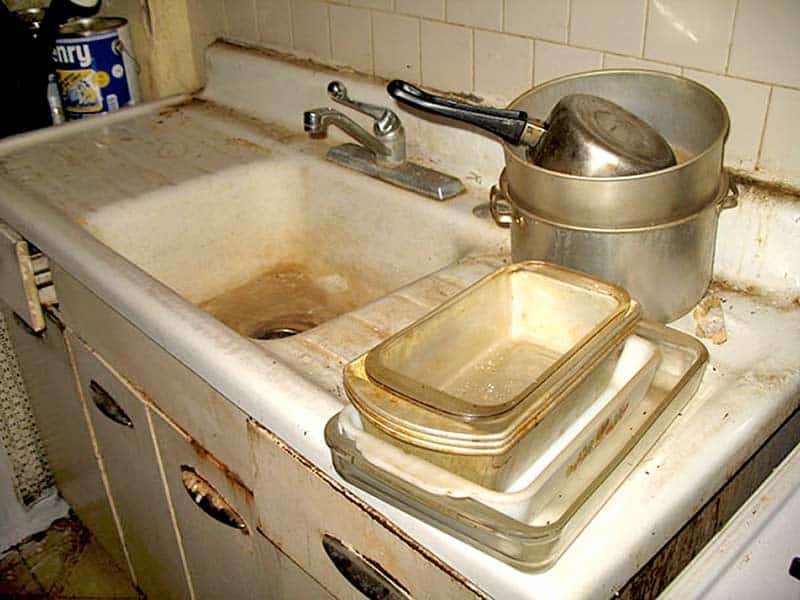
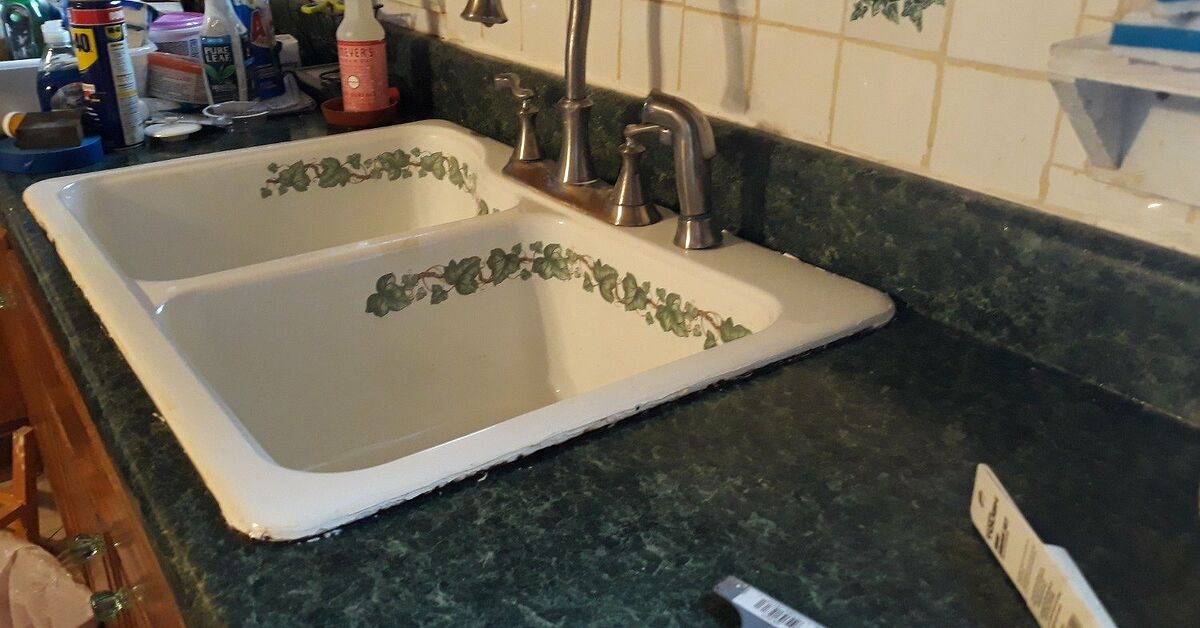 Over time, kitchen sinks can become worn, cracked, and stained, making them unsightly and unhygienic. Refinishing your sink can not only improve its appearance but also extend its lifespan. By repairing any cracks or scratches and applying a durable finish, you can protect your sink from further damage and ensure that it continues to function properly for years to come.
Boost Your Home's Value
 When it comes to home design, the kitchen is often considered the heart of the home. It's also one of the key factors that potential buyers consider when looking at a house. Refinishing your kitchen sink can instantly upgrade the look of your kitchen and increase the overall value of your home. This is especially beneficial if you're looking to sell your house in the future.
Conclusion
 In conclusion, refinishing your kitchen sink is a simple and cost-effective way to update your kitchen design. Not only does it save you money and time, but it also allows you to customize your sink to your liking and extend its lifespan. Whether you're looking to improve the appearance of your kitchen or increase the value of your home, refinishing your kitchen sink is a DIY project that is definitely worth considering.



/IMAGE-1-Sink-1-56a4a2d95f9b58b7d0d7f01f.jpg)





:no_upscale()/cdn.vox-cdn.com/uploads/chorus_asset/file/19495086/drain_0.jpg)

















:max_bytes(150000):strip_icc()/IMAGE-1-Sink-1-56a4a2d95f9b58b7d0d7f01f.jpg)
