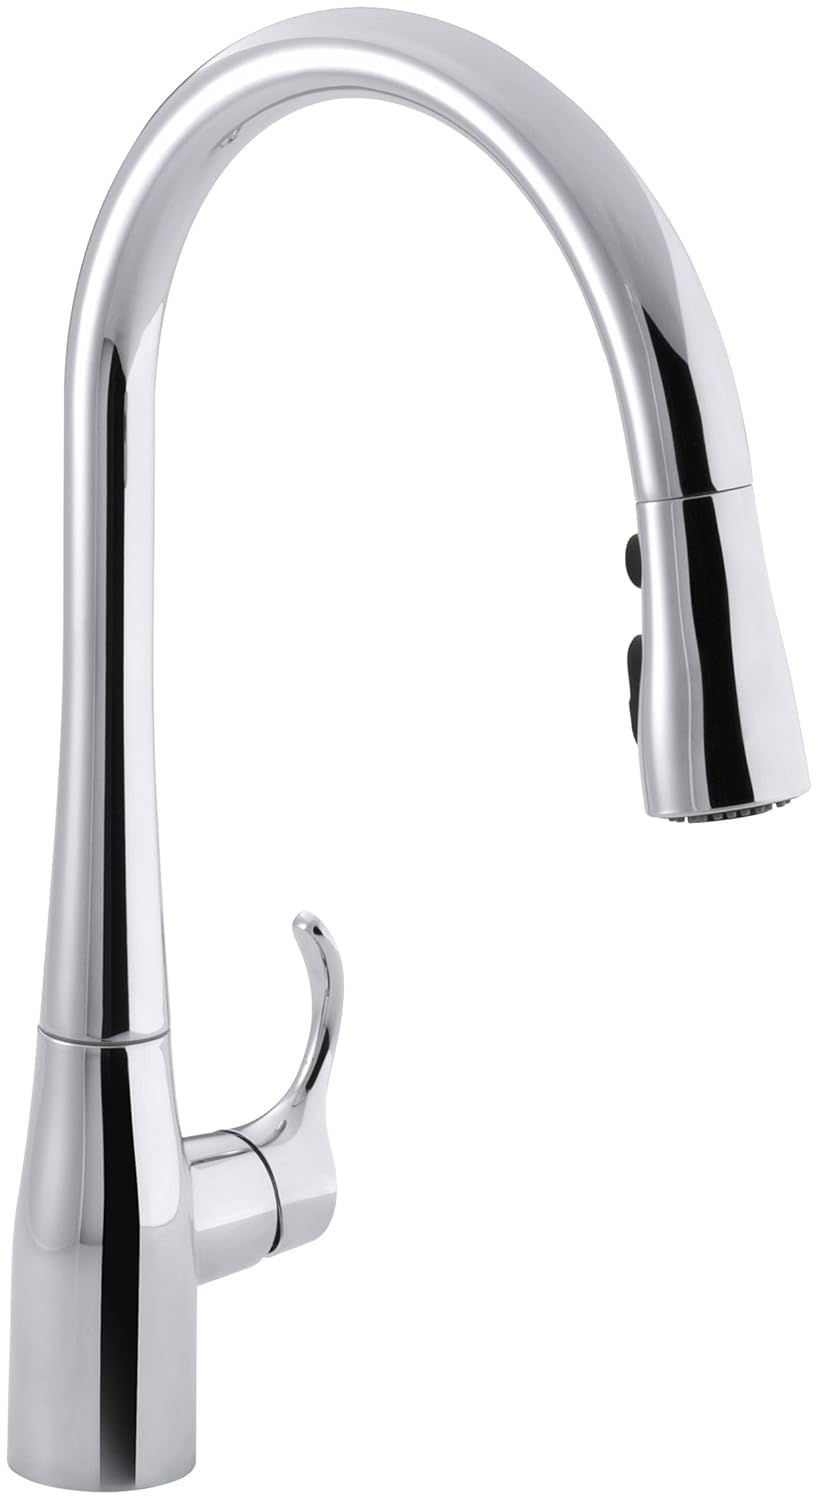
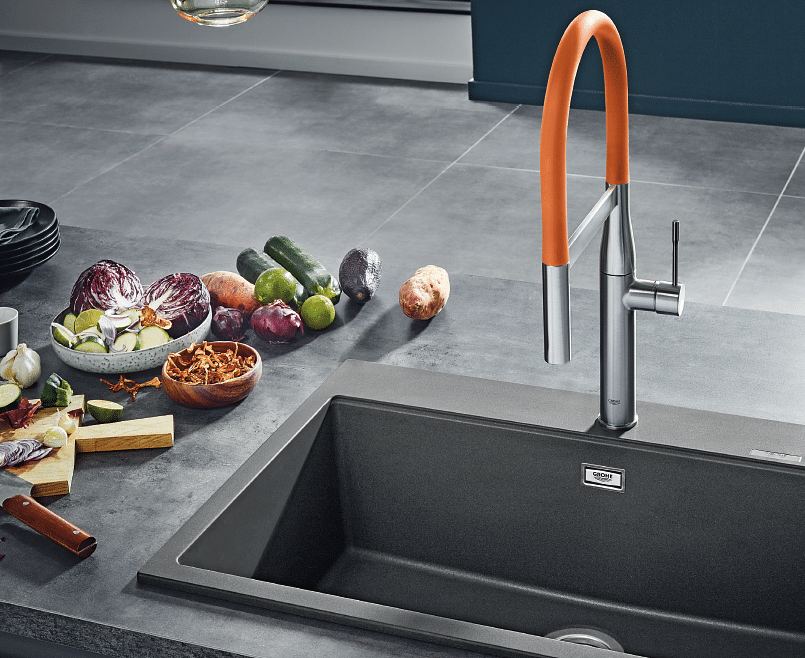
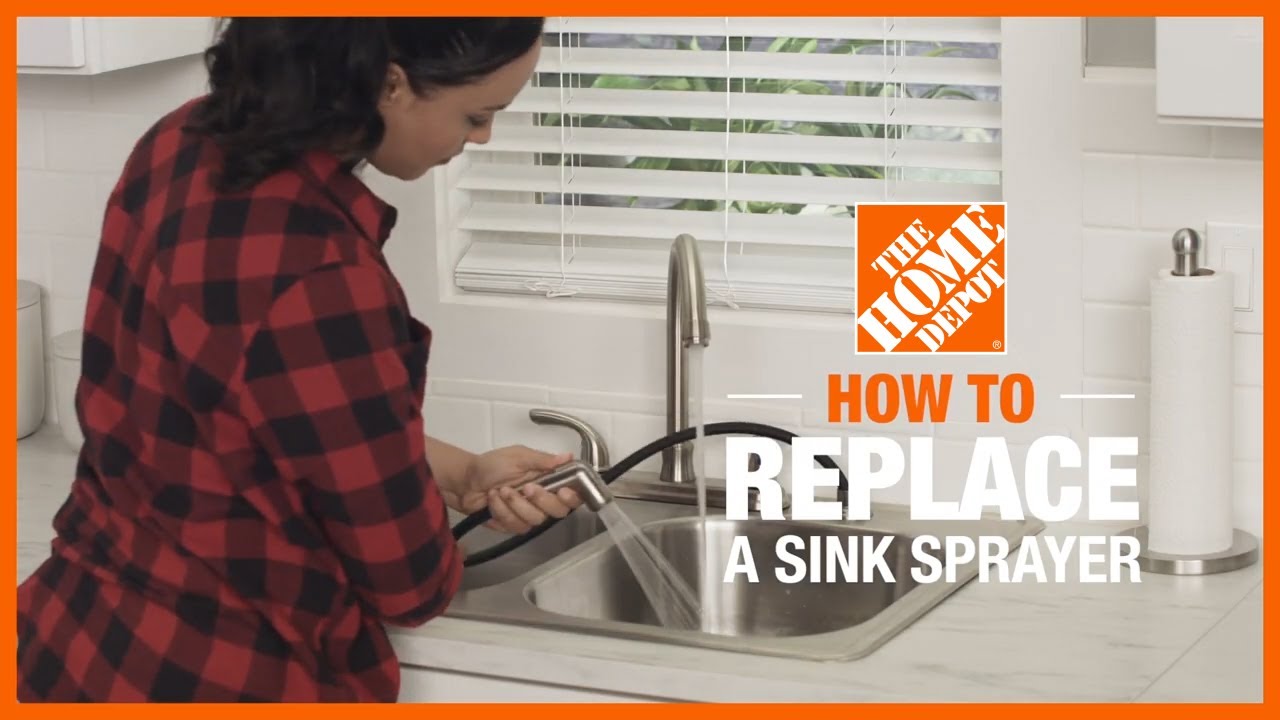
How to Replace a Kitchen Sink Sprayer
If your kitchen sink sprayer is not functioning properly or has become damaged, it may be time to replace it. While this may seem like a daunting task, replacing a kitchen sink sprayer is actually a relatively simple DIY project that can save you time and money. In this article, we will guide you through the steps of replacing a kitchen sink sprayer so you can have a fully functioning sink in no time.


How to Replace a Kitchen Sink Sprayer
/25089301983_c5145fe85d_o-58418ef15f9b5851e5f392b5.jpg)


How to Install a Kitchen Sink Sprayer
Before you begin replacing your kitchen sink sprayer, it is important to gather all the necessary tools and materials. You will need a new sprayer, adjustable wrench, plumber's tape, and a bucket. Once you have everything ready, you can follow these steps to install your new kitchen sink sprayer:


How to Install a Kitchen Sink Sprayer


/25089301983_c5145fe85d_o-58418ef15f9b5851e5f392b5.jpg)

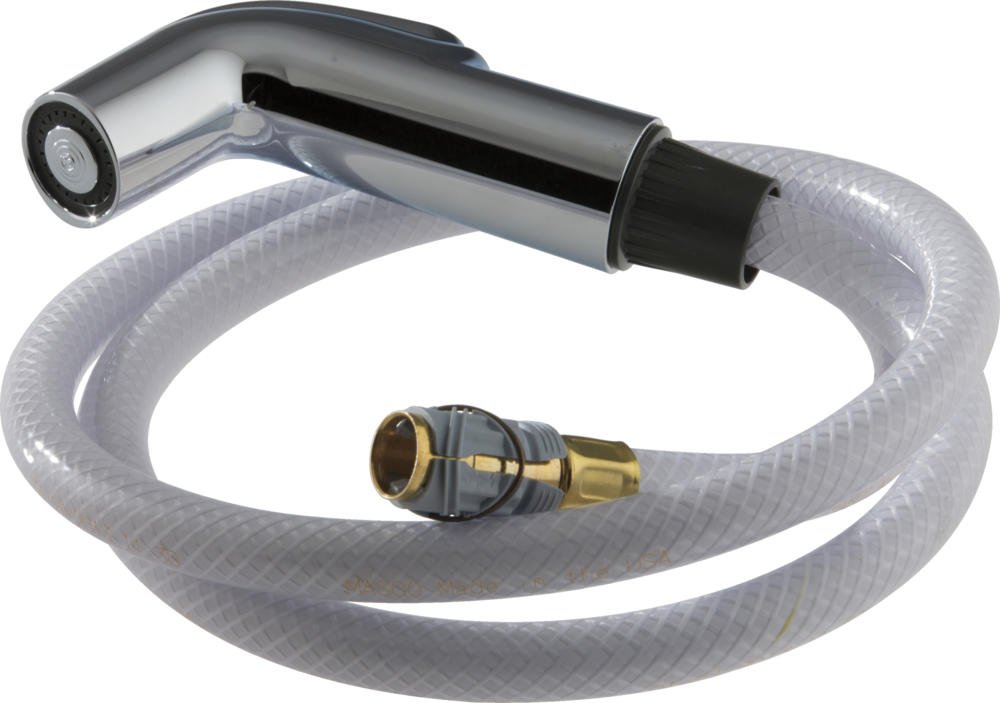
Replacing a Kitchen Sink Sprayer: A Step-by-Step Guide
If you are still unsure about how to replace your kitchen sink sprayer, here is a more detailed step-by-step guide:


Replacing a Kitchen Sink Sprayer: A Step-by-Step Guide


DIY Kitchen Sink Sprayer Replacement
Replacing a kitchen sink sprayer is a DIY project that anyone can tackle. Not only will it save you money, but it can also give you a sense of accomplishment. Just be sure to follow the steps carefully and have all the necessary tools and materials on hand.


DIY Kitchen Sink Sprayer Replacement


Replacing a Kitchen Sink Sprayer: Tips and Tricks
Here are some helpful tips and tricks to keep in mind while replacing your kitchen sink sprayer:


Replacing a Kitchen Sink Sprayer: Tips and Tricks

/installing-a-kitchen-sink-sprayer-2718817-hero-2b7047468d594da6be2494ba0eebb480.jpg)
:max_bytes(150000):strip_icc()/installing-a-kitchen-sink-sprayer-2718817-07-362bee47568f48bab7f3bdff600e4092.jpg)

:max_bytes(150000):strip_icc()/installing-a-kitchen-sink-sprayer-2718817-09-eb32dfd25037467c99fc73cadde60281.jpg)
:max_bytes(150000):strip_icc()/installing-a-kitchen-sink-sprayer-2718817-10-97f444c05010478ab573882b372f1fc3.jpg)
The Best Way to Replace a Kitchen Sink Sprayer
The best way to replace a kitchen sink sprayer is to follow the steps carefully and have all the necessary tools and materials on hand. By doing it yourself, you can save time and money and have a functioning sink in no time.
The Best Way to Replace a Kitchen Sink Sprayer
Replacing a Kitchen Sink Sprayer: Common Mistakes to Avoid
While replacing a kitchen sink sprayer may seem like a simple task, there are some common mistakes that can easily be avoided:


Replacing a Kitchen Sink Sprayer: Common Mistakes to Avoid


How to Choose the Right Kitchen Sink Sprayer for Your Needs
When choosing a new kitchen sink sprayer, there are a few factors to consider:
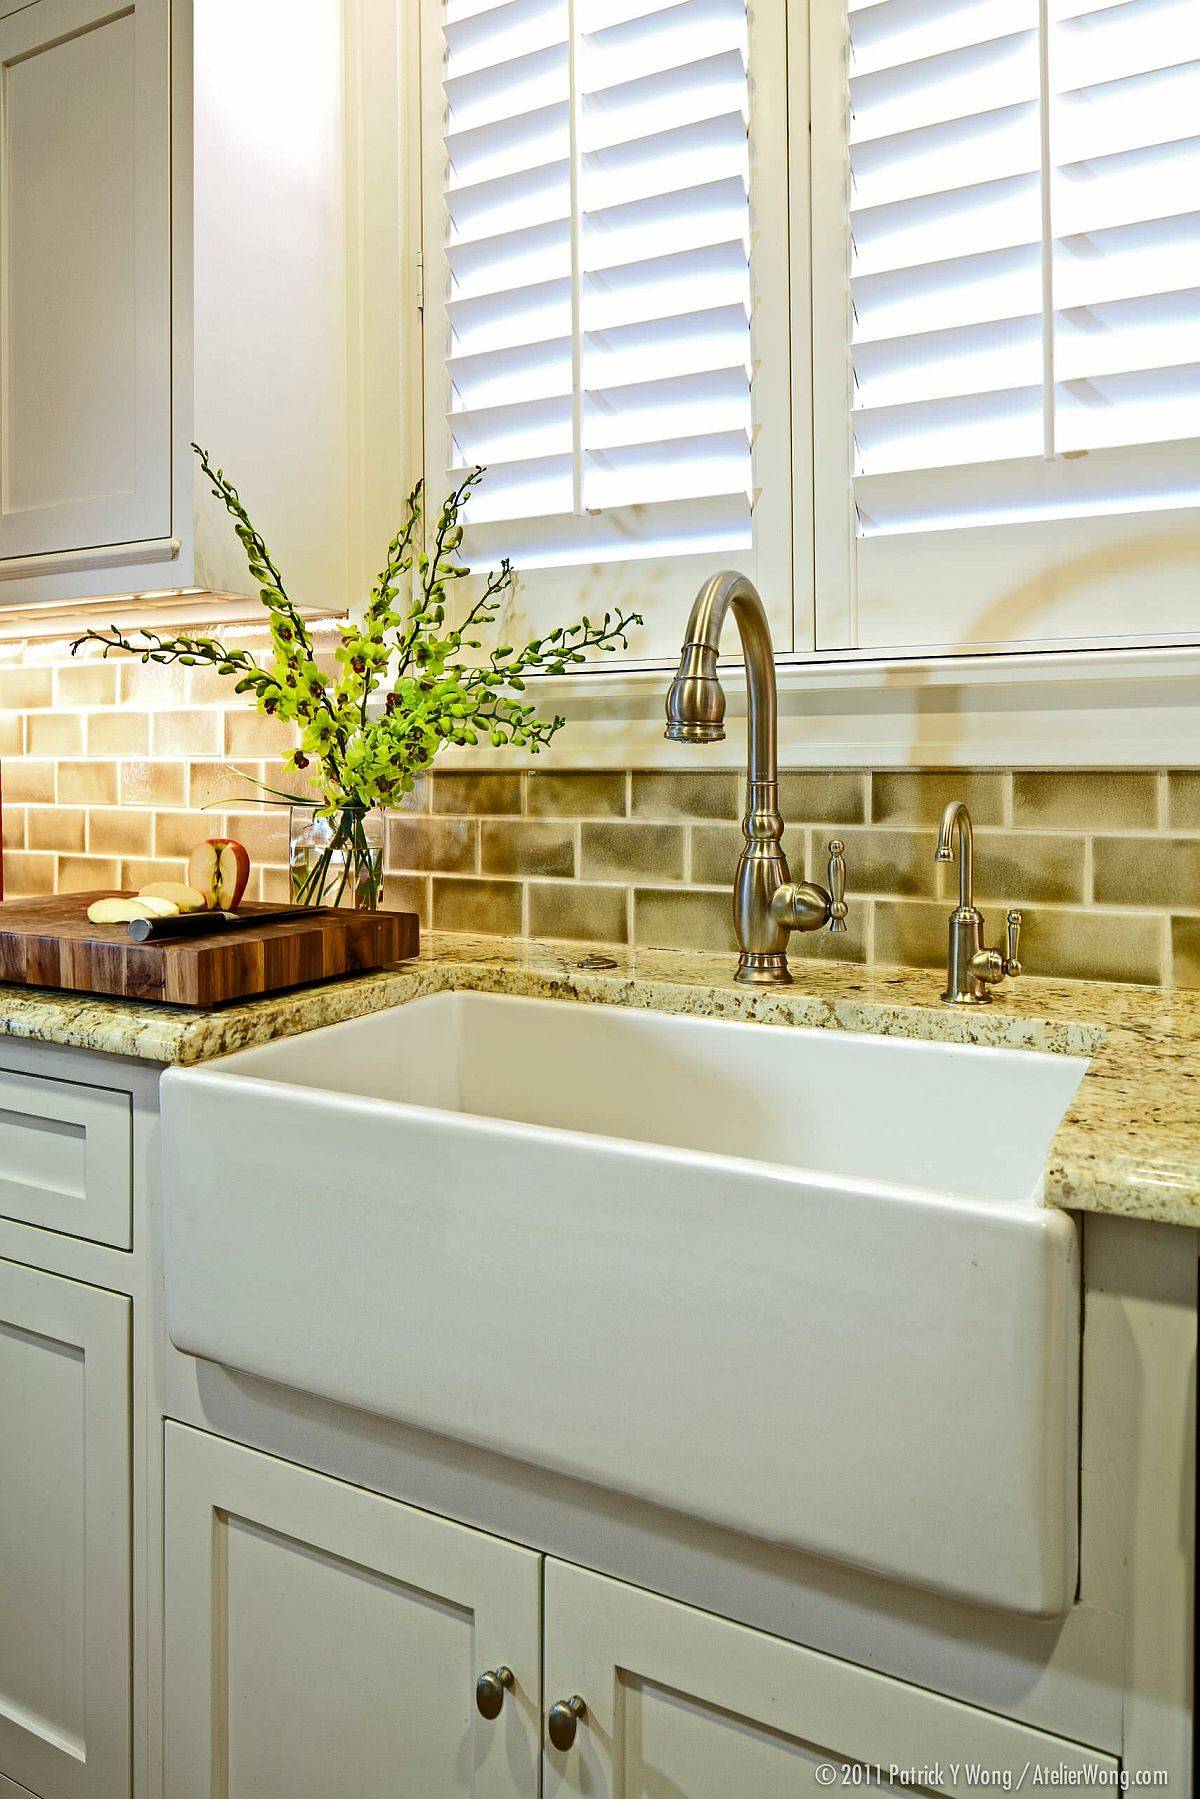


How to Choose the Right Kitchen Sink Sprayer for Your Needs


:max_bytes(150000):strip_icc()/Basic-kitchen-sink-types-1821207_color_rev-0b539306b9ef4236a136624ad2a89a4c.jpg)

Replacing a Kitchen Sink Sprayer: Tools and Materials You'll Need
Before starting the replacement process, make sure you have all the necessary tools and materials:

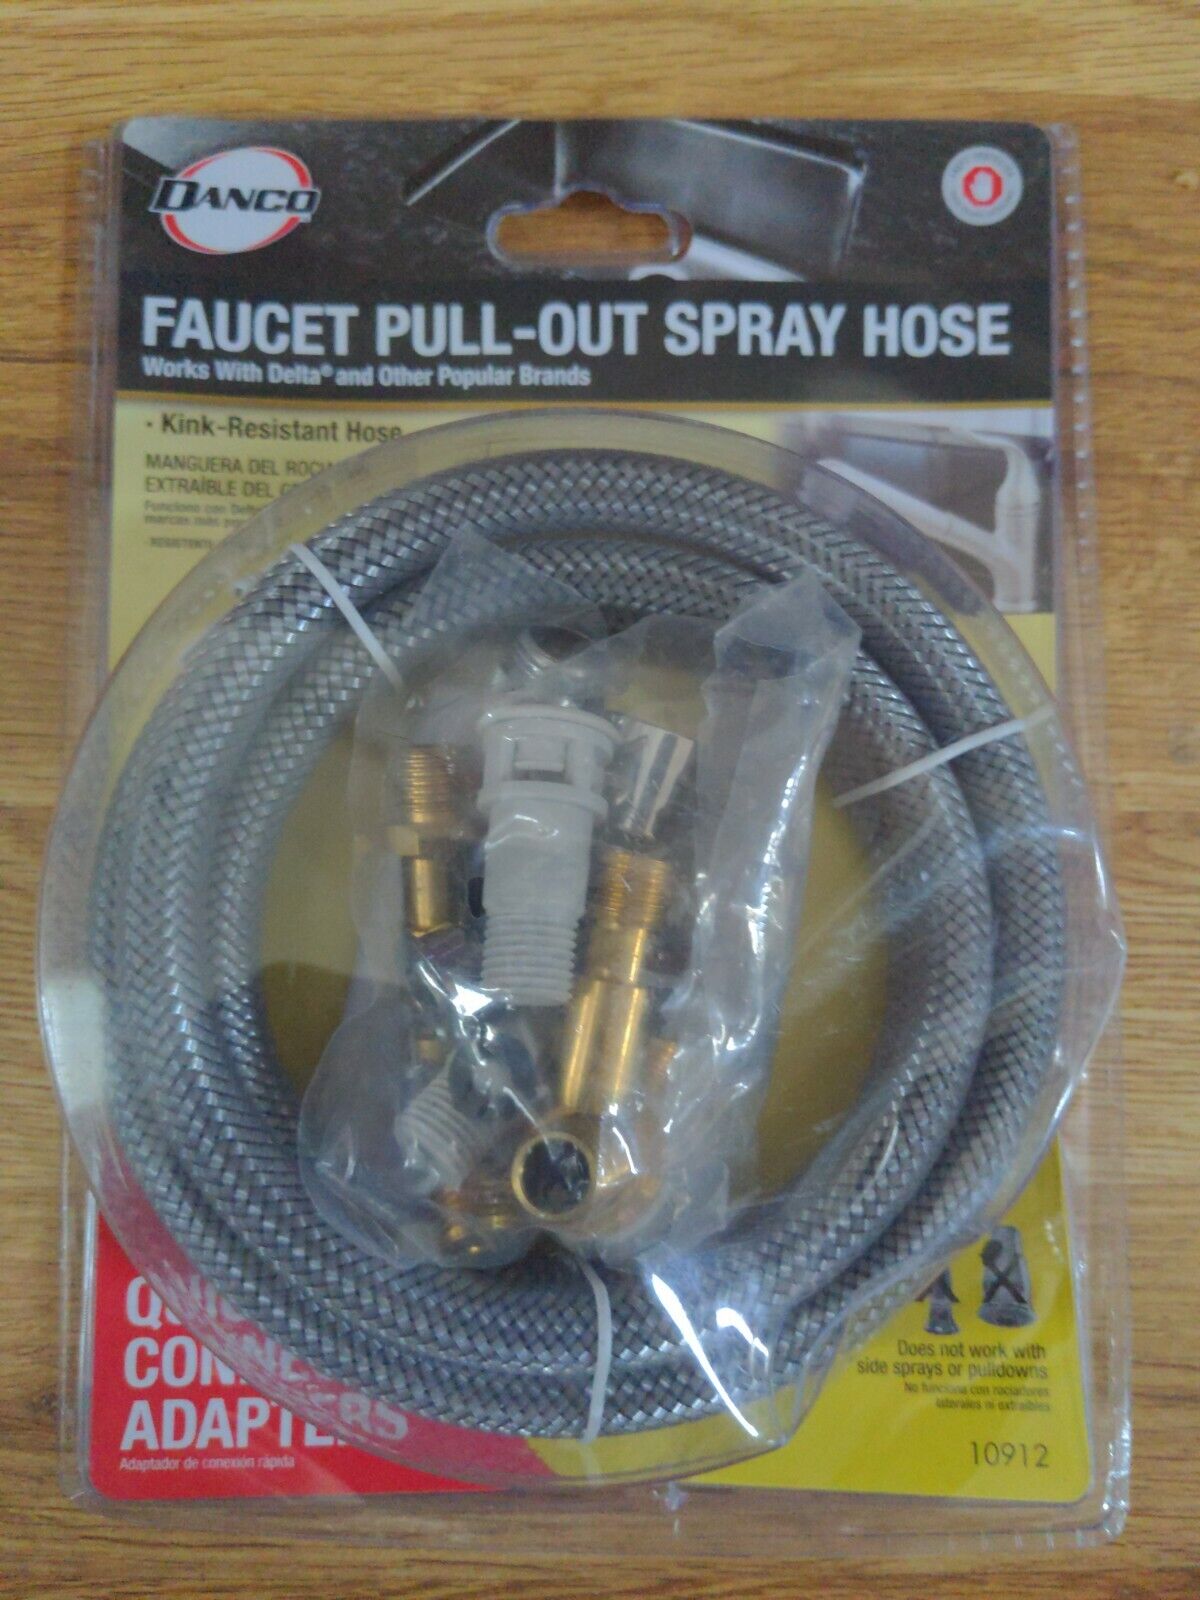
Replacing a Kitchen Sink Sprayer: Tools and Materials You'll Need


Step-by-Step Guide to Replacing a Kitchen Sink Sprayer
Here is a summary of the steps to follow when replacing a kitchen sink sprayer:

Step-by-Step Guide to Replacing a Kitchen Sink Sprayer


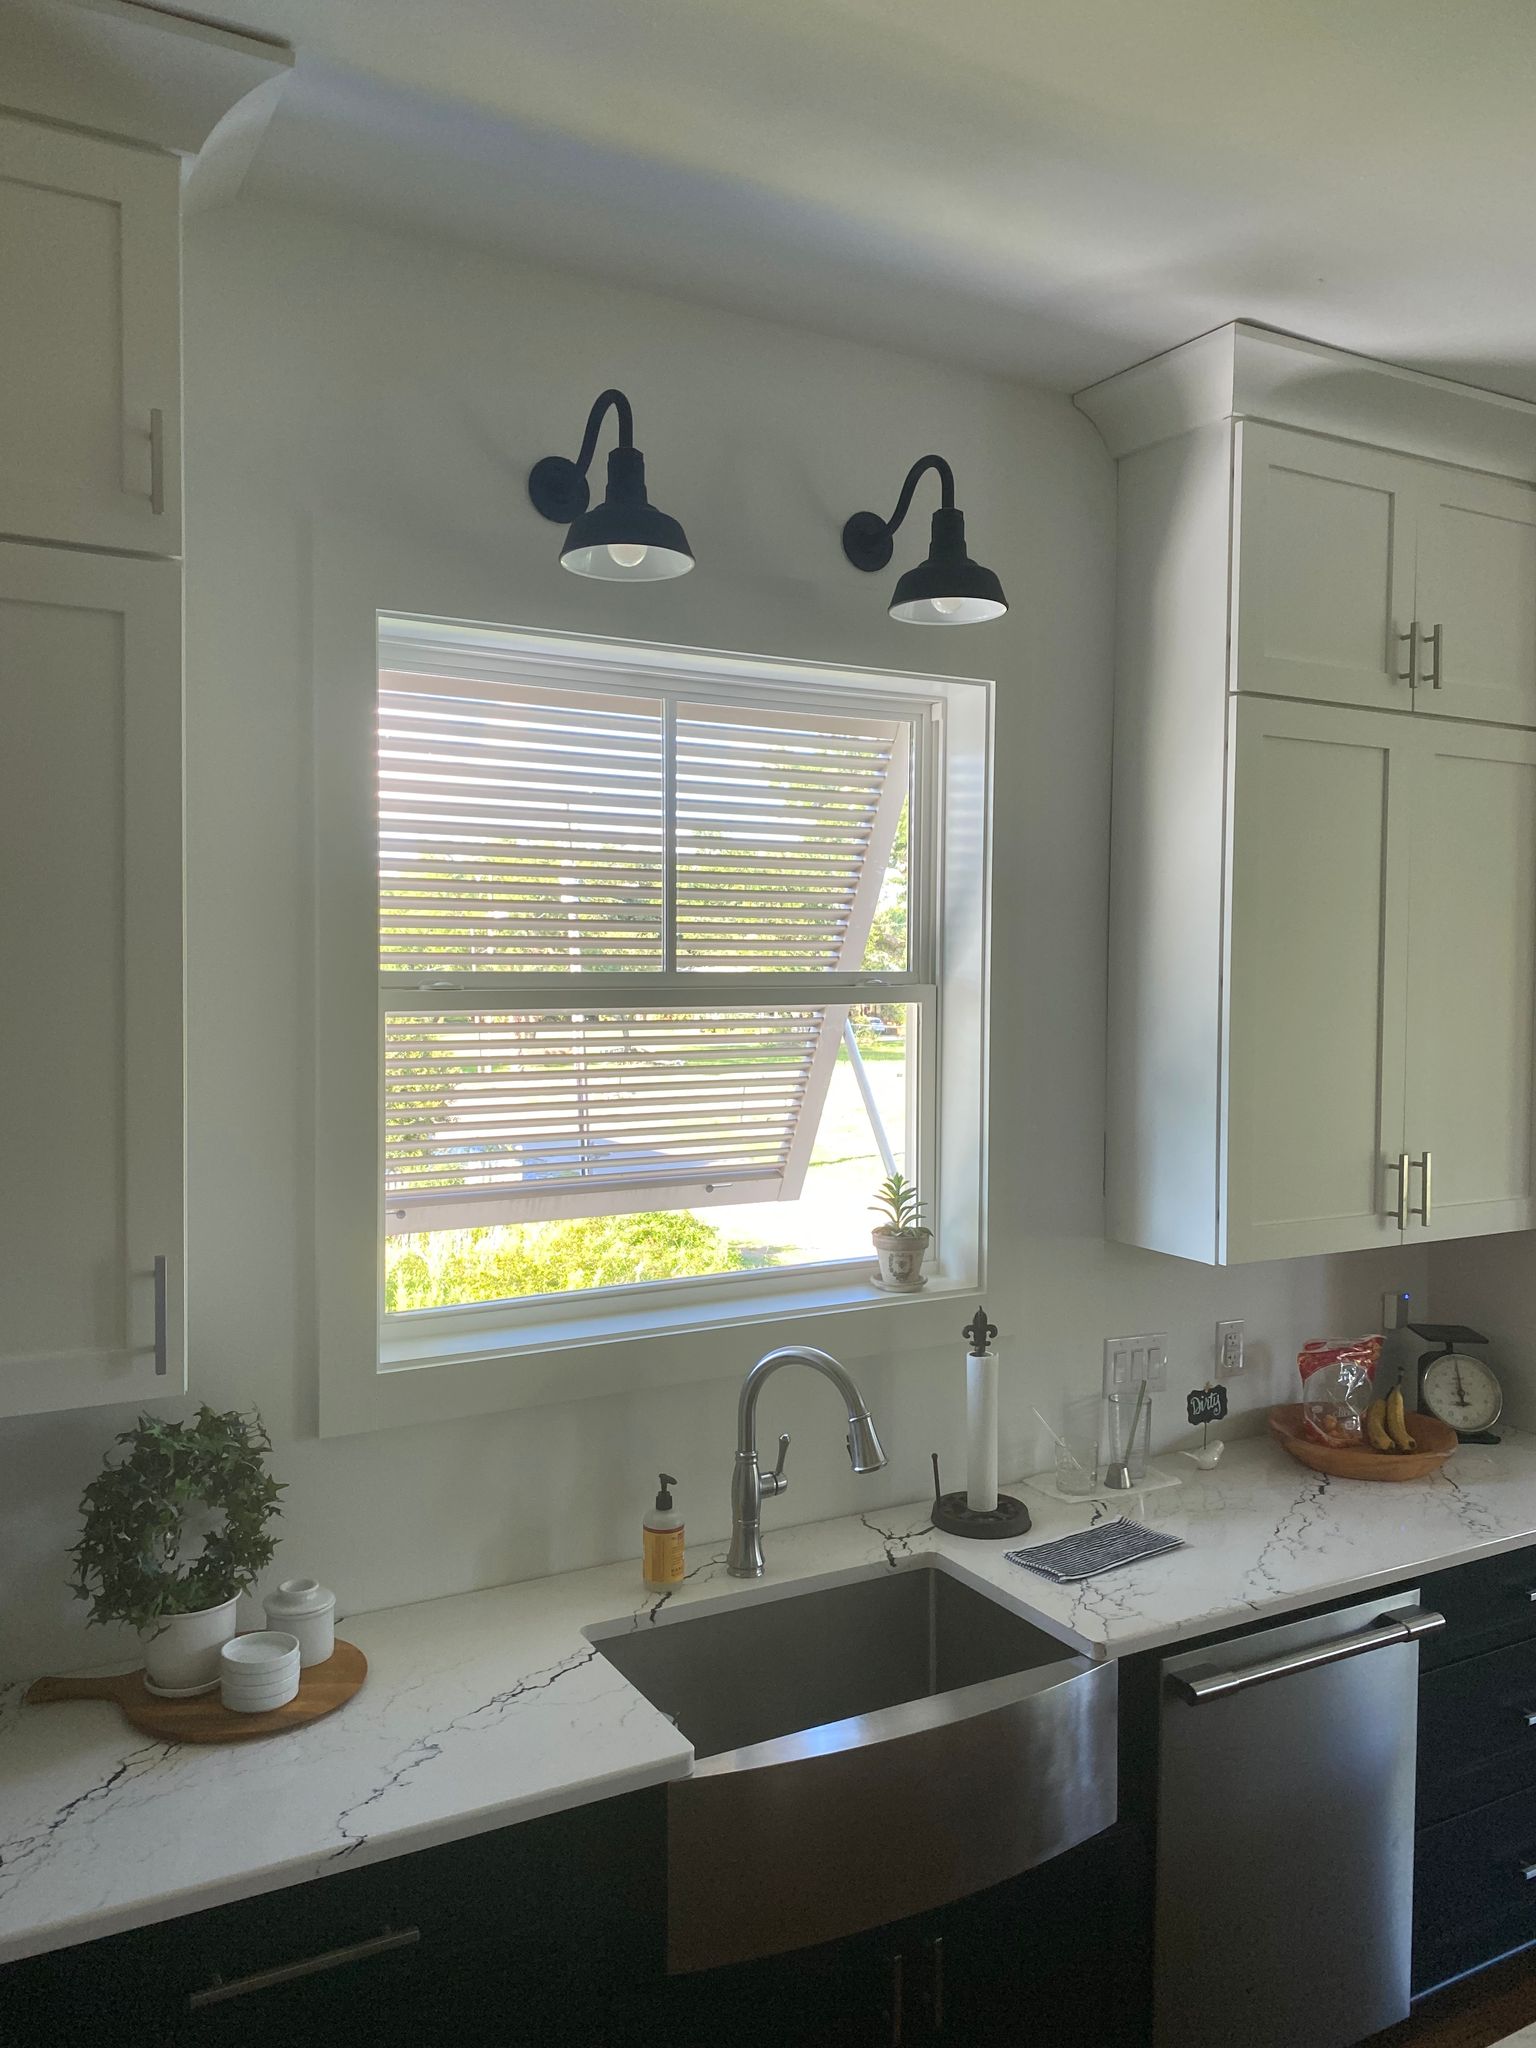
Replacing a Kitchen Sink Sprayer: A Guide to Enhancing Your Kitchen Design

Why Upgrade Your Kitchen Sink Sprayer?
 Upgrading your kitchen sink sprayer is a simple and affordable way to enhance the overall design of your kitchen. Not only will it improve the aesthetics of your space, but it can also provide more functionality and convenience for your daily tasks. Whether you are looking to replace a worn-out sprayer or want to upgrade to a more modern and efficient model, this article will guide you through the process step by step.
Gather Your Tools and Materials
 Before you begin, make sure you have all the necessary tools and materials. You will need a new kitchen sink sprayer, adjustable wrench, plumber's tape, and a bucket or towel to catch any excess water. It's also a good idea to read the manufacturer's instructions that come with your new sprayer.
Step-by-Step Guide
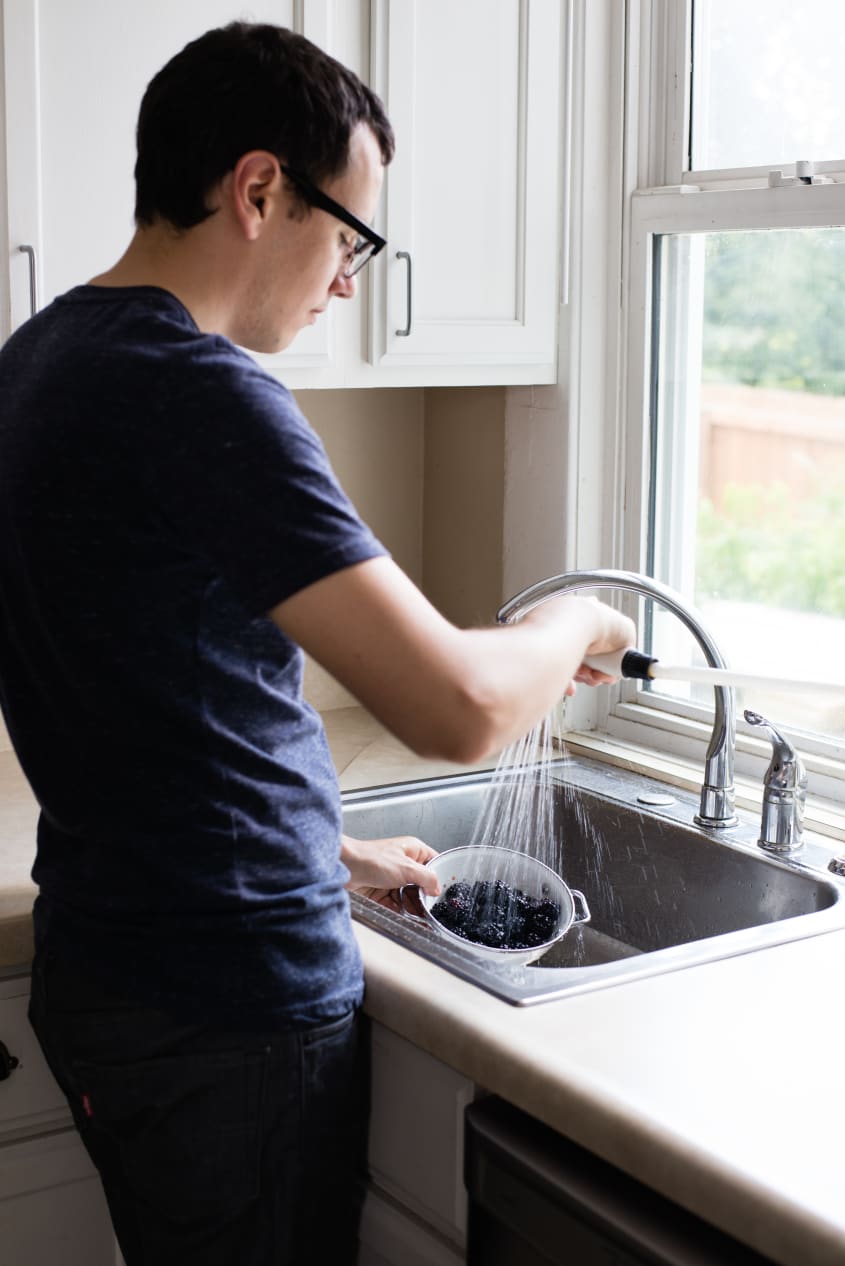
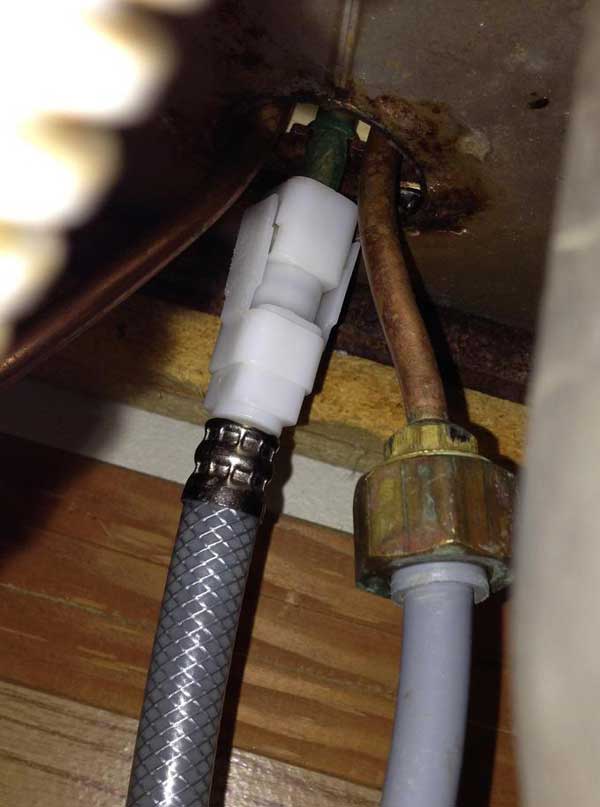
 1. Turn off the water supply: Before you start any work, turn off the water supply to your sink. Look for the shut-off valve under the sink and turn it clockwise to shut off the water.
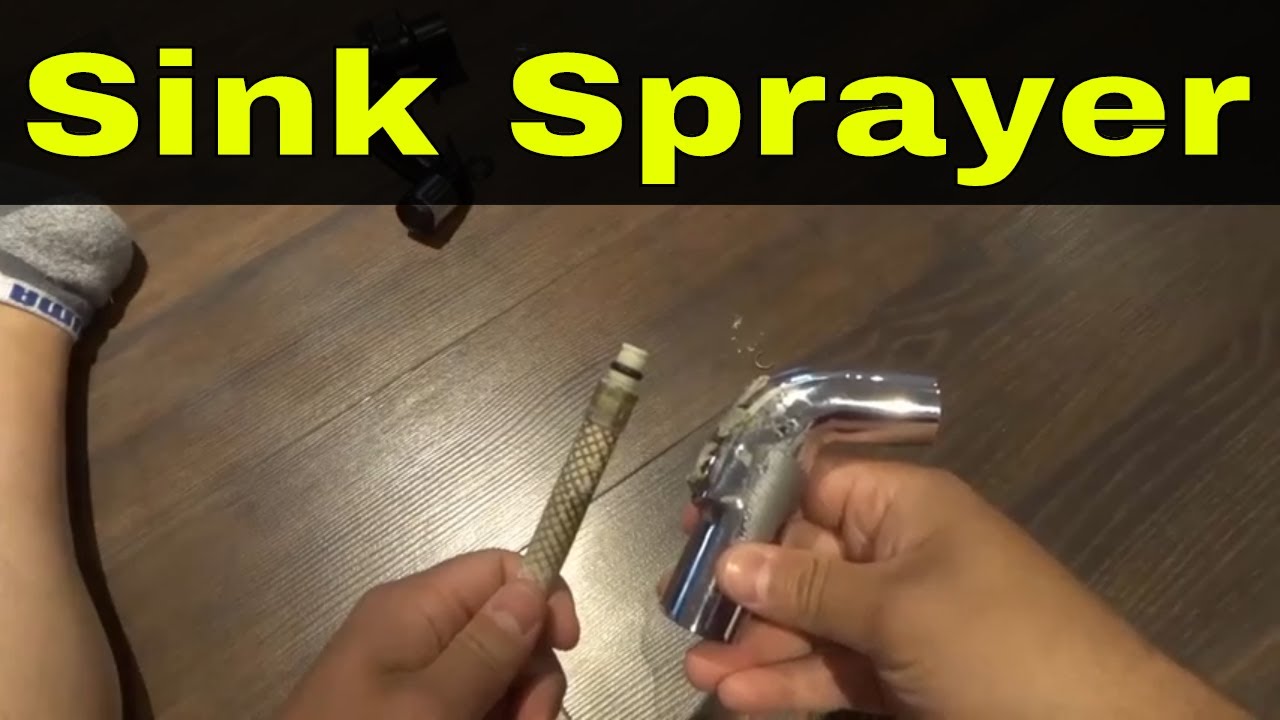
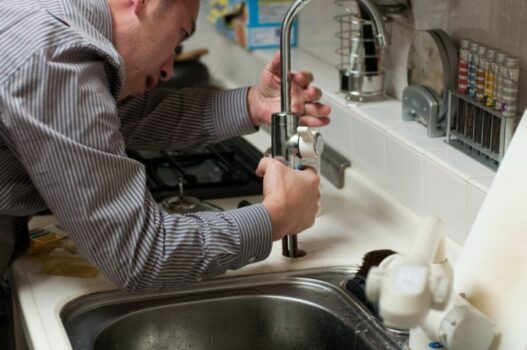
2. Remove the old sprayer: Use an adjustable wrench to loosen the nut connecting the sprayer hose to the faucet. Once it's loose, unscrew the hose and remove the old sprayer.
3. Prepare the new sprayer: Take your new sprayer and wrap plumber's tape around the threads to ensure a watertight seal. This will prevent any leaks from occurring.
4. Connect the new sprayer: Attach the new sprayer to the faucet by screwing it onto the threads. Use the adjustable wrench to tighten the nut and make sure it's secure.
5. Test the water flow: Turn the water supply back on and test the water flow from the new sprayer. If there are any leaks, tighten the nut further or add more plumber's tape.
6. Adjust the sprayer: Most modern sprayers have adjustable settings for different water flow patterns. Adjust the sprayer to your desired setting by turning the nozzle.
1. Turn off the water supply: Before you start any work, turn off the water supply to your sink. Look for the shut-off valve under the sink and turn it clockwise to shut off the water.
2. Remove the old sprayer: Use an adjustable wrench to loosen the nut connecting the sprayer hose to the faucet. Once it's loose, unscrew the hose and remove the old sprayer.
3. Prepare the new sprayer: Take your new sprayer and wrap plumber's tape around the threads to ensure a watertight seal. This will prevent any leaks from occurring.
4. Connect the new sprayer: Attach the new sprayer to the faucet by screwing it onto the threads. Use the adjustable wrench to tighten the nut and make sure it's secure.
5. Test the water flow: Turn the water supply back on and test the water flow from the new sprayer. If there are any leaks, tighten the nut further or add more plumber's tape.
6. Adjust the sprayer: Most modern sprayers have adjustable settings for different water flow patterns. Adjust the sprayer to your desired setting by turning the nozzle.
Enhancing Your Kitchen Design
 Replacing your kitchen sink sprayer not only adds functionality to your space but can also enhance the overall design of your kitchen. Consider choosing a sprayer that matches your faucet for a cohesive look. You can also opt for a more modern or sleek design to give your kitchen a contemporary touch. Additionally, choosing a sprayer with a pull-down feature can make cleaning and rinsing dishes easier and more efficient.
Upgrade Your Kitchen Sink Sprayer for a More Functional and Stylish Kitchen
Replacing your kitchen sink sprayer is a simple DIY project that can make a big impact on your kitchen design. With the right tools and materials, you can easily upgrade your sprayer and elevate the look of your kitchen. So why wait? Follow these easy steps and enjoy a more functional and stylish kitchen in no time.
Replacing your kitchen sink sprayer not only adds functionality to your space but can also enhance the overall design of your kitchen. Consider choosing a sprayer that matches your faucet for a cohesive look. You can also opt for a more modern or sleek design to give your kitchen a contemporary touch. Additionally, choosing a sprayer with a pull-down feature can make cleaning and rinsing dishes easier and more efficient.
Upgrade Your Kitchen Sink Sprayer for a More Functional and Stylish Kitchen
Replacing your kitchen sink sprayer is a simple DIY project that can make a big impact on your kitchen design. With the right tools and materials, you can easily upgrade your sprayer and elevate the look of your kitchen. So why wait? Follow these easy steps and enjoy a more functional and stylish kitchen in no time.
HTML Code:
<h2>Replacing a Kitchen Sink Sprayer: A Guide to Enhancing Your Kitchen Design</h2>
<h3>Why Upgrade Your Kitchen Sink Sprayer?</h3>
<p>Upgrading your kitchen sink sprayer is a simple and affordable way to enhance the overall design of your kitchen. Not only will it improve the aesthetics of your space, but it can also provide more functionality and convenience for your daily tasks. Whether you are looking to replace a worn-out sprayer or want to upgrade to a more modern and efficient model, this article will guide you through the process step by step.</p>
<h3>Gather Your Tools and Materials</h3>
<p>Before you begin, make sure you have all the necessary tools and materials. You will need a new kitchen sink sprayer, adjustable wrench, plumber's tape, and a bucket or towel to catch any excess water. It's also a good idea to read the manufacturer's instructions that come with your new sprayer.</p>
<h3>Step-by-Step Guide</h3>
<ol>
<li>Turn off the water supply: Before you start any work, turn off the water supply to your sink. Look for the shut-off valve under the sink and turn it clockwise to shut off the water.</li>
<li>Remove the old sprayer: Use an adjustable wrench to loosen the nut connecting the sprayer hose to the faucet. Once it's loose, unscrew the hose and remove the old sprayer.</li>
<li>