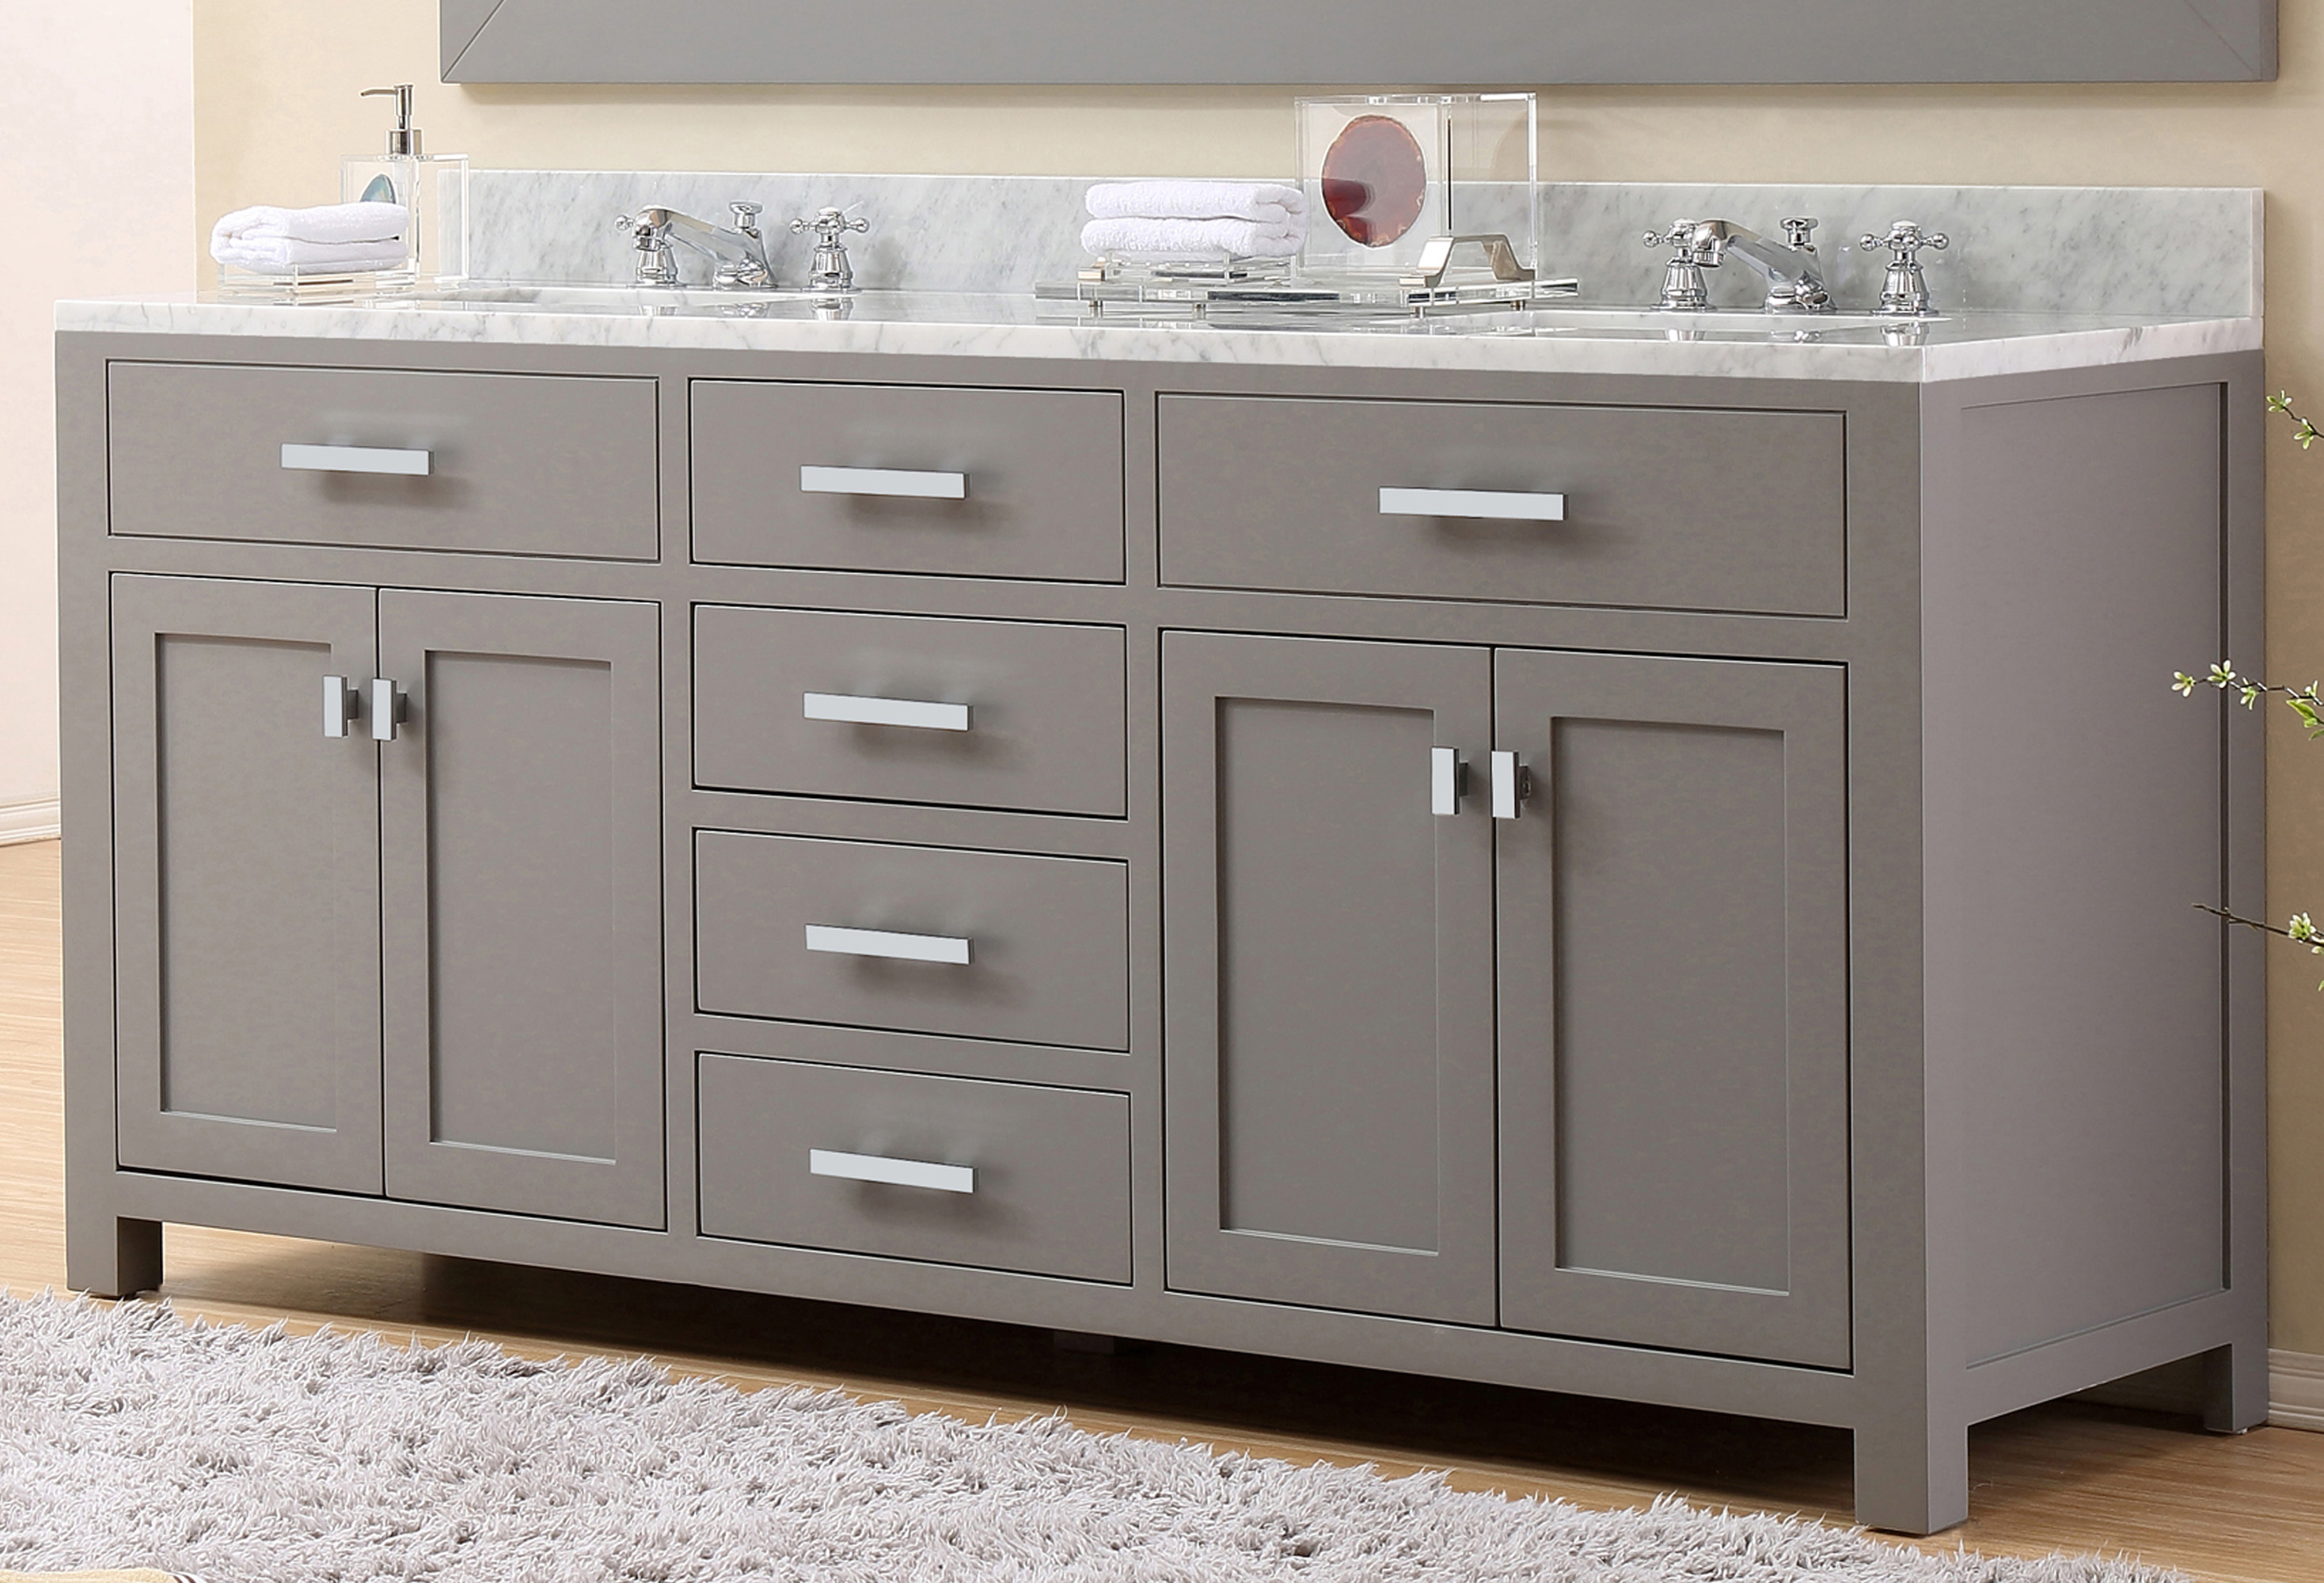
Before you begin your bathroom vanity painting project, it's important to properly prepare the surface to ensure a smooth and long-lasting finish. This includes removing any hardware, cleaning the vanity thoroughly, and filling in any cracks or imperfections with wood filler. Make sure to also protect your floors and surrounding walls with drop cloths or painter's tape.Preparation
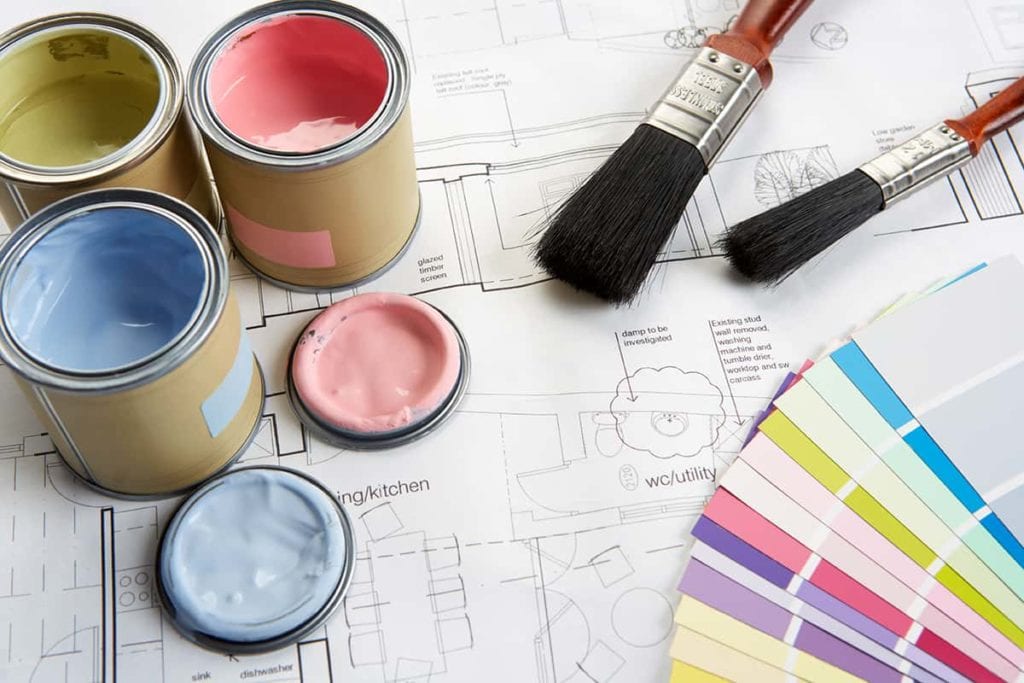
When it comes to painting a bathroom vanity, not all paints are created equal. It's important to choose a high-quality, moisture-resistant paint specifically designed for bathroom use. Look for paints with a semi-gloss or satin finish, as these are easier to clean and will hold up better in a bathroom environment.Choosing the Right Paint
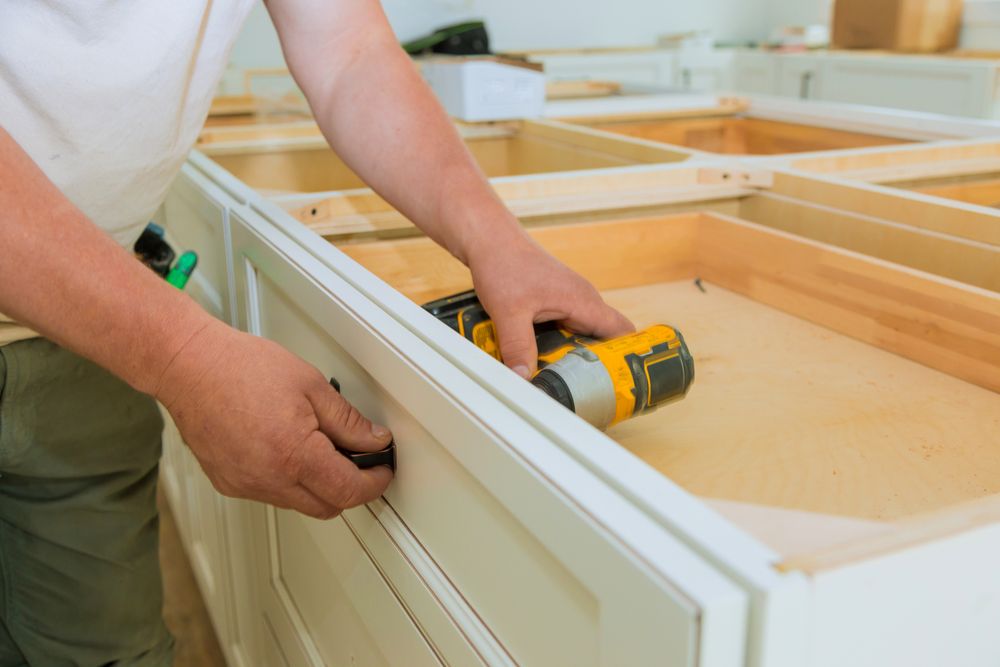
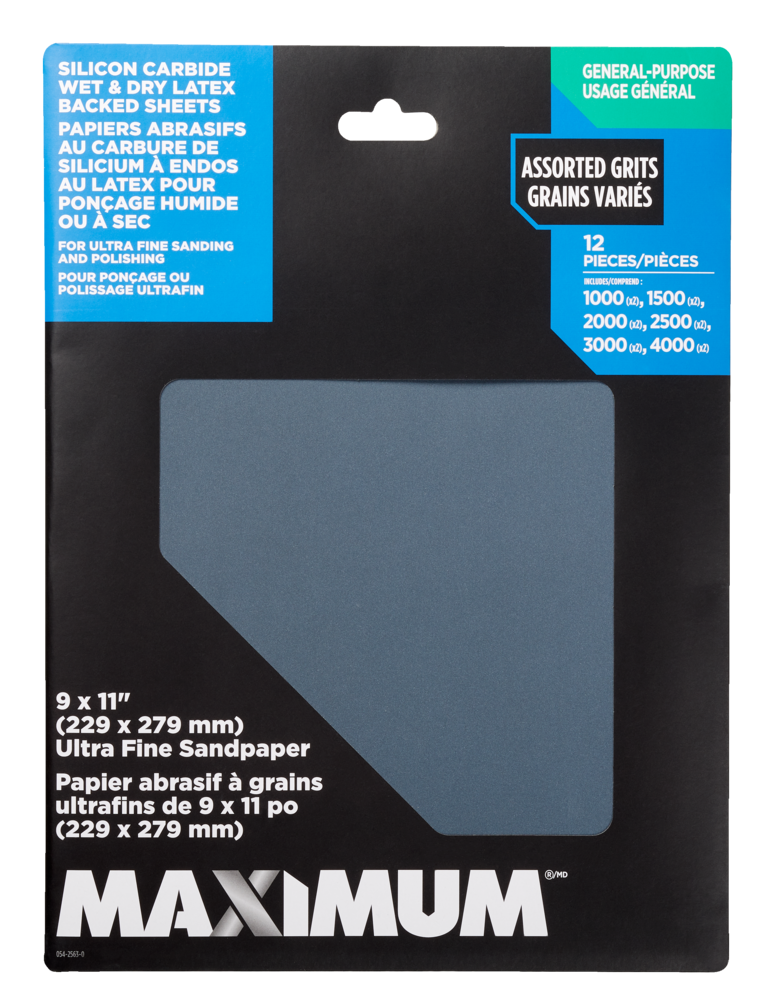
Before you can start painting, you'll need to remove any hardware from your vanity, such as knobs and hinges. This will ensure a clean and even finish. You may also need to lightly sand the vanity to remove any existing paint or varnish and create a smooth surface for the new paint to adhere to.Removing Hardware and Sanding
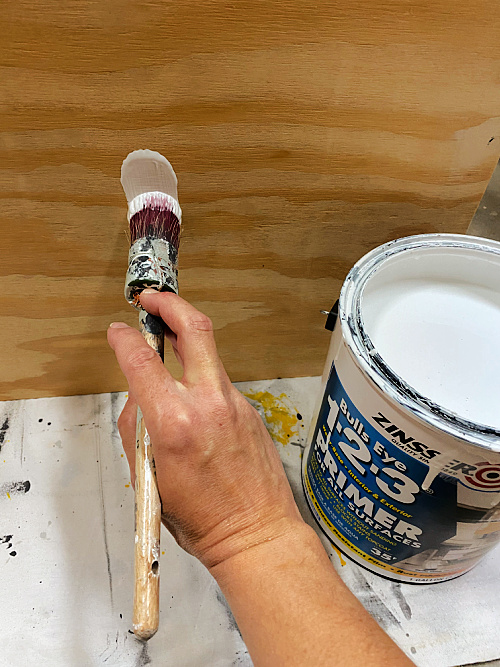
Priming is a crucial step in the painting process, especially for bathroom vanities. It helps the paint adhere better and creates a barrier between the wood and the moisture in the bathroom. Make sure to use a high-quality primer and apply it evenly with a brush or roller. Allow the primer to fully dry before moving on to the next step.Priming the Vanity
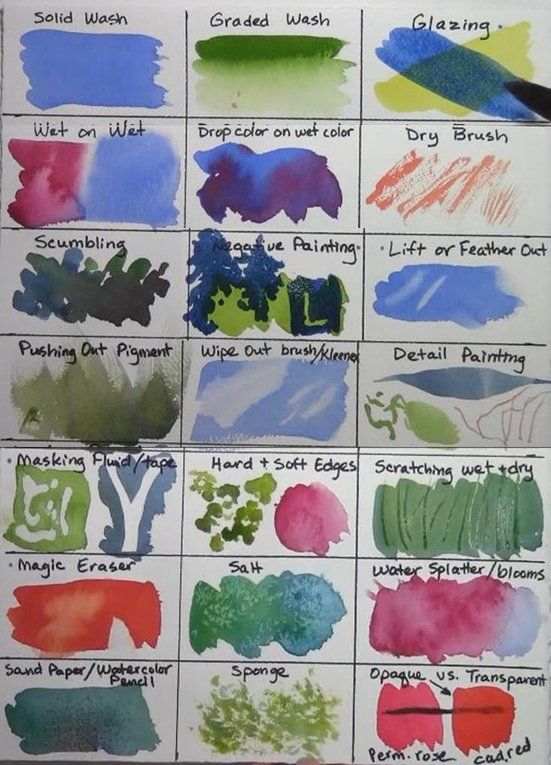
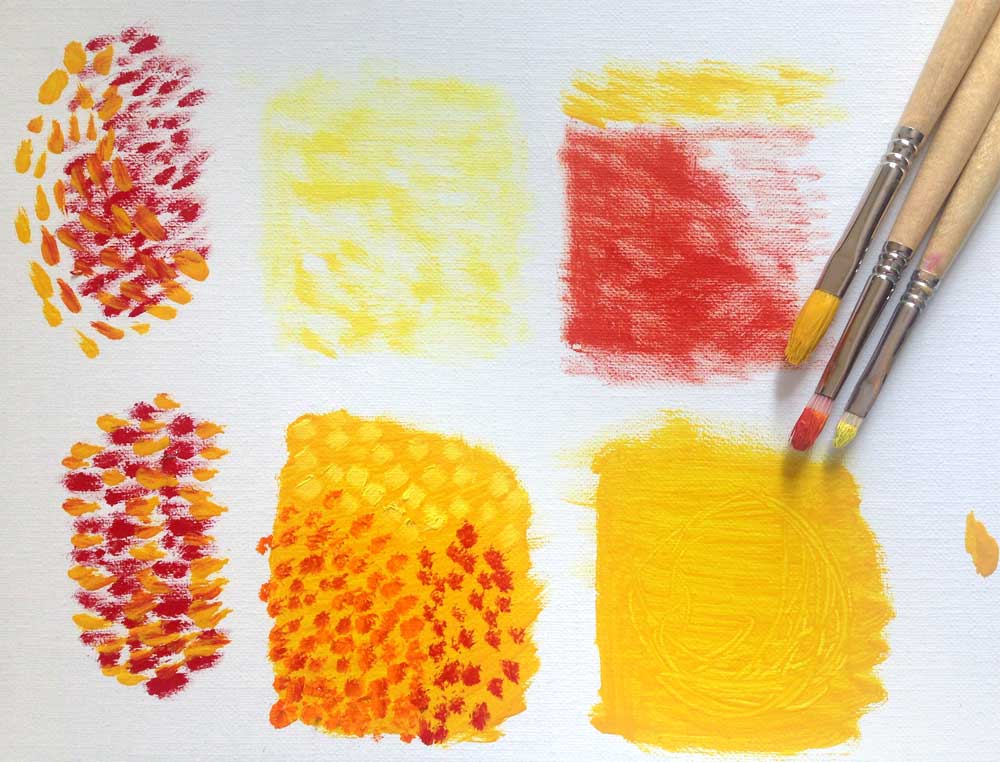
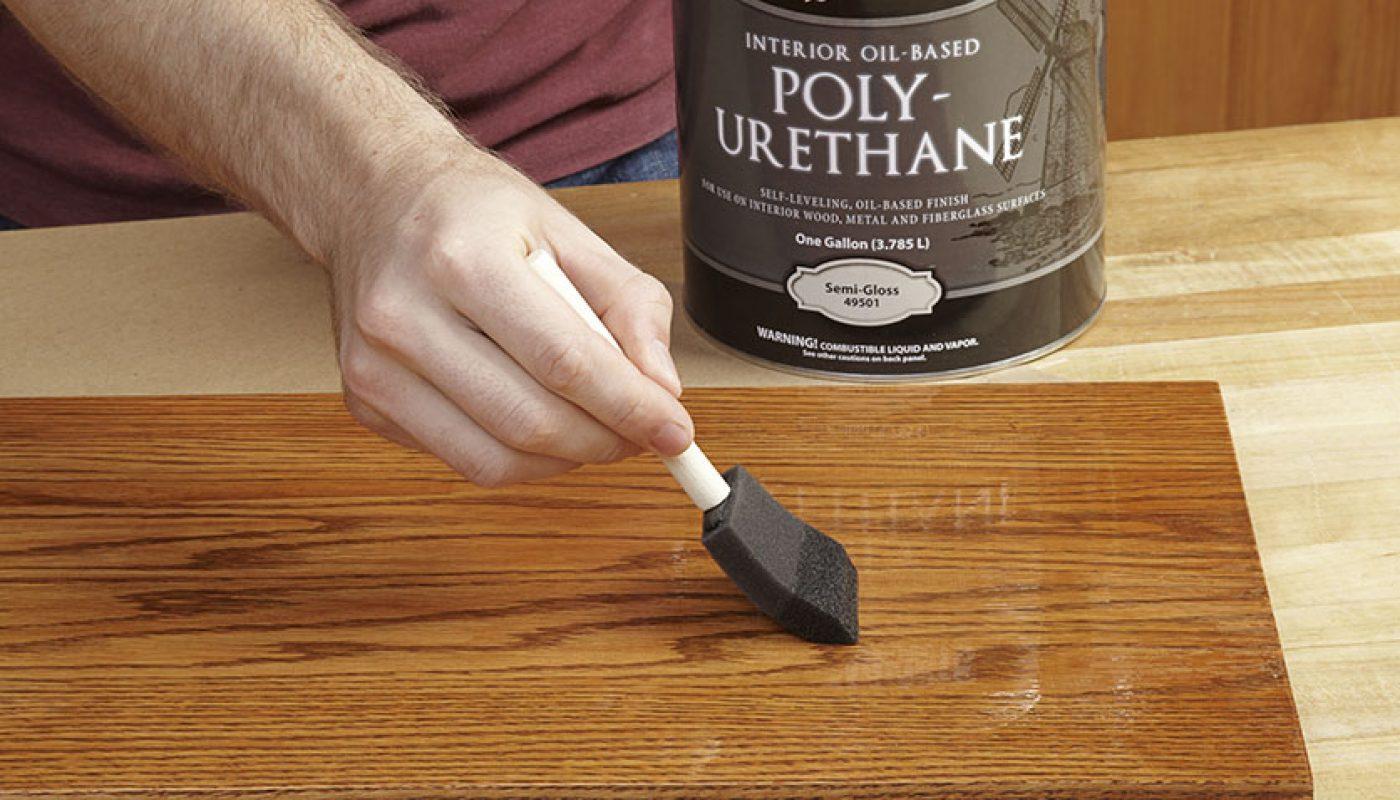
When it comes to painting your bathroom vanity, there are a few different techniques you can use. One option is to use a brush for more control and precision, especially around corners and edges. Another option is to use a foam roller for larger, flat surfaces. Whichever technique you choose, make sure to apply thin and even coats for the best results.Painting Techniques
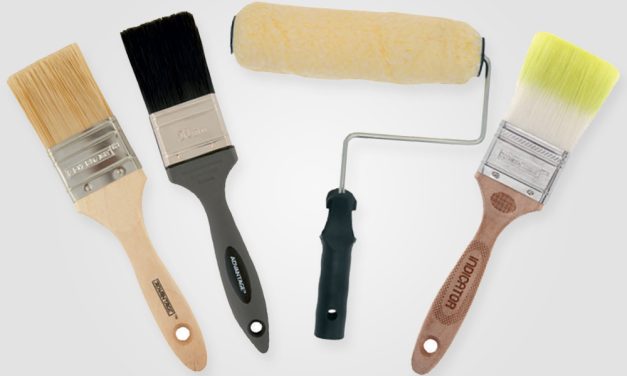
The type of brush or roller you use can make a big difference in the final outcome of your bathroom vanity painting project. For a smooth finish, opt for a high-quality synthetic brush with fine bristles. If using a roller, choose a foam roller for a smooth, streak-free finish. Avoid using cheap or low-quality brushes or rollers, as they can leave behind brush marks or shed bristles.Choosing the Right Brush or Roller
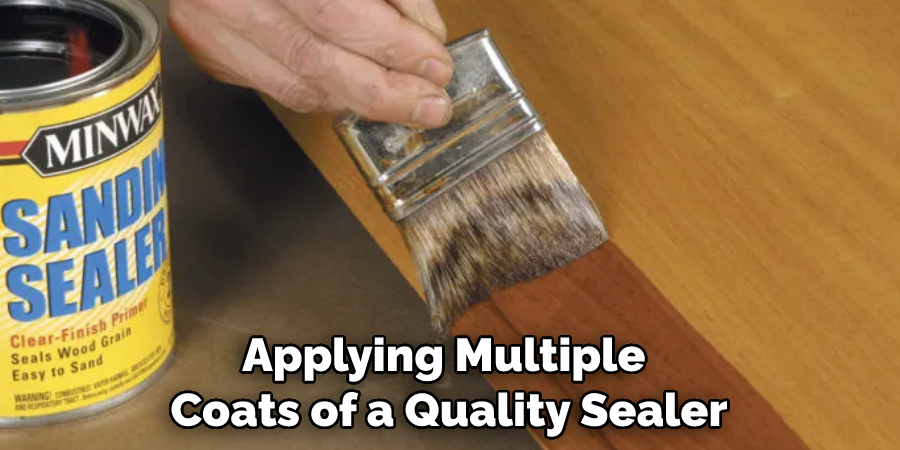
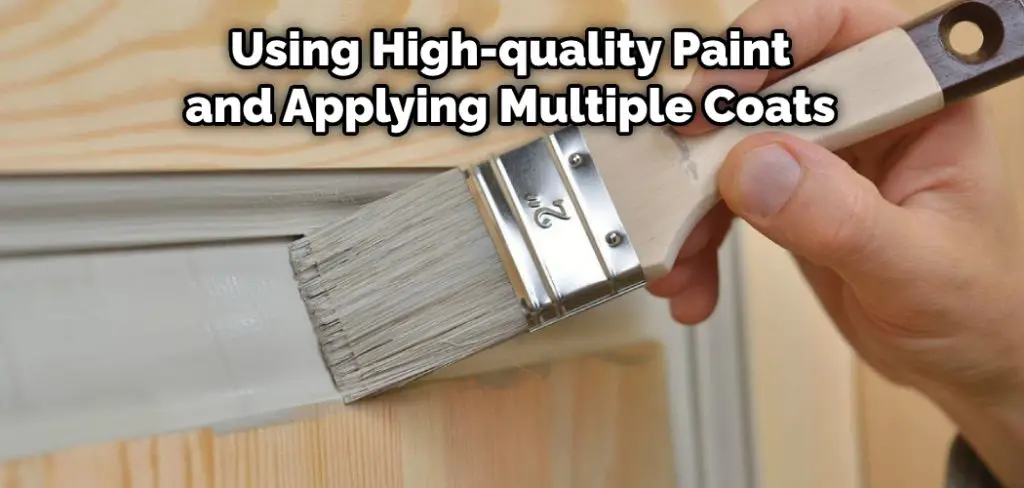
In most cases, one coat of paint is not enough to achieve the desired finish on a bathroom vanity. It's important to apply multiple thin coats of paint, allowing each coat to fully dry before applying the next. This will ensure a smooth and even finish without any visible brush strokes or streaks.Applying Multiple Coats
After the final coat of paint has been applied, it's important to allow enough time for the paint to dry and cure before using the vanity. Drying time can vary depending on the type of paint used, but typically takes 24-48 hours. Curing time, which is when the paint fully hardens and becomes durable, can take up to a week. Avoid using the vanity during this time to prevent any damage to the finish.Drying and Curing Time
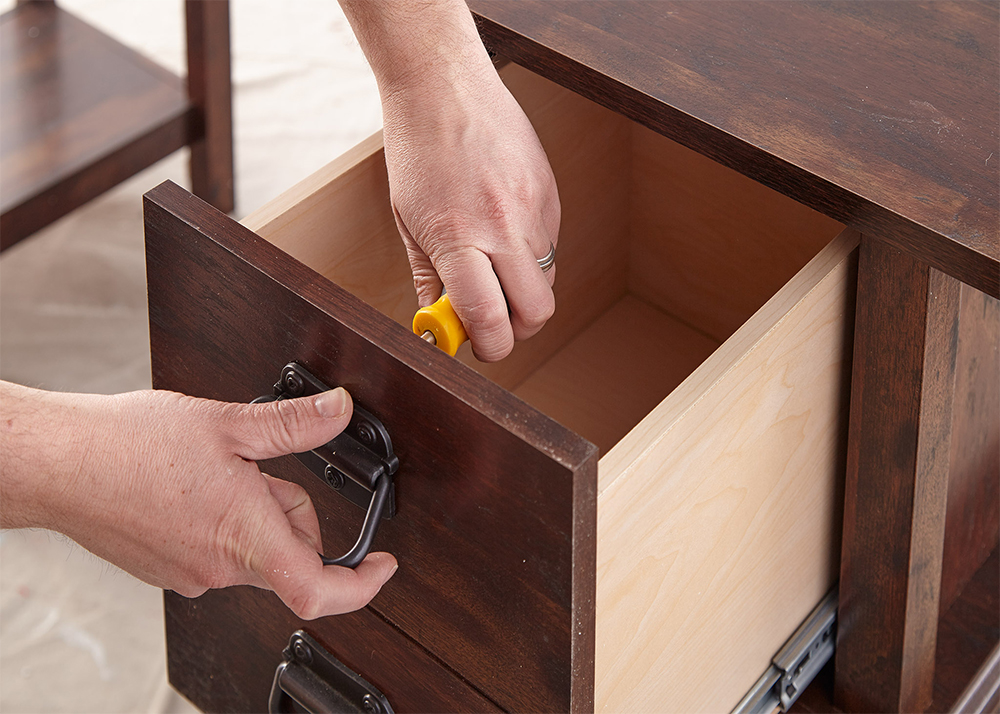
Once the paint has fully dried and cured, you can reinstall the hardware on your bathroom vanity. Make sure the paint is completely dry and use a screwdriver to tighten any loose screws. If you want to give your vanity a new look, consider replacing the hardware with new knobs or handles.Reinstalling Hardware
With the painting process complete, it's time for some finishing touches to give your bathroom vanity a polished look. You can add a layer of clear coat or sealant to protect the paint and make it easier to clean. You may also want to add new drawer liners or organize the contents of your vanity to complete the transformation. By following these top tips for painting a bathroom vanity, you can easily give your bathroom a fresh new look without breaking the bank. With proper preparation, the right paint and tools, and patience, you can achieve a professional-looking finish that will last for years to come. So roll up your sleeves and get ready to transform your bathroom with a fresh coat of paint on your vanity.Finishing Touches
Why Painting Your Bathroom Vanity is a Great Way to Update Your Home

Revamp Your Bathroom with a Fresh Coat of Paint
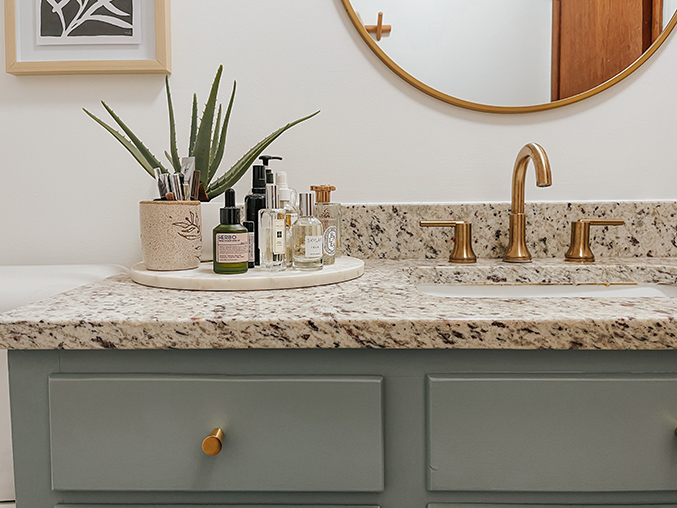 One of the easiest and most affordable ways to update your bathroom is by
painting your bathroom vanity
. Not only does it give your bathroom a fresh new look, but it also allows you to
transform the space according to your personal style
. Whether you want to add a pop of color or create a more modern and sleek look, painting your bathroom vanity is the perfect solution.
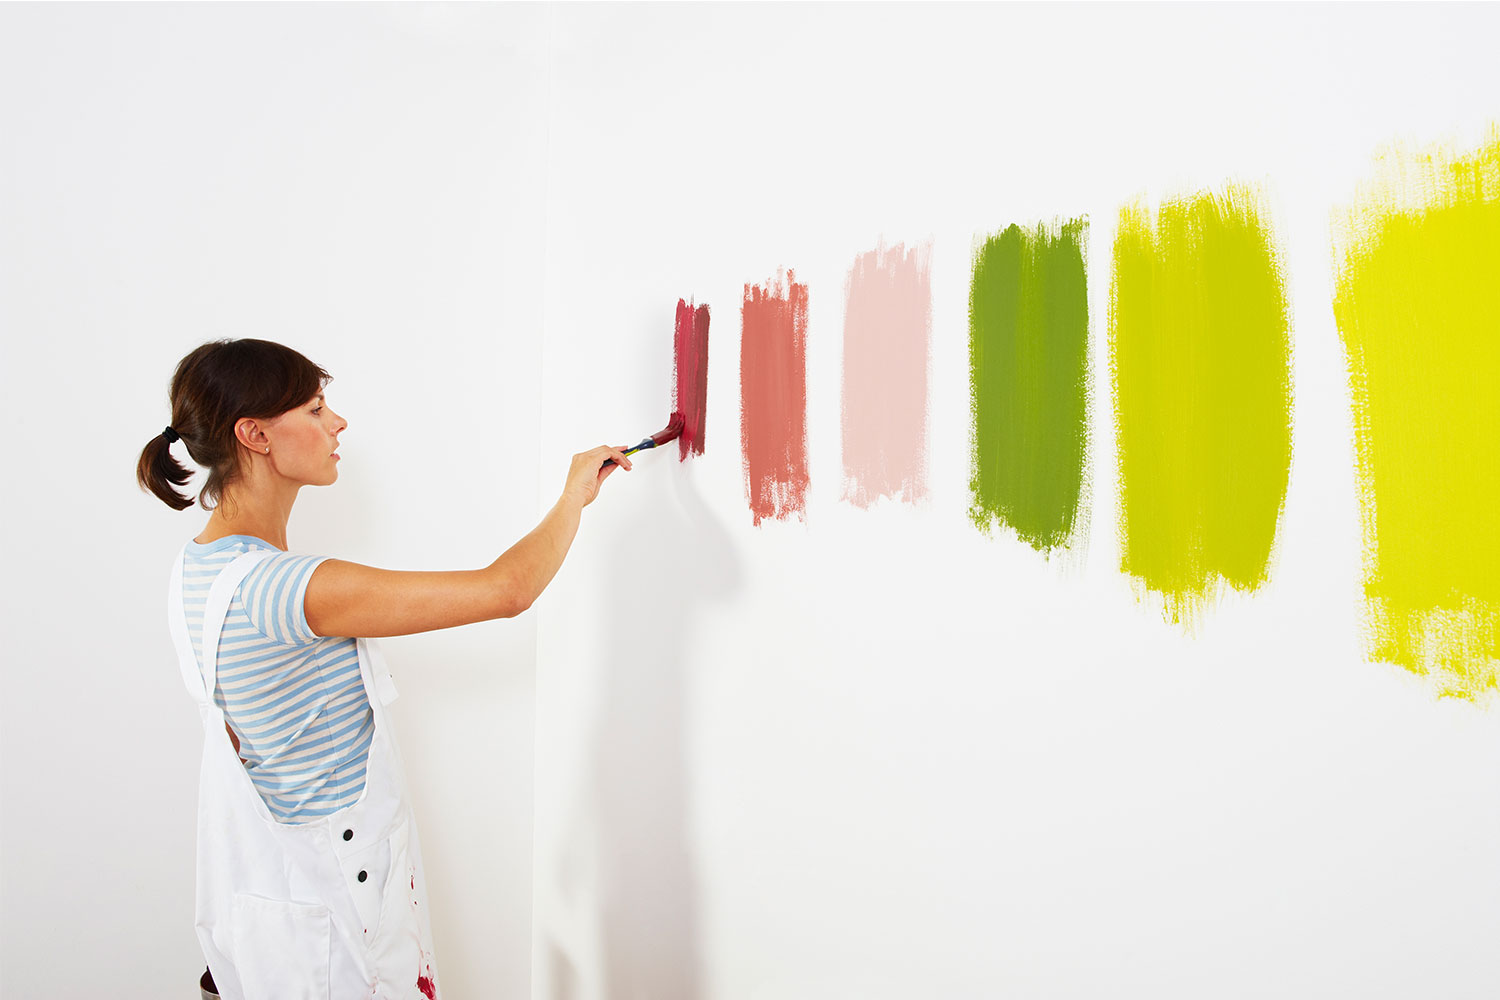
Choose the Right Color and Finish
 When it comes to
painting a bathroom vanity
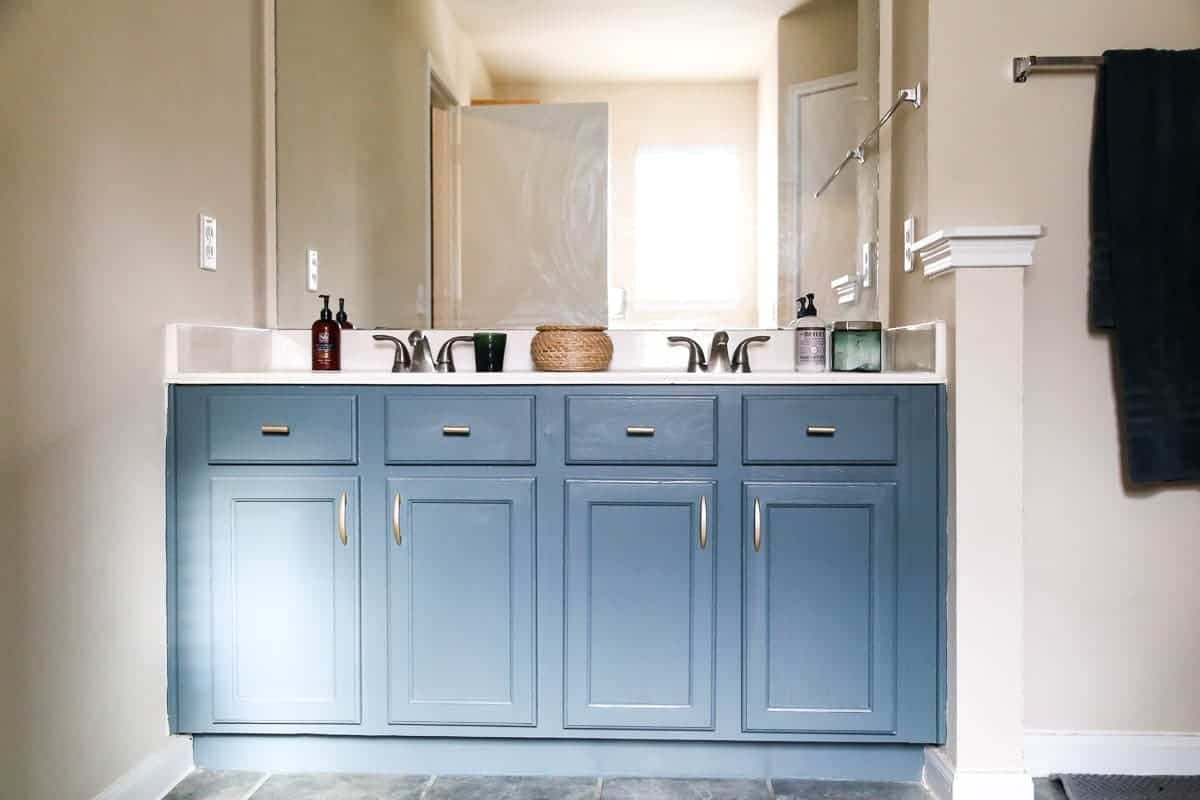
, the first thing you need to consider is the color and finish. You want to choose a color that complements the overall design of your bathroom, but also reflects your personal taste. If you're unsure, opt for a neutral color like white or gray, which can easily be dressed up with accessories. As for the finish,
a semi-gloss or high-gloss finish is recommended for bathroom vanities
as it is resistant to moisture and easy to clean.
Prepare the Vanity for Painting
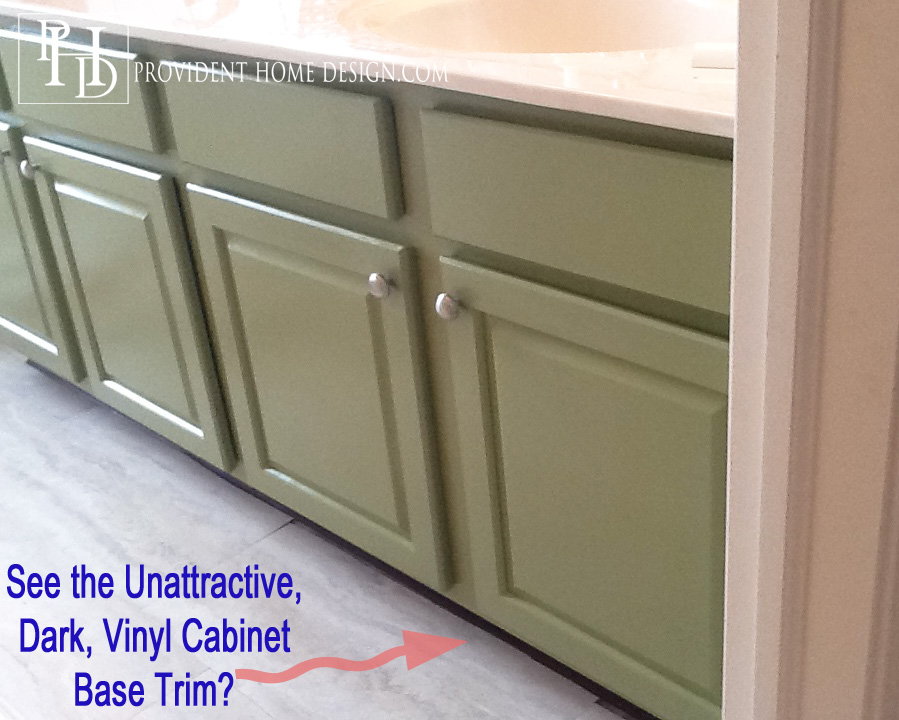 Before you begin painting, it's important to properly prepare your vanity. This includes removing all hardware, such as knobs and handles, and
sanding down the surface to create a smooth and even base
. It's also a good idea to clean the vanity with a degreaser to remove any dirt or grime that may prevent the paint from adhering properly.
Choose Quality Paint and Tools
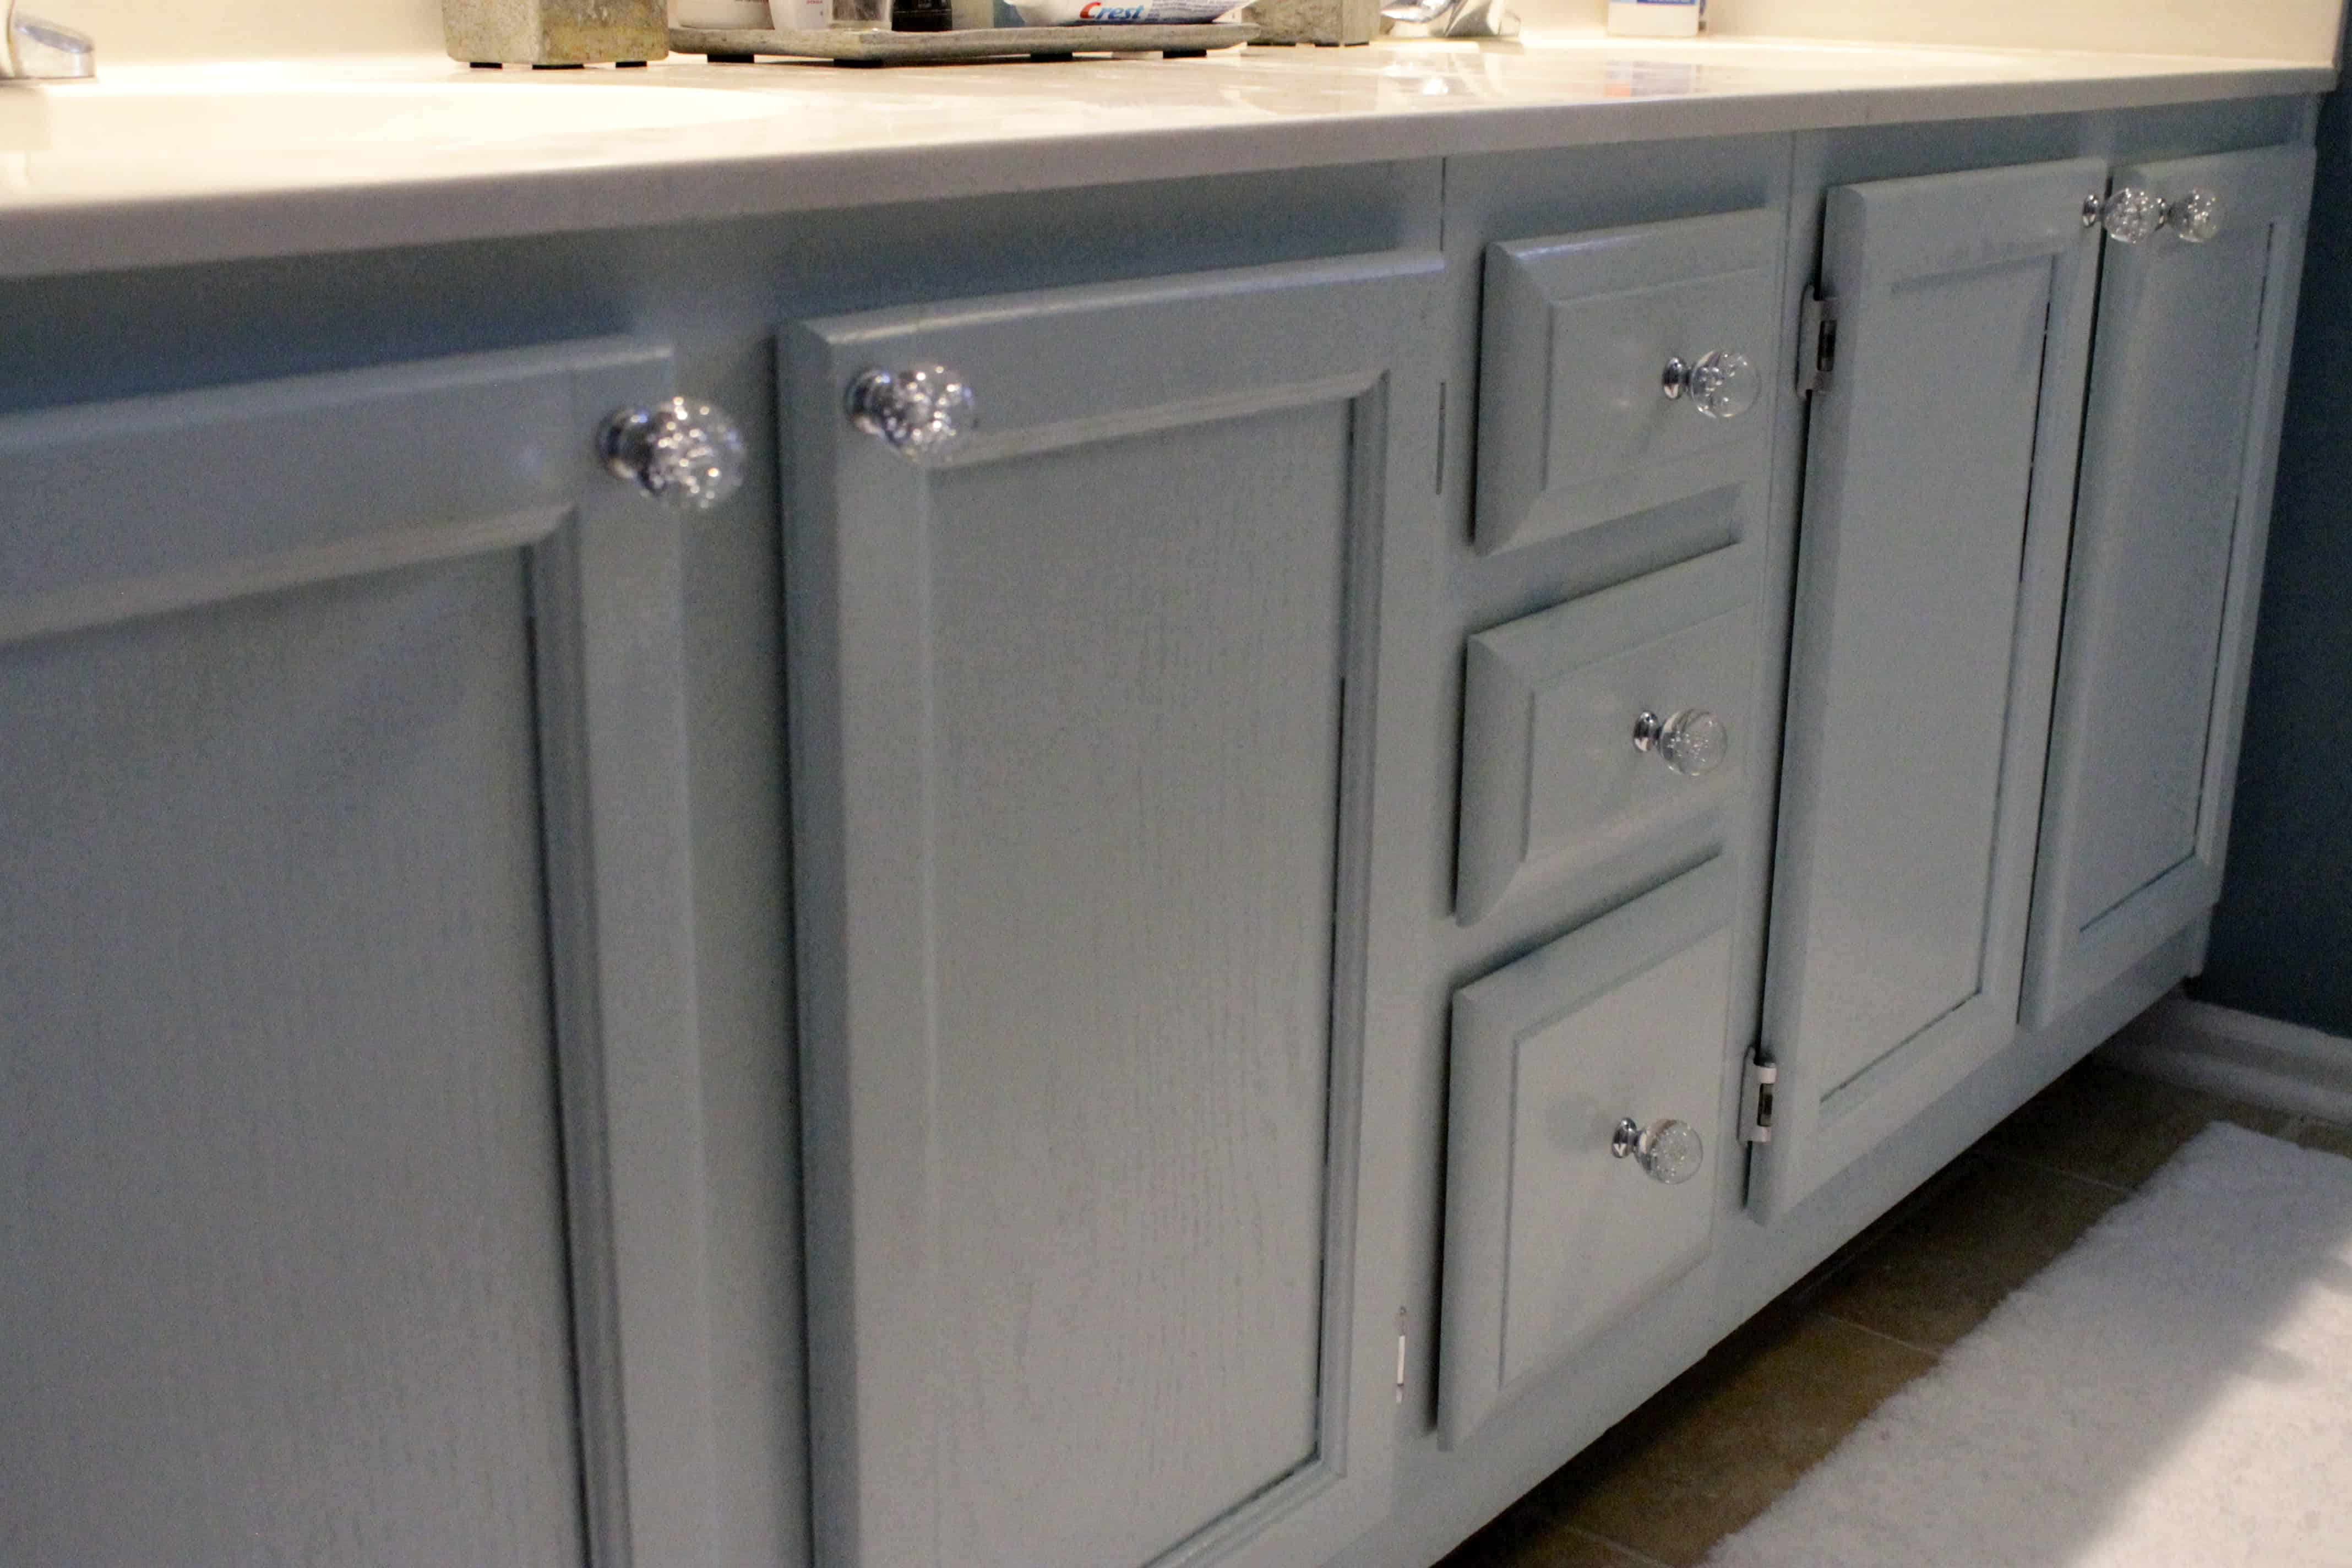 Investing in quality paint and tools is crucial for achieving a professional-looking finish on your bathroom vanity.
Choose a paint specifically designed for bathroom use
as it is more resistant to moisture and mildew. You'll also need to have the right tools on hand, such as a paintbrush, roller, and painter's tape, to ensure a smooth and even application.
Don't Forget the Details
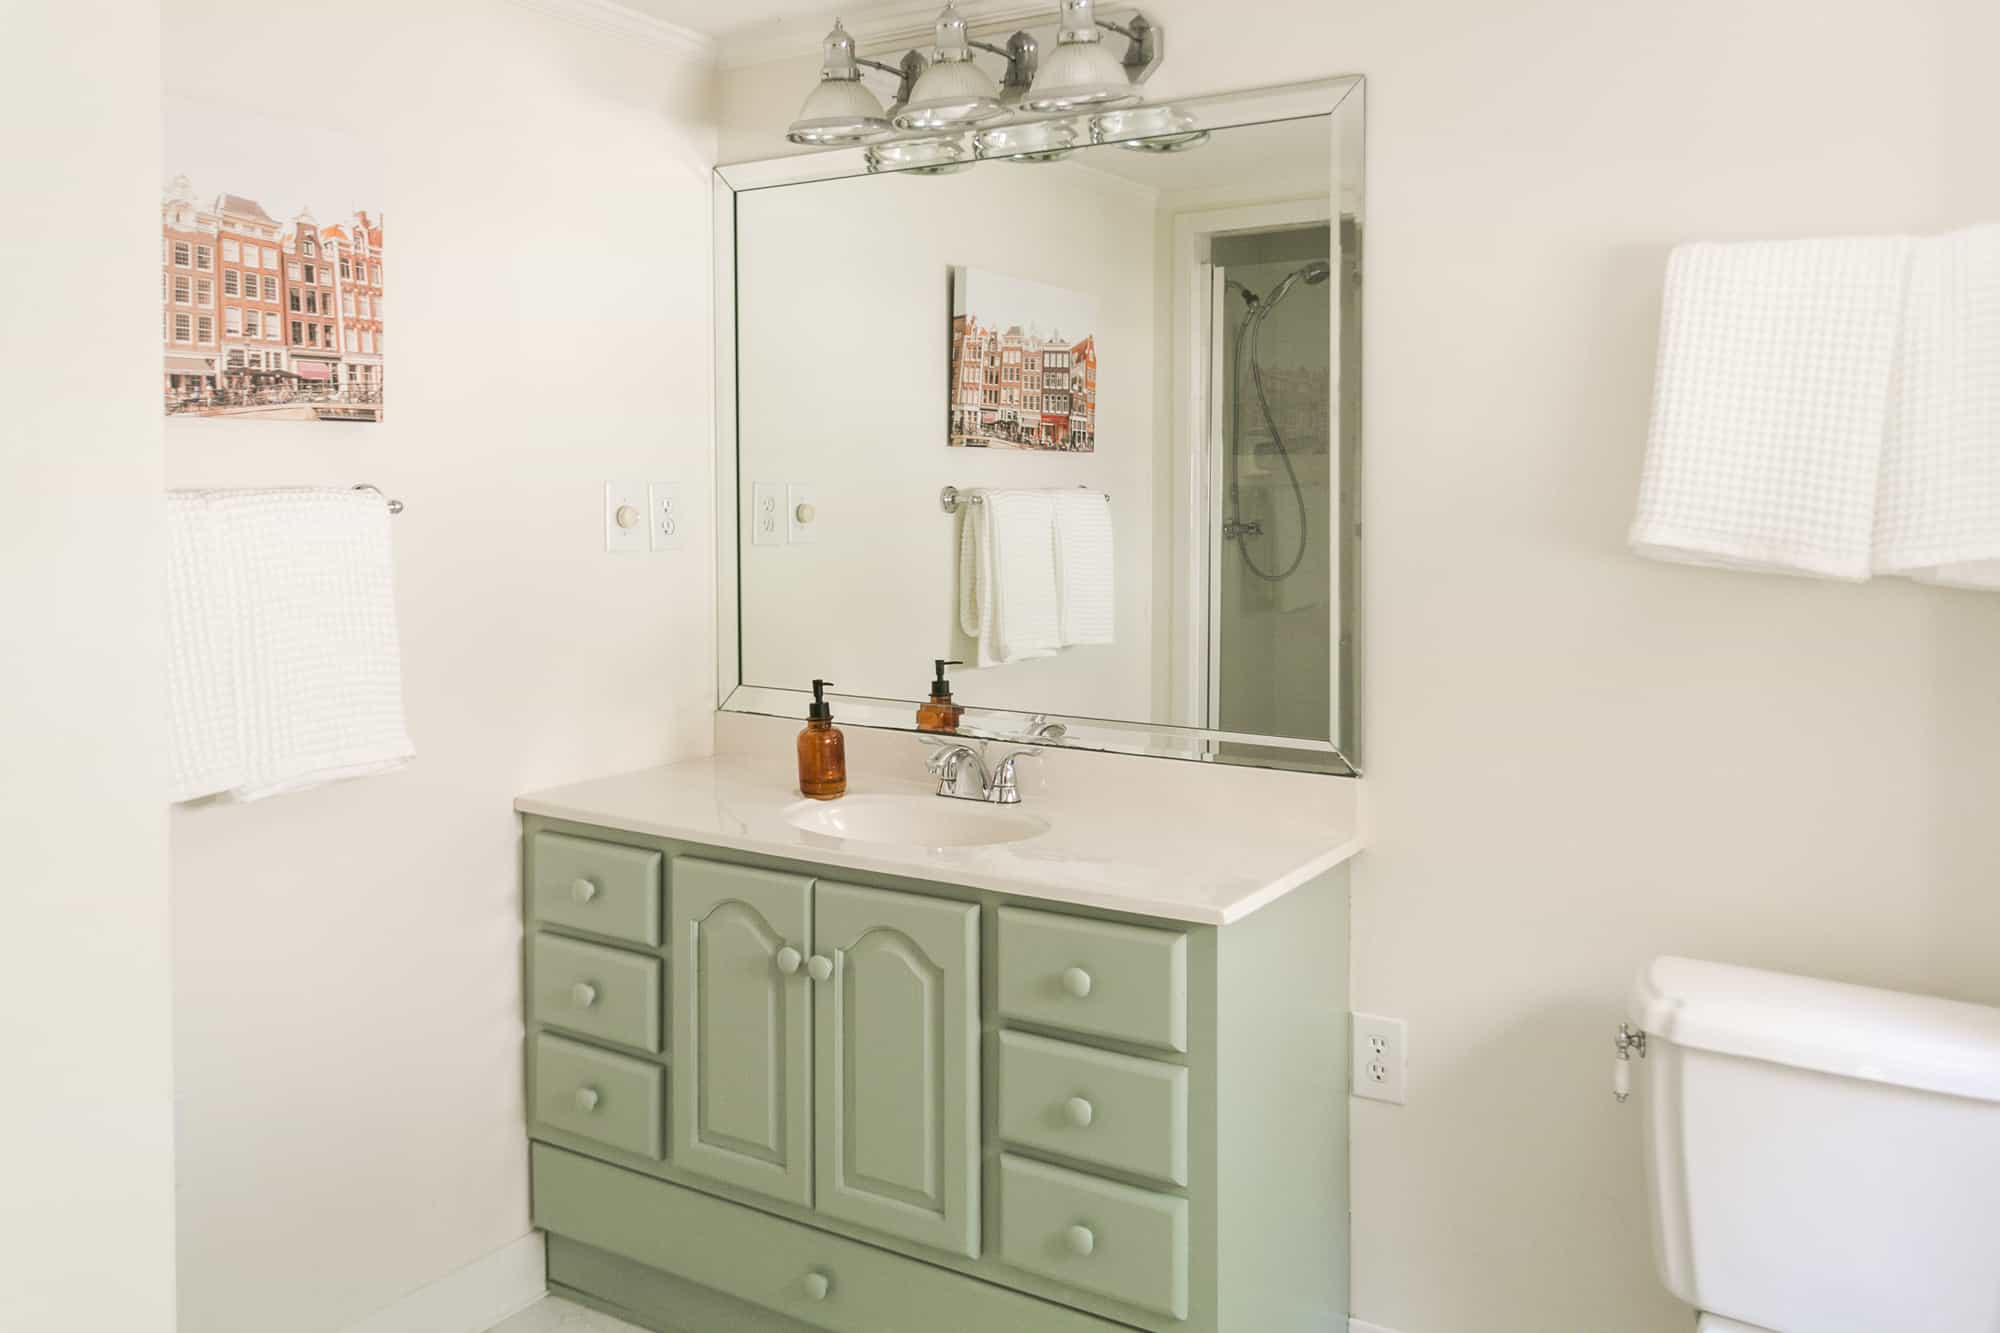 When painting your bathroom vanity, it's important to pay attention to the details. This includes
painting the inside of the vanity doors and drawers
to give it a more finished look. You can also add a touch of personality by
painting the hardware in a contrasting color or replacing it with new hardware altogether
.
Conclusion
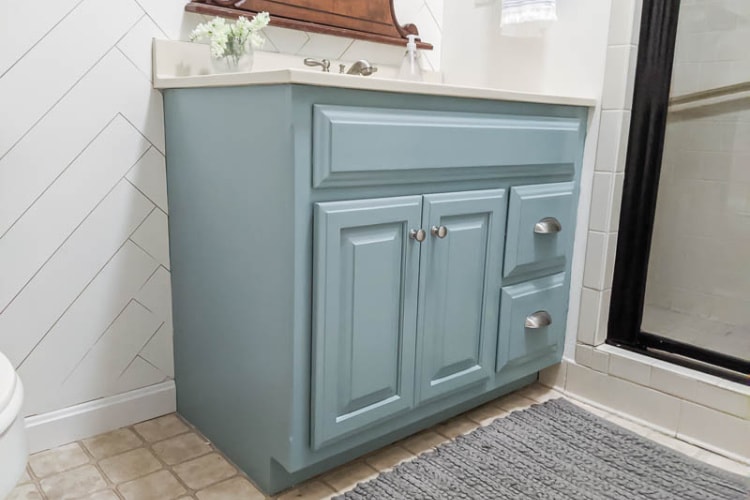 Painting your bathroom vanity is a simple and cost-effective way to update your bathroom and give it a fresh new look. By choosing the right color and finish, properly preparing the vanity, and investing in quality paint and tools, you can easily transform your bathroom and make it your own. So why wait? Grab your paintbrush and get ready to give your bathroom a makeover!







/GettyImages-500817135-5a6519907bb283003730b5bb.jpg)


/belt-sander-sanding-deck-boards-492499687-8cea456746ec4bd48c5e7d94eac4f8d4.jpg)


