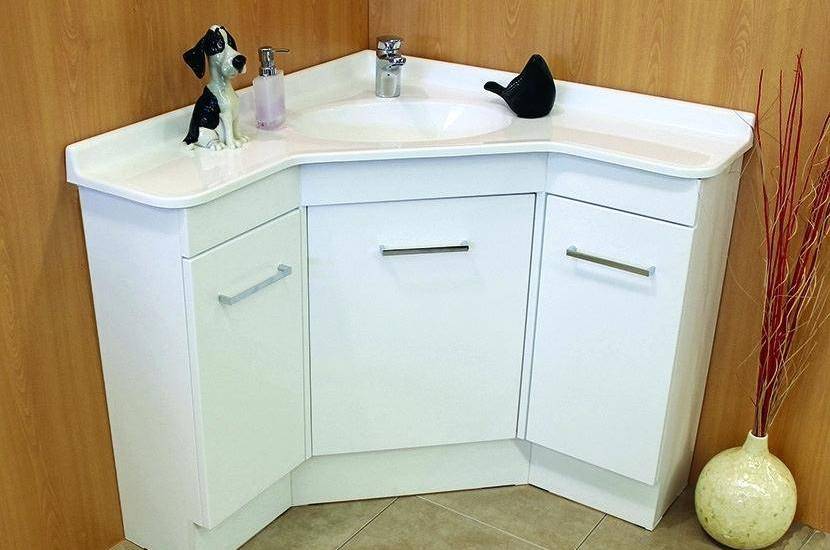
Replacing a Drop In Sink in Bathroom
Replacing a drop in sink in your bathroom may seem like a daunting task, but with the right tools and knowledge, it can be a simple and rewarding DIY project. A drop in sink, also known as a self-rimming or top mount sink, is a popular choice for bathrooms due to its easy installation process and versatility in design. Whether you're looking to update the look of your bathroom or fix a damaged sink, here's a step-by-step guide on how to replace a drop in sink in your bathroom.


Replacing a Drop In Sink in Bathroom
How to Replace a Drop In Sink in Bathroom
The first step in replacing a drop in sink in your bathroom is to gather all the necessary tools. This includes a new drop in sink, a screwdriver, a wrench, plumber's putty, and a caulk gun. Make sure to also turn off the water supply to your sink before starting the replacement process.


How to Replace a Drop In Sink in Bathroom


DIY Drop In Sink Replacement in Bathroom
If you're feeling confident in your DIY skills, replacing a drop in sink in your bathroom can save you a lot of money compared to hiring a professional. The process involves removing the old sink, cleaning the area, and installing the new sink. However, if you're not comfortable with plumbing or have a complex sink set up, it's best to hire a professional to avoid any potential mistakes.


DIY Drop In Sink Replacement in Bathroom


Step by Step Guide for Replacing a Drop In Sink in Bathroom
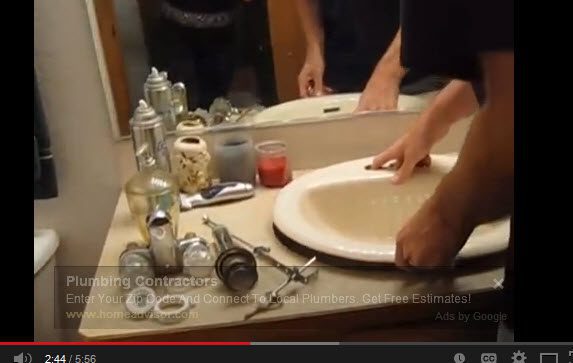
Step 1: Turn off the water supply and disconnect the plumbing from the old sink.
Step 2: Using a screwdriver, remove any screws or clips that are securing the sink to the countertop.
Step 3: Carefully lift the old sink out of the countertop and set it aside.
Step 4: Clean the area where the old sink was installed, removing any old caulk or debris.
Step 5: Apply a thin layer of plumber's putty around the rim of the new sink.
Step 6: Carefully place the new sink into the hole in the countertop, making sure it's centered and level.
Step 7: Secure the sink in place with screws or clips.
Step 8: Reconnect the plumbing to the new sink.
Step 9: Turn on the water supply and check for any leaks.
Step 10: Apply a thin layer of caulk around the edge of the sink to seal it to the countertop.


Step by Step Guide for Replacing a Drop In Sink in Bathroom


Tools Needed for Replacing a Drop In Sink in Bathroom
When replacing a drop in sink in your bathroom, it's important to have the right tools on hand. In addition to the ones mentioned earlier, you may also need a putty knife, a bucket for catching water, and a towel for cleaning up any spills.


Tools Needed for Replacing a Drop In Sink in Bathroom


Tips for a Successful Drop In Sink Replacement in Bathroom
Here are a few tips to keep in mind when replacing a drop in sink in your bathroom:
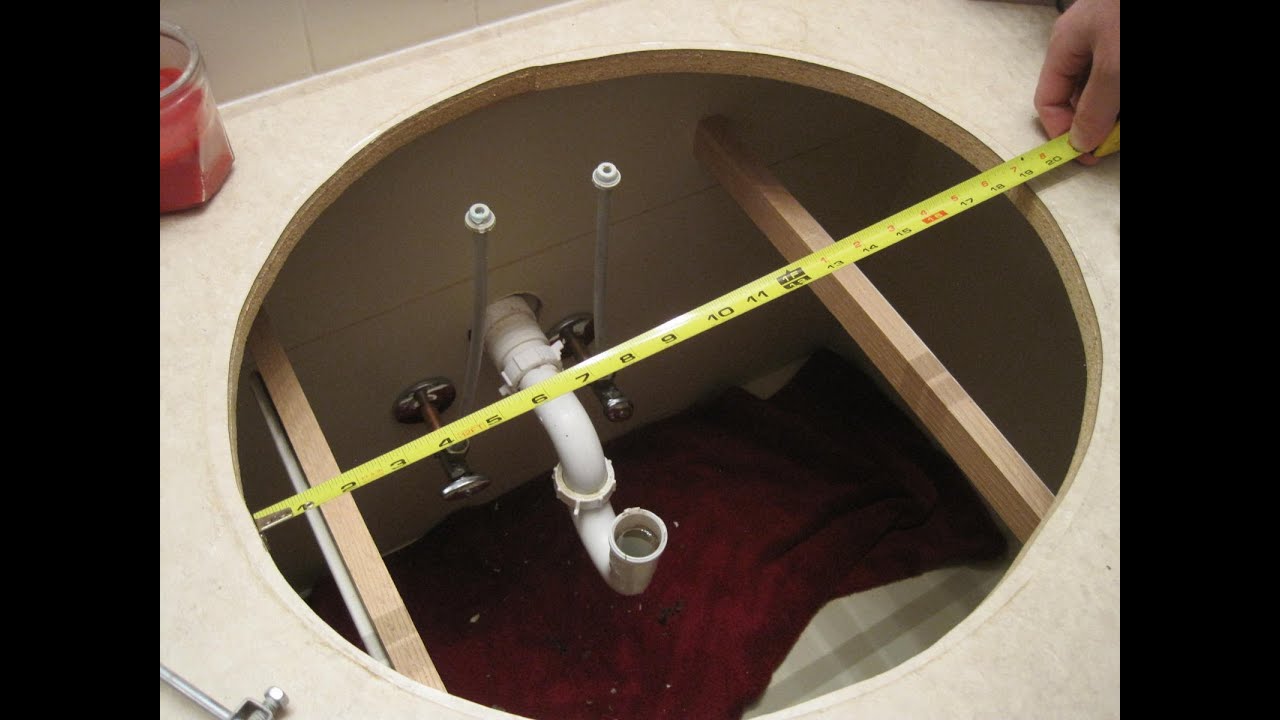
- Measure the sink and the hole in the countertop beforehand to ensure a proper fit.
- Use a putty knife to remove any old caulk or debris from the countertop.
- Don't overtighten the screws or clips when securing the sink, as this can cause damage to the sink or countertop.
- Double check all connections and make sure there are no leaks before using the sink.


Tips for a Successful Drop In Sink Replacement in Bathroom


Cost of Replacing a Drop In Sink in Bathroom
The cost of replacing a drop in sink in your bathroom can vary depending on the quality of the sink and the complexity of the project. On average, a drop in sink can cost anywhere from $100 to $500, while hiring a professional can add an additional $200 to $500 in labor costs.
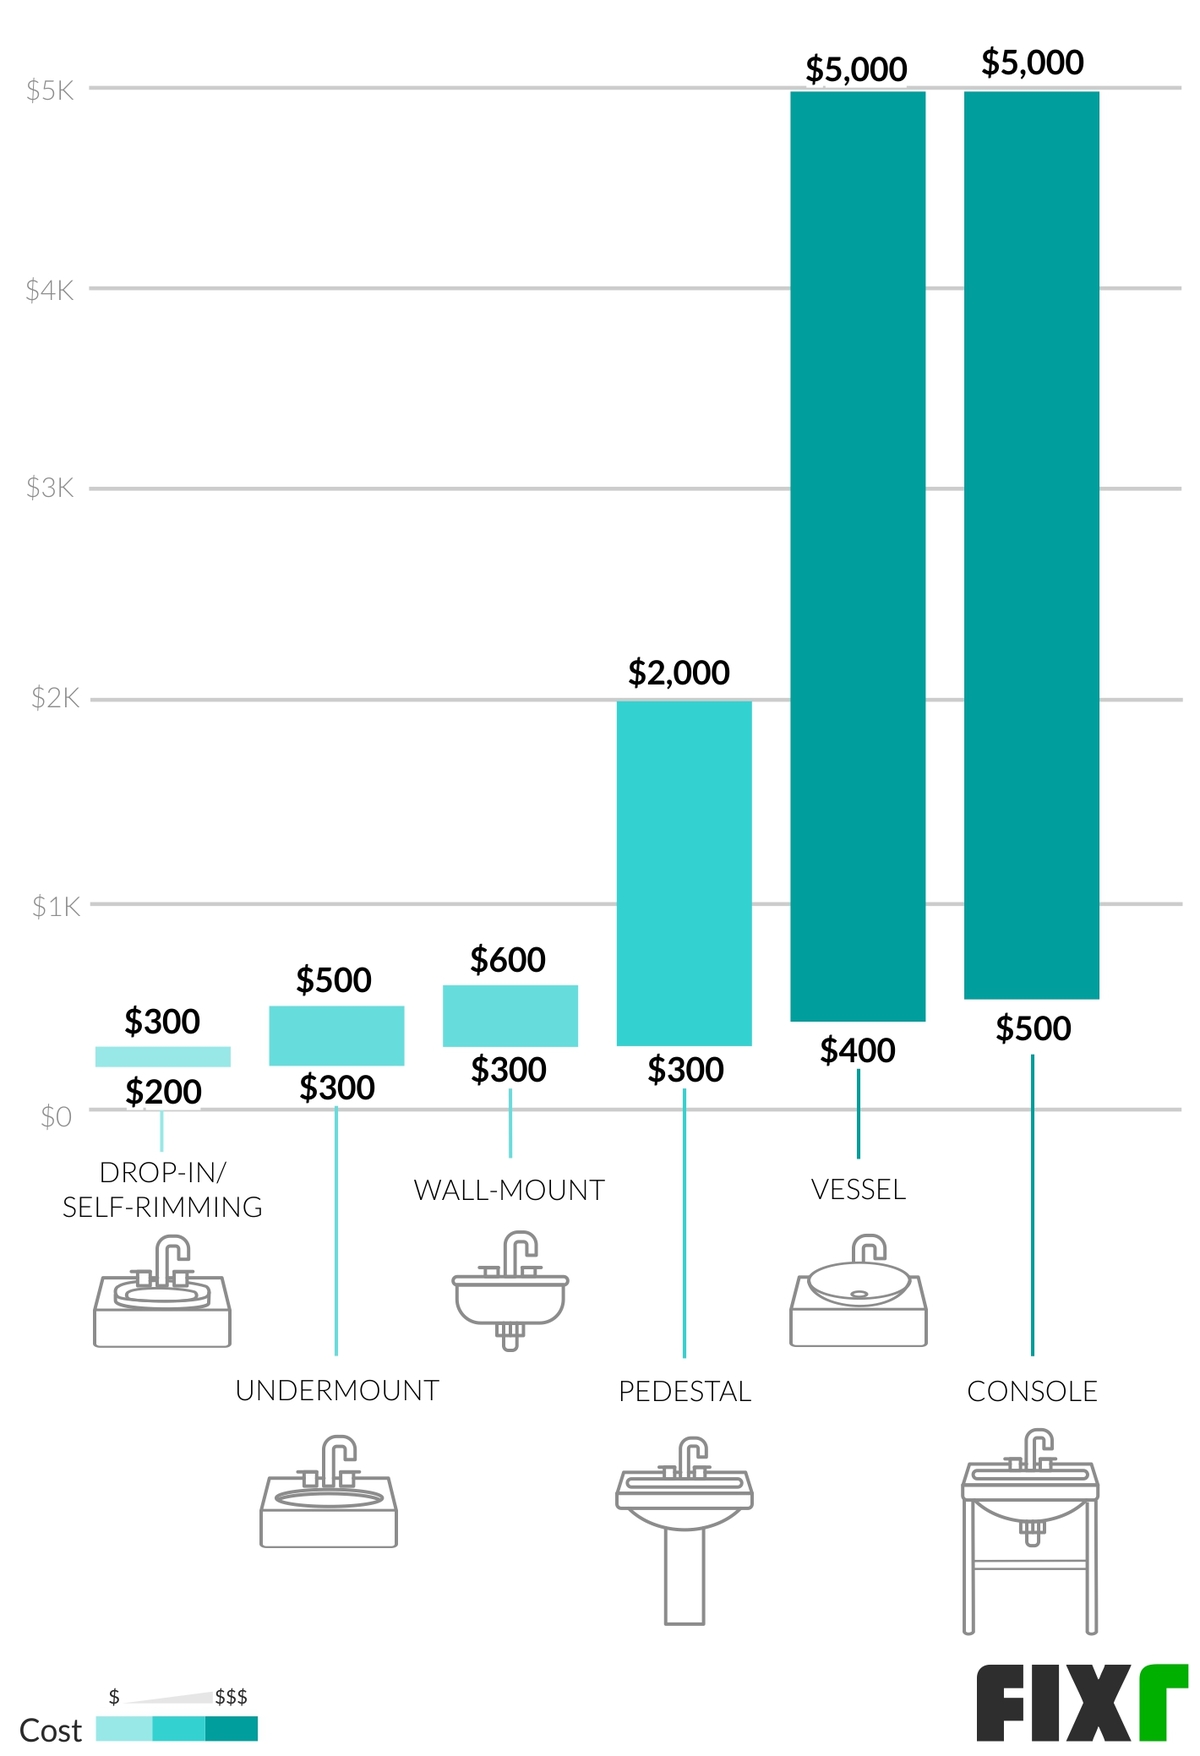

Cost of Replacing a Drop In Sink in Bathroom


Common Mistakes to Avoid When Replacing a Drop In Sink in Bathroom
Replacing a drop in sink may seem like a simple task, but there are a few common mistakes that can easily be made. These include:
- Not turning off the water supply before starting the replacement process.
- Forgetting to clean the area before installing the new sink.
- Not measuring properly, resulting in a sink that doesn't fit.
- Overtightening screws or clips, causing damage to the sink or countertop.


Common Mistakes to Avoid When Replacing a Drop In Sink in Bathroom


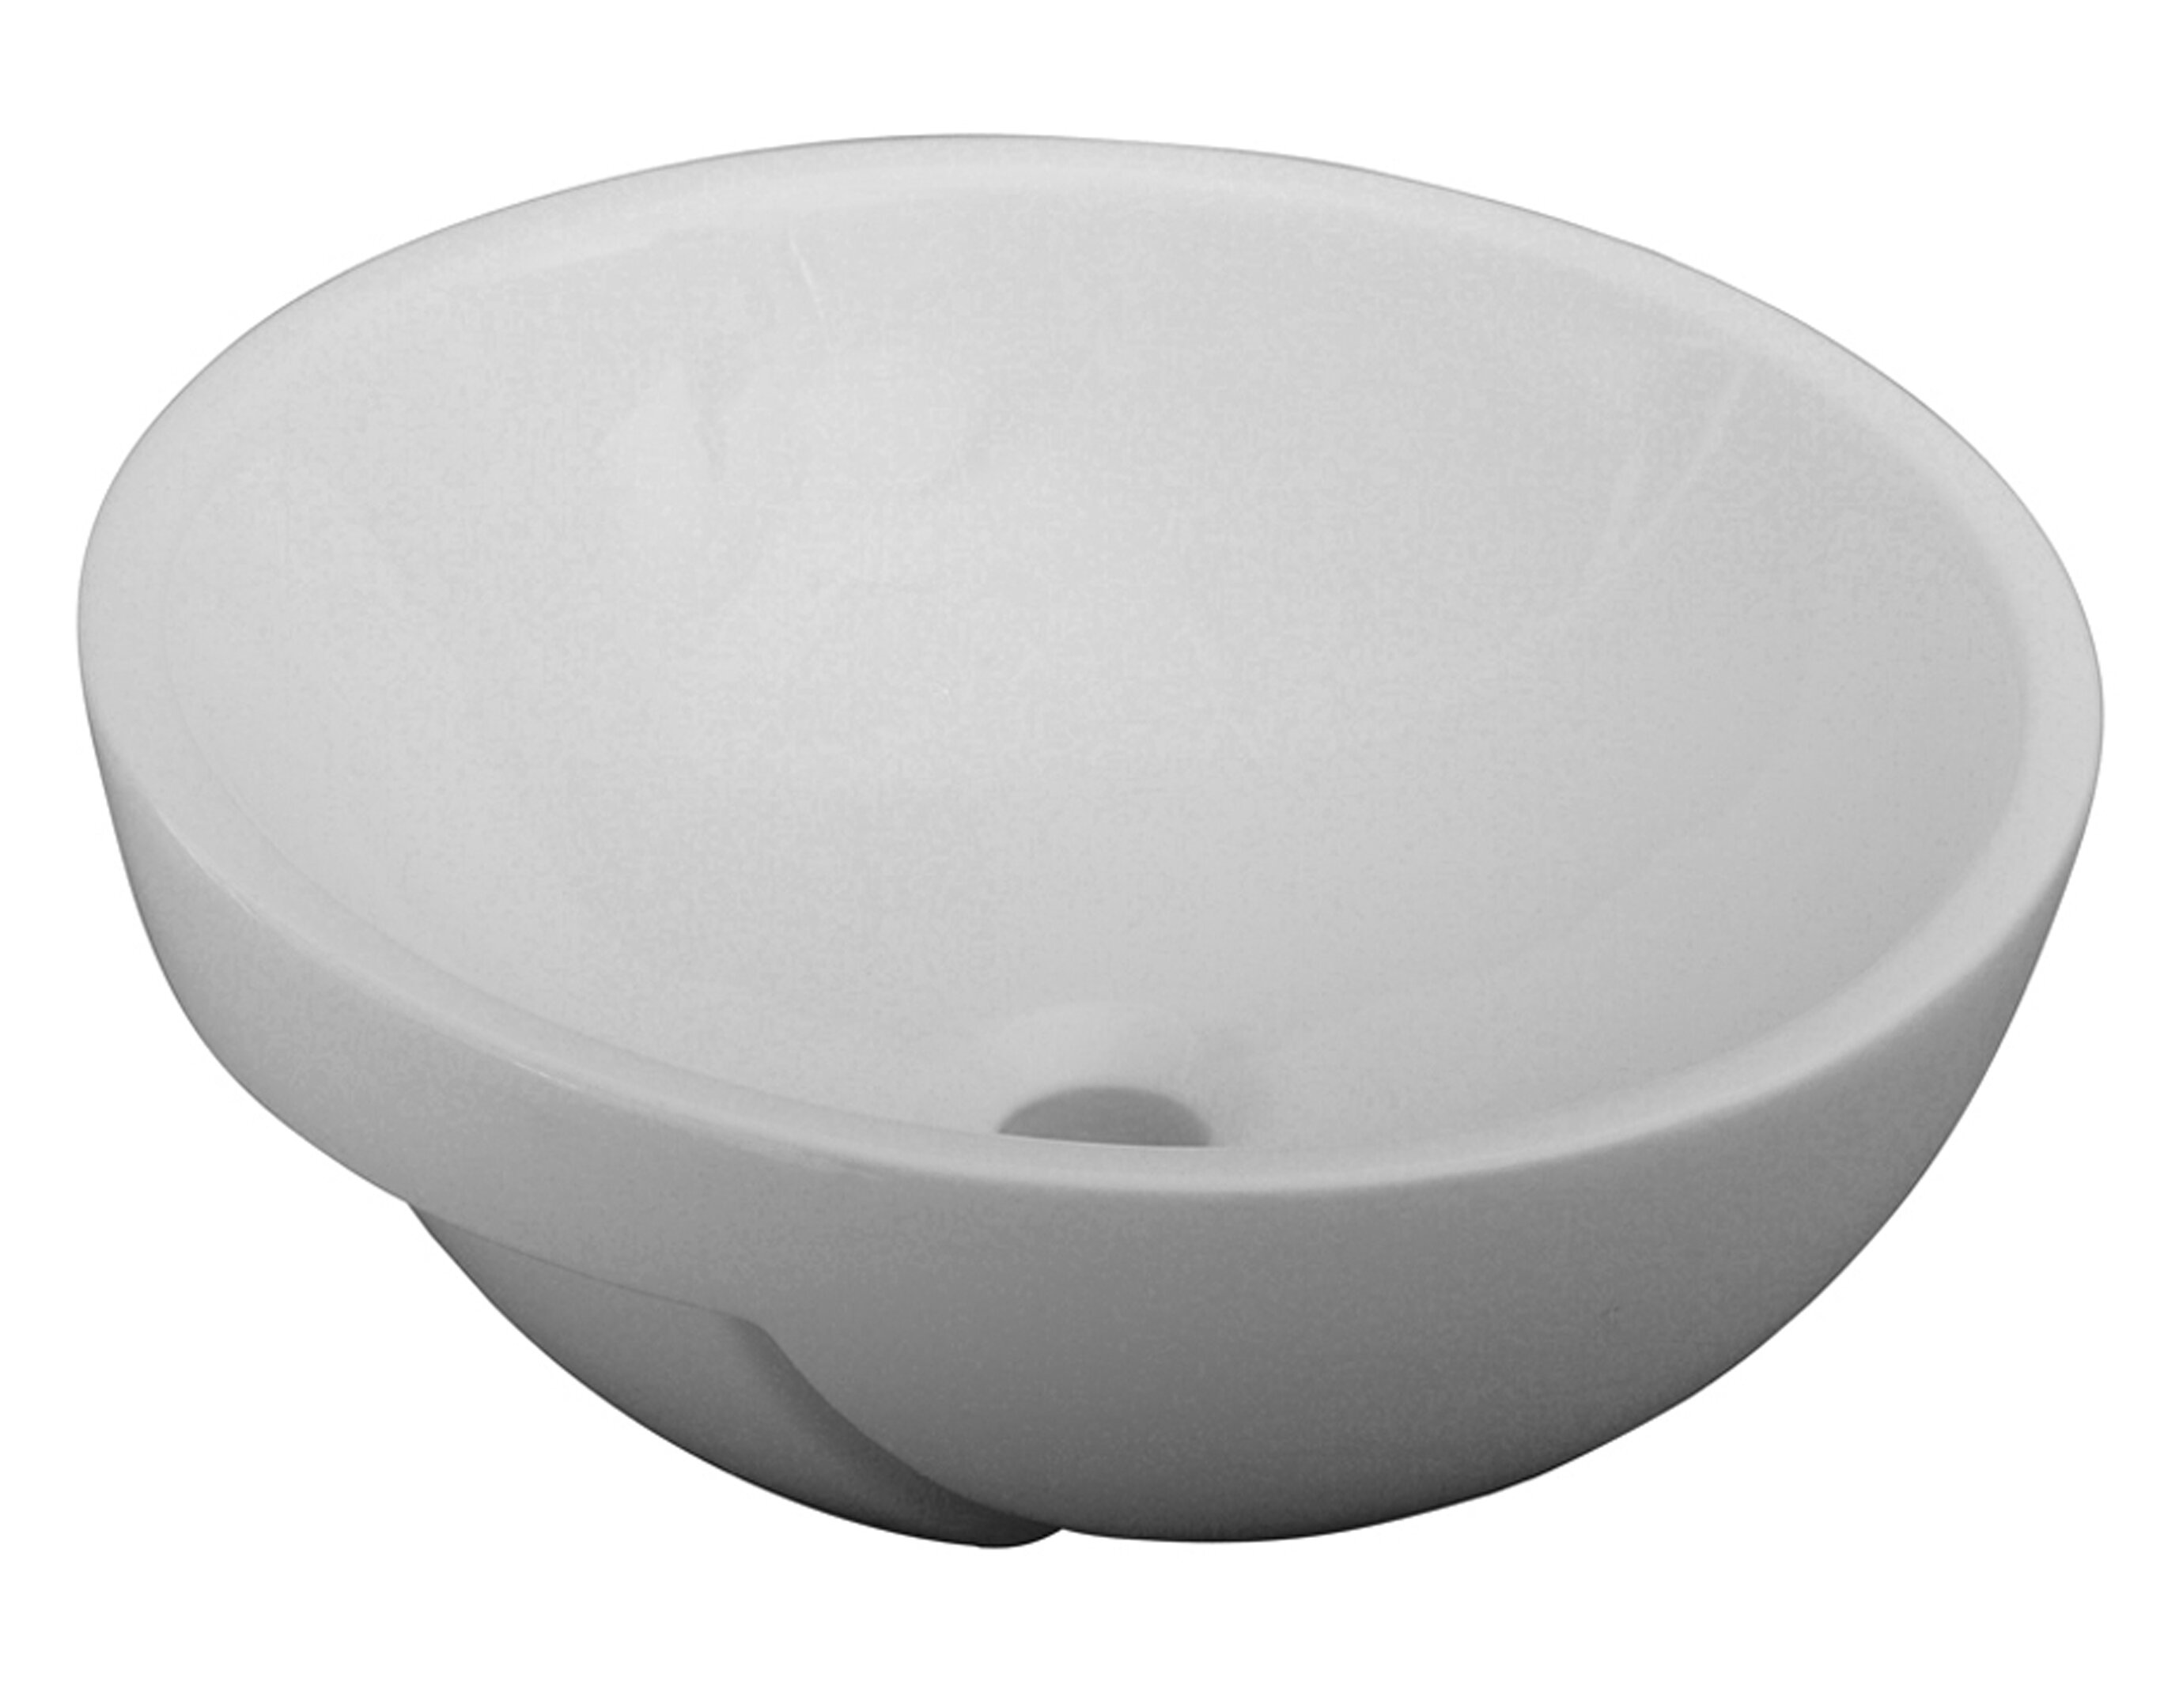
Best Drop In Sinks for Bathroom Replacement
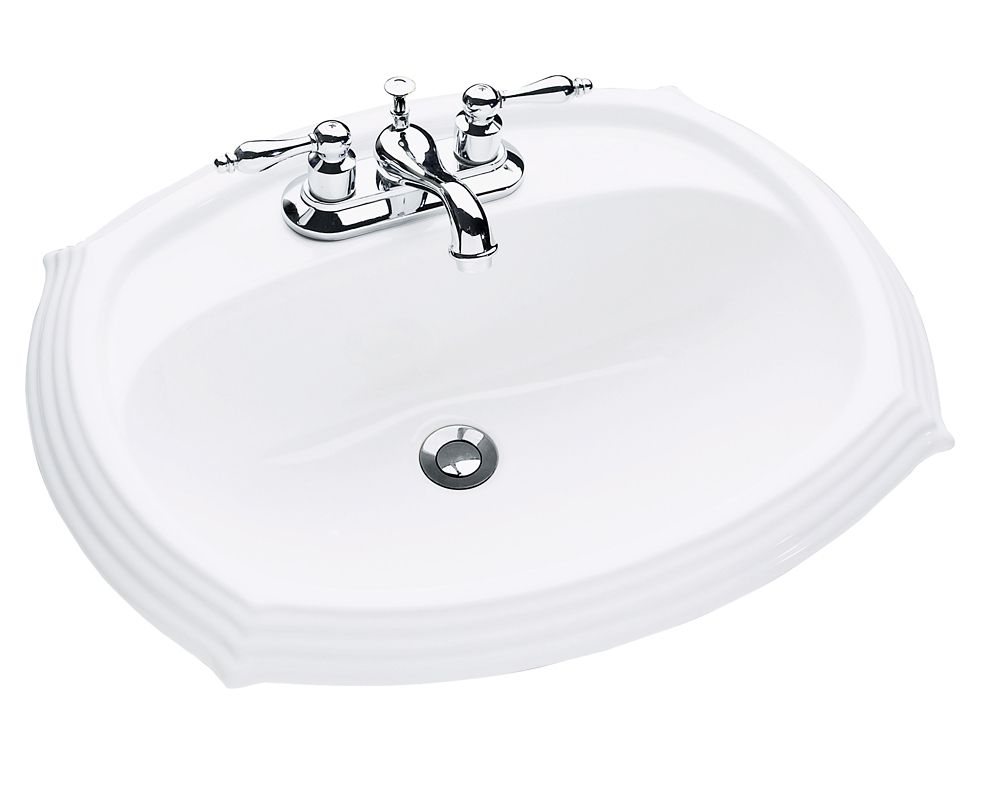
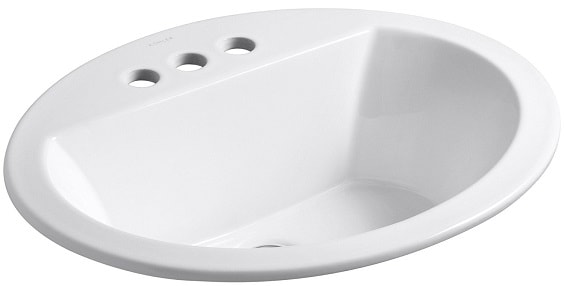
When it comes to choosing a new drop in sink for your bathroom, there are a variety of options available. Stainless steel and porcelain are popular choices due to their durability and easy maintenance. Other materials such as granite, quartz, and glass can also add a unique touch to your bathroom. It's important to consider the size, shape, and style of your sink to ensure it complements your overall bathroom design.


Best Drop In Sinks for Bathroom Replacement


Professional vs DIY Drop In Sink Replacement in Bathroom
Deciding whether to hire a professional or do a DIY drop in sink replacement in your bathroom ultimately depends on your skill level and the complexity of the project. While hiring a professional can save you time and potential mistakes, doing it yourself can save you money. However, if you're not confident in your plumbing skills, it's best to leave it to the professionals to ensure a successful and hassle-free replacement.


Professional vs DIY Drop In Sink Replacement in Bathroom

:max_bytes(150000):strip_icc()/steam-cleaning-professional-vs-diy-2908776-hero-24ffd77737924bca908036dabcdcbbad.jpg)


How to Replace a Drop-In Sink in Your Bathroom

Why Replace Your Drop-In Sink?
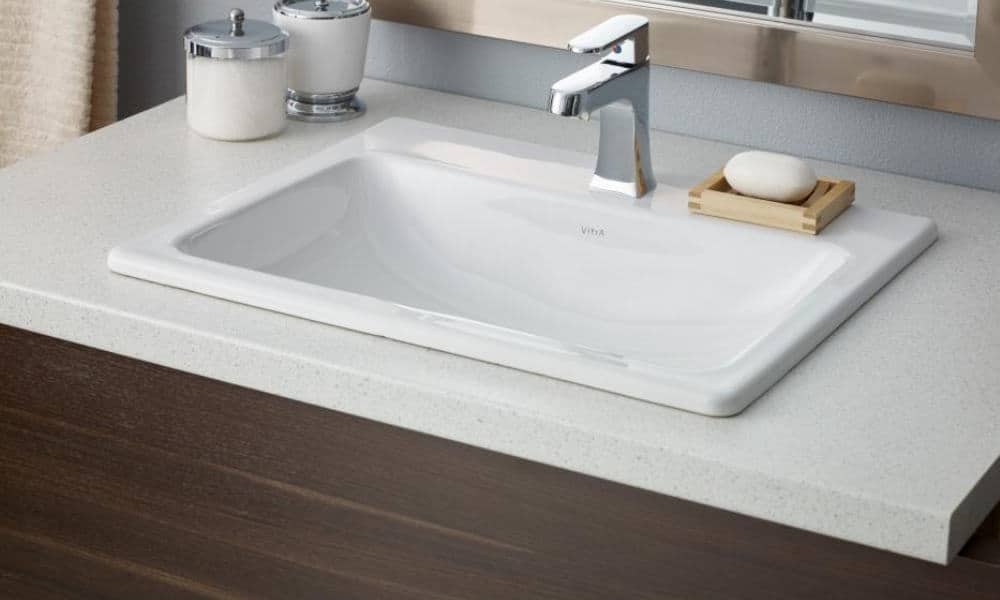
:max_bytes(150000):strip_icc()/8_IMG_3767-56a4a2753df78cf772835b72.JPG) Upgrading your bathroom sink can not only improve the overall look and feel of your bathroom, but it can also increase the functionality and value of your home. A drop-in sink, also known as a self-rimming or top-mount sink, is a common type of sink found in many bathrooms. However, over time, these sinks can become worn, stained, or outdated, making it necessary to replace them. The good news is that replacing a drop-in sink is a relatively simple and affordable project that can be done in just a few hours.
Upgrading your bathroom sink can not only improve the overall look and feel of your bathroom, but it can also increase the functionality and value of your home. A drop-in sink, also known as a self-rimming or top-mount sink, is a common type of sink found in many bathrooms. However, over time, these sinks can become worn, stained, or outdated, making it necessary to replace them. The good news is that replacing a drop-in sink is a relatively simple and affordable project that can be done in just a few hours.
Step 1: Gather Your Tools and Materials
 Before you begin the replacement process, it is important to gather all the necessary tools and materials. This will ensure that you have everything you need and can complete the project without any delays. The tools you will need include a wrench, pliers, screwdriver, and a utility knife. As for materials, you will need a new drop-in sink, plumber's putty, silicone caulk, and a bucket.
Step 2: Turn off the Water Supply
 Before removing the old sink, it is crucial to turn off the water supply. Locate the shut-off valves under the sink and turn them clockwise to shut off the water. If you cannot find the shut-off valves, you may need to turn off the main water supply to your home. This will prevent any water from leaking or spraying while you work.
Step 3: Disconnect the Old Sink
 Using your wrench and pliers, disconnect the water supply lines and the drain pipes from the old sink. Then, use a utility knife to carefully cut through any caulk or adhesive holding the sink in place. Gently lift the sink out of its place and set it aside.
Step 4: Install the New Sink
 Place the new sink into the opening in your countertop and make sure it fits securely. Use a level to ensure that the sink is even and adjust if necessary. Apply a thin layer of plumber's putty around the rim of the sink before placing it back into the opening. This will create a watertight seal.
Step 5: Reattach the Water Supply and Drain Pipes
 Carefully reattach the water supply lines and the drain pipes to the new sink. Make sure they are securely tightened to prevent any leaks.
Step 6: Apply Silicone Caulk
 Using a silicone caulk, apply a thin and even bead around the edge of the sink where it meets the countertop. This will provide an extra layer of protection against water damage.
Step 7: Turn on the Water and Test
 Finally, turn the water supply back on and test the new sink to ensure that there are no leaks. If everything looks good, then you have successfully replaced your drop-in sink!
Conclusion
 Replacing a drop-in sink in your bathroom is a simple and affordable way to upgrade your space and add value to your home. By following these steps and taking the time to do the job correctly, you can have a beautiful and functional new sink in just a few hours. Remember to always use the proper tools and materials, and don't hesitate to call a professional if you encounter any difficulties.