When it comes to bathroom fixtures, Moen is a trusted and popular brand known for its quality and durability. However, like any other fixture, Moen bathroom sink handles can also experience wear and tear over time. But don't worry, repairing a Moen bathroom sink handle is not as difficult as it may seem. In this article, we will go through the top 10 ways to repair a Moen bathroom sink handle and get it working like new again. Moen Bathroom Sink Handle Repair: A Complete Guide


Moen Bathroom Sink Handle Repair
One of the most common issues with bathroom sink handles is a leaky faucet. Not only is it annoying, but it can also waste a lot of water and increase your water bill. To fix this issue, you will need to replace the O-ring inside the handle. Start by turning off the water supply to the sink. Then, remove the handle by unscrewing the handle screw with an Allen wrench. Once the handle is removed, replace the O-ring and reattach the handle. Turn the water supply back on and test the faucet. If the leak persists, you may need to replace the cartridge as well. How to Fix a Leaky Moen Bathroom Sink Handle


How to Fix a Leaky Moen Bathroom Sink Handle


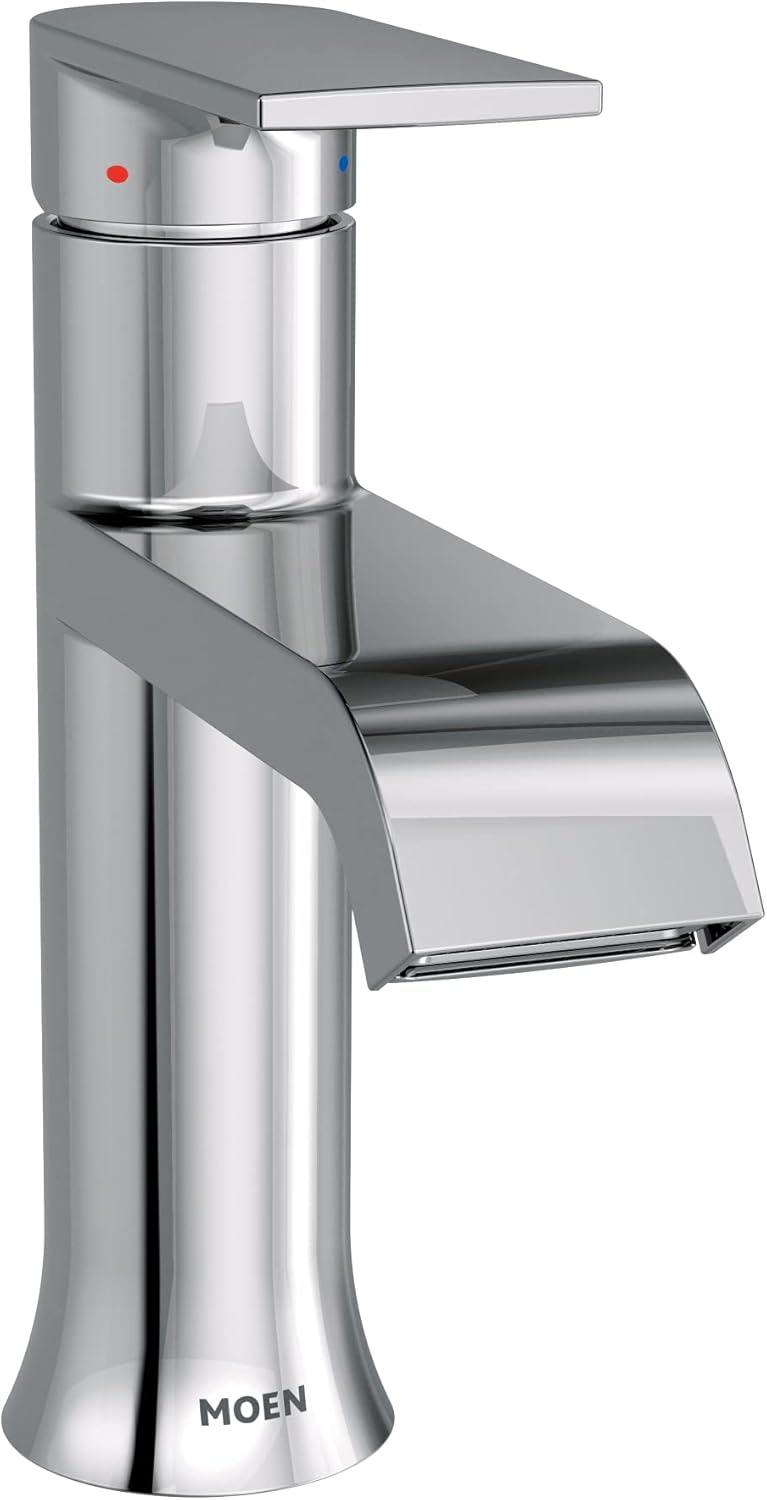
If your Moen bathroom sink handle is beyond repair and needs to be replaced, don't worry. Replacing a Moen bathroom sink handle is a simple process that you can do yourself. First, make sure to turn off the water supply. Then, remove the handle by unscrewing the handle screw with an Allen wrench. Next, unscrew the retaining nut and remove the old handle. Install the new handle and reattach the retaining nut. Finally, turn the water supply back on and test the new handle. Moen Bathroom Sink Handle Replacement


Moen Bathroom Sink Handle Replacement
A loose Moen bathroom sink handle can be quite frustrating, and it can also cause damage to other parts of the faucet. To tighten a loose handle, start by turning off the water supply. Then, remove the handle by unscrewing the handle screw with an Allen wrench. Tighten the handle screw and reattach the handle. Turn the water supply back on and test the handle to ensure it is secure. Moen Bathroom Sink Handle Loose

Moen Bathroom Sink Handle Loose


If you need to remove the Moen bathroom sink handle for repair or replacement, follow these steps. First, turn off the water supply. Then, remove the handle by unscrewing the handle screw with an Allen wrench. Next, unscrew the retaining nut and remove the handle. You may need to use a handle puller if the handle is stuck. Once the handle is removed, you can proceed with the necessary repairs or replacement. Moen Bathroom Sink Handle Removal


Moen Bathroom Sink Handle Removal


To make your Moen bathroom sink handle repair easier, you can purchase a Moen bathroom sink handle repair kit. These kits come with all the necessary parts and tools to fix common issues with Moen bathroom sink handles. Make sure to choose the right kit for your specific faucet model to ensure a successful repair. Moen Bathroom Sink Handle Repair Kit

Moen Bathroom Sink Handle Repair Kit

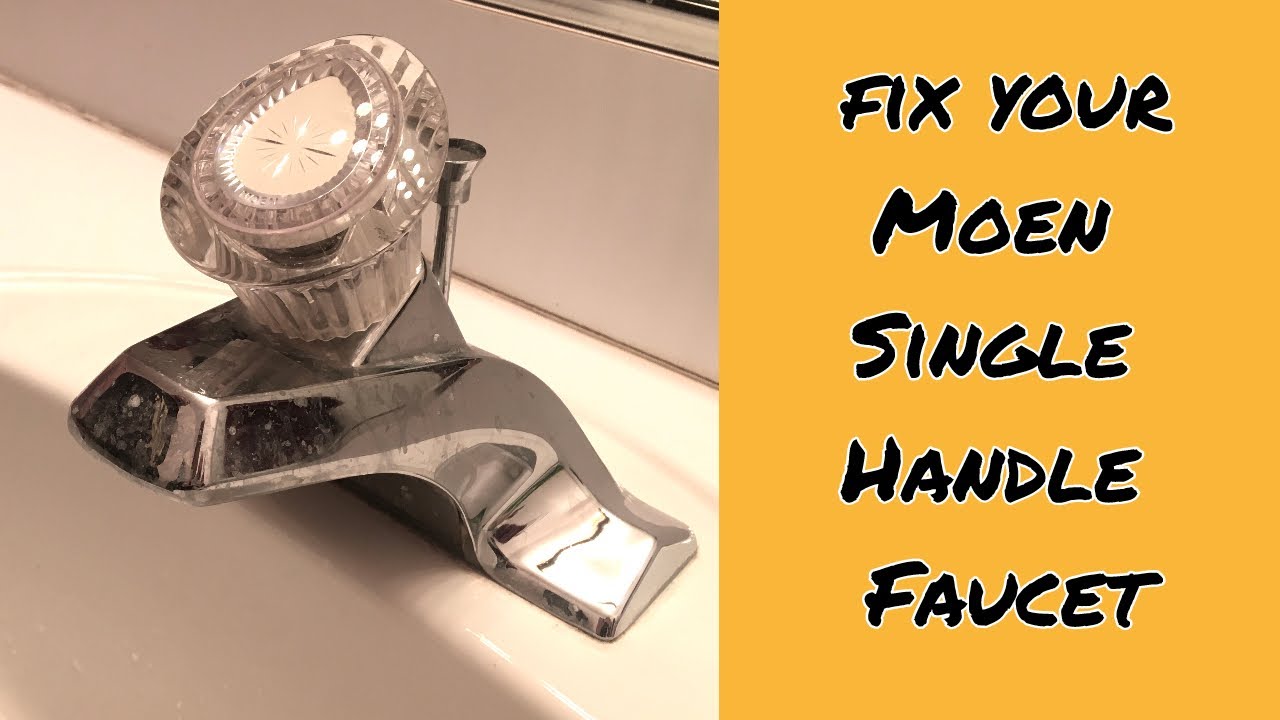
For visual learners, watching a Moen bathroom sink handle repair video can be very helpful. You can find various videos on YouTube that demonstrate how to repair different types of Moen bathroom sink handles. These videos provide step-by-step instructions and can make the repair process easier to understand. Moen Bathroom Sink Handle Repair Video

Moen Bathroom Sink Handle Repair Video
If you prefer written instructions, you can find Moen bathroom sink handle repair instructions on their official website. These instructions are specific to each faucet model and provide detailed steps on how to repair different issues. Make sure to read and follow the instructions carefully for a successful repair. Moen Bathroom Sink Handle Repair Instructions

Moen Bathroom Sink Handle Repair Instructions
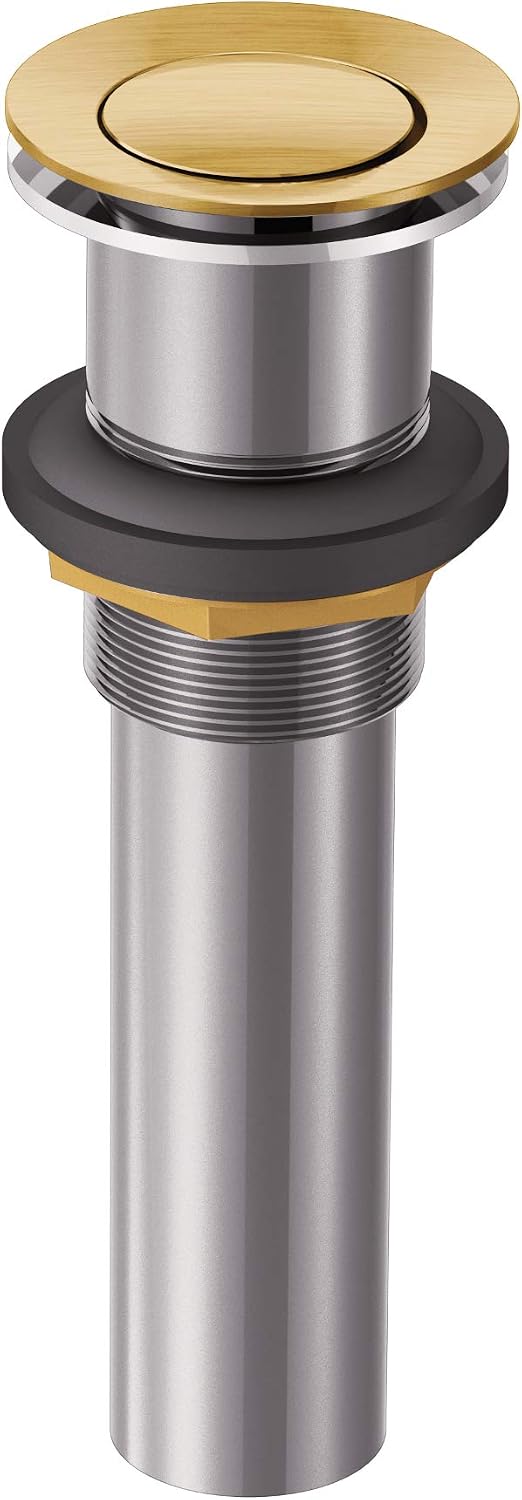
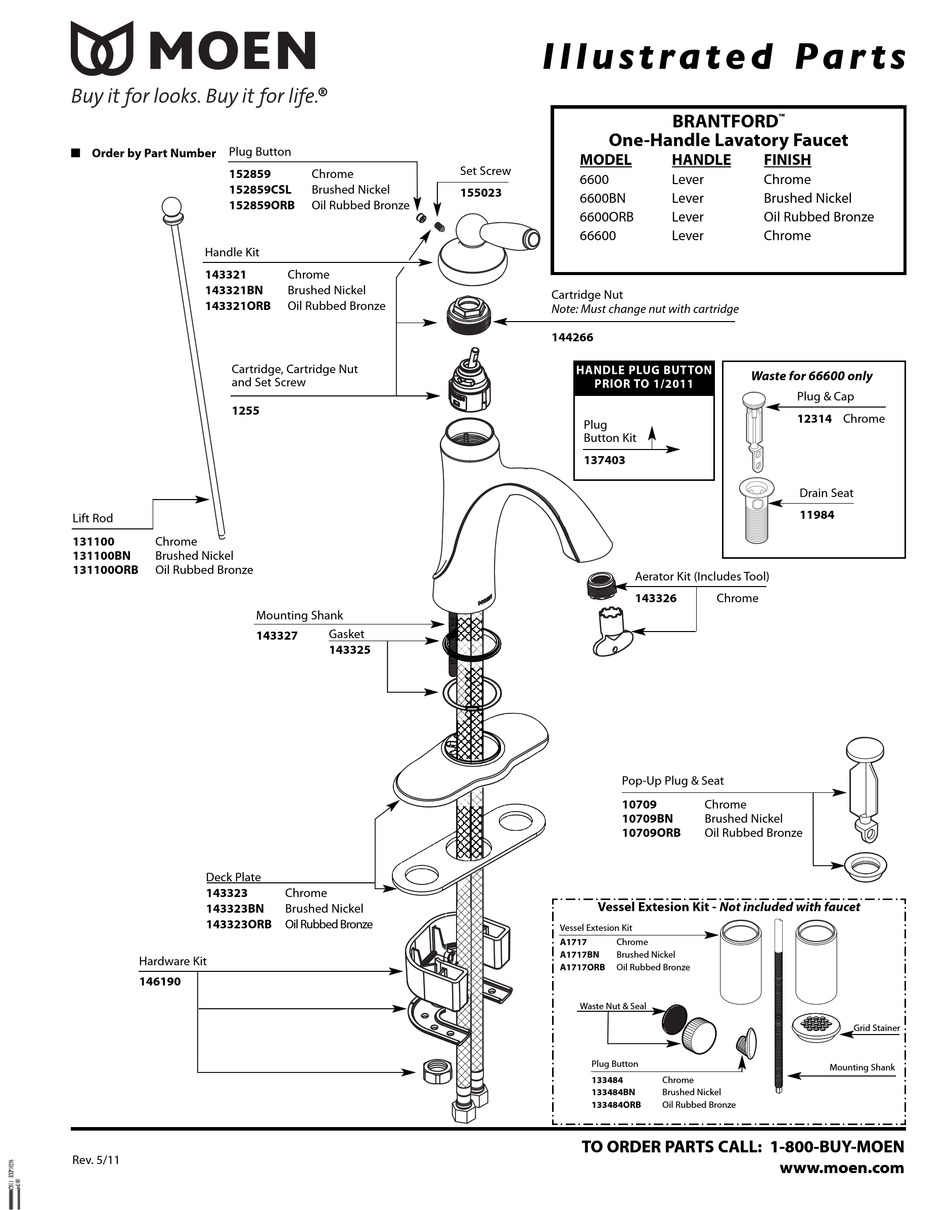
In case you need to replace specific parts of your Moen bathroom sink handle, you can purchase them separately. Moen offers a wide range of replacement parts for their bathroom sink handles, including O-rings, cartridges, handles, and more. Make sure to choose the right parts for your specific faucet model for a proper fit. Moen Bathroom Sink Handle Repair Parts
Moen Bathroom Sink Handle Repair Parts


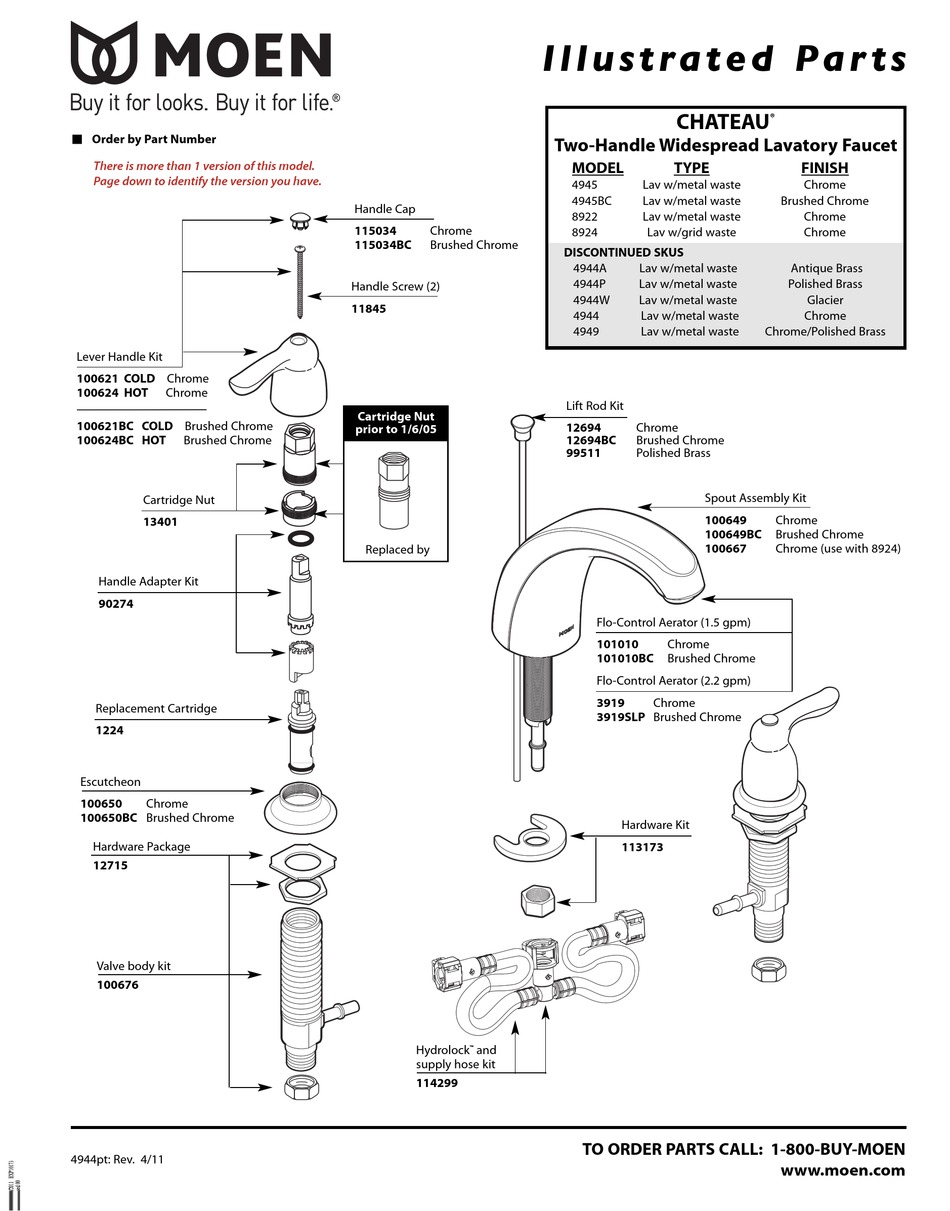
For a better understanding of how your Moen bathroom sink handle works and how to repair it, you can refer to a Moen bathroom sink handle repair diagram. These diagrams show the different parts and components of the handle and how they fit together. This can be very helpful when troubleshooting and repairing your Moen bathroom sink handle. Moen Bathroom Sink Handle Repair Diagram

Moen Bathroom Sink Handle Repair Diagram


How to Repair a Moen Bathroom Sink Handle

Introduction
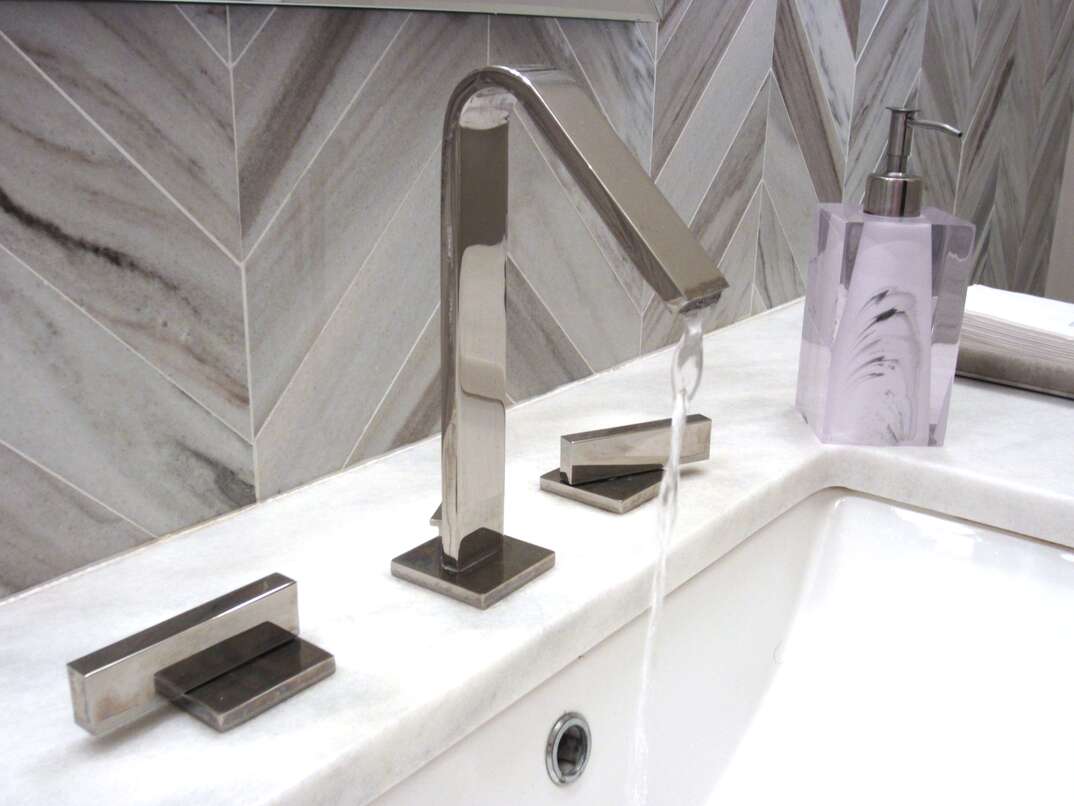
 Moen is a well-known and trusted brand in the world of bathroom fixtures. Their bathroom sink handles are not only stylish, but also durable and easy to use. However, over time, these handles can start to wear out or break, causing inconvenience and frustration. Thankfully, repairing a Moen bathroom sink handle is a simple DIY project that can save you time and money. In this article, we will provide a step-by-step guide on how to repair a Moen bathroom sink handle, so you can get your sink back in working order in no time.
Step 1: Identify the Problem
 The first step in repairing a Moen bathroom sink handle is to identify the issue. Is the handle loose and wobbly? Is it difficult to turn on and off? Is it completely broken and needs replacement? By understanding the problem, you can determine the best course of action for repair.
Step 2: Gather Your Tools
 Before starting the repair, make sure you have all the necessary tools. This may include a screwdriver, pliers, adjustable wrench, and a Moen faucet repair kit. It's important to have the correct tools to avoid causing further damage to the handle or sink.
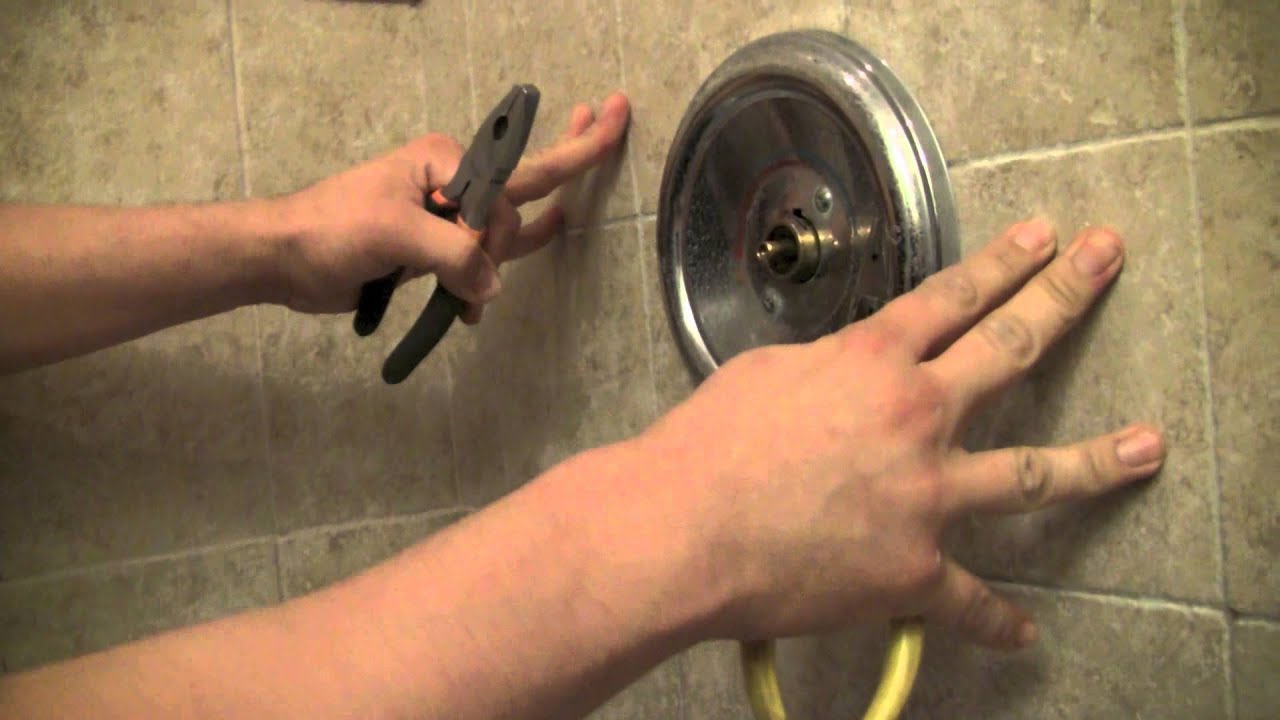
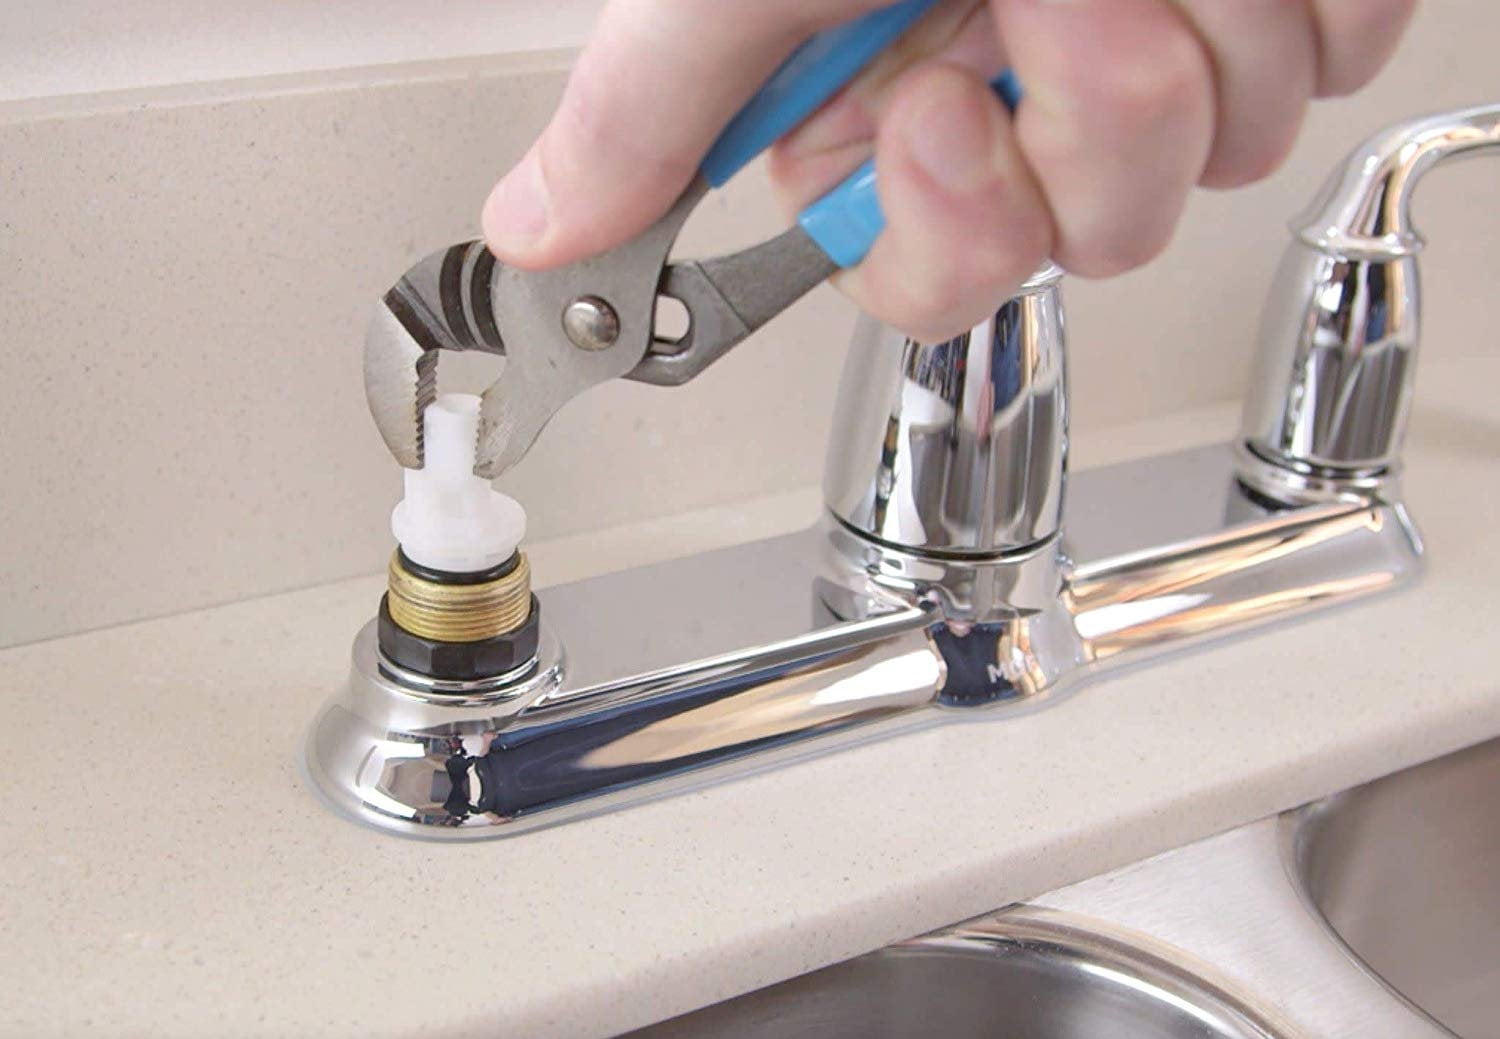
Step 3: Remove the Handle
 Using a screwdriver, remove the screw that holds the handle in place. Once the screw is removed, gently pull the handle off the faucet. If the handle is difficult to remove, use pliers to grip and twist it off.
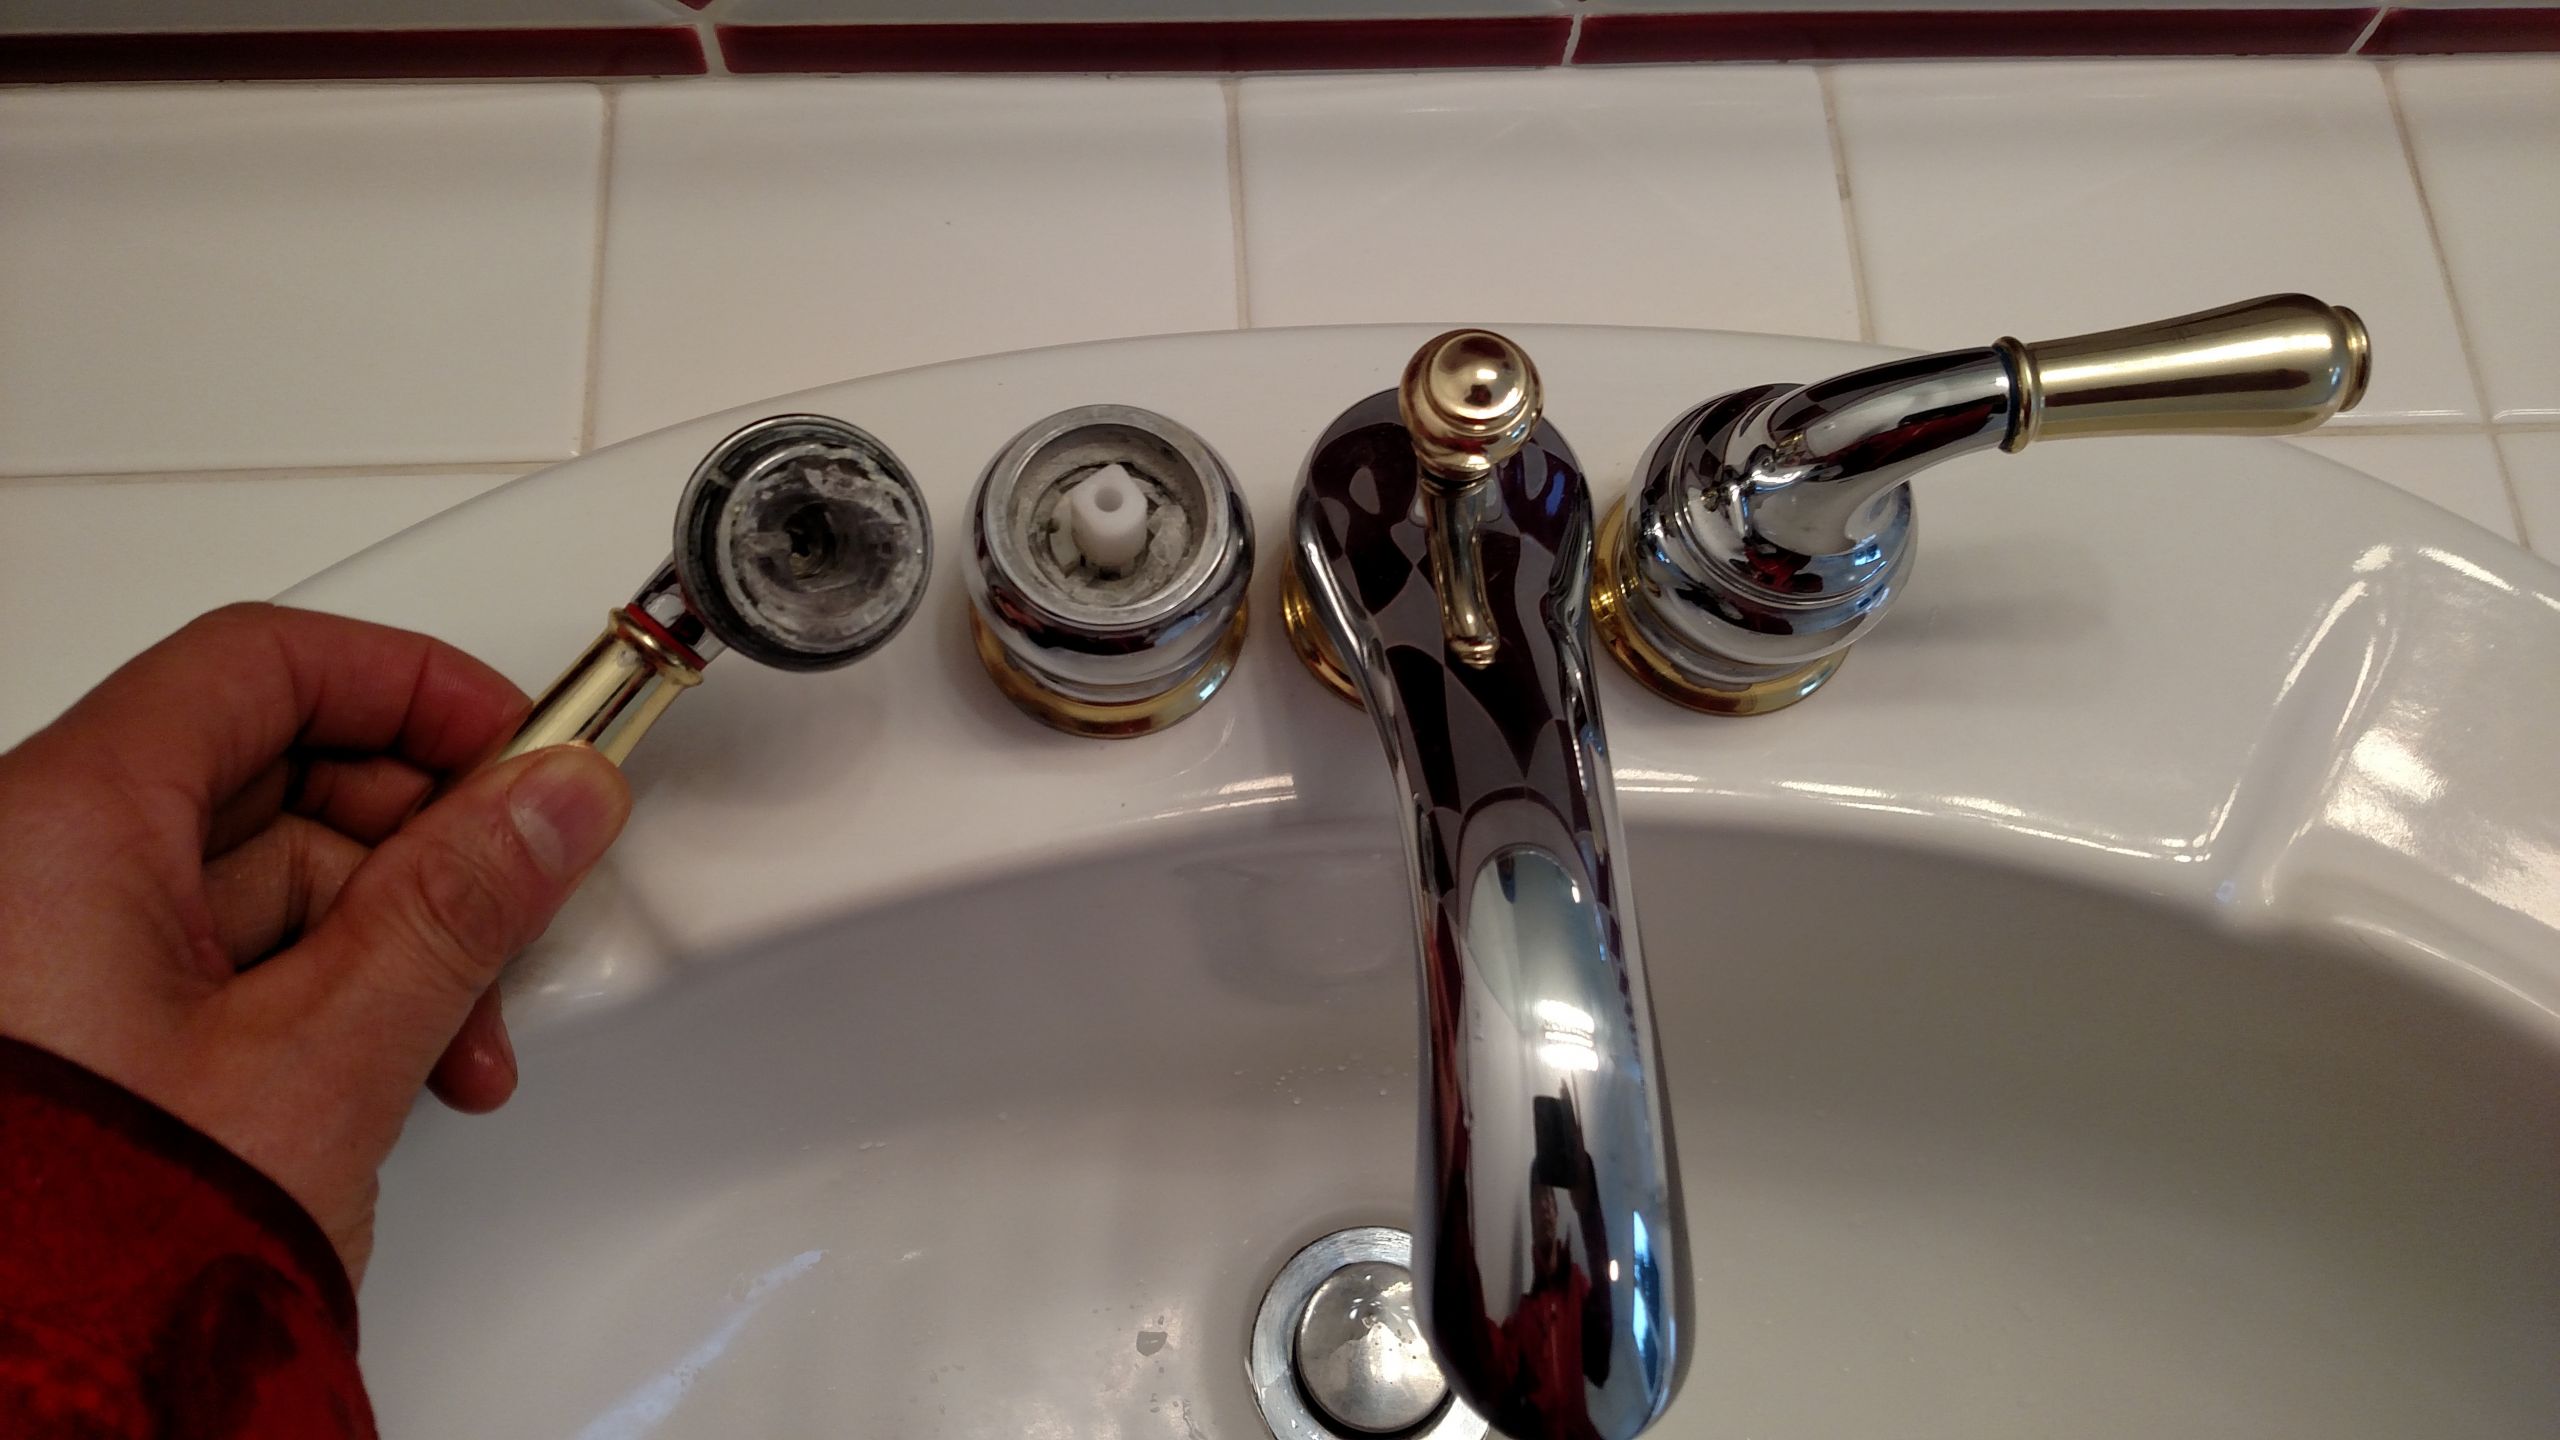
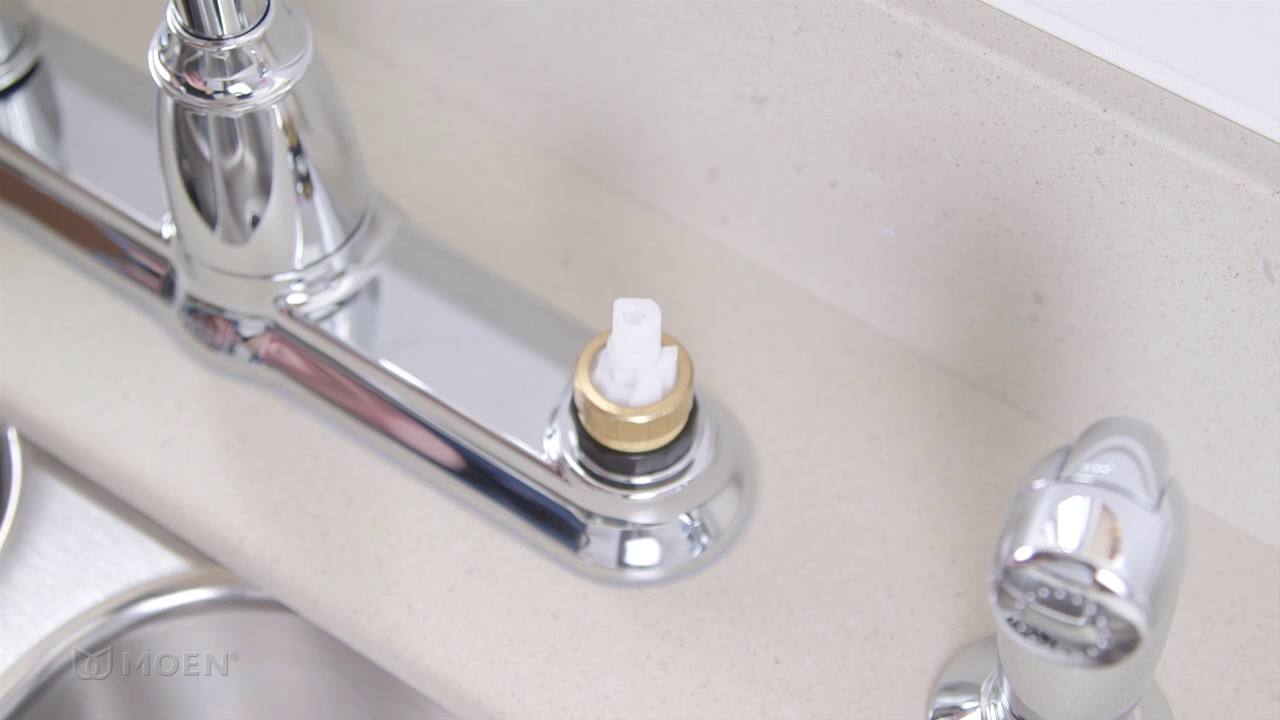
Step 4: Inspect the Handle
 Take a close look at the handle to determine the cause of the problem. If the handle is loose, tighten the mounting screw using a screwdriver. If the handle is difficult to turn, it may be due to mineral buildup or a broken cartridge. In this case, it's best to replace the cartridge with a new one from the Moen faucet repair kit.
Step 5: Reassemble the Handle
 After making any necessary repairs or replacements, reattach the handle to the faucet and secure it with the mounting screw. Make sure the handle is firmly in place and the screw is tightened.
Step 6: Test the Handle
 Turn on the water and test the handle to ensure it is functioning properly. If there are still issues, double check the handle and make any necessary adjustments.
Conclusion
 Repairing a Moen bathroom sink handle is a simple and cost-effective solution that can save you from having to buy a whole new faucet. By following these steps, you can easily fix any issues with your Moen bathroom sink handle and keep your bathroom looking stylish and functional. Remember to regularly clean and maintain your bathroom fixtures to prevent future problems.