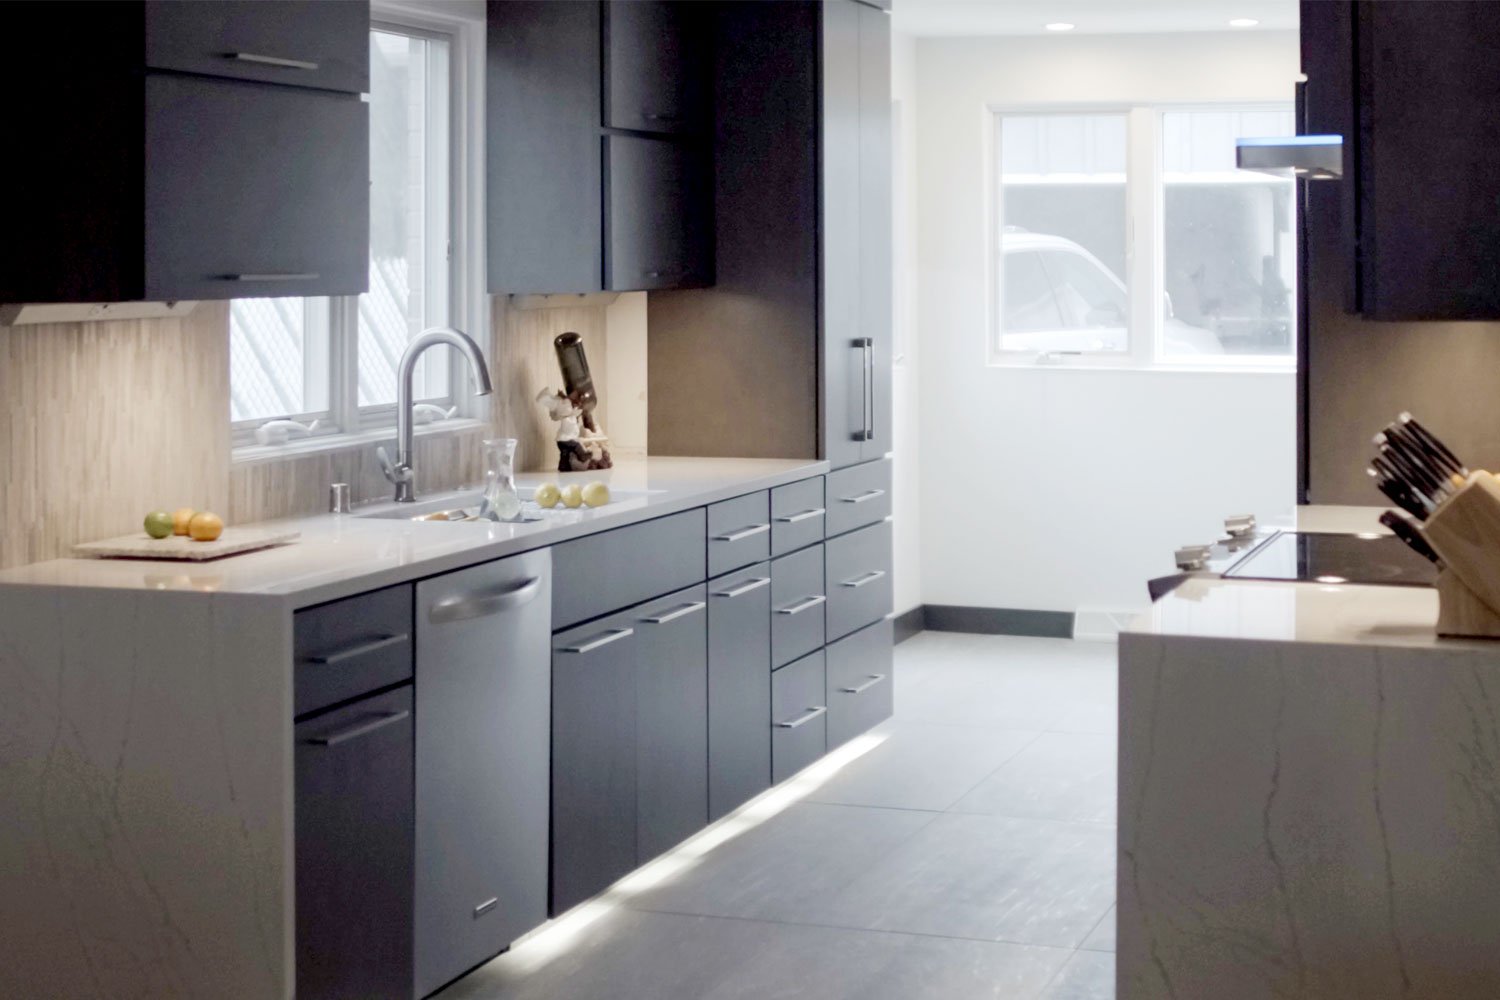
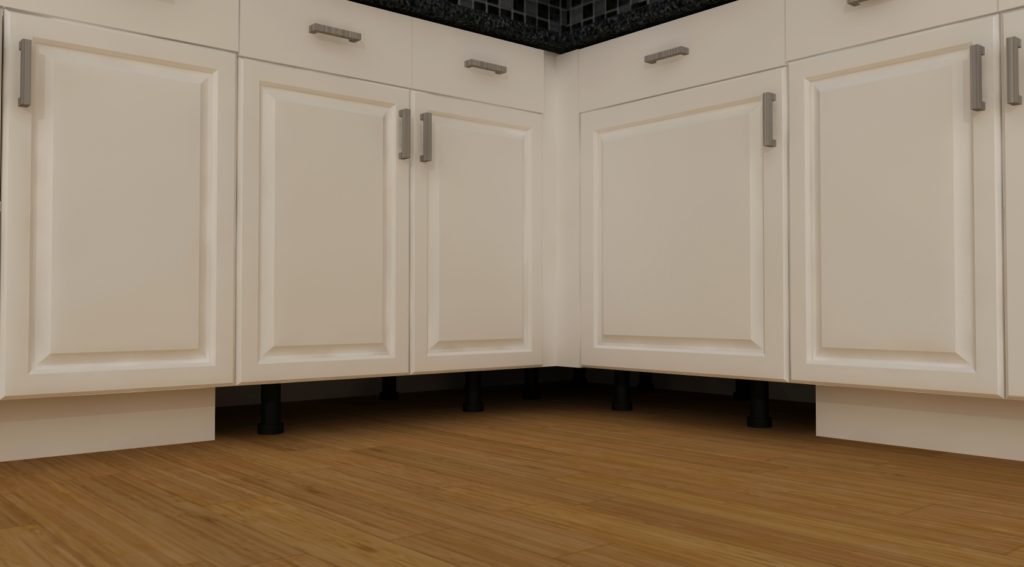
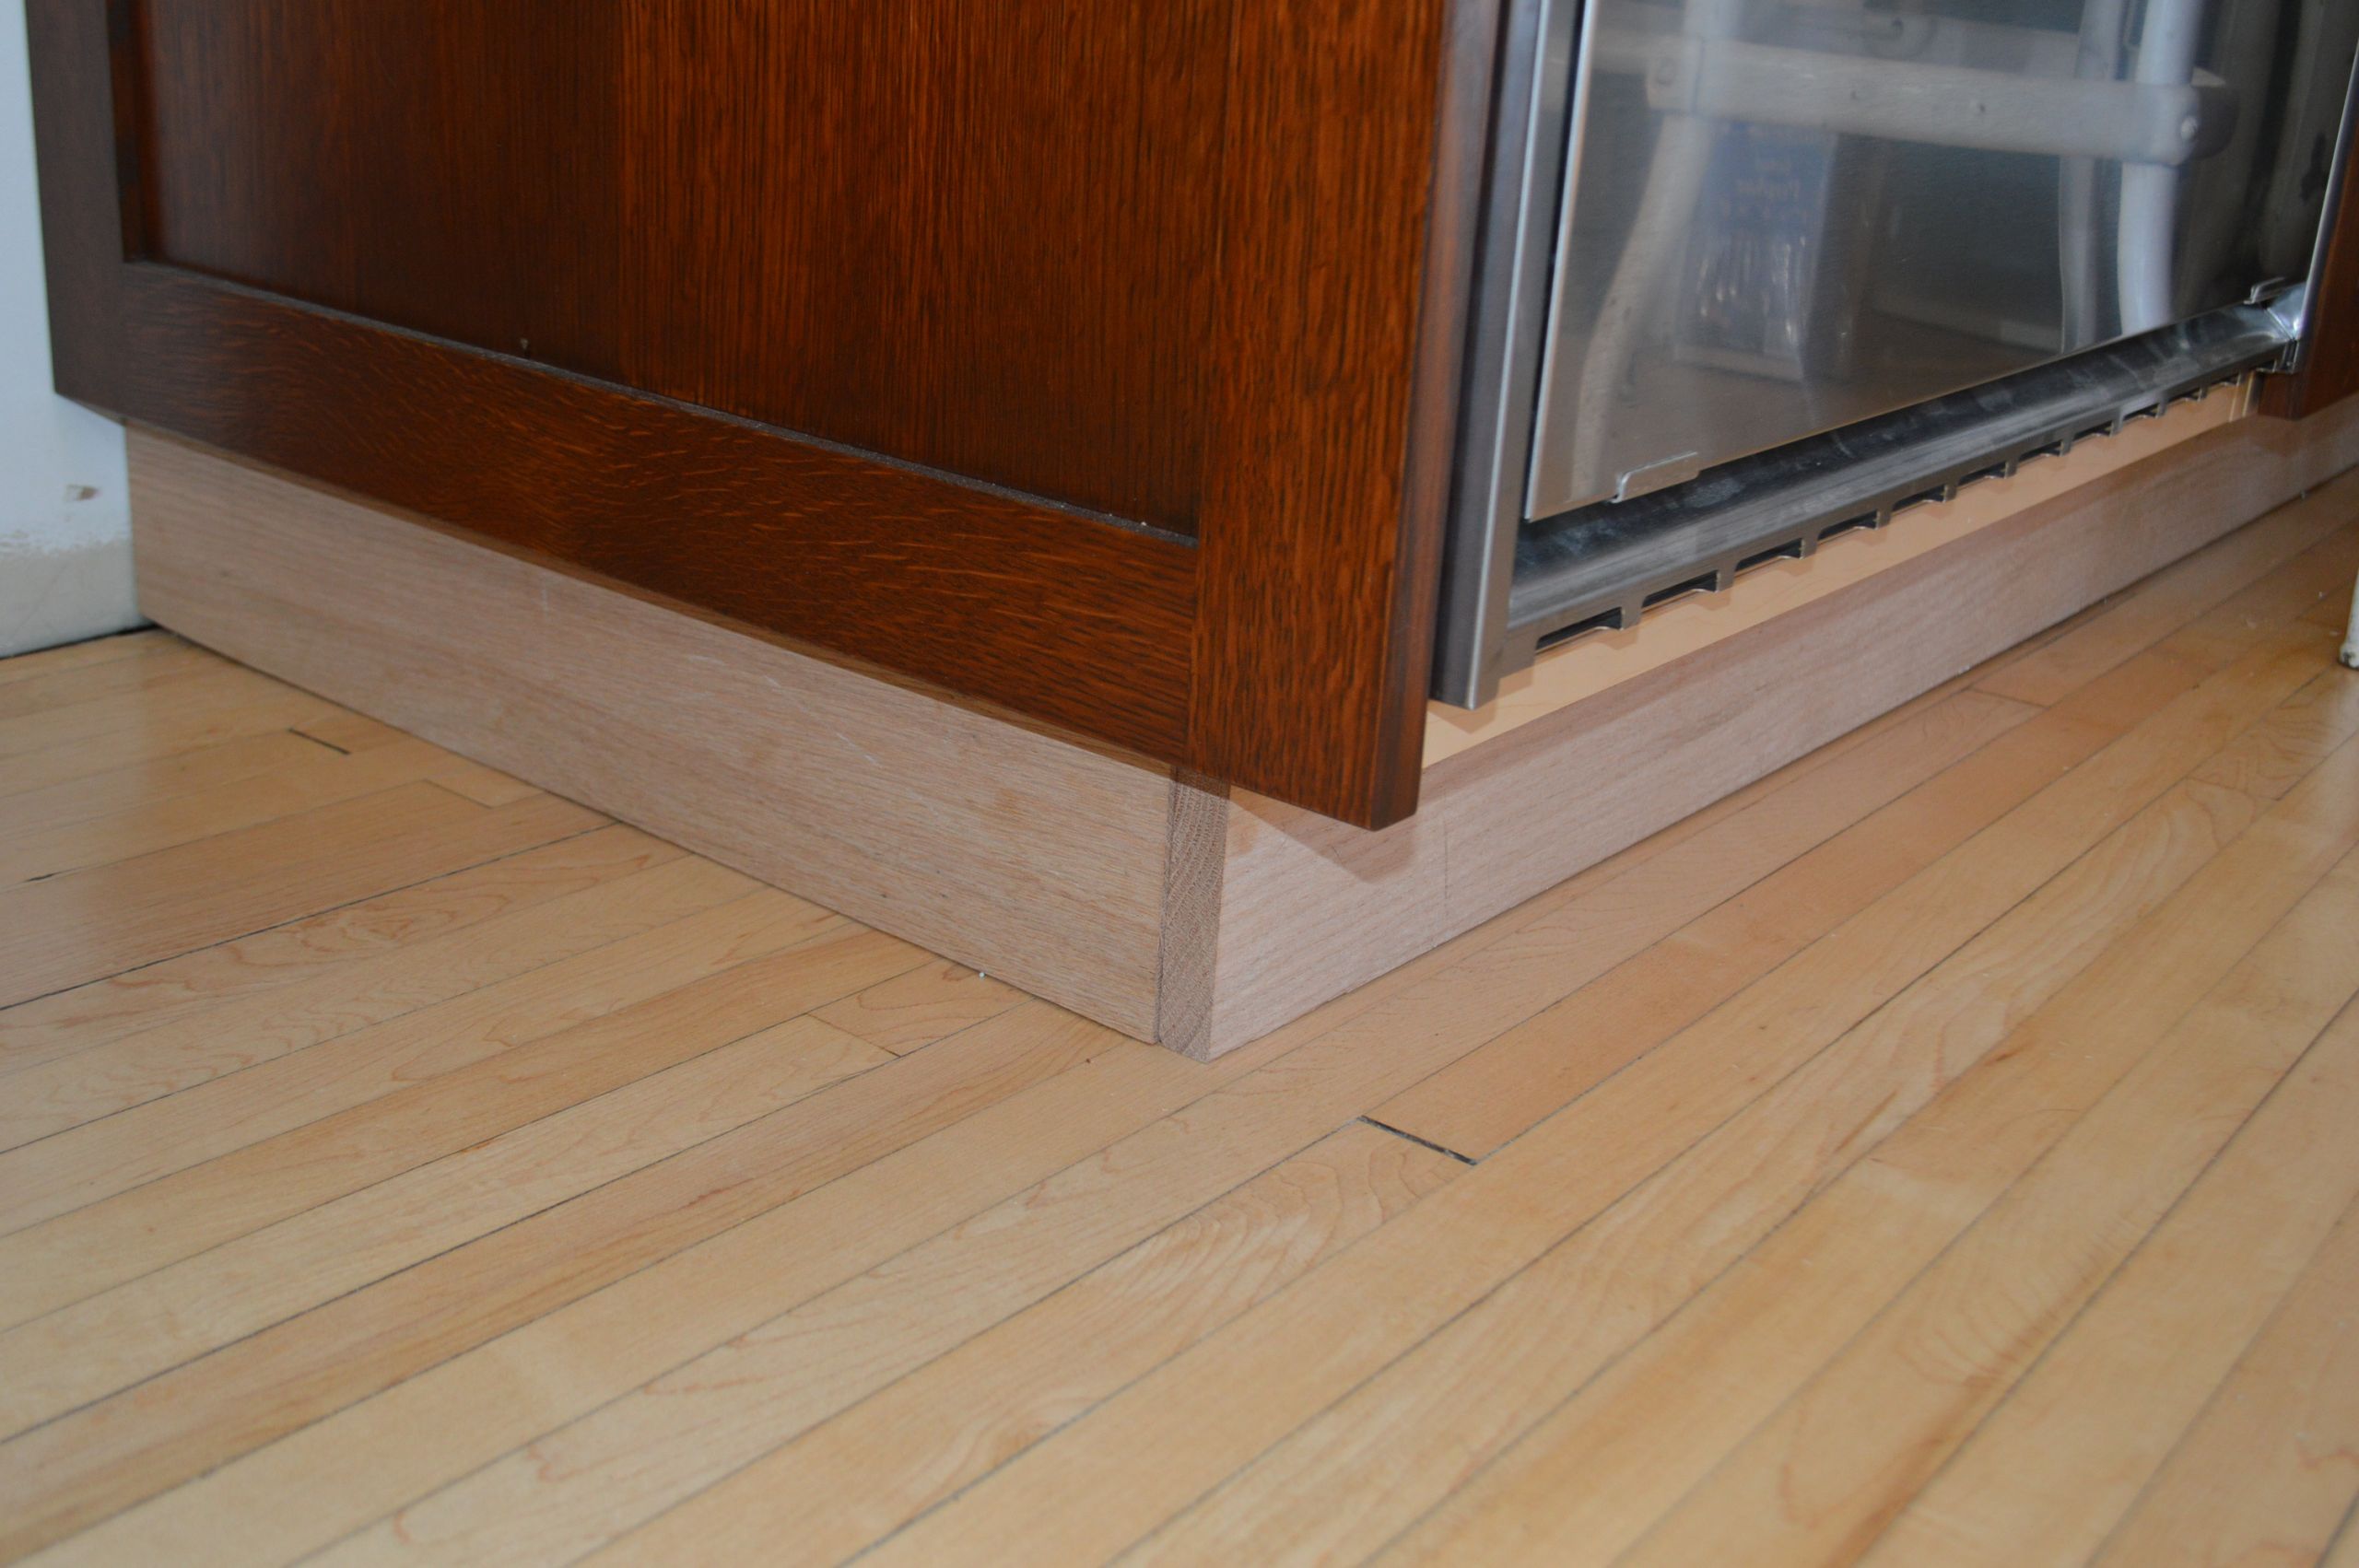
Adding toe kick lighting to your kitchen can make a huge difference in both the functionality and aesthetics of the space. Not only does it provide extra lighting for tasks, but it also adds a modern touch to your kitchen design. If you’re thinking of installing toe kick lighting in your kitchen, here’s a step-by-step guide to help you out.How to Install Toe Kick Lighting in Your Kitchen
Step 1: Plan the Layout The first step in installing toe kick lighting is planning the layout. Take measurements of your kitchen and determine where you want the lighting to go. Consider areas that may need extra lighting, such as under cabinets or near the sink. Step 2: Gather Materials Next, gather all the necessary materials for the installation. This may include toe kick lighting strips, connectors, wire nuts, and a power supply. Make sure to choose high-quality materials to ensure a long-lasting and efficient installation. Step 3: Prepare the Area Before starting the installation, make sure to prepare the area where the lighting will be installed. This includes cleaning the toe kick area and ensuring there is enough space for the wiring and power supply. Step 4: Install the Lighting Strips Now it’s time to install the lighting strips. Start by measuring and cutting the strips to fit your kitchen’s dimensions. Then, use connectors and wire nuts to connect the strips and create a continuous line of lighting. Make sure to follow the manufacturer’s instructions for proper installation techniques. Step 5: Connect to Power Supply After the lighting strips are installed, it’s time to connect them to a power supply. This can be done by running the wiring through the back of the cabinets and connecting it to a nearby outlet. If you’re not comfortable with electrical work, it’s best to hire a professional for this step. Step 6: Test the Lighting Once everything is connected, it’s important to test the lighting before finishing the installation. Make sure the lights turn on and off properly and that there are no issues with the wiring or power supply. Step 7: Finish the Installation After testing the lights, you can finish the installation by securing the lighting strips in place and covering any exposed wiring. Make sure to use proper safety measures and follow the manufacturer’s instructions for a neat and secure finish.Installing Toe Kick Lighting: A Step-by-Step Guide
If you’re feeling handy, installing toe kick lighting can be a great DIY project. However, it’s important to follow safety precautions and have a basic knowledge of electrical work before attempting this installation. Make sure to have all the necessary tools and materials ready and follow the step-by-step guide above for a successful installation.DIY Toe Kick Lighting Installation for Your Kitchen
In addition to providing extra lighting for tasks, toe kick lighting can also add a modern and stylish touch to your kitchen design. With various options for lighting strips and colors, you can customize the look of your kitchen and make it stand out.Toe Kick Lighting: A Modern Touch for Your Kitchen
Tip 1: Use LED lighting for energy efficiency and a longer lifespan. Tip 2: Consider using a dimmer switch to control the brightness of the lights. Tip 3: Choose lighting strips with a color temperature that complements your kitchen design. Tip 4: Install a motion sensor for hands-free operation. Tip 5: Use waterproof lighting strips for areas near the sink or dishwasher.Installing Toe Kick Lighting: Tips and Tricks
Adding toe kick lighting to your kitchen can completely transform the look and feel of the space. With its modern and functional features, it’s a simple yet impactful way to upgrade your kitchen design.Transform Your Kitchen with Toe Kick Lighting
Whether you’re looking to add a modern touch or improve the functionality of your kitchen, toe kick lighting is the way to go. Its subtle yet effective lighting can elevate your kitchen design and make it a more enjoyable space to cook and entertain.Step Up Your Kitchen Design with Toe Kick Lighting
Besides its aesthetic benefits, toe kick lighting also serves a practical purpose in the kitchen. It provides extra lighting for tasks such as food prep and cooking, making it a functional addition to your kitchen design.Toe Kick Lighting: A Functional and Stylish Addition to Your Kitchen
When choosing toe kick lighting for your kitchen, it’s important to consider factors such as color temperature, brightness, and energy efficiency. Make sure to also select lighting strips that are the right length and size for your kitchen’s dimensions.How to Choose the Right Toe Kick Lighting for Your Kitchen
While installing toe kick lighting may seem simple, there are some common mistakes that can be easily avoided. These include using poor quality materials, not following safety measures, and improper installation techniques. To ensure a successful installation, make sure to follow the tips and tricks mentioned above and hire a professional if needed. In conclusion, installing toe kick lighting in your kitchen can make a huge difference in both its functionality and style. With proper planning, quality materials, and following the right techniques, you can easily transform your kitchen with this simple yet impactful addition.Toe Kick Lighting Installation: Common Mistakes to Avoid
Why Install Toe Kick Lighting in Your Kitchen?
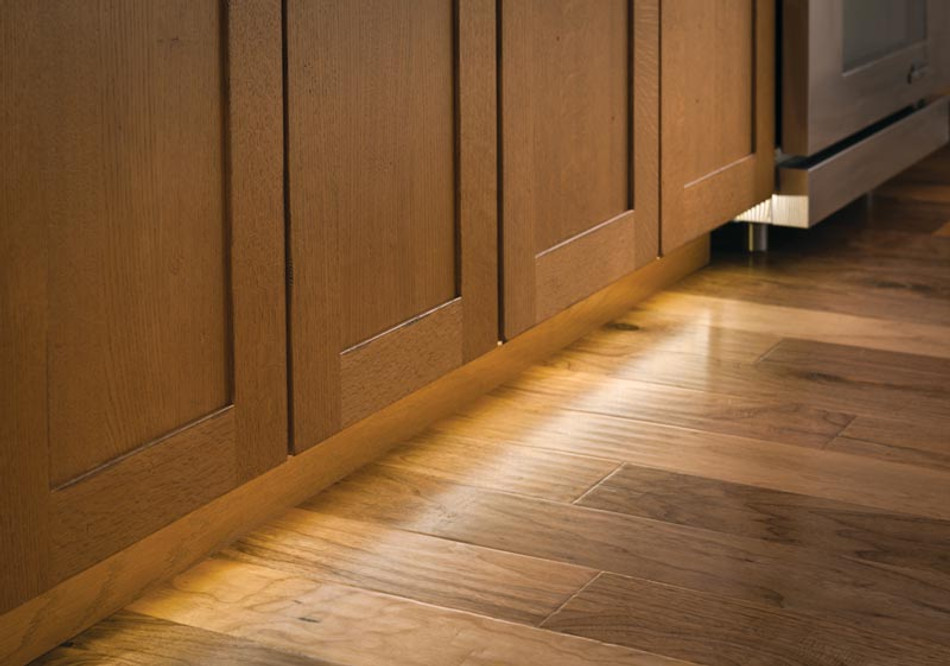
Creating Ambiance
 One of the main reasons to install
toe kick lighting
in your kitchen is to create a warm and inviting ambiance. This type of lighting is placed at the base of cabinets and adds a soft, subtle glow to the room. It can be used to create a cozy atmosphere for entertaining guests or to simply enhance the overall design of your kitchen.
Functionality
 Aside from creating ambiance,
toe kick lighting
also serves a functional purpose. Often, kitchens are not well-lit, making it difficult to navigate around in the dark. With toe kick lighting, you can easily see where you are stepping and avoid any potential accidents. This is especially useful in the early morning or late at night when you don't want to turn on all the bright overhead lights.
Highlighting Design Elements
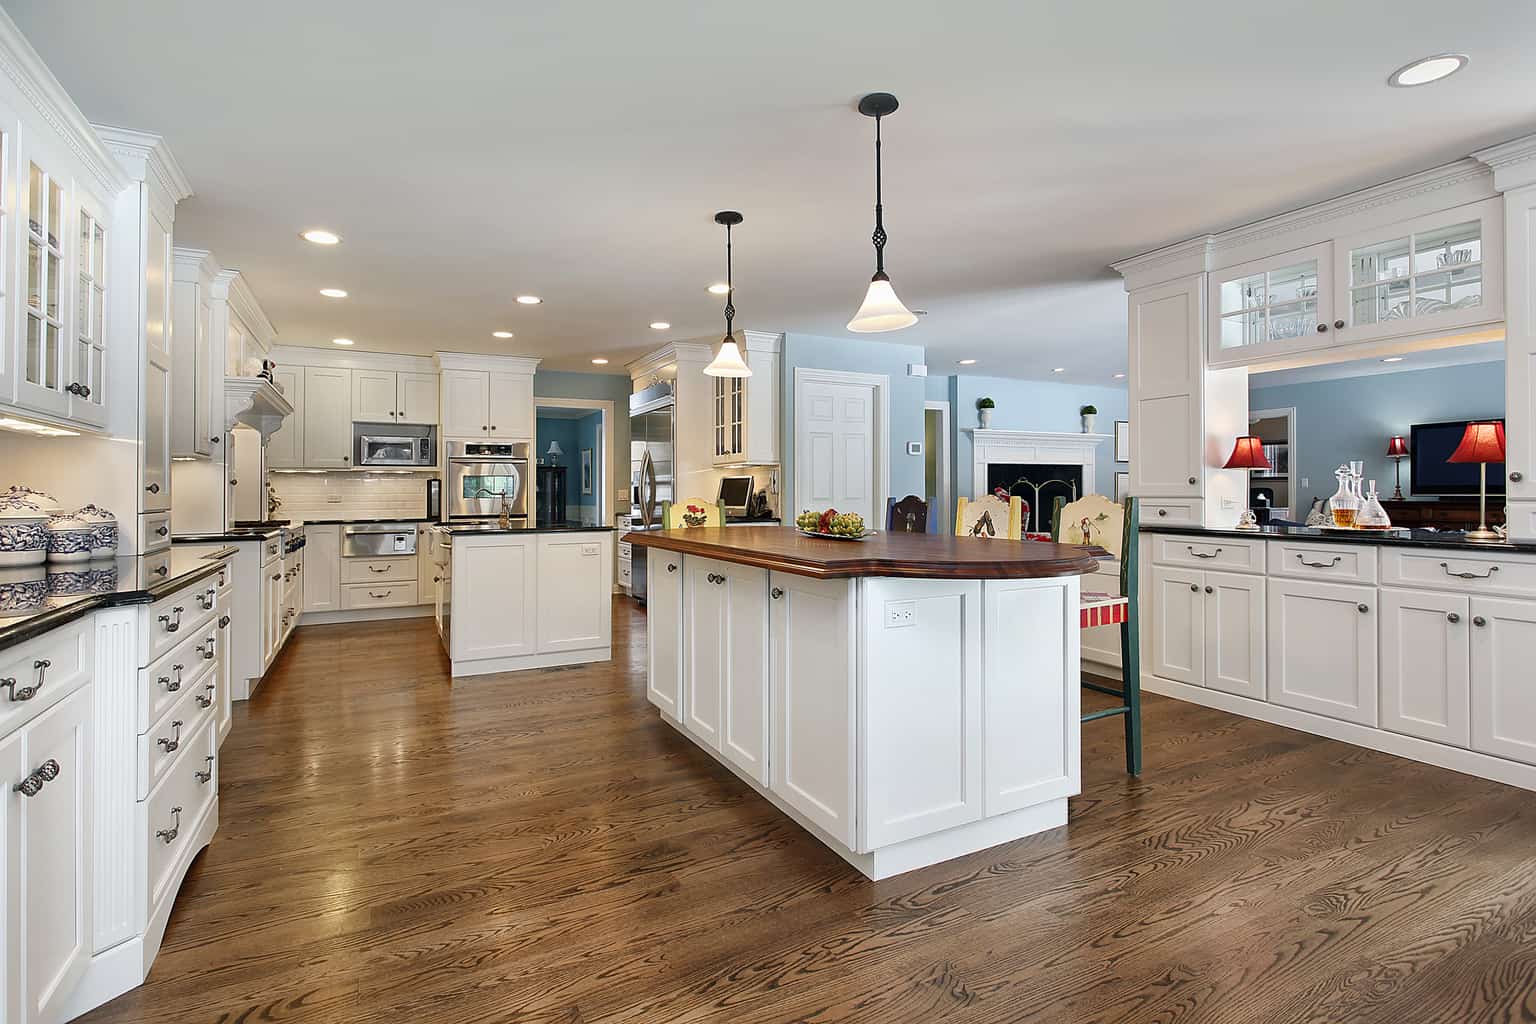 If you have invested in beautiful cabinetry or intricate tile work in your kitchen,
toe kick lighting
can help highlight these design elements. By adding a soft glow to the base of your cabinets, you can draw attention to the intricate details and add depth to your kitchen's design. This is especially useful for open-concept kitchens where you want to showcase your space.
Energy Efficiency
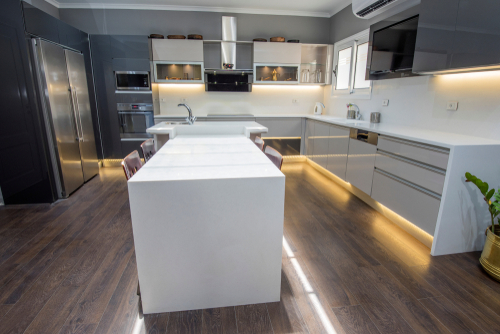 In addition to its aesthetic and functional benefits,
toe kick lighting
is also energy-efficient. LED lights, which are commonly used for this type of lighting, consume minimal energy and have a long lifespan. This means you can enjoy the ambiance and functionality of toe kick lighting without worrying about high electricity bills.
Easy Installation
 Another great aspect of
toe kick lighting
is that it is relatively easy to install. With the right tools and a bit of DIY knowledge, you can install it yourself in a few hours. Alternatively, you can hire a professional to ensure a seamless and safe installation.
In conclusion,
toe kick lighting
is a fantastic addition to any kitchen. It not only adds ambiance and functionality, but it also highlights design elements and is energy-efficient. With its easy installation process, there's no reason not to add this stylish and practical feature to your kitchen.


