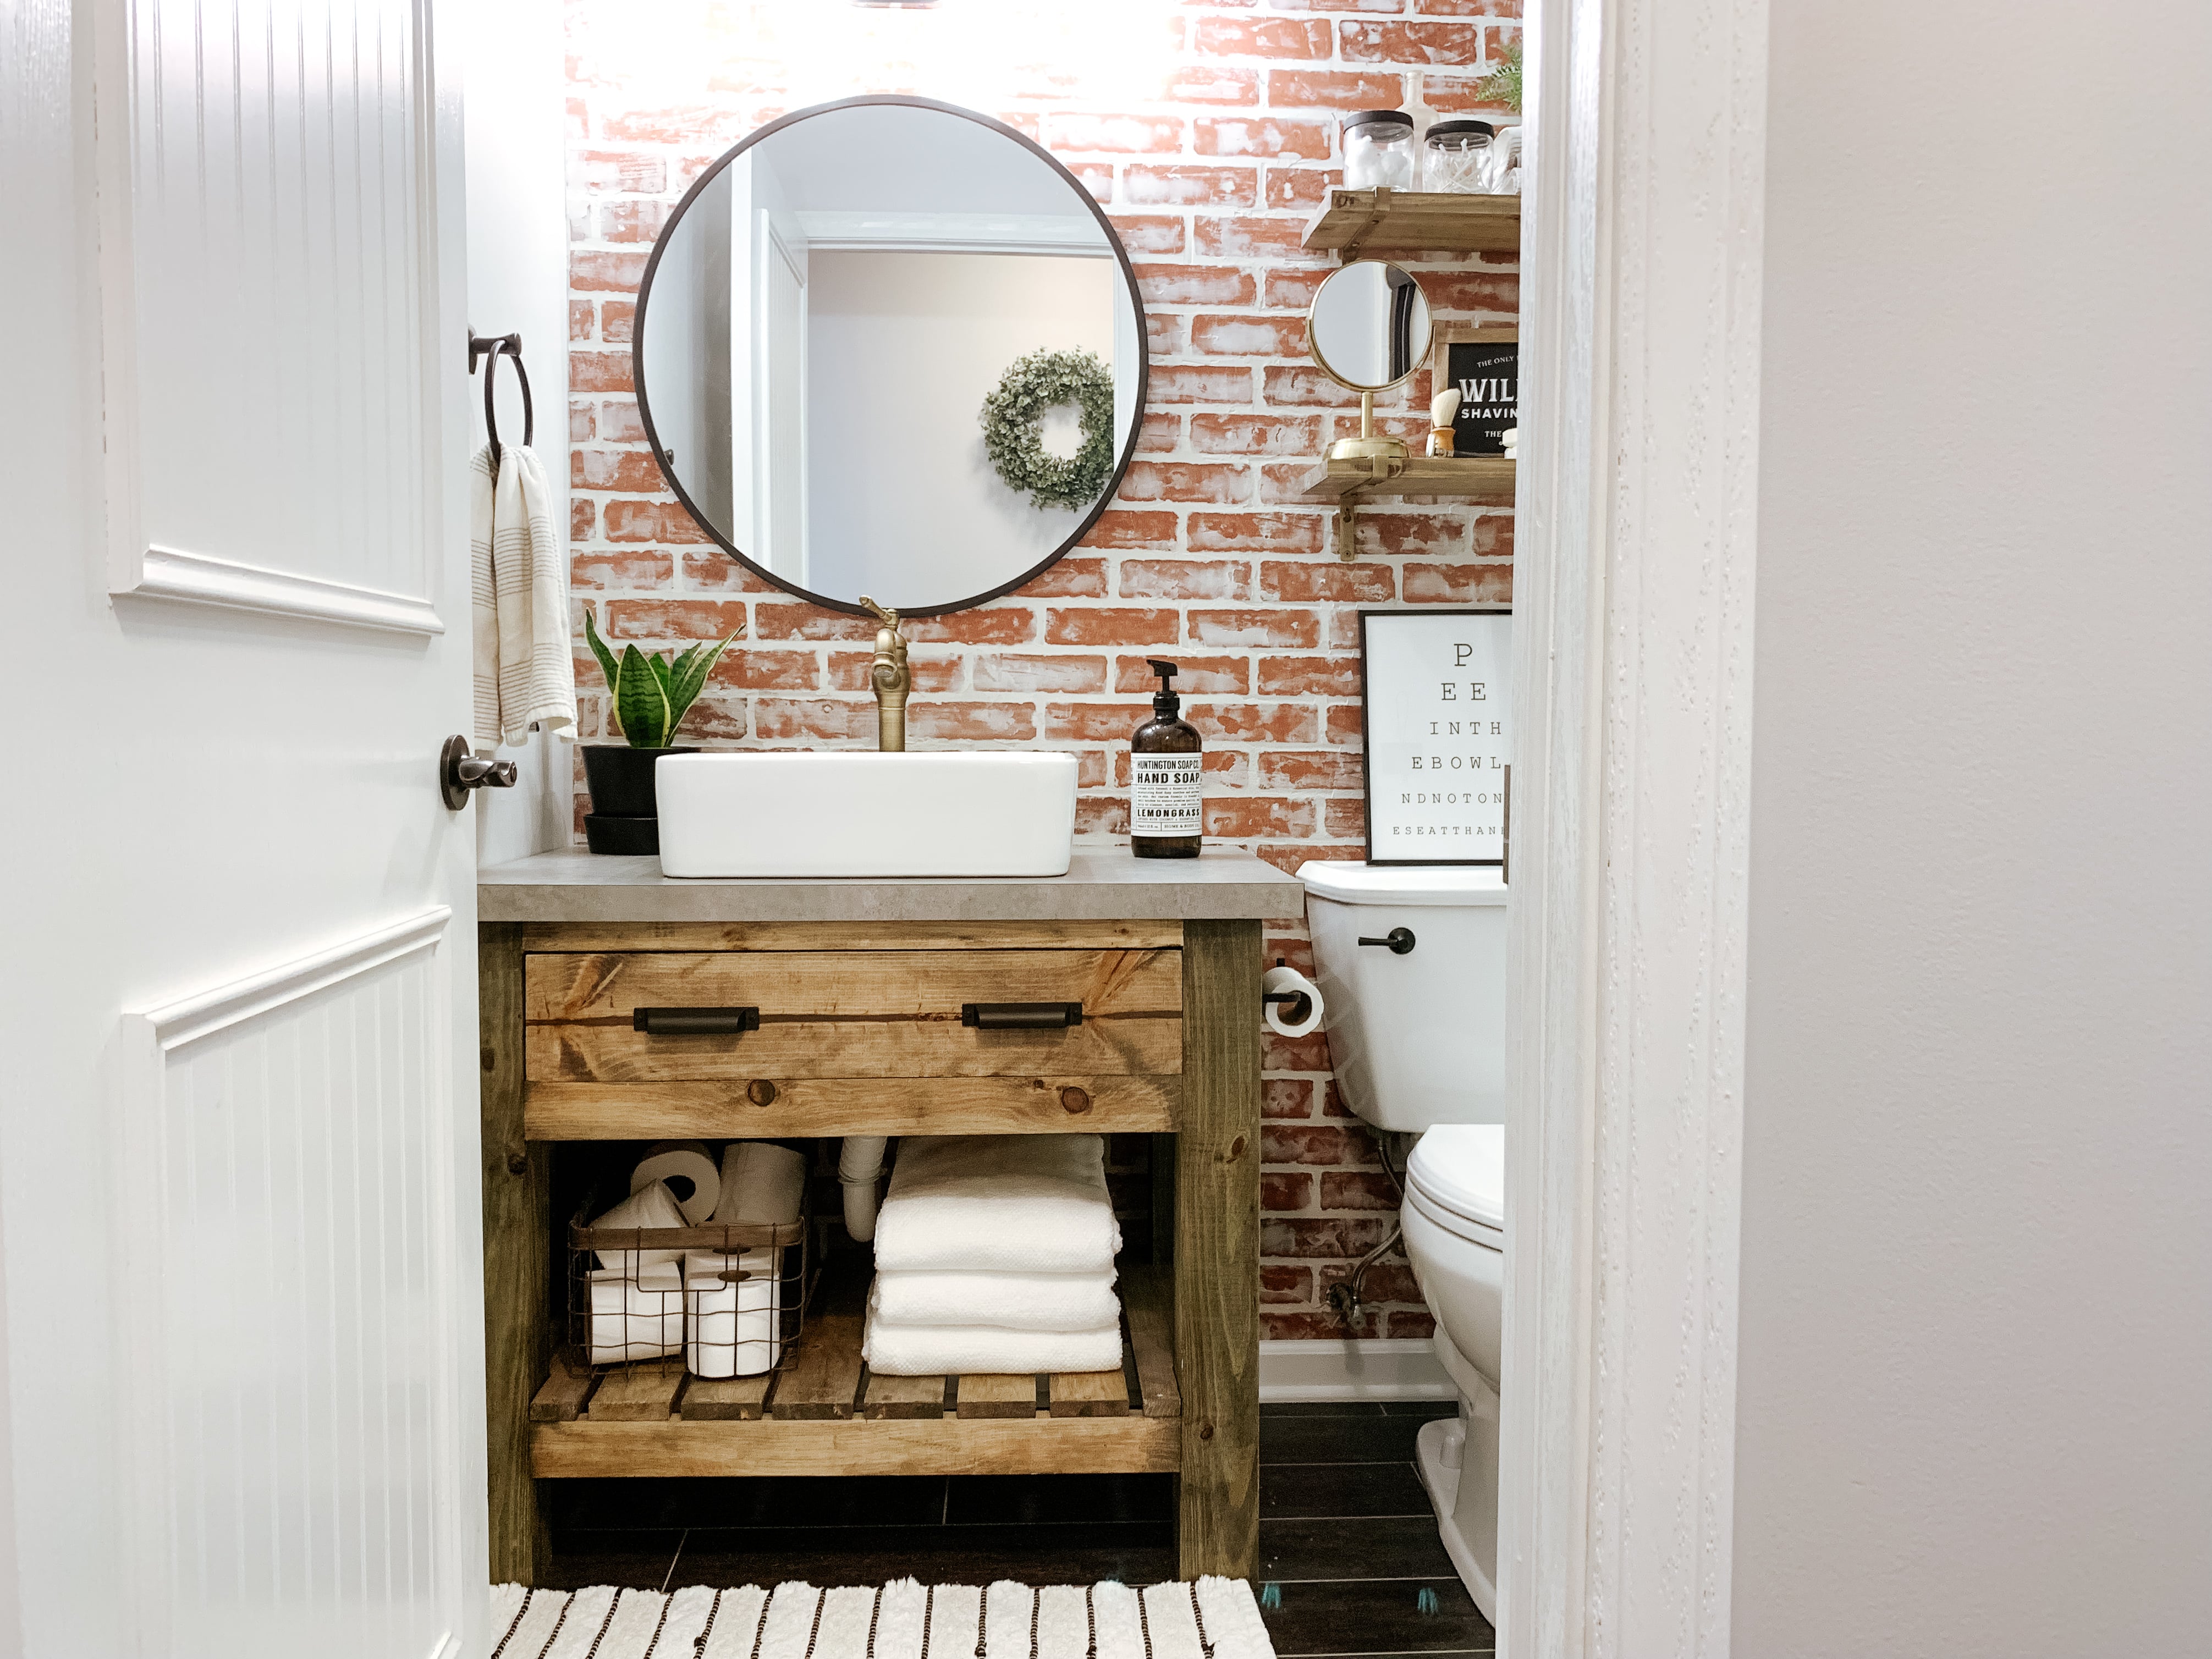
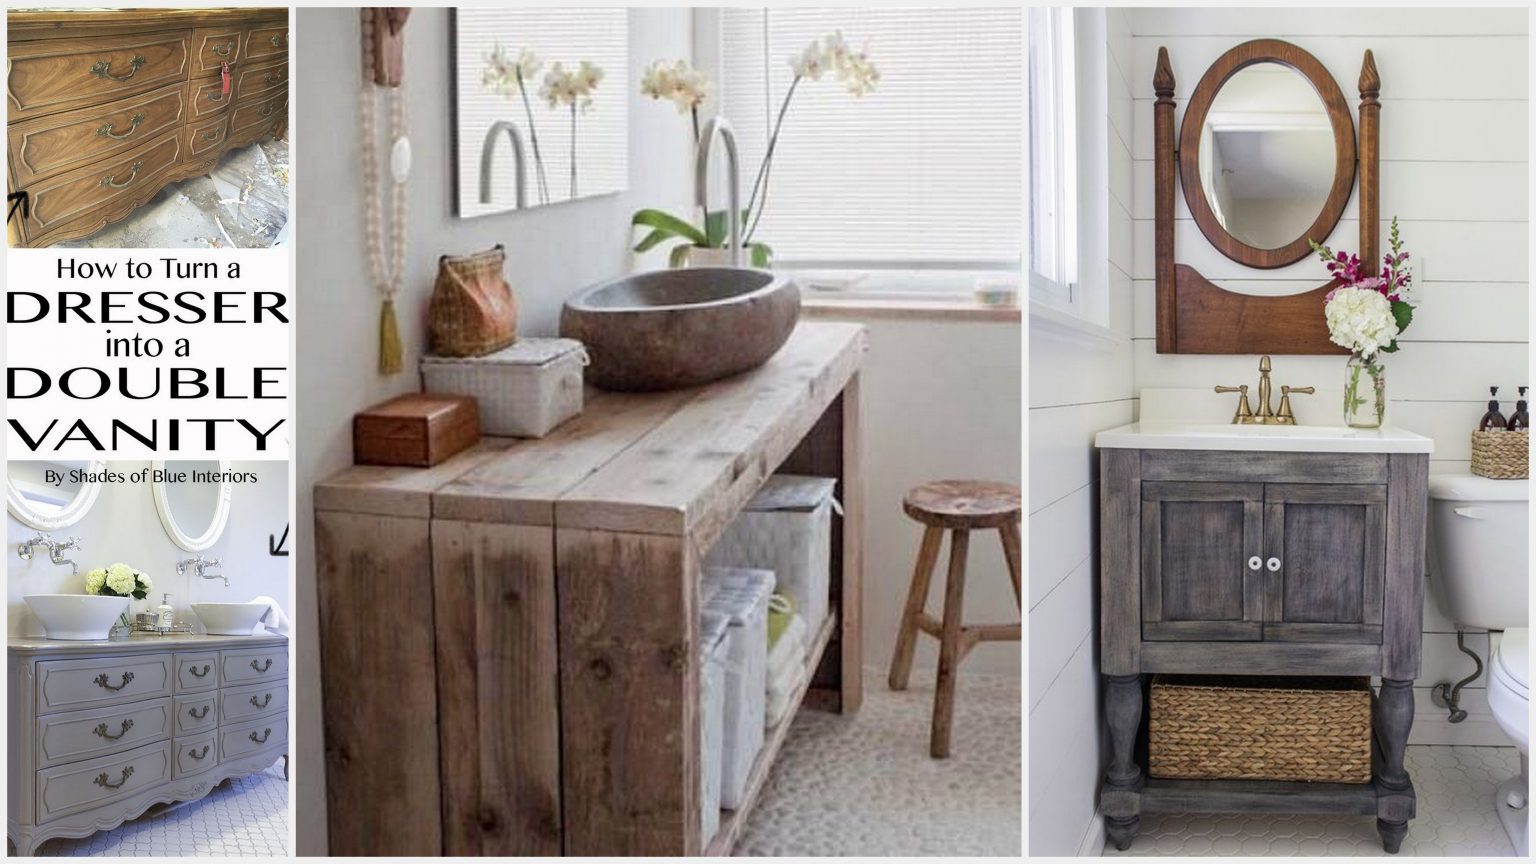
The first tip for a successful bathroom vanity installation is to choose the right vanity for your space. Measure your bathroom and take note of any existing plumbing fixtures or outlets that may affect the placement of your vanity. Consider the style and design of your bathroom and choose a vanity that complements it. You also want to make sure the vanity has enough storage space for your needs. Choosing the Right Vanity
Before you begin your DIY bathroom vanity installation, make sure you have all the necessary supplies. This includes a level, drill, screws, measuring tape, and a saw if you need to make any cuts. It's also helpful to have a friend or family member to assist you with lifting and holding the vanity in place. Gather Your Supplies
It's important to prep the area where you will be installing the vanity. This includes removing any old vanity or fixtures, as well as patching and painting the walls if necessary. Make sure the area is clean and free of debris before you begin the installation process. Prep the Area
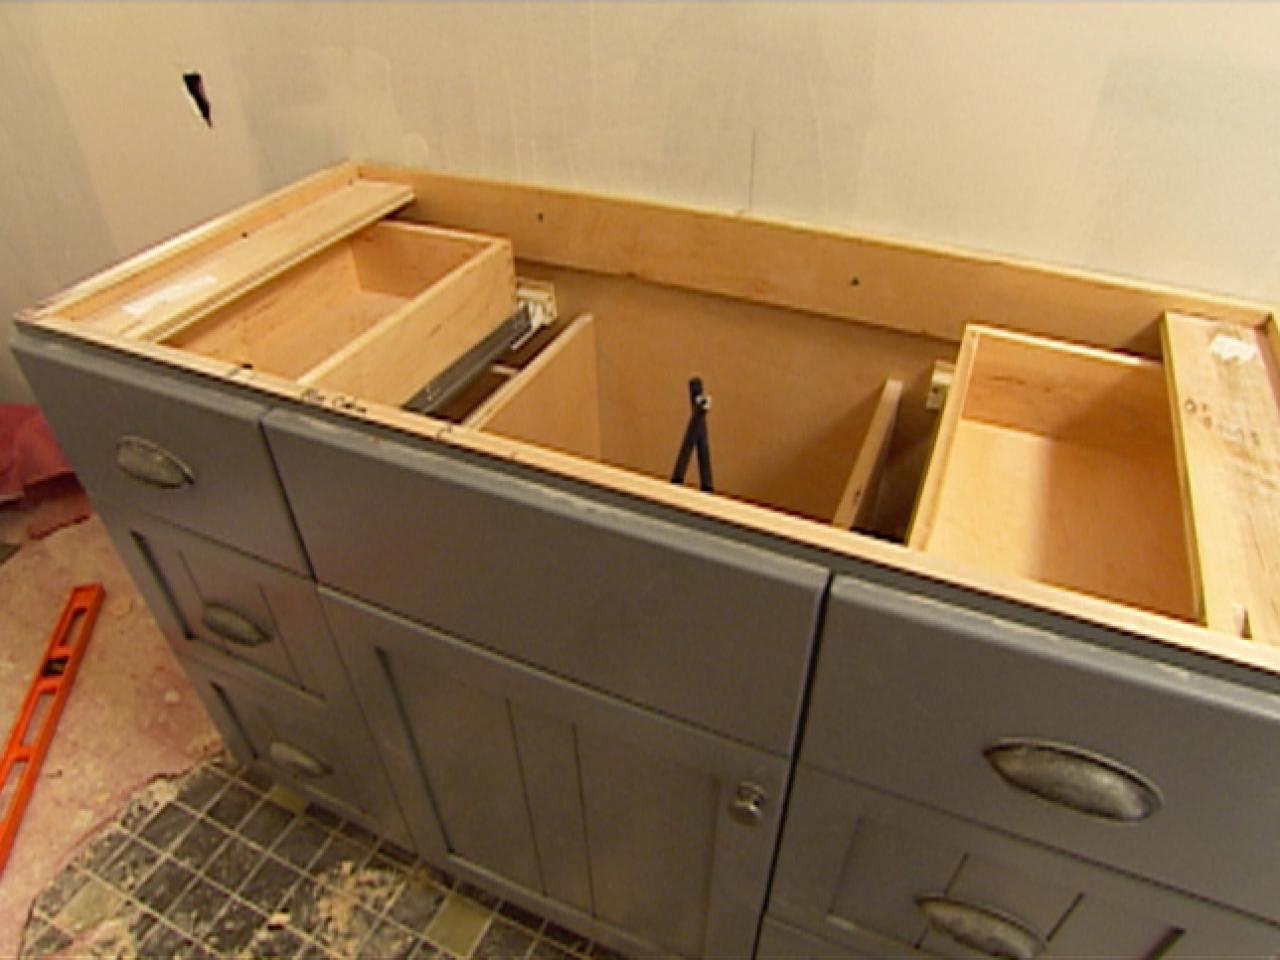
If your vanity comes with a separate top, start by installing it before attaching the base. Place the top on the base and use a level to ensure it is even. Then, secure it in place with screws. If your vanity comes with a pre-attached top, skip this step. Install the Vanity Top
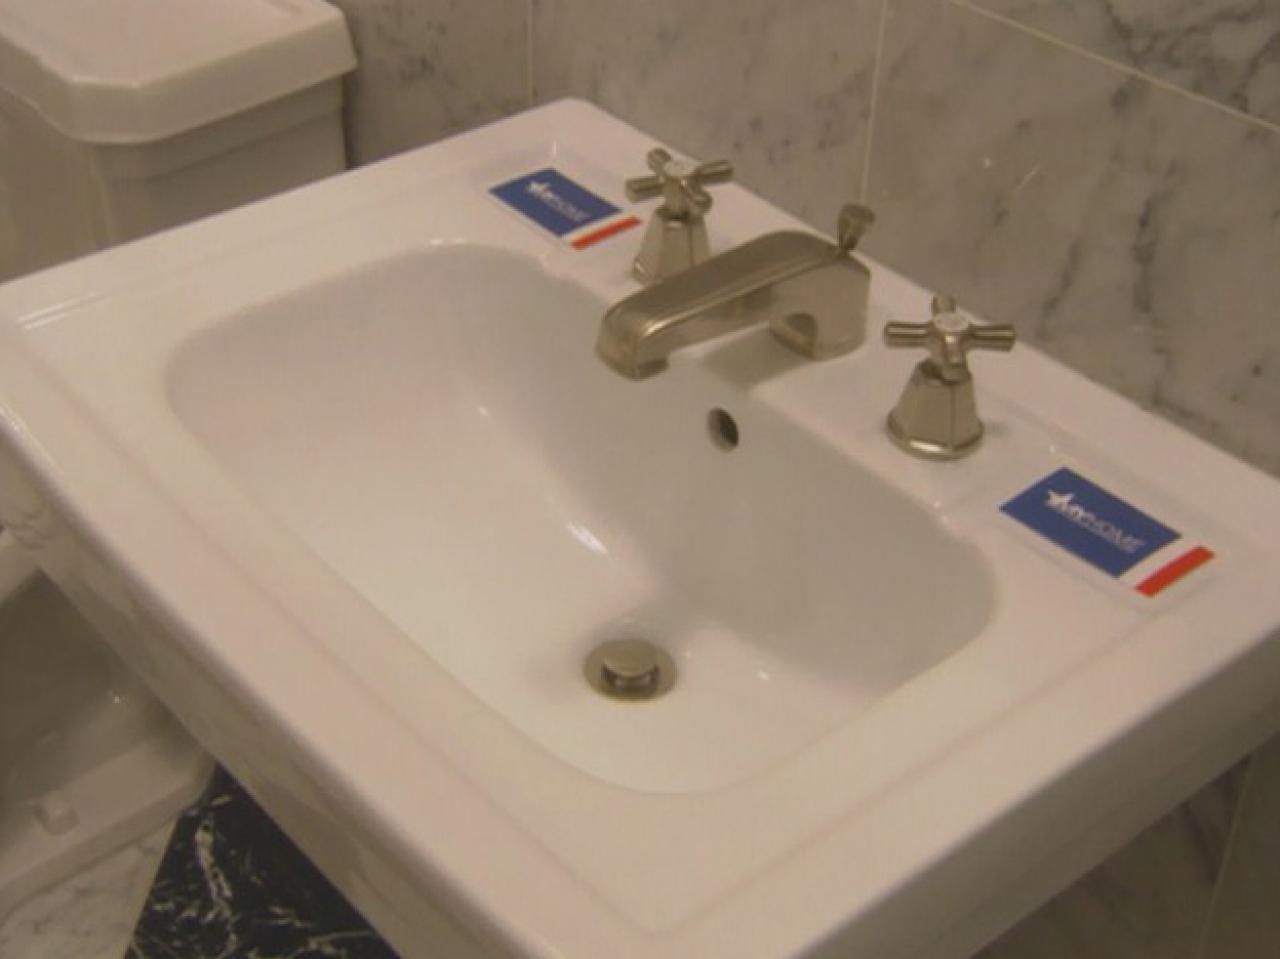
Next, it's time to connect the plumbing. If you're using a new vanity, make sure the holes for the faucet and drain line up with the existing plumbing. If not, you may need to make adjustments or hire a professional plumber. Once everything is aligned, use a wrench to tighten the connections. Connect the Plumbing
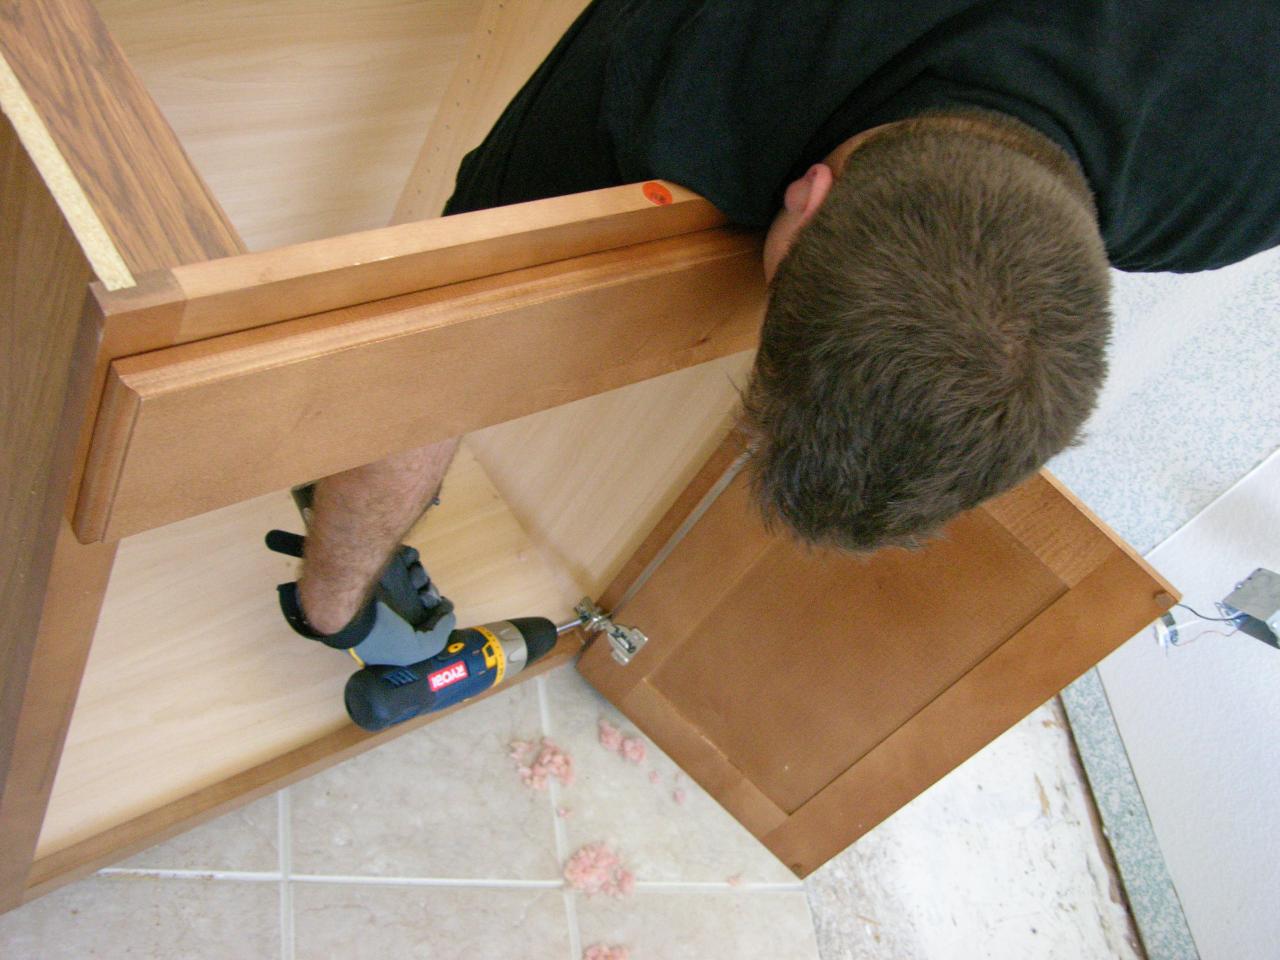
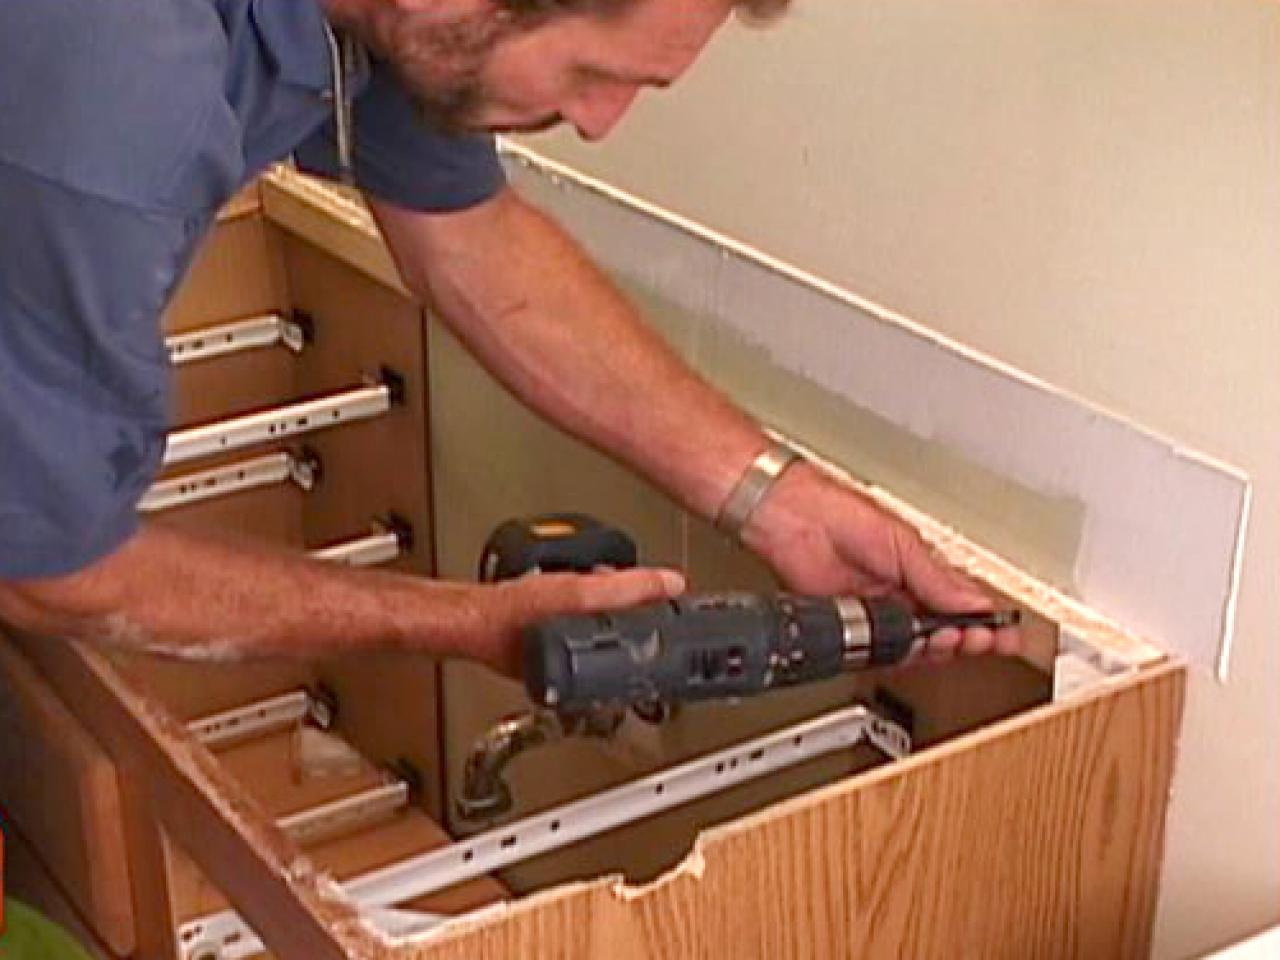
To prevent the vanity from tipping over, it's important to secure it to the wall. Locate the wall studs and mark them with a pencil. Then, use a drill to attach the vanity to the wall with screws. This will ensure that the vanity is stable and won't move or shift. Secure the Vanity to the Wall
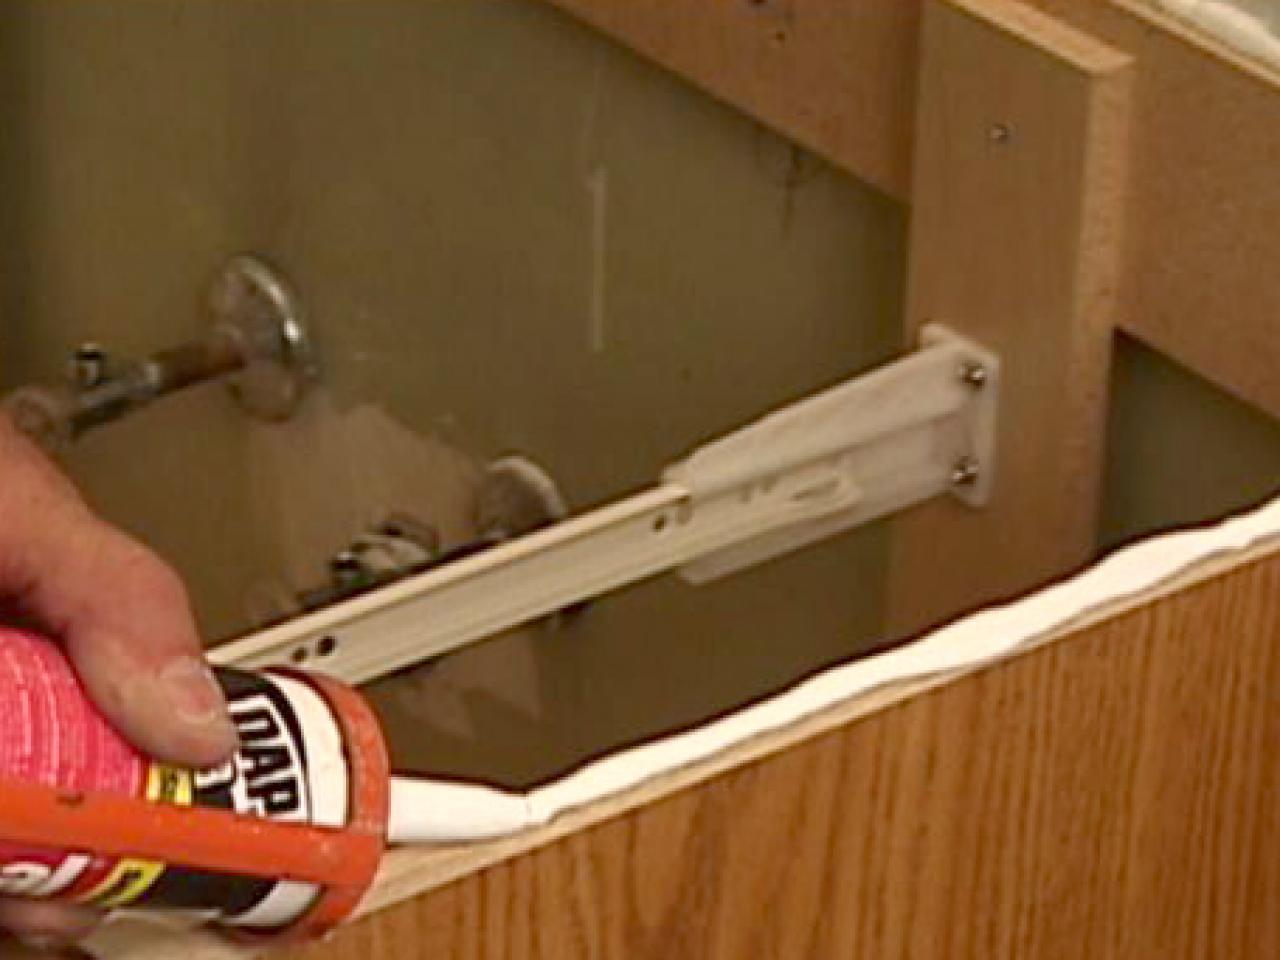
Once the vanity is securely installed, it's time to add the finishing touches. This includes installing any hardware, such as handles or knobs, and adding a backsplash if desired. You can also caulk around the edges of the vanity to create a clean and seamless look. Add Finishing Touches
Before considering your bathroom vanity installation complete, it's important to test and adjust everything. Turn on the water and check for any leaks. If you notice any, tighten the connections or add more caulk if necessary. You may also need to make adjustments to the vanity's alignment or levelness. Test and Adjust
Congratulations, you've successfully installed a new bathroom vanity! Take a step back and admire your handiwork. You can now enjoy a beautiful and functional vanity in your bathroom, and feel proud of the DIY project you completed. Enjoy Your New Vanity
Are you looking for more DIY tips and inspiration for your home projects? Look no further than Diydiy Network! With a variety of tutorials, ideas, and expert advice, you can take your DIY skills to the next level. Stay tuned for more home improvement articles and videos to help you achieve the home of your dreams. Get Inspired by Diydiy Network
Why DIY Bathroom Vanity Installation is the Perfect Project for House Design Enthusiasts

Save Money and Customize Your Space
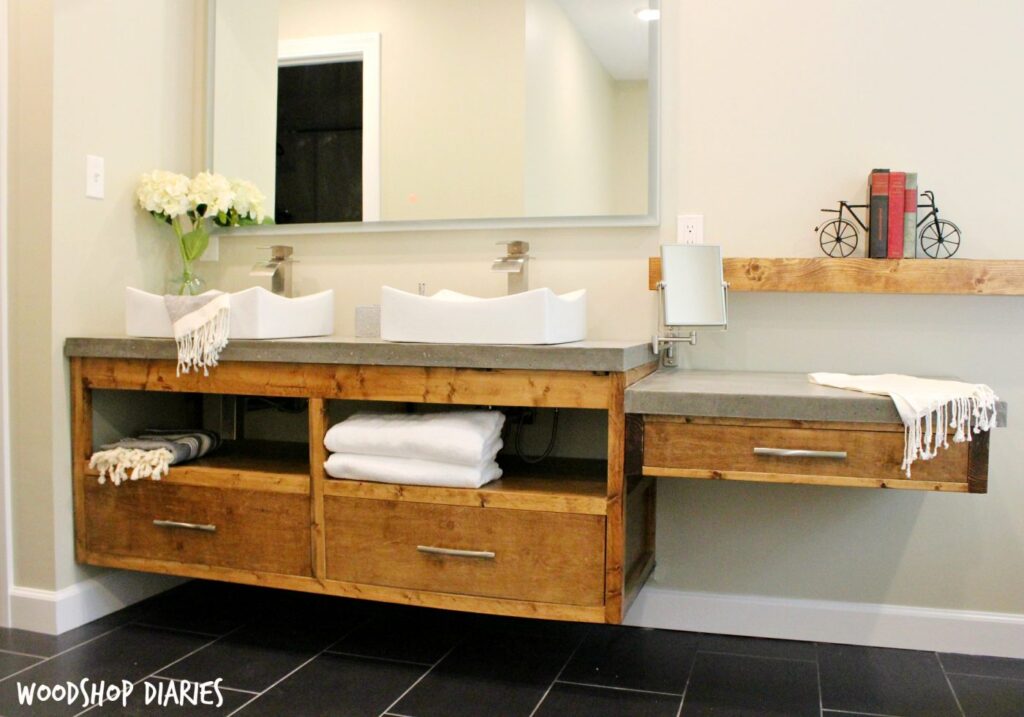
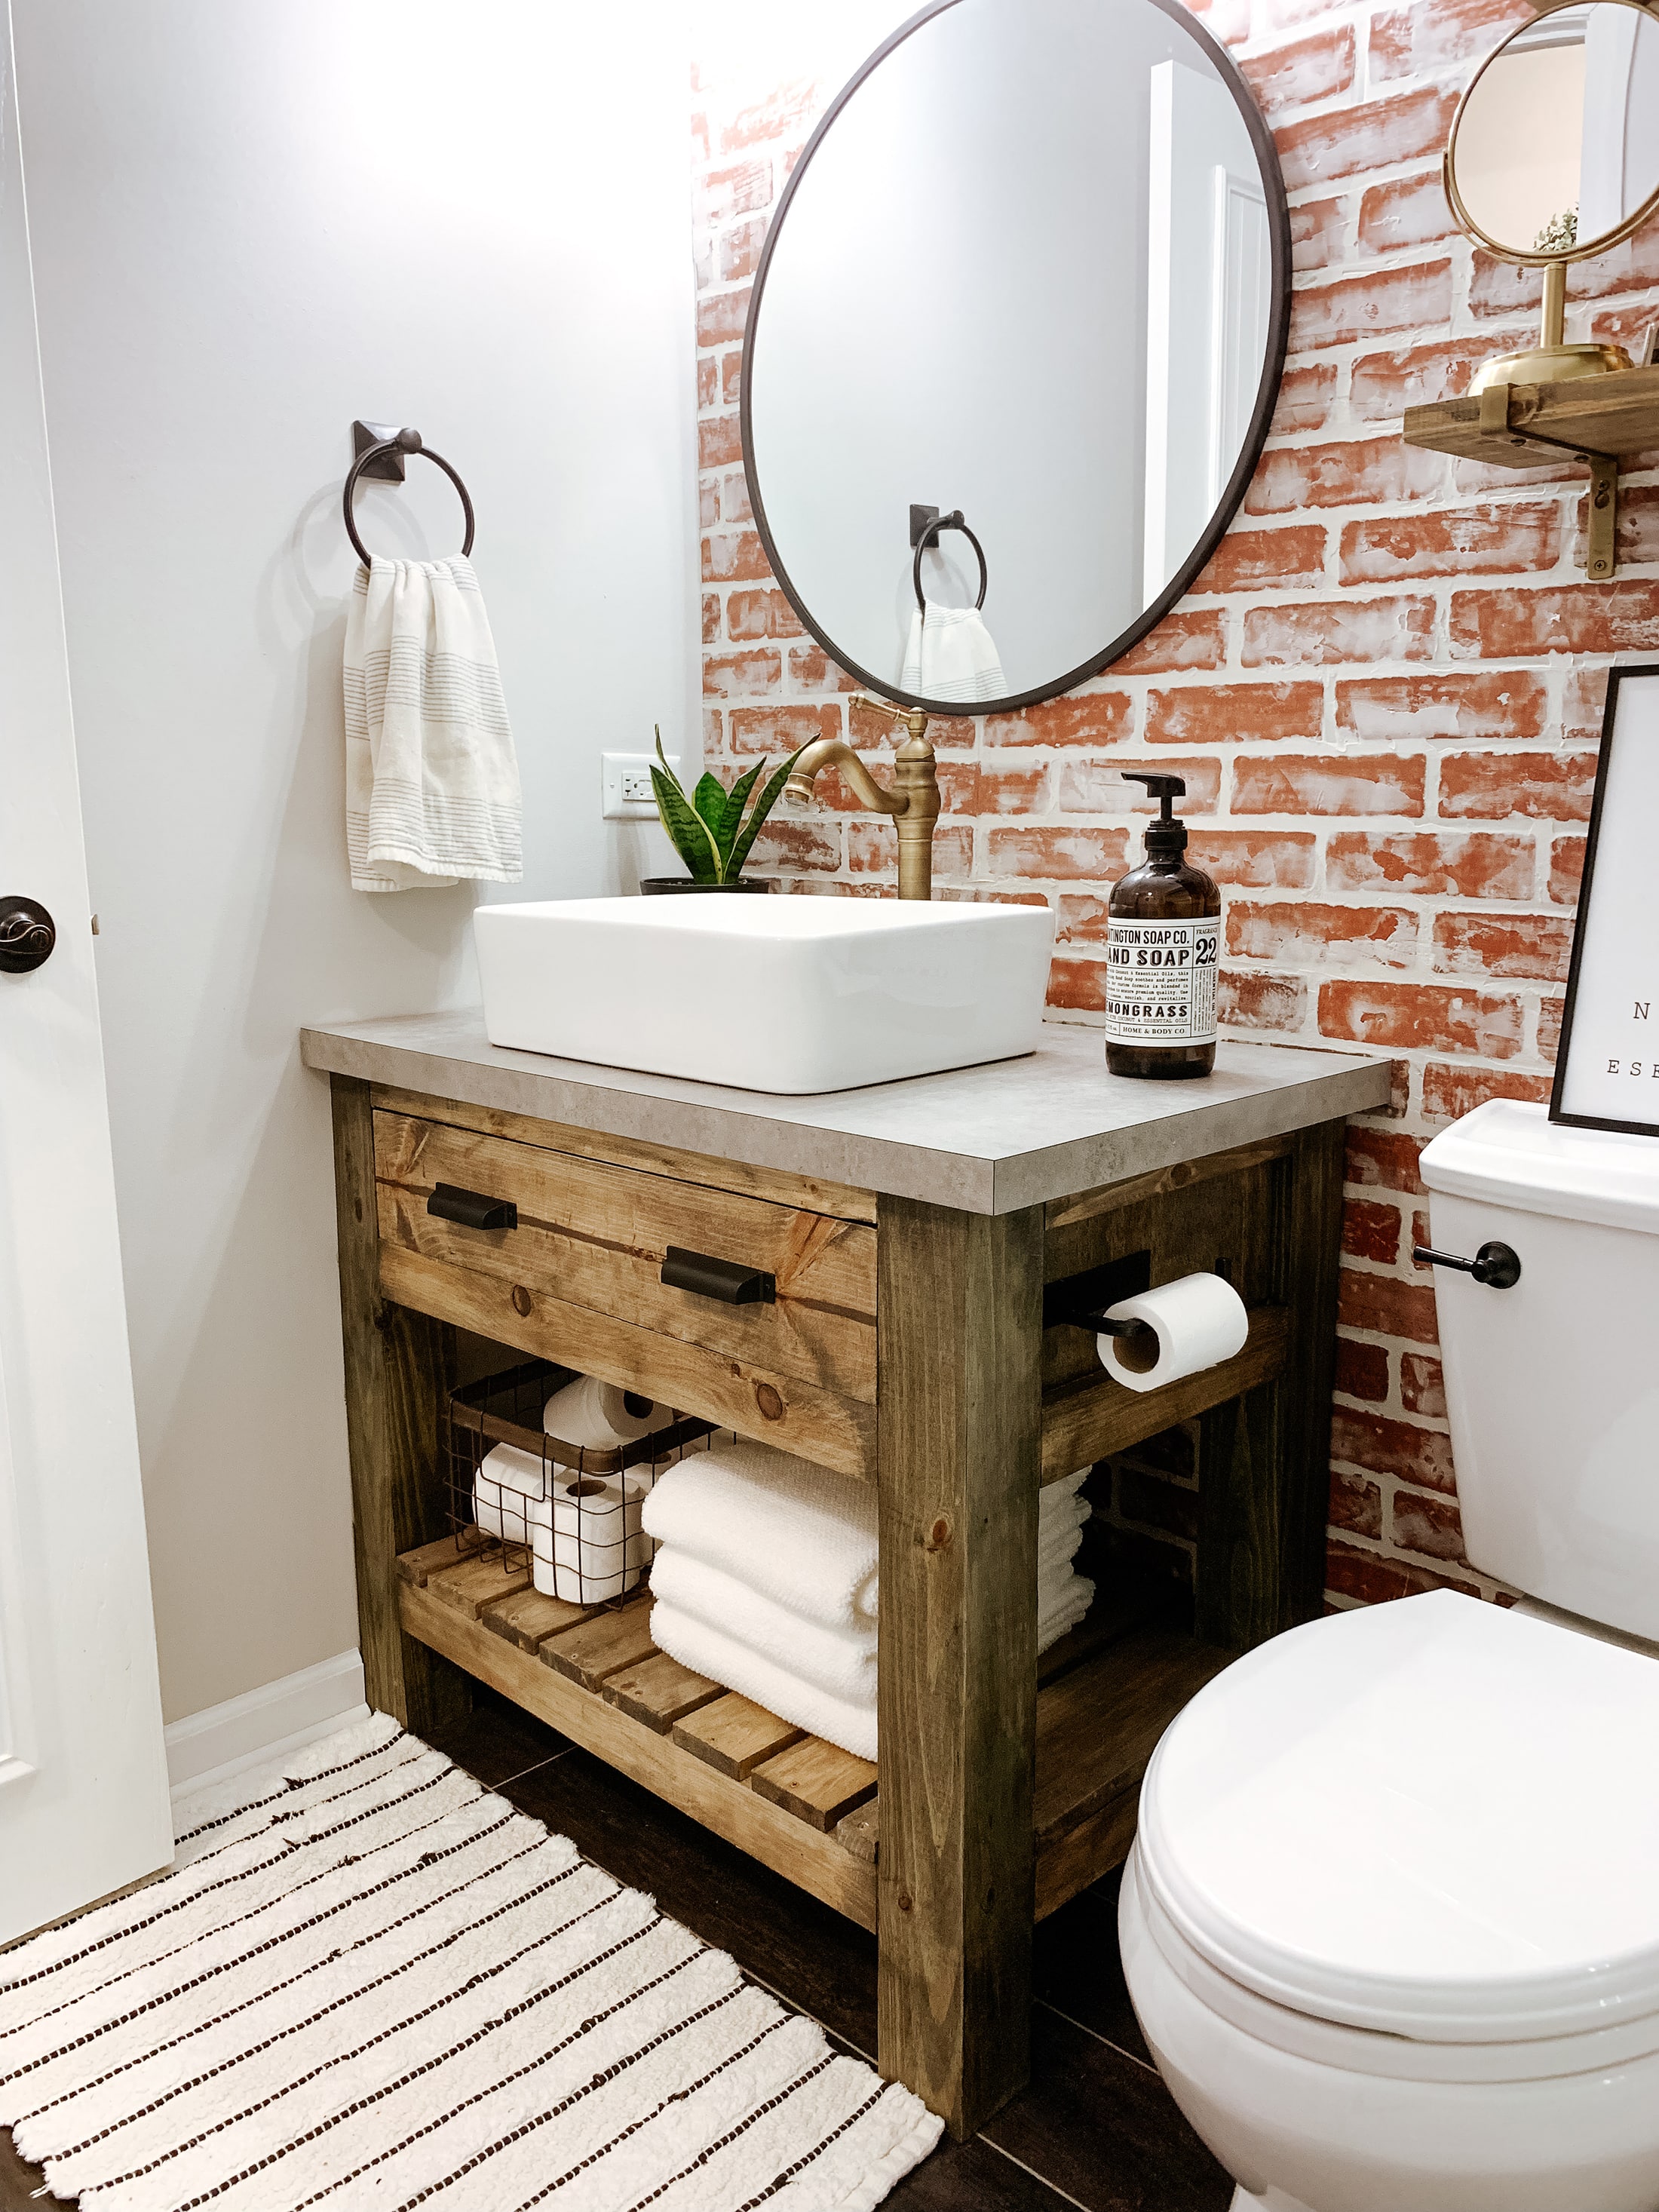
 Bathroom vanities are an essential part of any house design, providing both functionality and style to your space. However, purchasing and installing a new bathroom vanity can be costly and may not always fit your specific design vision. This is where DIY bathroom vanity installation comes in – it allows you to save money and have complete control over the design and customization of your space. By taking on this project yourself, you can create a unique and personalized bathroom vanity that perfectly fits your style and needs.
DIY bathroom vanity installation
is also a great way to save money and stay within your budget. Pre-made vanities can be expensive and may not always align with your design preferences. By purchasing your own materials and doing the installation yourself, you can cut costs and still achieve the look you want. Plus, you can use the money you save towards other house design projects.
Build Your DIY Skills
 Not only does DIY bathroom vanity installation save you money and allow for customization, but it also allows you to develop your DIY skills. This project is perfect for
house design enthusiasts
who are looking to expand their skill set and take on new challenges. With the help of online tutorials and guides, you can learn how to properly measure, cut, and install a bathroom vanity. This hands-on experience will not only give you a sense of accomplishment, but it can also be applied to future house design projects.
Flexibility and Adaptability
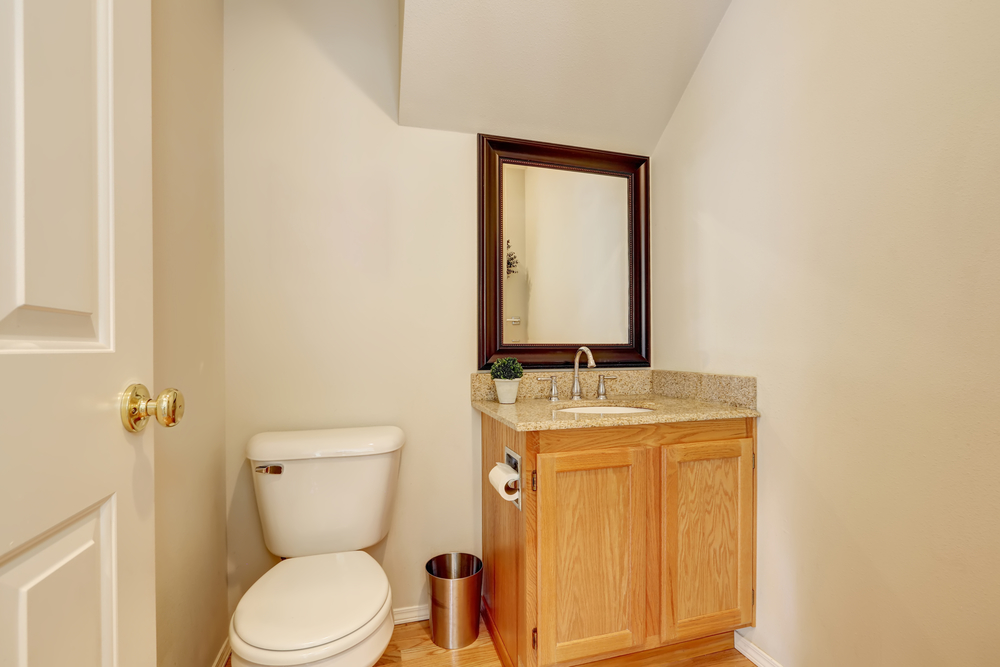 One of the great things about DIY bathroom vanity installation is the flexibility and adaptability it offers. You can choose from a variety of materials, styles, and designs to create a vanity that fits your specific space and design aesthetic. Whether you prefer a modern, minimalist look or a more traditional and ornate design, the possibilities are endless. With DIY, you have the freedom to experiment and make adjustments along the way to ensure that your bathroom vanity fits your vision perfectly.
In conclusion, DIY bathroom vanity installation is the perfect project for
house design enthusiasts
who want to save money, develop their skills, and have complete control over the customization of their space. With a little bit of planning and research, you can create a beautiful and functional bathroom vanity that will be the centerpiece of your bathroom design. So why wait? Start planning your DIY bathroom vanity installation today and see the amazing results for yourself!










:max_bytes(150000):strip_icc()/build-something-diy-vanity-594402125f9b58d58ae21158.jpg)







:max_bytes(150000):strip_icc()/build-something-diy-vanity-594402125f9b58d58ae21158.jpg)


