Installing a new kitchen sink and faucet can seem like a daunting task, but with the right tools and some basic knowledge, it can be a simple and rewarding DIY project. Not only will it give your kitchen a fresh new look, but it can also save you money on hiring a professional plumber. Follow this step-by-step guide to learn how to install a kitchen sink and faucet on your own.Step-by-Step Guide to Installing a Kitchen Sink with Faucet
The first step in installing a kitchen sink and faucet is to choose the right one for your space. Make sure to measure the dimensions of your sink cabinet and the sink itself to ensure a proper fit. You should also consider the style and material of the sink and faucet to match your kitchen's decor. Once you have your new sink and faucet, gather all the necessary tools and materials such as a wrench, screwdriver, plumber's putty, and silicone sealant.How to Install a Kitchen Sink and Faucet
Before starting the installation process, shut off the water supply to your kitchen. Then, remove the old sink and faucet by disconnecting the water supply lines, the drain pipe, and any mounting hardware. Make sure to have a bucket handy to catch any excess water. Next, clean the area where the old sink was and install the new sink by attaching any mounting hardware and sealing it with silicone caulk. Make sure to follow the manufacturer's instructions for your specific sink model.DIY Kitchen Sink and Faucet Installation
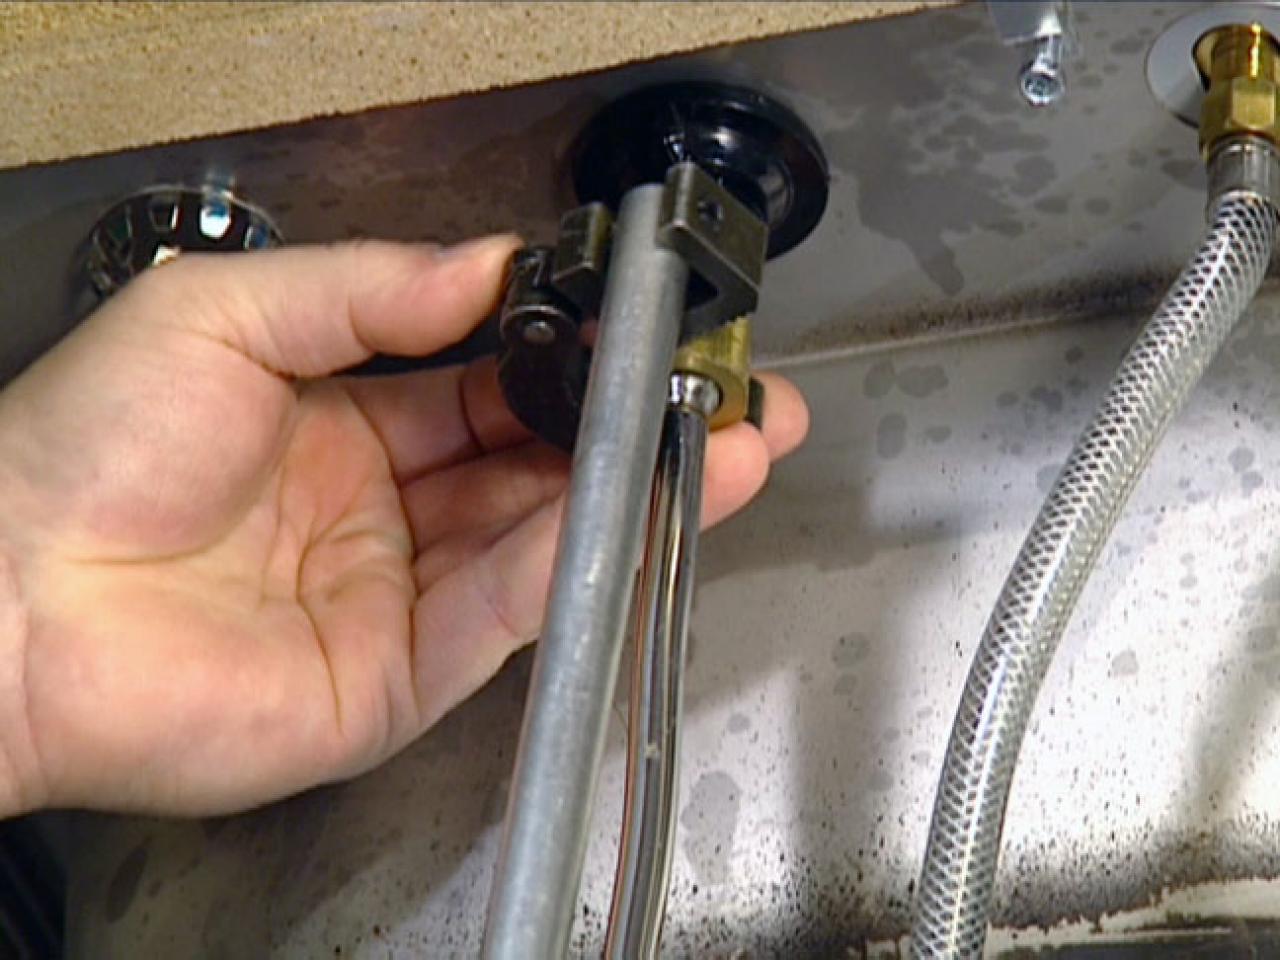
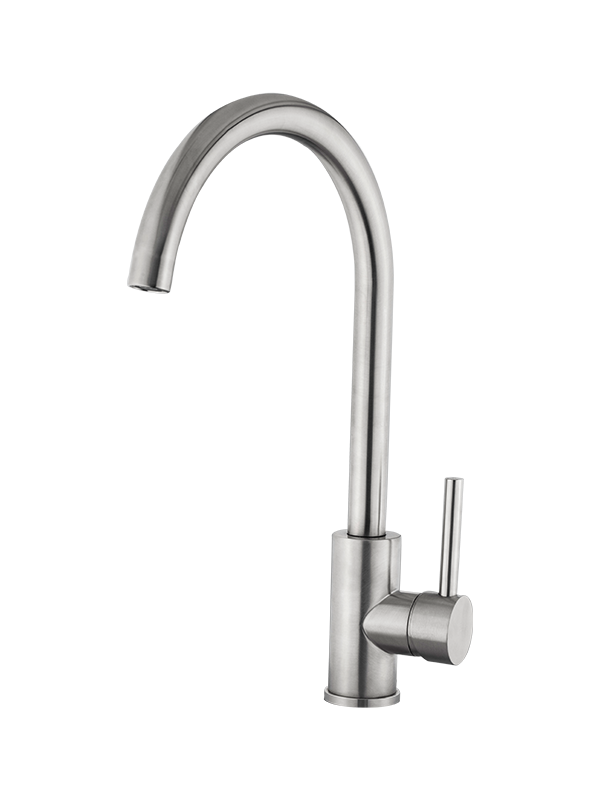
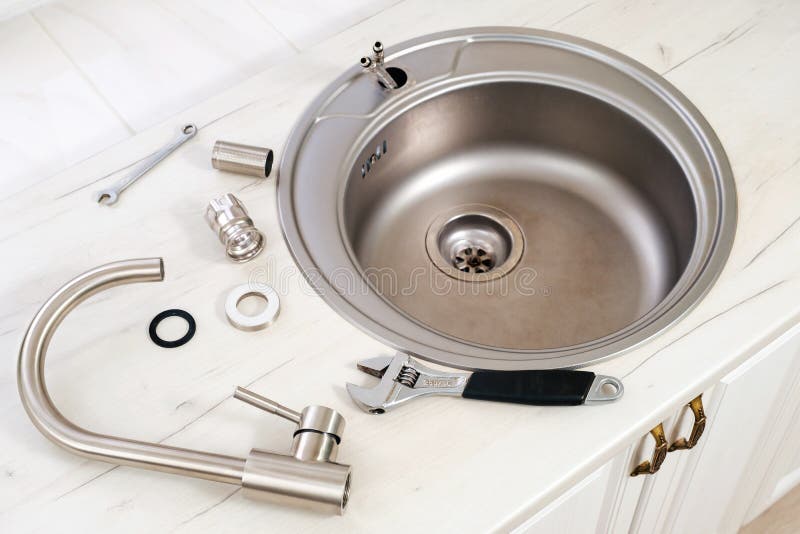
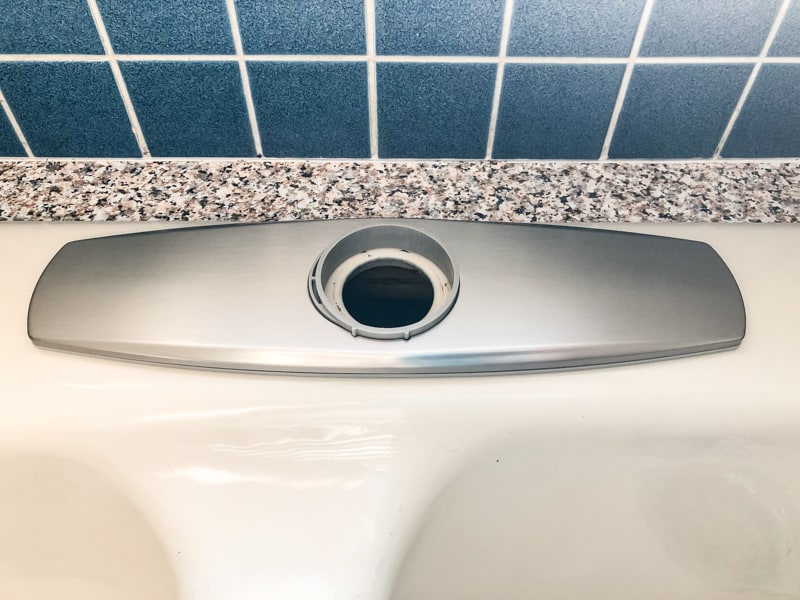
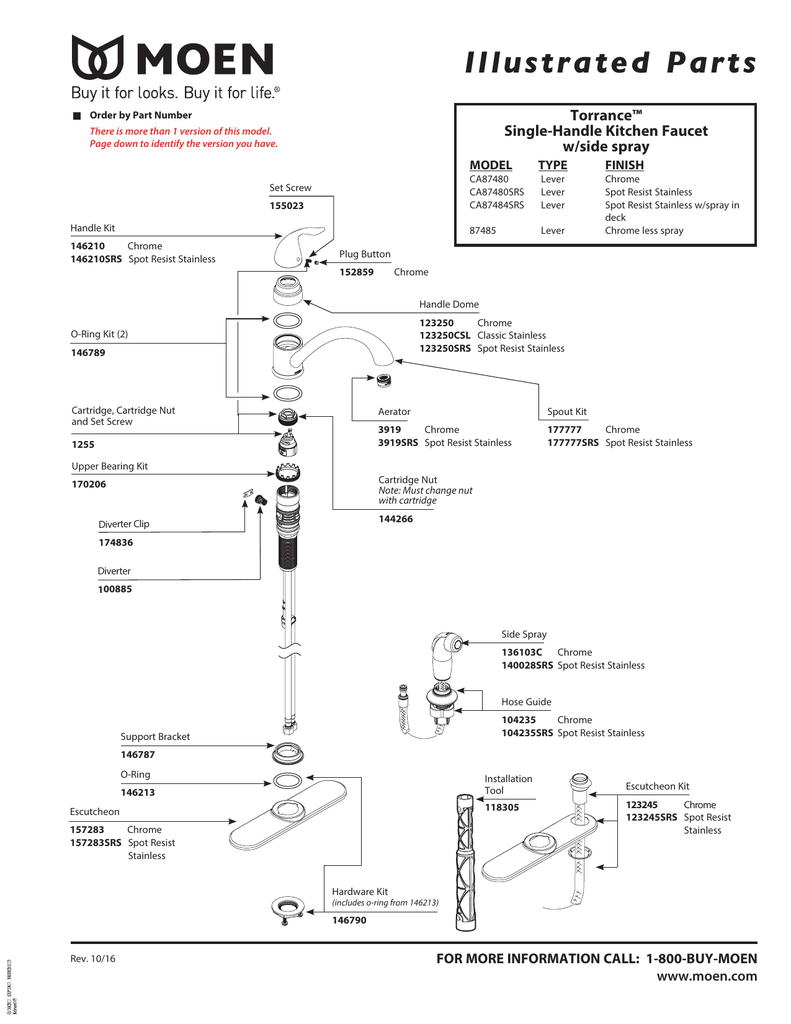
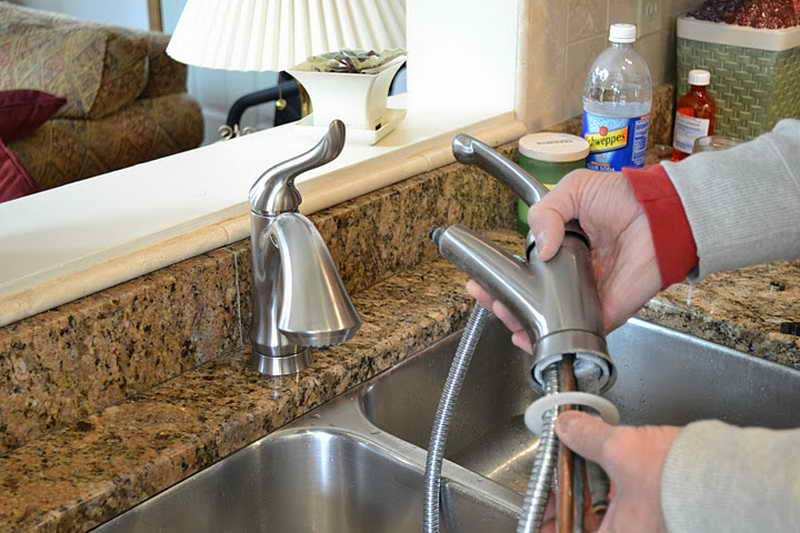
Now it's time to install the faucet. Begin by attaching any necessary hardware, such as the mounting bracket, to the sink. Then, place the faucet in the mounting hole and secure it from underneath with the provided nuts and washers. Once the faucet is securely in place, attach the water supply lines and tighten with a wrench. Make sure to use thread seal tape to prevent any leaks.Installing a Kitchen Sink and Faucet: A Beginner's Guide
After the faucet is installed, it's time to connect the drain pipe. Apply plumber's putty around the drain opening and place the drain assembly into the sink. Tighten the nut on the bottom of the sink to secure it in place. Finally, connect the drain pipe to the sink drain and attach it to the plumbing under the sink. Turn the water supply back on and check for any leaks. If everything looks good, you're all set!Pictures of Kitchen Sink and Faucet Installation
Remember to properly maintain your new sink and faucet by regularly cleaning and checking for any leaks. It's also a good idea to run hot water through the faucet for a few minutes to flush out any debris before using it for the first time. Installing a kitchen sink and faucet may seem challenging, but with the right tools and this easy-to-follow tutorial, you can complete the project in no time. And the best part is, you will have a beautiful and functional new kitchen sink and faucet to enjoy for years to come.Easy Kitchen Sink and Faucet Installation Tutorial
If you're not confident in your DIY skills, it's always a good idea to consult a professional plumber for assistance. They can ensure that the installation is done correctly and help you troubleshoot any issues that may arise. Another helpful tip is to always read the manufacturer's instructions for your specific sink and faucet model. This will ensure that you have all the necessary tools and materials and that you follow the correct steps for installation.Installing a Kitchen Sink and Faucet: Tips and Tricks
If you're a visual learner, you can find many helpful videos and step-by-step photo guides online to guide you through the installation process. This can also give you a better idea of what to expect and how to troubleshoot any issues that may arise.Kitchen Sink and Faucet Installation: Step-by-Step Photos
Once you've successfully installed your new kitchen sink and faucet, you can confidently say that you did it like a pro. Not only have you saved money on hiring a professional, but you also have the satisfaction of completing a DIY project that will enhance your kitchen's functionality and appearance.How to Install a Kitchen Sink and Faucet Like a Pro
Installing a kitchen sink and faucet may seem overwhelming, but with this comprehensive guide, you are now equipped with the knowledge and steps to complete the project successfully. Remember to take your time and consult professional help if needed. Happy installing!DIY Kitchen Sink and Faucet Installation: A Comprehensive Guide
How to Install a Kitchen Sink with Faucet: A Step-by-Step Guide

Preparation

Before you can begin installing your new kitchen sink with faucet, there are a few key steps you need to take to ensure a successful and hassle-free installation process. First, gather all of your materials and tools, including the sink and faucet, plumber's putty, silicone caulk, a wrench, and a screwdriver. Make sure to measure your sink and faucet beforehand to ensure they will fit in your designated space.
Next, turn off the water supply to your kitchen sink and disconnect the previous sink and faucet, if applicable. This will prevent any water damage or accidents during the installation process. Lastly, thoroughly clean the area where the sink will be installed to ensure a clean and secure surface for the new sink.
Step 1: Install the Faucet

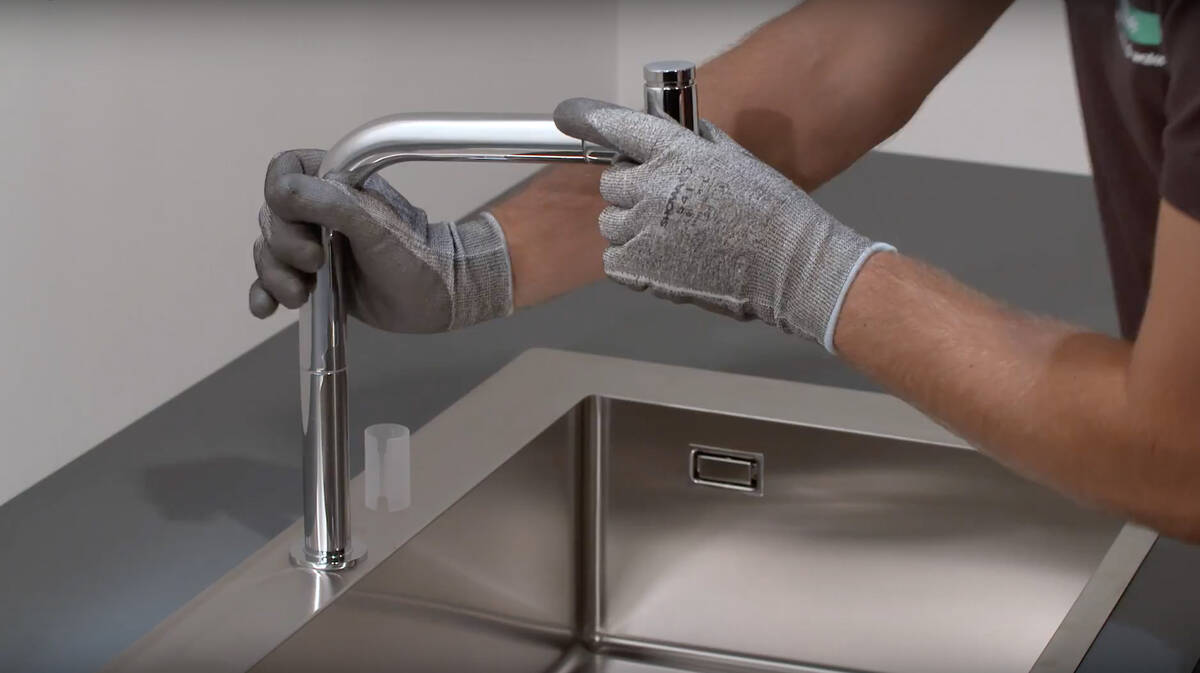
Begin by attaching the faucet to the sink, following the manufacturer's instructions. Use plumber's putty or silicone caulk to create a watertight seal around the base of the faucet. Carefully lower the faucet into the designated holes in the sink and secure it from underneath with a wrench. Make sure the faucet is straight and securely attached to the sink before moving on to the next step.
Step 2: Attach the Drain

The next step is to attach the drain to the sink. Apply plumber's putty or silicone caulk around the drain opening in the sink and insert the drain. From underneath the sink, tighten the drain using a wrench. Make sure the drain is securely in place and there are no leaks.
Step 3: Position the Sink

With the faucet and drain attached, carefully position the sink into place. Make sure the sink is level and centered in the designated space. Once in place, use clips or brackets to secure the sink to the countertop.
Step 4: Connect the Water Supply
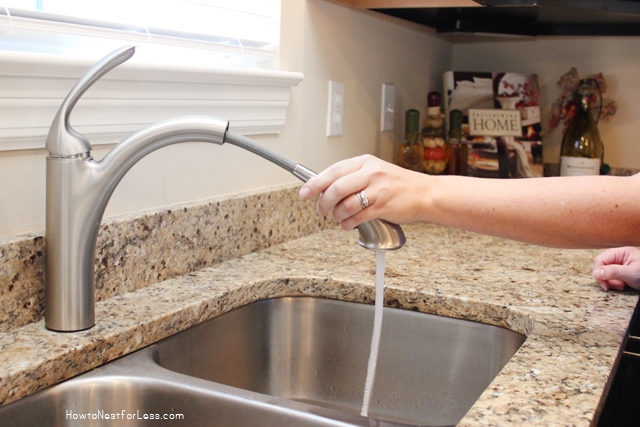
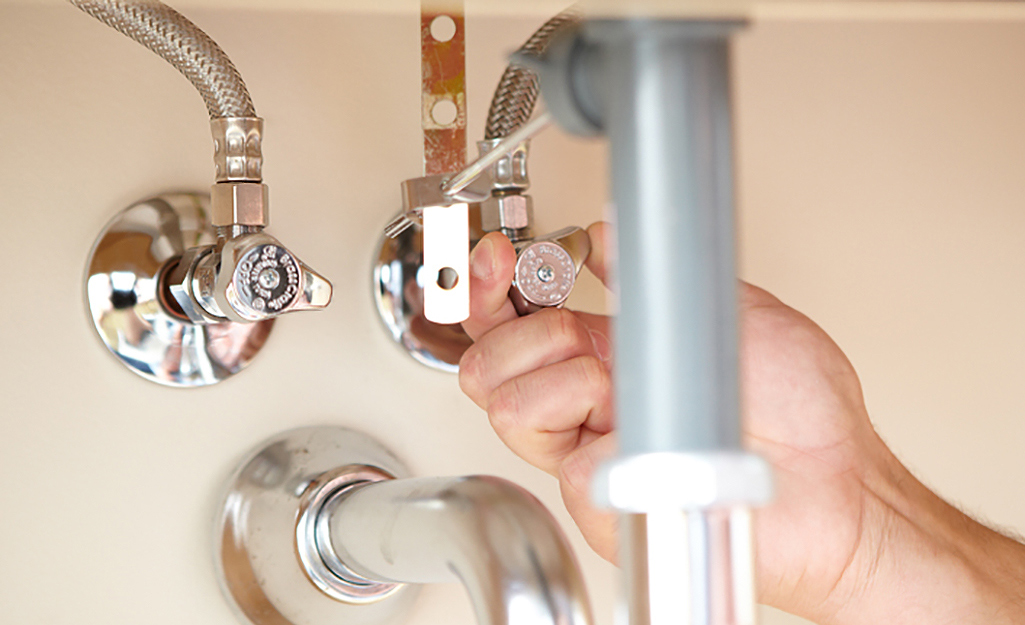
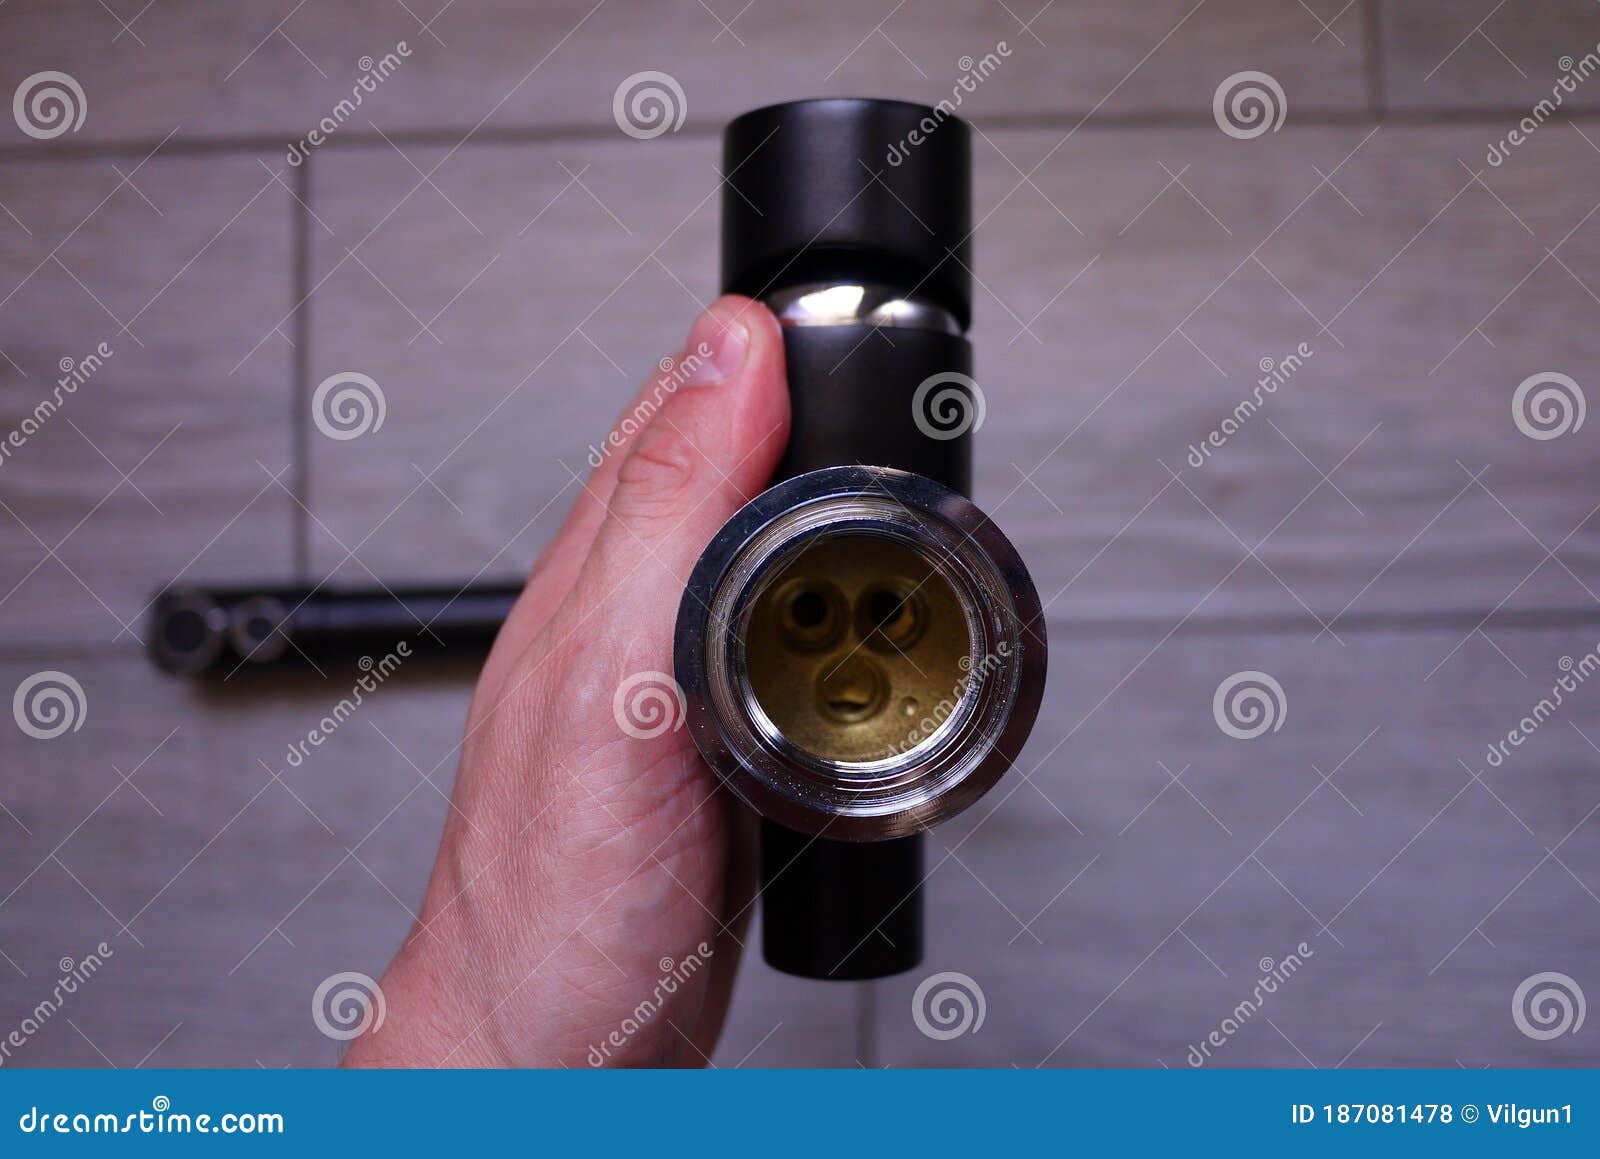
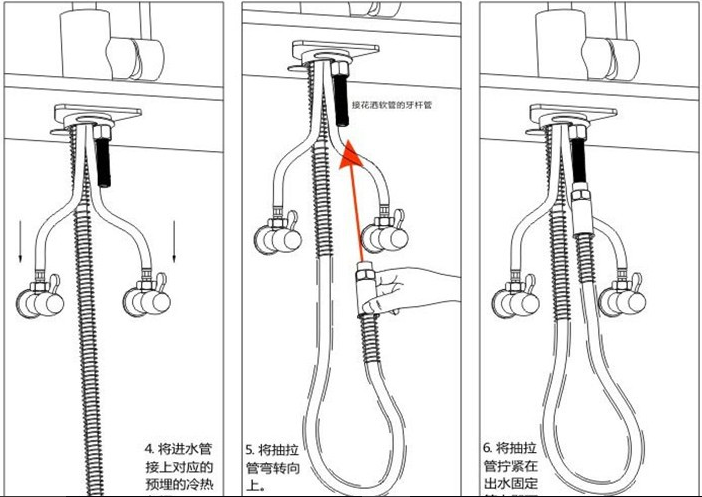
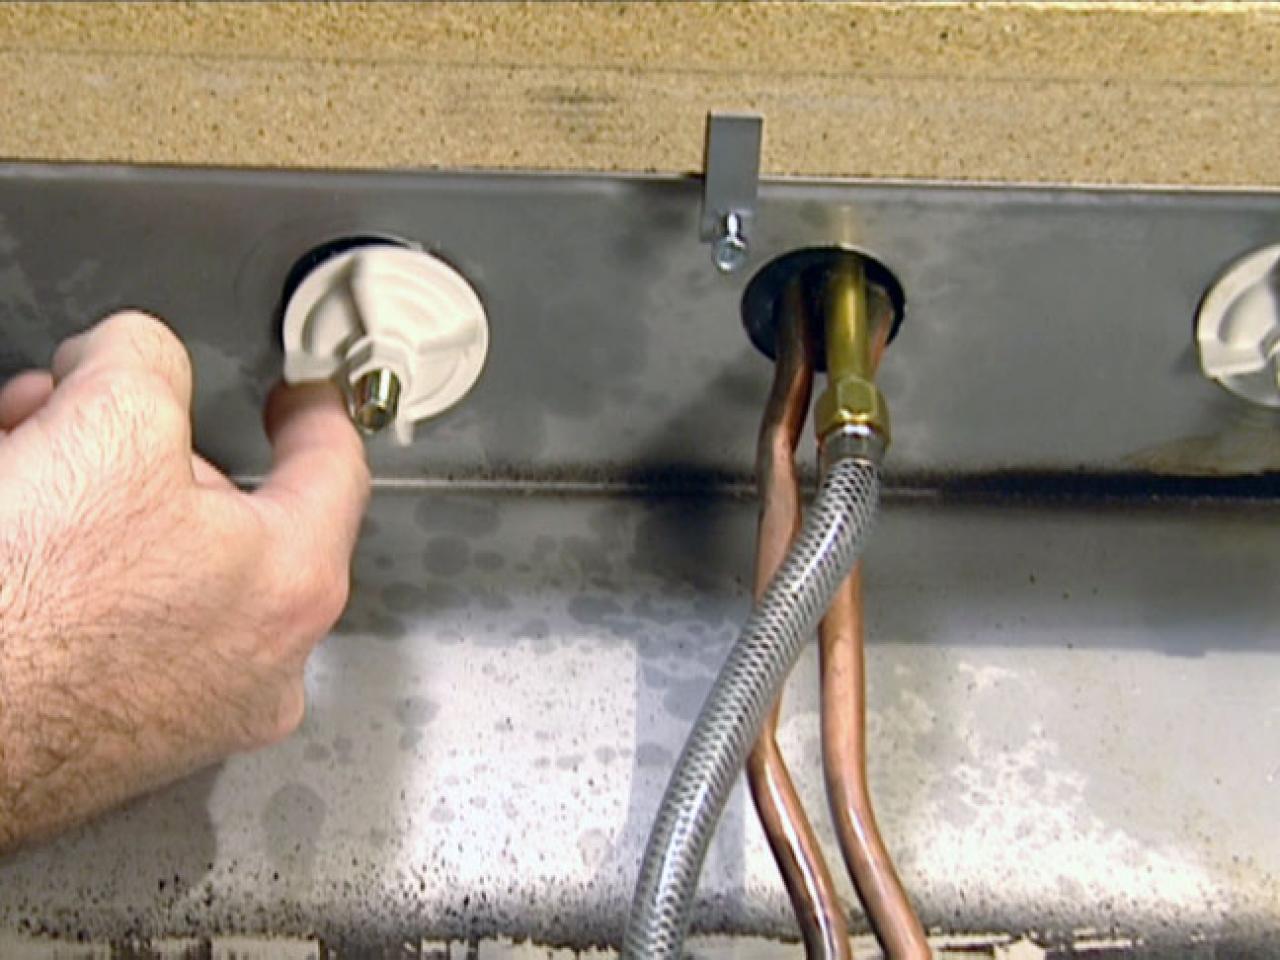
Now it's time to connect the water supply to the faucet. First, attach the water supply lines to the corresponding hot and cold water valves. Use a wrench to tighten the connections. Then, attach the other end of the water supply lines to the corresponding inlets on the faucet. Again, use a wrench to ensure the connections are secure.
Step 5: Apply Caulk and Finish
The final step is to apply a bead of silicone caulk around the edges of the sink, where it meets the countertop. This will create a watertight seal and prevent any leaks. Use a damp cloth to smooth out the caulk and remove any excess. Let the caulk dry completely before using your new kitchen sink with faucet.
By following these steps, you can easily and successfully install a kitchen sink with faucet. Make sure to double check all connections and tighten any loose parts before using the sink. Now you can enjoy your new and improved kitchen design!


:no_upscale()/cdn.vox-cdn.com/uploads/chorus_asset/file/19495086/drain_0.jpg)









/header-16x19-image-640w-853h.jpg)


