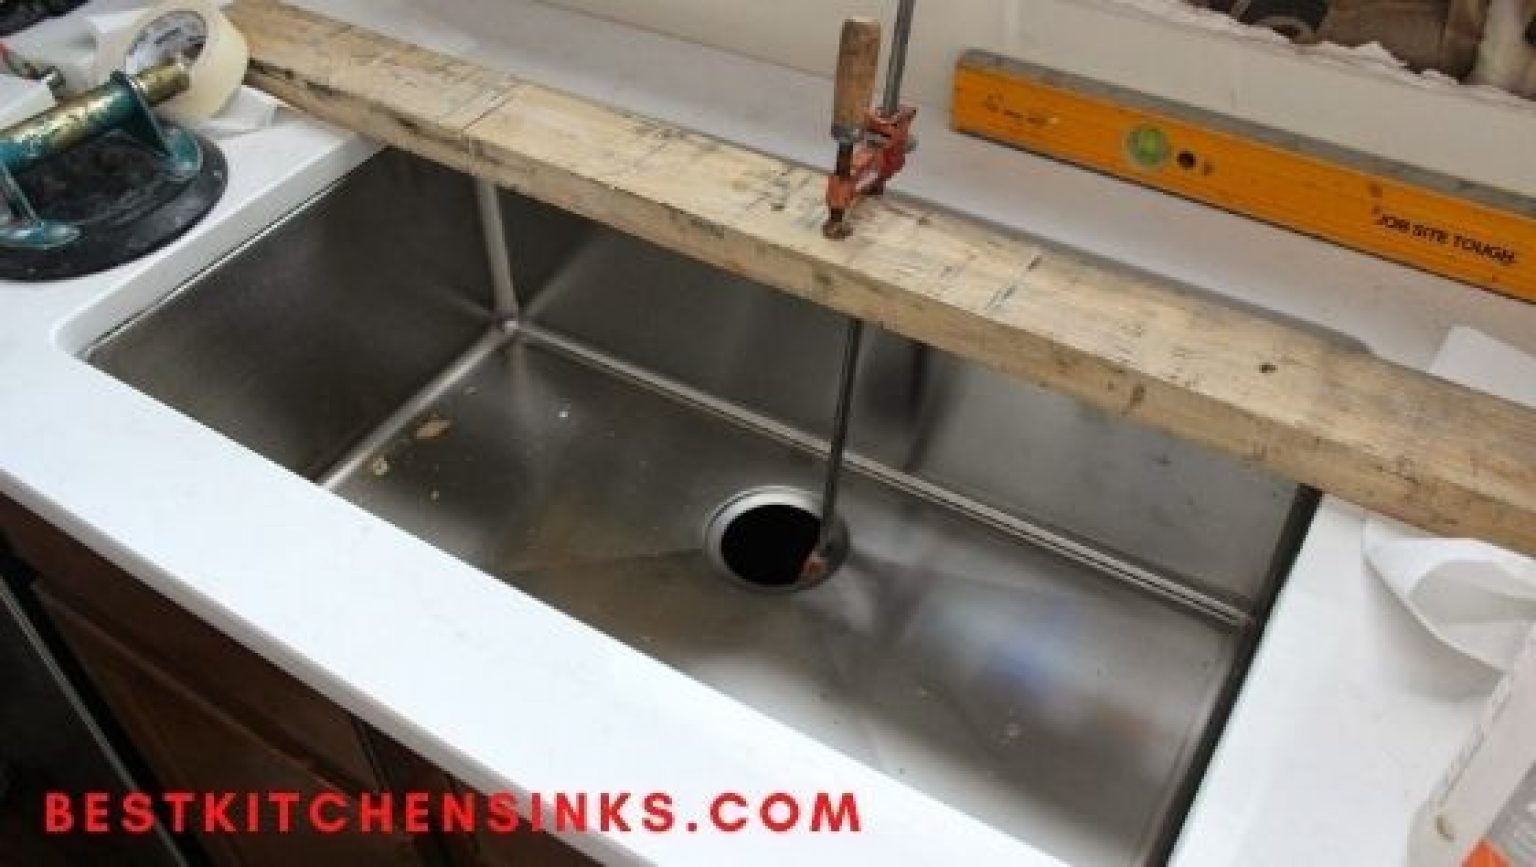
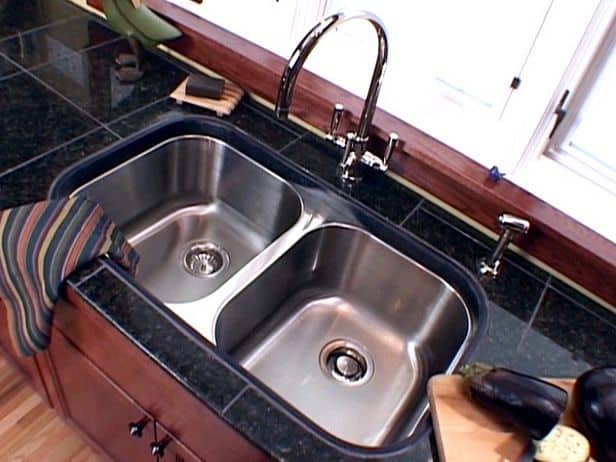
Mounting an undermount copper kitchen sink may seem like a daunting task, but with the right tools and techniques, it can be a simple and smooth process. In this article, we'll guide you through the steps of mounting an undermount copper kitchen sink, from preparation to completion. So, roll up your sleeves and let's get started!How to Mount an Undermount Copper Kitchen Sink


How to Mount an Undermount Copper Kitchen Sink


Step 1: Measure and prepare your sink cutout - Before you start mounting your sink, make sure that your countertop is properly measured and cut to fit the sink. Double check the measurements to ensure a perfect fit. Step 2: Clean the sink and countertop - Thoroughly clean the sink and the countertop where the sink will be mounted. Use a mild cleaner and wipe down the surfaces to remove any dirt or debris. Step 3: Apply sealant - Apply a bead of silicone sealant along the edge of the sink cutout. This will help create a watertight seal between the sink and the countertop. Step 4: Carefully place the sink - Gently place the sink into the cutout, making sure that it is centered and aligned properly. Press down firmly to ensure a good seal with the sealant. Step 5: Secure the sink - Use mounting clips or brackets to secure the sink to the countertop. These can be attached to the underside of the countertop using screws. Step 6: Check for level - Use a level to make sure that the sink is sitting evenly on the countertop. If it is not level, adjust the clips or brackets accordingly. Step 7: Let the sealant dry - Allow the silicone sealant to dry completely before moving on to the next step. This usually takes around 24 hours. Step 8: Attach the drain and faucet - Once the sealant is dry, you can install the drain and faucet onto the sink according to the manufacturer's instructions. Step 9: Test for leaks - Turn on the water and check for any leaks. If you find any, tighten the connections or reapply sealant as necessary. Step 10: Clean up - Wipe down the sink and countertop, and clean up any excess sealant. Your undermount copper kitchen sink is now successfully mounted and ready to use!Mounting an Undermount Copper Kitchen Sink: A Step-by-Step Guide


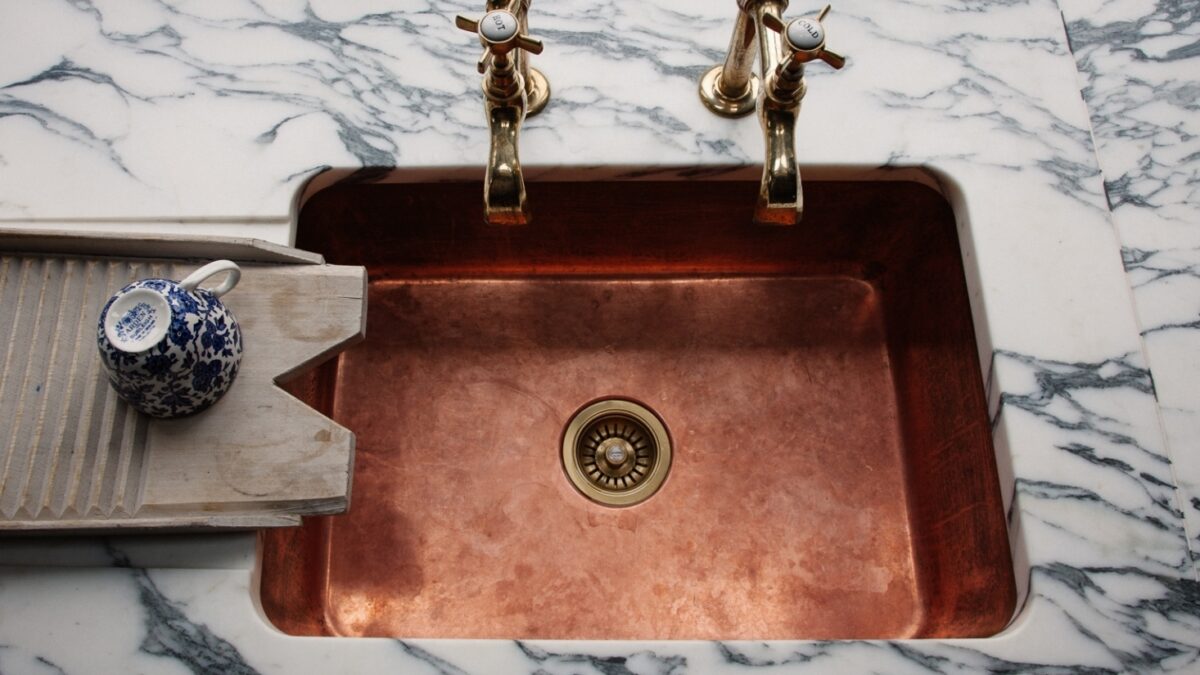
Mounting an Undermount Copper Kitchen Sink: A Step-by-Step Guide


Installing an undermount copper kitchen sink may require some extra attention and care, but with these tips and tricks, you'll be able to achieve a professional-looking installation. Tip 1: Use a template - Most undermount sinks come with a template that can be used to mark the cutout on the countertop. This will ensure that the sink is perfectly aligned and centered. Tip 2: Use a supporting frame - If your sink is particularly heavy, you may need to use a supporting frame to help hold it in place while the sealant dries. Tip 3: Use a caulk gun - A caulk gun can help you apply the silicone sealant evenly and smoothly, making for a better seal. Tip 4: Don't over-tighten screws - When securing the sink to the countertop, be careful not to over-tighten the screws as this can cause damage to the sink or countertop. Tip 5: Use a plumber's putty - For a tighter seal, you can use plumber's putty around the drain before installing it onto the sink.Installing an Undermount Copper Kitchen Sink: Tips and Tricks

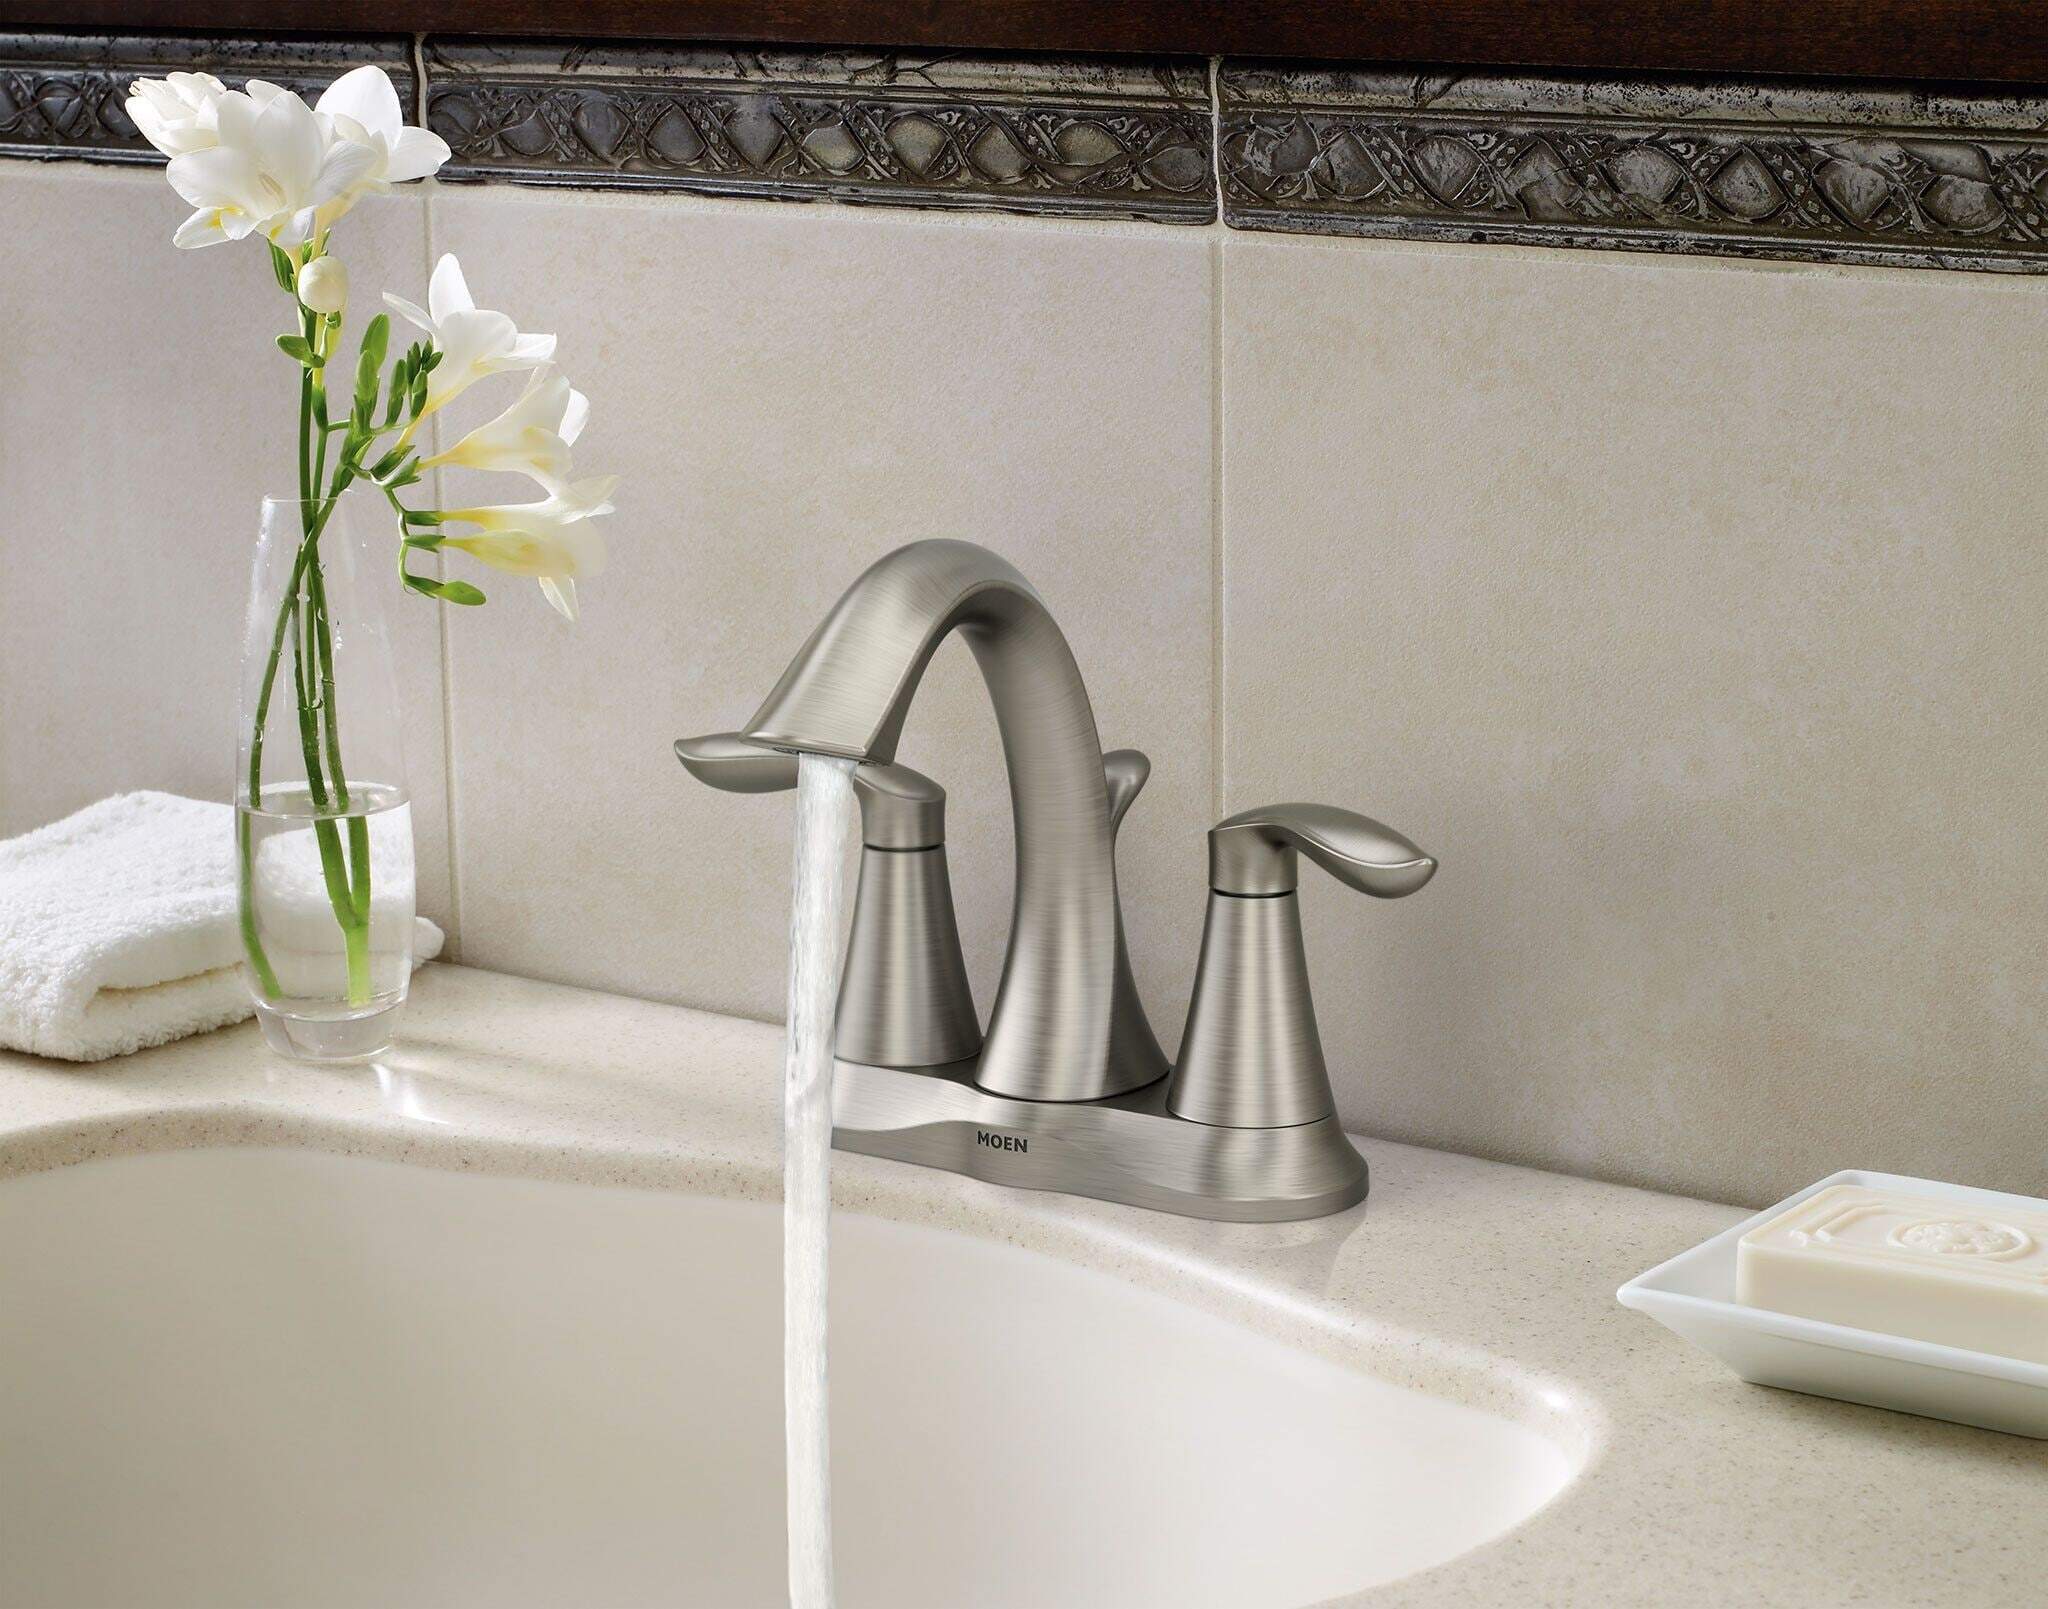
:max_bytes(150000):strip_icc()/copper-kitchen-sink-faucet_4389236-4af855f513f347c18349fcf54ce3d18e.jpg)

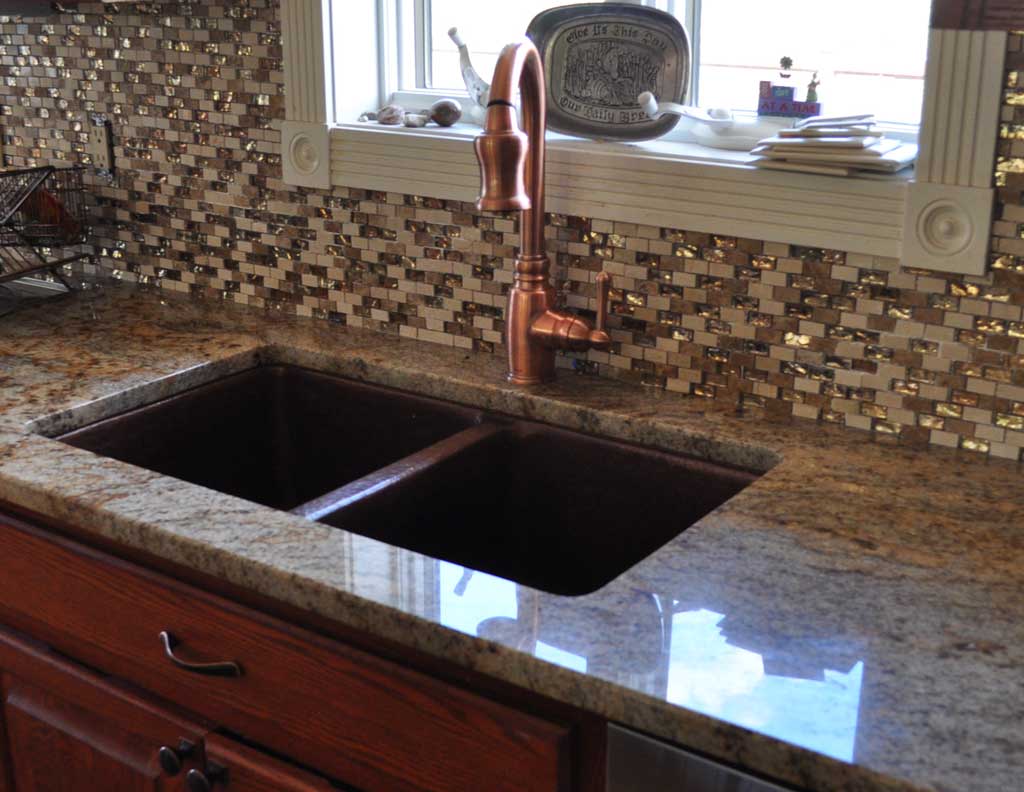
Installing an Undermount Copper Kitchen Sink: Tips and Tricks


Before you start mounting your undermount copper kitchen sink, there are a few important things you should know to ensure a successful installation. 1. Weight - Copper sinks are heavier than traditional sinks, so it's important to make sure that your countertop can support the weight of the sink. 2. Support - If you have a large or heavy sink, you may need to add additional support underneath the countertop to prevent it from sagging. 3. Maintenance - Copper sinks require regular maintenance to keep them looking their best. It's important to clean and dry the sink after each use to prevent water spots and stains. 4. Water damage - Because copper is a natural material, it can be susceptible to water damage. Make sure to wipe up any spills or splashes immediately to prevent discoloration or damage.Undermount Copper Kitchen Sink Installation: What You Need to Know


Undermount Copper Kitchen Sink Installation: What You Need to Know


If you're a beginner and want to tackle mounting an undermount copper kitchen sink on your own, don't worry! With the right tools and instructions, you can achieve a professional-looking installation. Main keywords: DIY Undermount Copper Kitchen Sink Mounting Step 1: Gather your tools and materials - You will need a drill, drill bits, screws, silicone sealant, a caulk gun, and a level. Step 2: Measure and prepare your sink cutout - Use the sink's template to mark the cutout on your countertop. Step 3: Clean the sink and countertop - Thoroughly clean both surfaces before starting the installation. Step 4: Apply sealant - Apply a bead of silicone sealant along the edge of the sink cutout. Step 5: Carefully place the sink - Gently place the sink into the cutout and press down firmly to create a good seal with the sealant. Step 6: Secure the sink - Use mounting clips or brackets to secure the sink to the countertop. Step 7: Check for level - Use a level to make sure the sink is sitting evenly on the countertop. Step 8: Let the sealant dry - Allow the silicone sealant to dry completely before proceeding. Step 9: Attach the drain and faucet - Install the drain and faucet onto the sink according to the manufacturer's instructions. Step 10: Test for leaks - Turn on the water and check for any leaks. If you find any, tighten the connections or reapply sealant as needed.DIY Undermount Copper Kitchen Sink Mounting: A Beginner's Guide


DIY Undermount Copper Kitchen Sink Mounting: A Beginner's Guide


Even with the best intentions, mistakes can happen during the installation process. Here are some common mistakes to avoid when mounting an undermount copper kitchen sink. Main keywords: Mounting an Undermount Copper Kitchen Sink 1. Improper measurements - Not double-checking the measurements of your sink and countertop can lead to a poorly fitting sink. 2. Not cleaning properly - Failure to clean the sink and countertop before installation can result in a poor seal. 3. Improper use of sealant - Using too much or too little sealant, or not allowing it to dry properly, can lead to leaks and a weak seal. 4. Over-tightening screws - Over-tightening the screws used to secure the sink can cause damage to the sink or countertop. 5. Not checking for level - If the sink is not level, it can lead to water pooling and improper drainage.Mounting an Undermount Copper Kitchen Sink: Common Mistakes to Avoid


Mounting an Undermount Copper Kitchen Sink: Common Mistakes to Avoid


Before you start mounting your undermount copper kitchen sink, make sure you have all the necessary tools and materials on hand. Main keywords: Mounting an Undermount Copper Kitchen Sink Tools: - Drill - Drill bits - Screwdriver - Level - Caulk gun - Silicone sealant Materials: - Undermount copper kitchen sink - Mounting clips or brackets - Screws - Plumber's putty (optional)Tools and Materials Needed for Mounting an Undermount Copper Kitchen Sink


Tools and Materials Needed for Mounting an Undermount Copper Kitchen Sink


Securing your undermount copper kitchen sink to your countertop is an important step in the installation process. Here's how to do it correctly. Main keywords: Securing an Undermount Copper Kitchen Sink Step 1: Place the sink - Make sure the sink is centered and aligned properly in the cutout. Step 2: Mark the location - Use a pencil to mark the location of the mounting clips or brackets on the underside of the countertop. Step 3: Drill holes - Use a drill to create holes for the screws in the marked locations. Step 4: Attach clips or brackets - Place the mounting clips or brackets onto the countertop and secure them with screws. Step 5: Tighten screws - Use a screwdriver to tighten the screws, making sure the sink is secure and level.How to Secure an Undermount Copper Kitchen Sink to Your Countertop

How to Secure an Undermount Copper Kitchen Sink to Your Countertop


To ensure a successful and long-lasting installation, it's important to use proper techniques when mounting an undermount copper kitchen sink. Main keywords: Mounting an Undermount Copper Kitchen Sink 1. Cleanliness - Make sure to thoroughly clean the sink and countertop before starting the installation process. 2. Proper sealant application - Apply a thin, even layer of silicone sealant to create a watertight seal between the sink and countertop. 3. Use of supporting frame - If your sink is heavy, use a supporting frame to help hold it in place while the sealant dries. 4. Test for level - Use a level to ensure that the sink is sitting evenly on the countertop before securing it. 5. Proper maintenance - Regularly cleaning and drying the sink after use can help prevent water damage and keep it looking its best.Proper Techniques for Mounting an Undermount Copper Kitchen Sink


Proper Techniques for Mounting an Undermount Copper Kitchen Sink

For a professional-looking installation, consider these expert tips when mounting an undermount copper kitchen sink. Main keywords: Mounting an Undermount Copper Kitchen Sink 1. Use a template - Most undermount sinks come with a template that can help you mark the cutout on the countertop for a perfect fit. 2. Don't over-tighten - Be careful not to over-tighten screws when securing the sink, as this can cause damage to the sink or countertop. 3. Use a caulk gun - A caulk gun can help you apply the silicone sealant evenly and smoothly, making for a better seal. 4. Check for leaks - After installation, check for leaks and make any necessary adjustments to ensure a watertight seal. 5. Proper support - If your sink is particularly heavy, make sure to add additional support underneath the countertop to prevent sagging.Expert Tips for Mounting an Undermount Copper Kitchen Sink

Expert Tips for Mounting an Undermount Copper Kitchen Sink


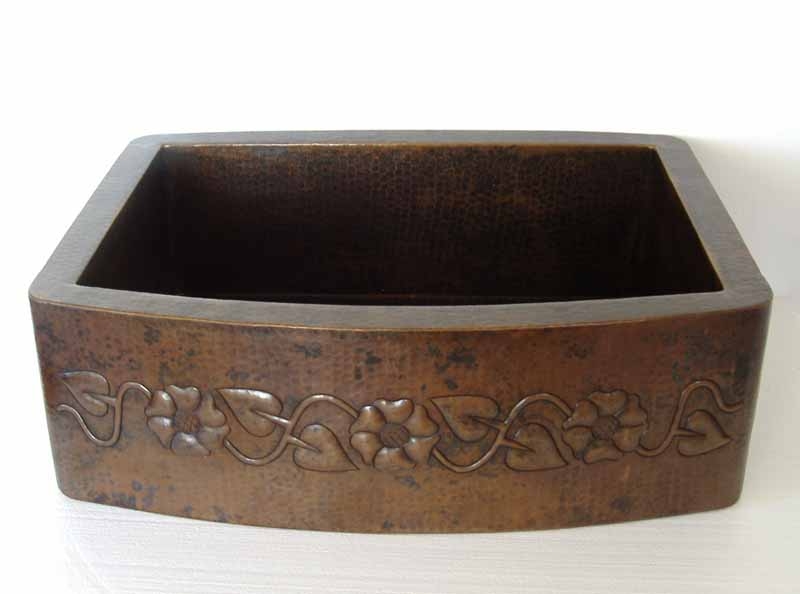
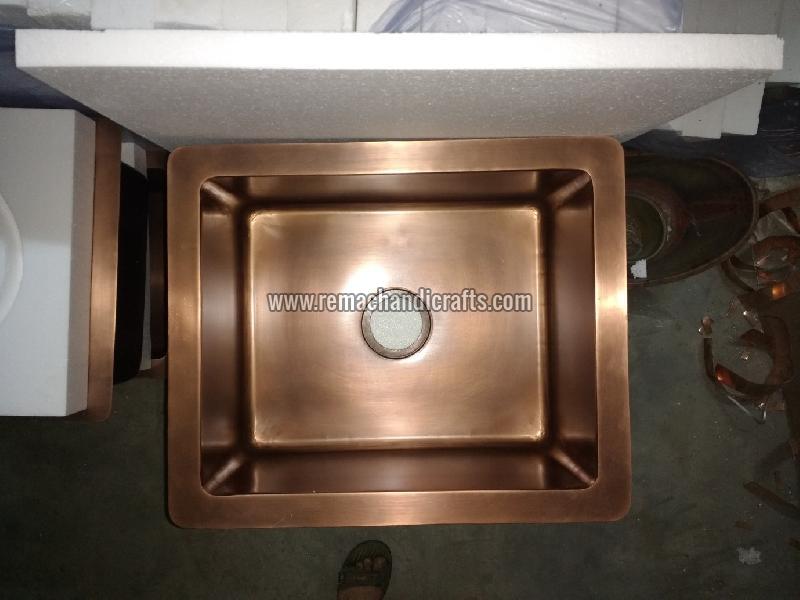
Benefits of Choosing an Undermount Copper Kitchen Sink

Durability and Longevity
 One of the main reasons to choose an undermount copper kitchen sink for your kitchen is its durability and longevity. Copper is a naturally strong and durable material, making it an ideal choice for a kitchen sink that will see daily use.
Unlike other materials, copper sinks are resistant to scratches, dents, and stains, making them a long-lasting investment for your home.
One of the main reasons to choose an undermount copper kitchen sink for your kitchen is its durability and longevity. Copper is a naturally strong and durable material, making it an ideal choice for a kitchen sink that will see daily use.
Unlike other materials, copper sinks are resistant to scratches, dents, and stains, making them a long-lasting investment for your home.
Unique and Stylish Design
 Another benefit of choosing an undermount copper kitchen sink is its unique and stylish design. Copper has a warm and rich color that adds a touch of elegance to any kitchen.
The natural patina that forms on copper over time also adds character and charm to the sink, giving it a one-of-a-kind look.
Additionally, copper sinks come in a variety of shapes and sizes, allowing you to choose the perfect one for your kitchen design.
Another benefit of choosing an undermount copper kitchen sink is its unique and stylish design. Copper has a warm and rich color that adds a touch of elegance to any kitchen.
The natural patina that forms on copper over time also adds character and charm to the sink, giving it a one-of-a-kind look.
Additionally, copper sinks come in a variety of shapes and sizes, allowing you to choose the perfect one for your kitchen design.
Easy Maintenance
 Maintaining an undermount copper kitchen sink is also relatively easy.
Copper naturally has antimicrobial properties, making it a hygienic choice for a sink.
It is also easy to clean and only requires mild soap and water. Regularly wiping down the sink with a soft cloth will keep it looking shiny and new.
Maintaining an undermount copper kitchen sink is also relatively easy.
Copper naturally has antimicrobial properties, making it a hygienic choice for a sink.
It is also easy to clean and only requires mild soap and water. Regularly wiping down the sink with a soft cloth will keep it looking shiny and new.
Increased Home Value
 Investing in a high-quality undermount copper kitchen sink can also increase the value of your home.
Homebuyers are often drawn to unique and stylish kitchen features, and a copper sink is sure to catch their eye.
Additionally, the durability and longevity of copper sinks make them a desirable feature for potential buyers.
Investing in a high-quality undermount copper kitchen sink can also increase the value of your home.
Homebuyers are often drawn to unique and stylish kitchen features, and a copper sink is sure to catch their eye.
Additionally, the durability and longevity of copper sinks make them a desirable feature for potential buyers.
Conclusion
 In conclusion, an undermount copper kitchen sink is a practical and stylish choice for any kitchen. Its durability, unique design, easy maintenance, and potential to increase home value make it a worthwhile investment.
Consider adding an undermount copper sink to your kitchen to elevate its design and functionality, and enjoy the many benefits it has to offer.
In conclusion, an undermount copper kitchen sink is a practical and stylish choice for any kitchen. Its durability, unique design, easy maintenance, and potential to increase home value make it a worthwhile investment.
Consider adding an undermount copper sink to your kitchen to elevate its design and functionality, and enjoy the many benefits it has to offer.