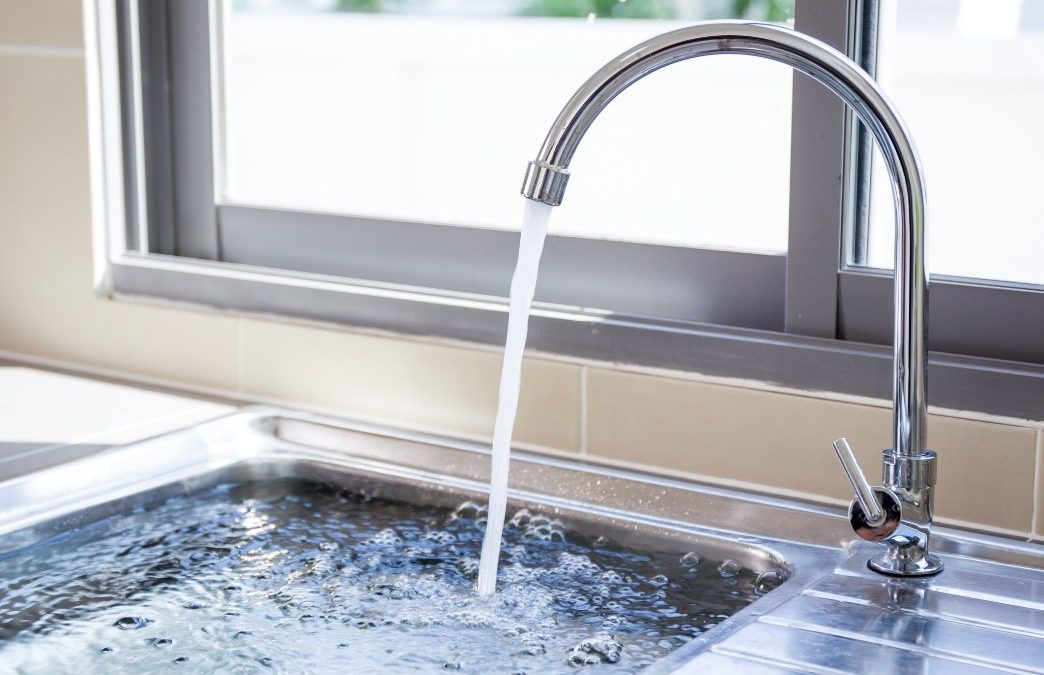
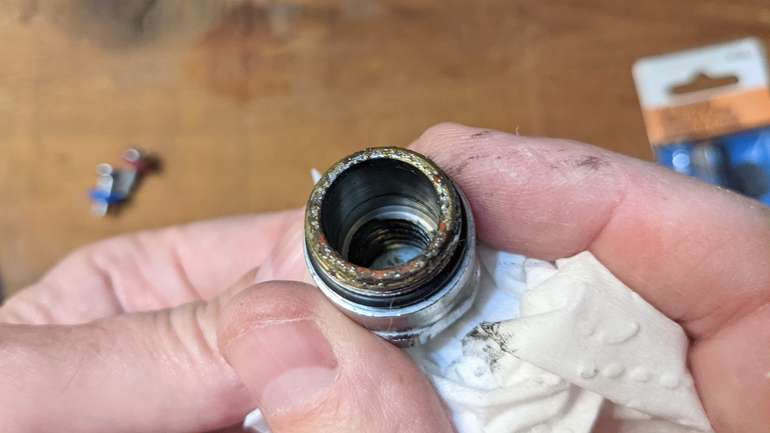
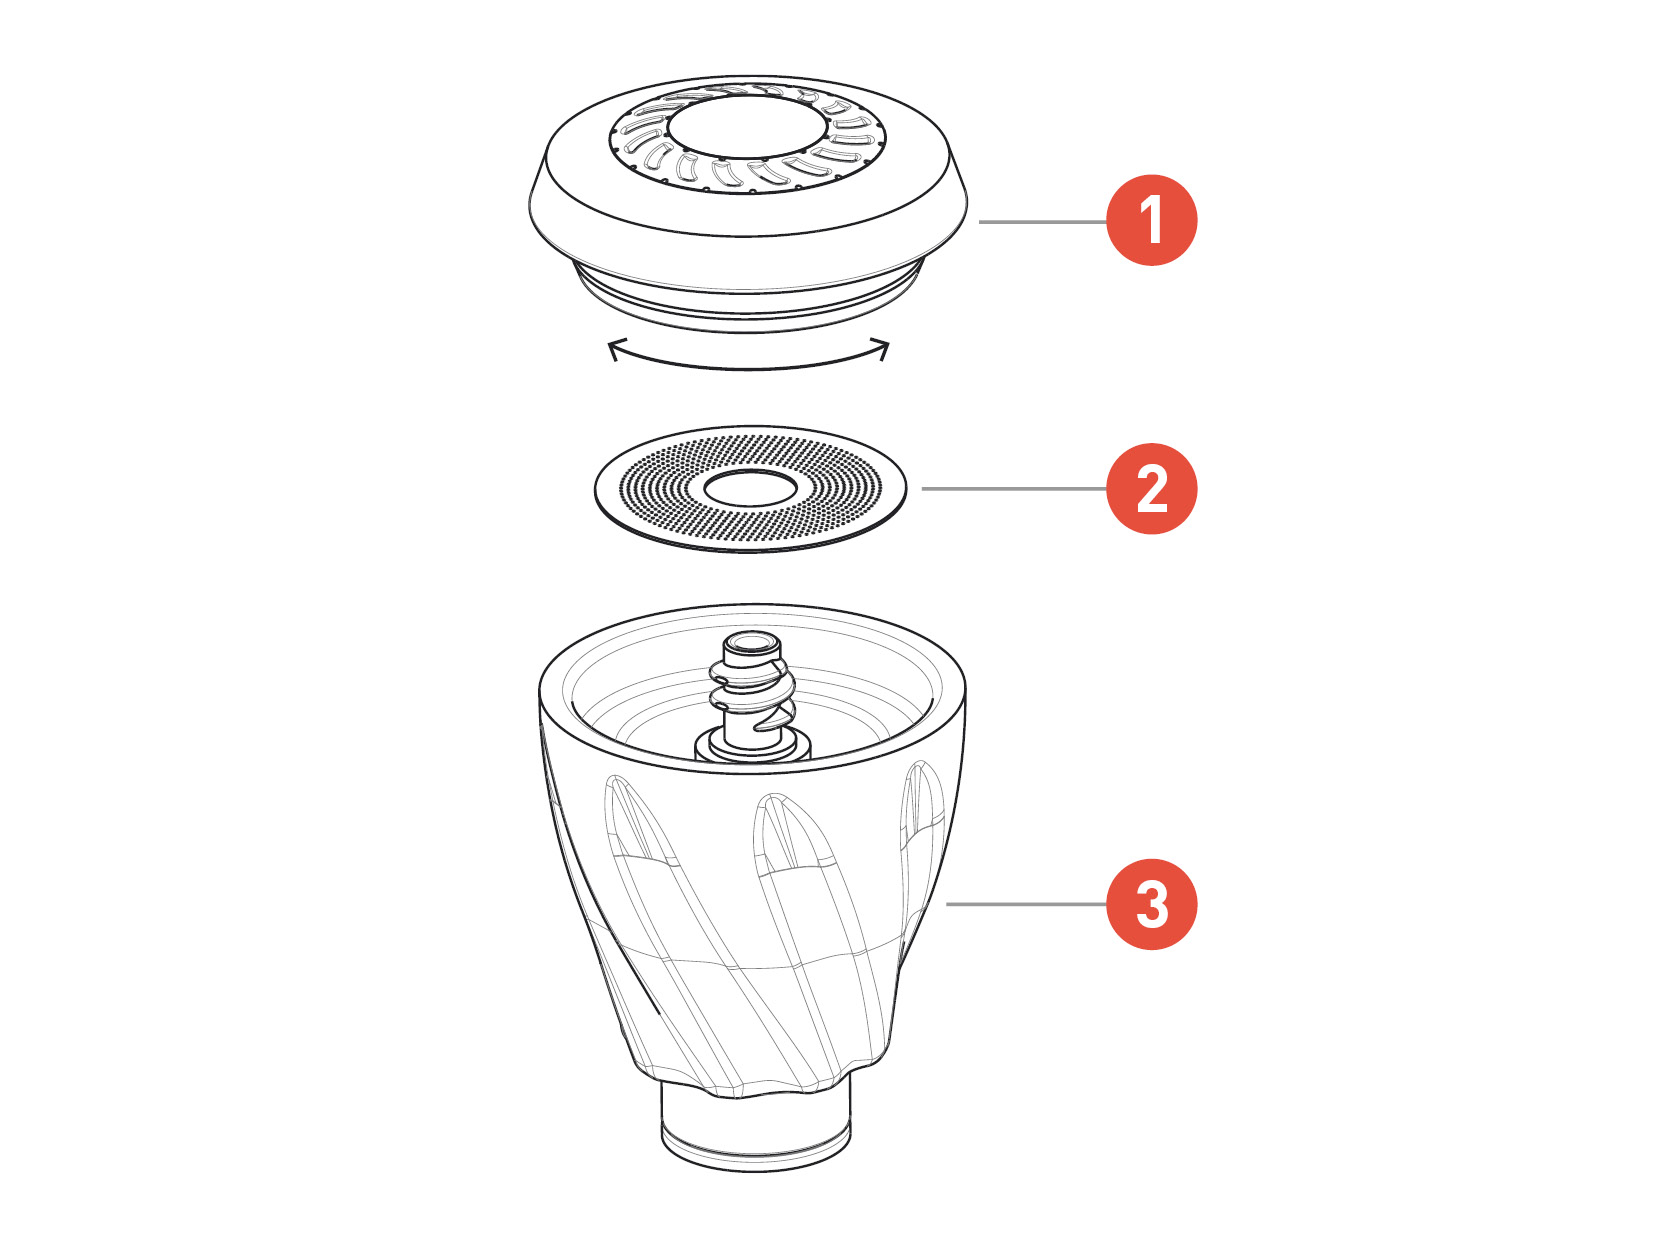
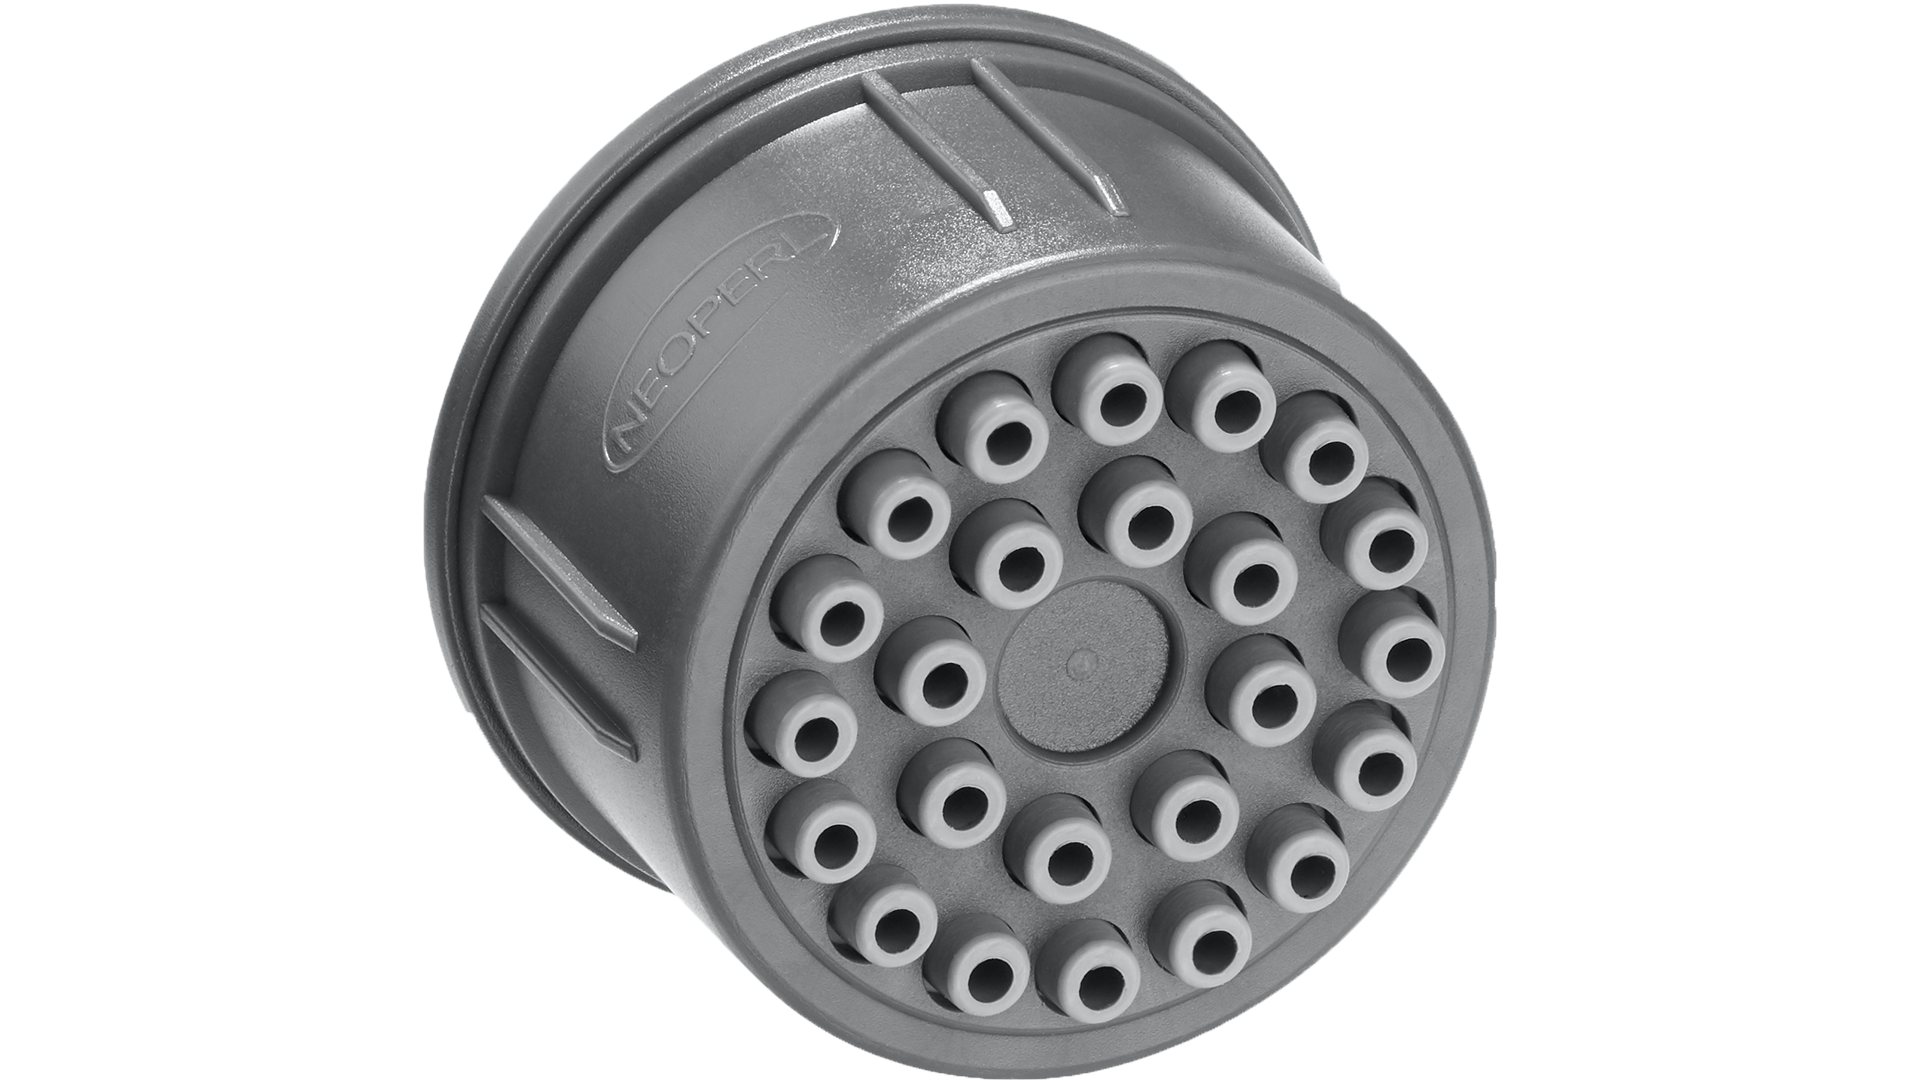
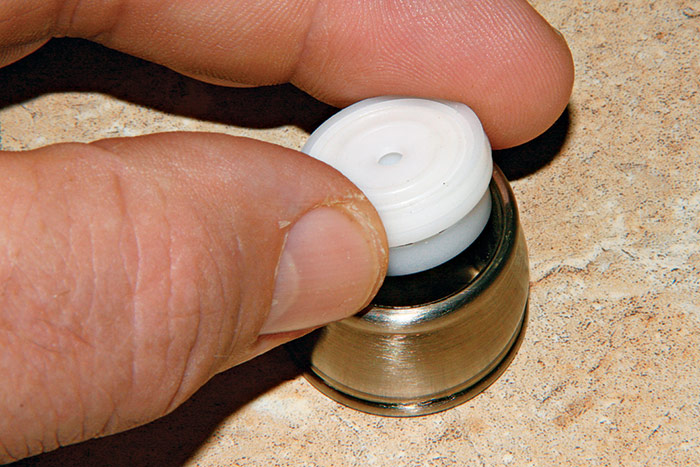
If you're experiencing low pressure in your kitchen sink, the first thing to check is the aerator. This small device is attached to the end of your faucet and helps to control the flow of water. Over time, it can become clogged with mineral deposits or debris, leading to reduced water pressure. To check the aerator, simply unscrew it from the faucet and clean it thoroughly with a brush or toothpick. If the problem persists, it may be time to replace the aerator entirely.1. Check the aerator
As mentioned, a clogged aerator can cause low pressure in your kitchen sink. If you've checked and cleaned the aerator but are still experiencing low pressure, it may be worth giving it a more thorough cleaning. Soak the aerator in a solution of equal parts water and vinegar for about 30 minutes. This should help to dissolve any stubborn mineral deposits or debris that may be causing the issue. Rinse the aerator thoroughly and screw it back onto the faucet.2. Clean the aerator
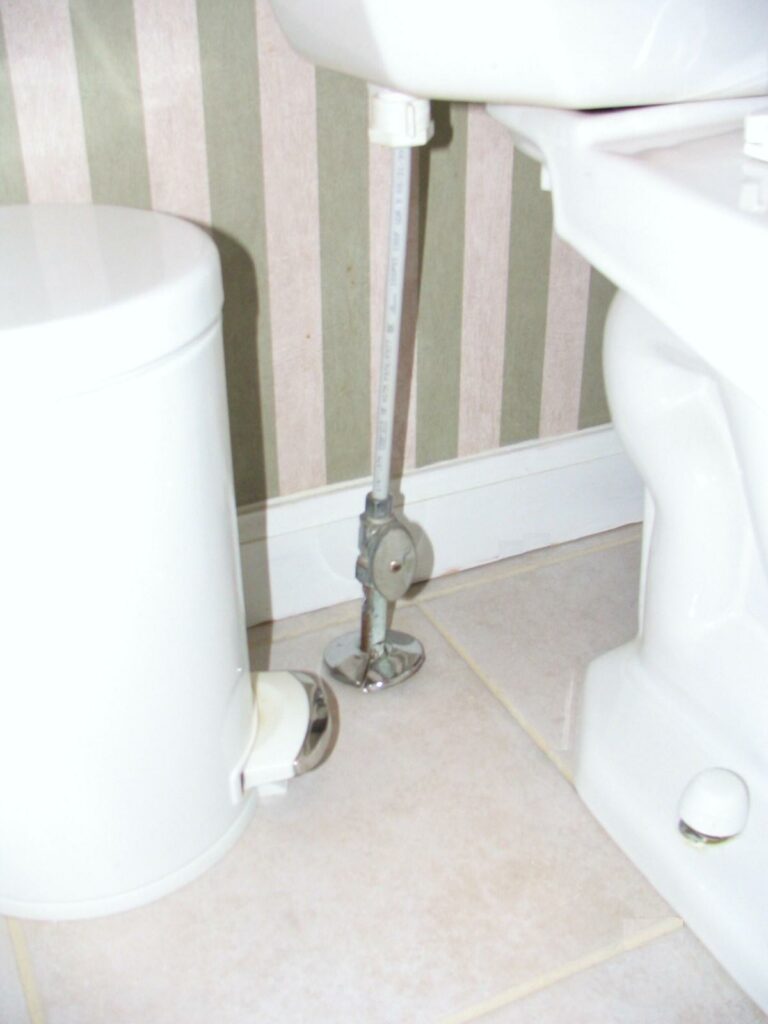
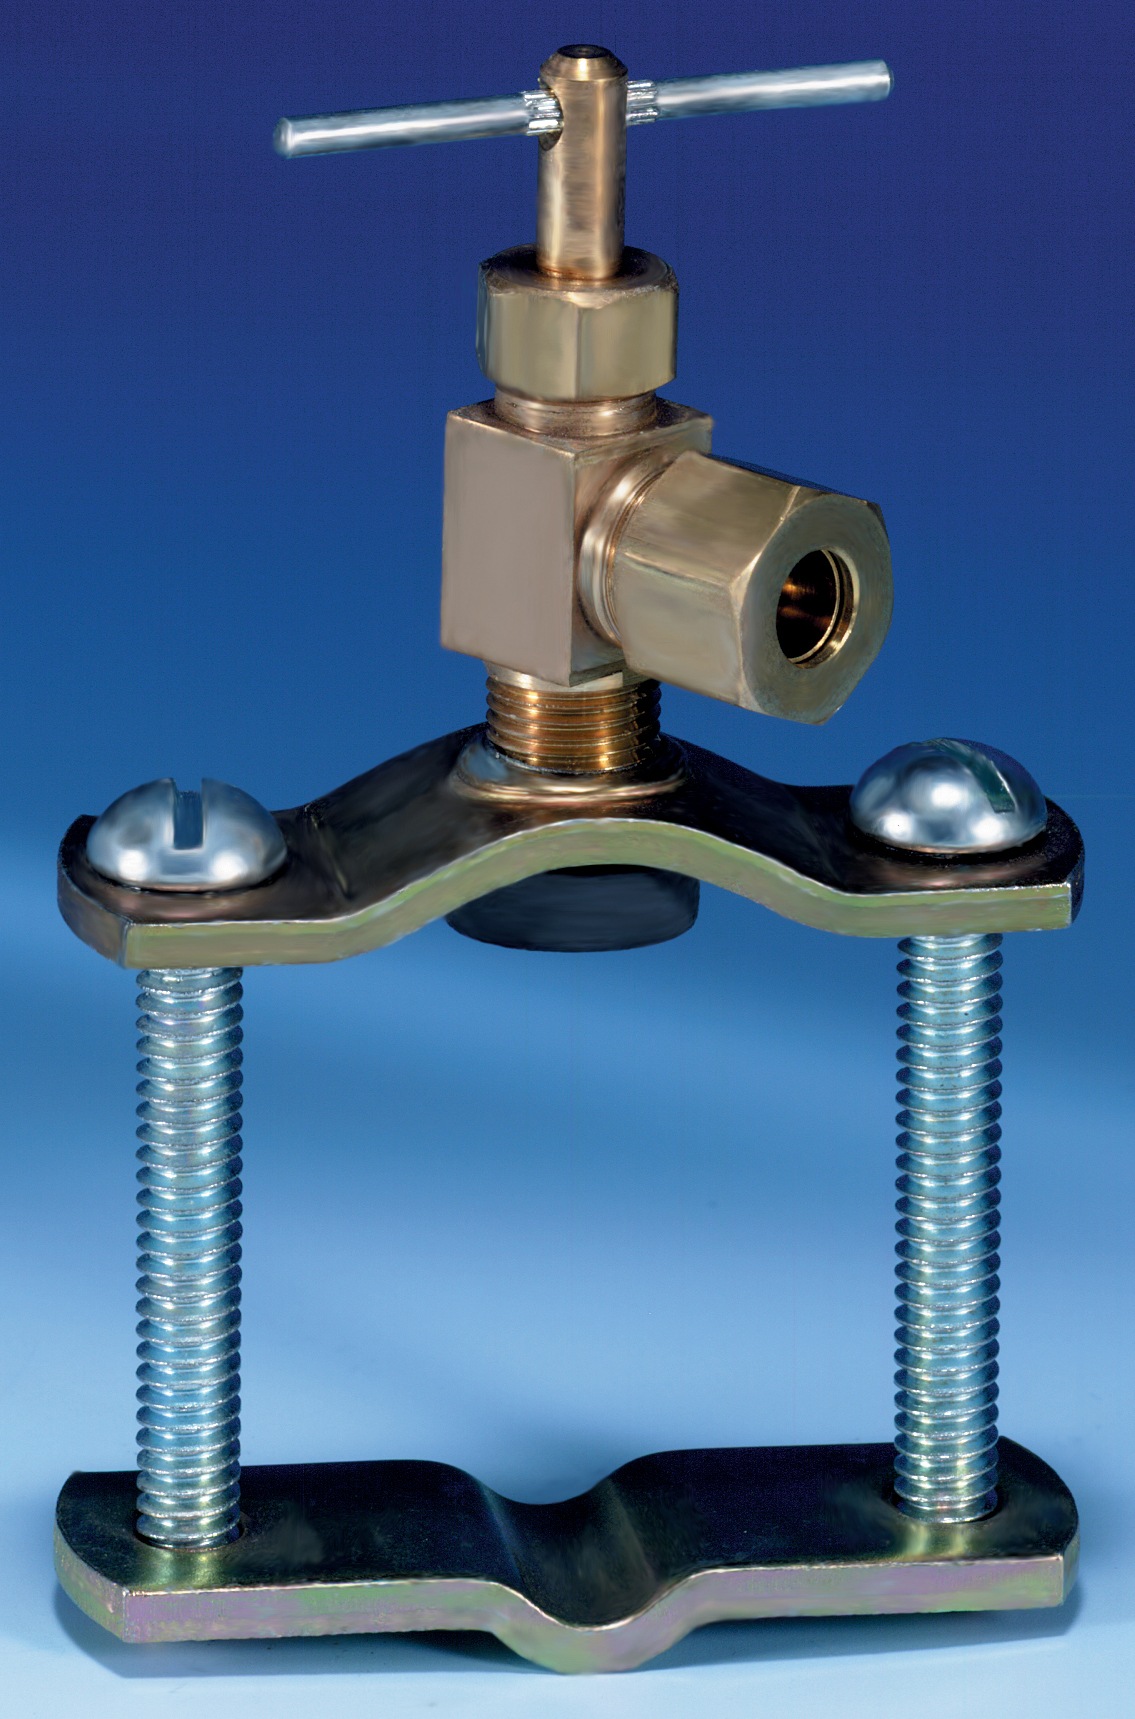
Another possible cause of low pressure in your kitchen sink is a partially closed water supply valve. This valve is typically located under the sink and controls the flow of water to the faucet. If it is not fully open, it can restrict the water flow and lead to low pressure. Make sure the valve is fully open and check the water pressure again.3. Check the water supply valve
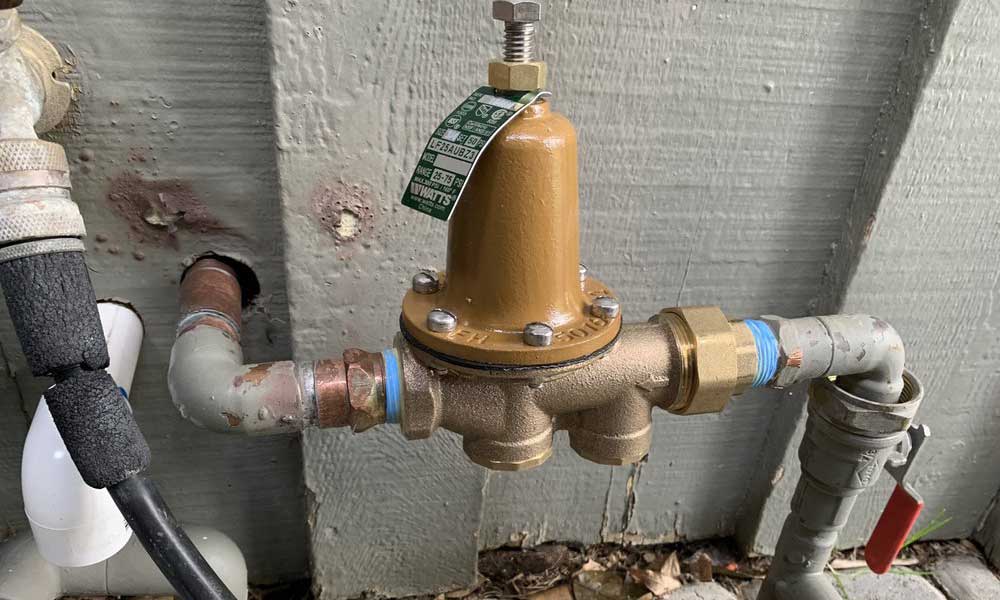
In some cases, the water pressure regulator may be the culprit behind low pressure in your kitchen sink. This device is responsible for controlling the overall water pressure in your home. If it is not functioning properly, it can lead to inconsistent water pressure. If you suspect the water pressure regulator is the issue, it may be best to call a professional plumber to assess and potentially replace it.4. Check the water pressure regulator
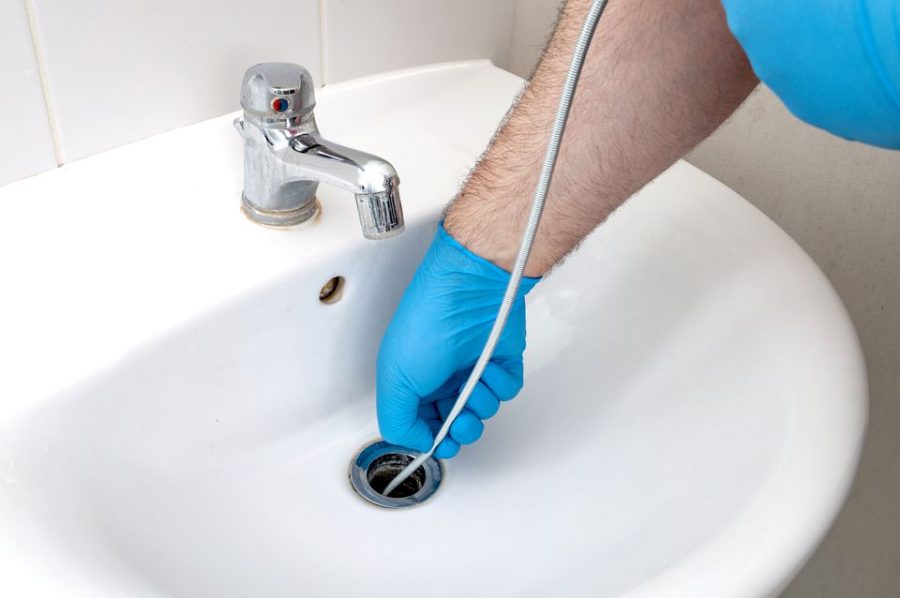
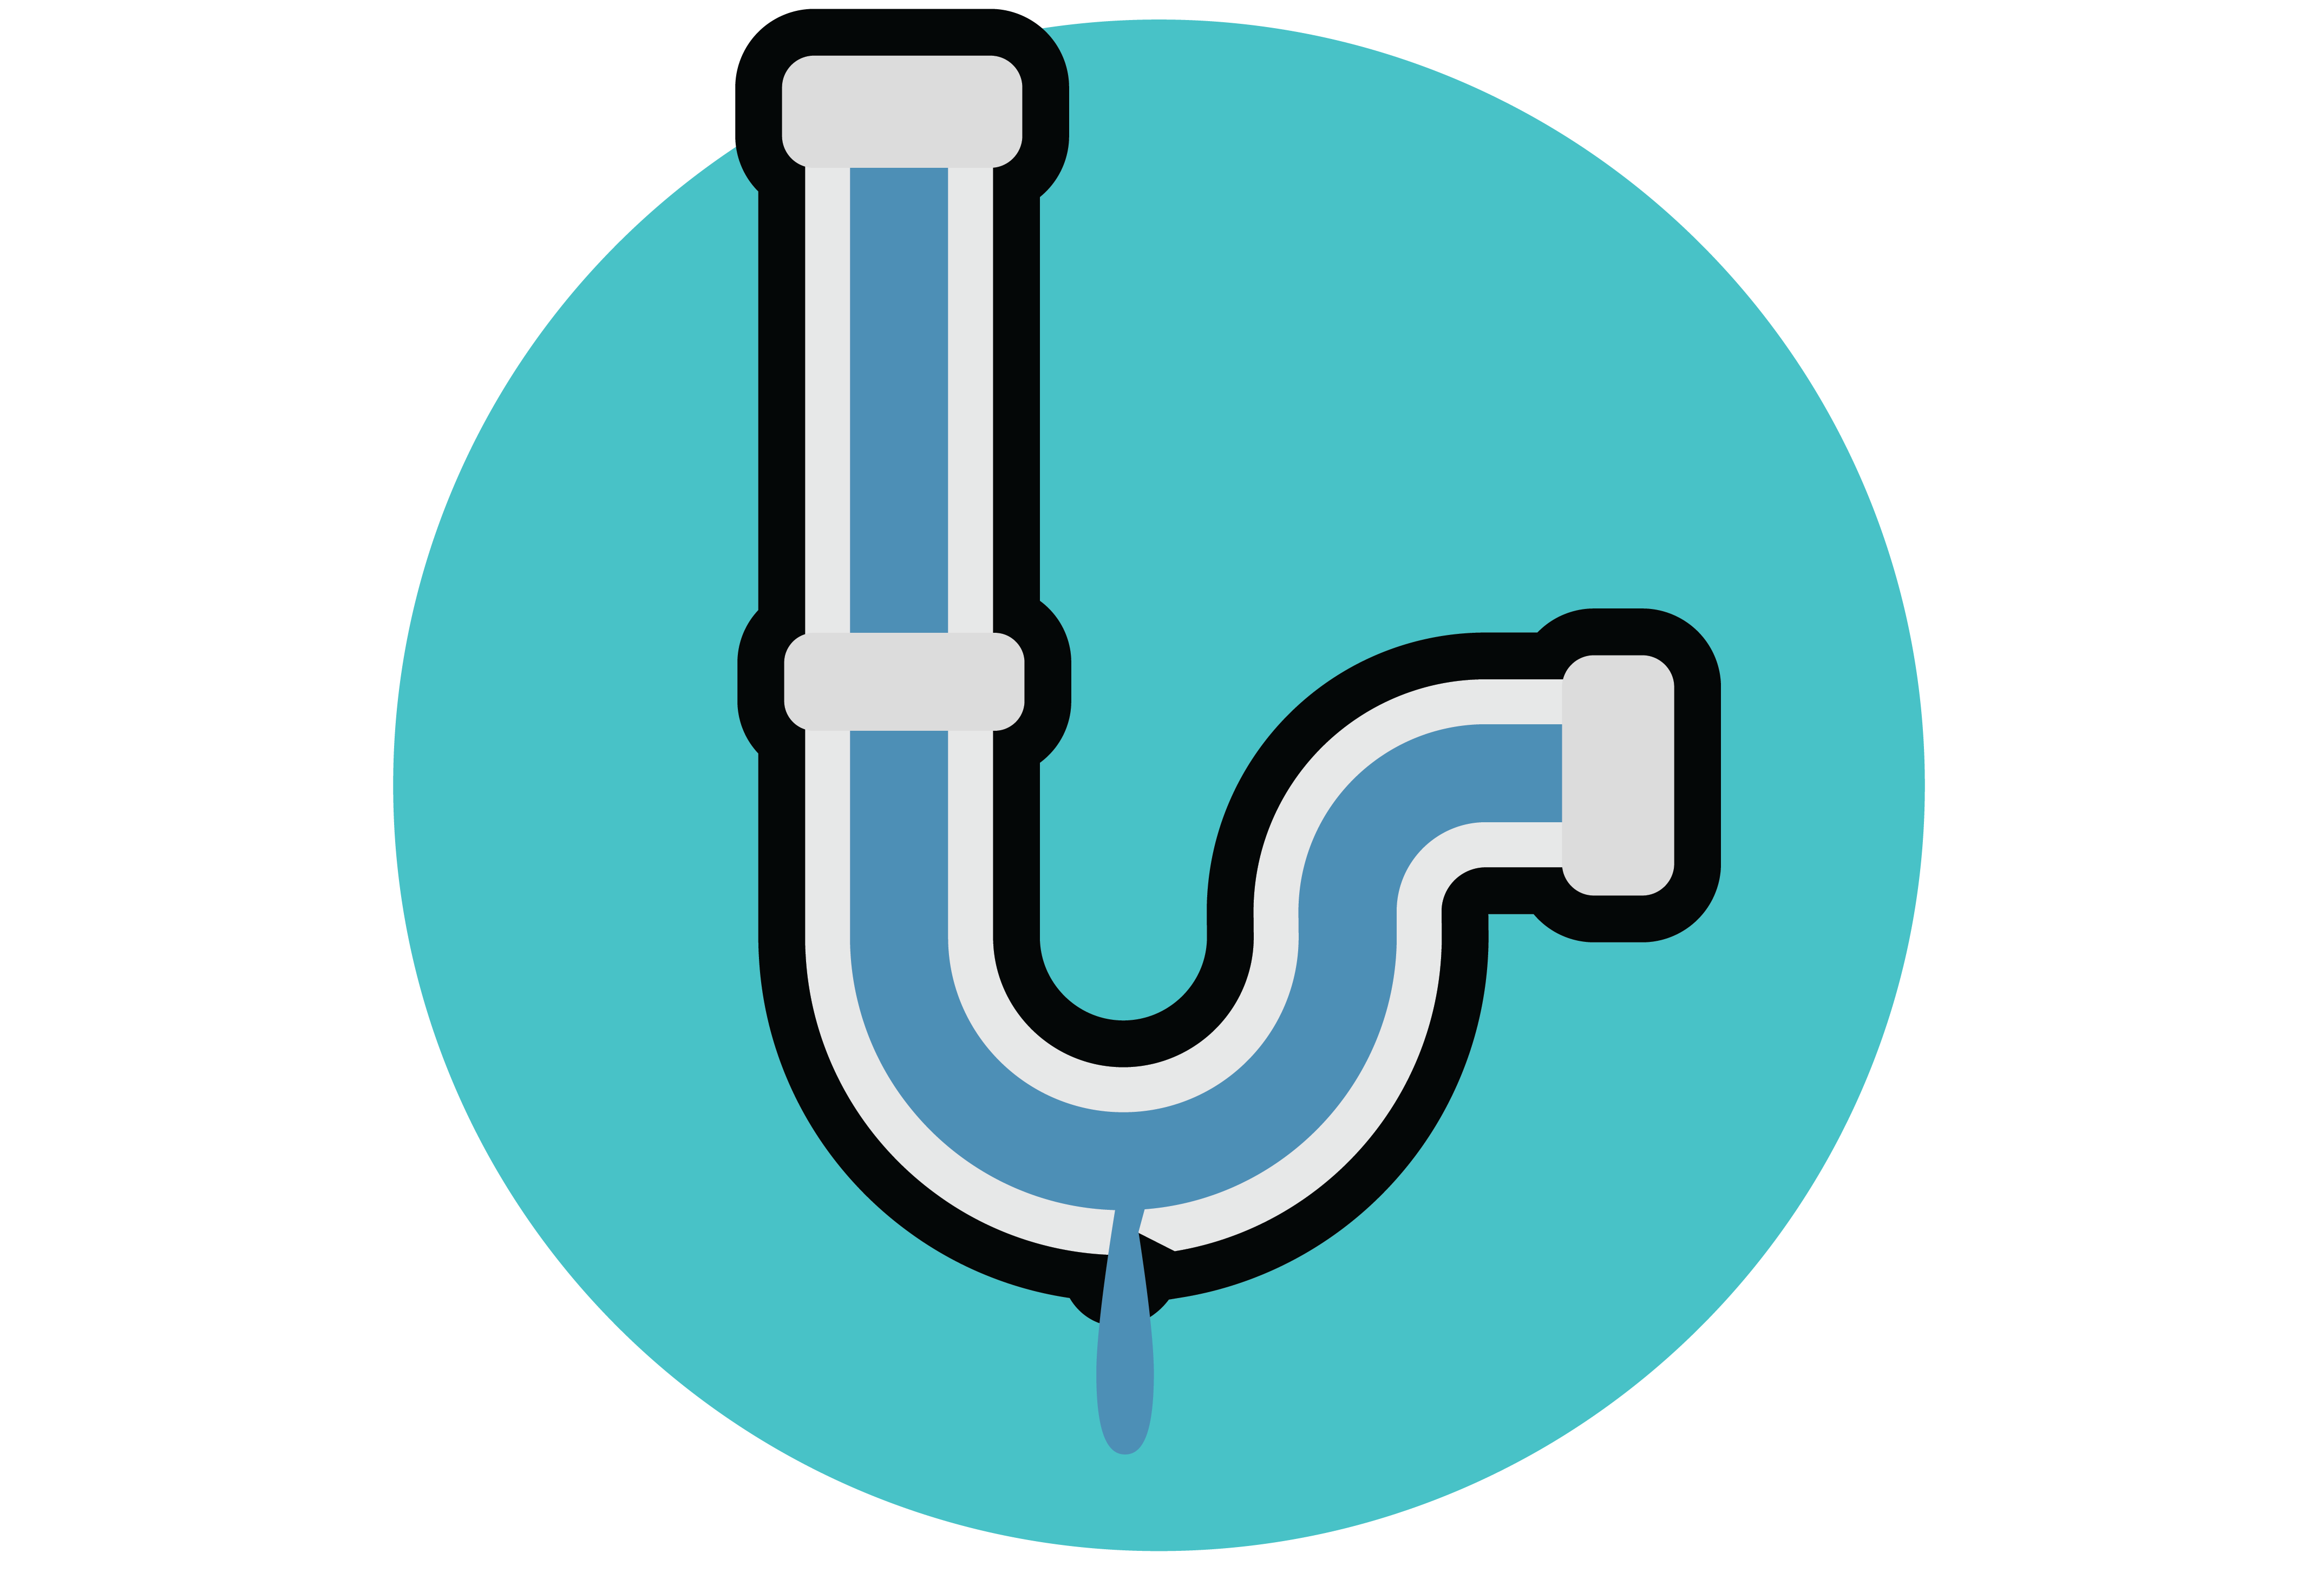
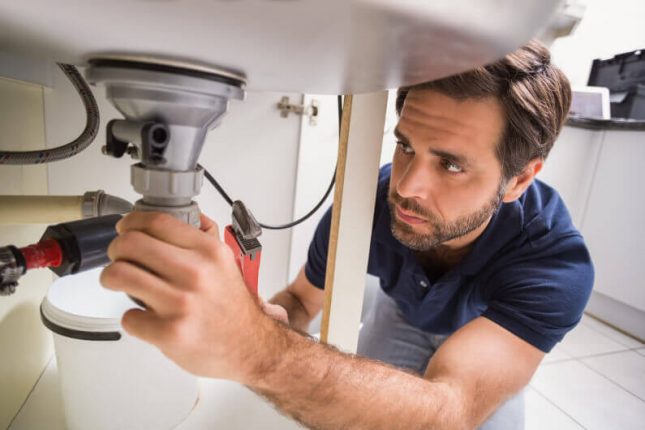
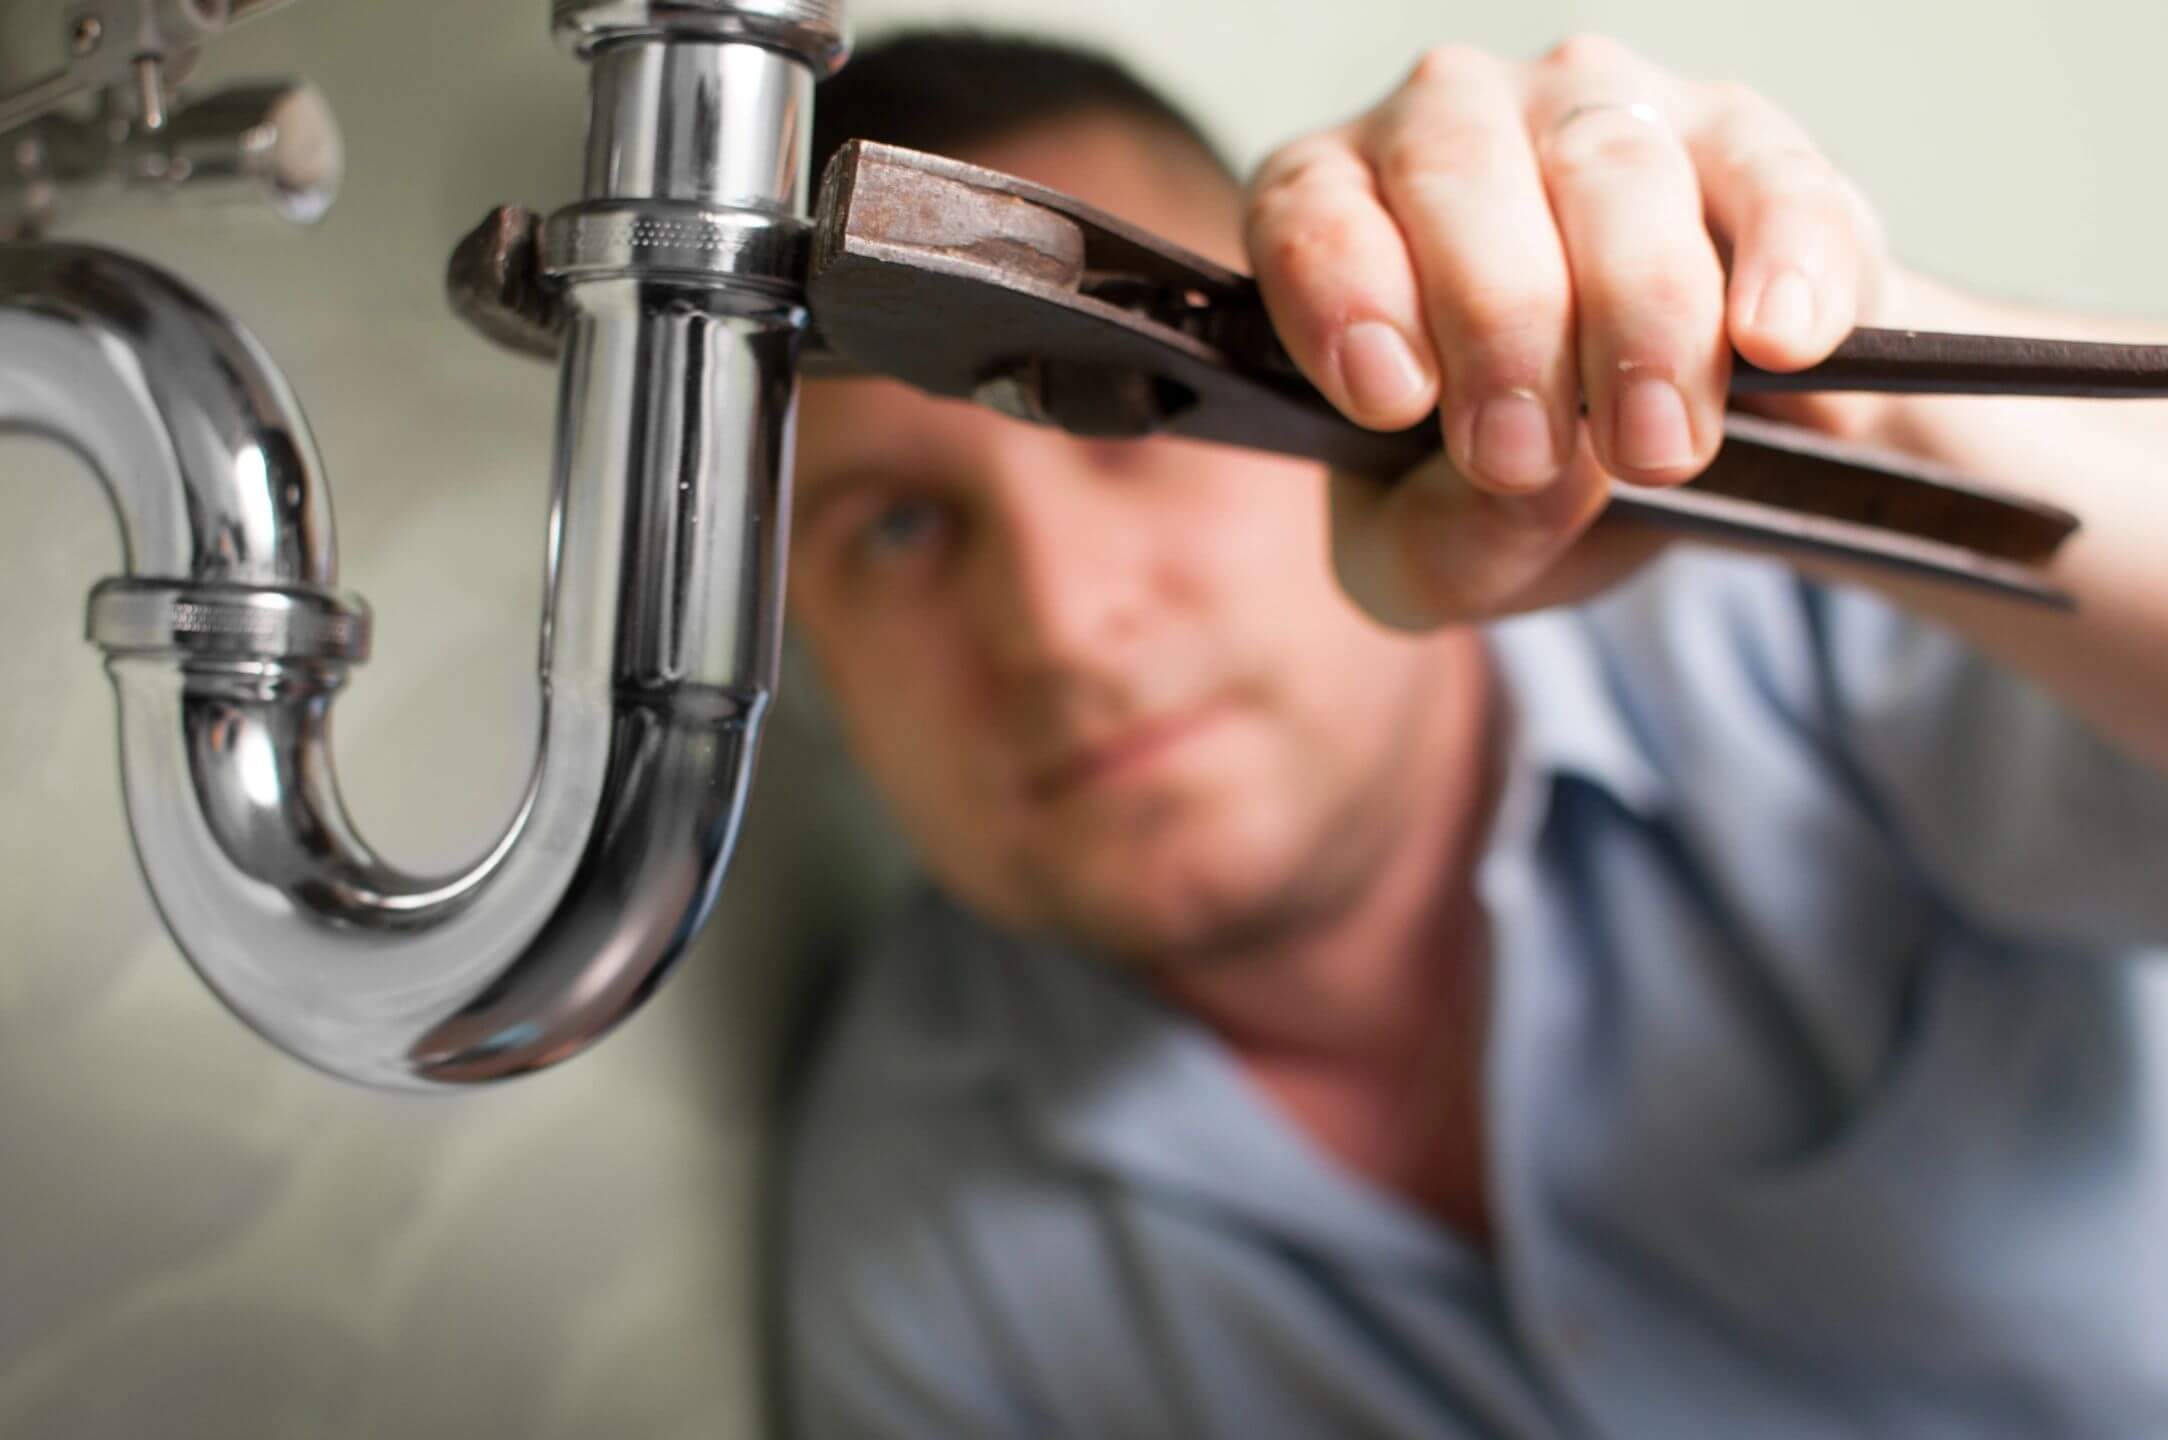
If you've ruled out issues with the faucet and valves, the next step is to check for clogs in the pipes. Over time, debris such as food particles, grease, and mineral deposits can build up in the pipes and restrict water flow. To check for clogs, remove the P-trap under the sink and clean it thoroughly. You can also use a plumbing snake to clear out any obstructions in the pipes.5. Check for clogs in the pipes
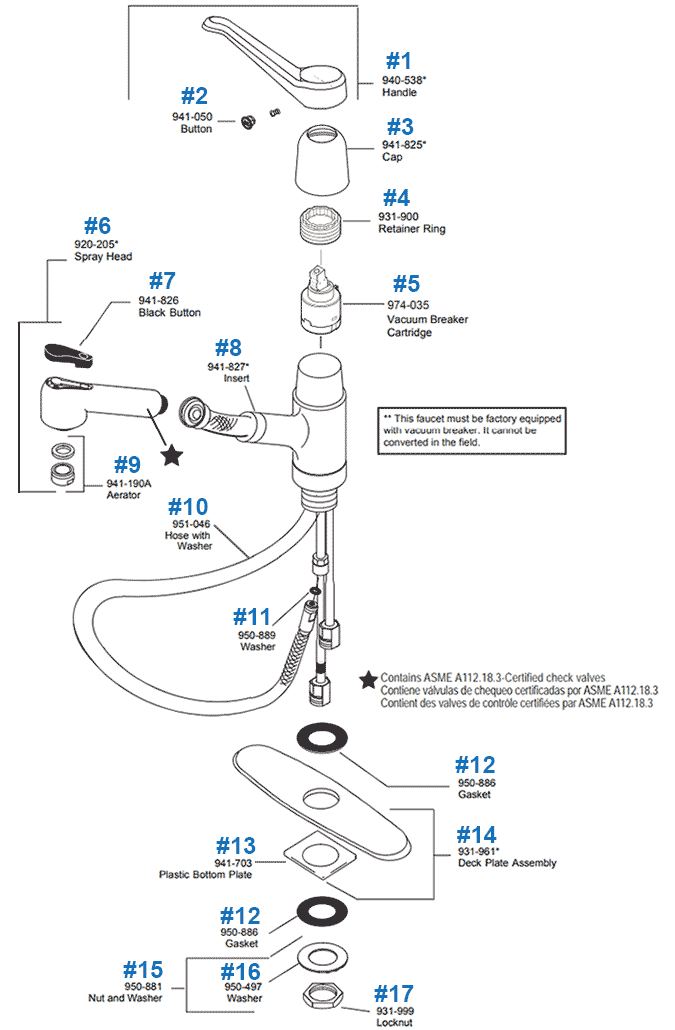
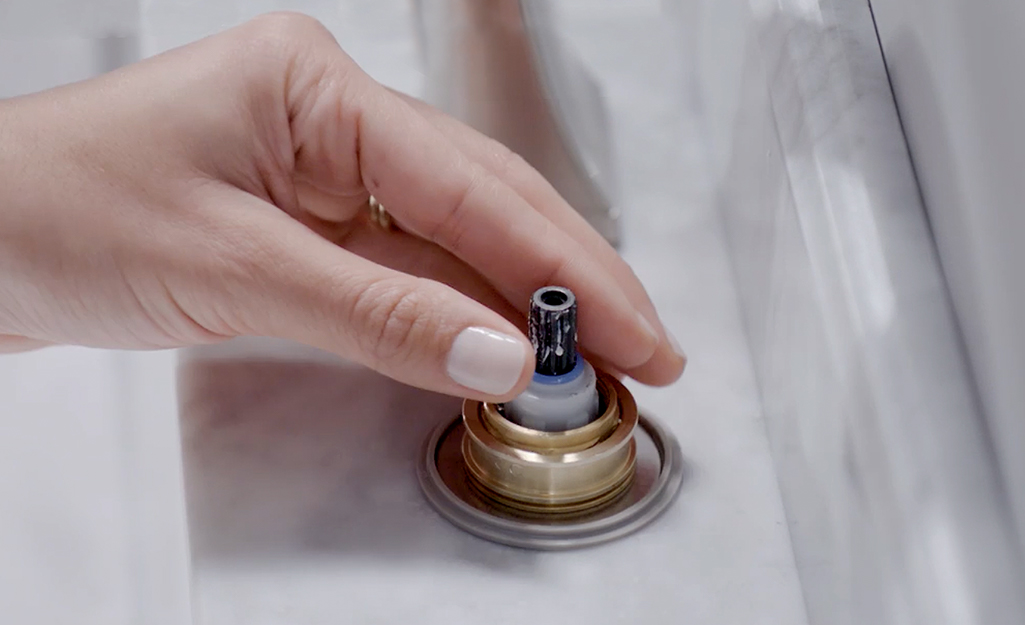
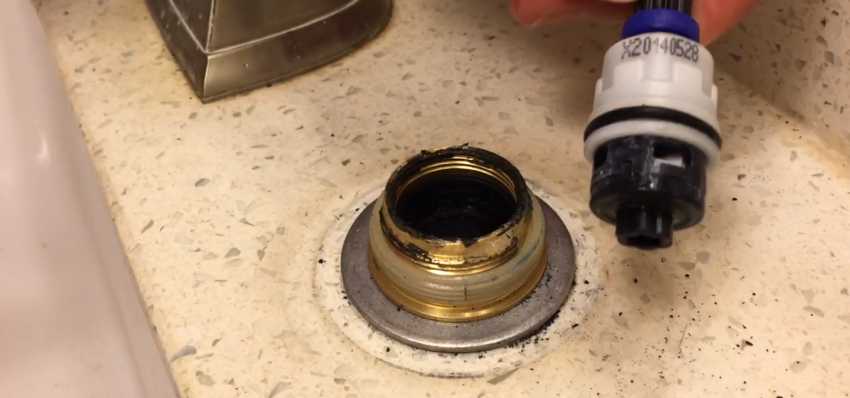
The cartridge is another important component of your kitchen sink faucet. It is responsible for controlling the flow and temperature of the water. Over time, the cartridge can become worn out or clogged, leading to low water pressure. If you suspect the cartridge is the issue, it may be best to replace it with a new one.6. Check the faucet cartridge
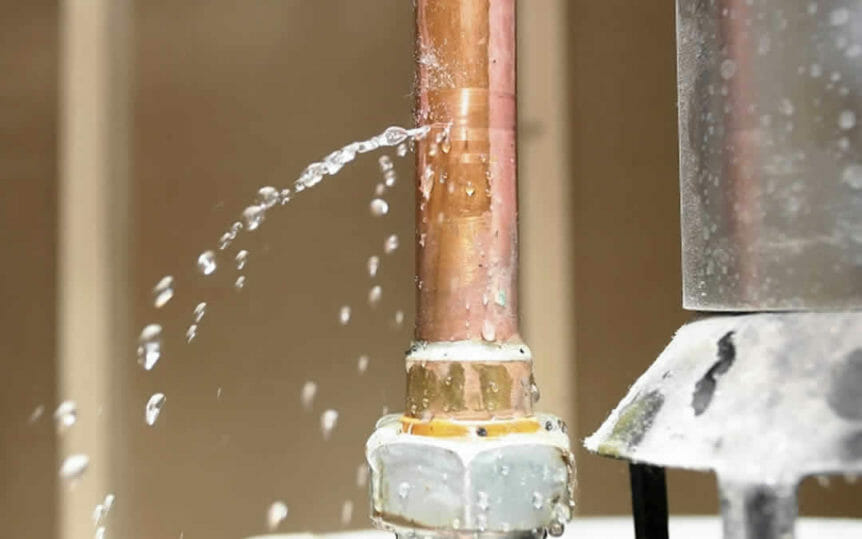
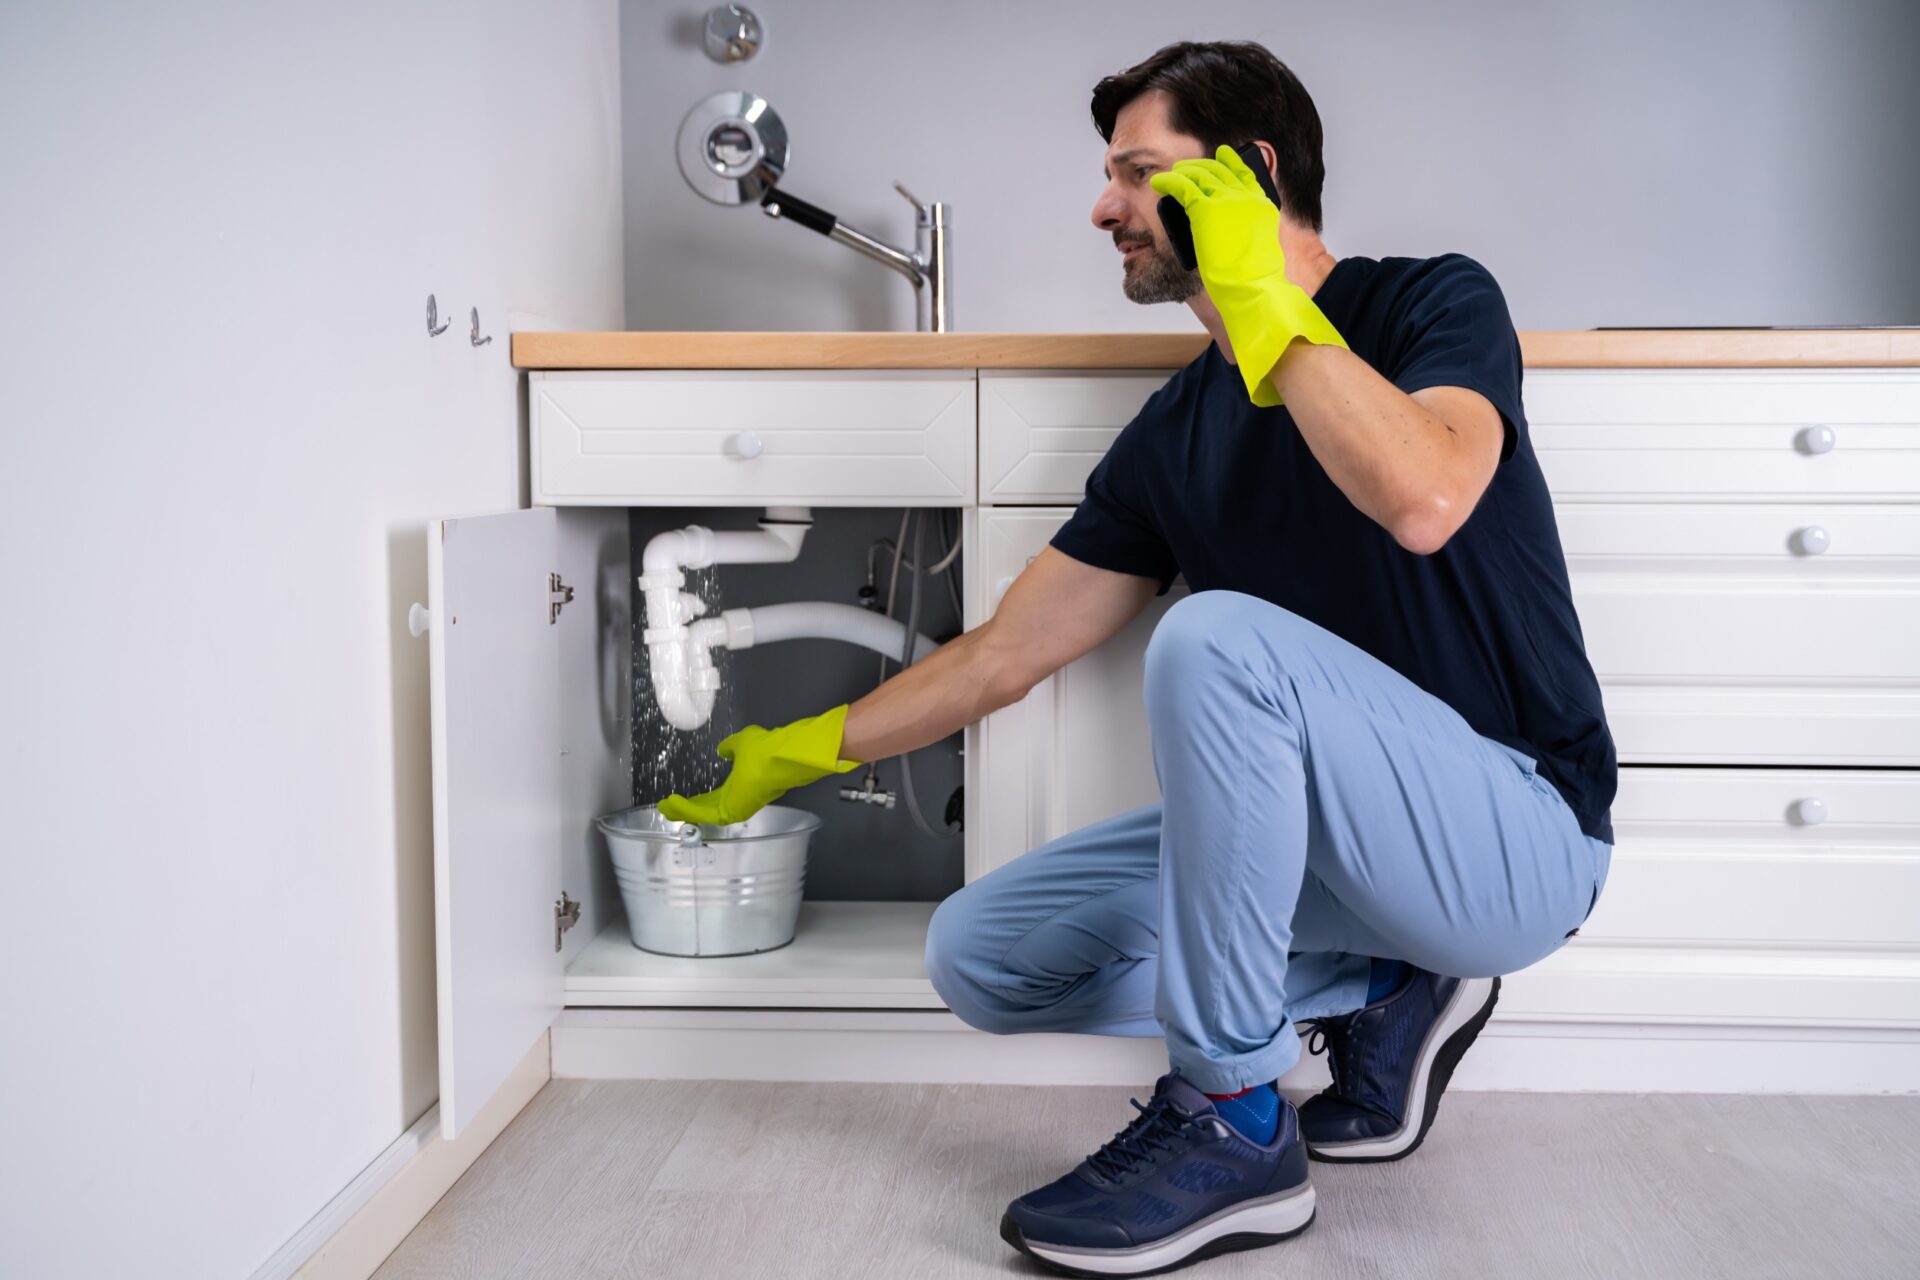
Leaks in the pipes can not only lead to reduced water pressure, but they can also cause damage to your home. Check for any visible leaks under the sink or in the surrounding area. If you notice any leaks, it's important to address them as soon as possible to prevent further damage.7. Check for leaks in the pipes
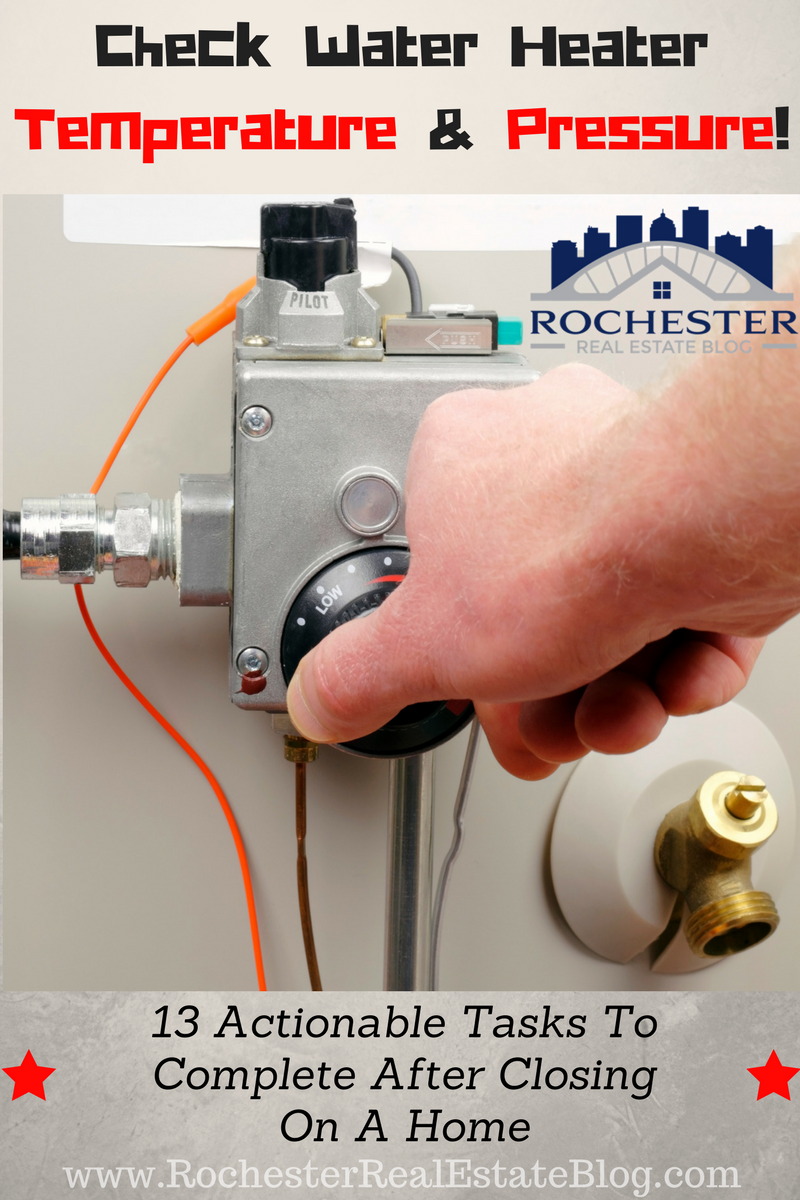
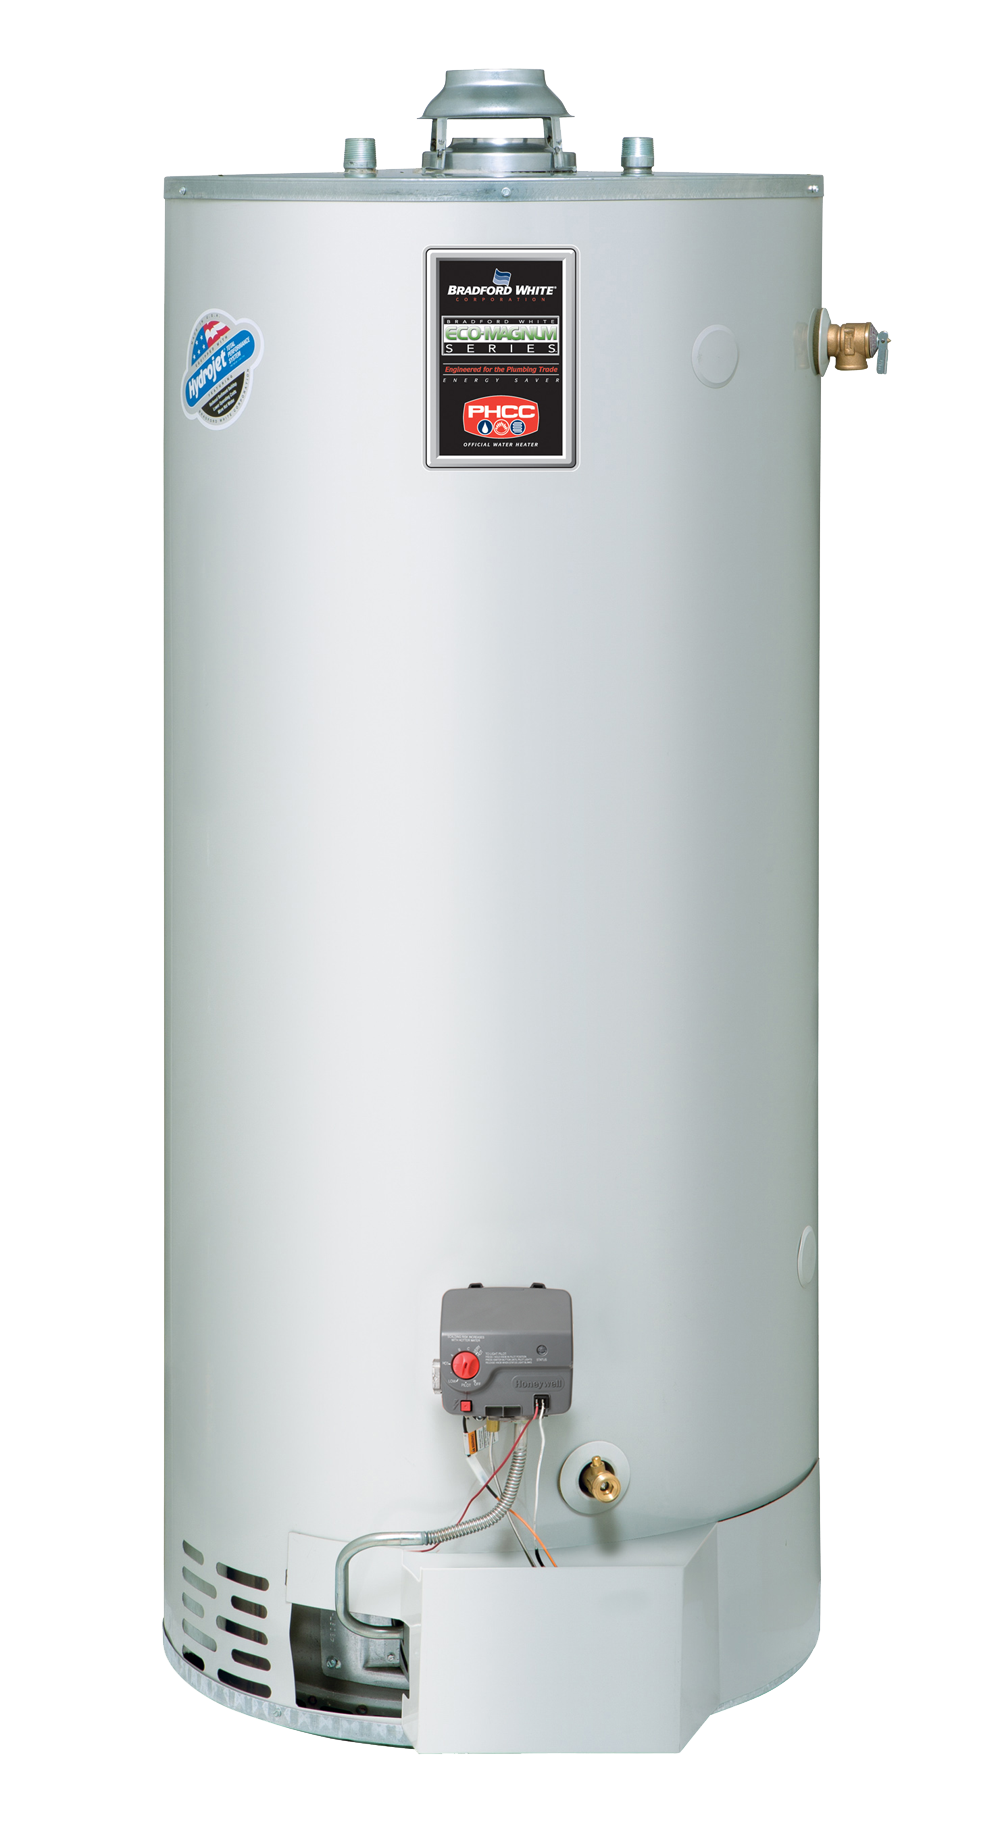
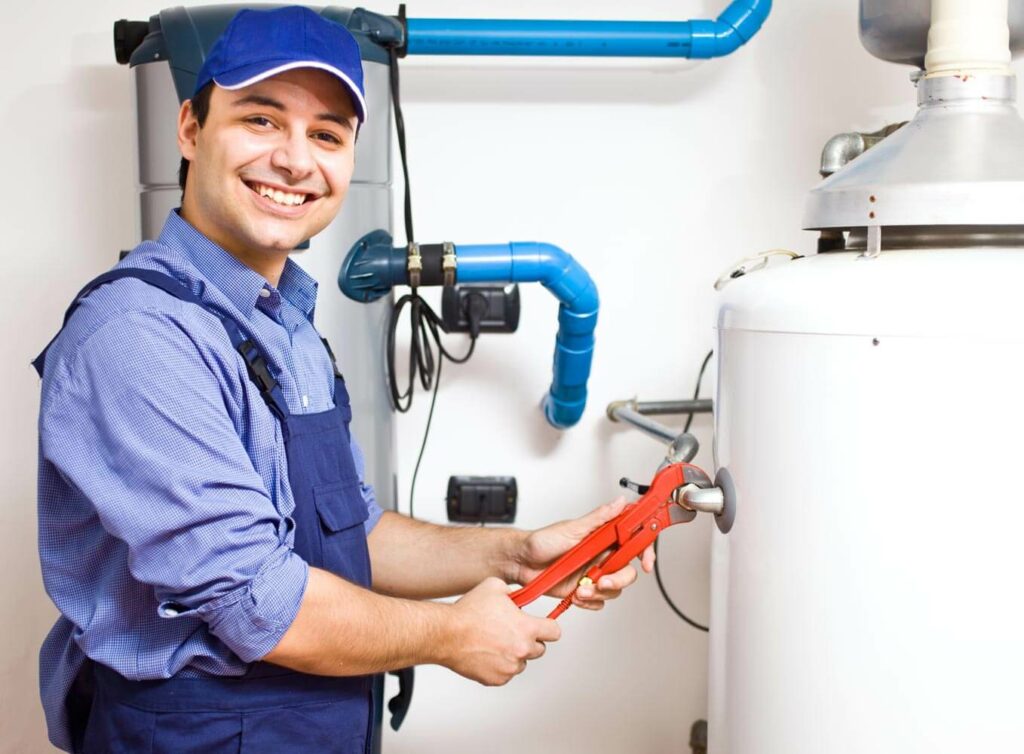
In some cases, the water heater may be the cause of low pressure in your kitchen sink. If the water heater is not functioning properly, it can affect the overall water pressure in your home. Check the temperature and pressure settings on your water heater and make sure they are at the correct levels. If you're unsure, it may be best to call a professional to inspect and potentially repair or replace the water heater.8. Check the water heater
If you've recently had any plumbing work done in your home, it's possible that air may have become trapped in the pipes. This can lead to low water pressure and may also cause a sputtering or gurgling noise when you turn on the faucet. To fix this issue, simply turn on the faucet and let the water run for a few minutes to flush out the air.9. Check for air in the pipes
If you've exhausted all of these troubleshooting steps and are still experiencing low pressure in your kitchen sink, it may be time to call a professional plumber. They will have the expertise and tools to diagnose and fix the issue, ensuring that your kitchen sink has proper water pressure once again. In conclusion, low pressure in your kitchen sink can be a frustrating problem, but it's important to address it as soon as possible to prevent any further issues. By checking the aerator, valves, pipes, and other components, you can often identify and fix the issue on your own. However, if the problem persists, don't hesitate to call a plumber for assistance.10. Call a plumber
How to Fix Low Pressure in Your Kitchen Sink

The Importance of Water Pressure in Your Home
 The water pressure in your kitchen sink is crucial for daily tasks such as washing dishes, filling up pots, and even washing your hands. Low pressure can not only be frustrating, but it can also significantly impact your daily routine and the functionality of your kitchen. If you have noticed a decrease in water pressure in your kitchen sink, it is important to address the issue promptly to avoid any further inconvenience. Here are some potential causes and solutions for low pressure in your kitchen sink.
Clogged Aerators
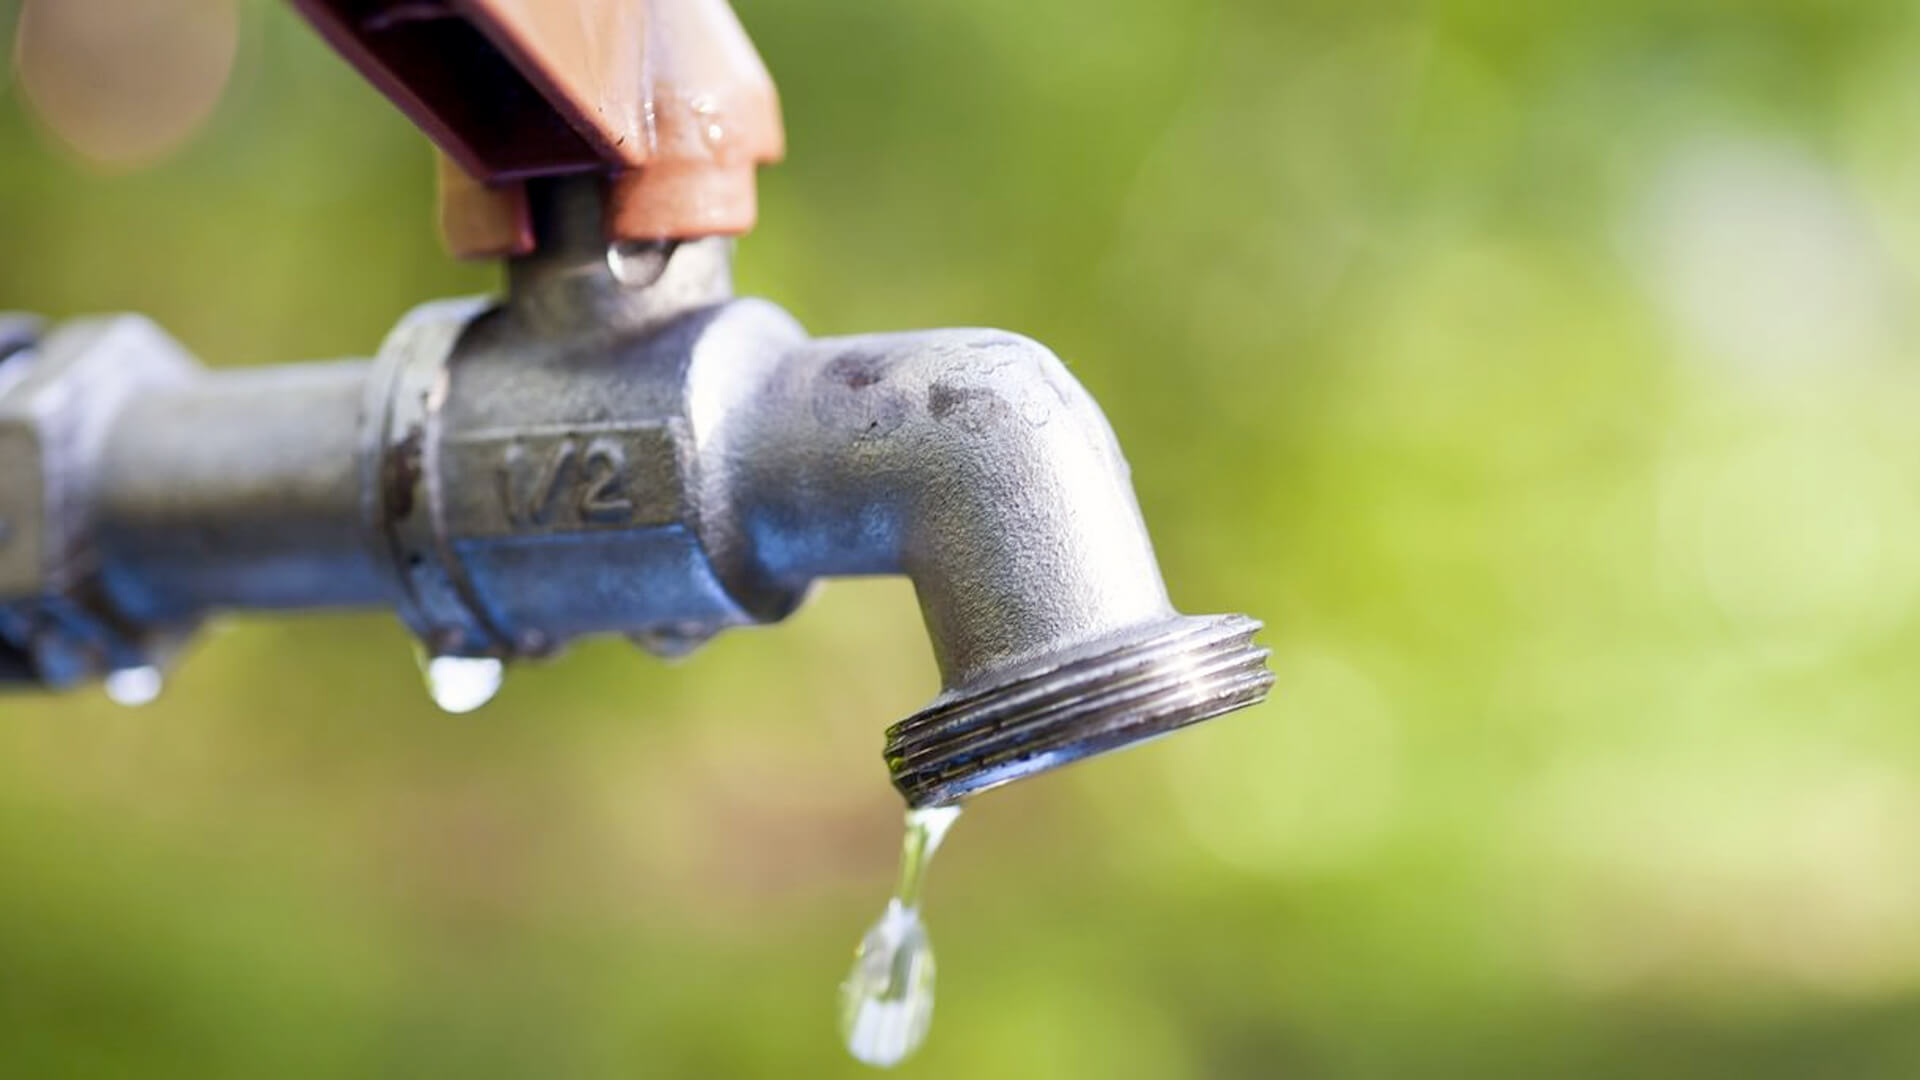
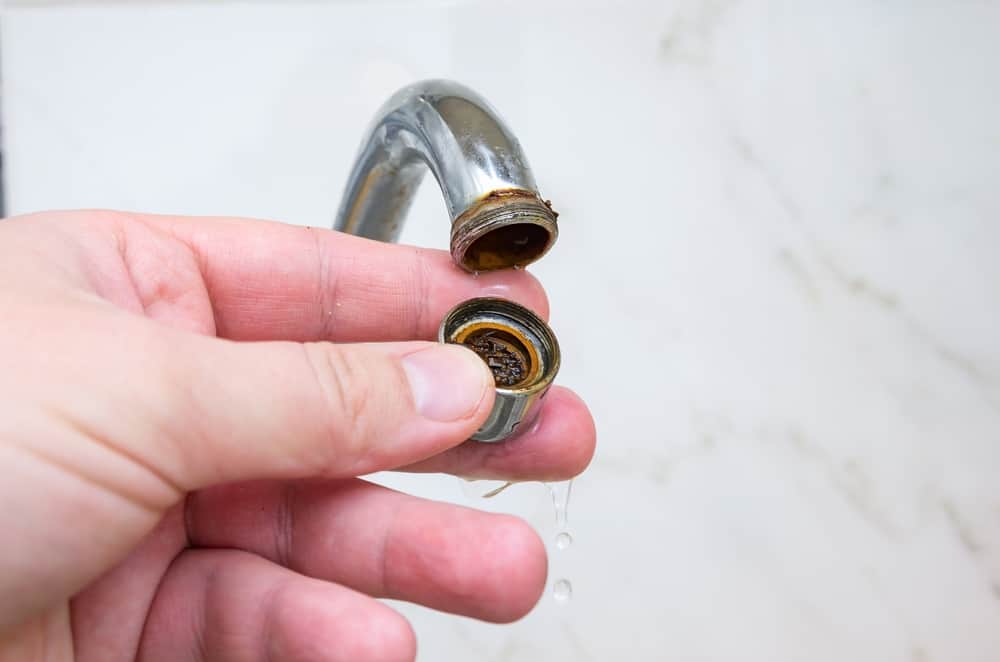
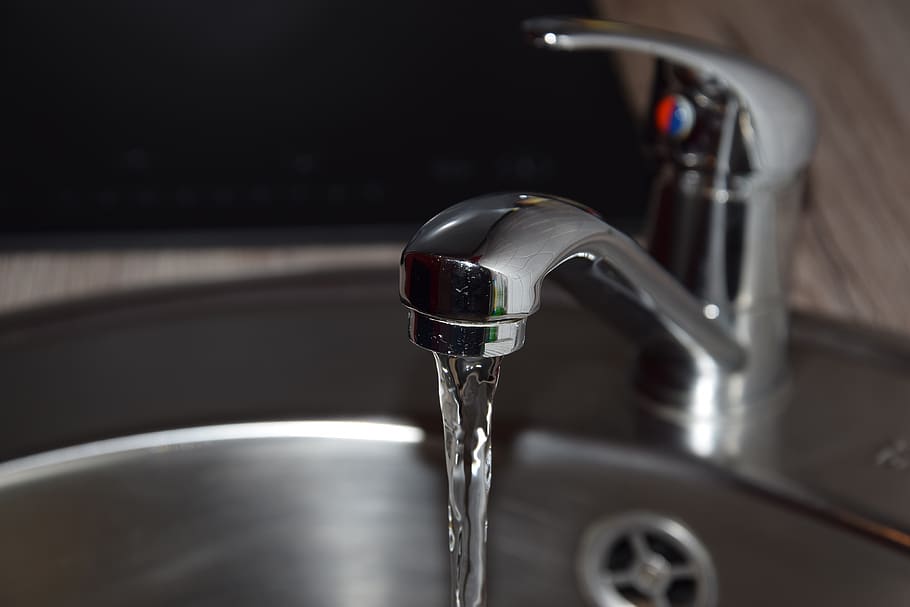 A common cause of low pressure in the kitchen sink is a clogged aerator.
The aerator is the small mesh screen at the end of your faucet that helps to regulate the flow of water and prevent splashing. Over time, mineral deposits and debris can build up in the aerator, causing a blockage and reducing water pressure. To fix this issue, remove the aerator and clean it thoroughly with a mixture of vinegar and water. This will help to dissolve any mineral deposits and restore the flow of water.
Leaking Pipes
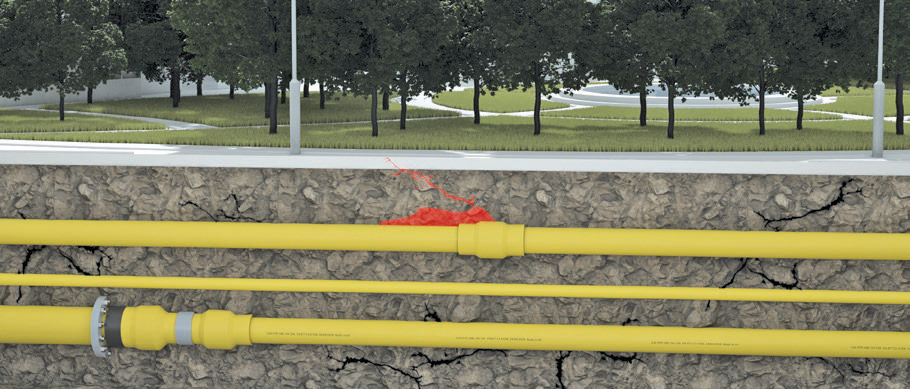
 An undetected leak in your pipes can also lead to low water pressure in your kitchen sink.
Even a small leak can cause a significant decrease in water pressure. To check for leaks, turn off all faucets and appliances that use water and check your water meter. If the meter is still running, it is a sign of a leak. In this case, it is best to call a professional plumber to address and fix the issue.
Water Supply Issues
 If you are experiencing low pressure in all of your faucets and not just the kitchen sink, the issue may be with your water supply.
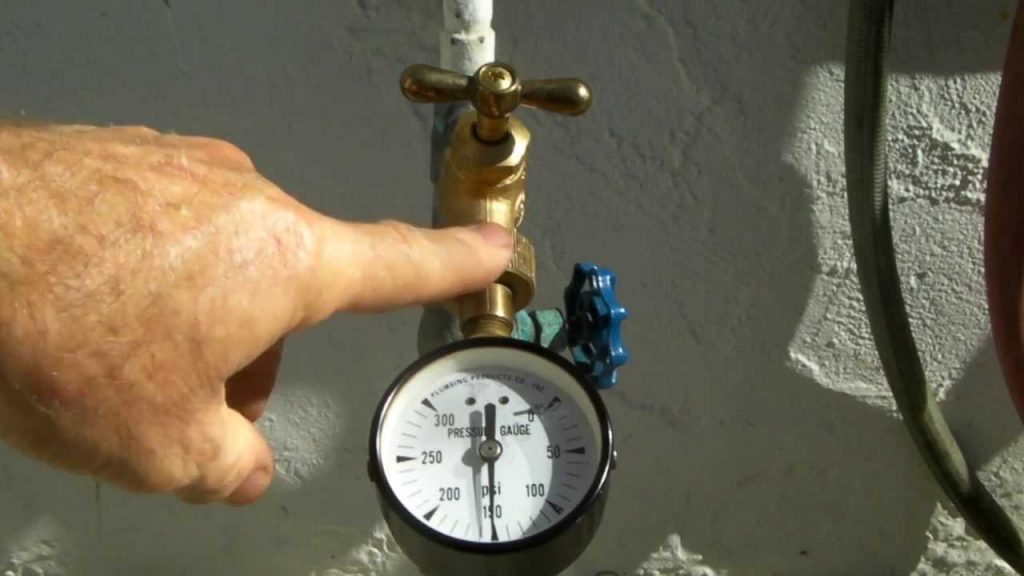
Check with your water company to see if there are any maintenance or repair works being carried out that could be causing the decrease in pressure. You can also check your main shut-off valve to ensure it is fully open, as a partially closed valve can also affect water pressure.
Old Plumbing
 If you live in an older home, your low water pressure may be due to outdated plumbing.
Over time, pipes can become corroded and clogged with mineral deposits, resulting in a decrease in water flow. In this case, it may be necessary to replace your plumbing system to improve water pressure and avoid any future issues.
Conclusion
 Addressing low pressure in your kitchen sink is essential for the functionality and convenience of your home. By identifying and fixing the underlying cause of the issue, you can restore proper water pressure and avoid any further inconvenience. If you are unsure of how to fix the problem yourself, it is always best to seek the help of a professional plumber to ensure the issue is properly addressed.








:max_bytes(150000):strip_icc()/clearing-a-blocked-faucet-aerator-2718807-07-b5a90554991f4bb69efb45a472df7f23.jpg)



:max_bytes(150000):strip_icc()/GettyImages-1057621140-78ab2e946841421d9a7efeebe02935d2.jpg)


:max_bytes(150000):strip_icc()/the-men-s-hand-opens-the-ball-valve-on-the-collector-1006810456-5c5fc73fc9e77c000159c4af.jpg)


