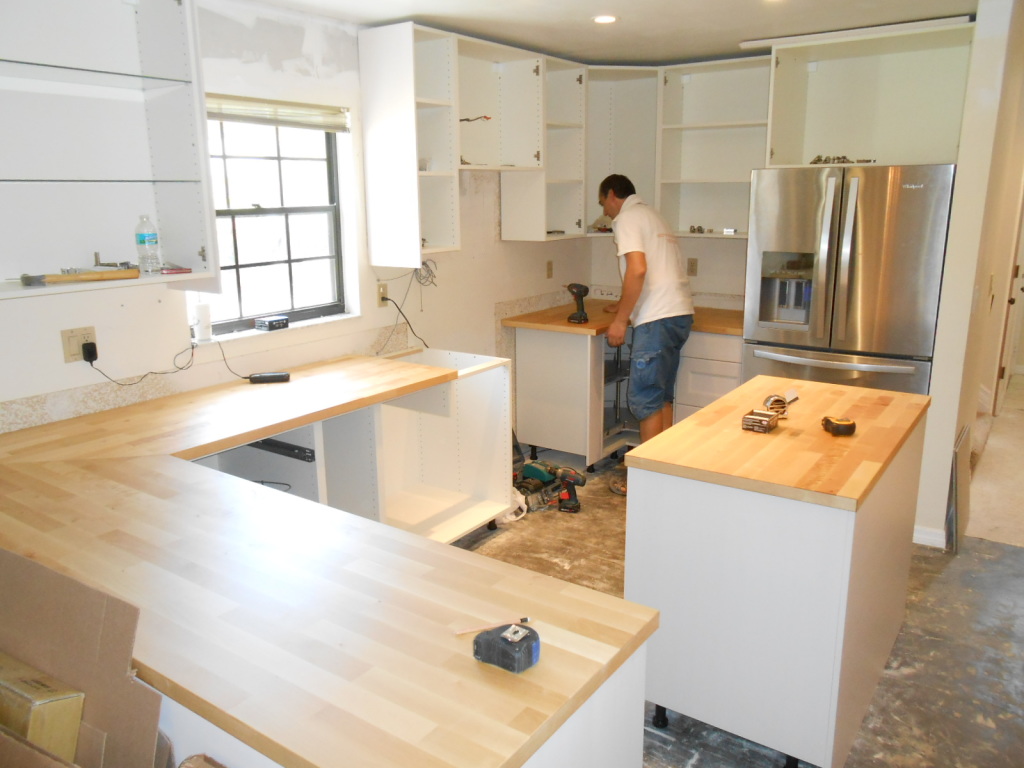
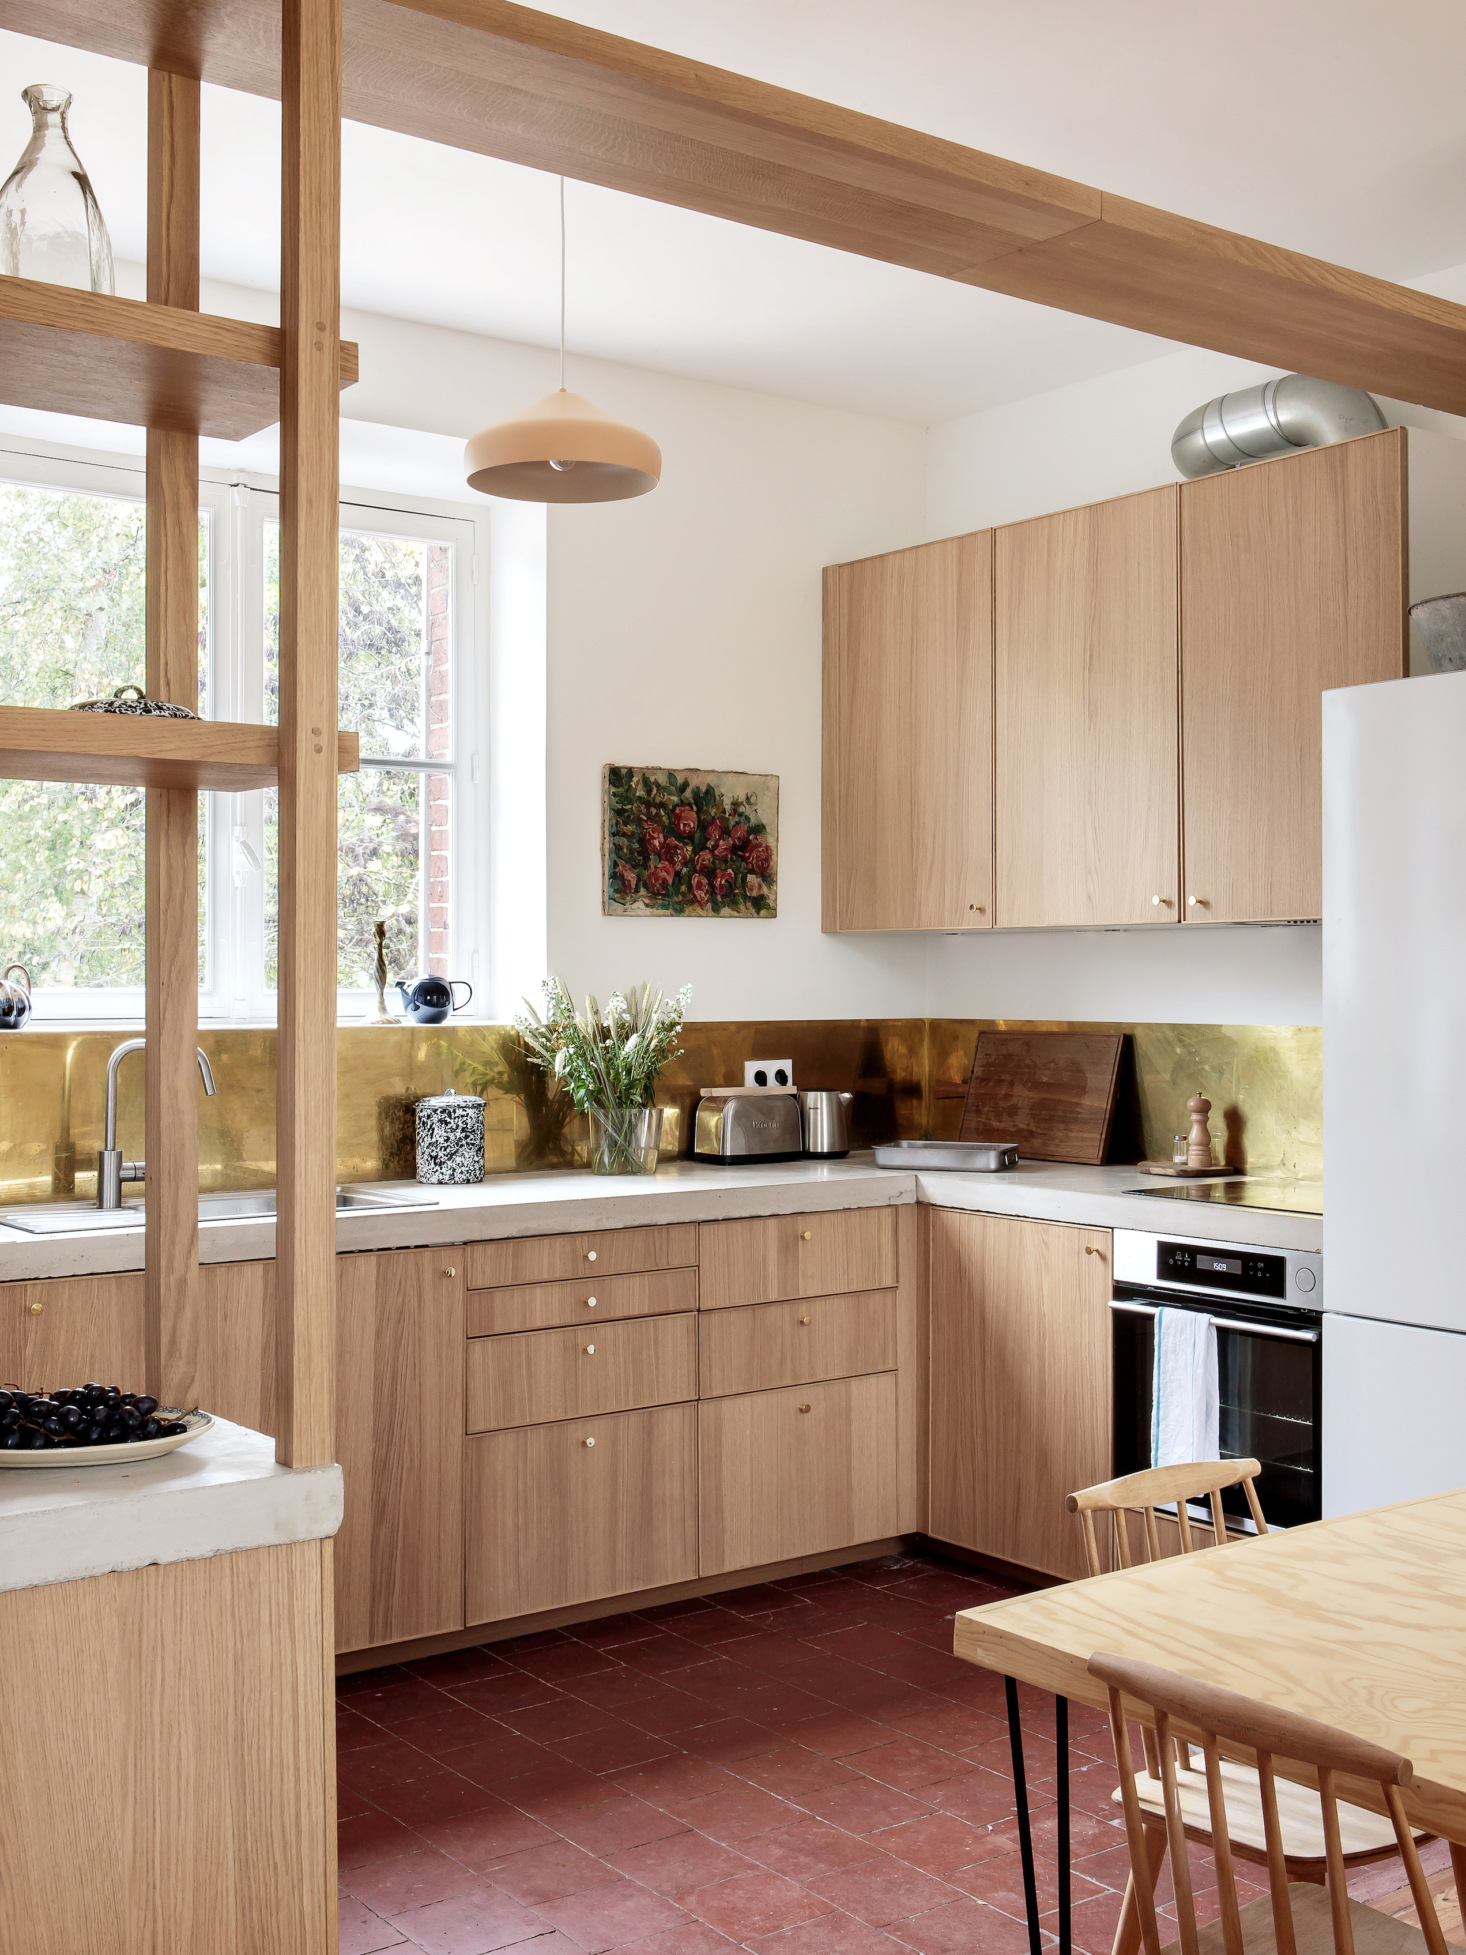
Installing IKEA kitchen cabinets can be a daunting task, especially for those who are new to DIY projects. However, with the right tools and a step-by-step guide, you can easily install your own kitchen cabinets and save money on hiring a professional. In this article, we will walk you through the process of installing IKEA kitchen cabinets to the wall, ensuring a smooth and successful installation.How to Install IKEA Kitchen Cabinets | The DIY Playbook


How to Install IKEA Kitchen Cabinets


Before you begin, make sure you have the necessary tools for the job. These include electric drill, measuring tape, level, screws, wall anchors, and a hammer. You may also need additional tools depending on the specific IKEA kitchen cabinet system you have purchased. It's always a good idea to double-check the instructions that came with your cabinets to ensure you have all the necessary tools.Tools You Will Need


The DIY Playbook


The first step to installing IKEA kitchen cabinets is to measure and plan out the placement of your cabinets. Start by measuring the height, width, and depth of your kitchen space. Then, use these measurements to create a detailed layout of your kitchen, including the placement of your cabinets and appliances. This will help ensure that your cabinets fit properly and look aesthetically pleasing.Step 1: Measure and Plan


How to Install IKEA Cabinets - Kitchen Cabinet Installation

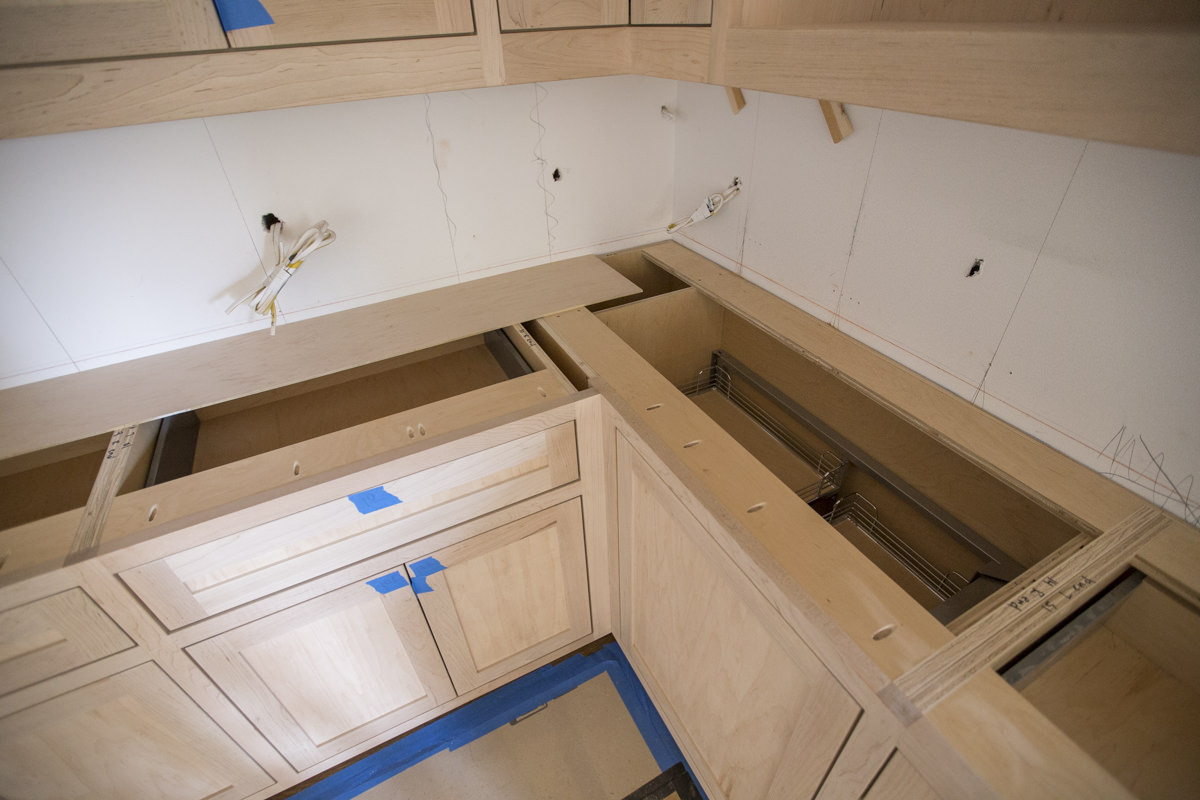

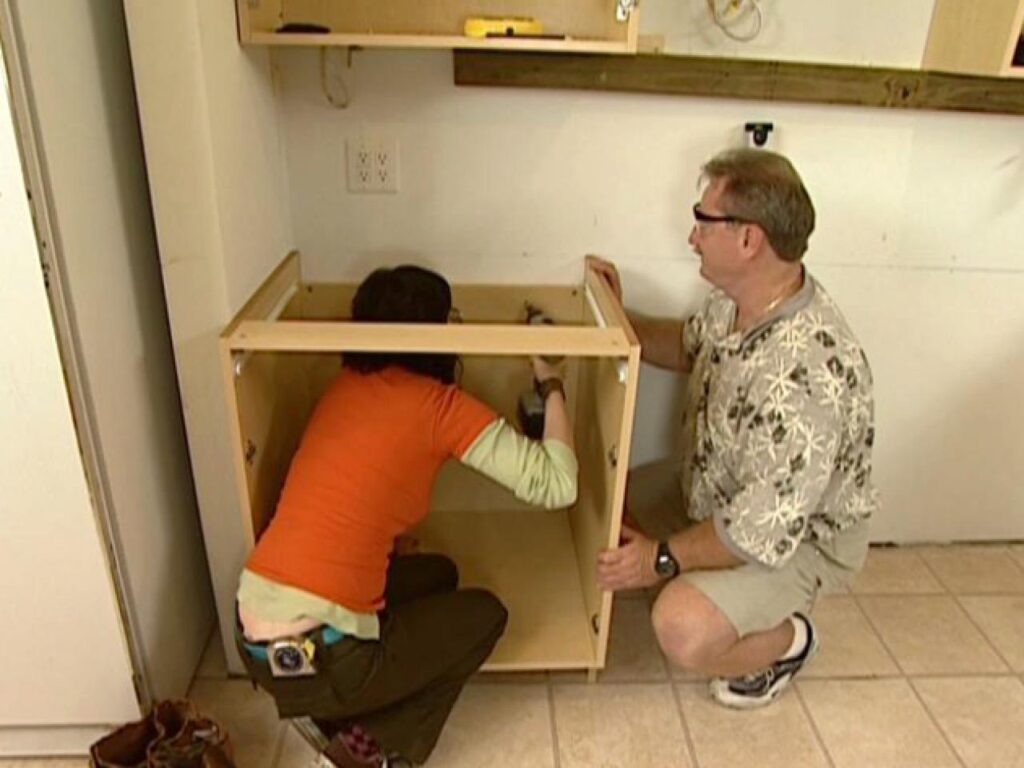
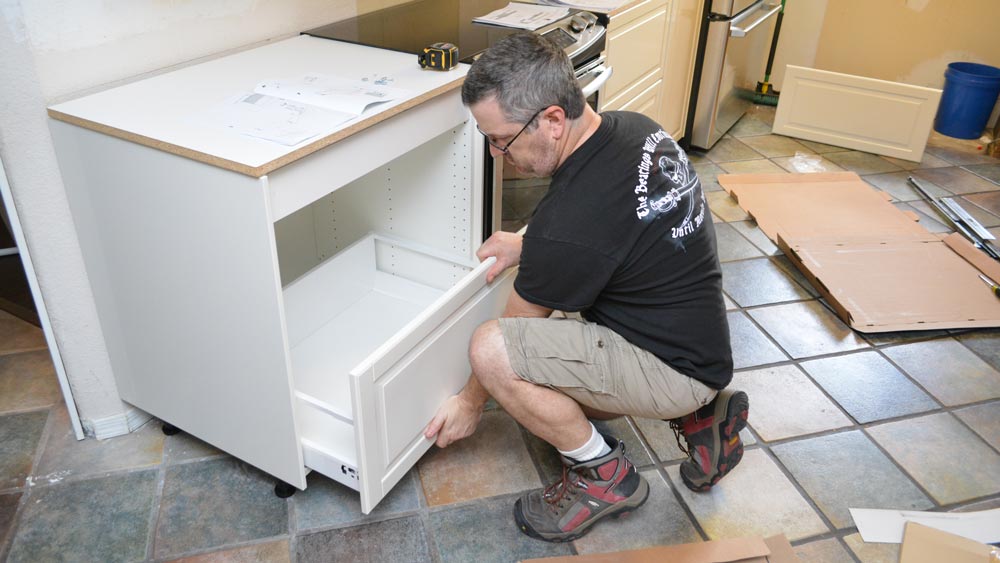
Next, it's time to assemble the IKEA kitchen cabinets. The assembly process may vary depending on the specific system you have purchased, so be sure to follow the instructions carefully. Make sure to use the appropriate screws and hardware provided to ensure a secure and sturdy assembly.Step 2: Assemble the Cabinets
How to Install IKEA Cabinets - Kitchen Cabinet Installation
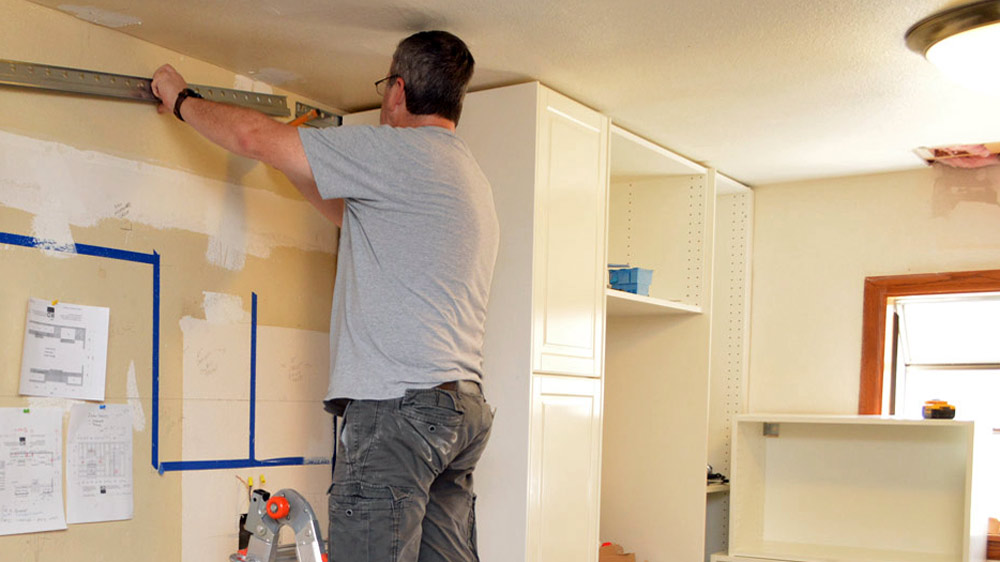
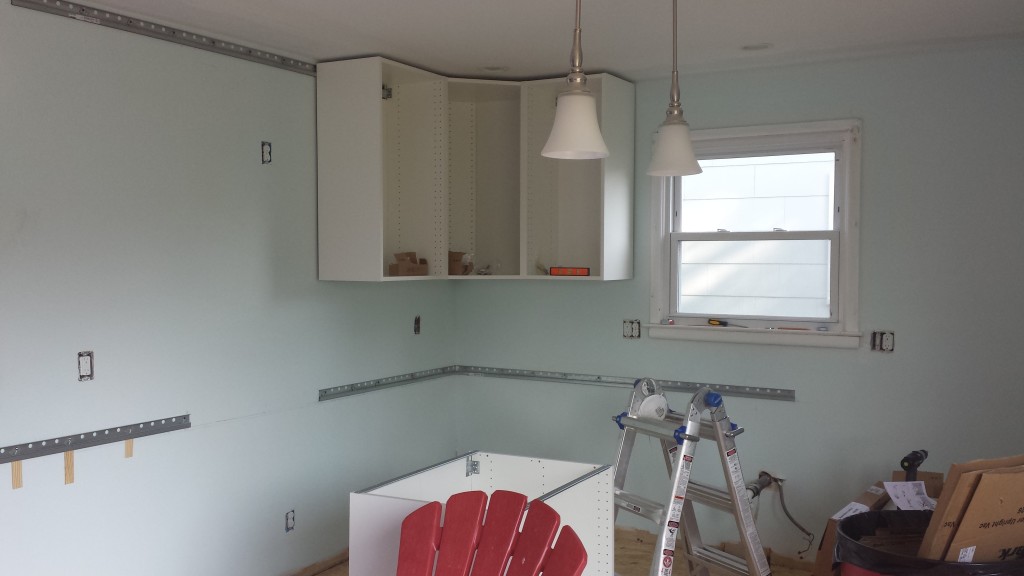
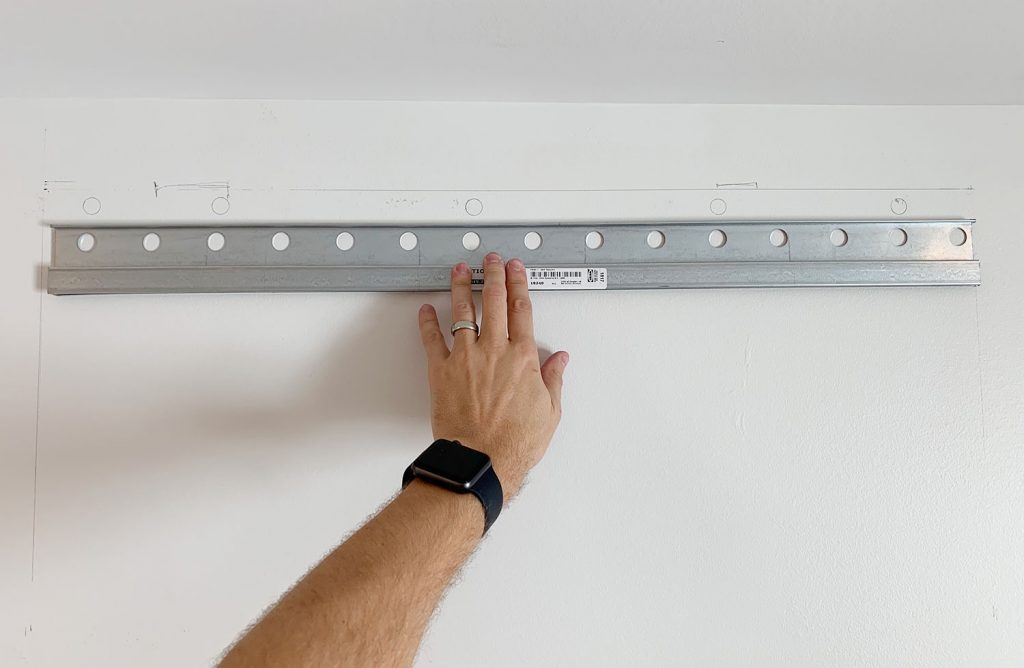
Once your cabinets are assembled, it's time to start installing them onto the wall. Start with the upper cabinets first, as they are easier to install and will not be in the way of your lower cabinets. Use a level to ensure that your cabinets are straight and use screws to attach them to the wall. Make sure to use wall anchors if your cabinets are not being installed into a stud.Step 3: Install Upper Cabinets

How to Install IKEA Cabinets - Kitchen Cabinet Installation

With the upper cabinets in place, it's time to move on to the lower cabinets. Start by placing a piece of wood or cardboard on the ground to protect your floor. Then, use the same process as the upper cabinets to install the lower cabinets. Make sure to use a level and wall anchors if needed. Once all the lower cabinets are installed, attach the upper and lower cabinets together using the provided hardware.Step 4: Install Lower Cabinets
How to Install IKEA Cabinets - Kitchen Cabinet Installation
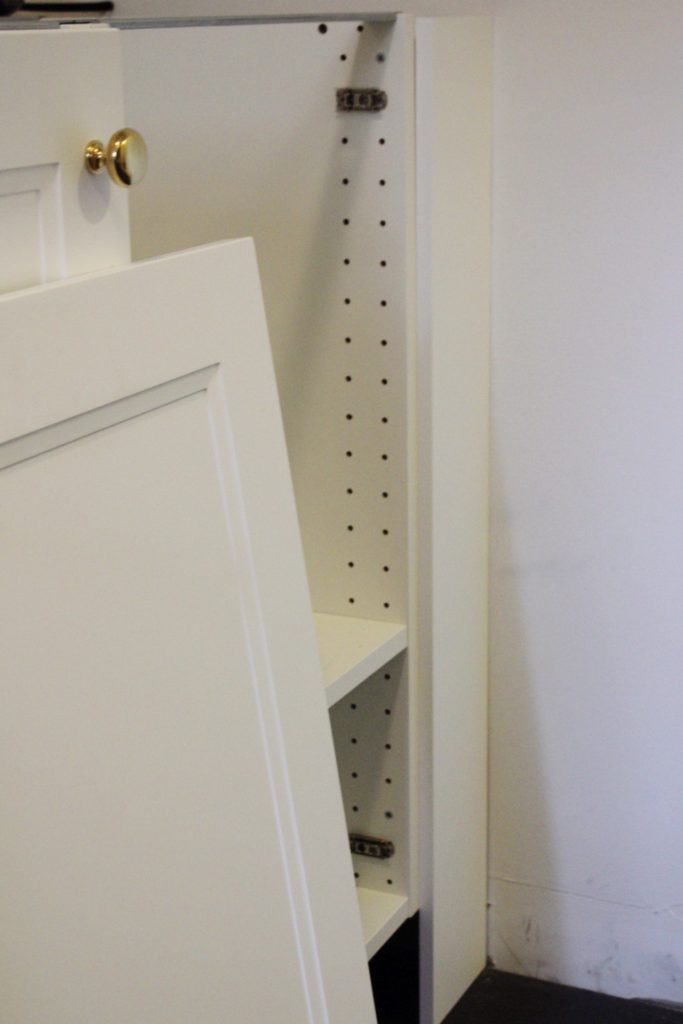
With the cabinets securely installed, it's time to add the finishing touches. Install the cabinet doors using the provided hardware, making sure they are aligned and level. Then, install the knobs or handles onto the doors for a functional and stylish look.Step 5: Install Cabinet Doors and Hardware


How to Install IKEA Cabinets - Kitchen Cabinet Installation

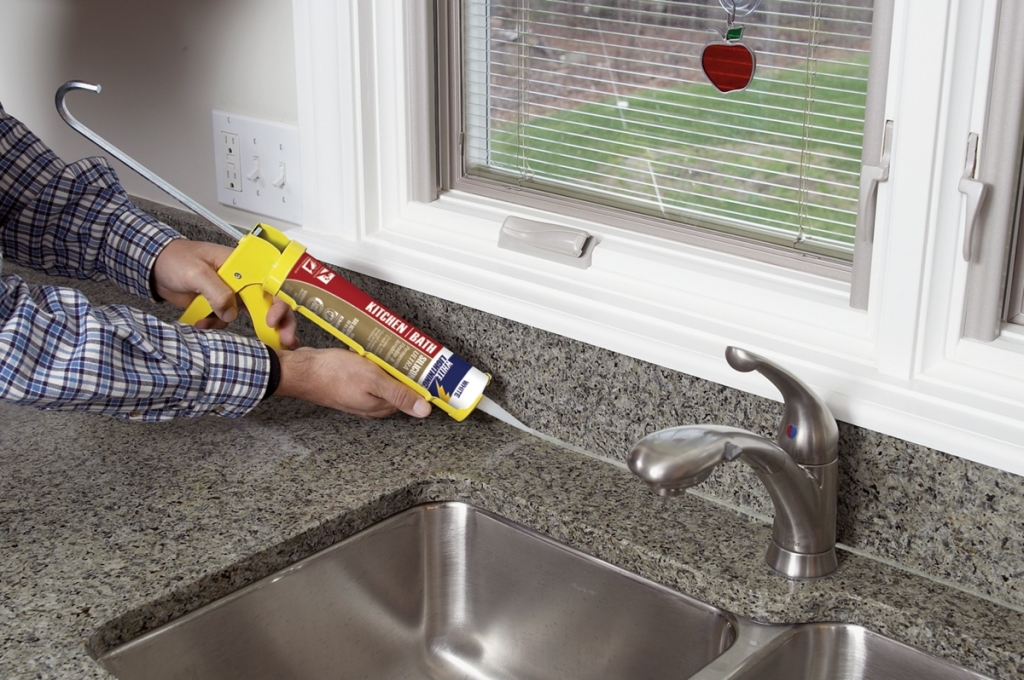
Lastly, install any filler pieces and trim to cover any gaps between cabinets and the wall. This will give your cabinets a polished and professional look. You can also add molding or other decorative elements to customize your cabinets and make them your own.Step 6: Finish with Filler Pieces and Trim
How to Install IKEA Cabinets - Kitchen Cabinet Installation
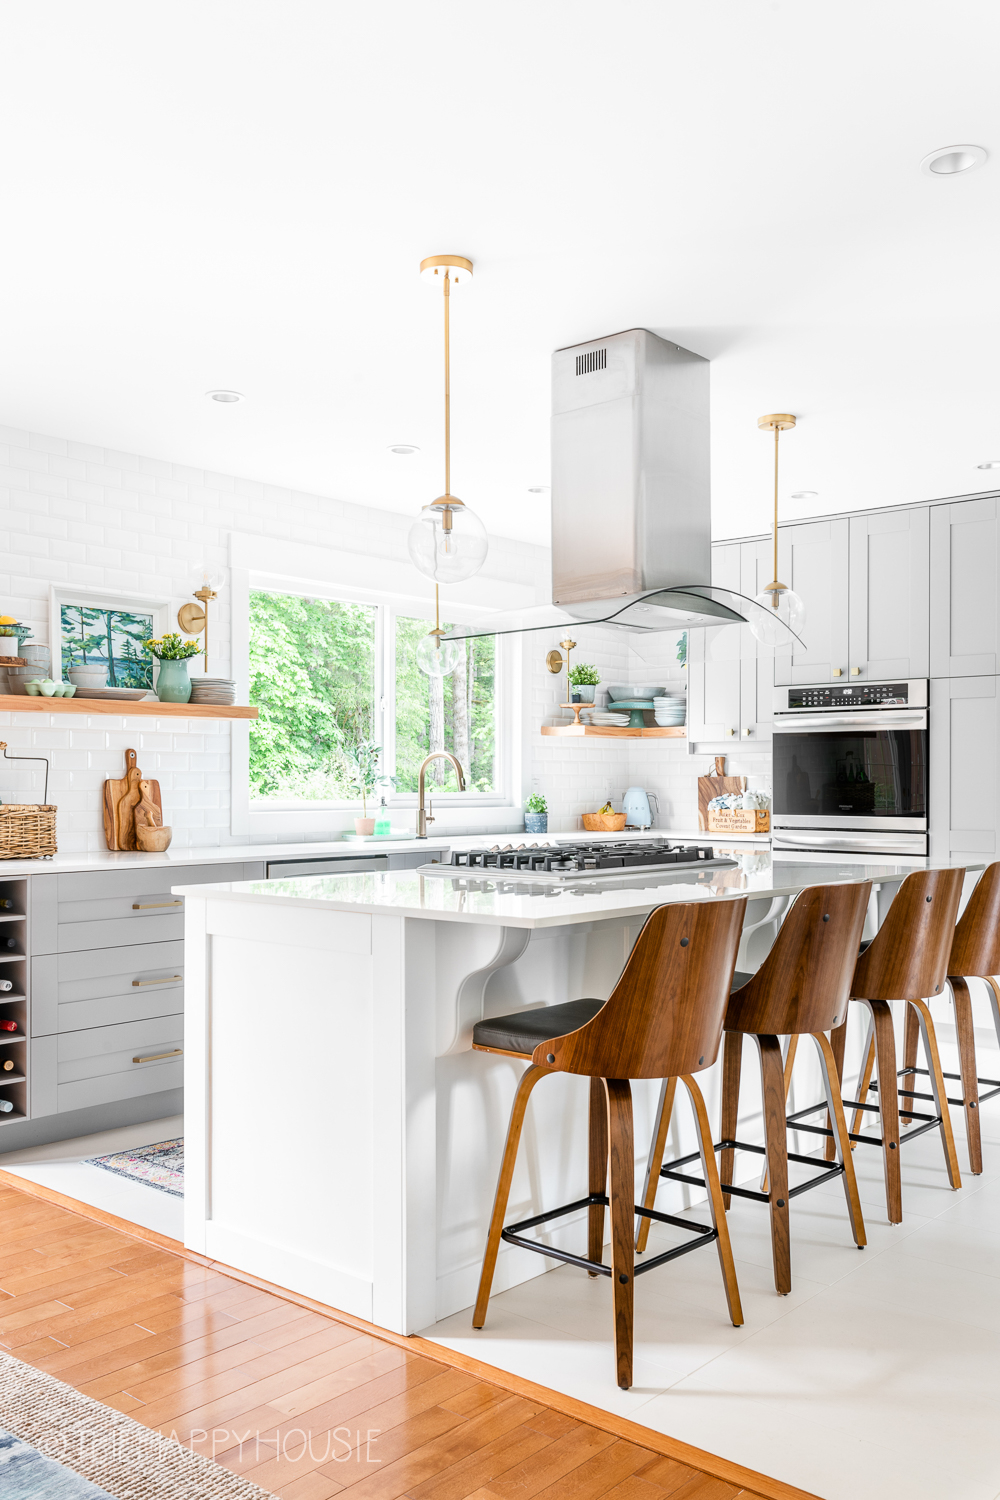
Installing IKEA kitchen cabinets to the wall may seem like a daunting task, but with the right tools and a step-by-step guide, it can be a rewarding and cost-effective DIY project. Remember to measure and plan carefully, use the appropriate tools and hardware, and take your time to ensure a successful installation. With your new IKEA kitchen cabinets in place, you can now enjoy a functional and stylish kitchen space.In Conclusion

How to Install IKEA Cabinets - Kitchen Cabinet Installation
Additional Tips for Installing IKEA Kitchen Cabinets to Your Wall
1. Measure Twice, Cut Once
 Before starting the installation process, it is crucial to carefully measure the space where the cabinets will be installed and make sure they will fit properly. This includes measuring the height, width, and depth of the cabinets as well as the distance between them. It is also important to take into account any existing obstacles such as electrical outlets or plumbing pipes. By measuring twice and double-checking your measurements, you can avoid any potential issues during the installation process.
2. Assemble the Cabinets Before Installing
 Before attaching the cabinets to the wall, it is important to assemble them first. This will make the installation process much easier and more efficient. Follow the instructions provided by IKEA and make sure to use the correct tools and hardware. It is also a good idea to have someone help you with this step to ensure that the cabinets are assembled correctly.
3. Use a Level and Stud Finder
 To ensure that your cabinets are installed evenly and securely, it is important to use a level and stud finder. This will help you determine the correct placement of the cabinets and make sure they are attached to the wall securely. Use a pencil to mark where the studs are located and use these markings as a guide for attaching the cabinets.
4. Follow the IKEA Instructions
 Each IKEA kitchen cabinet comes with detailed instructions for installation. It is important to carefully read and follow these instructions to ensure a successful installation. This includes using the correct hardware, attaching the cabinets to the wall properly, and making any necessary adjustments.
5. Seek Professional Help if Needed
 If you are unsure about the installation process or do not feel comfortable doing it yourself, do not hesitate to seek professional help. IKEA offers installation services for an additional fee, or you can hire a professional contractor to install the cabinets for you. This will ensure that the cabinets are installed correctly and will save you time and hassle in the long run.
By following these additional tips, you can successfully install your IKEA kitchen cabinets to your wall and create a beautiful and functional kitchen space. Remember to take your time, carefully measure, and follow instructions for a stress-free installation process. Happy designing!
If you are unsure about the installation process or do not feel comfortable doing it yourself, do not hesitate to seek professional help. IKEA offers installation services for an additional fee, or you can hire a professional contractor to install the cabinets for you. This will ensure that the cabinets are installed correctly and will save you time and hassle in the long run.
By following these additional tips, you can successfully install your IKEA kitchen cabinets to your wall and create a beautiful and functional kitchen space. Remember to take your time, carefully measure, and follow instructions for a stress-free installation process. Happy designing!