Installing a drop-in kitchen sink may seem like a daunting task, but with the right tools and some basic knowledge, it can be a simple and rewarding DIY project. Before you begin, make sure to turn off the water supply and disconnect any plumbing connected to the old sink. With these steps and some patience, you'll have a beautiful and functional new sink in no time.1. How to Install a Drop-In Kitchen Sink


1. How to Install a Drop-In Kitchen Sink


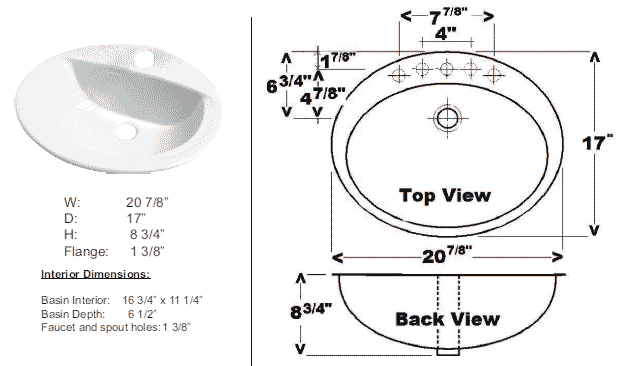
The first step in installing a drop-in kitchen sink is to measure the opening in your countertop. This will ensure that your new sink will fit perfectly. Once you have your measurements, use a jigsaw to cut out the hole in your countertop. Next, place the sink upside down on a flat surface and apply a bead of silicone caulk around the edge. Carefully flip the sink over and place it into the opening, making sure it is centered and level.2. Step-by-Step Guide for Installing a Drop-In Kitchen Sink


2. Step-by-Step Guide for Installing a Drop-In Kitchen Sink


If you're a fan of DIY projects, installing a drop-in kitchen sink is a great way to save money and add a personal touch to your kitchen. With the right tools and a little elbow grease, you can have a professional-looking sink that you installed yourself. Just make sure to take your time and follow the steps carefully to ensure a successful installation.3. DIY: Installing a Drop-In Kitchen Sink


3. DIY: Installing a Drop-In Kitchen Sink


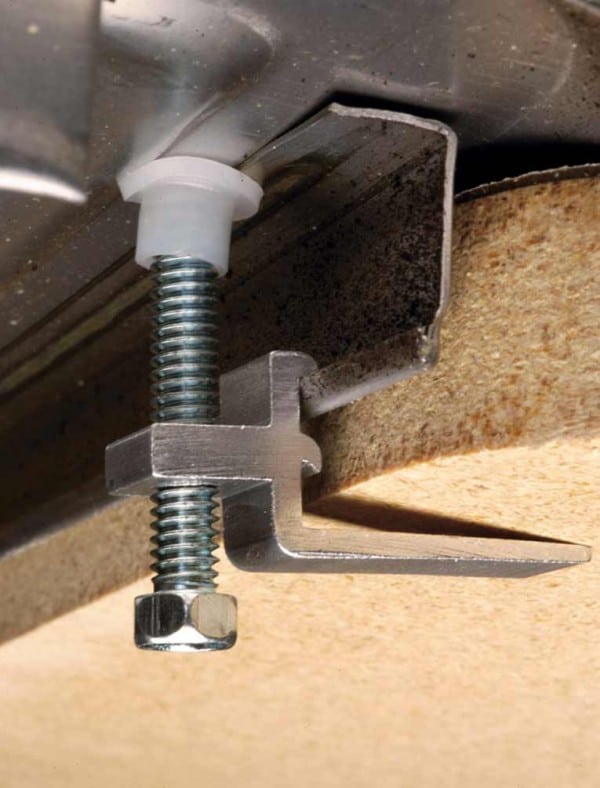
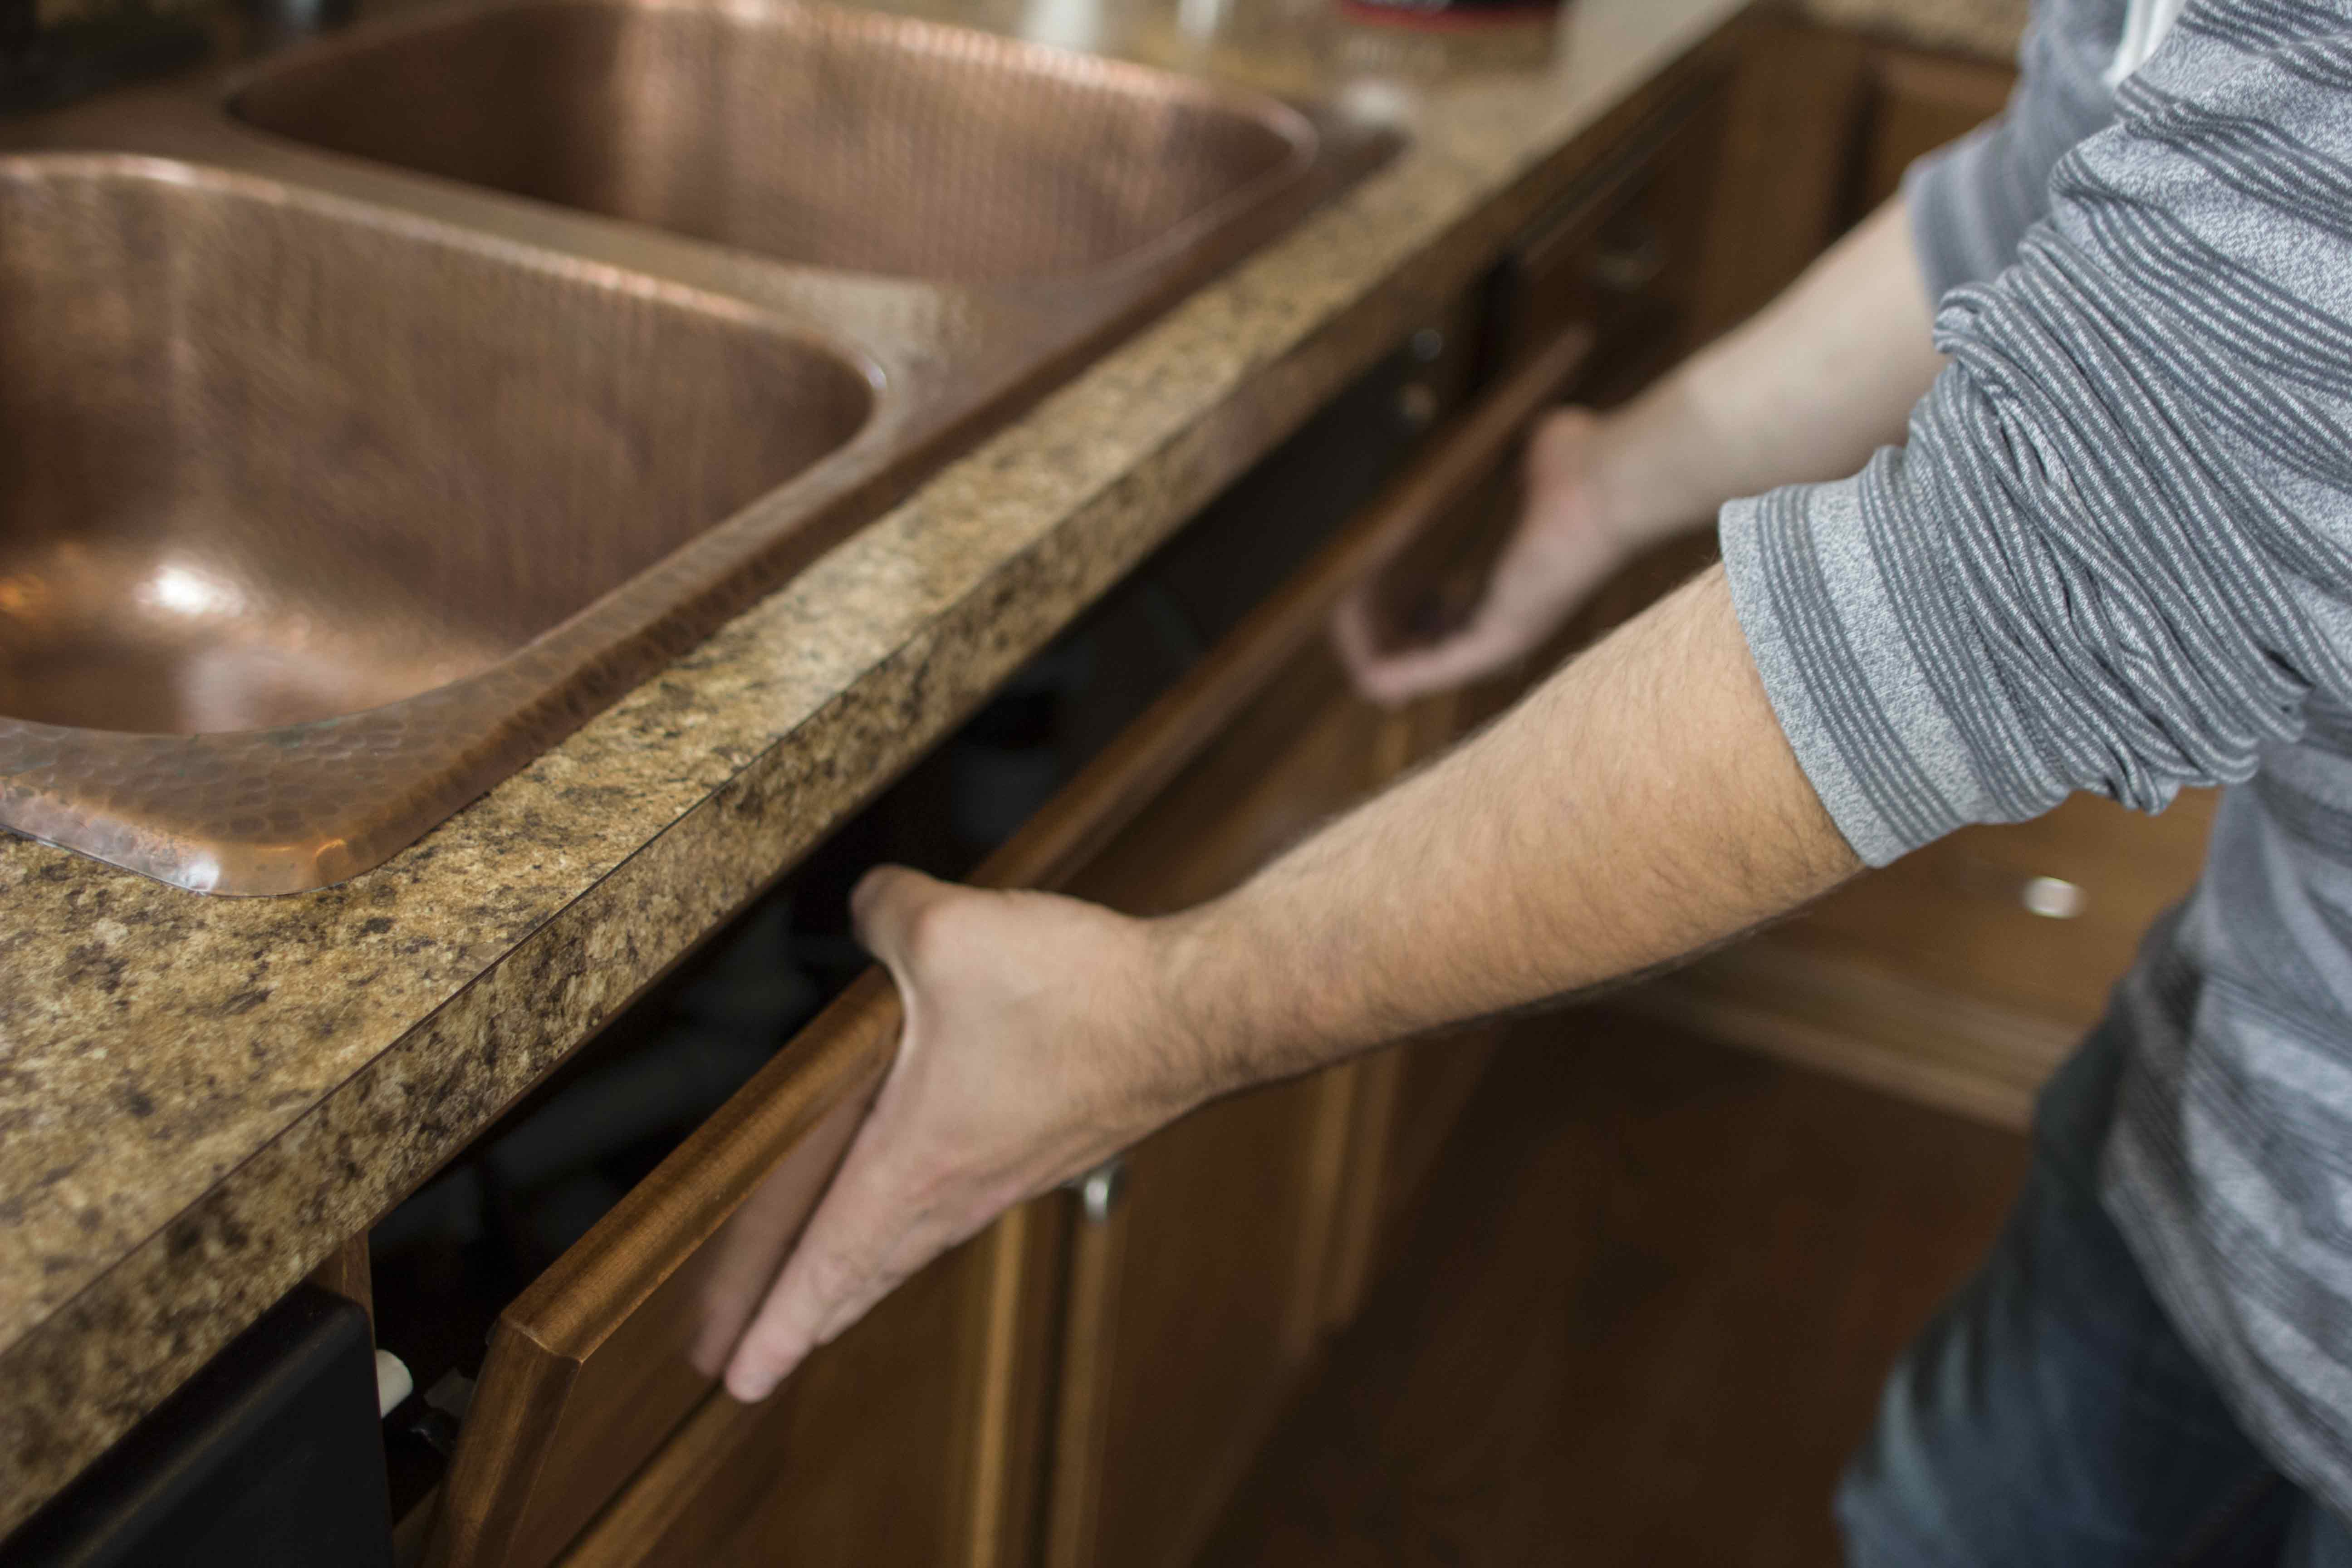
One important tip for installing a drop-in kitchen sink is to use a plumber's putty instead of silicone caulk. While caulk may be easier to work with, putty provides a better seal and is less likely to dry out and crack over time. Additionally, make sure to support the sink from below with wooden blocks while you're attaching it to the countertop to prevent any damage.4. Tips for Installing a Drop-In Kitchen Sink
:strip_icc()/kitchen-bamboo-countertops-colored-cabinets-sink-3FyjOiKM4fP95cPOHZJR-P-15f5f0dfef9945b9af9c121b0a7aad6e.jpg)
4. Tips for Installing a Drop-In Kitchen Sink


One mistake that many people make when installing a drop-in kitchen sink is not properly securing the sink to the countertop. This can lead to leaks and even damage to your cabinets. To avoid this, make sure to use a good quality adhesive and follow the manufacturer's instructions for installation. It's also important to double check that the sink is level before moving on to the next step.5. Common Mistakes to Avoid When Installing a Drop-In Kitchen Sink


5. Common Mistakes to Avoid When Installing a Drop-In Kitchen Sink


Before starting the installation process, it's important to gather all the necessary tools and materials. These may include a jigsaw, plumber's putty, adhesive, caulk gun, wrench, and screwdriver. It's also a good idea to have a bucket or towels handy in case of any water spills. Having everything you need within reach will make the process smoother and more efficient.6. Tools and Materials Needed for Installing a Drop-In Kitchen Sink


6. Tools and Materials Needed for Installing a Drop-In Kitchen Sink


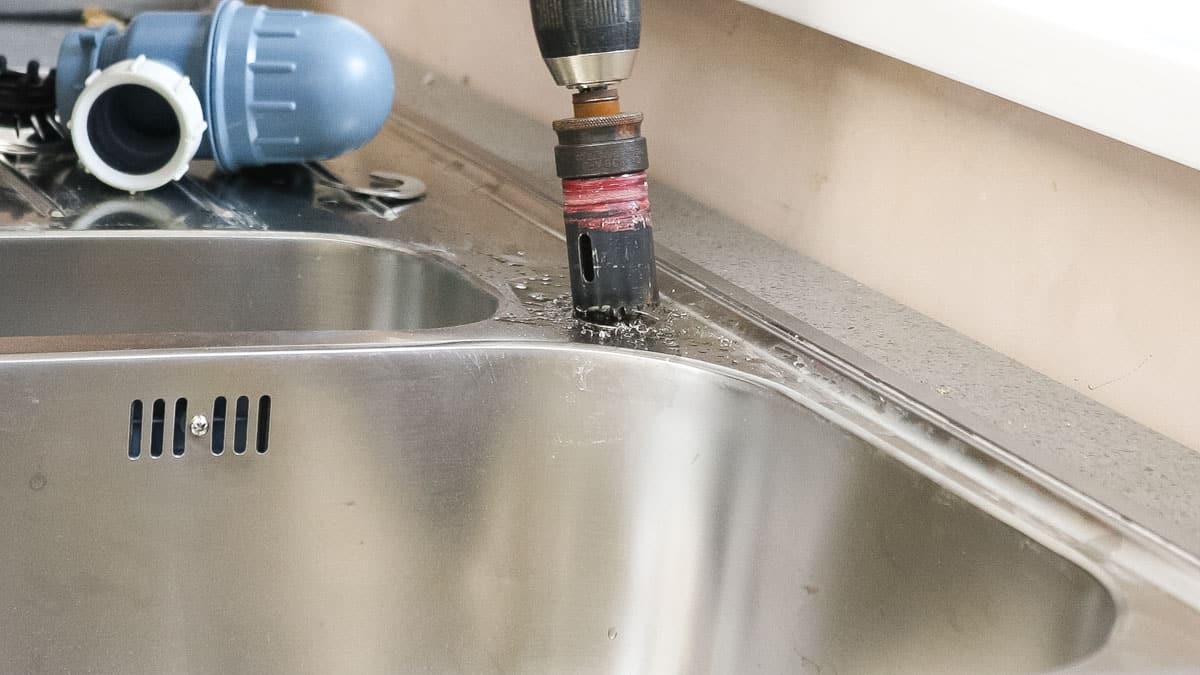
Measuring and cutting the hole for a drop-in kitchen sink may seem intimidating, but it's a crucial step in the installation process. The best way to measure is to flip the sink upside down and trace the outline onto the countertop. Make sure to leave enough space for the sink to fit comfortably within the opening. Use a jigsaw to carefully cut out the hole, following the traced line.7. How to Measure and Cut a Hole for a Drop-In Kitchen Sink


7. How to Measure and Cut a Hole for a Drop-In Kitchen Sink


Installing a drop-in kitchen sink can be done on various types of countertops, such as laminate, granite, or solid surface. However, it's important to use the appropriate adhesive for the specific material to ensure a strong and secure attachment. For example, silicone caulk may work well for laminate, but a granite countertop may require a stronger adhesive to hold the weight of the sink.8. Installing a Drop-In Kitchen Sink on Different Types of Countertops


8. Installing a Drop-In Kitchen Sink on Different Types of Countertops


Even with careful planning and execution, issues may arise during the installation of a drop-in kitchen sink. One common issue is a gap between the sink and the countertop. This can be easily fixed by using a filler material, such as plumber's putty, to create a tight seal. Another issue may be a leaky drain, which can be resolved by tightening the connections or replacing the gaskets.9. Troubleshooting Common Issues When Installing a Drop-In Kitchen Sink


9. Troubleshooting Common Issues When Installing a Drop-In Kitchen Sink

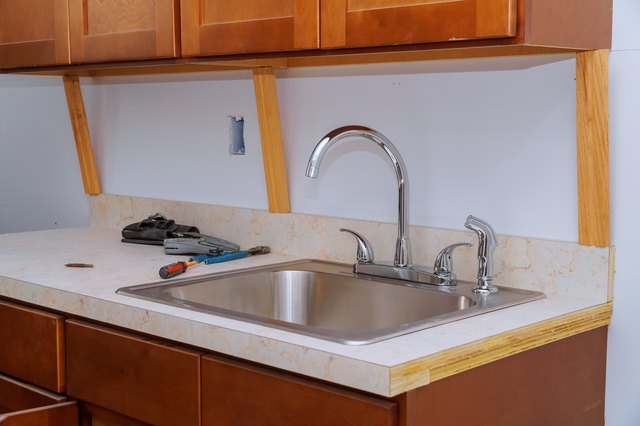
Once the sink is securely attached to the countertop, the final steps are to connect the plumbing and turn the water supply back on. This may involve attaching the drain, faucet, and any other necessary fixtures. Make sure to test for any leaks and make adjustments as needed. With everything connected and functioning properly, you can now enjoy your new drop-in kitchen sink.10. Final Steps for Installing a Drop-In Kitchen Sink and Connecting Plumbing


10. Final Steps for Installing a Drop-In Kitchen Sink and Connecting Plumbing


Why Choose a Drop-In Kitchen Sink?

Benefits of Installing a Drop-In Kitchen Sink

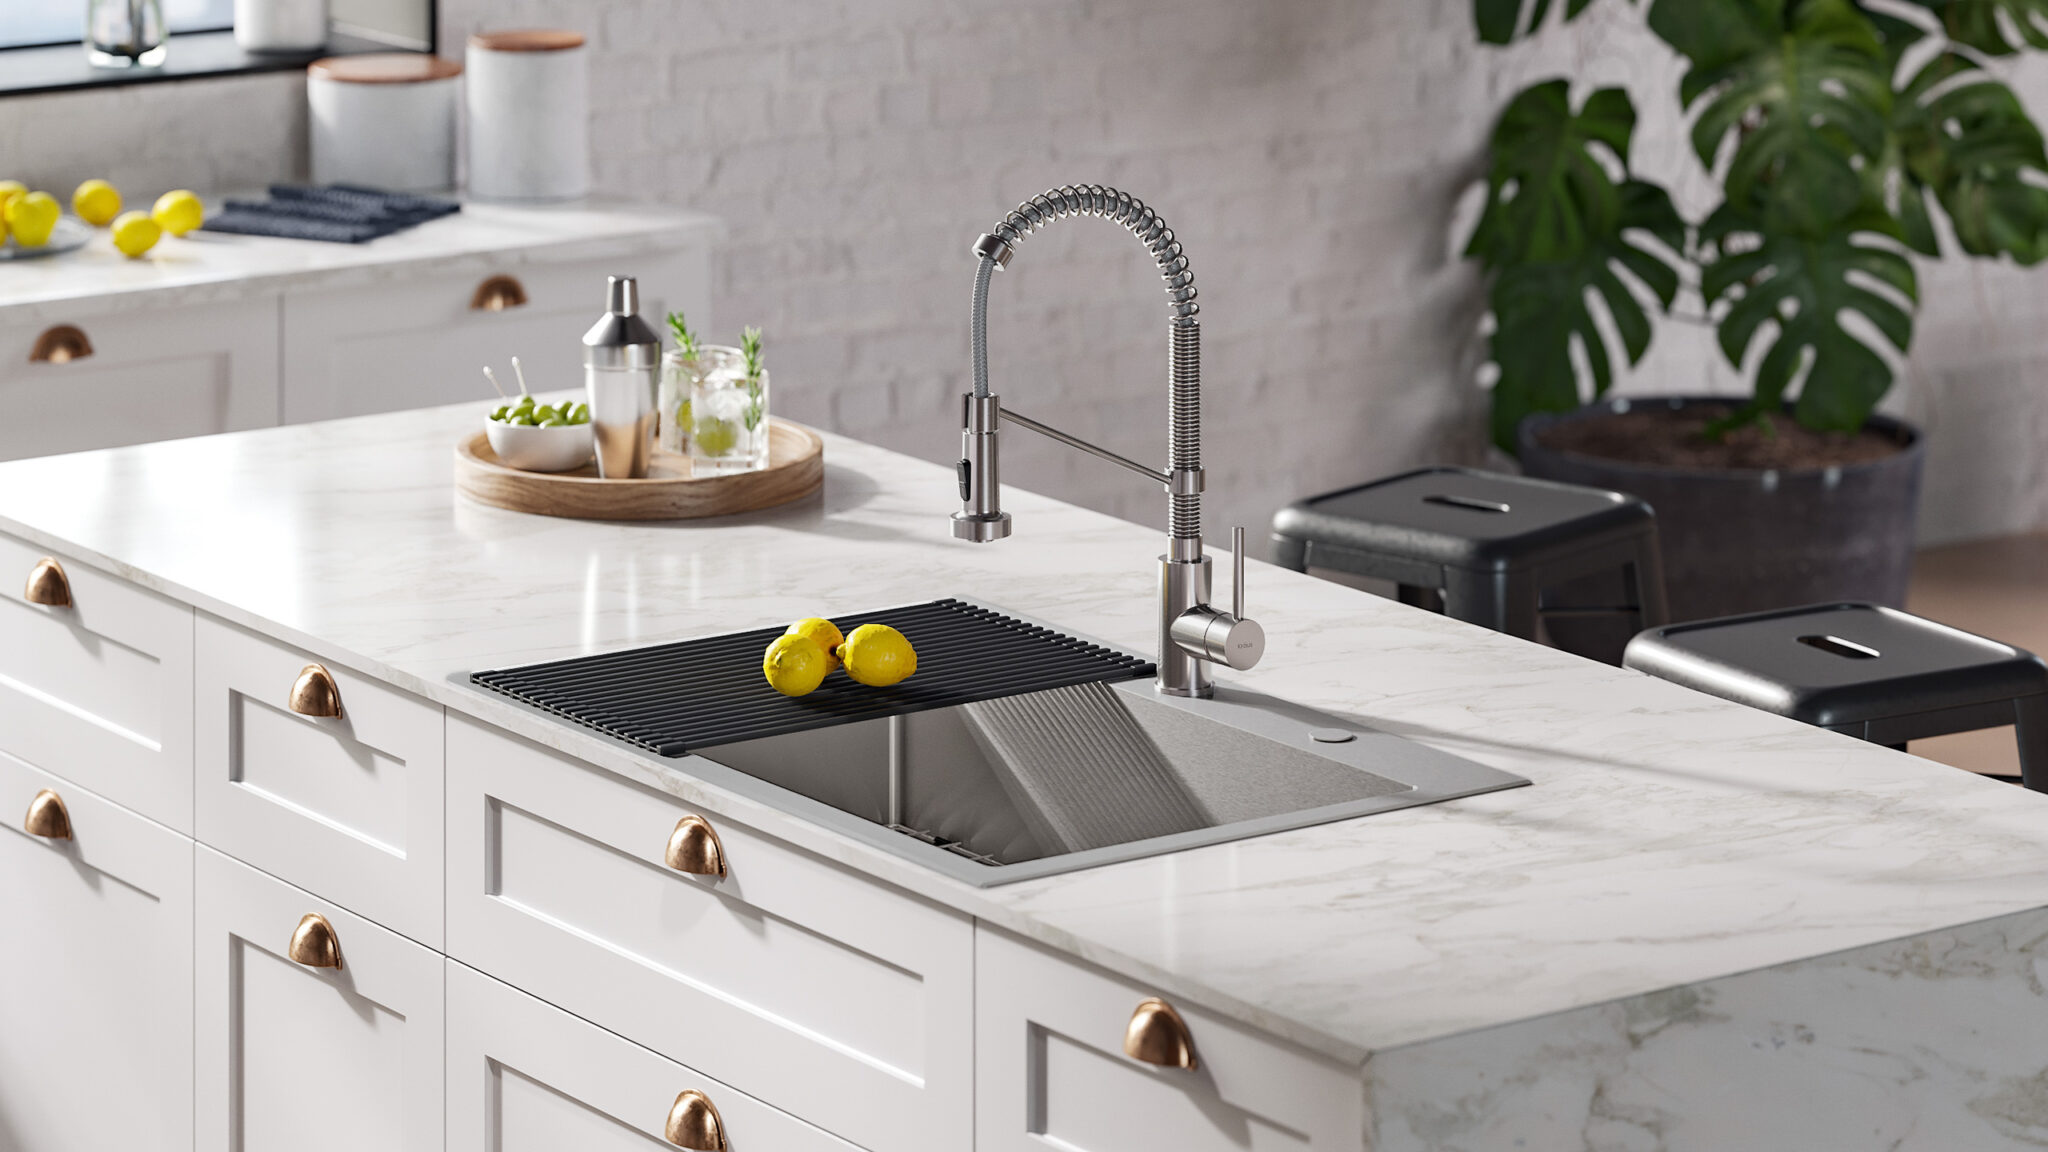
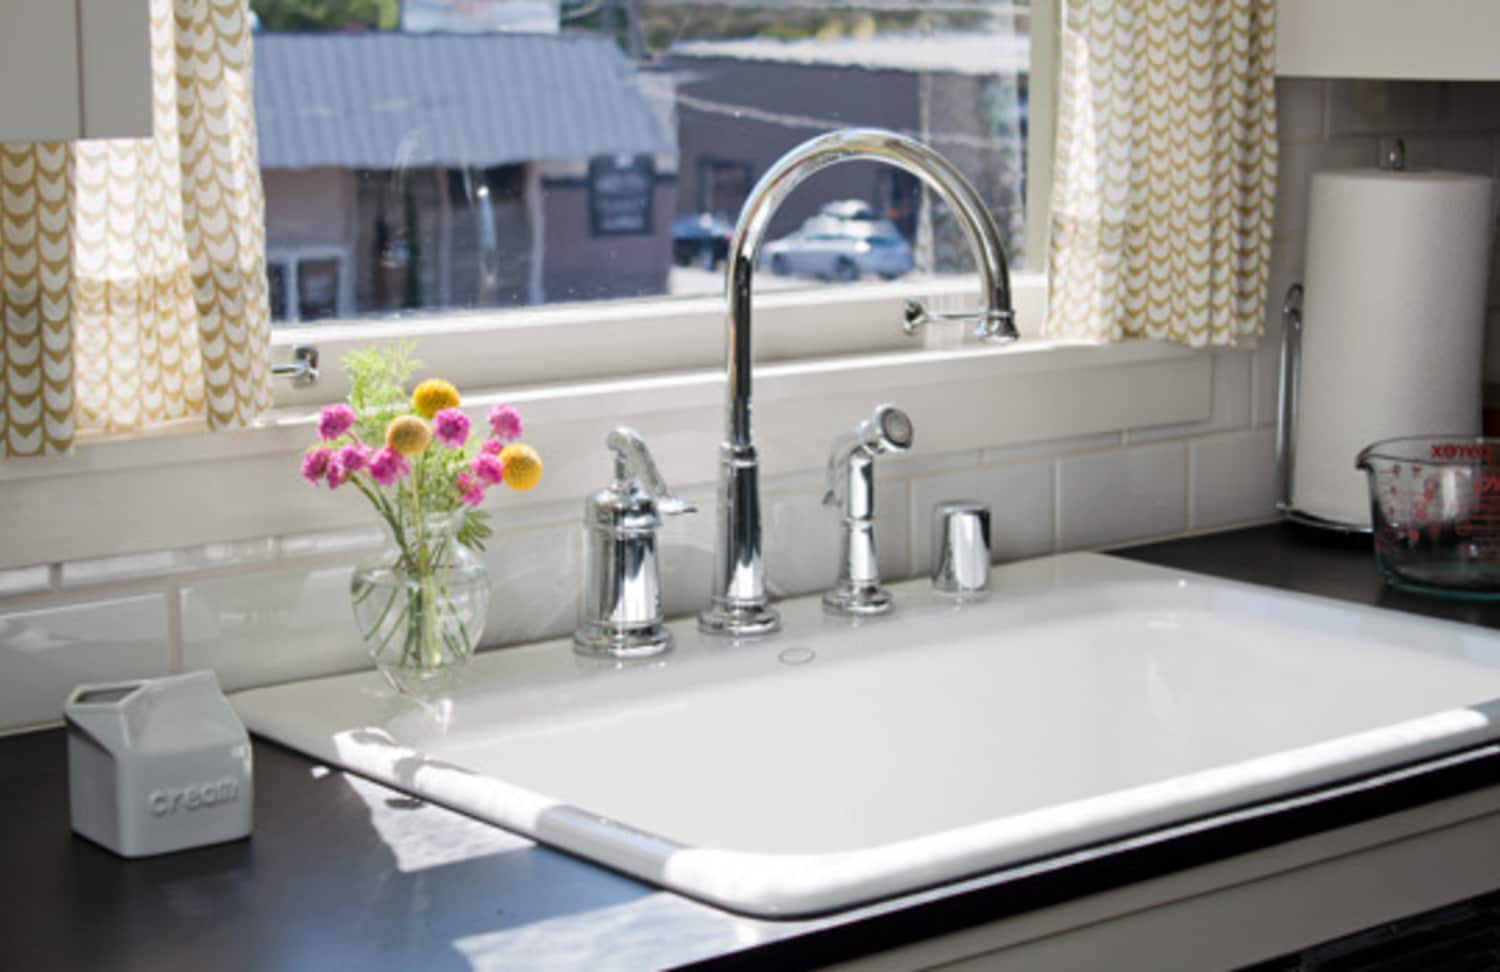
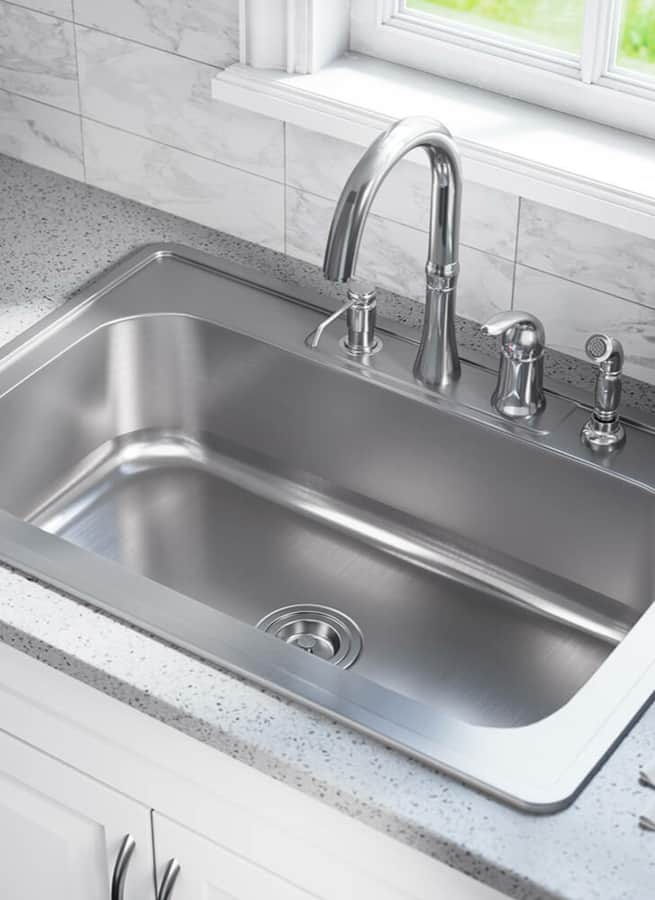
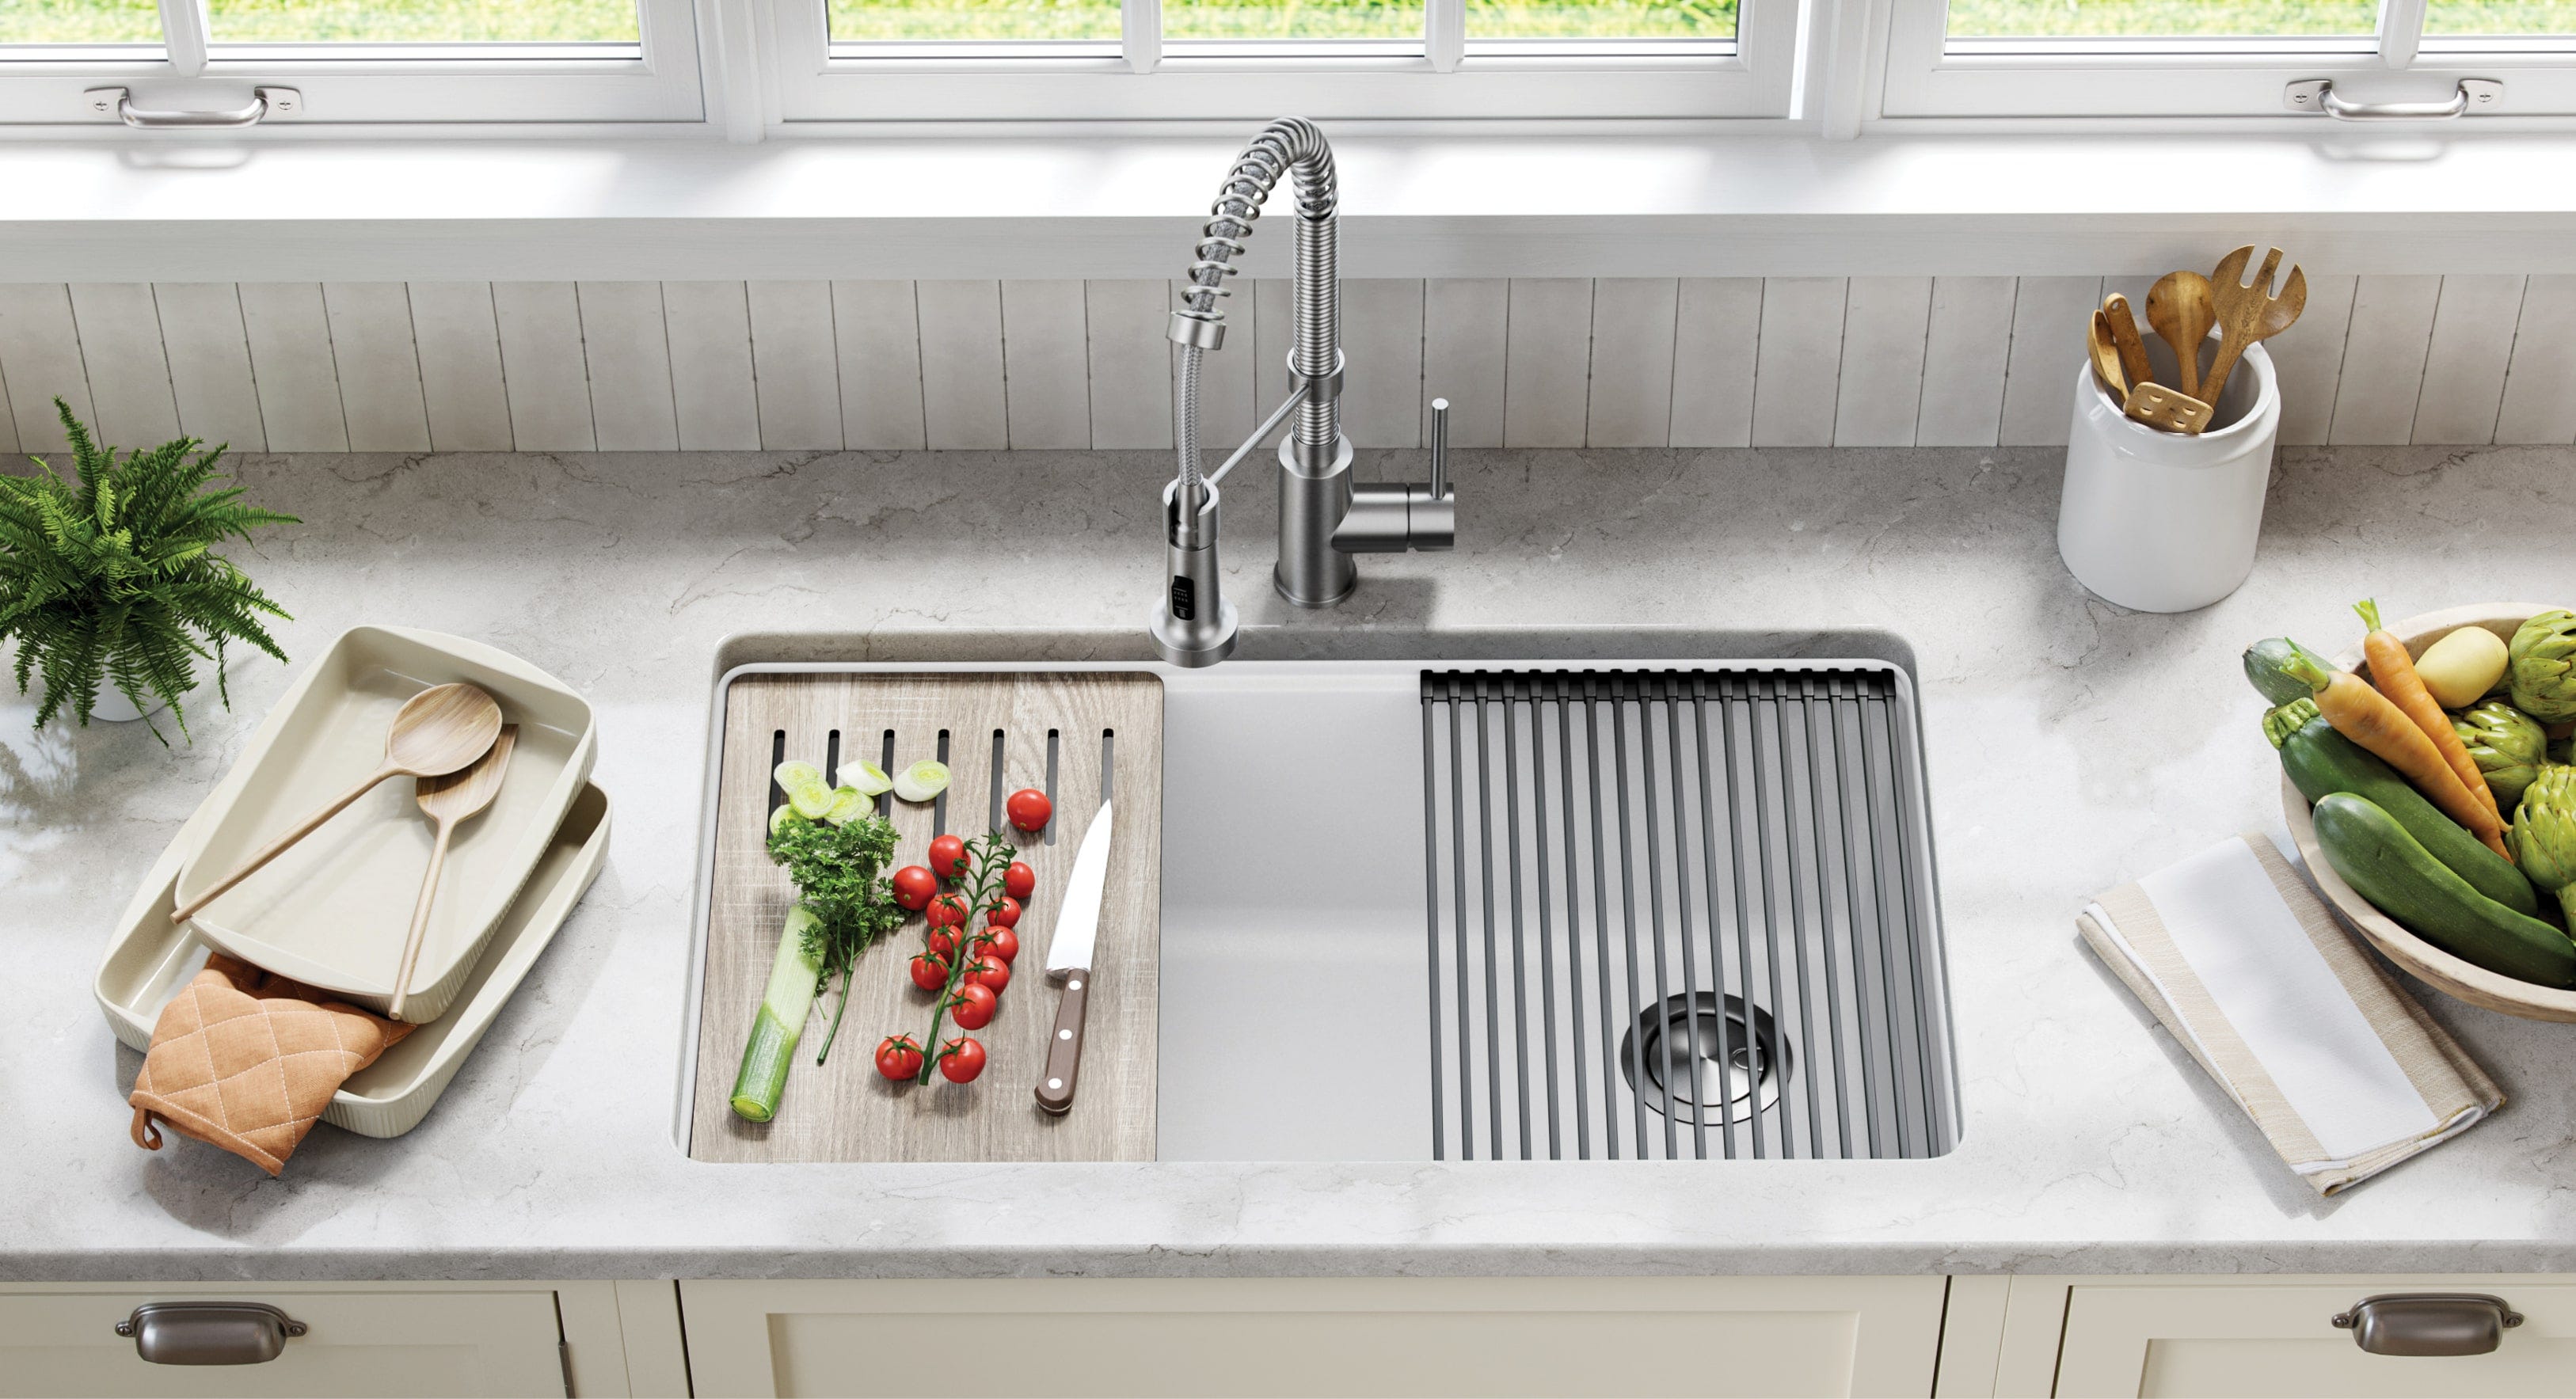
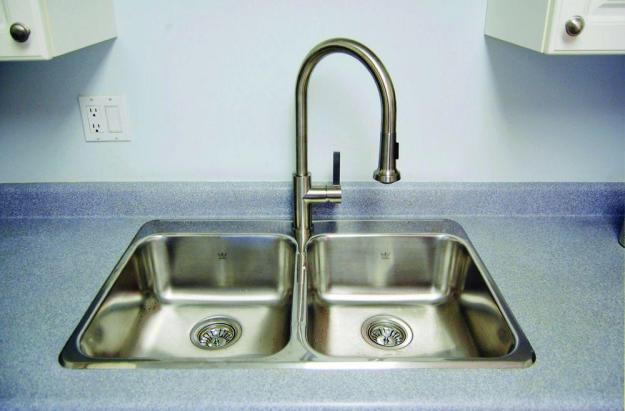
A drop-in kitchen sink is a popular choice among homeowners for its versatility and ease of installation. Unlike undermount sinks, which are attached to the underside of the countertop, drop-in sinks sit on top of the countertop and are secured with clips and caulk. This makes them a great option for both new construction and kitchen remodels, as they can easily be swapped out if needed.
But why choose a drop-in sink over other types of kitchen sinks? First and foremost, drop-in sinks come in a variety of sizes, shapes, and materials, making them suitable for any kitchen design. They also tend to be more affordable than other sink options, making them a budget-friendly choice for homeowners.
Another benefit of a drop-in kitchen sink is its versatility . These sinks can be installed in any type of countertop, including laminate and solid surface, making them a great choice for any kitchen style. They also come in single, double, and even triple bowl options to suit your specific needs and preferences.
Convenience is another key factor when it comes to choosing a drop-in sink. These sinks are easy to install, making it a great DIY project for homeowners. They also have a wider and more visible rim, making it easier to clean and maintain the sink and surrounding area.
Installation Tips for Drop-In Kitchen Sinks

While installing a drop-in kitchen sink may seem like a simple task, there are a few key steps to keep in mind to ensure a successful installation. First, make sure to carefully measure the sink and countertop cutout to ensure a proper fit. Next, use the appropriate clips and caulk to secure the sink in place, following the manufacturer's instructions.
It's also important to seal the edges of the sink with silicone caulk to prevent any water from seeping between the sink and the countertop. This will also help to ensure a clean and polished look for your kitchen sink.
With its versatility, convenience, and affordability, it's no wonder that drop-in kitchen sinks are a popular choice among homeowners. Consider this option for your next kitchen remodel or upgrade and enjoy a functional and stylish addition to your kitchen space.