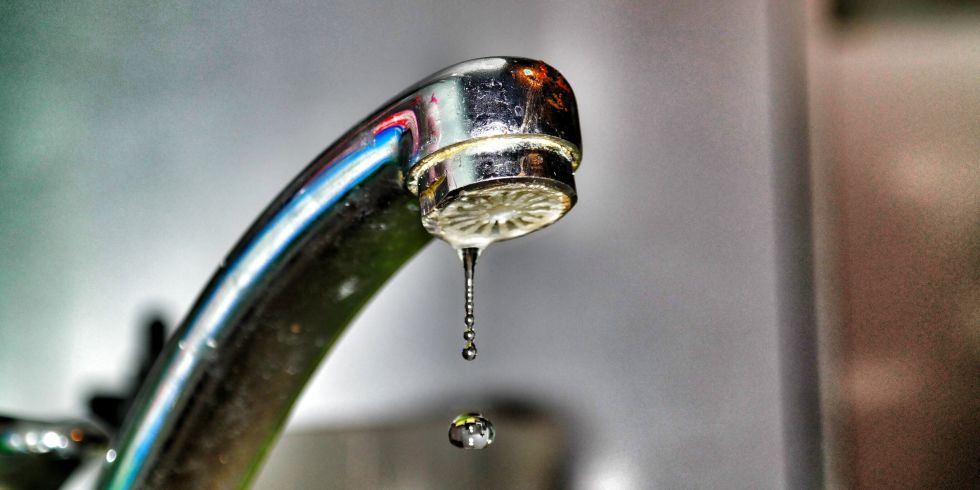
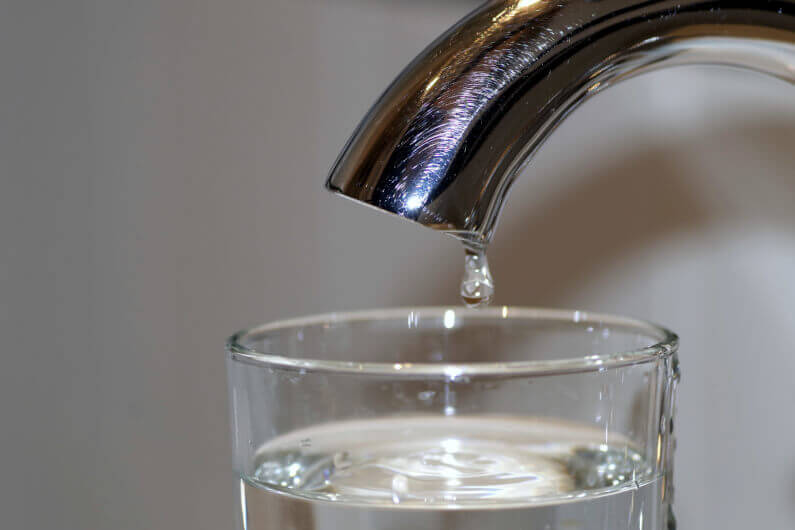
If you're tired of the constant "drip, drip, drip" sound coming from your bathroom sink, it's time to take action. Not only is a dripping sink annoying, but it can also lead to higher water bills and potential damage to your sink and plumbing. Luckily, fixing a dripping bathroom sink is a relatively simple task that can be done by DIY enthusiasts or professionals alike. In this article, we'll go over the top 10 ways to fix a dripping bathroom sink.Fixing a Dripping Bathroom Sink


Fixing a Dripping Bathroom Sink


Before we dive into the specifics, it's important to understand the basic steps of fixing a dripping bathroom sink. First, you'll need to locate the source of the drip and determine the cause. Then, you'll need to gather the necessary tools and materials and follow a step-by-step process to fix the issue. Finally, you'll want to take preventative measures to ensure that your sink doesn't start dripping again in the future.How to Fix a Dripping Bathroom Sink


How to Fix a Dripping Bathroom Sink

If you're someone who enjoys tackling home improvement projects on your own, you'll be happy to know that fixing a dripping bathroom sink is a task you can definitely handle. With the right tools and some basic plumbing knowledge, you can save yourself some money and fix the issue yourself. Just be sure to follow the steps carefully and take your time to avoid any mistakes.DIY Fix for a Dripping Bathroom Sink

DIY Fix for a Dripping Bathroom Sink


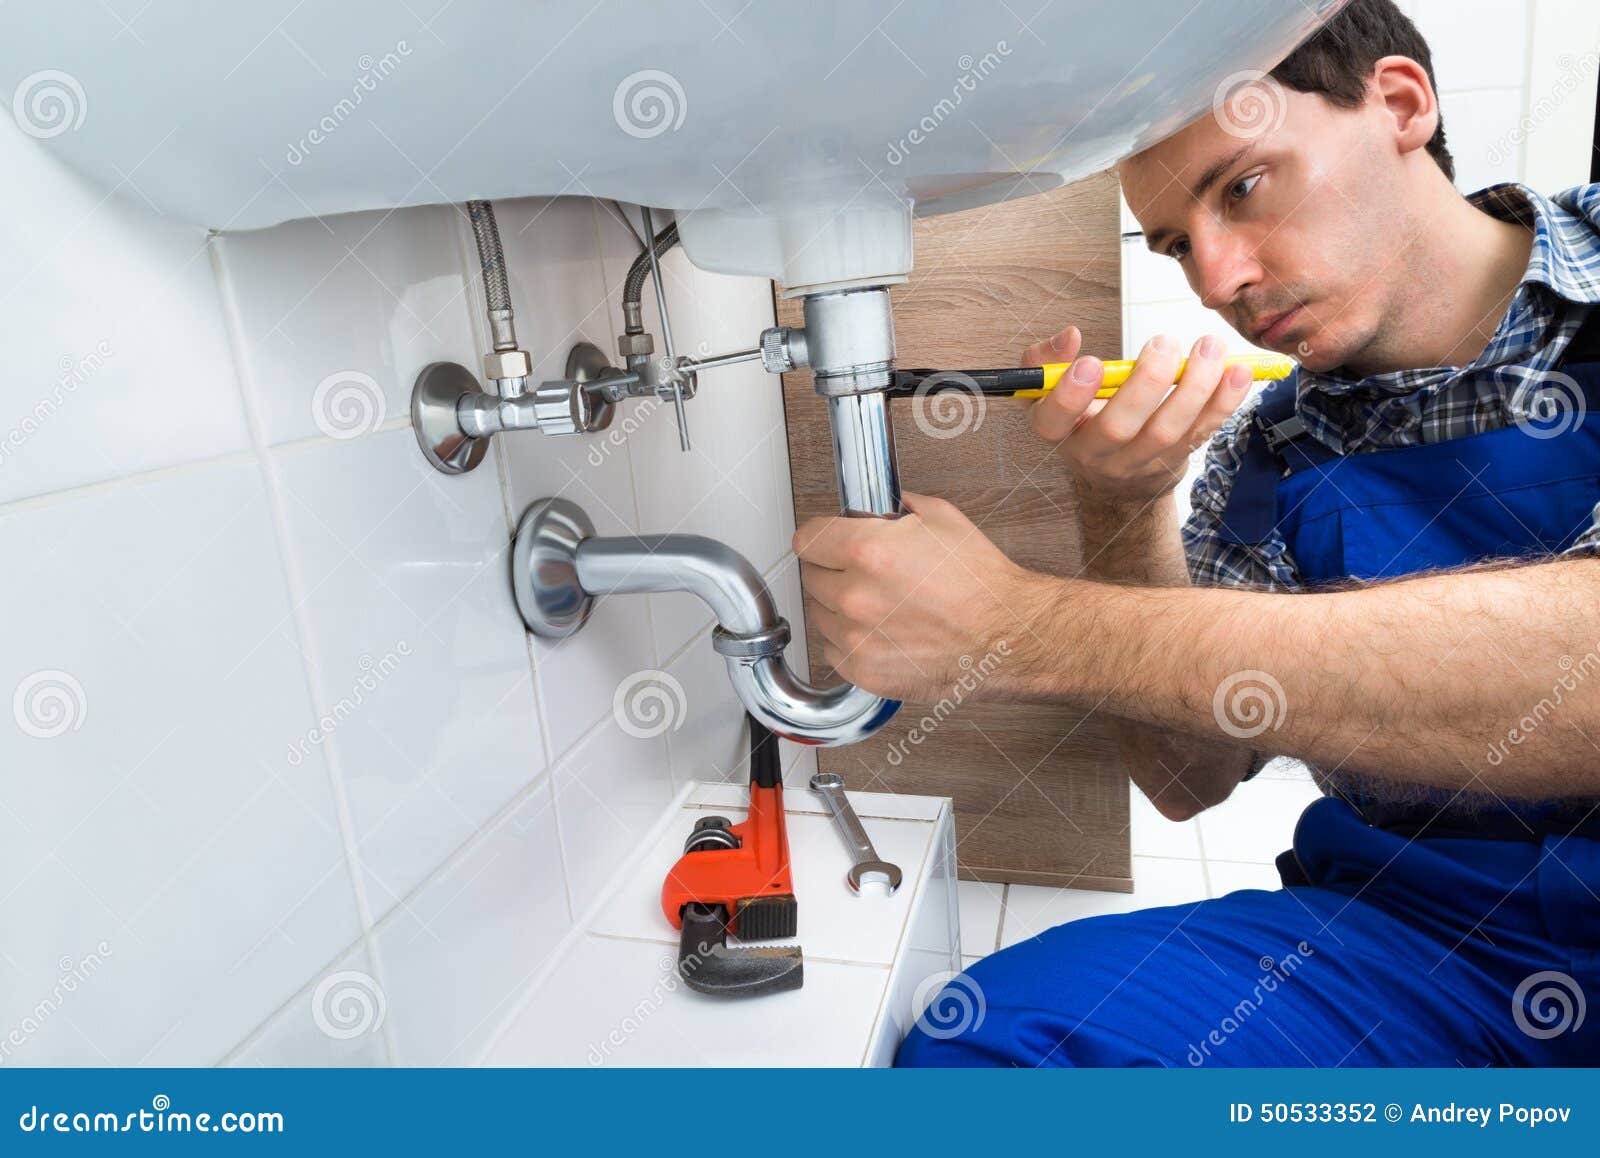
If you're not the handy type or simply don't have the time to fix a dripping bathroom sink yourself, you can always opt for a quick and easy fix by hiring a professional plumber. While this may cost you more money upfront, it can save you time and hassle in the long run. Plus, with their expertise, a professional plumber can ensure that the issue is fixed correctly and won't return.Quick and Easy Fix for a Dripping Bathroom Sink


Quick and Easy Fix for a Dripping Bathroom Sink


Now, let's get into the specifics of how to fix a dripping bathroom sink. Follow these steps to successfully stop that pesky drip:Step-by-Step Guide to Fixing a Dripping Bathroom Sink


Step-by-Step Guide to Fixing a Dripping Bathroom Sink


Now that you know the general steps for fixing a dripping bathroom sink, let's take a look at some of the common causes of the issue and how to fix them. Worn out washers: The most common cause of a dripping sink is a worn out washer in the faucet. To fix this, simply replace the washer with a new one. Loose valve stem: If the valve stem is loose, it may cause the faucet to drip. Tighten the valve stem or replace any worn out parts to fix the issue. Corroded valve seat: Over time, the valve seat can become corroded, causing a leak. Use a valve seat wrench to remove the valve seat and replace it with a new one. Damaged O-ring: If the O-ring is damaged, it can cause a leak. To fix this, replace the O-ring with a new one.Common Causes of a Dripping Bathroom Sink and How to Fix Them


Common Causes of a Dripping Bathroom Sink and How to Fix Them


Before you begin fixing your dripping bathroom sink, make sure you have the necessary tools and materials on hand. Some of the items you may need include:Tools and Materials Needed to Fix a Dripping Bathroom Sink


Tools and Materials Needed to Fix a Dripping Bathroom Sink


If you decide to hire a professional plumber to fix your dripping bathroom sink, here are some tips to keep in mind:Professional Tips for Fixing a Dripping Bathroom Sink

Professional Tips for Fixing a Dripping Bathroom Sink


Nobody wants their bathroom sink to start dripping again after just fixing it. To prevent future drips, here are some maintenance tips you can follow:Preventing Future Drips: Maintenance Tips for Your Bathroom Sink


Preventing Future Drips: Maintenance Tips for Your Bathroom Sink


If you've followed all the steps outlined in this article and your sink is still dripping, it may be time to call in a professional. They will be able to troubleshoot the issue and determine the best course of action to fix it. Now that you know the top 10 ways to fix a dripping bathroom sink, you can take action and say goodbye to that annoying drip once and for all. Whether you choose to fix it yourself or hire a professional, following these steps will help ensure a successful and long-lasting repair. So go ahead and tackle that drip, your wallet (and your sanity) will thank you.Troubleshooting Guide for Fixing a Dripping Bathroom Sink


Troubleshooting Guide for Fixing a Dripping Bathroom Sink

How to Fix a Dripping Bathroom Sink: A Simple Guide

Why a Dripping Bathroom Sink Should Not be Ignored
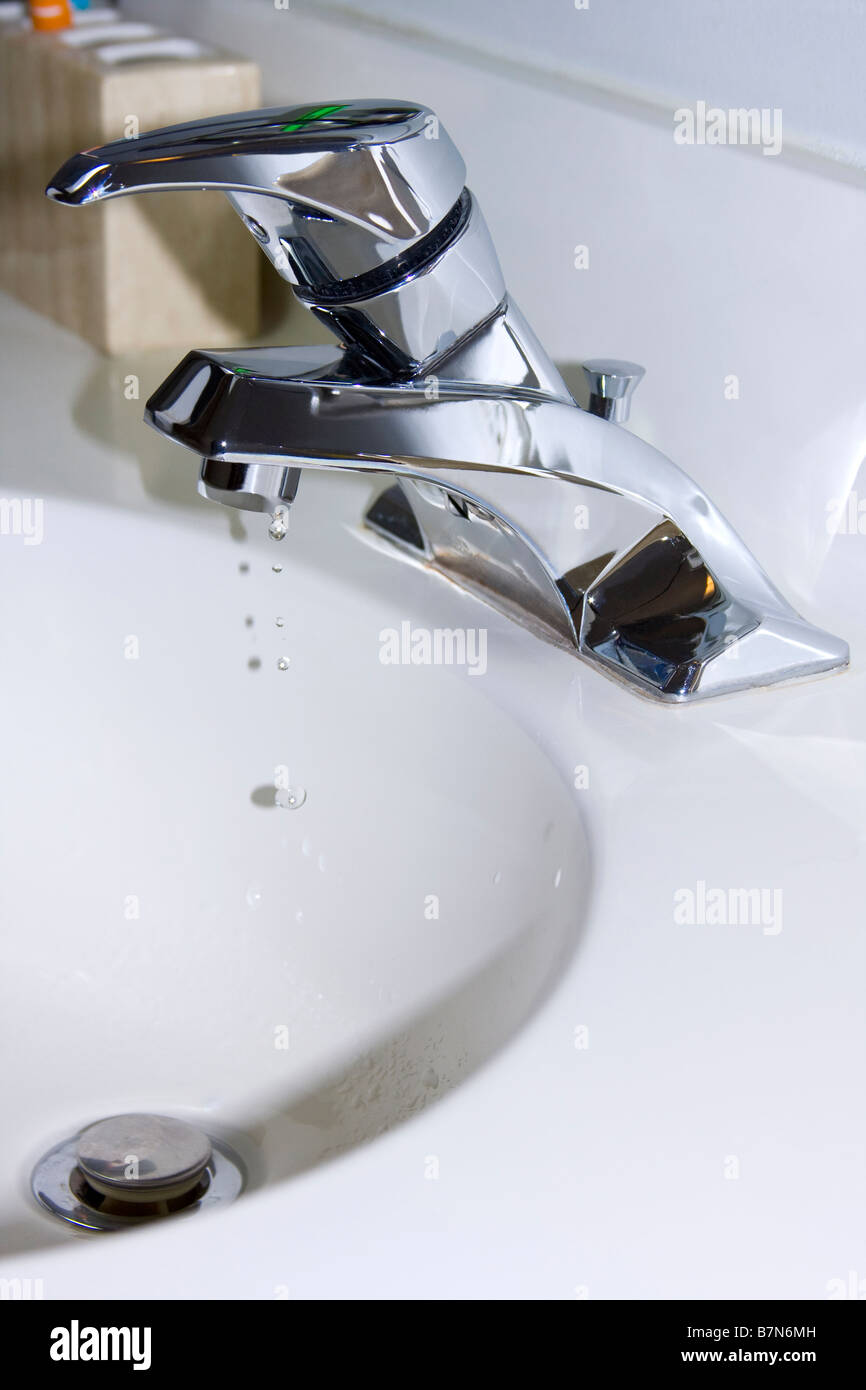
 A dripping bathroom sink may seem like a minor inconvenience, but it can lead to bigger problems if left unfixed. Not only is it a waste of water, but it can also cause damage to your sink and drain pipes. Plus, the constant dripping can be irritating and disrupt your peace at home. It’s important to address a dripping sink as soon as possible to avoid further complications and keep your bathroom functioning properly.
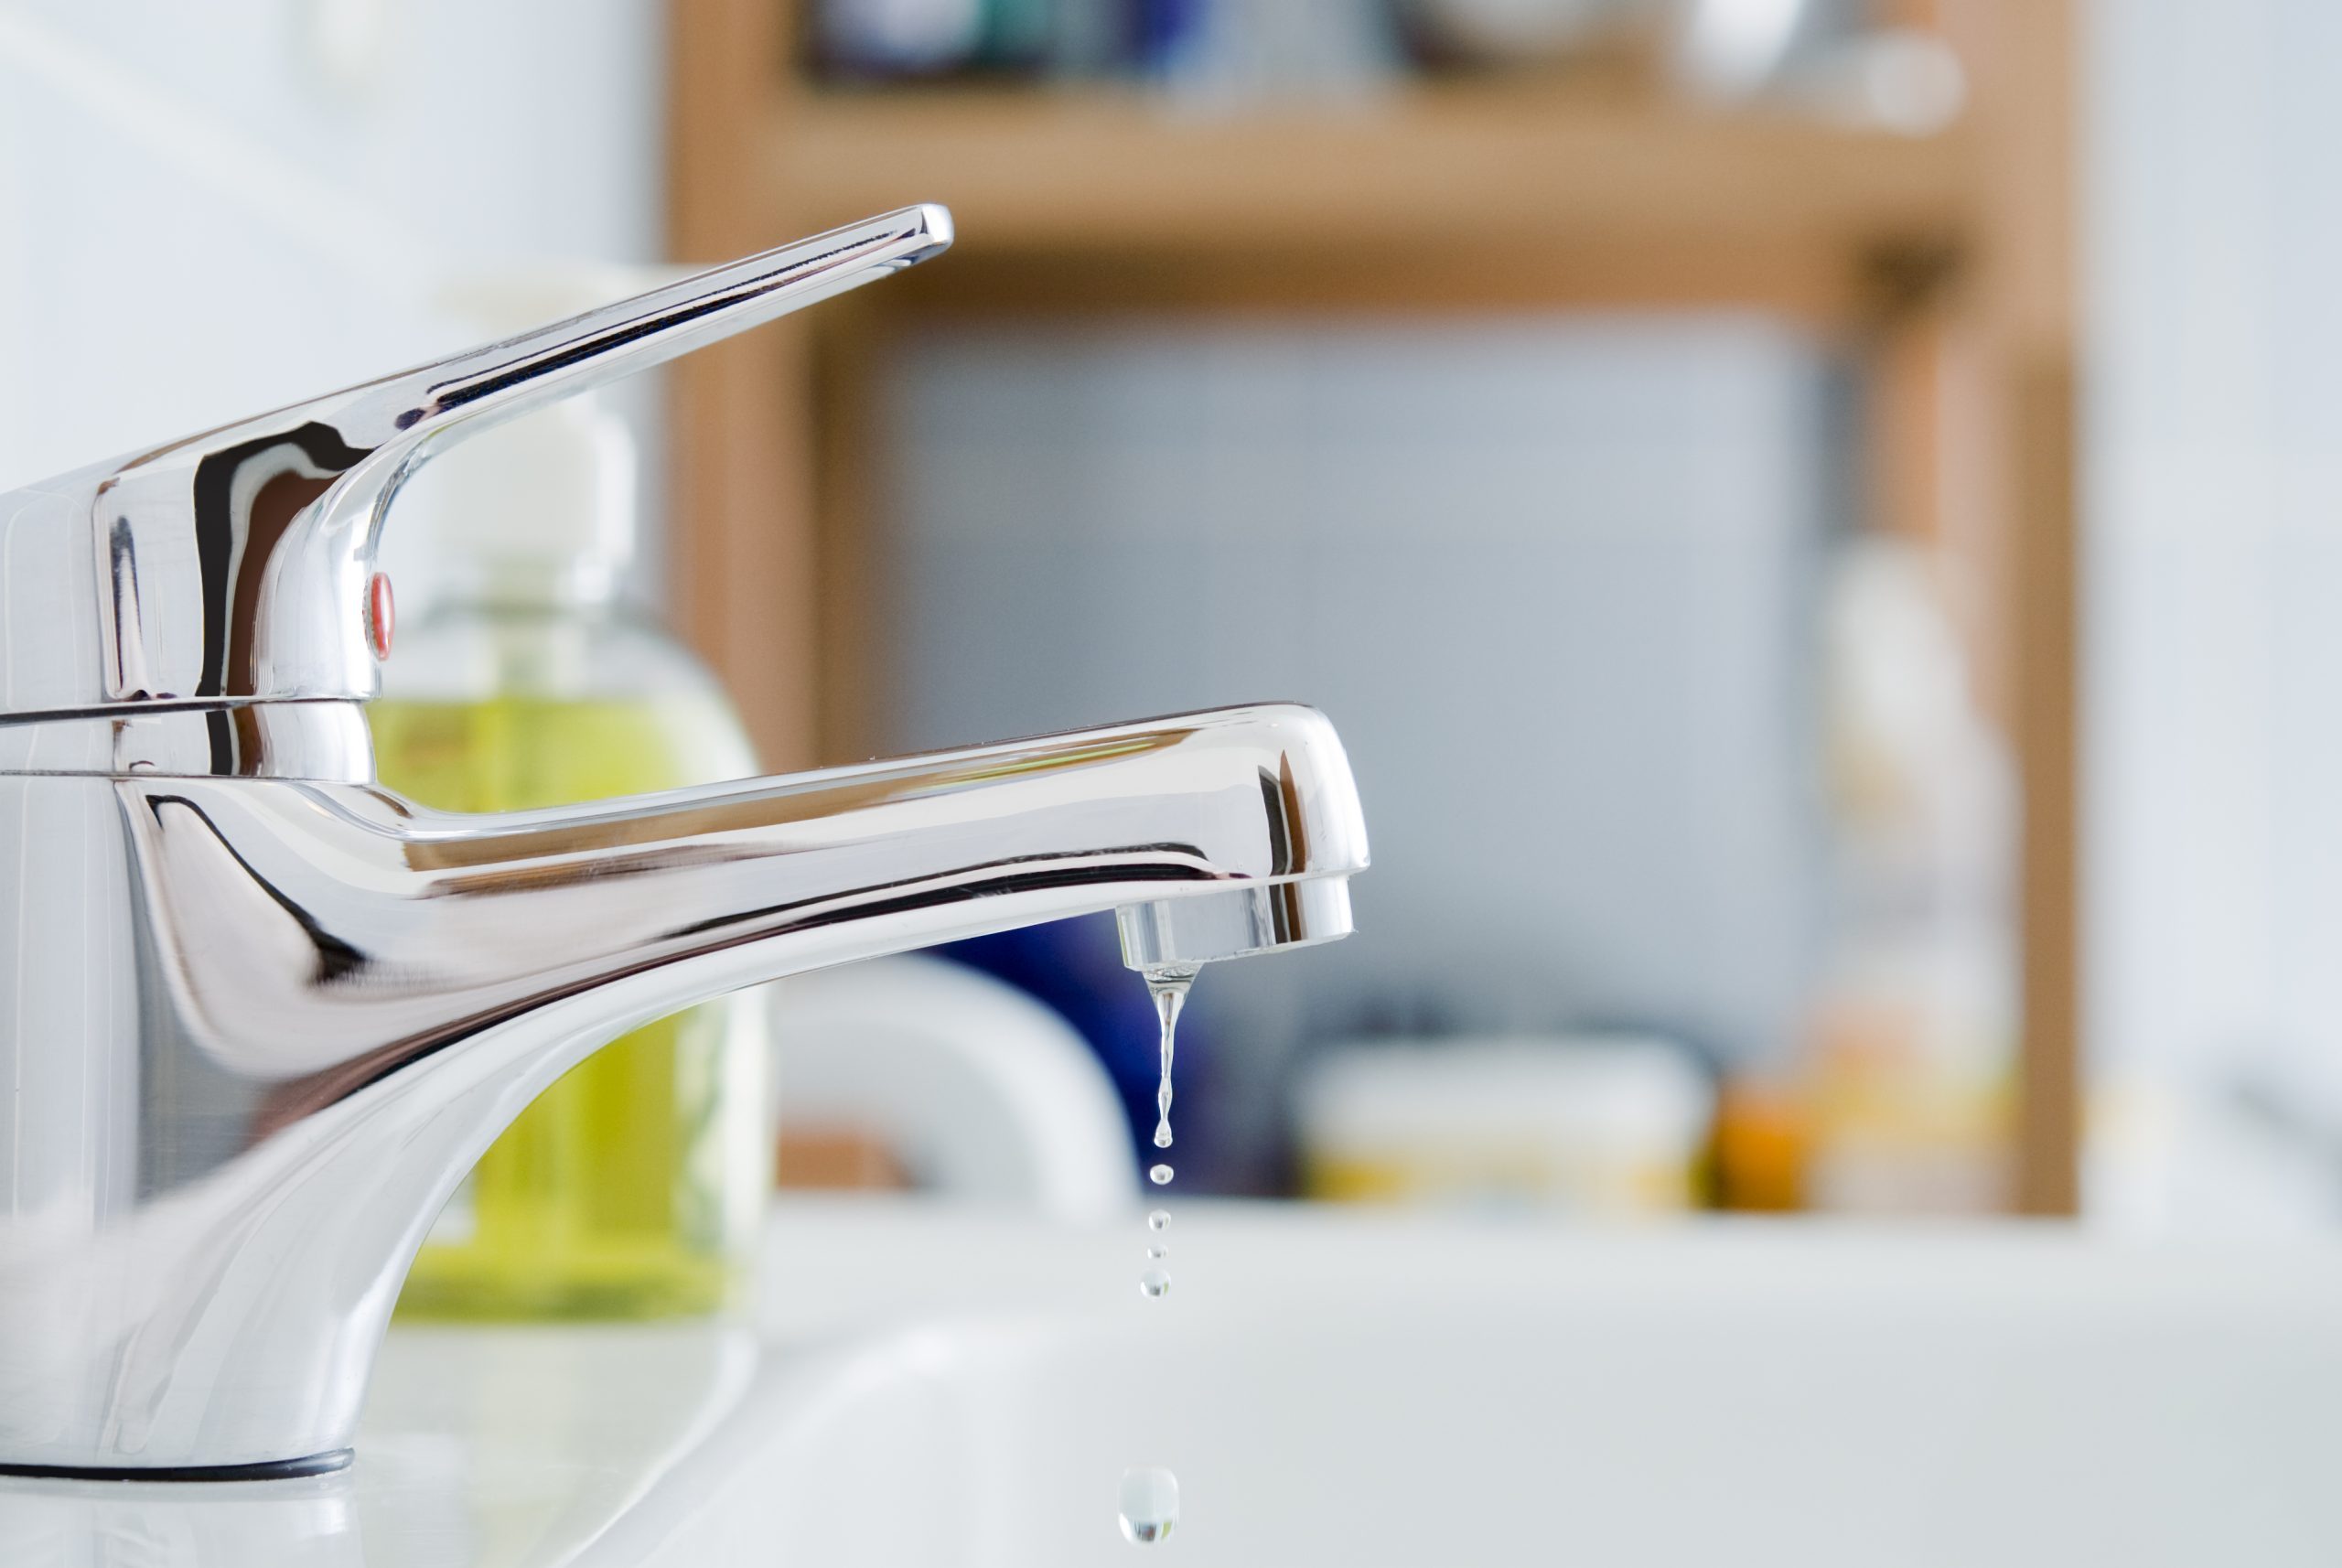
Identifying the Cause of the Drip
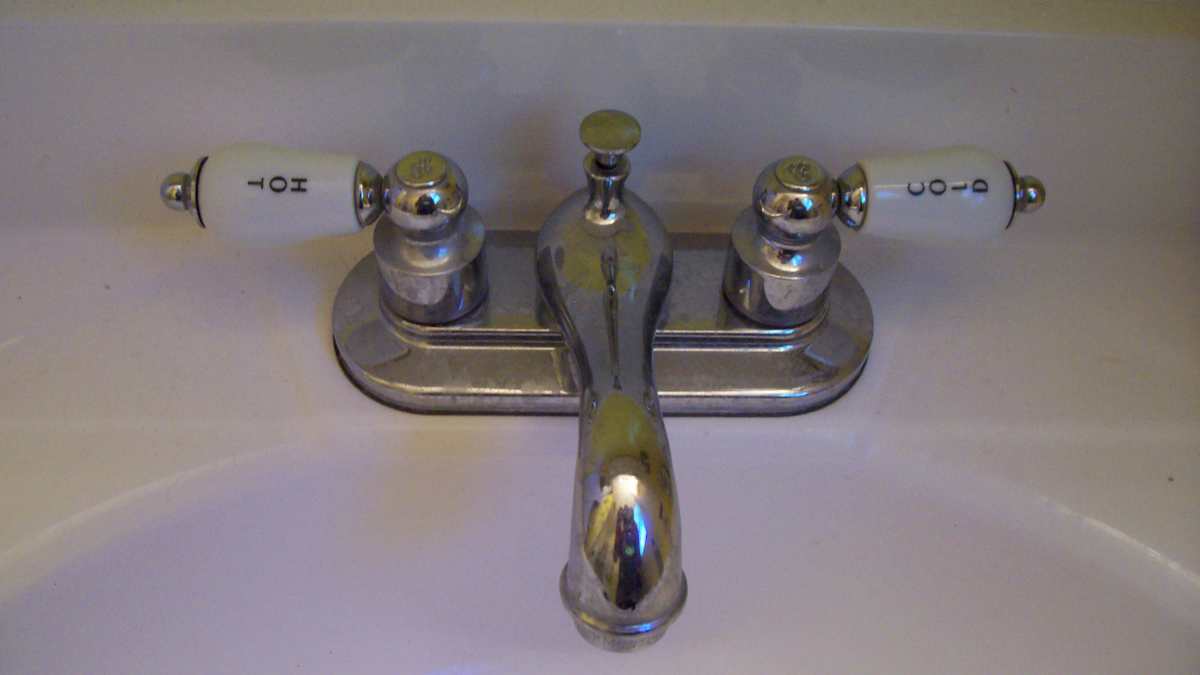
 Before attempting to fix a dripping bathroom sink, it’s important to identify the cause of the problem. The most common cause is a worn-out
washer
in the
faucet
handle. Over time, the washer can become damaged or corroded, causing water to leak through. Other possible causes include a
loose nut
or
valve seat
, which can also lead to leaks. Once you have identified the cause, you can proceed with fixing the problem.
Before attempting to fix a dripping bathroom sink, it’s important to identify the cause of the problem. The most common cause is a worn-out
washer
in the
faucet
handle. Over time, the washer can become damaged or corroded, causing water to leak through. Other possible causes include a
loose nut
or
valve seat
, which can also lead to leaks. Once you have identified the cause, you can proceed with fixing the problem.
Tools and Materials Needed
 To fix a dripping bathroom sink, you will need a few basic tools and materials. These include a
screwdriver
,
adjustable wrench
,
new washer
,
plumber’s grease
, and
tape
. These items can easily be found at your local hardware store and are relatively inexpensive.
To fix a dripping bathroom sink, you will need a few basic tools and materials. These include a
screwdriver
,
adjustable wrench
,
new washer
,
plumber’s grease
, and
tape
. These items can easily be found at your local hardware store and are relatively inexpensive.
Step-by-Step Guide to Fixing a Dripping Bathroom Sink
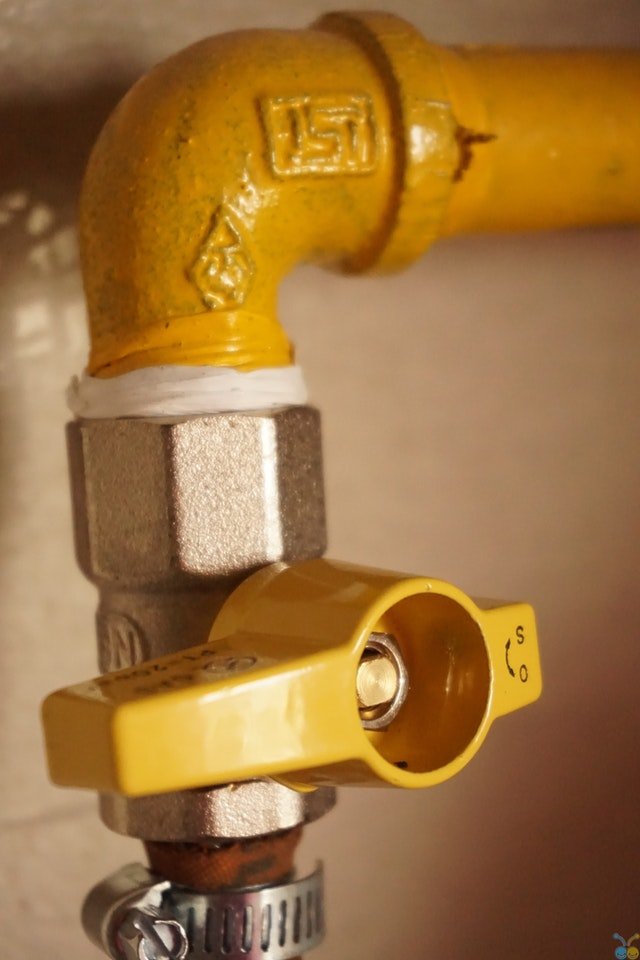
 1. Begin by turning off the water supply to your bathroom sink. You can usually find the shut-off valve under the sink or near the main water supply line.
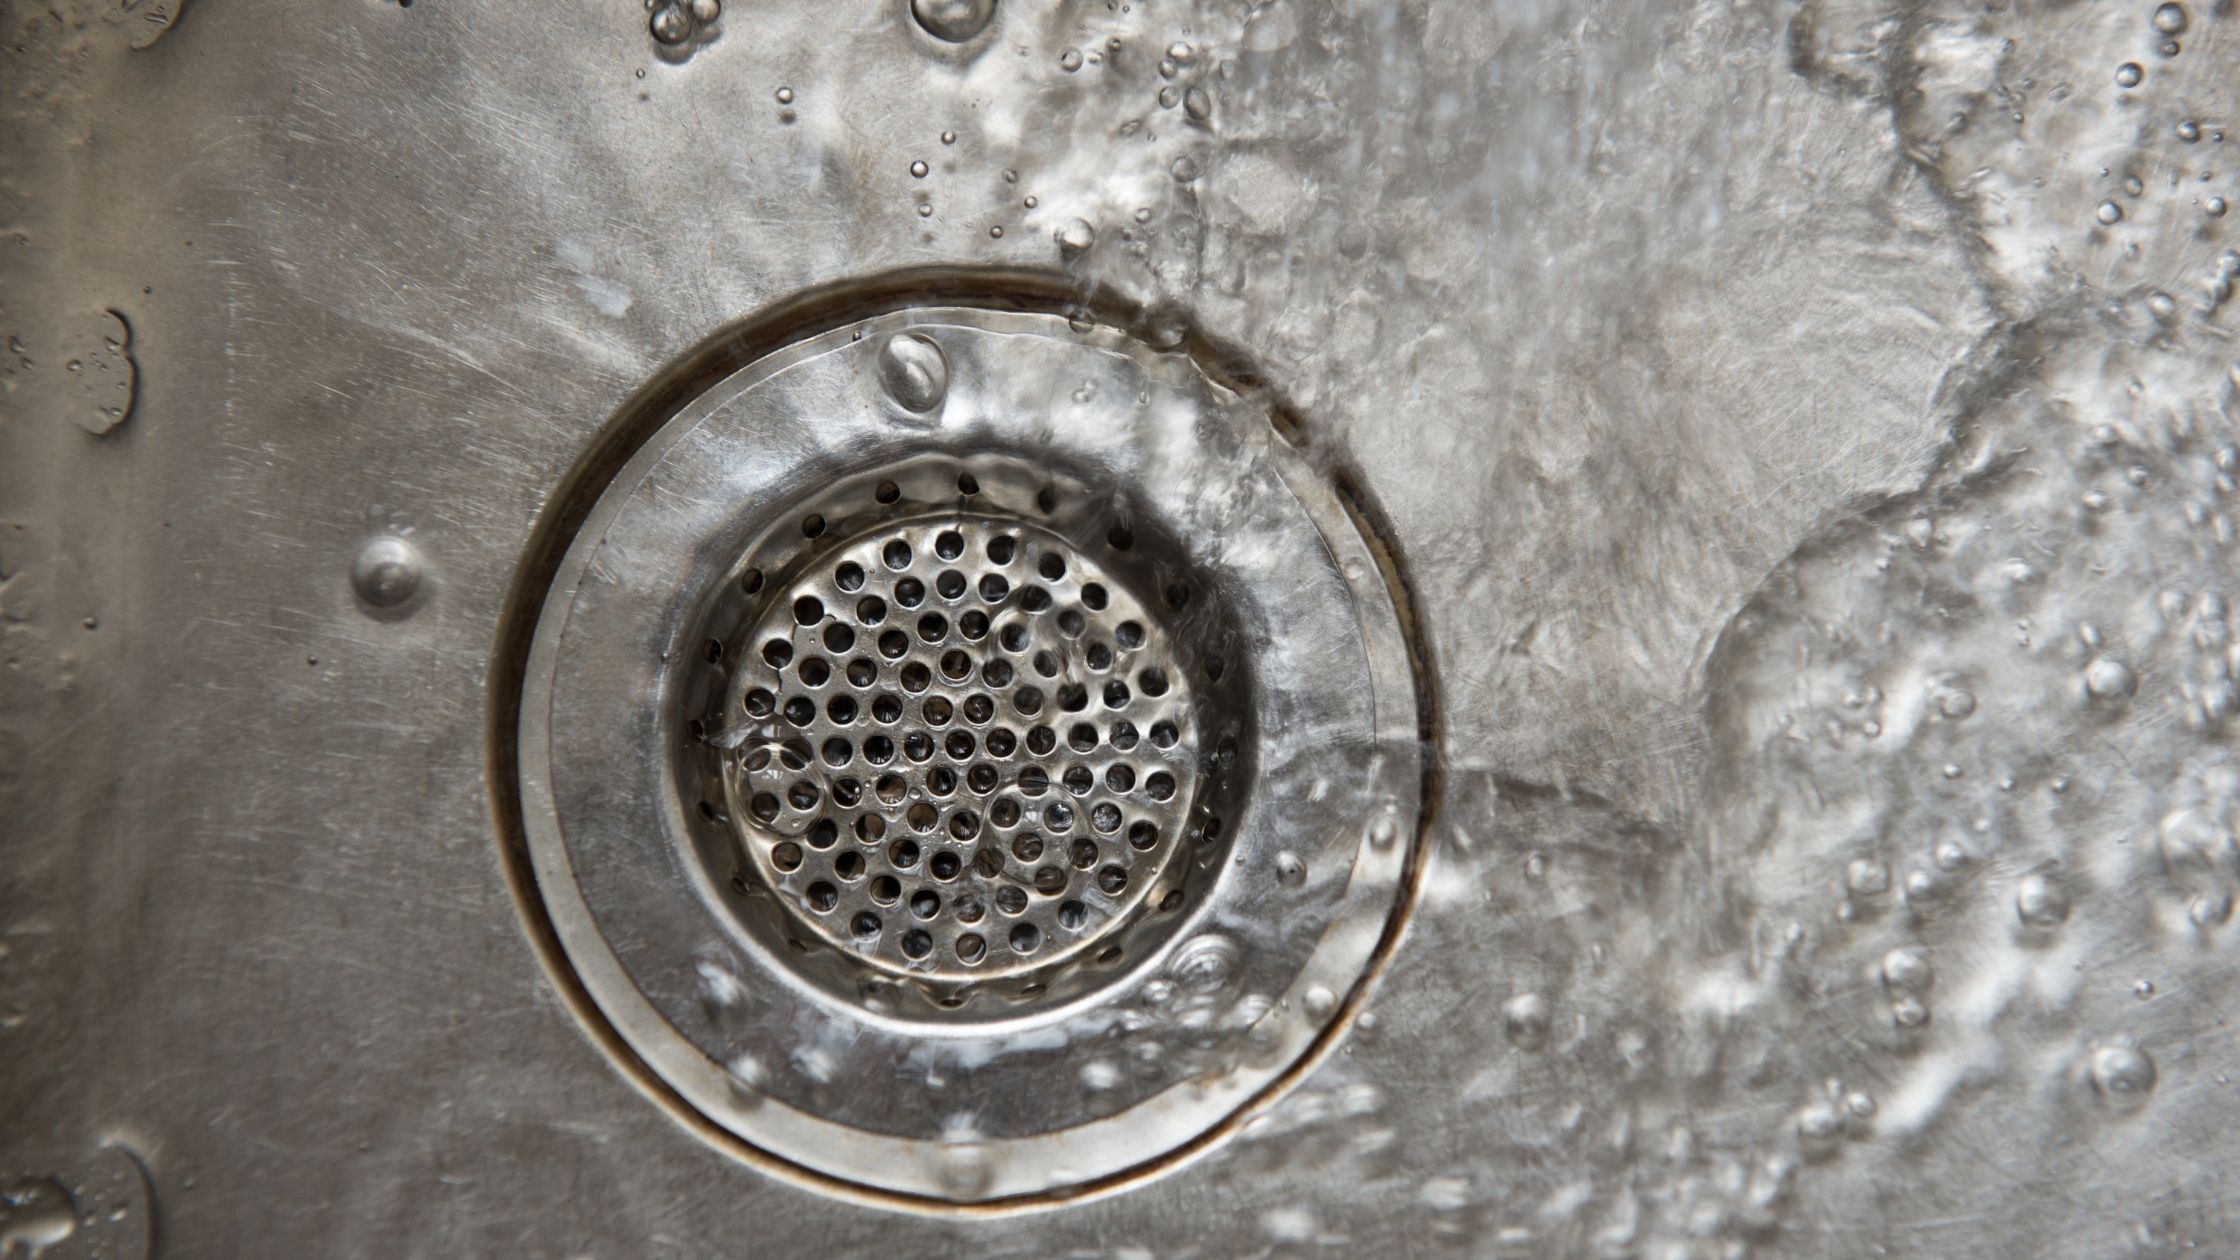
2. Once the water is turned off, cover the
drain
with a cloth or
plug
to prevent any small parts from falling in and getting lost.
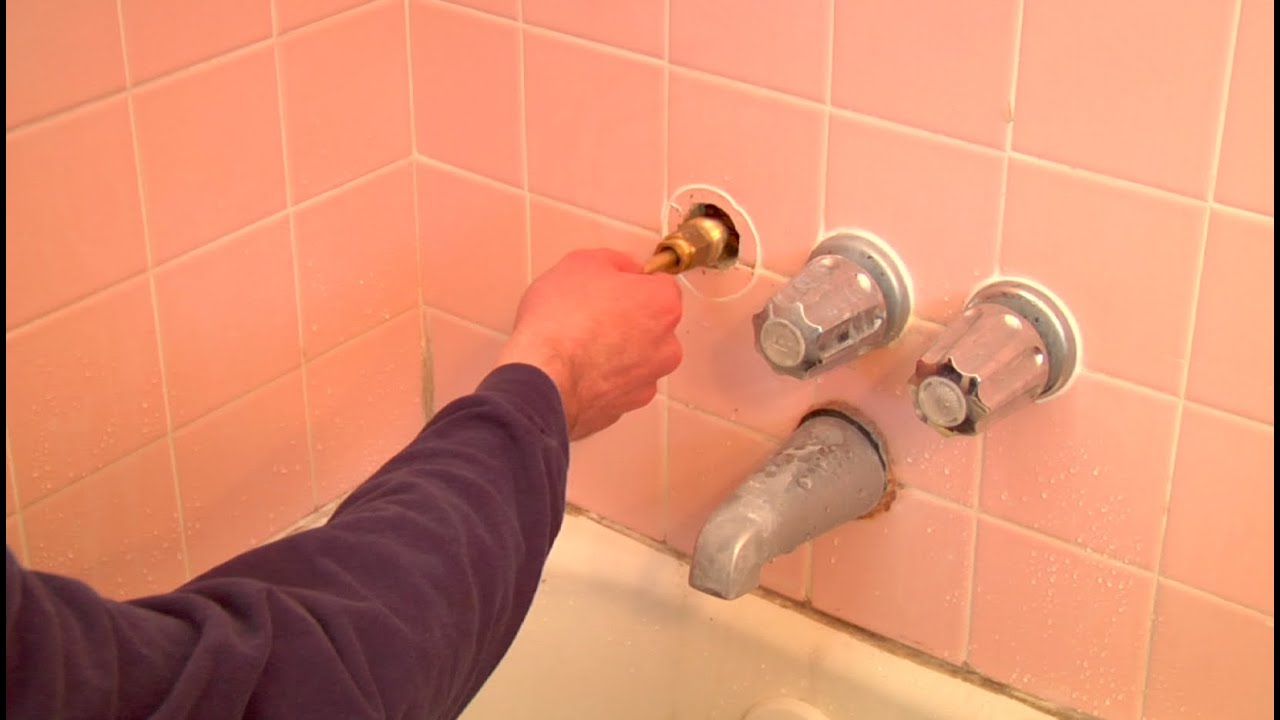
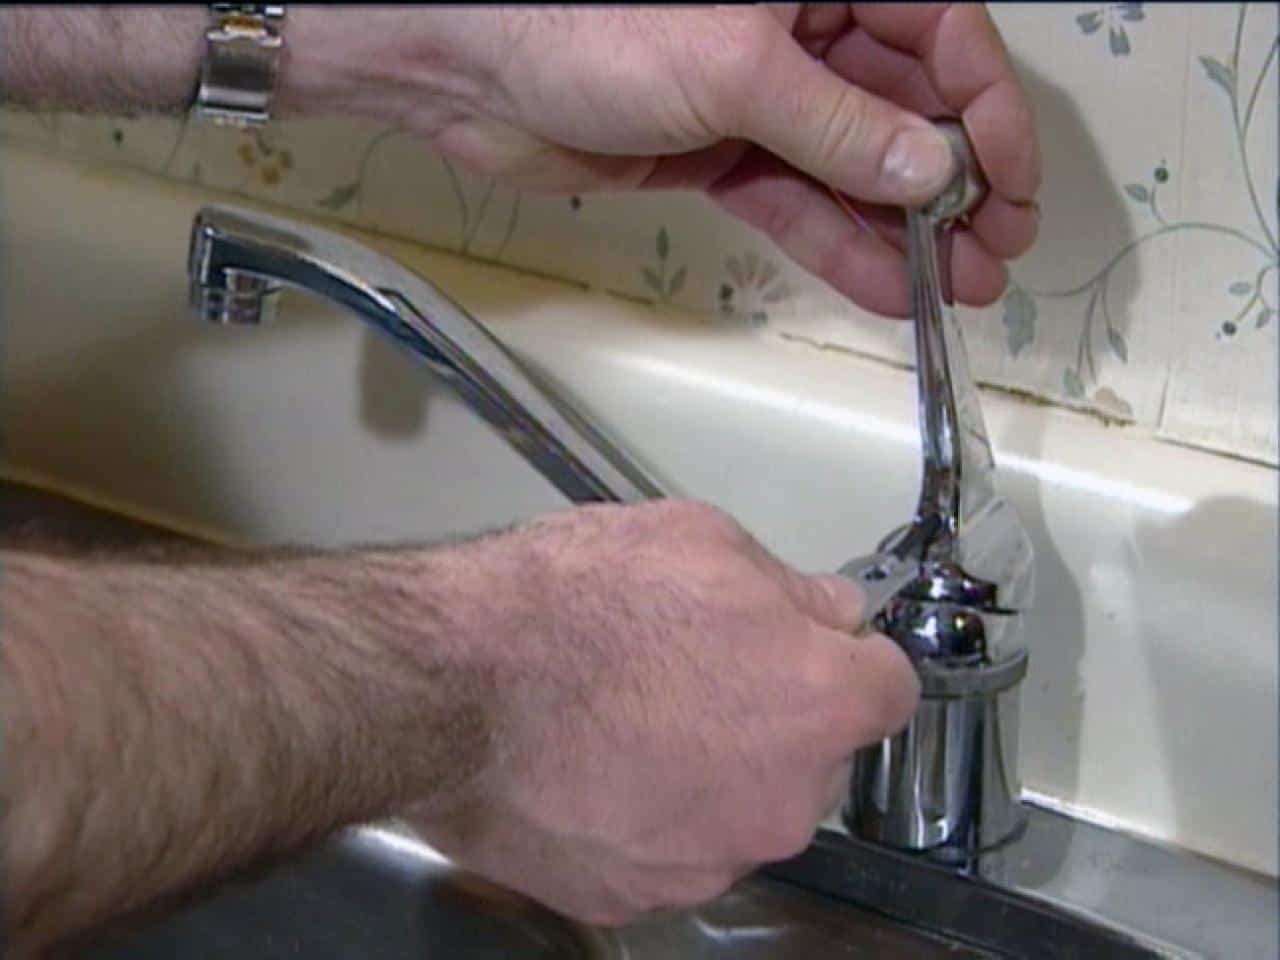
3. Use a screwdriver to remove the
faucet handle
by unscrewing the
screw
that holds it in place. Set the handle aside.
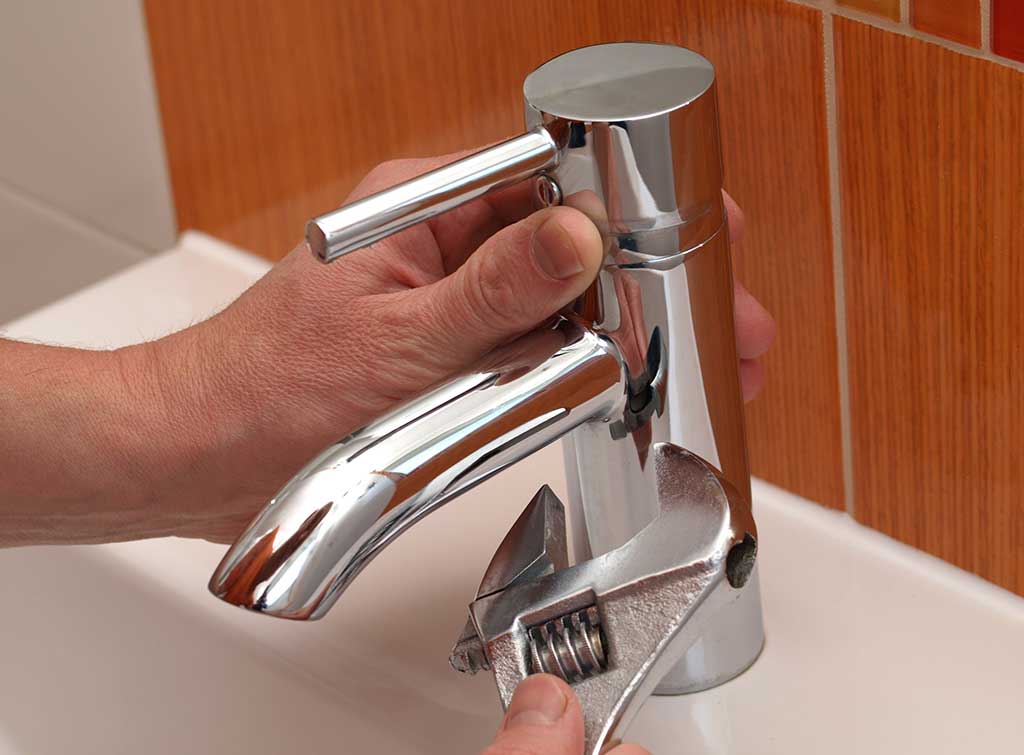
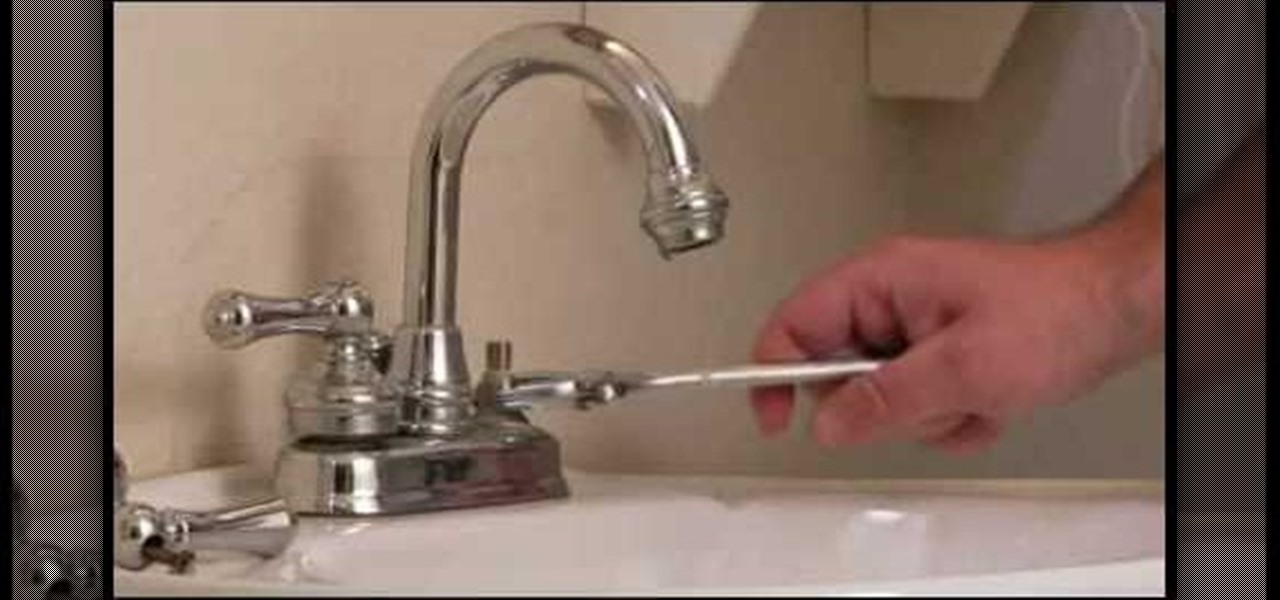
4. Using an adjustable wrench, loosen and remove the
nut
that holds the
valve stem
in place. Once the nut is removed, you can easily pull out the
valve stem
.
5. Locate the
washer
at the end of the
valve stem
. Carefully remove the old washer and replace it with a new one.
6. Before reassembling, apply a small amount of
plumber’s grease
to the
valve stem
and the
nut
to ensure smooth operation.
7. Reinsert the
valve stem
and tighten the
nut
with your adjustable wrench.
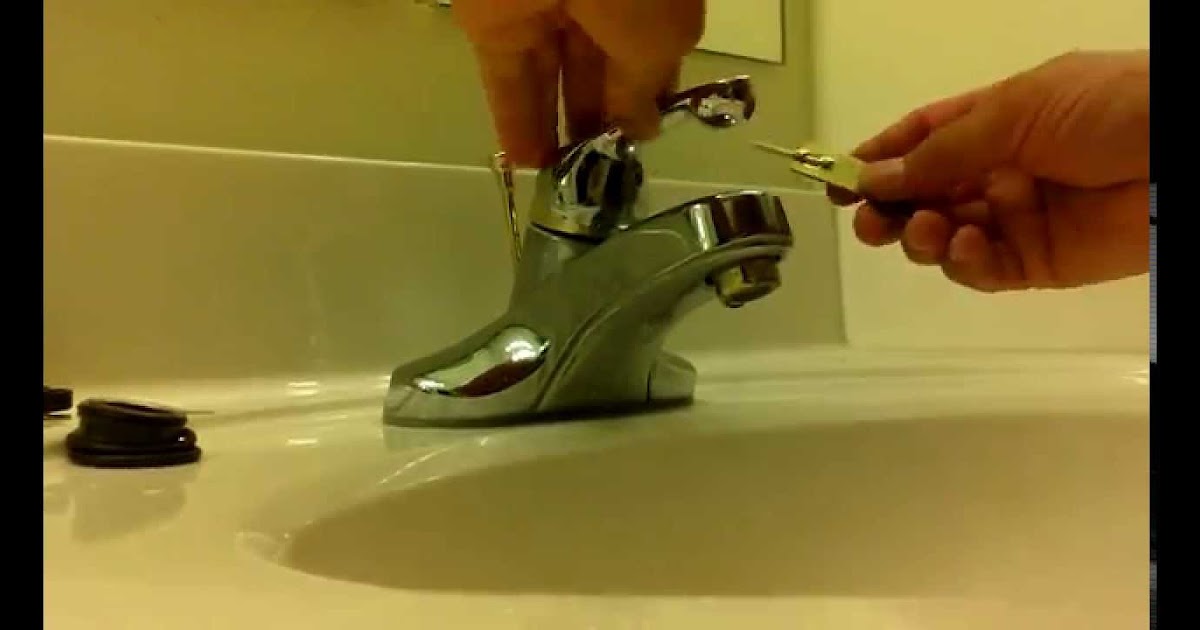
8. Place the
faucet handle
back on and secure it with the
screw
.
9. Turn the water supply back on and test the faucet. If the dripping has stopped, congratulations! If not, you may need to check for other possible causes.
1. Begin by turning off the water supply to your bathroom sink. You can usually find the shut-off valve under the sink or near the main water supply line.
2. Once the water is turned off, cover the
drain
with a cloth or
plug
to prevent any small parts from falling in and getting lost.
3. Use a screwdriver to remove the
faucet handle
by unscrewing the
screw
that holds it in place. Set the handle aside.
4. Using an adjustable wrench, loosen and remove the
nut
that holds the
valve stem
in place. Once the nut is removed, you can easily pull out the
valve stem
.
5. Locate the
washer
at the end of the
valve stem
. Carefully remove the old washer and replace it with a new one.
6. Before reassembling, apply a small amount of
plumber’s grease
to the
valve stem
and the
nut
to ensure smooth operation.
7. Reinsert the
valve stem
and tighten the
nut
with your adjustable wrench.
8. Place the
faucet handle
back on and secure it with the
screw
.
9. Turn the water supply back on and test the faucet. If the dripping has stopped, congratulations! If not, you may need to check for other possible causes.
Preventing Future Leaks
 Regular maintenance can help prevent future leaks in your bathroom sink. Inspect the
washer
and
valve seat
for signs of wear and replace them as needed. Additionally, make sure to turn off the water supply to your sink before leaving for an extended period of time to avoid any potential leaks.
Regular maintenance can help prevent future leaks in your bathroom sink. Inspect the
washer
and
valve seat
for signs of wear and replace them as needed. Additionally, make sure to turn off the water supply to your sink before leaving for an extended period of time to avoid any potential leaks.
In Conclusion
 Fixing a dripping bathroom sink may seem like a daunting task, but with the right tools and knowledge, it can easily be done. Remember to address the problem as soon as possible to avoid further damage and inconvenience. By following these simple steps, you can have your bathroom sink functioning properly and drip-free in no time.