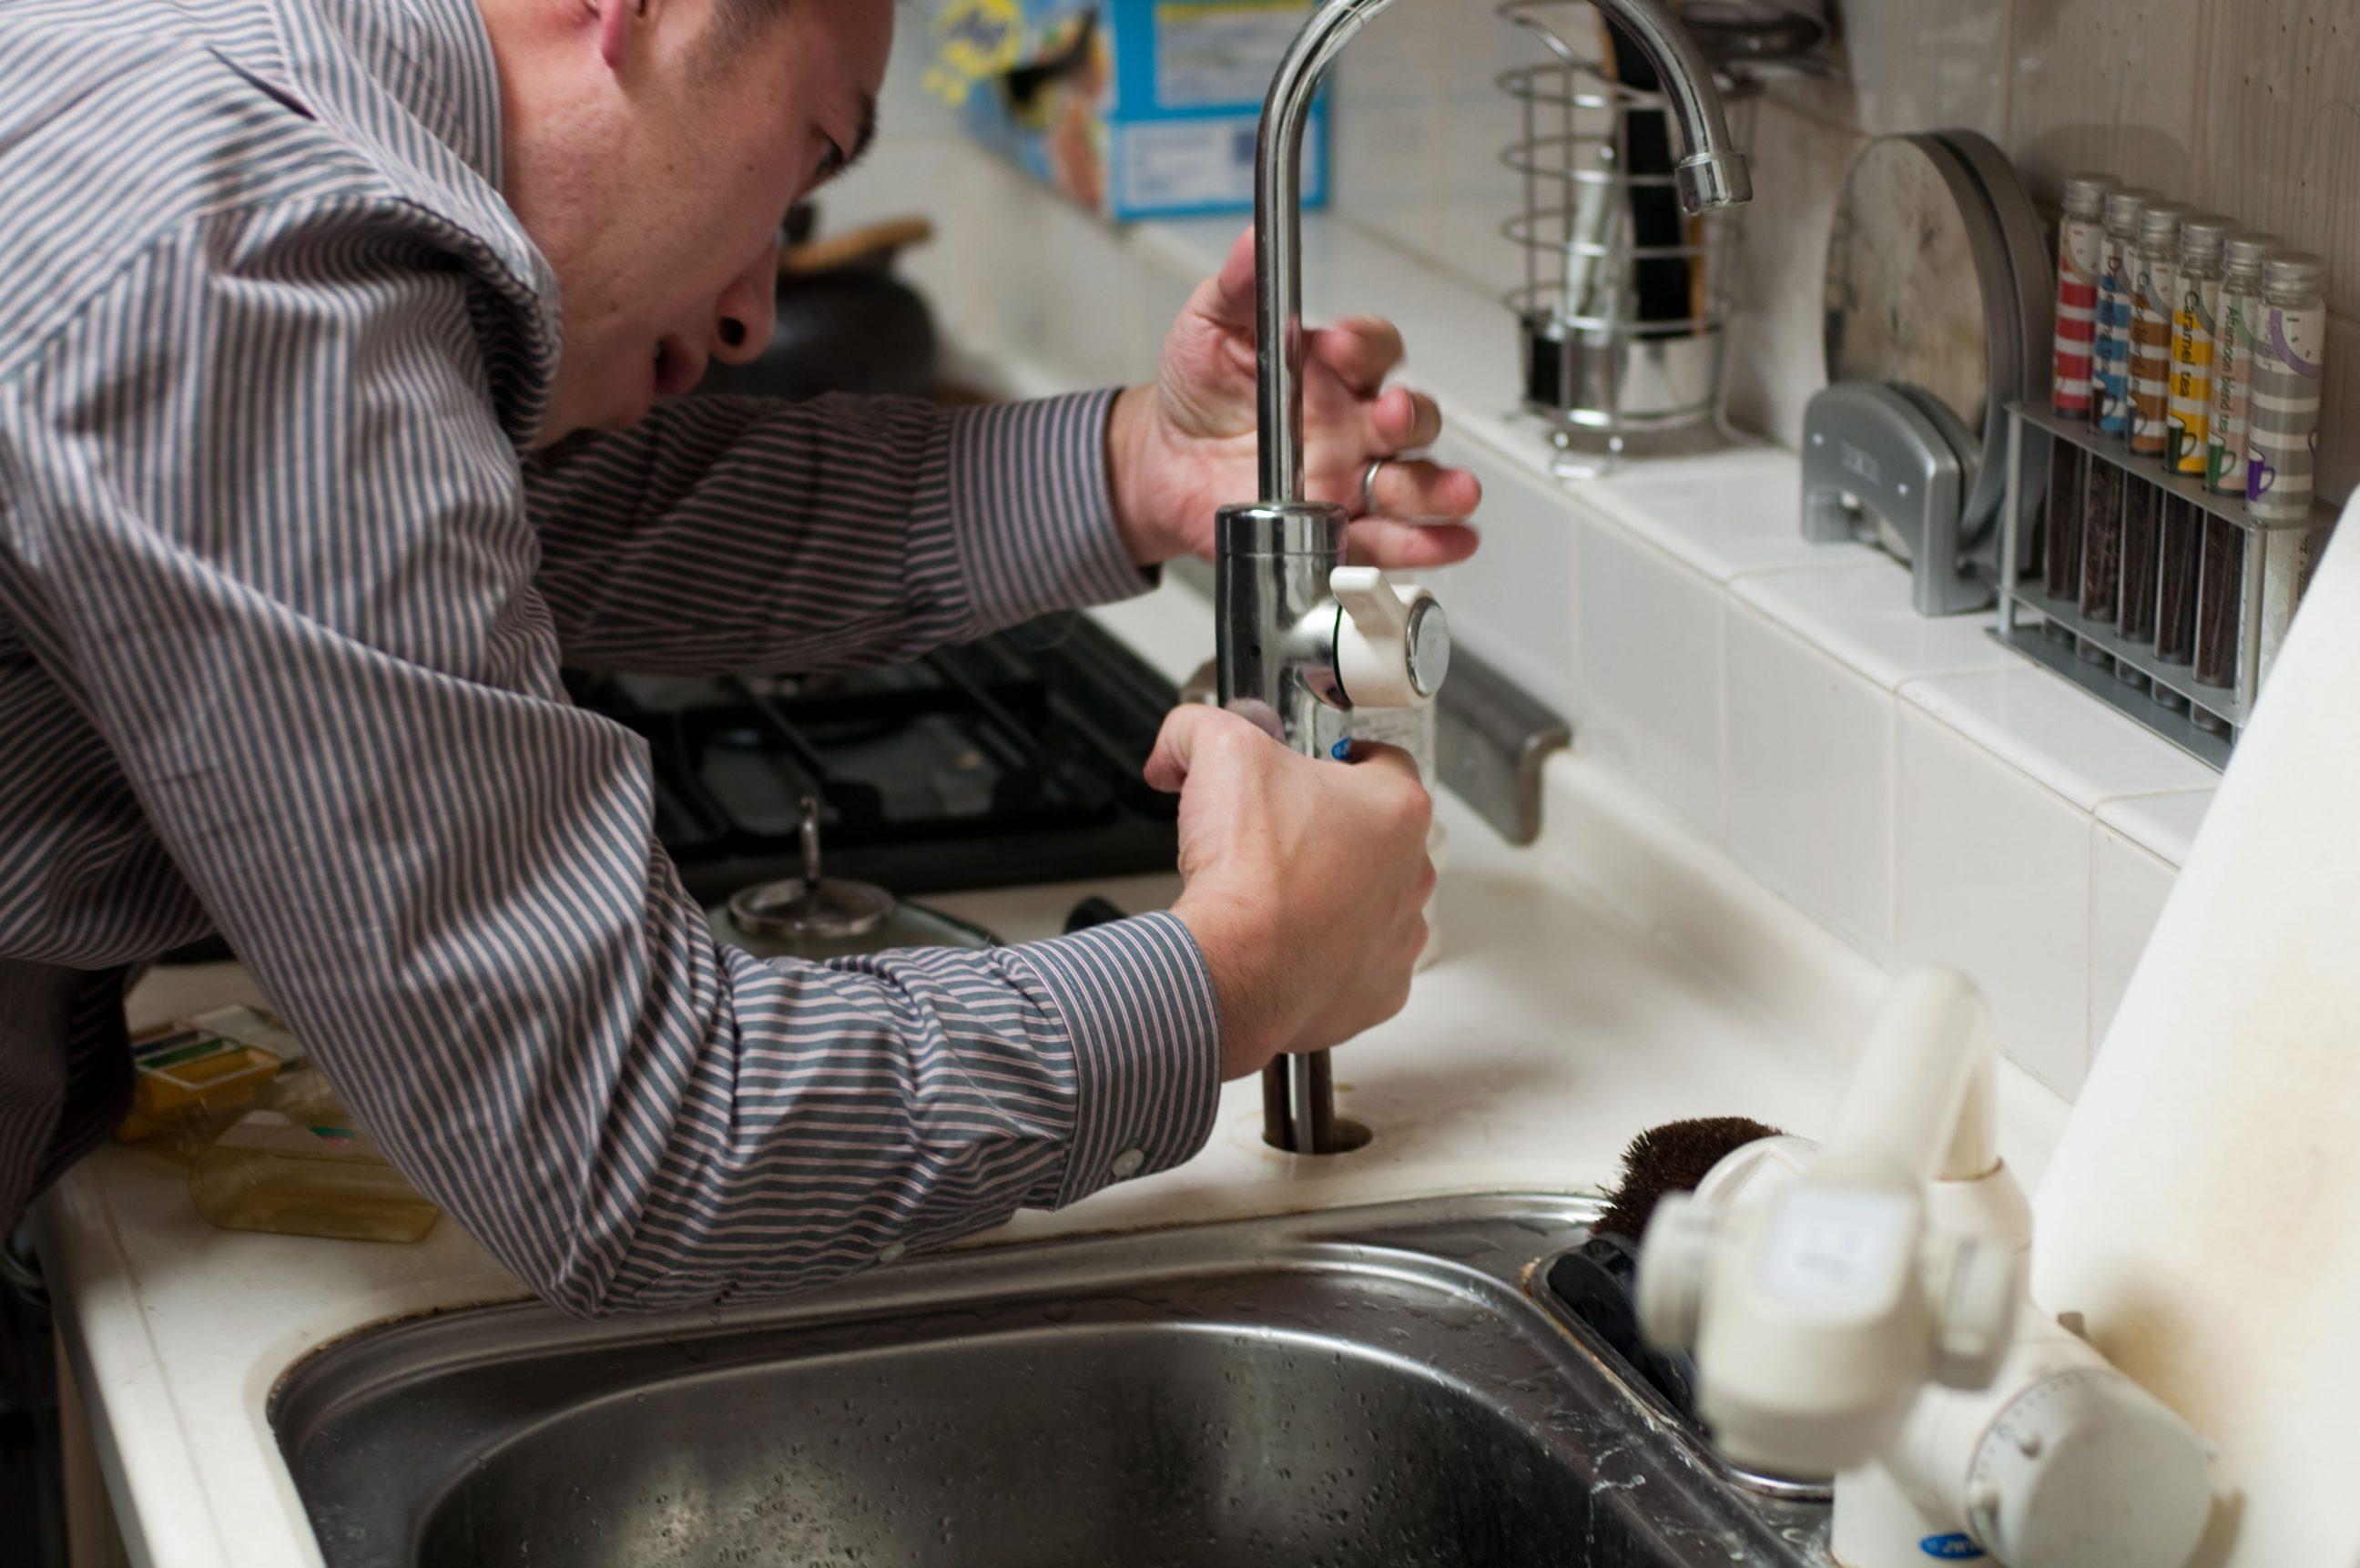
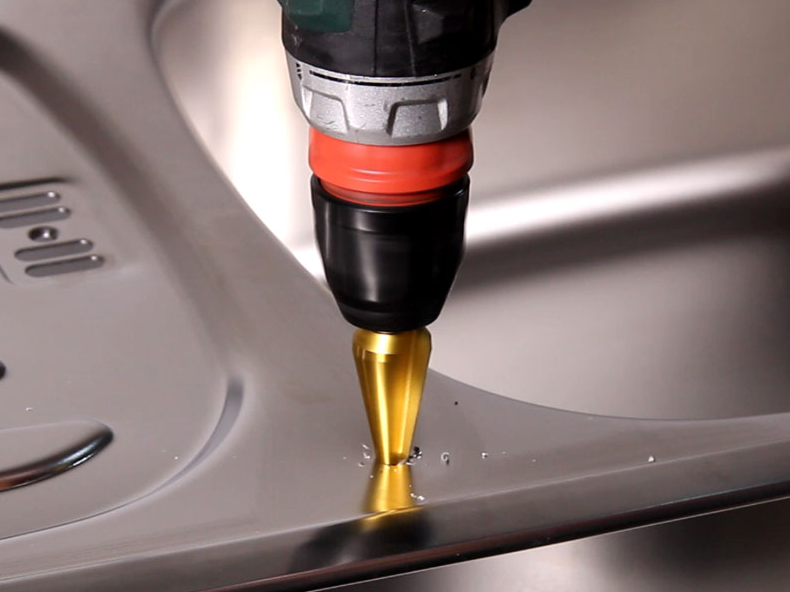
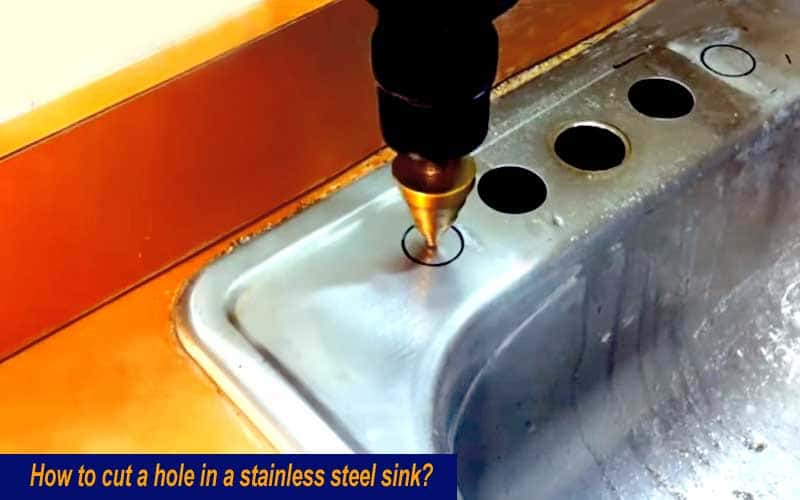
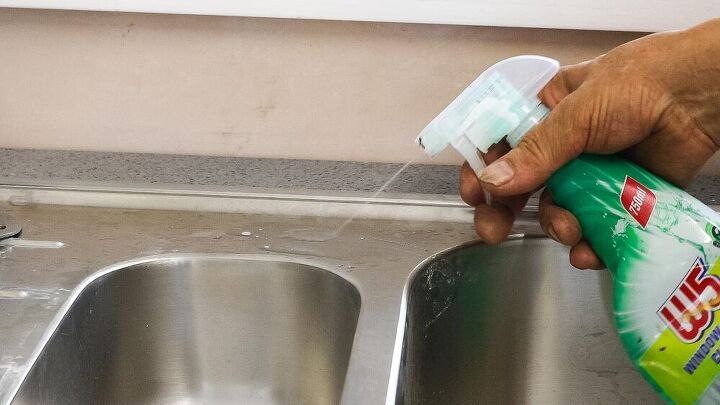
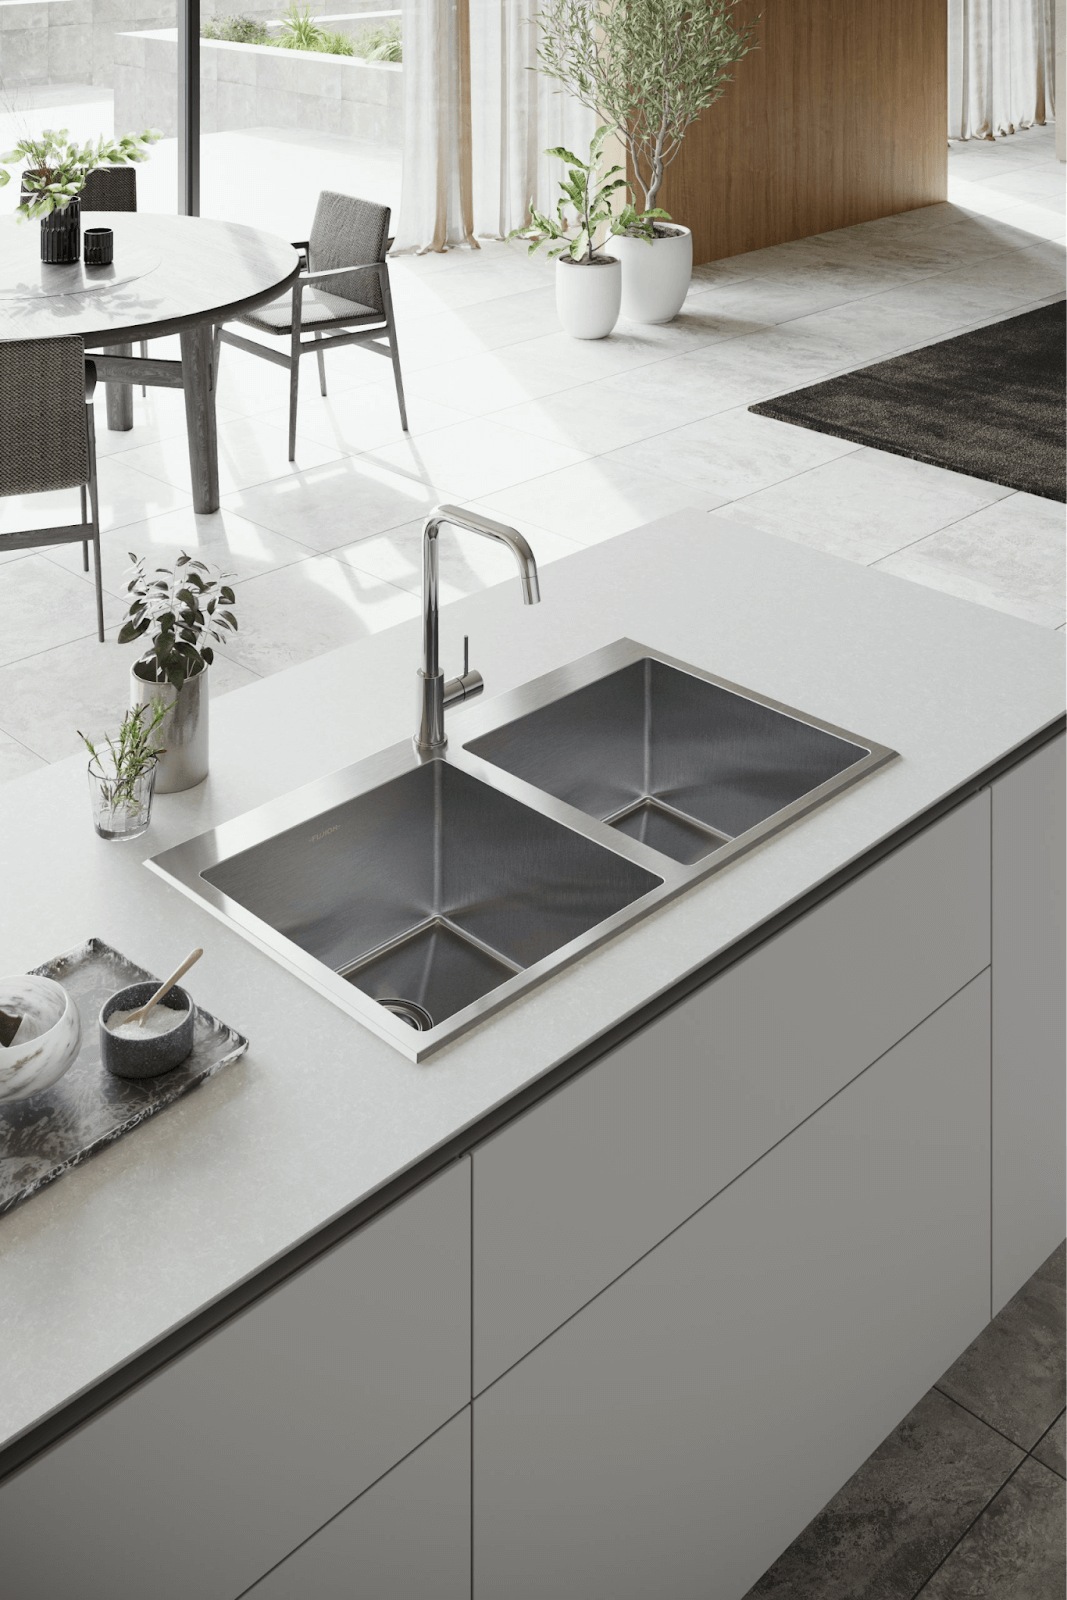
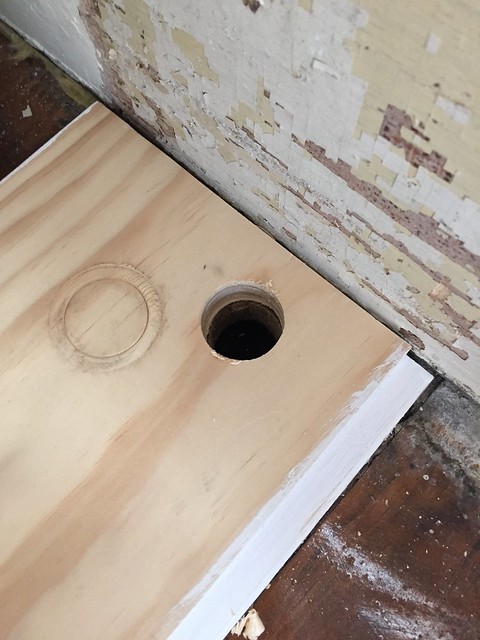
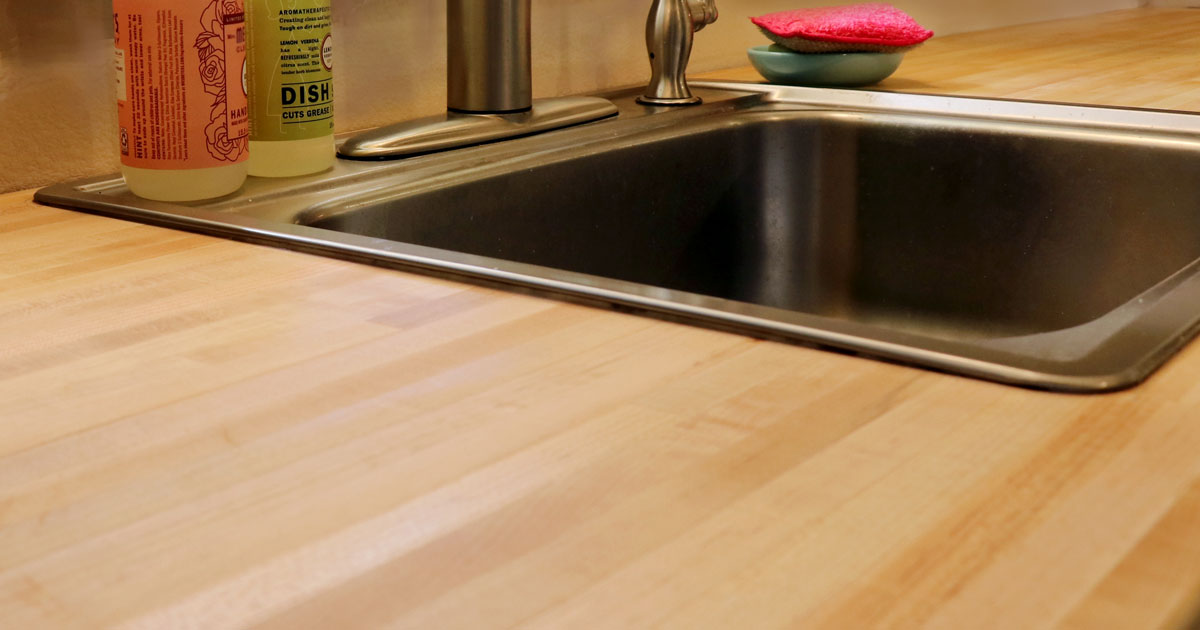
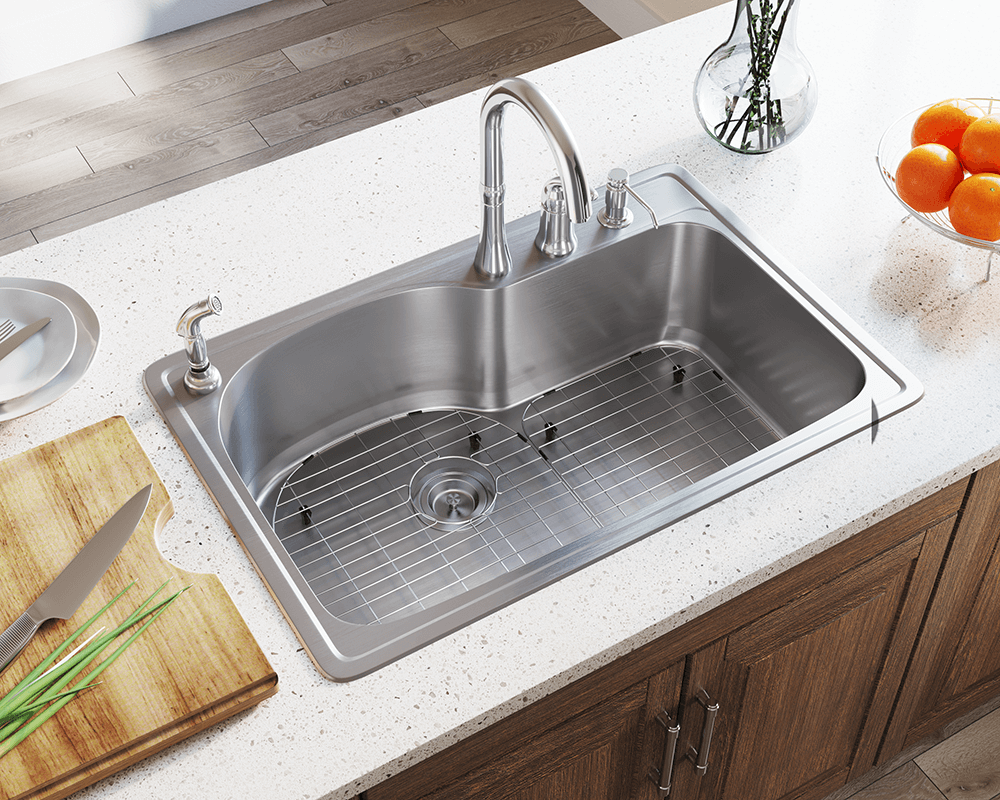
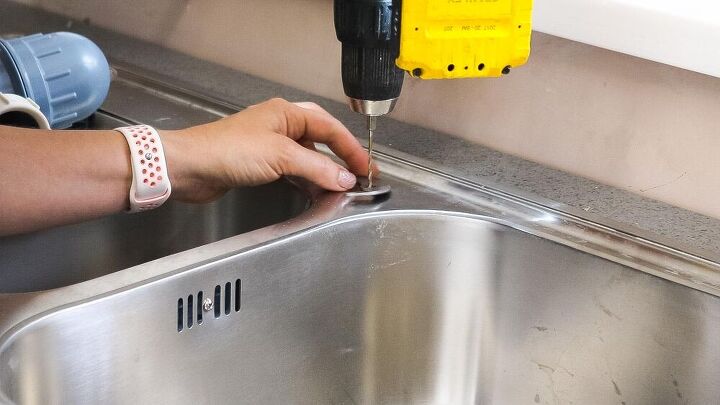
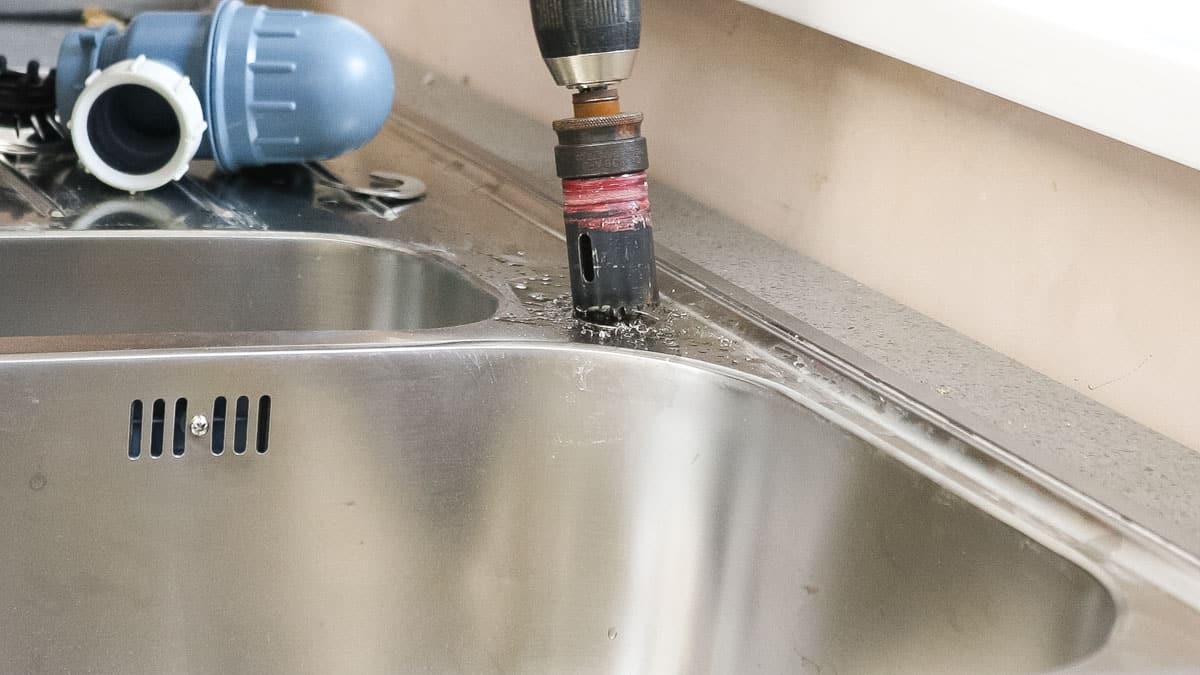
If you're looking to install a new faucet or add a soap dispenser to your stainless steel sink, you'll need to cut a hole in it first. While it may sound like a daunting task, with the right tools and techniques, you can easily cut a hole in your stainless steel sink without damaging it. Step 1: Measure and Mark The first step in cutting a hole in your stainless steel sink is to measure and mark where you want the hole to be. Use a measuring tape to determine the exact location and size of the hole. Then, use a permanent marker to mark the outline of the hole on the sink's surface. This will serve as a guide when you start cutting. Step 2: Gather Your Tools In order to cut a hole in your stainless steel sink, you'll need a few tools. These include a jigsaw with a fine-toothed blade, a drill with a metal cutting bit, and a center punch. You may also want to have a metal file and sandpaper on hand to smooth out any rough edges. Step 3: Drill a Starter Hole Using a drill with a metal cutting bit, create a starter hole in the center of the marked outline. This will make it easier to start cutting with the jigsaw. Step 4: Cut the Hole Using a jigsaw with a fine-toothed blade, carefully cut along the marked outline. Be sure to use steady, even pressure and follow the marked line as closely as possible. Slow and steady is the key here, as rushing can lead to mistakes and jagged edges. Step 5: Smooth Out the Edges Once you've cut the hole, use a metal file or sandpaper to smooth out any rough edges. This will help prevent any scratches or cuts when installing your new fixture.How to Cut a Hole in a Stainless Steel Sink


How to Cut a Hole in a Stainless Steel Sink


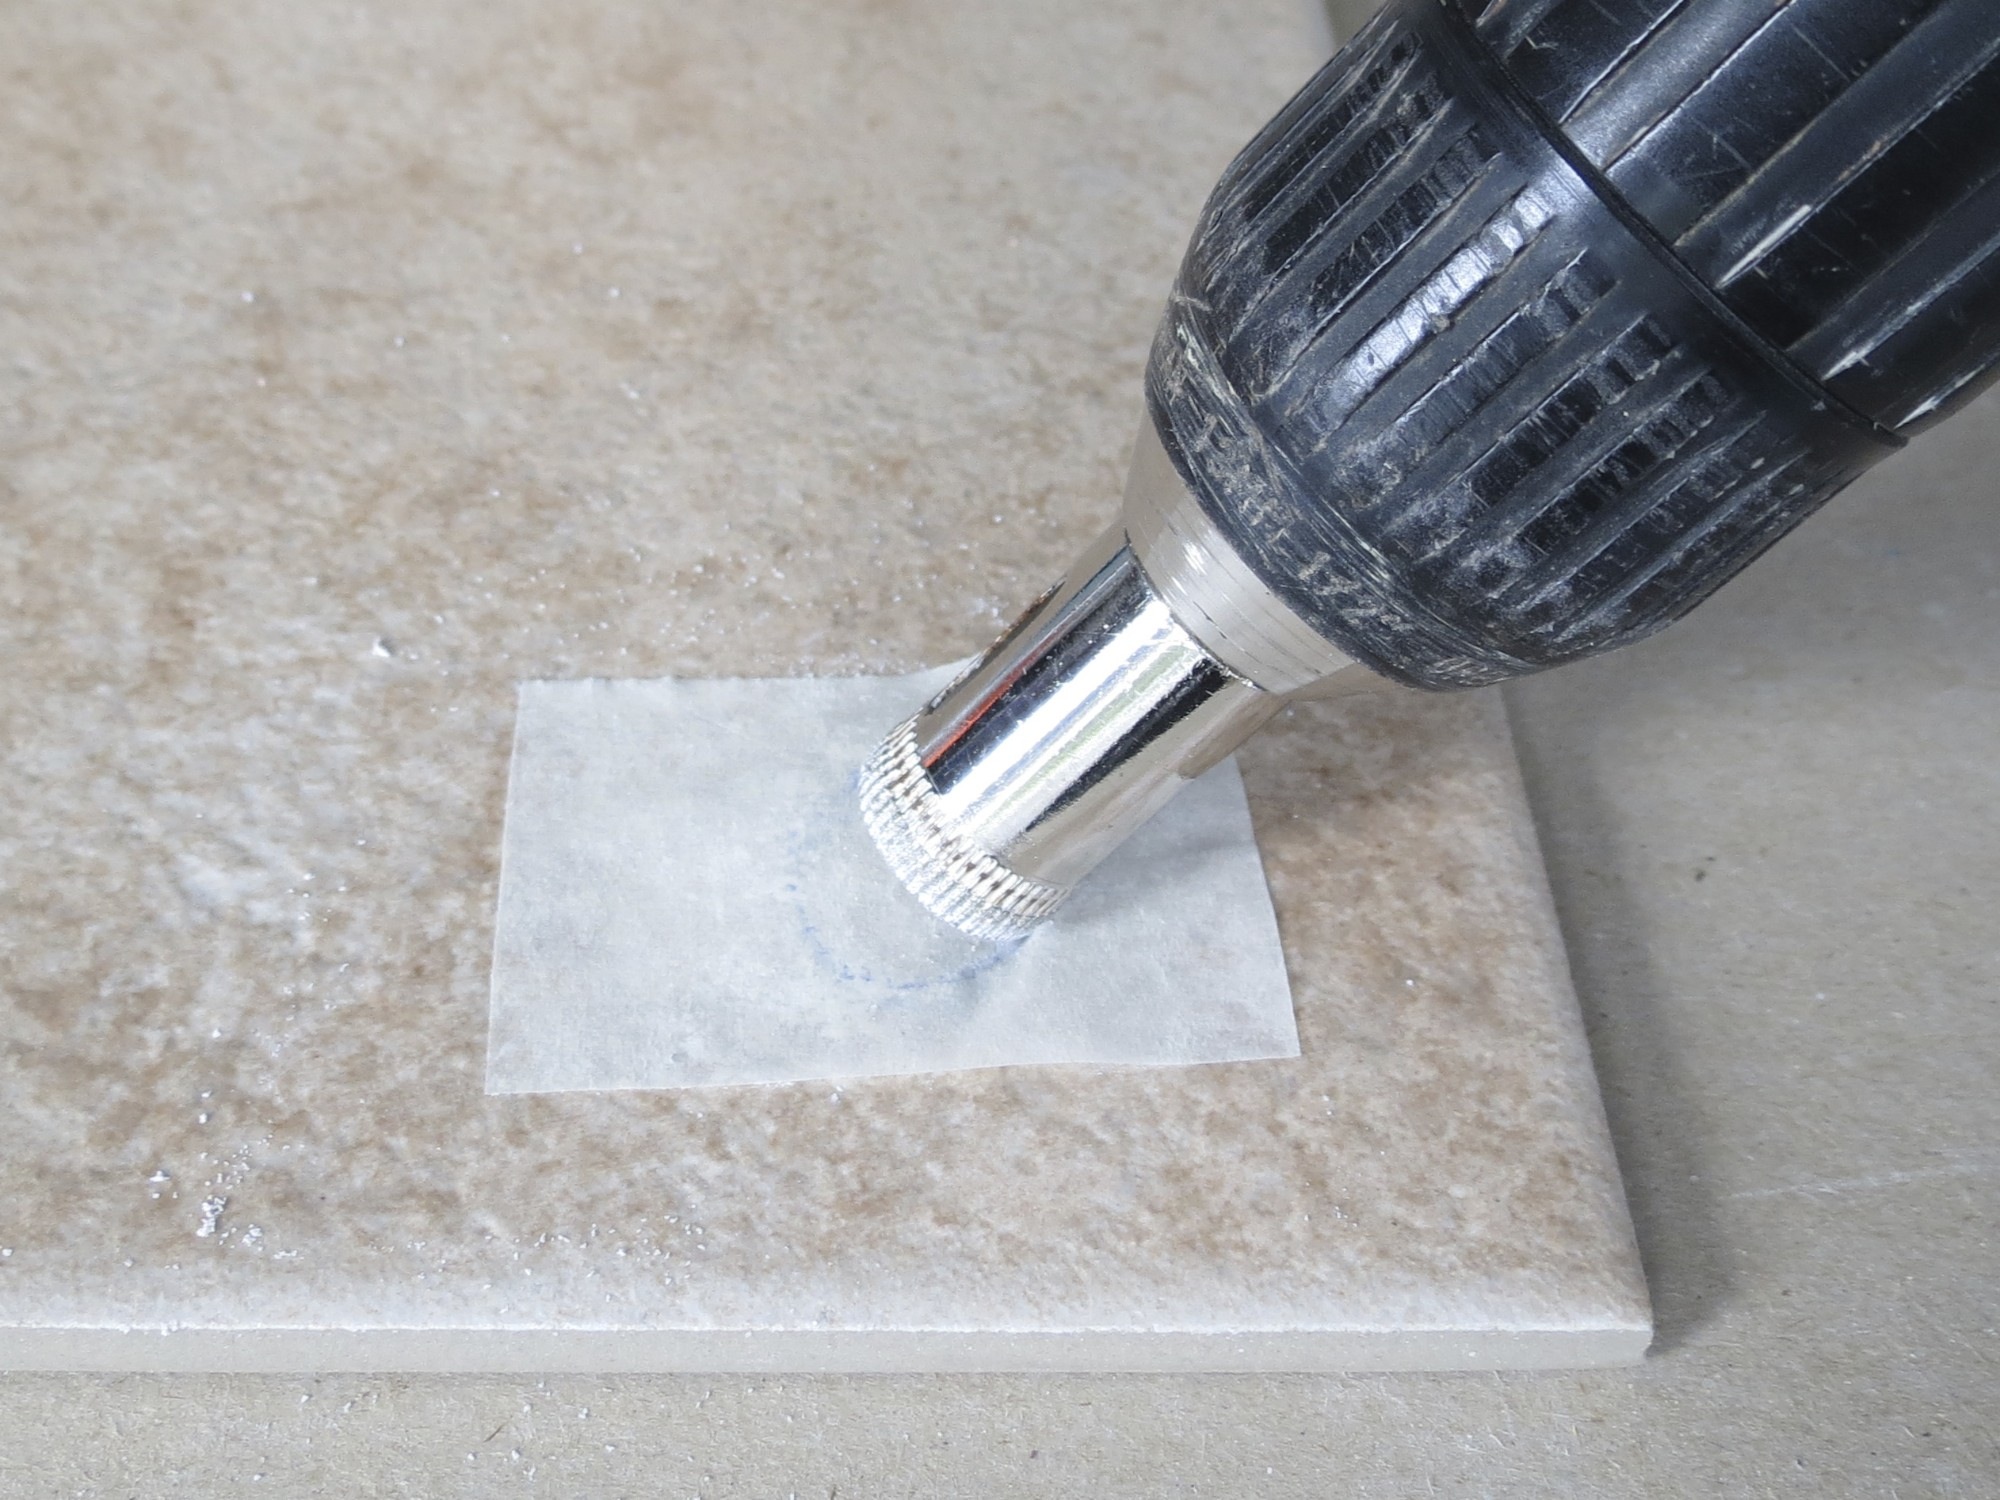
Cutting a hole in a porcelain sink requires a different approach than cutting a hole in a stainless steel sink. Porcelain is a delicate material and can easily crack or chip if not handled carefully. Follow these steps to successfully cut a hole in your porcelain sink. Step 1: Measure and Mark As with cutting a hole in a stainless steel sink, the first step is to measure and mark where you want the hole to be. Use a measuring tape to determine the exact location and size of the hole. Then, use a permanent marker to mark the outline of the hole on the sink's surface. Step 2: Gather Your Tools To cut a hole in a porcelain sink, you'll need a diamond-tipped hole saw, a drill, and a diamond file. These specialized tools are designed for cutting through porcelain without causing damage. Step 3: Drill a Starter Hole Using a drill with a diamond-tipped hole saw, create a starter hole in the center of the marked outline. This will make it easier to start cutting with the hole saw. Step 4: Cut the Hole Using the hole saw, carefully cut along the marked outline. Be sure to use slow, even pressure and keep the saw lubricated with water to prevent overheating and damage to the sink. It may take some time to cut through the porcelain, so be patient. Step 5: Smooth Out the Edges Once the hole has been cut, use a diamond file to smooth out any rough edges. This will help prevent any cracks or chips when installing your new fixture.How to Cut a Hole in a Porcelain Sink


How to Cut a Hole in a Porcelain Sink


Granite sinks are becoming increasingly popular due to their durability and sleek appearance. However, cutting a hole in a granite sink can be a bit trickier than other materials. Follow these steps to successfully cut a hole in your granite sink. Step 1: Measure and Mark As always, the first step is to measure and mark where you want the hole to be. Use a measuring tape to determine the exact location and size of the hole. Then, use a permanent marker to mark the outline of the hole on the sink's surface. Step 2: Gather Your Tools To cut a hole in a granite sink, you'll need a diamond-tipped hole saw, a drill, and a diamond file. These specialized tools are designed for cutting through granite without causing damage. Step 3: Drill a Starter Hole Using a drill with a diamond-tipped hole saw, create a starter hole in the center of the marked outline. This will make it easier to start cutting with the hole saw. Step 4: Cut the Hole Using the hole saw, carefully cut along the marked outline. Be sure to use slow, even pressure and keep the saw lubricated with water to prevent overheating and damage to the sink. It may take some time to cut through the granite, so be patient. Step 5: Smooth Out the Edges Once the hole has been cut, use a diamond file to smooth out any rough edges. This will help prevent any cracks or chips when installing your new fixture.How to Cut a Hole in a Granite Sink


How to Cut a Hole in a Granite Sink


Ceramic sinks can add a touch of elegance to any kitchen, but they can also be challenging to cut a hole in. Follow these steps to successfully cut a hole in your ceramic sink. Step 1: Measure and Mark As always, the first step is to measure and mark where you want the hole to be. Use a measuring tape to determine the exact location and size of the hole. Then, use a permanent marker to mark the outline of the hole on the sink's surface. Step 2: Gather Your Tools To cut a hole in a ceramic sink, you'll need a diamond-tipped hole saw, a drill, and a diamond file. These specialized tools are designed for cutting through ceramic without causing damage. Step 3: Drill a Starter Hole Using a drill with a diamond-tipped hole saw, create a starter hole in the center of the marked outline. This will make it easier to start cutting with the hole saw. Step 4: Cut the Hole Using the hole saw, carefully cut along the marked outline. Be sure to use slow, even pressure and keep the saw lubricated with water to prevent overheating and damage to the sink. It may take some time to cut through the ceramic, so be patient. Step 5: Smooth Out the Edges Once the hole has been cut, use a diamond file to smooth out any rough edges. This will help prevent any cracks or chips when installing your new fixture.How to Cut a Hole in a Ceramic Sink


How to Cut a Hole in a Ceramic Sink


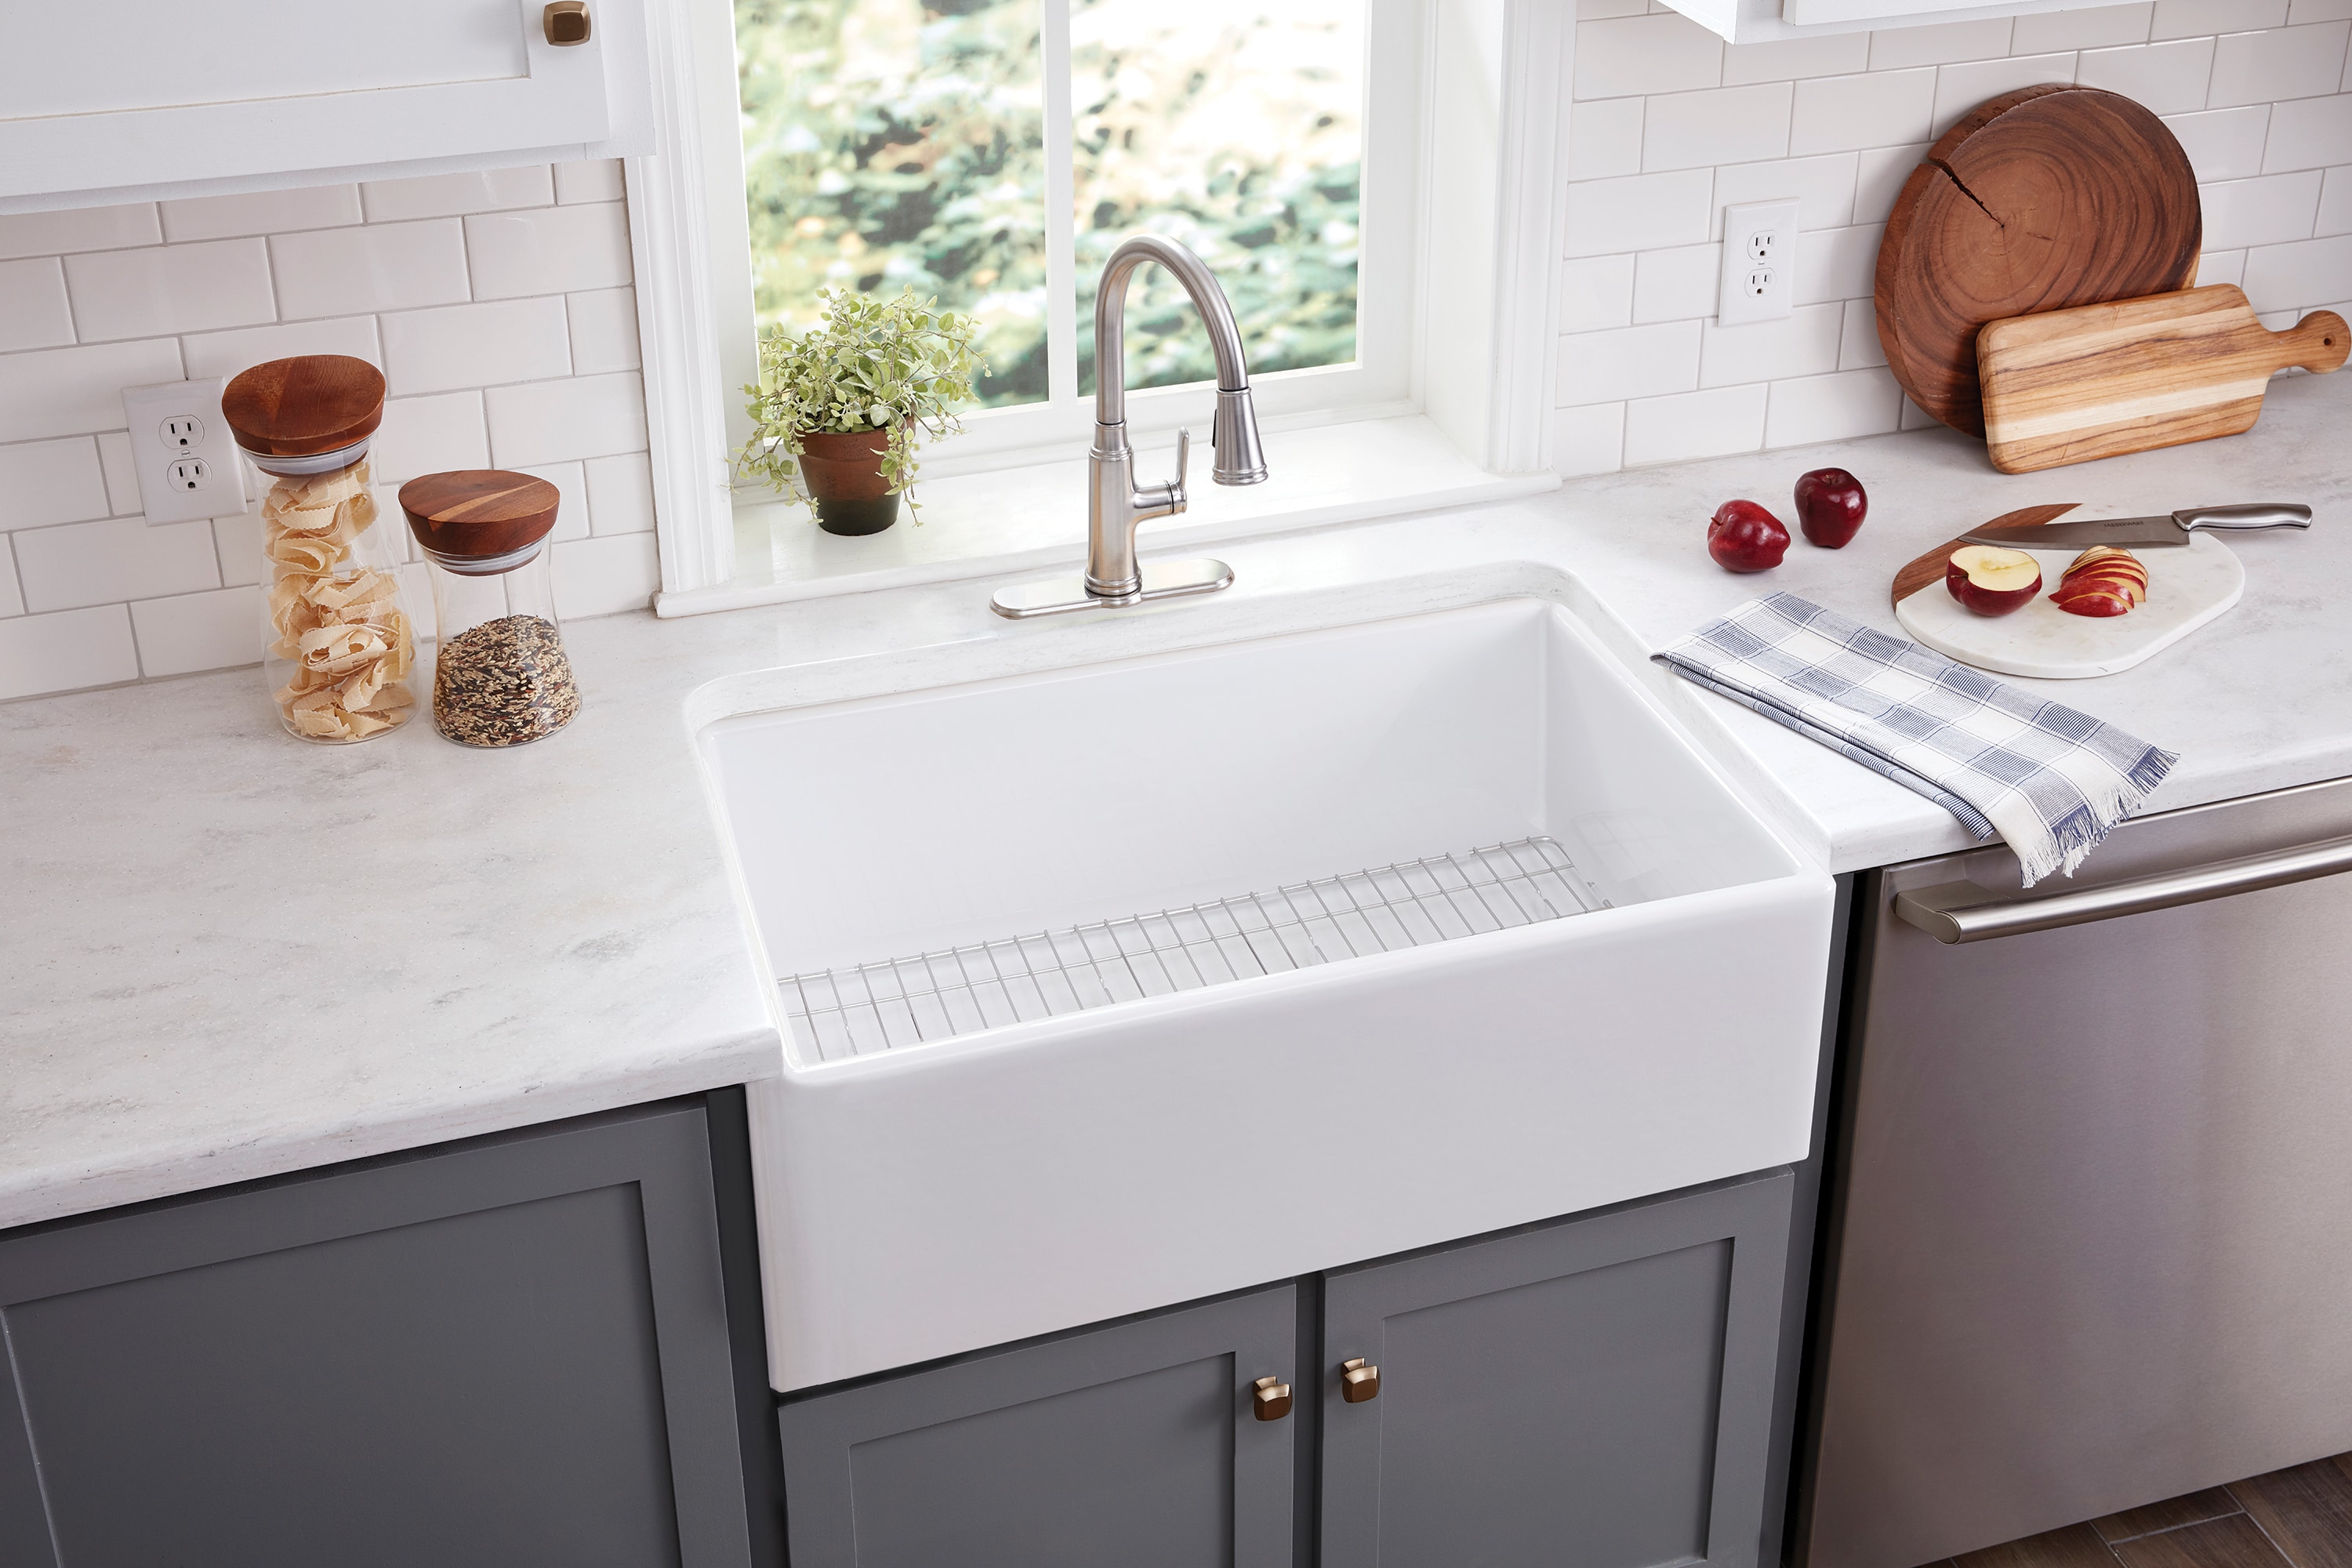
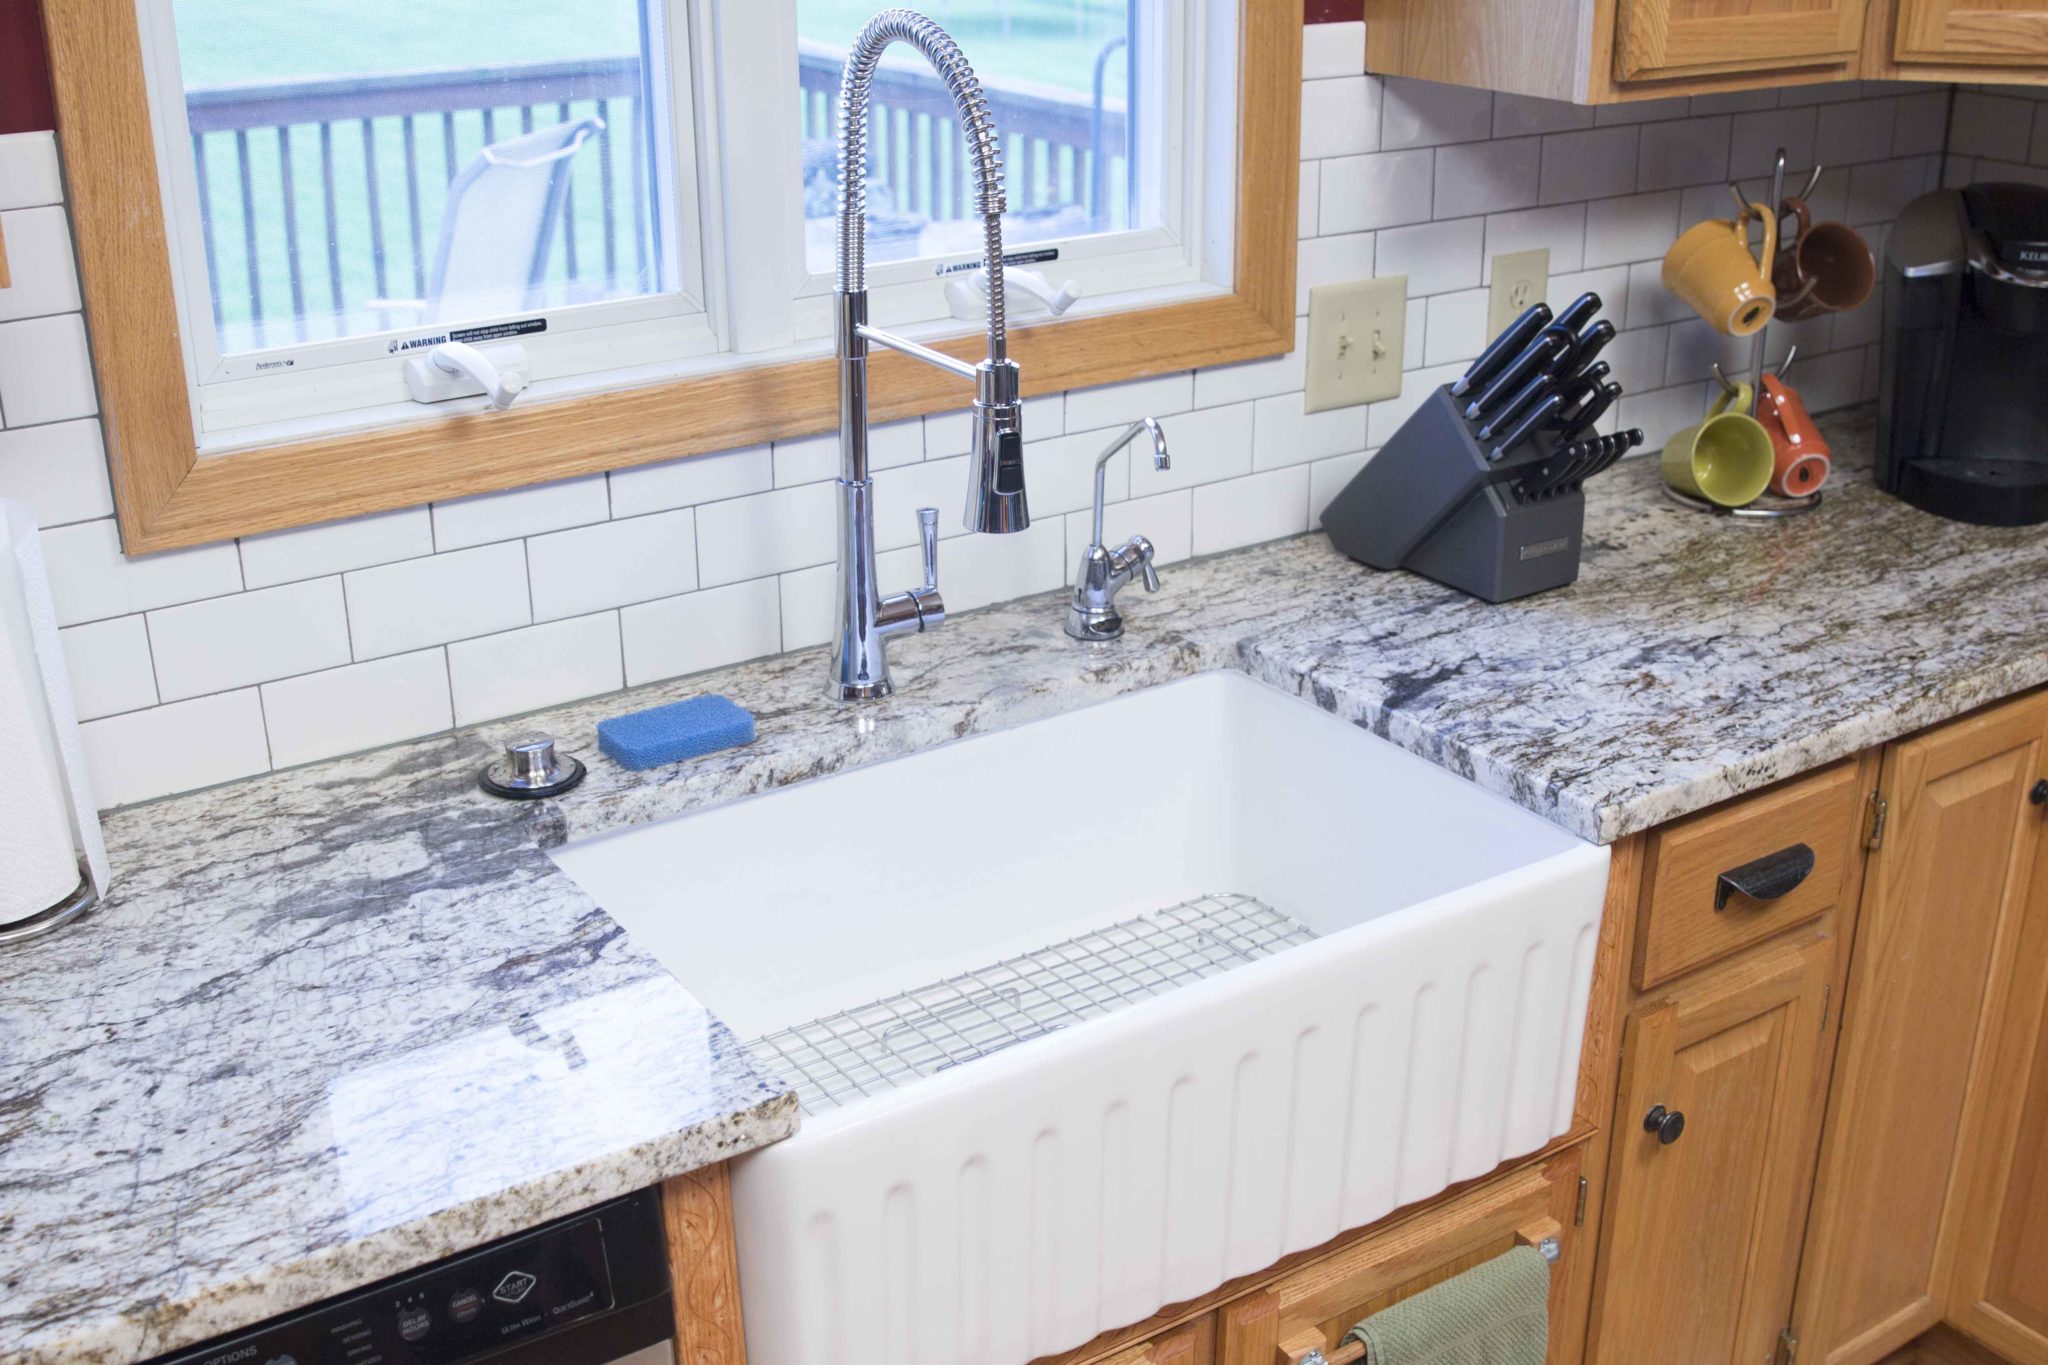
Farmhouse sinks are a popular choice for their rustic charm and deep basin. If you're looking to add a new fixture to your farmhouse sink, you'll need to cut a hole in it first. Follow these steps to successfully cut a hole in your farmhouse sink. Step 1: Measure and Mark As always, the first step is to measure and mark where you want the hole to be. Use a measuring tape to determine the exact location and size of the hole. Then, use a permanent marker to mark the outline of the hole on the sink's surface. Step 2: Gather Your Tools To cut a hole in a farmhouse sink, you'll need a jigsaw with a fine-toothed blade, a drill with a metal cutting bit, and a center punch. You may also want to have a metal file and sandpaper on hand to smooth out any rough edges. Step 3: Drill a Starter Hole Using a drill with a metal cutting bit, create a starter hole in the center of the marked outline. This will make it easier to start cutting with the jigsaw. Step 4: Cut the Hole Using a jigsaw with a fine-toothed blade, carefully cut along the marked outline. Be sure to use steady, even pressure and follow the marked line as closely as possible. Slow and steady is the key here, as rushing can lead to mistakes and jagged edges. Step 5: Smooth Out the Edges Once you've cut the hole, use a metal file or sandpaper to smooth out any rough edges. This will help prevent any scratches or cuts when installing your new fixture.How to Cut a Hole in a Farmhouse Sink


How to Cut a Hole in a Farmhouse Sink

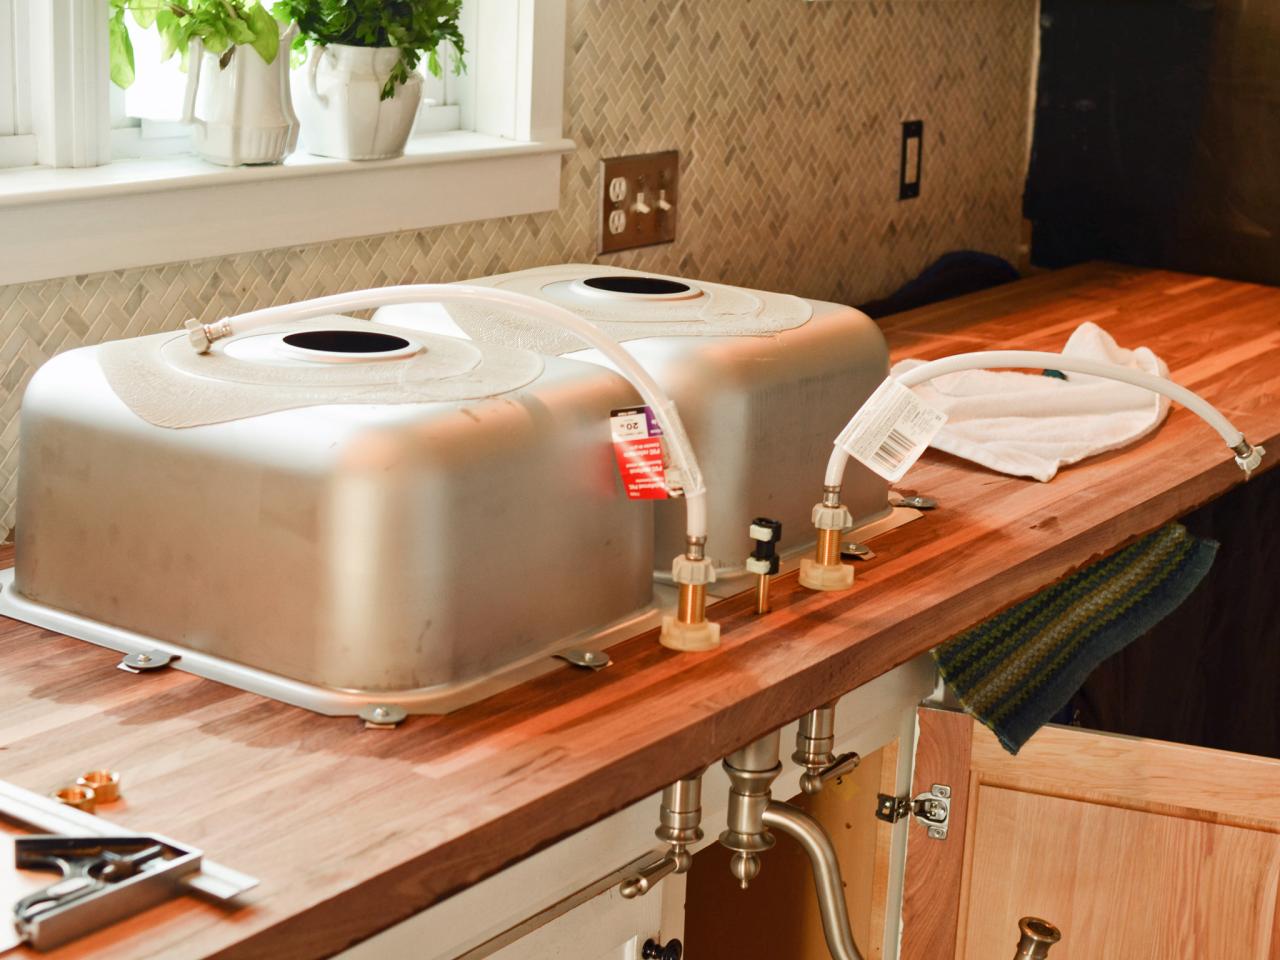
Undermount sinks are a popular choice for their sleek and seamless look. If you're looking to add a new fixture to your undermount sink, you'll need to cut a hole in it first. Follow these steps to successfully cut a hole in your undermount sink. Step 1: Measure and Mark As always, the first step is to measure and mark where you want the hole to be. Use a measuring tape to determine the exact location and size of the hole. Then, use a permanent marker to mark the outline of the hole on the sink's surface. Step 2: Gather Your Tools To cut a hole in an undermount sink, you'll need a diamond-tipped hole saw, a drill, and a diamond file. These specialized tools are designed for cutting through the sink without causing damage. Step 3: Drill a Starter Hole Using a drill with a diamond-tipped hole saw, create a starter hole in the center of the marked outline. This will make it easier to start cutting with the hole saw. Step 4: Cut the Hole Using the hole saw, carefully cut along the marked outline. Be sure to use slow, even pressure and keep the saw lubricated with water to prevent overheating and damage to the sink. It may take some time to cut through the sink, so be patient. Step 5: Smooth Out the Edges Once the hole has been cut, use a diamond file to smooth out any rough edges. This will help prevent any cracks or chips when installing your new fixture.How to Cut a Hole in an Undermount Sink


How to Cut a Hole in an Undermount Sink


Top mount sinks, also known as drop-in sinks, are a popular choice for their easy installation and affordability. If you're looking to add a new fixture to your top mount sink, you'll need to cut a hole in it first. Follow these steps to successfully cut a hole in your top mount sink. Step 1: Measure and Mark As always, the first step is to measure and mark where you want the hole to be. Use a measuring tape to determine the exact location and size of the hole. Then, use a permanent marker to mark the outline of the hole on the sink's surface. Step 2: Gather Your Tools To cut a hole in a top mount sink, you'll need a jigsaw with a fine-toothed blade, a drill with a metal cutting bit, and a center punch. You may also want to have a metal file and sandpaper on hand to smooth out any rough edges. Step 3: Drill a Starter Hole Using a drill with a metal cutting bit, create a starter hole in the center of the marked outline. This will make it easier to start cutting with the jigsaw. Step 4: Cut the Hole Using a jigsaw with a fine-toothed blade, carefully cut along the marked outline. Be sure to use steady, even pressure and follow the marked line as closely as possible. Slow and steady is the key here, as rushing can lead to mistakes and jagged edges. Step 5: Smooth Out the Edges Once you've cut the hole, use a metal file or sandpaper to smooth out any rough edges. This will help prevent any scratches or cuts when installing your new fixture.How to Cut a Hole in a Top Mount Sink

How to Cut a Hole in a Top Mount Sink


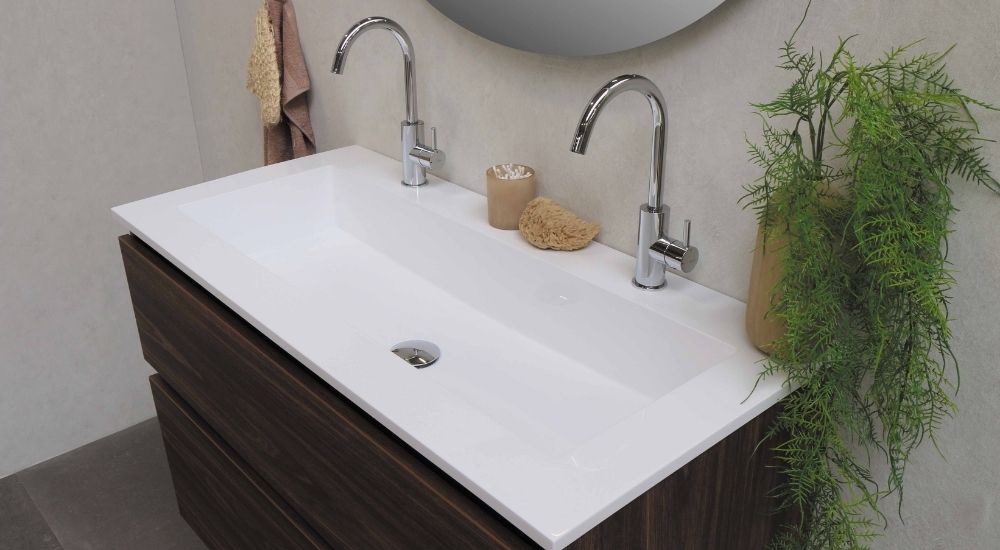
If you have a double sink, you may need to cut a hole for a new fixture on one or both sides. Follow these steps to successfully cut a hole in a double sink. Step 1: Measure and Mark As always, the first step is to measure and mark where you want the hole to be. Use a measuring tape to determine the exact location and size of the hole. Then, use a permanent marker to mark the outline of the hole on the sink's surface. Step 2: Gather Your ToolsHow to Cut a Hole in a Double Sink


How to Cut a Hole in a Double Sink

The Benefits of Cutting a Hole in Your Kitchen Sink
Maximizing Space and Functionality
 When it comes to designing your dream kitchen, every inch of space counts.
Cutting a hole in your kitchen sink
may seem like an unconventional approach, but it can actually provide a number of benefits. By doing so, you are essentially creating an additional workspace or storage area that can greatly improve the functionality of your kitchen. This extra space can be used to house a dish rack, a trash can, or even a small herb garden. It allows you to keep your countertops clear and organized, making your kitchen more efficient and enjoyable to work in.
When it comes to designing your dream kitchen, every inch of space counts.
Cutting a hole in your kitchen sink
may seem like an unconventional approach, but it can actually provide a number of benefits. By doing so, you are essentially creating an additional workspace or storage area that can greatly improve the functionality of your kitchen. This extra space can be used to house a dish rack, a trash can, or even a small herb garden. It allows you to keep your countertops clear and organized, making your kitchen more efficient and enjoyable to work in.
A Unique and Customized Look
 Another advantage of
cutting a hole in your kitchen sink
is that it adds a unique and customized look to your kitchen. Most standard kitchen sinks are designed with a set amount of space, leaving little room for customization. By creating a hole in your sink, you have the opportunity to personalize it according to your needs and preferences. You can choose the size and shape of the hole, as well as the materials used. This allows for a one-of-a-kind feature in your kitchen that reflects your individual style and adds character to the space.
Another advantage of
cutting a hole in your kitchen sink
is that it adds a unique and customized look to your kitchen. Most standard kitchen sinks are designed with a set amount of space, leaving little room for customization. By creating a hole in your sink, you have the opportunity to personalize it according to your needs and preferences. You can choose the size and shape of the hole, as well as the materials used. This allows for a one-of-a-kind feature in your kitchen that reflects your individual style and adds character to the space.
Improved Hygiene and Cleanliness
 One of the main reasons for
cutting a hole in your kitchen sink
is to improve hygiene and cleanliness in the kitchen. With a dedicated space for a dish rack, you can easily wash and dry your dishes without cluttering your countertops. This also helps to prevent the growth of bacteria and mold that can thrive in damp areas. Additionally, having a designated area for your trash can keeps it hidden and contained, reducing odors and maintaining a clean and organized kitchen.
One of the main reasons for
cutting a hole in your kitchen sink
is to improve hygiene and cleanliness in the kitchen. With a dedicated space for a dish rack, you can easily wash and dry your dishes without cluttering your countertops. This also helps to prevent the growth of bacteria and mold that can thrive in damp areas. Additionally, having a designated area for your trash can keeps it hidden and contained, reducing odors and maintaining a clean and organized kitchen.
Easy Maintenance and Repair
 Another practical benefit of
cutting a hole in your kitchen sink
is that it makes maintenance and repair much easier. With a separate space for your dish rack, you can easily remove it for cleaning or replacement without having to disassemble your entire sink. This also applies to any plumbing issues that may arise. A hole in your sink allows for easier access to the pipes, making it simpler and less time-consuming to fix any problems.
In conclusion, while
cutting a hole in your kitchen sink
may not be a conventional design choice, it can provide a range of benefits that greatly enhance the functionality and appearance of your kitchen. From maximizing space to adding a unique touch, this simple modification can make a big impact. Consider this option when designing your kitchen to create a space that is both efficient and personalized to your needs.
Another practical benefit of
cutting a hole in your kitchen sink
is that it makes maintenance and repair much easier. With a separate space for your dish rack, you can easily remove it for cleaning or replacement without having to disassemble your entire sink. This also applies to any plumbing issues that may arise. A hole in your sink allows for easier access to the pipes, making it simpler and less time-consuming to fix any problems.
In conclusion, while
cutting a hole in your kitchen sink
may not be a conventional design choice, it can provide a range of benefits that greatly enhance the functionality and appearance of your kitchen. From maximizing space to adding a unique touch, this simple modification can make a big impact. Consider this option when designing your kitchen to create a space that is both efficient and personalized to your needs.