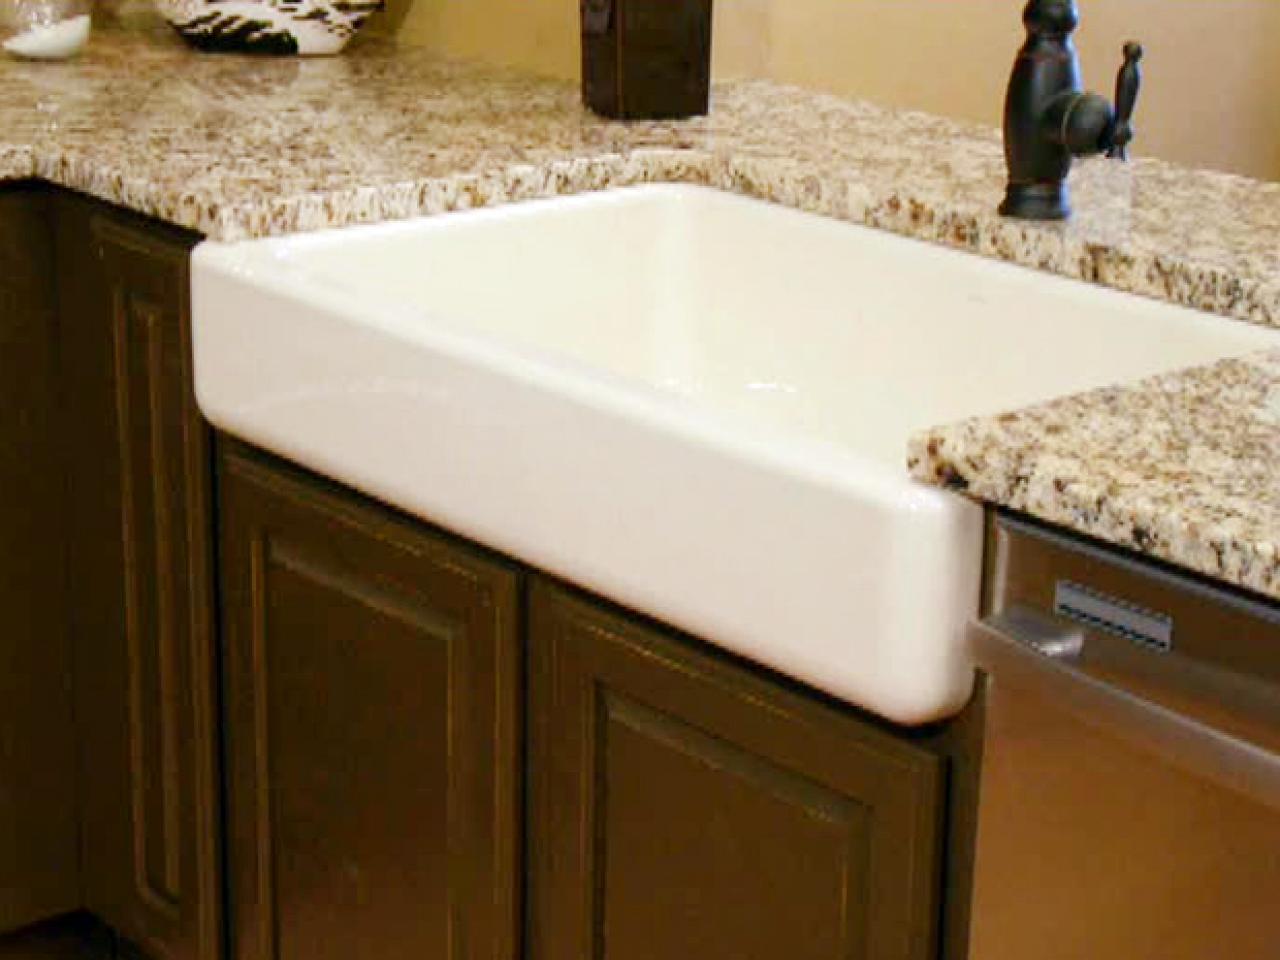
Installing an apron front kitchen sink can be a great way to add a touch of charm and character to your kitchen. These sinks, also known as farmhouse sinks, have become increasingly popular in recent years for their rustic and traditional look. While they may seem like a daunting addition to your kitchen, with the right tools and knowledge, you can easily install one yourself. In this article, we will provide a step-by-step guide on how to install an apron front kitchen sink, along with some useful tips and tricks to ensure a successful installation.Apron Front Kitchen Sink Installation


Apron Front Kitchen Sink Installation


The following is a detailed guide on how to install an apron front kitchen sink in your home:How to Install an Apron Front Kitchen Sink


How to Install an Apron Front Kitchen Sink


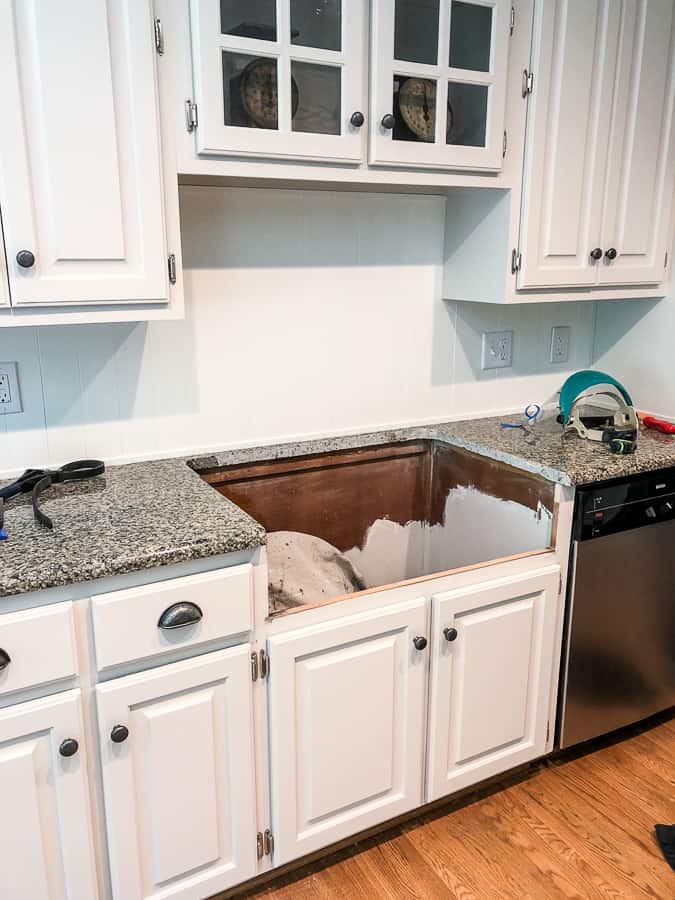
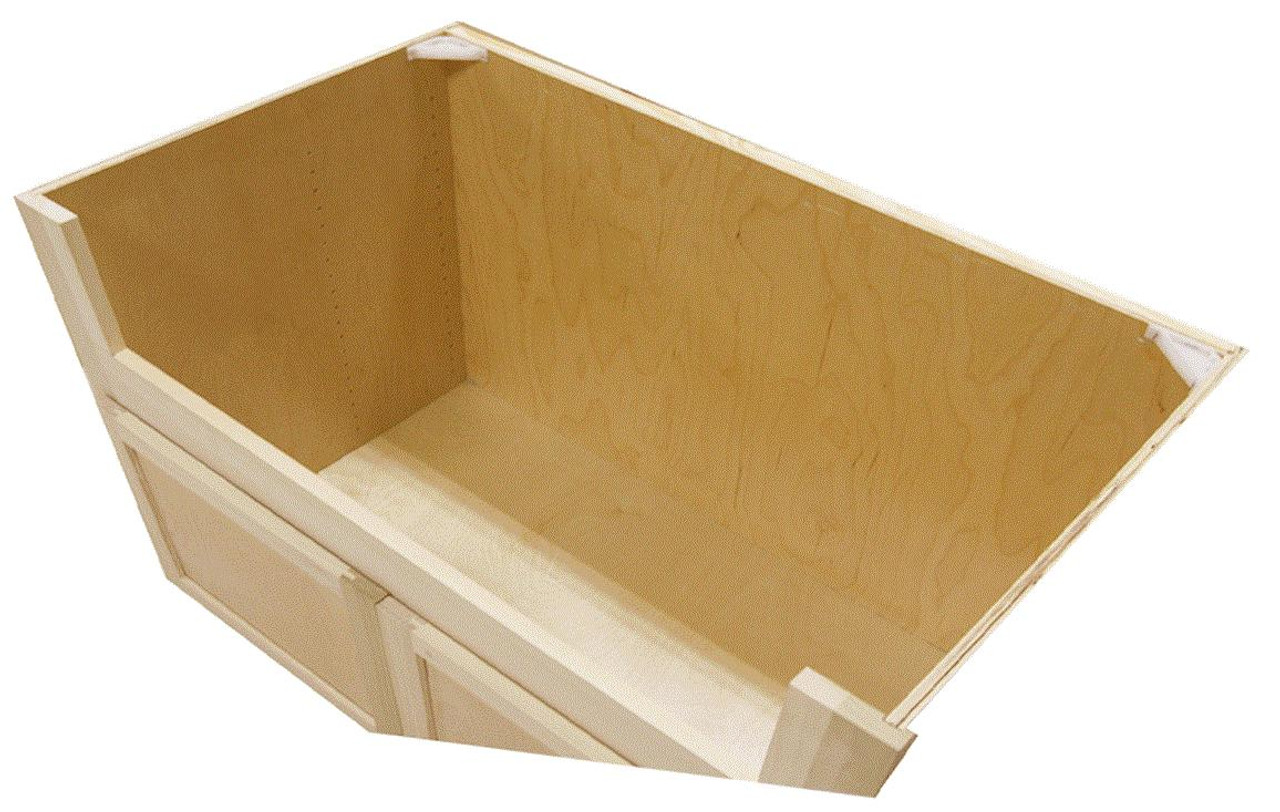
The first step in any home improvement project is to measure and prepare the area where you will be working. Measure the size of your sink and the cabinet where it will be installed to ensure a proper fit. Next, remove the old sink and any other fixtures in the area, such as a faucet or garbage disposal. This will give you a clean and open space to work with.Step 1: Measure and Prepare


Step-by-Step Guide for Installing an Apron Front Kitchen Sink


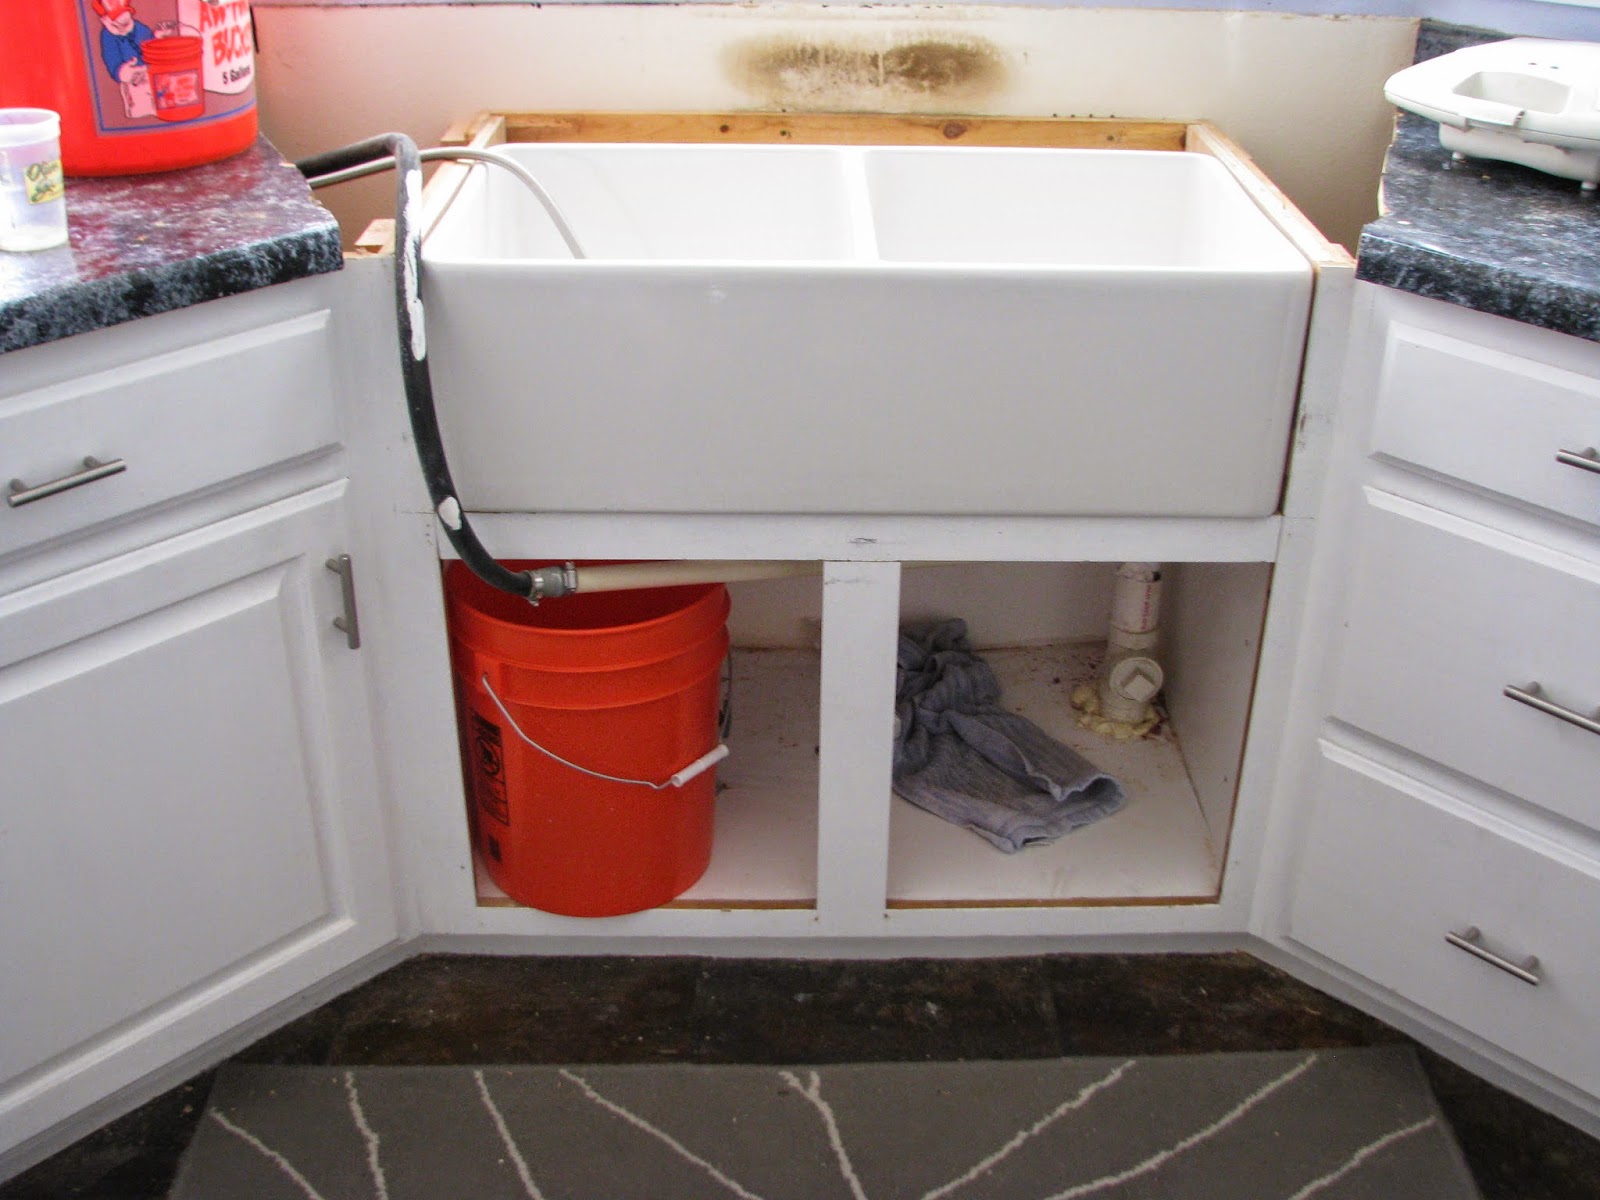
Next, you will need to position the sink in the cabinet and mark where it will sit. Use a level to make sure the sink is even and adjust as needed. It is important to have someone assist you in this step to ensure the sink is properly positioned.Step 2: Position the Sink


DIY Apron Front Kitchen Sink Installation

Using a jigsaw, make cutouts in the cabinet for the sink and any additional fixtures. Be sure to follow the manufacturer's instructions for the size and placement of the cutouts.Step 3: Make Cutouts


Tools and Materials Needed for Installing an Apron Front Kitchen Sink


Before installing the sink, you will need to install the drain and faucet. Follow the manufacturer's instructions for these installations. If you are not familiar with plumbing, it may be best to hire a professional for this step.Step 4: Install the Drain and Faucet

Tips for a Successful Apron Front Kitchen Sink Installation


Now it's time to attach the sink to the cabinet. Use a strong adhesive and follow the manufacturer's instructions for application. Once the sink is attached, secure it with additional screws or clips as needed.Step 5: Attach the Sink


Common Mistakes to Avoid When Installing an Apron Front Kitchen Sink


Once the sink is securely attached, you can connect the plumbing. This includes connecting the drain and faucet to the appropriate pipes. Again, if you are not familiar with plumbing, it may be best to hire a professional for this step.Step 6: Connect the Plumbing

Cost of Installing an Apron Front Kitchen Sink

To prevent water from leaking, it is important to seal the edges of the sink where it meets the countertop. Use a waterproof silicone caulk for this step and follow the manufacturer's instructions for application.Step 7: Seal the Edges

Professional vs. DIY Apron Front Kitchen Sink Installation


Installing an apron front kitchen sink yourself can save you money and give you a sense of accomplishment. However, it's important to note that this project may not be suitable for everyone. If you are not experienced in home improvement projects or plumbing, it may be best to hire a professional to ensure a proper and safe installation.DIY Apron Front Kitchen Sink Installation

Best Apron Front Kitchen Sinks for Easy Installation


The Benefits of Installing an Apron Front Kitchen Sink
Adding Style and Functionality to Your Kitchen Design
 When it comes to designing your dream kitchen, every element matters. From the countertops to the cabinets, each choice contributes to the overall aesthetic and functionality of the space. And one often overlooked but important element in the kitchen design is the
apron front kitchen sink
. Not only does it add a touch of
style
to the room, but it also offers several
benefits
that make it a popular choice among homeowners.
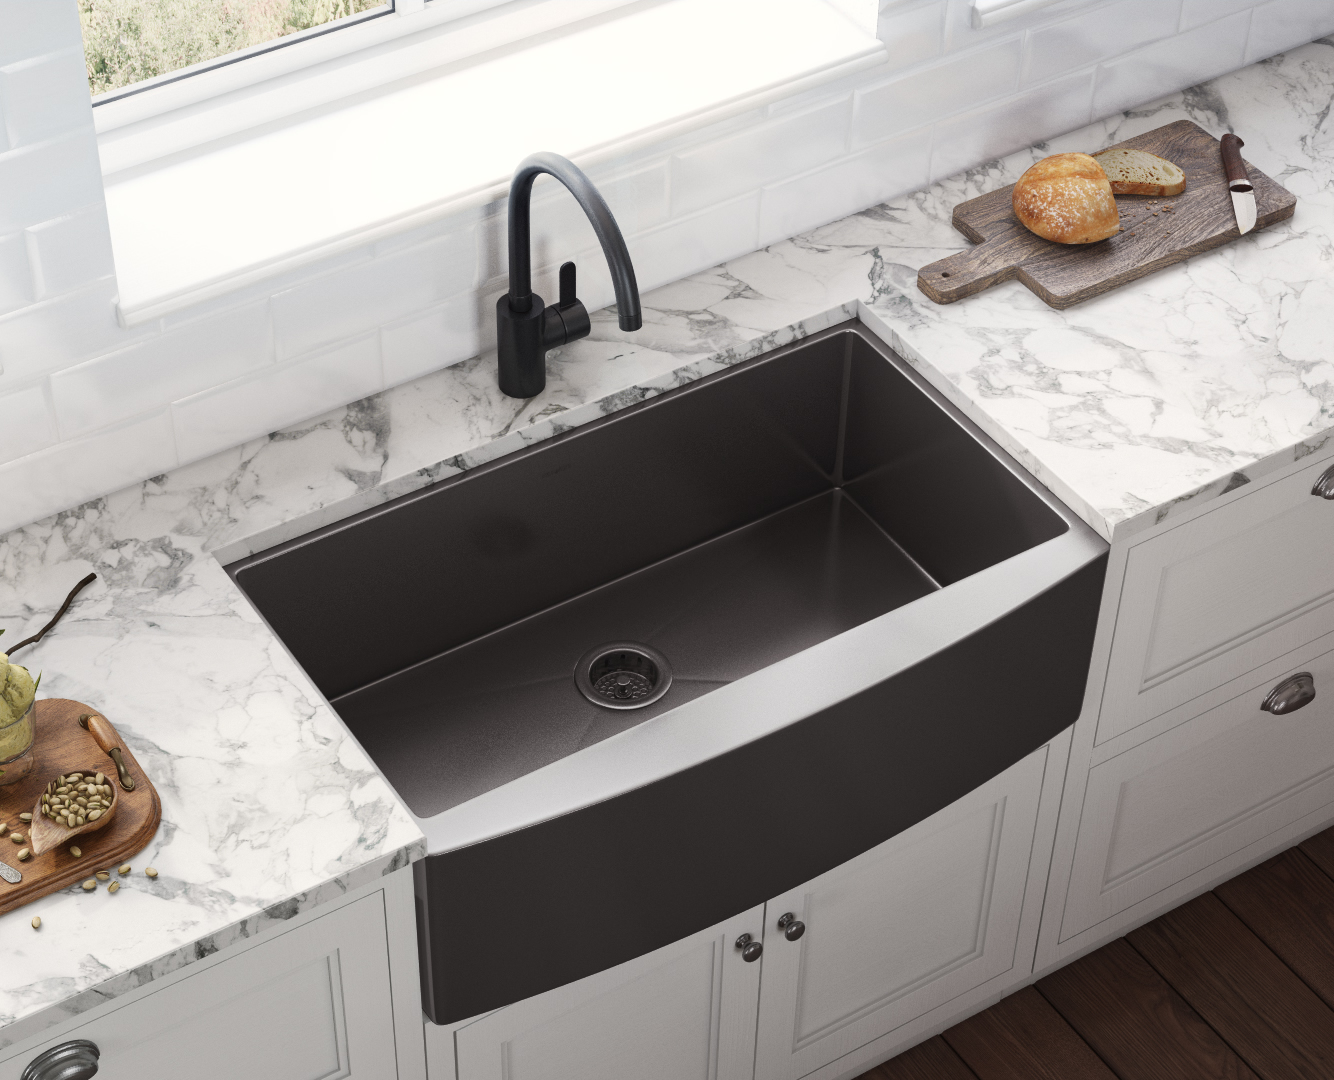
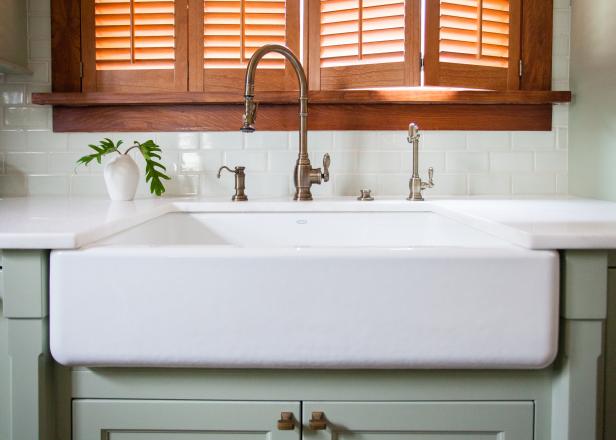
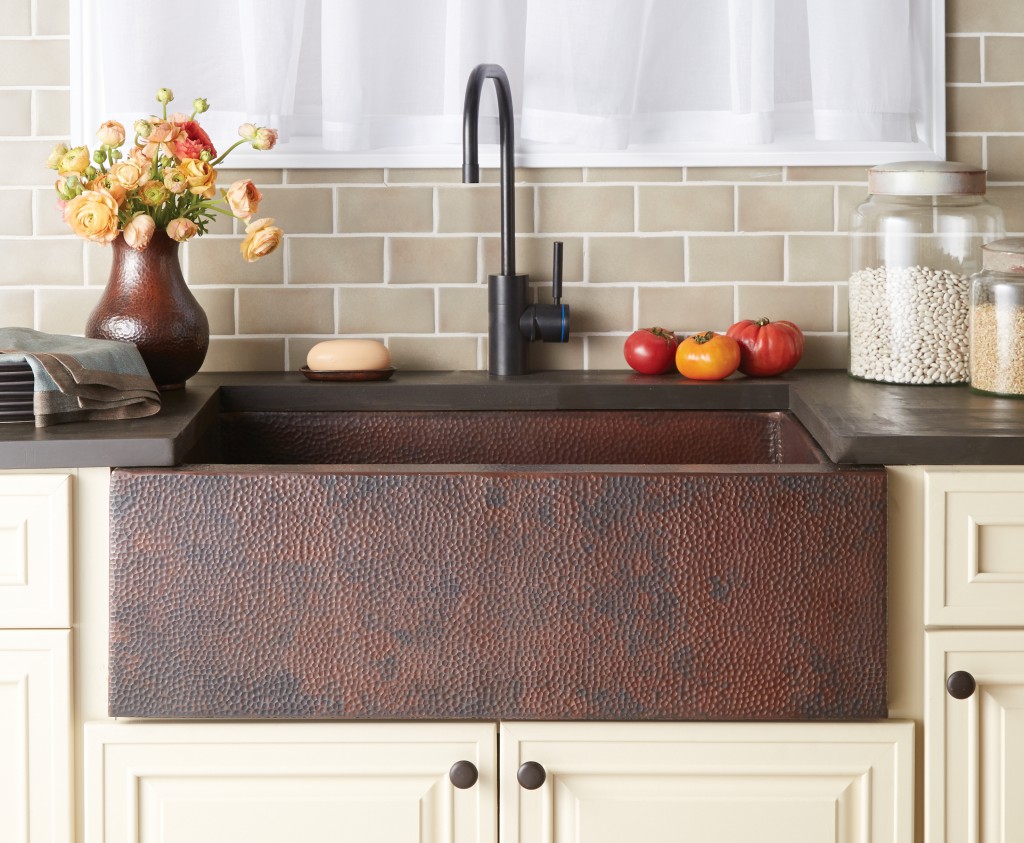
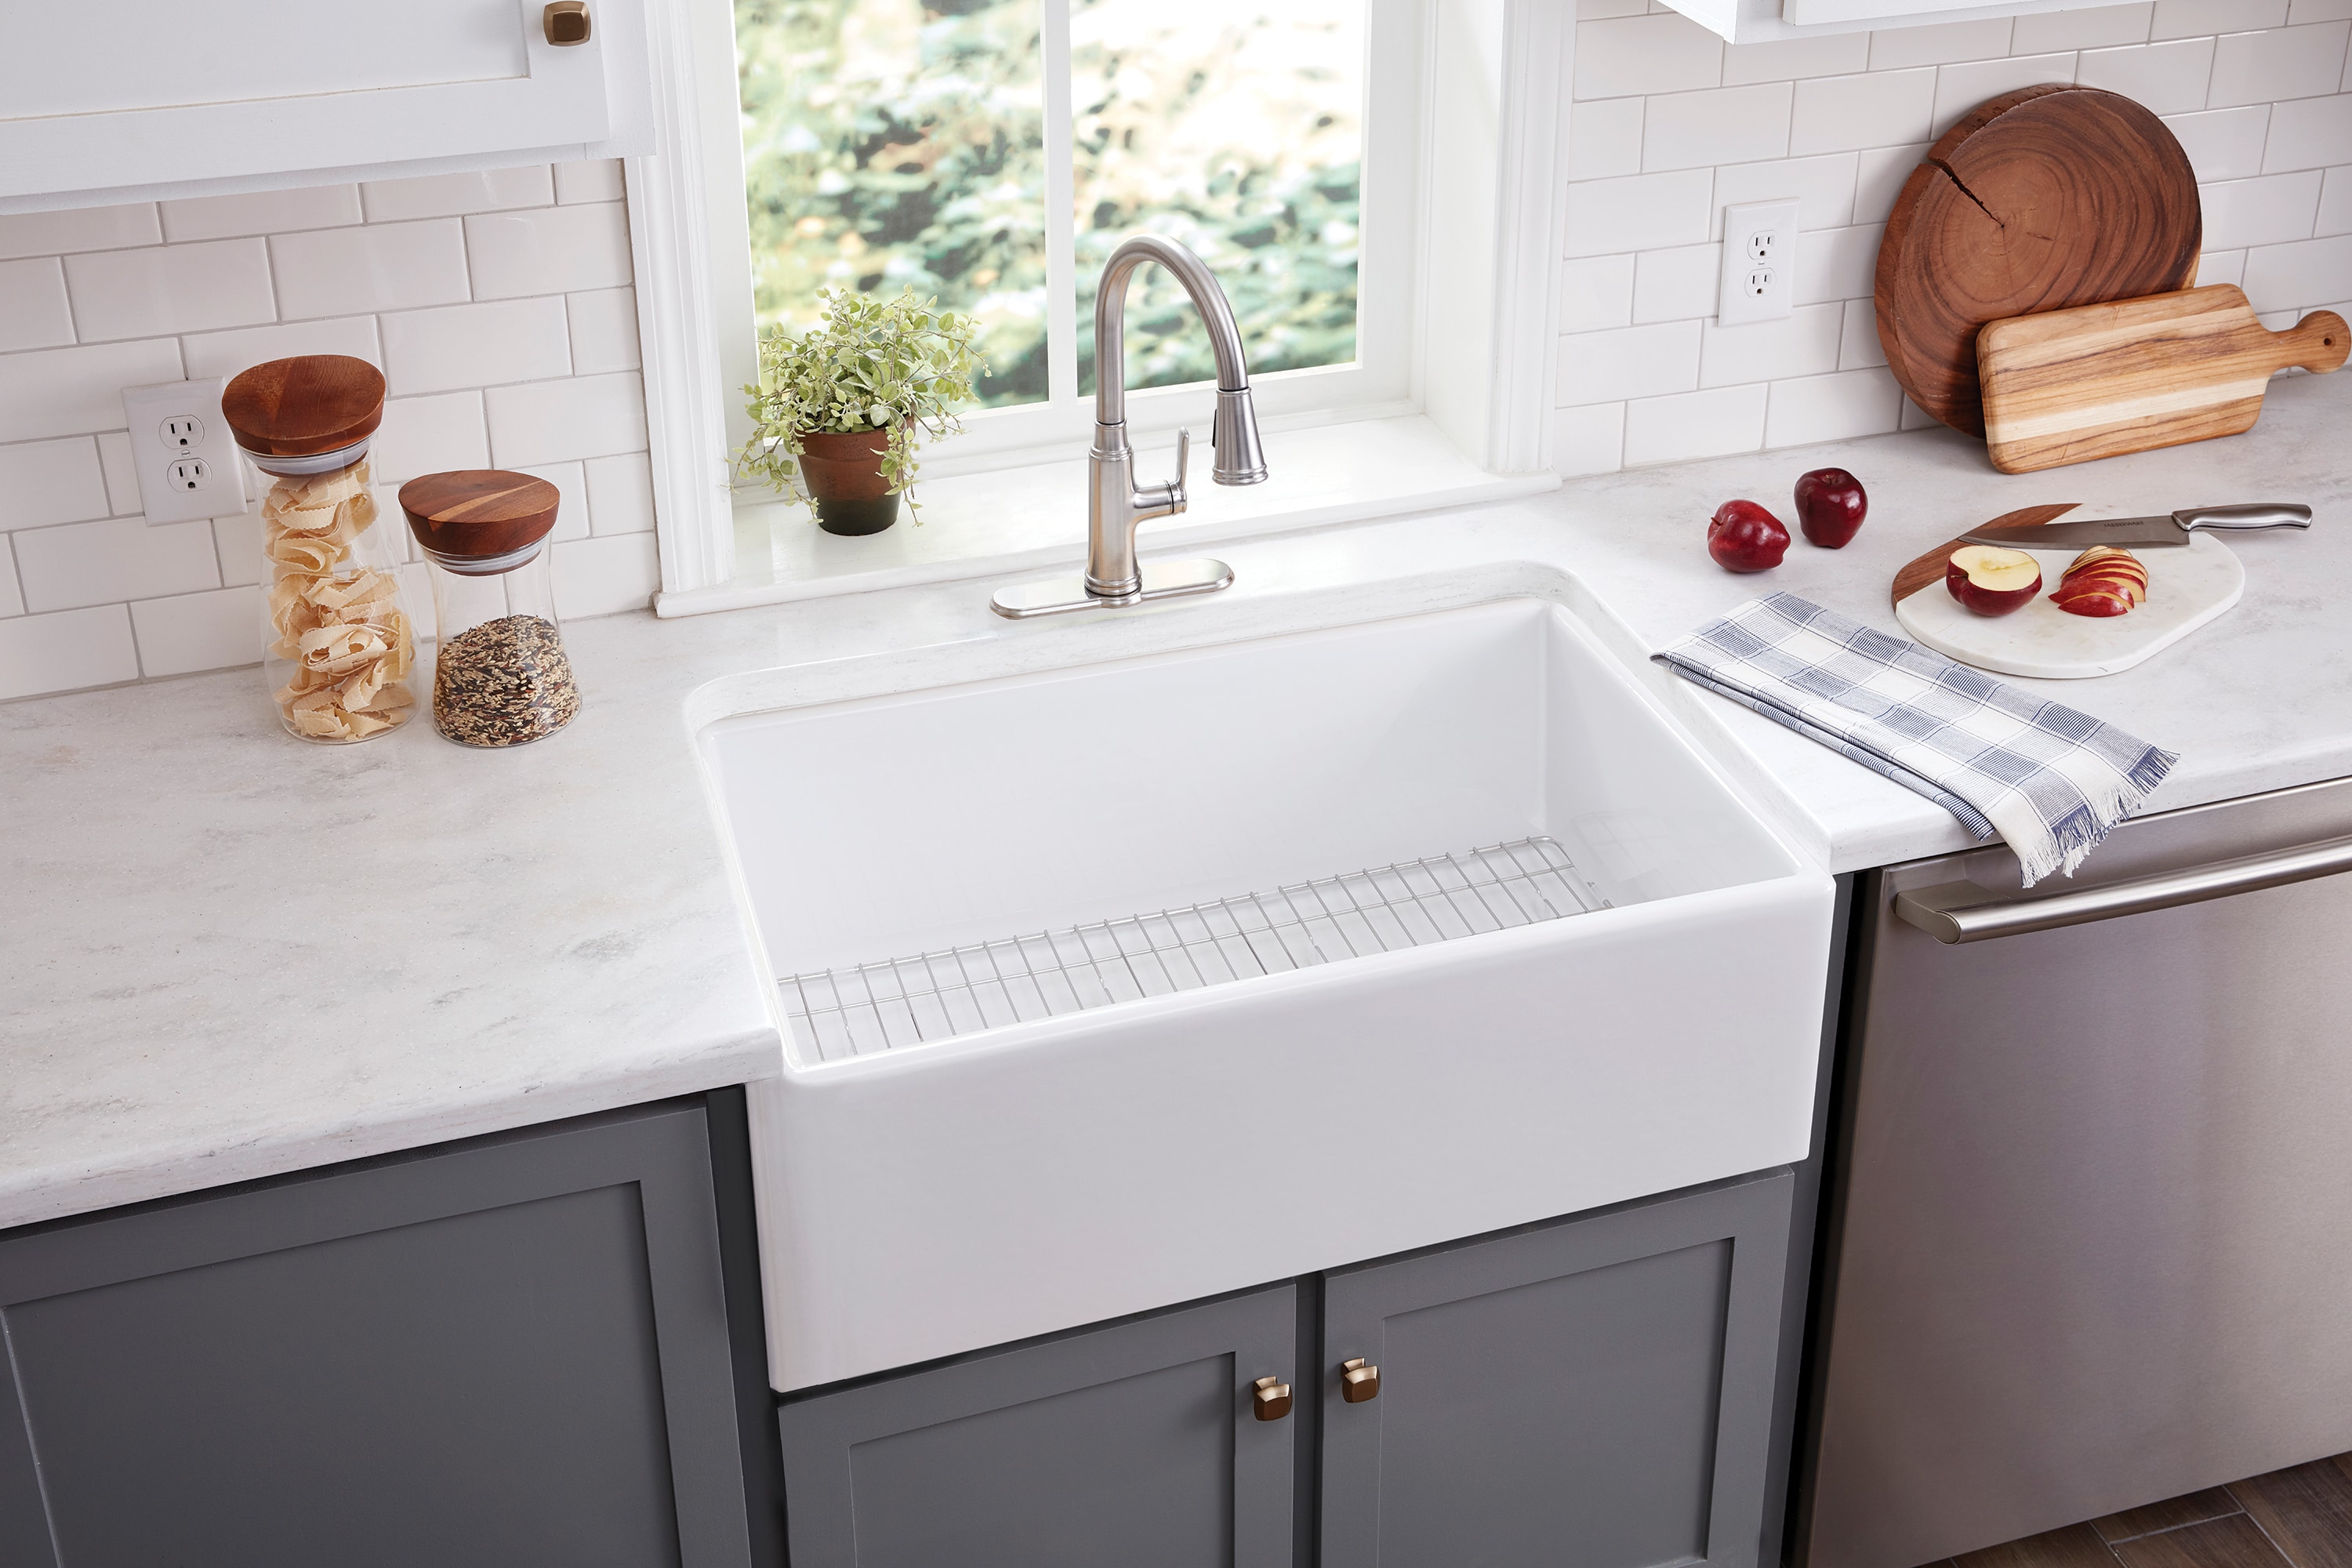
First and foremost, an
apron front kitchen sink
is a
statement piece
that can elevate the look of your kitchen. It has a unique and classic design, with the front of the sink exposed and no cabinets or countertops covering it. This adds a touch of
charm
and
warmth
to the space, making it feel more inviting and
cozy
. Additionally,
apron front sinks
come in a variety of materials, including porcelain, stainless steel, and stone, allowing you to choose one that best fits your
design aesthetic
.
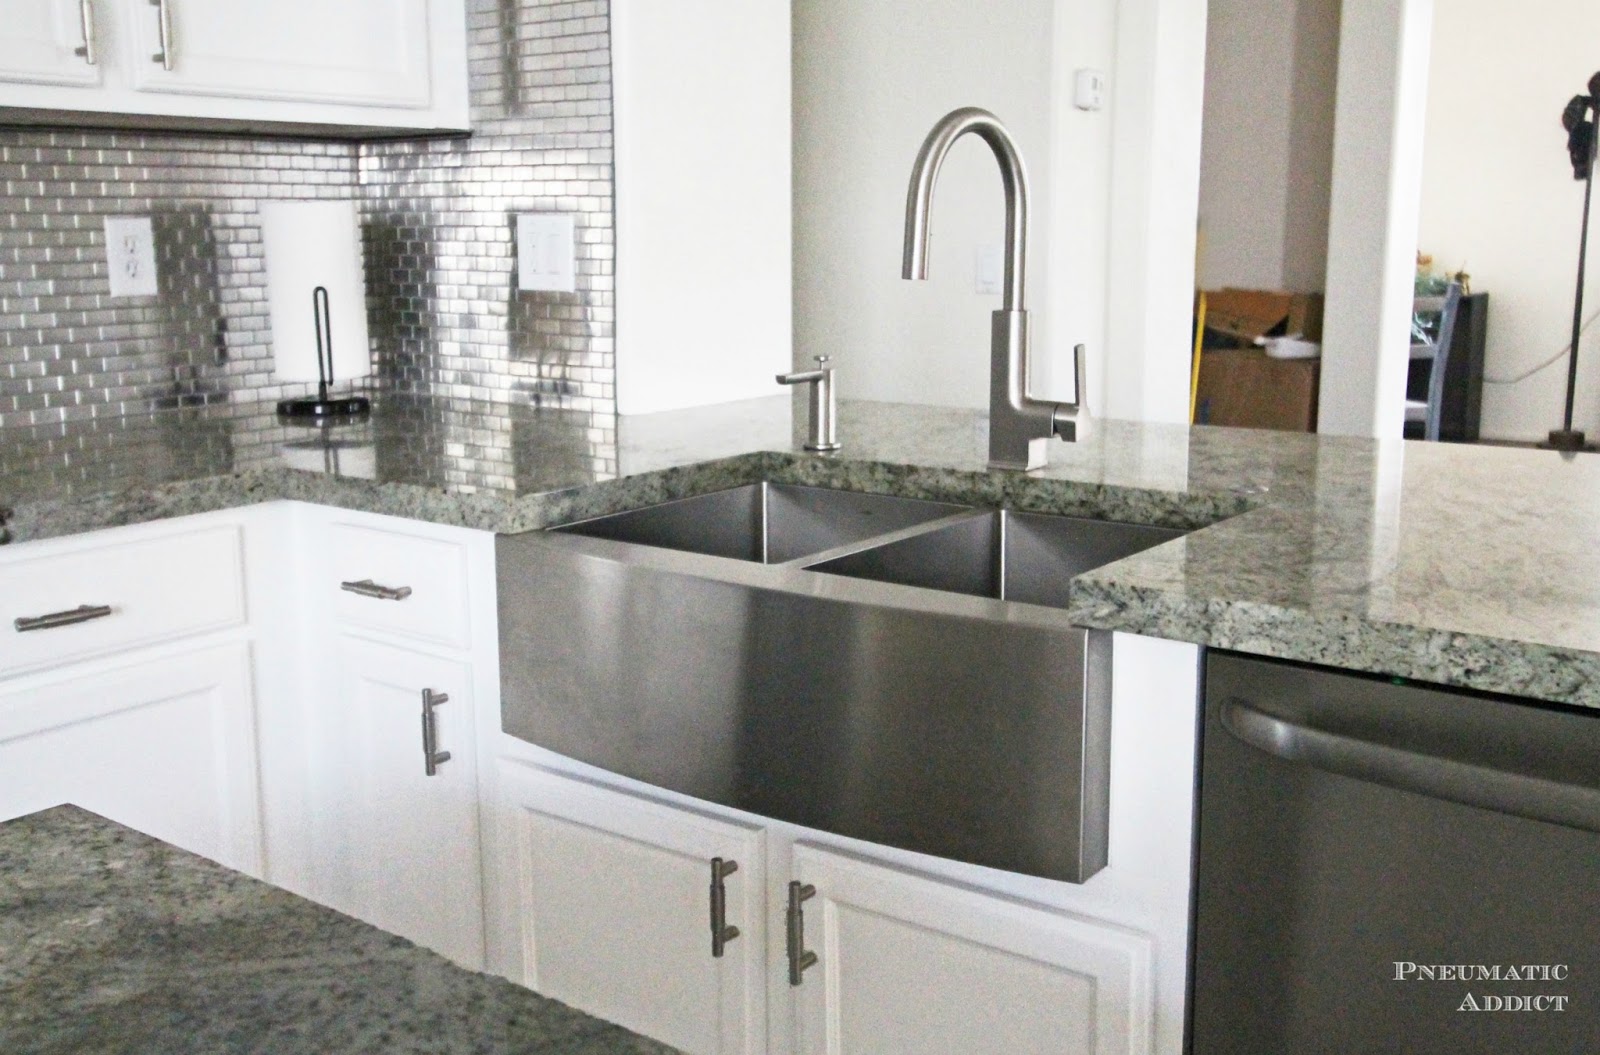
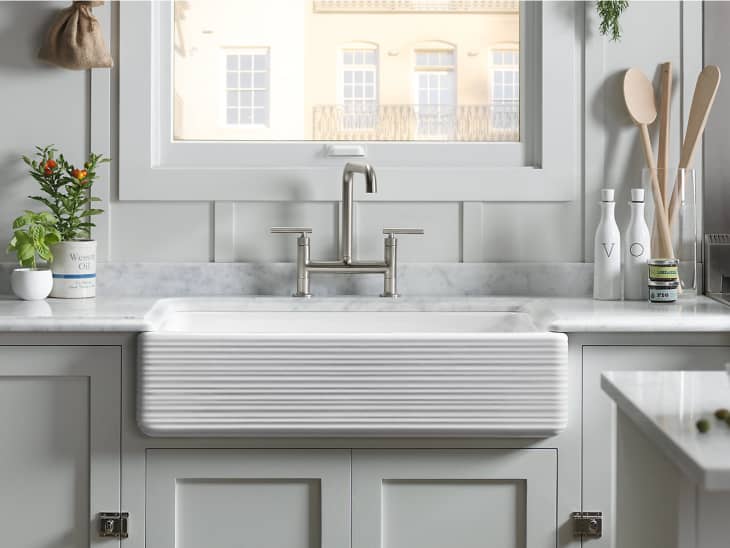
But aside from its aesthetic appeal, an
apron front kitchen sink
also offers practical benefits. Its
large and deep basin
makes it perfect for handling big pots and pans, making cleaning up after a meal a breeze. This type of sink also eliminates the need for a
backsplash
, which saves you both time and money on installation. Moreover, the exposed front of the sink can be used to hang dish towels or even add a pop of
color
to the space with a decorative apron.
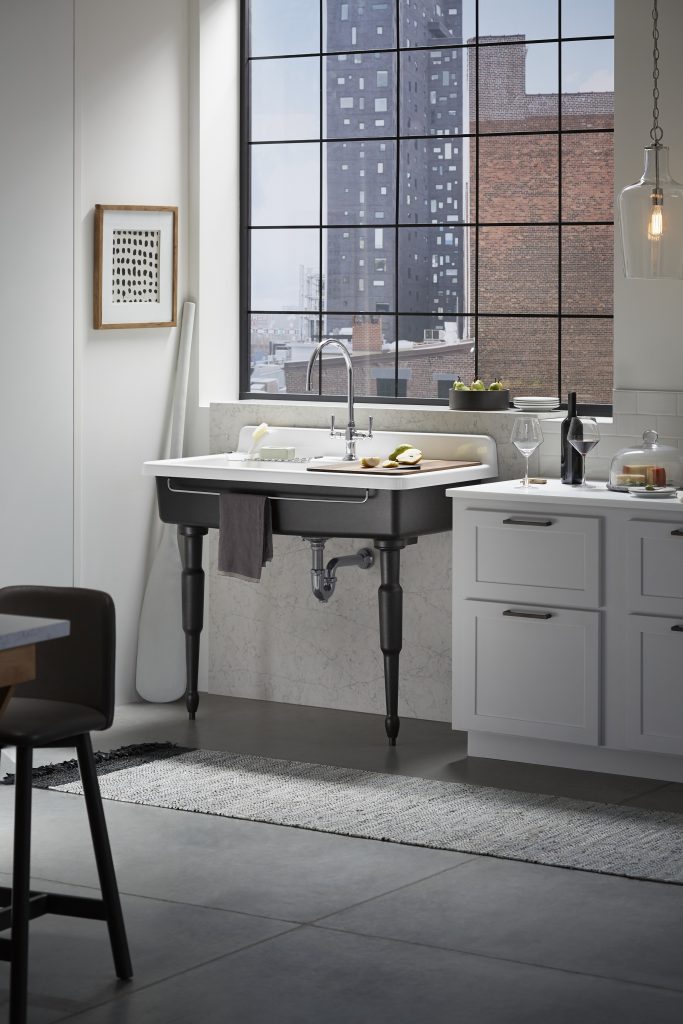
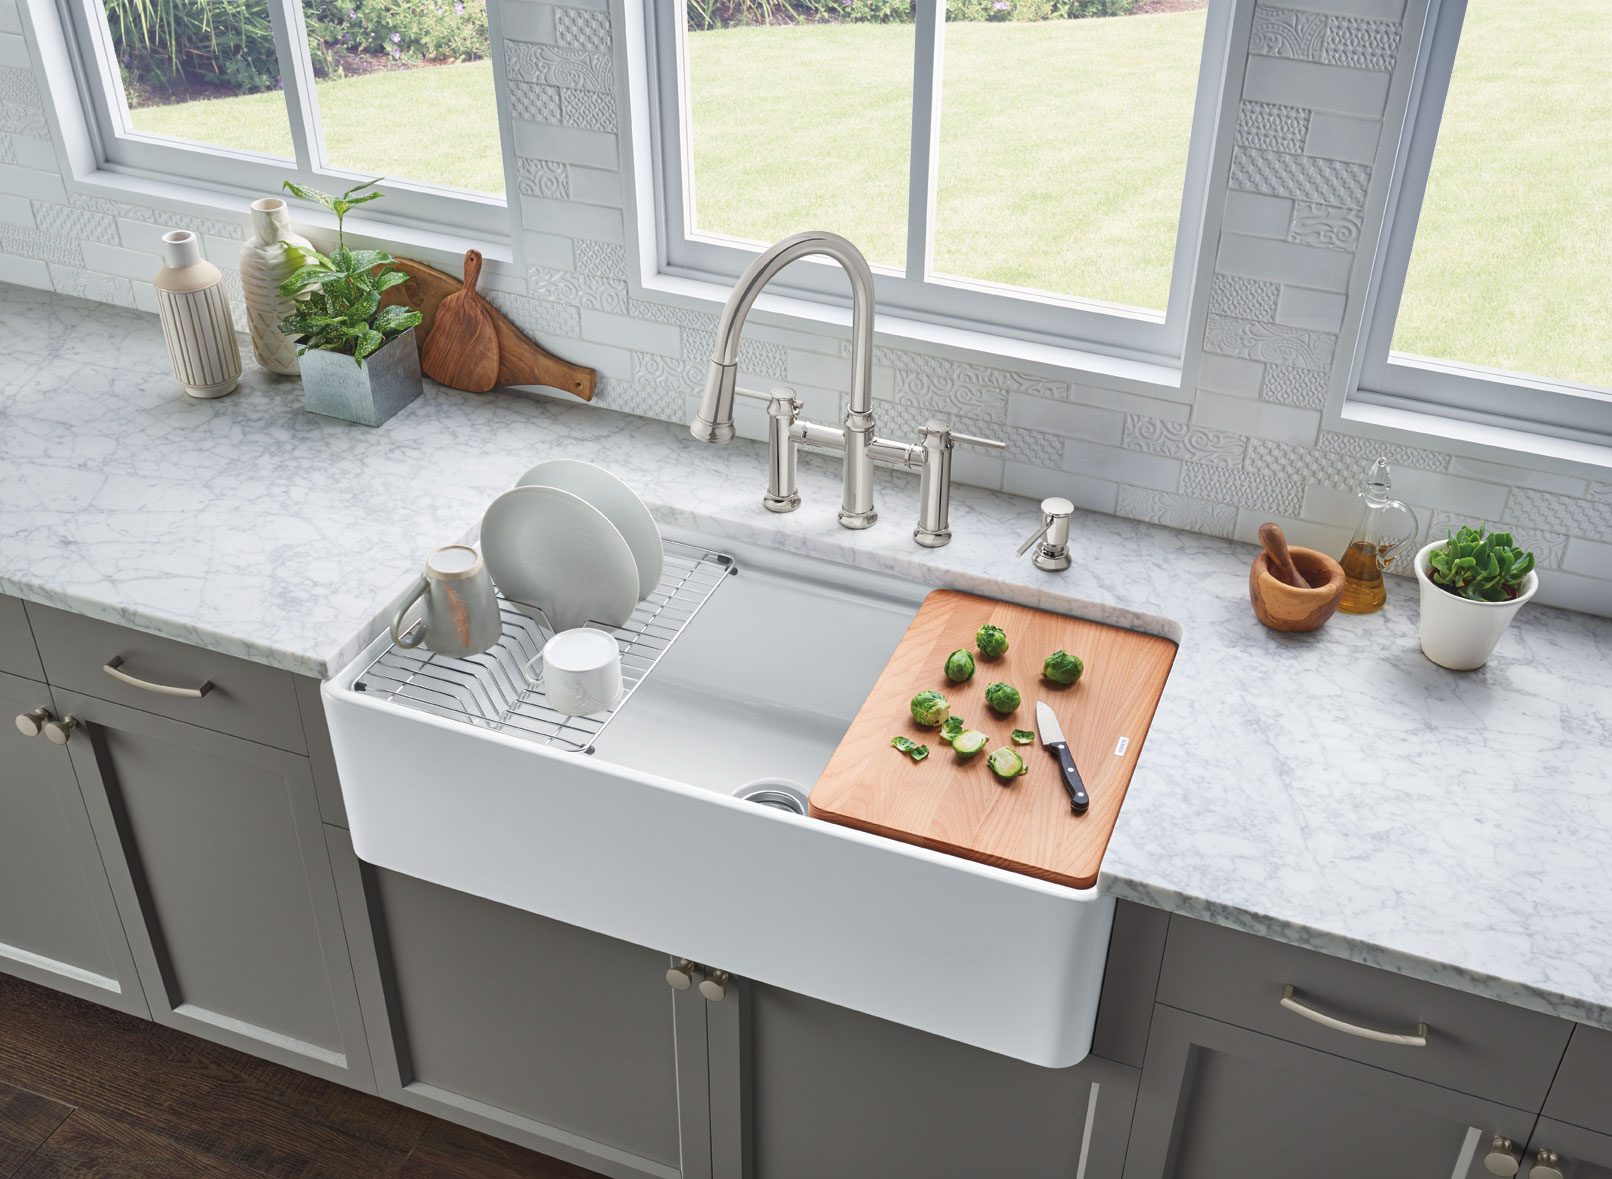
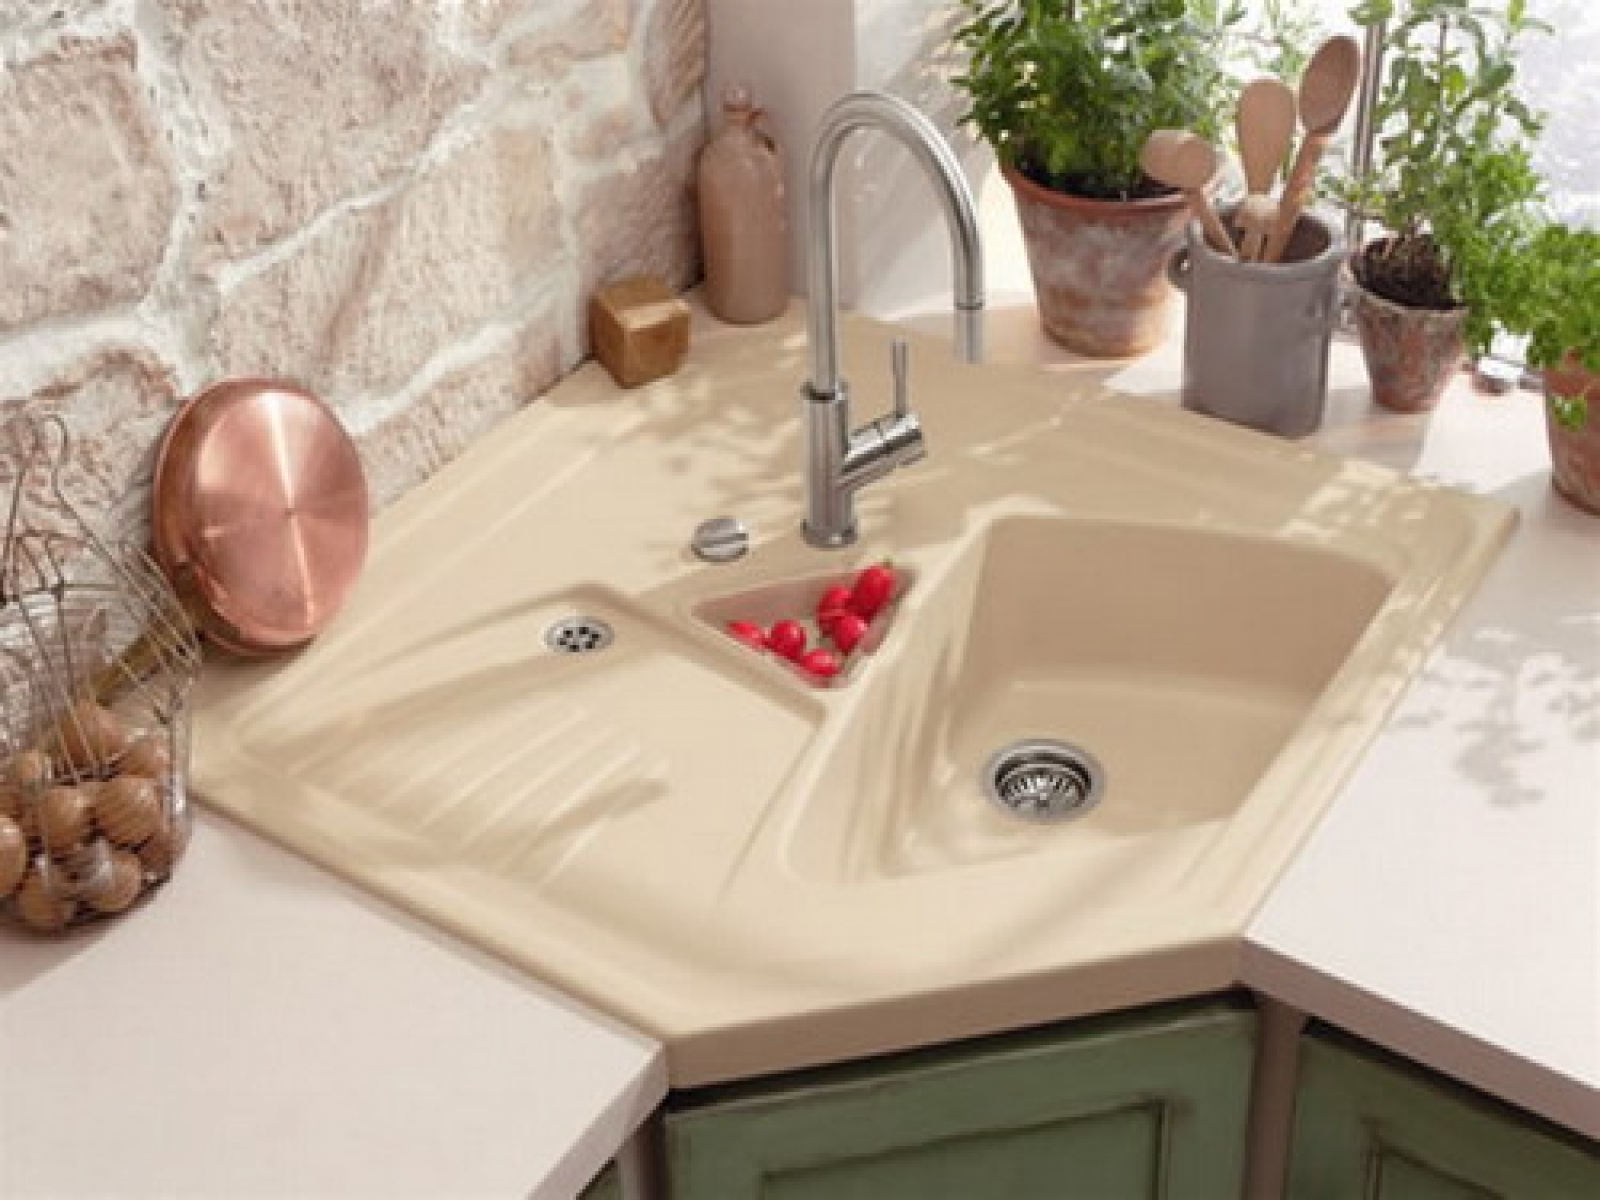
Another advantage of an
apron front kitchen sink
is its
versatility
. It can be installed in different ways, including undermount, top mount, and flush mount, giving you the flexibility to choose the one that works best for your space. It also comes in various sizes, making it suitable for all kitchen sizes and layouts. And because it is installed in front of the countertop, it creates extra
counter space
for food preparation or other kitchen tasks.
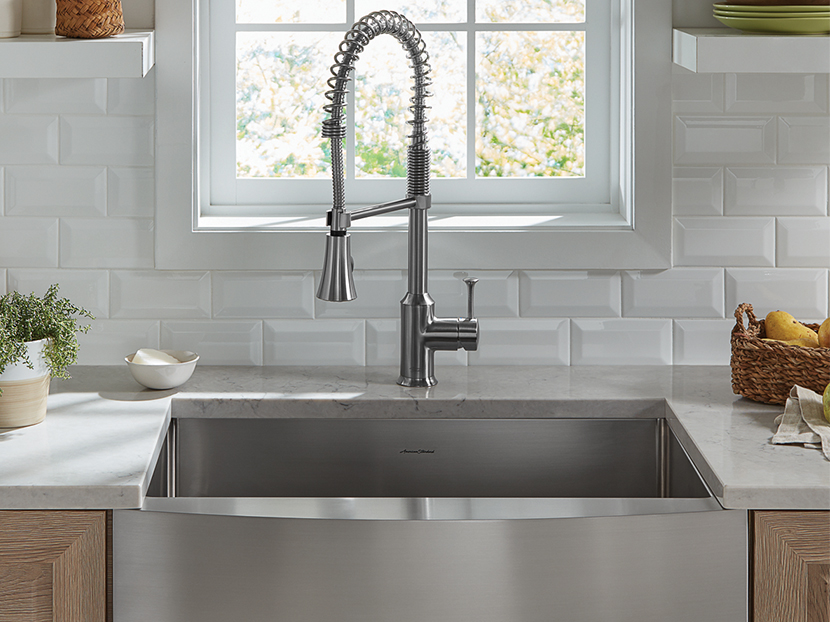
In conclusion, when it comes to designing your dream kitchen, don't overlook the importance of an
apron front kitchen sink
. Not only does it add
style
and
charm
to your space, but it also offers several
practical benefits
that make it a worthwhile investment. So if you're in the process of remodeling your kitchen or building a new home, consider installing an
apron front sink
for a beautiful and functional addition to your kitchen design.
When it comes to designing your dream kitchen, every element matters. From the countertops to the cabinets, each choice contributes to the overall aesthetic and functionality of the space. And one often overlooked but important element in the kitchen design is the
apron front kitchen sink
. Not only does it add a touch of
style
to the room, but it also offers several
benefits
that make it a popular choice among homeowners.
First and foremost, an
apron front kitchen sink
is a
statement piece
that can elevate the look of your kitchen. It has a unique and classic design, with the front of the sink exposed and no cabinets or countertops covering it. This adds a touch of
charm
and
warmth
to the space, making it feel more inviting and
cozy
. Additionally,
apron front sinks
come in a variety of materials, including porcelain, stainless steel, and stone, allowing you to choose one that best fits your
design aesthetic
.
But aside from its aesthetic appeal, an
apron front kitchen sink
also offers practical benefits. Its
large and deep basin
makes it perfect for handling big pots and pans, making cleaning up after a meal a breeze. This type of sink also eliminates the need for a
backsplash
, which saves you both time and money on installation. Moreover, the exposed front of the sink can be used to hang dish towels or even add a pop of
color
to the space with a decorative apron.
Another advantage of an
apron front kitchen sink
is its
versatility
. It can be installed in different ways, including undermount, top mount, and flush mount, giving you the flexibility to choose the one that works best for your space. It also comes in various sizes, making it suitable for all kitchen sizes and layouts. And because it is installed in front of the countertop, it creates extra
counter space
for food preparation or other kitchen tasks.
In conclusion, when it comes to designing your dream kitchen, don't overlook the importance of an
apron front kitchen sink
. Not only does it add
style
and
charm
to your space, but it also offers several
practical benefits
that make it a worthwhile investment. So if you're in the process of remodeling your kitchen or building a new home, consider installing an
apron front sink
for a beautiful and functional addition to your kitchen design.


:max_bytes(150000):strip_icc()/_hero_4109254-feathertop-5c7d415346e0fb0001a5f085.jpg)
