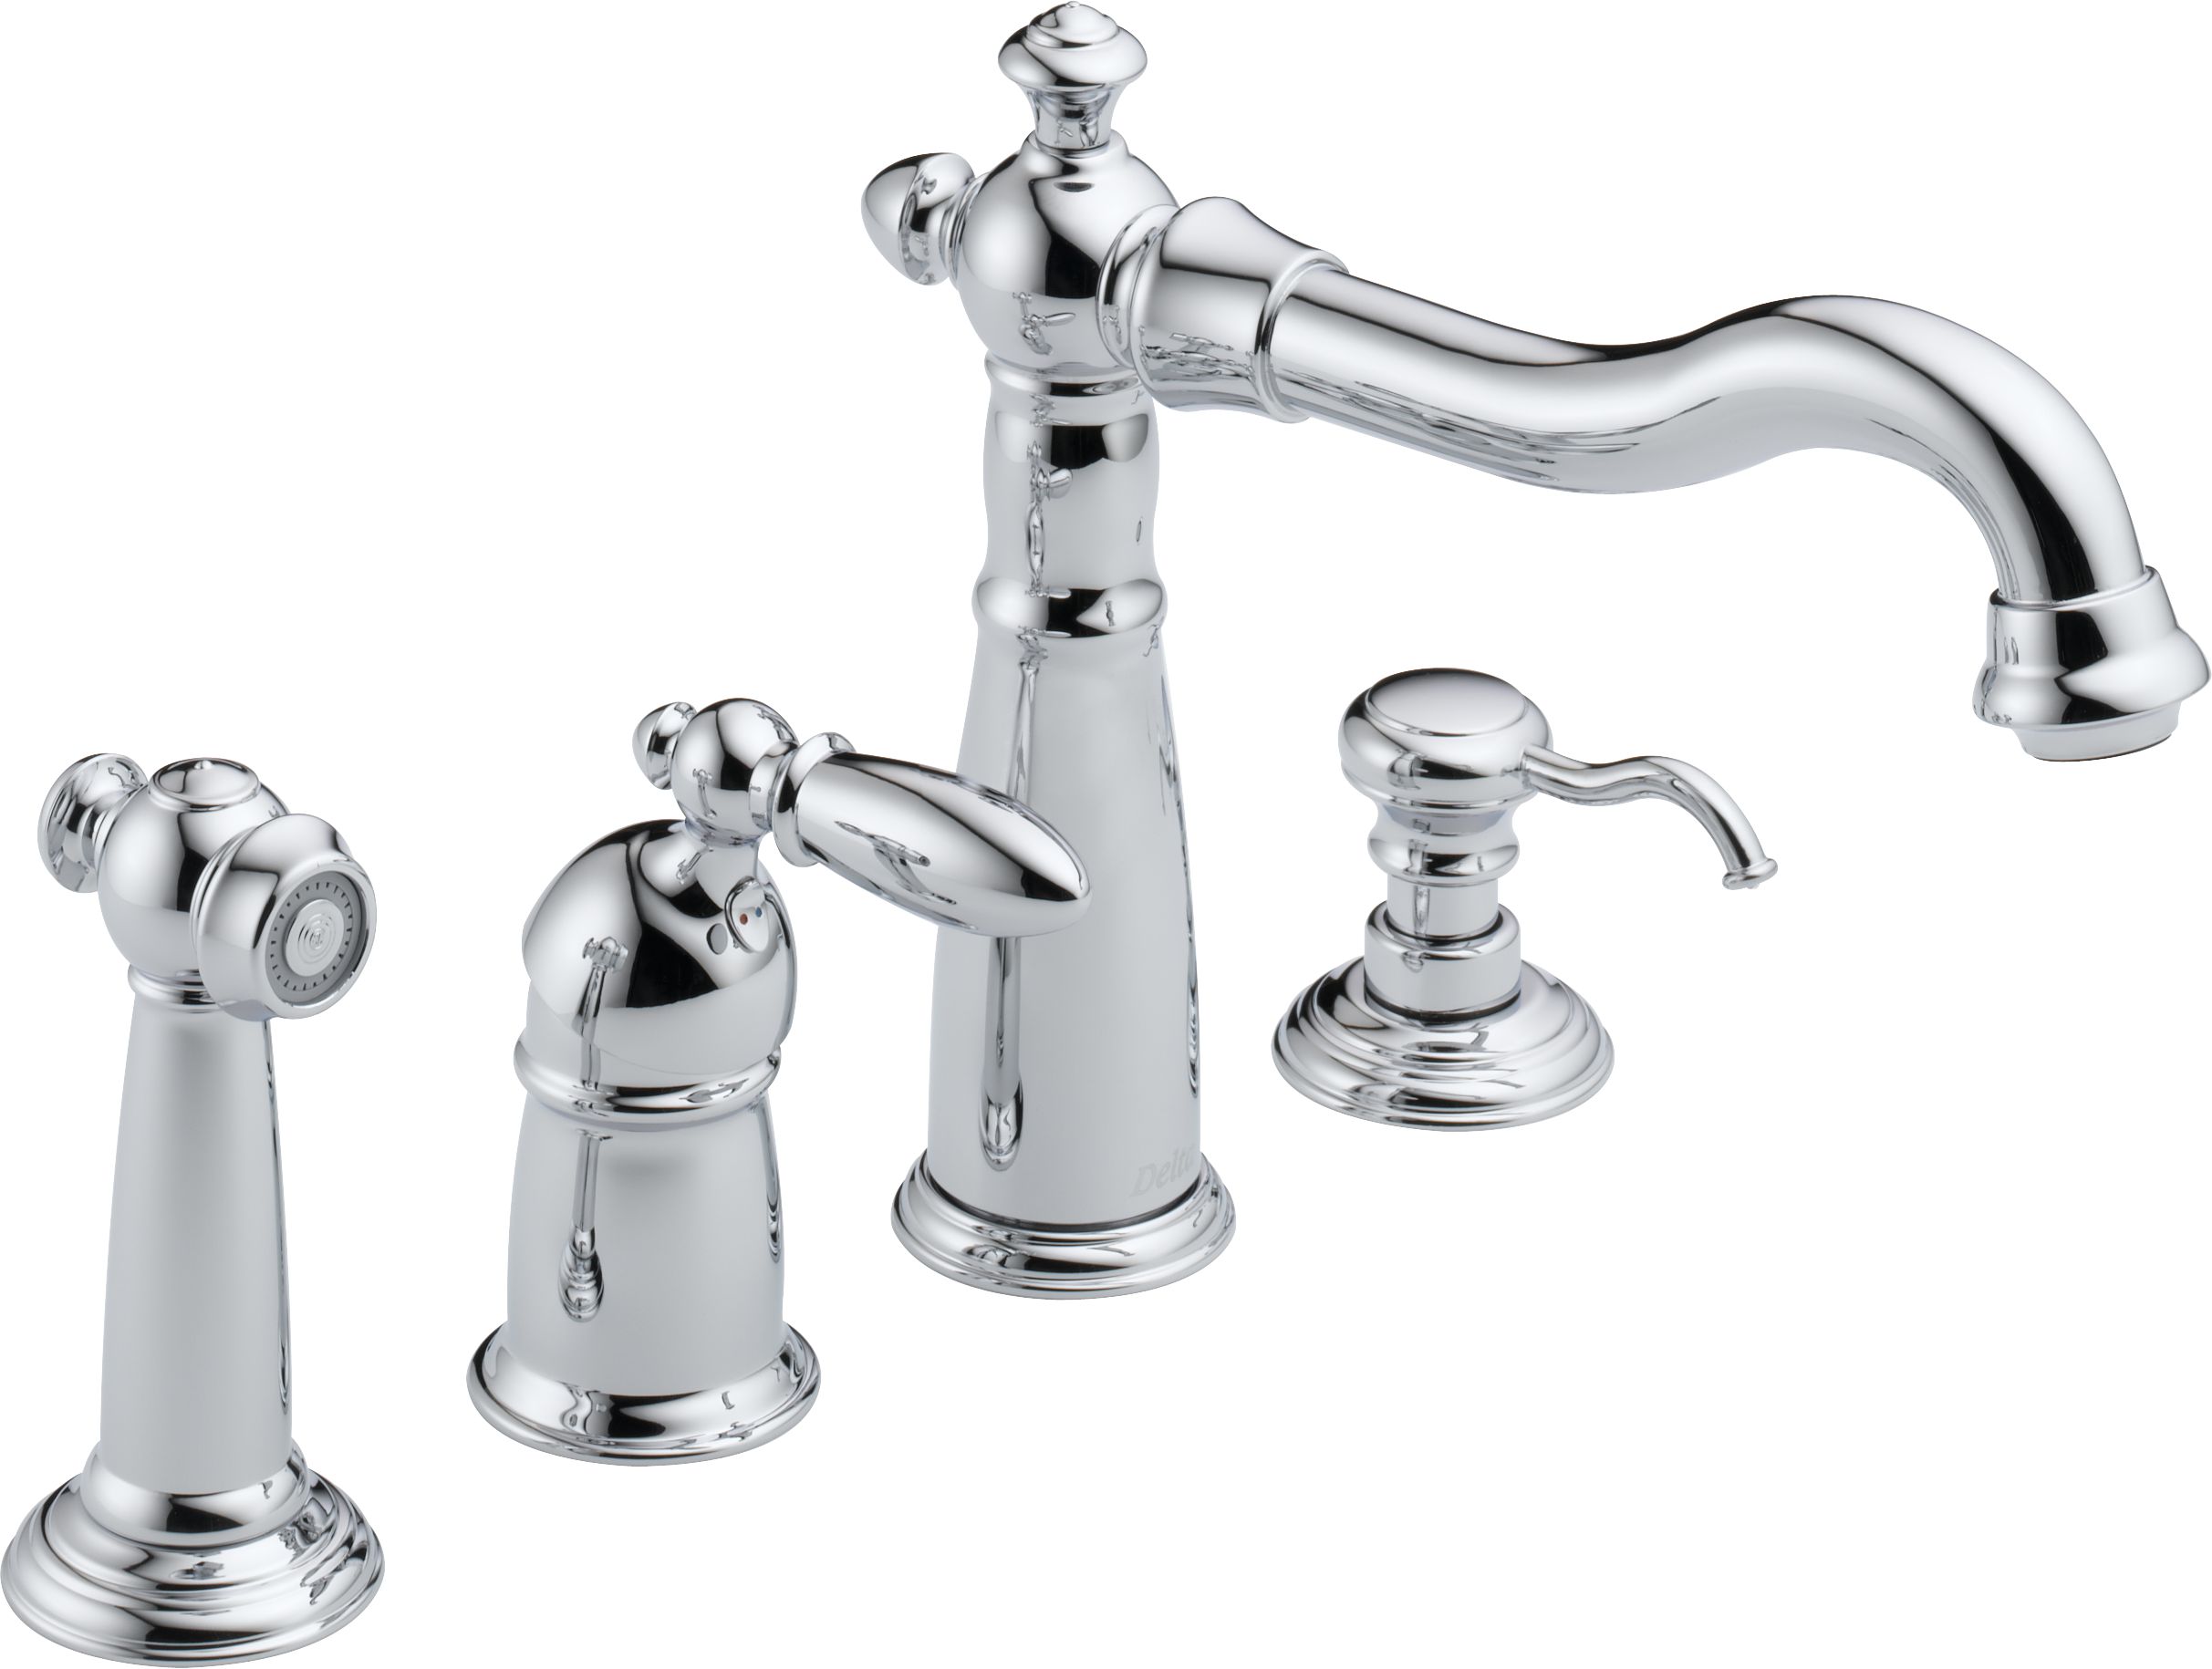
Installing a Delta Kitchen Sink Faucet
Are you looking to upgrade your kitchen sink faucet? Consider installing a Delta kitchen sink faucet for a sleek and functional addition to your kitchen. Delta is a trusted brand known for its high-quality and durable products. In this step-by-step guide, we will walk you through the process of installing a Delta kitchen sink faucet.
How to Install a Delta Kitchen Sink Faucet
Installing a Delta kitchen sink faucet may seem like a daunting task, but with the right tools and preparation, it can be a straightforward process. Follow these steps to install your new Delta faucet:
Step-by-Step Guide for Installing a Delta Kitchen Sink Faucet
Step 1: Gather the necessary tools. Before you begin, make sure you have all the tools you need for the installation. These may include a wrench, pliers, adjustable wrench, and plumber's tape.
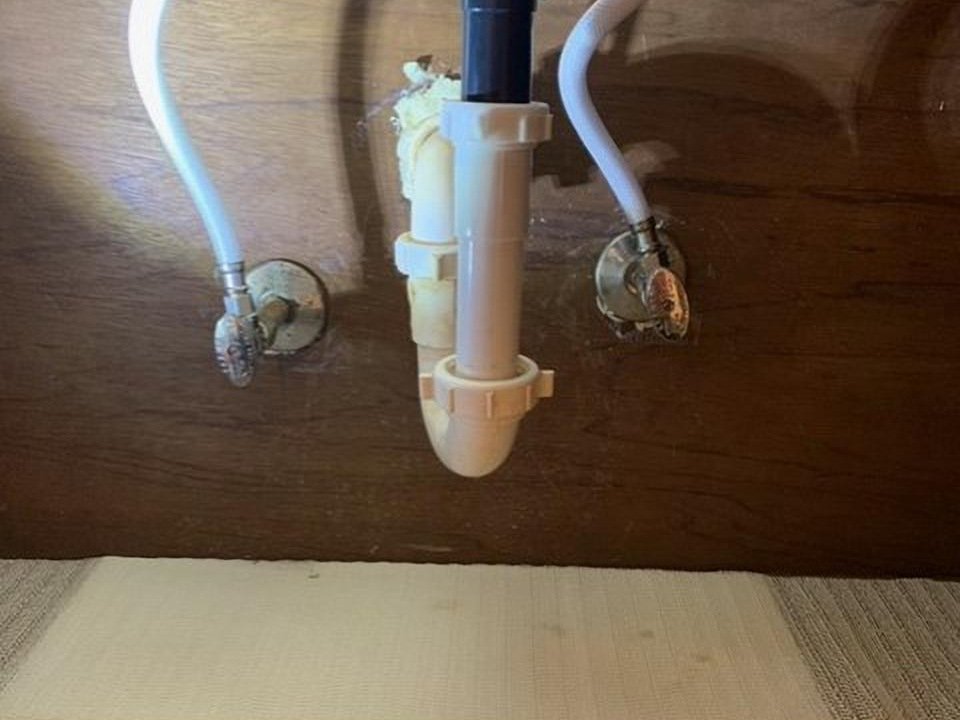
Step 2: Turn off the water supply. Locate the shut-off valves under the sink and turn them off by turning the knobs clockwise.
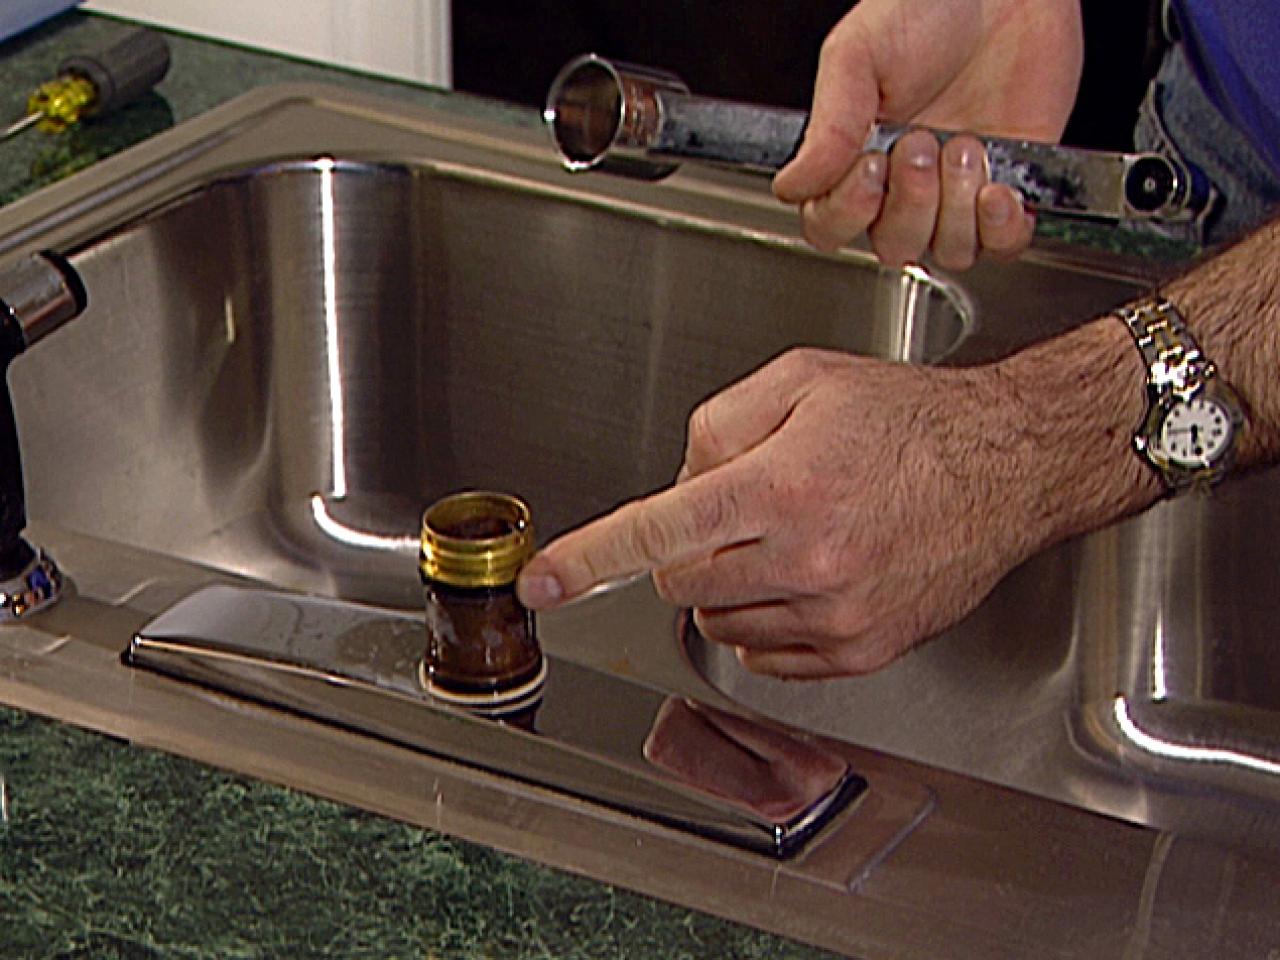
Step 3: Remove the old faucet. Use a wrench to loosen and remove the nuts and bolts holding the old faucet in place. Remove the faucet and clean the area where the new faucet will be installed.
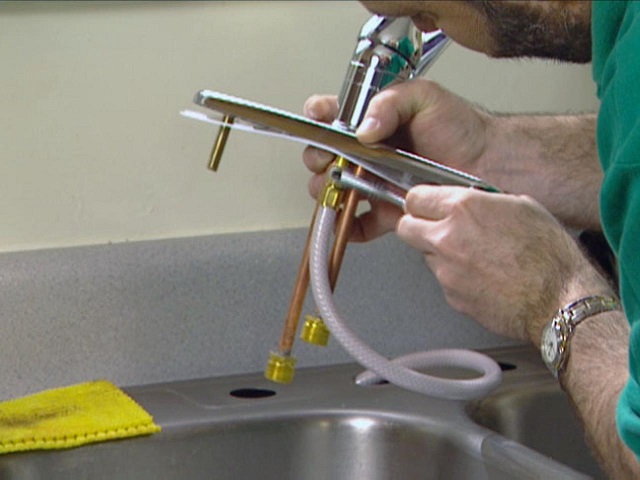
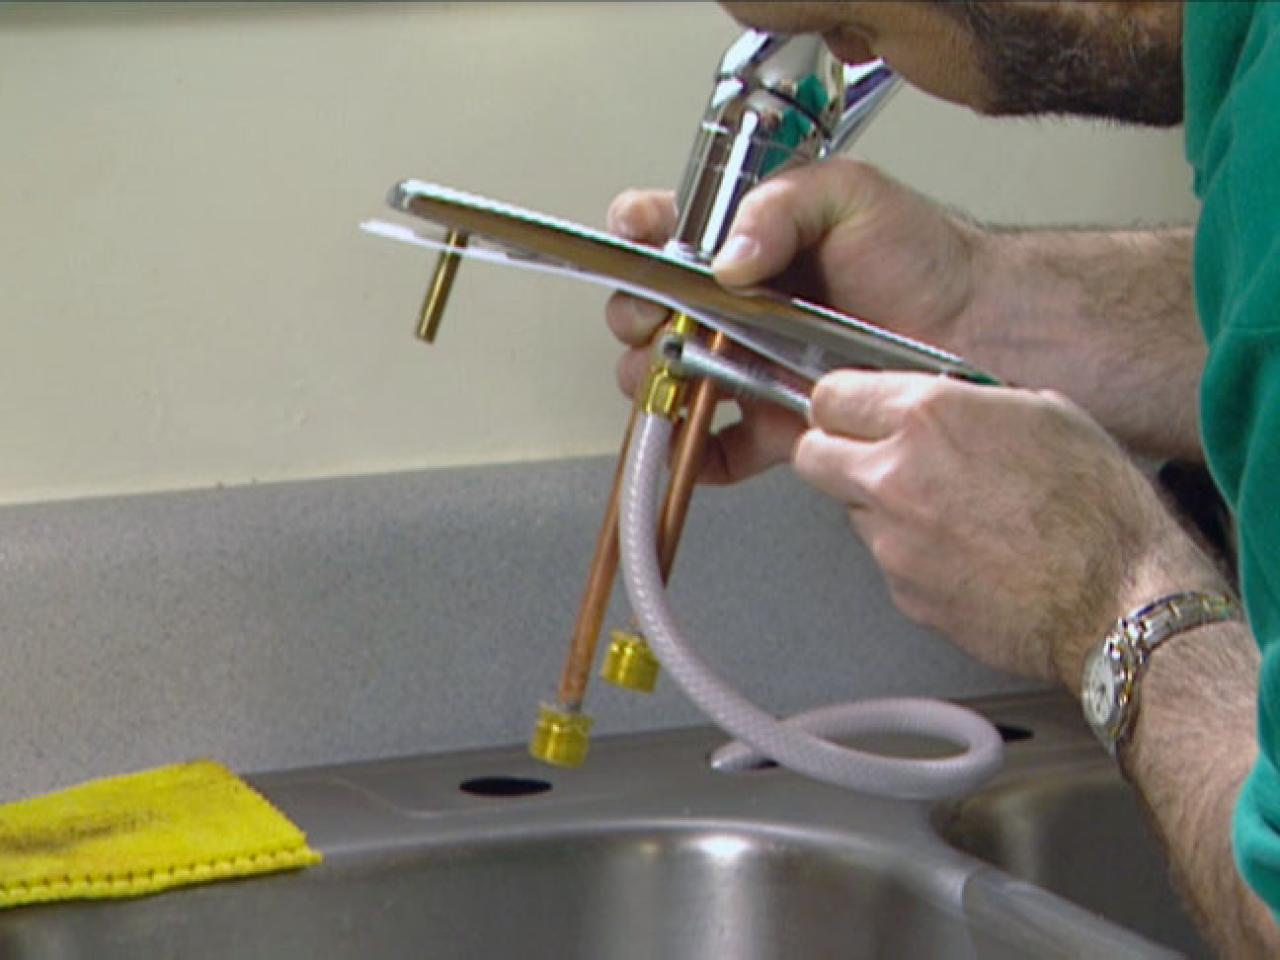
Step 4: Prepare the new faucet. Before attaching the new faucet, make sure to read the manufacturer's instructions carefully. Apply plumber's tape to the threads of the faucet to ensure a tight seal.
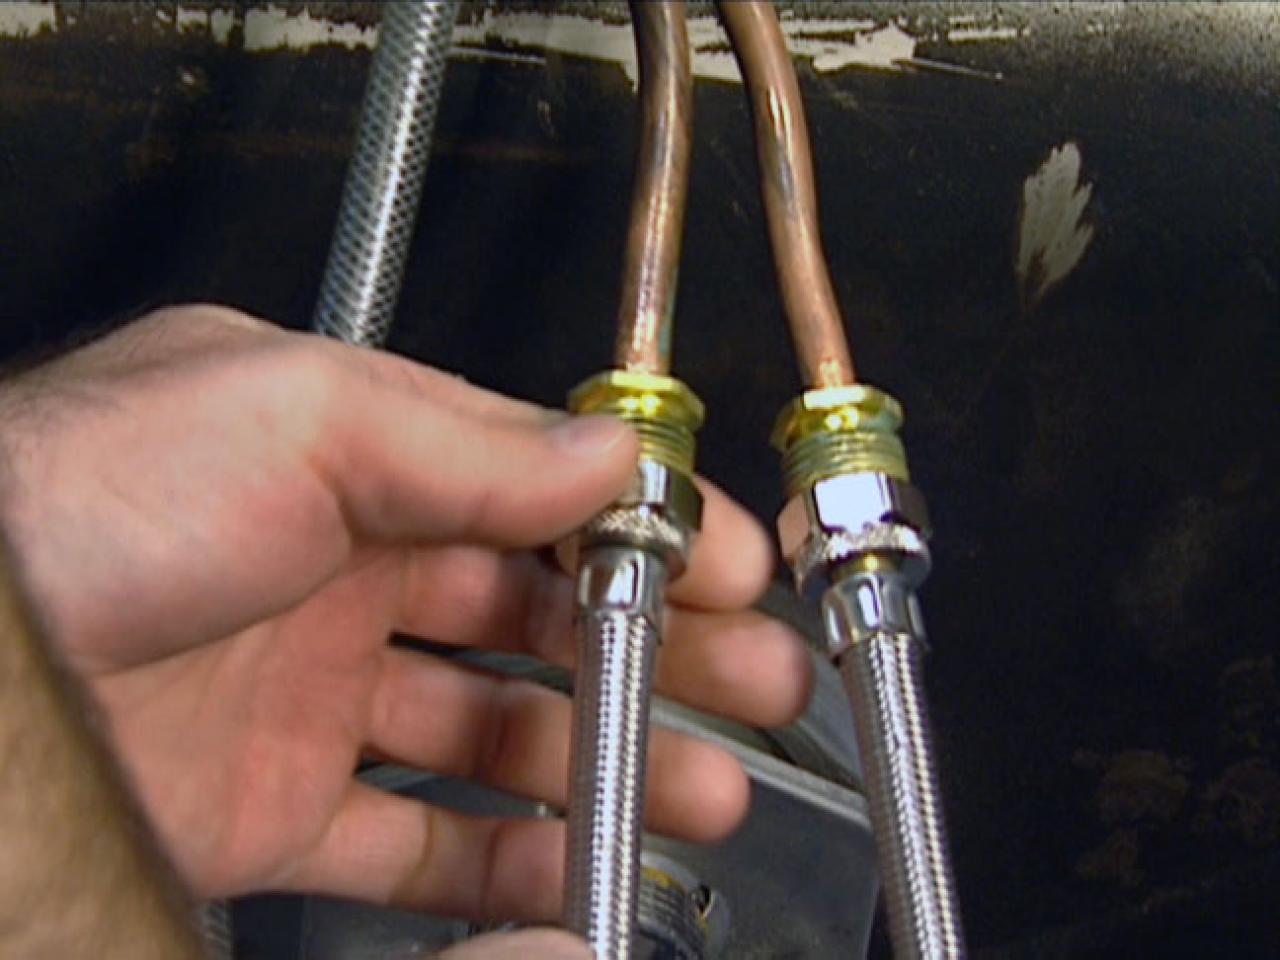
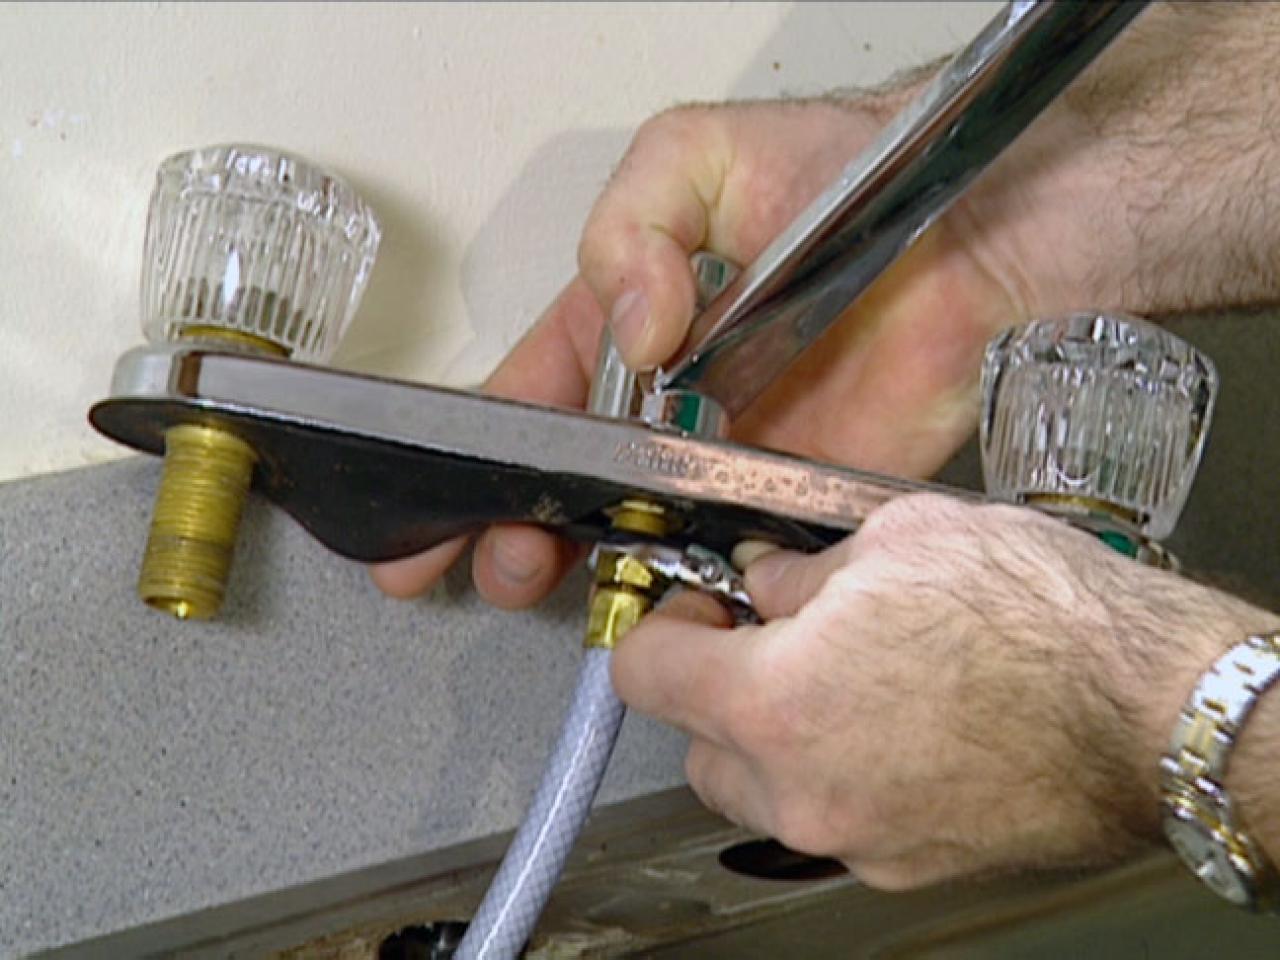
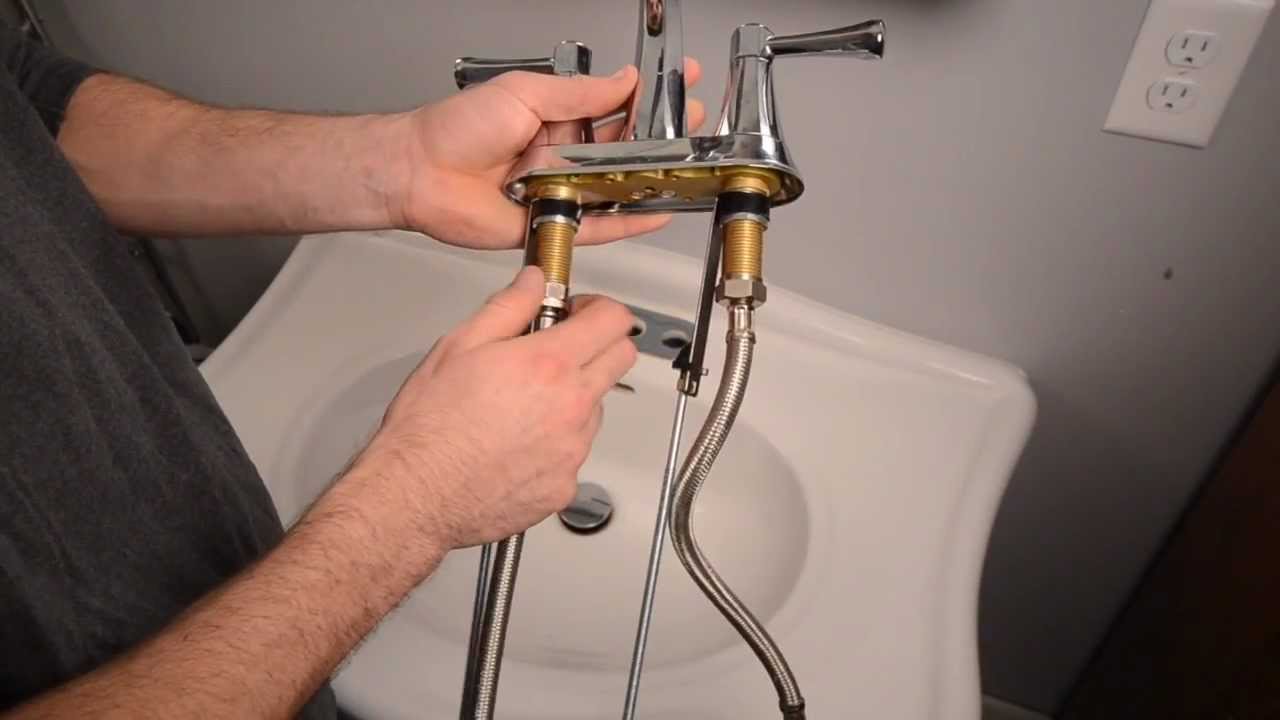
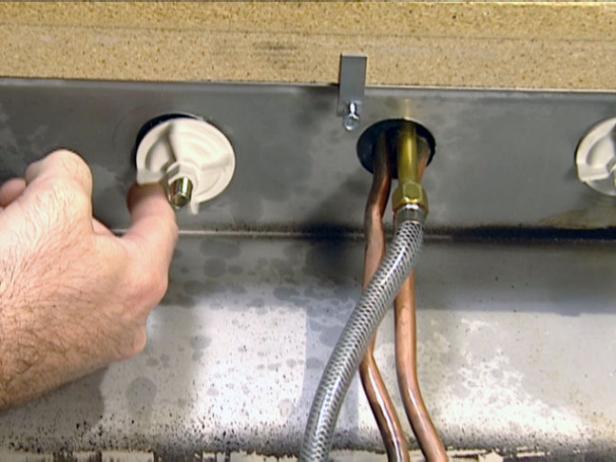
Step 5: Connect the water supply lines. Attach the hot and cold water supply lines to the corresponding valves under the sink. Use pliers to tighten the connections.
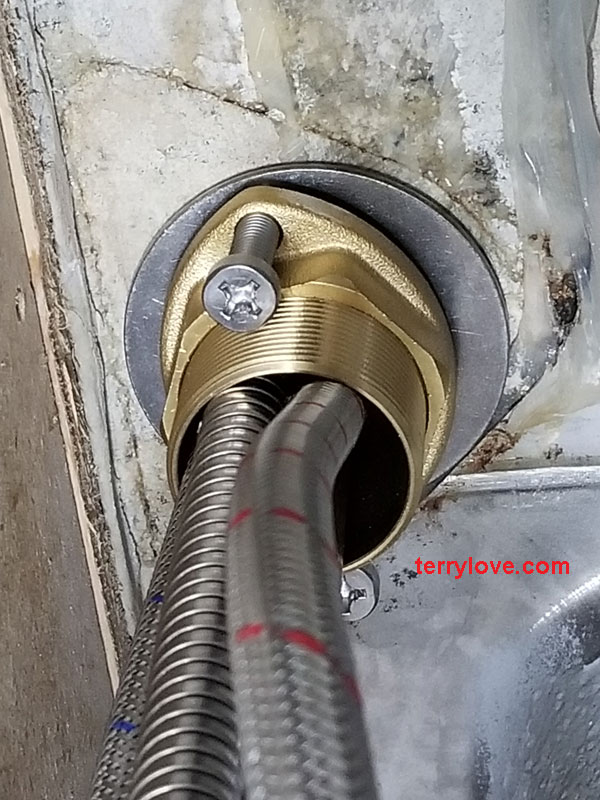
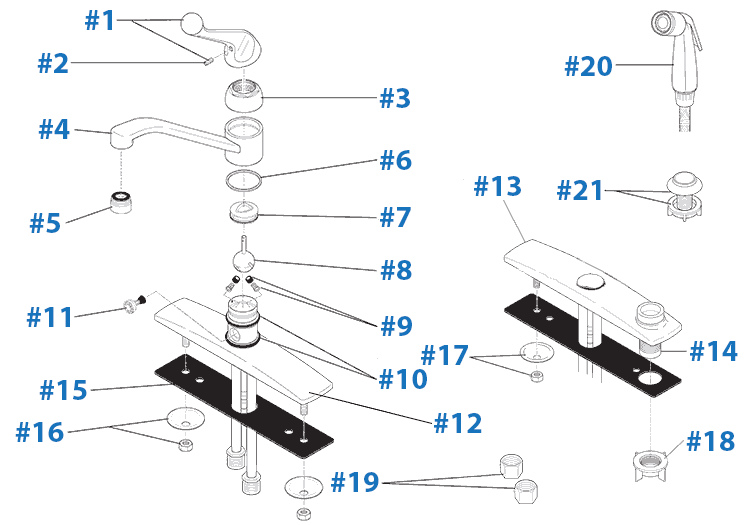
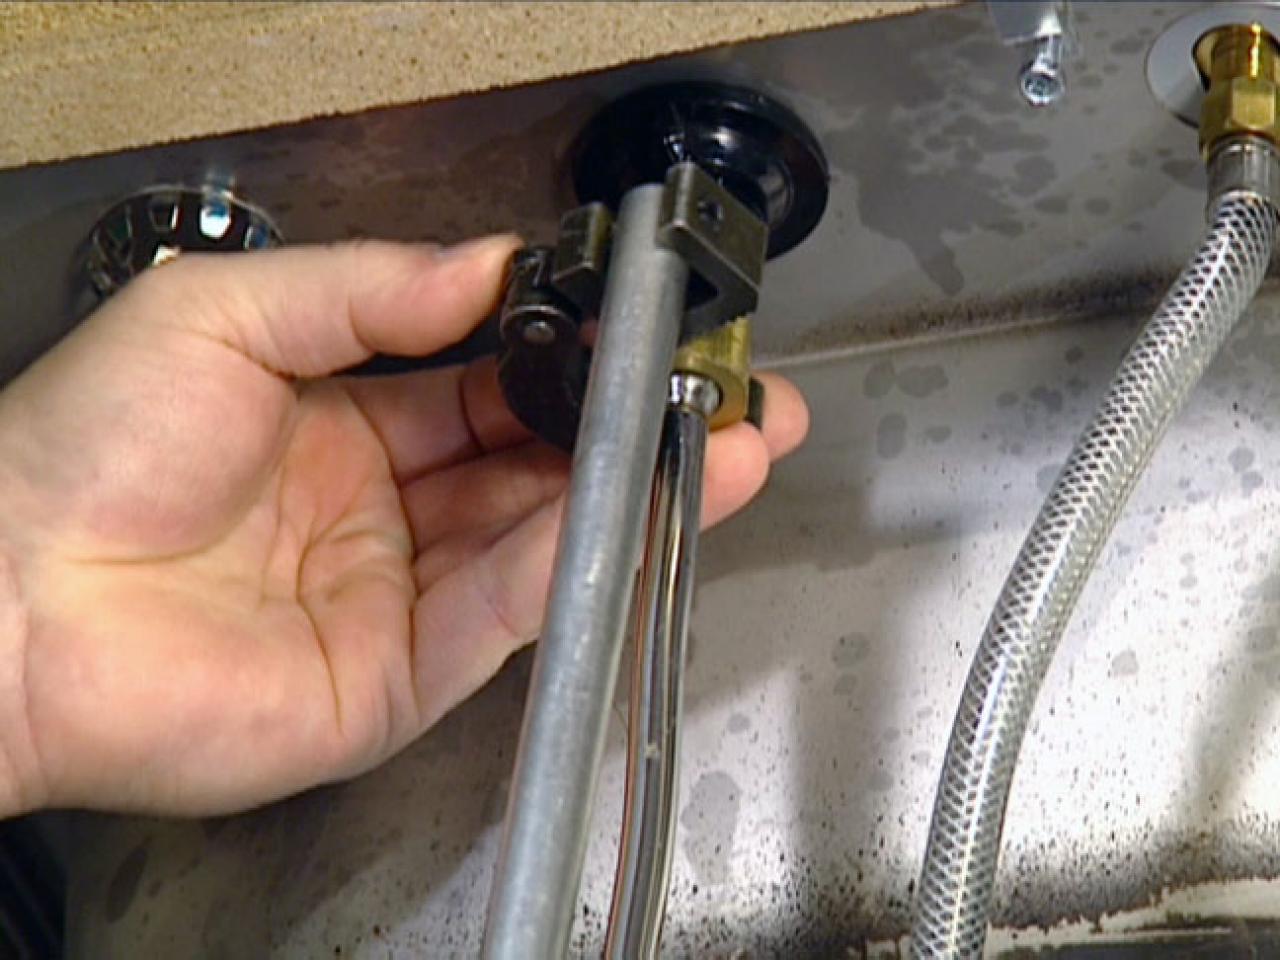
Step 6: Attach the faucet to the sink. Place the faucet through the holes in the sink and secure it in place with the provided mounting hardware.
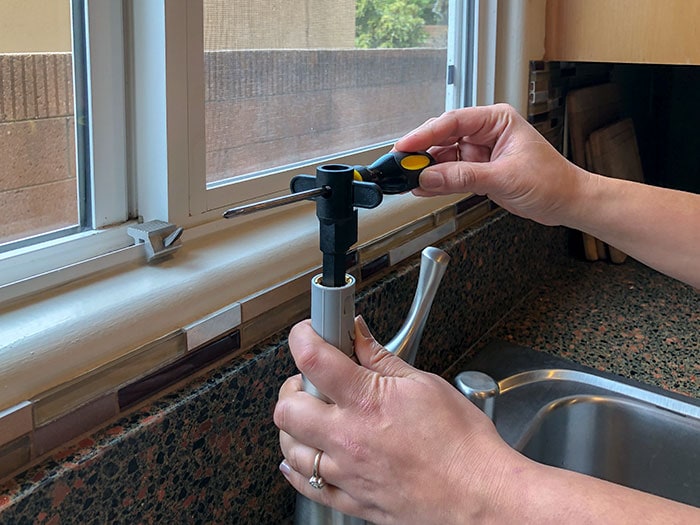
Step 7: Secure the faucet in place. Under the sink, use a wrench to tighten the mounting nuts to secure the faucet in place. Make sure the faucet is level before fully tightening the nuts.
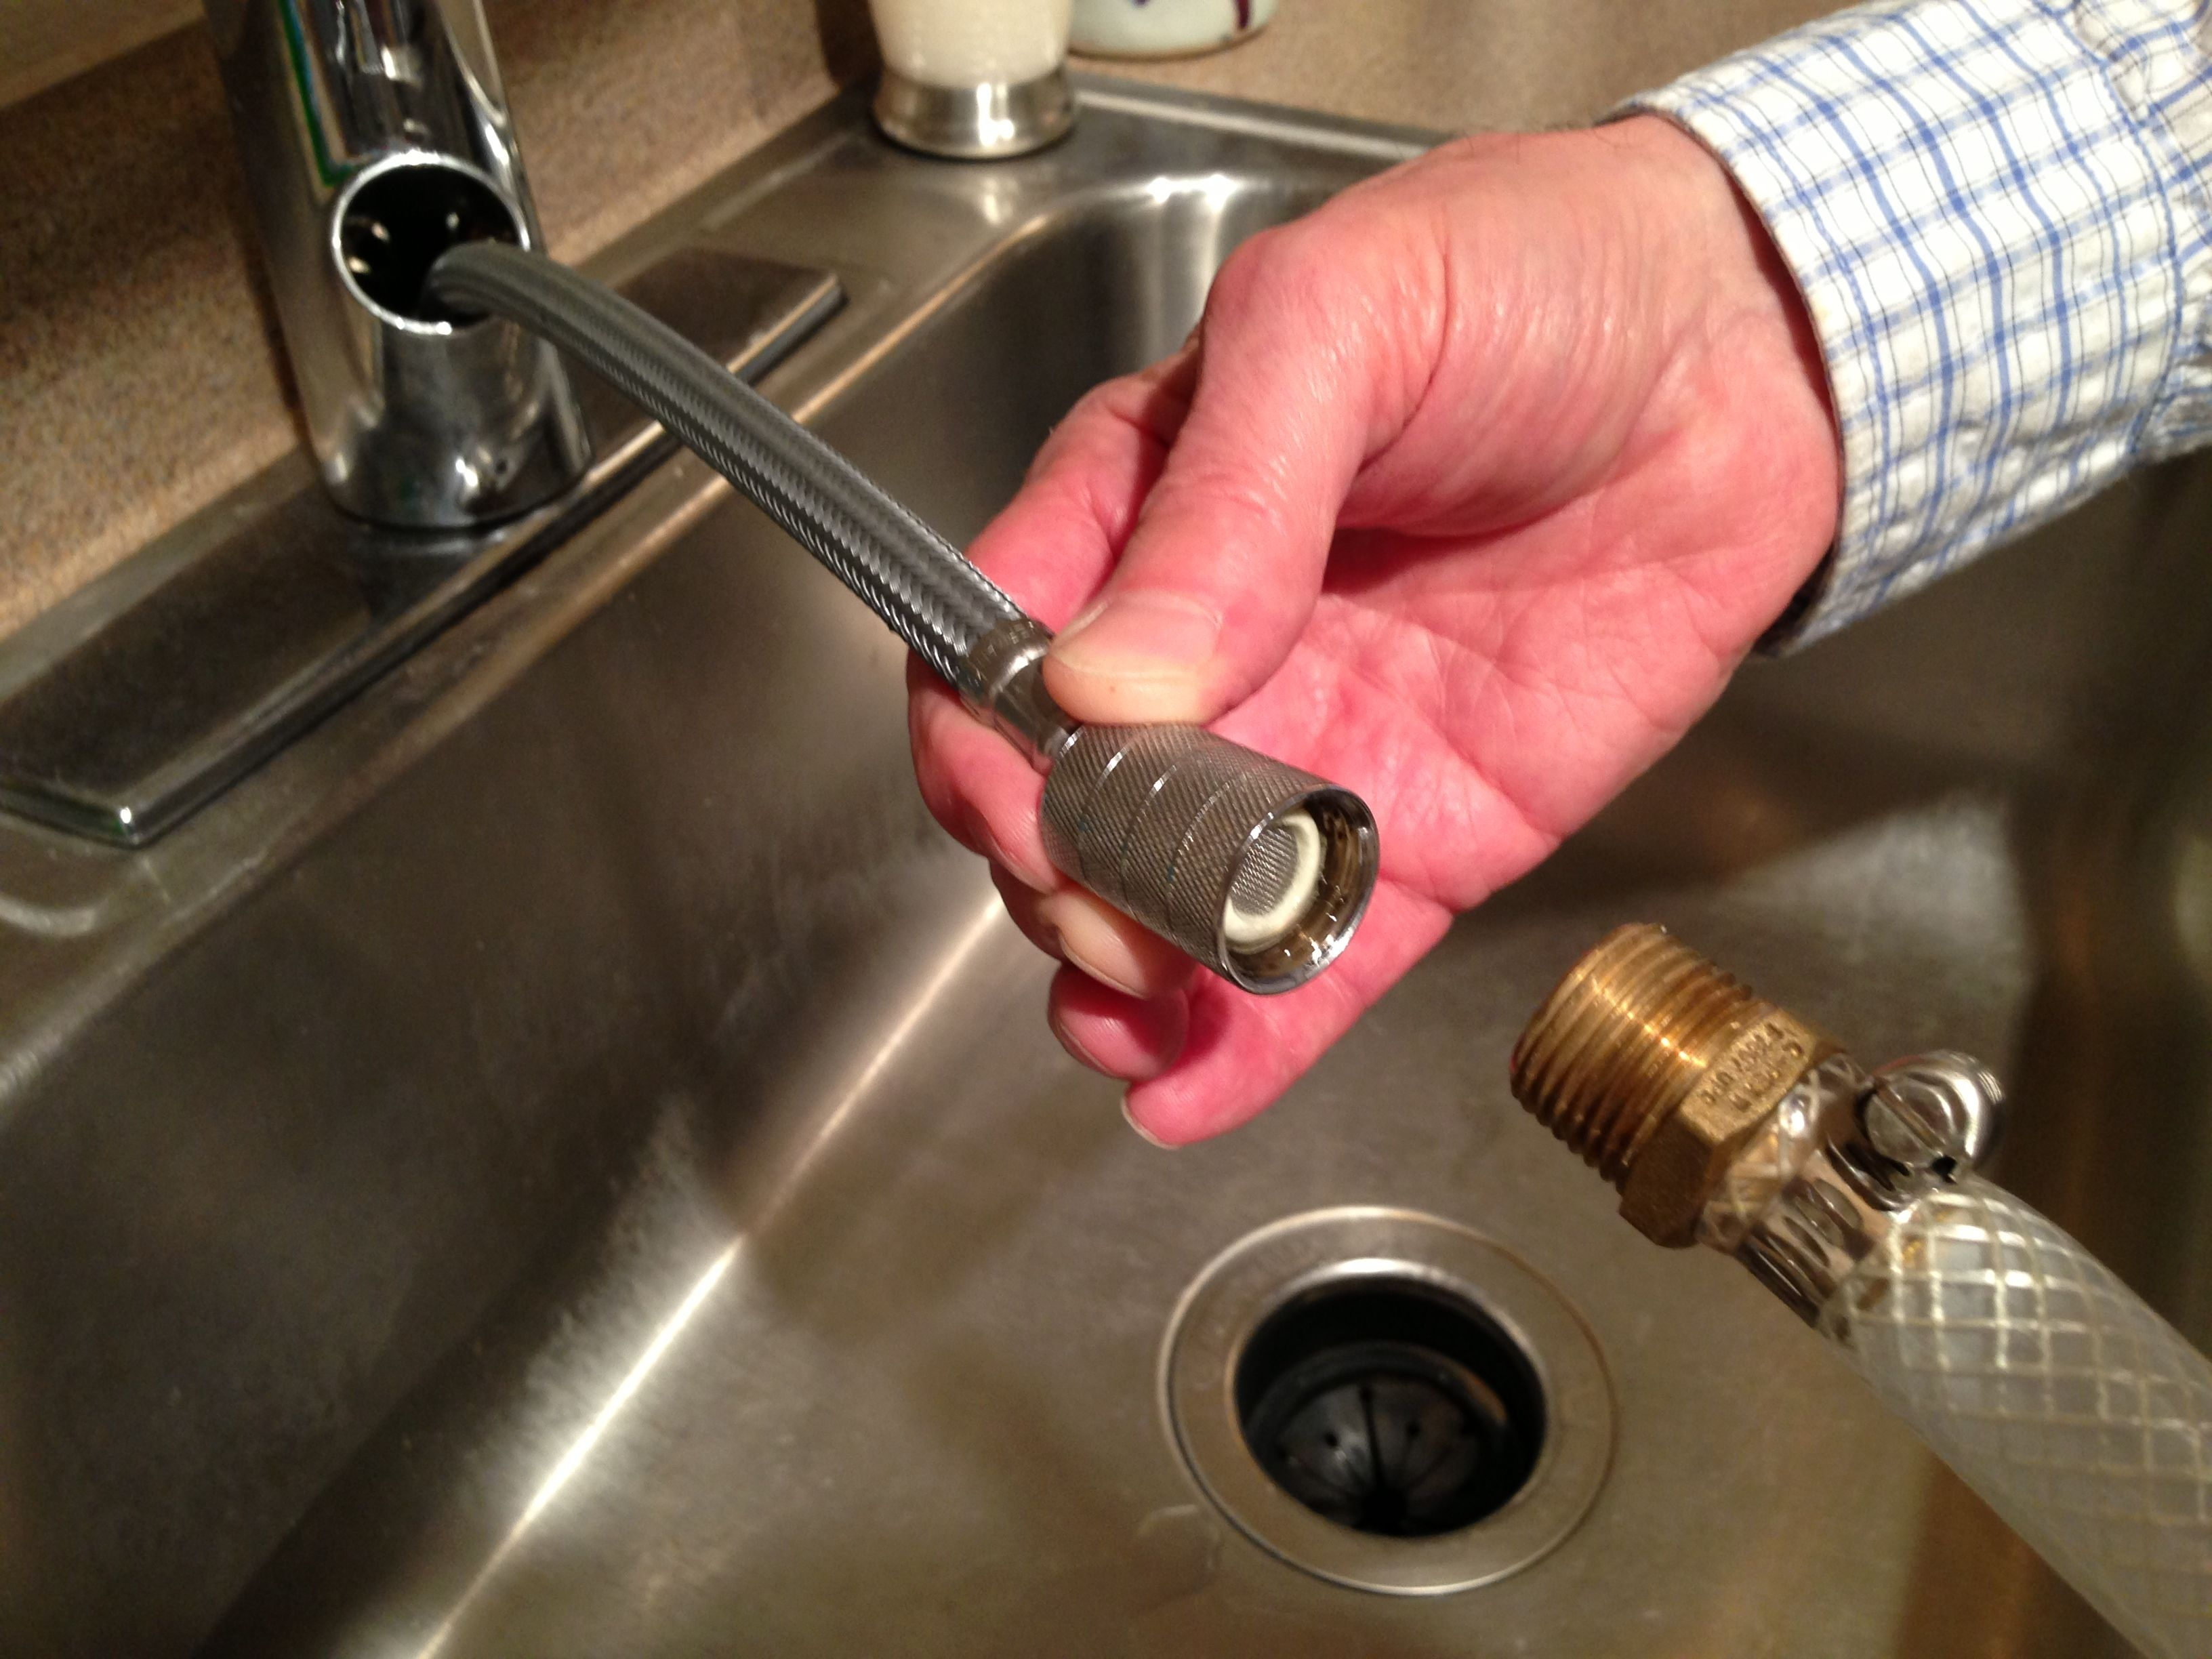
Step 8: Connect the sprayer or soap dispenser (if applicable). Follow the manufacturer's instructions to attach the sprayer or soap dispenser to the faucet.
Step 9: Turn on the water supply. Slowly turn on the water supply and check for any leaks. If there are any leaks, tighten the connections as needed.
Step 10: Test and adjust the faucet. Turn on the faucet and test the water flow and temperature. Adjust the handles or knobs as needed to achieve the desired water flow and temperature.
Tools Needed for Installing a Delta Kitchen Sink Faucet
In order to install a Delta kitchen sink faucet, you will need the following tools:
Preparation for Installing a Delta Kitchen Sink Faucet
Prior to beginning the installation process, it is important to prepare the area and gather all necessary tools. Make sure to read the manufacturer's instructions for specific preparation steps.
Connecting the Water Supply for a Delta Kitchen Sink Faucet
Once the old faucet has been removed and the installation area is clean, you can begin connecting the water supply for the new Delta faucet. Follow these steps:
Attaching the Faucet to the Sink
Now it is time to attach the Delta kitchen sink faucet to the sink. Follow these steps:
Securing the Delta Kitchen Sink Faucet in Place
Under the sink, use a wrench to tighten the mounting nuts to secure the faucet in place. Make sure the faucet is level before fully tightening the nuts. This will ensure a secure and stable installation.
Testing and Adjusting the Delta Kitchen Sink Faucet
Once the faucet is securely in place, turn on the water supply and check for any leaks. If there are any leaks, tighten the connections as needed. Then, turn on the faucet and test the water flow and temperature. Adjust the handles or knobs as needed to achieve the desired water flow and temperature.
Final Steps for Installing a Delta Kitchen Sink Faucet
Congratulations, you have successfully installed your new Delta kitchen sink faucet! Make sure to clean up any tools or materials and enjoy your new sleek and functional faucet.
Why Choose a Delta Kitchen Sink Faucet for Your Home
Efficiency and Durability
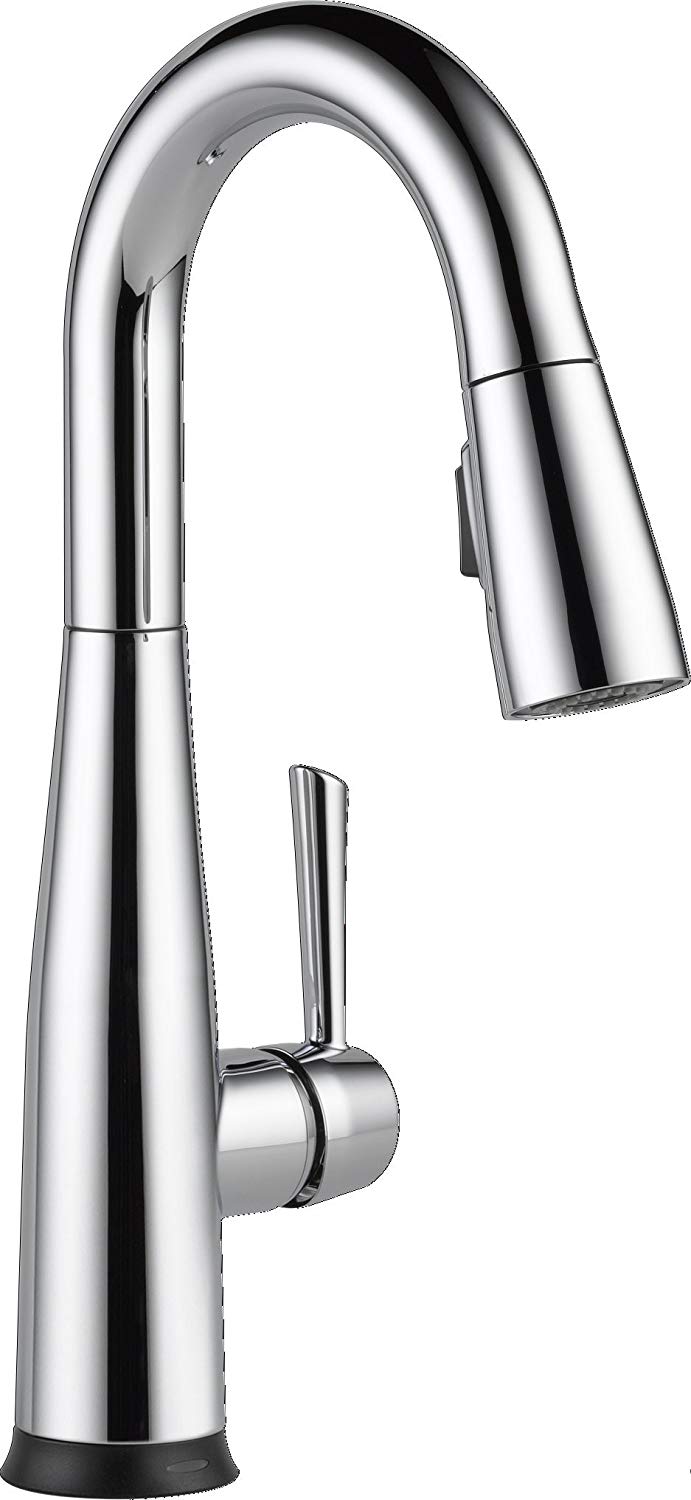
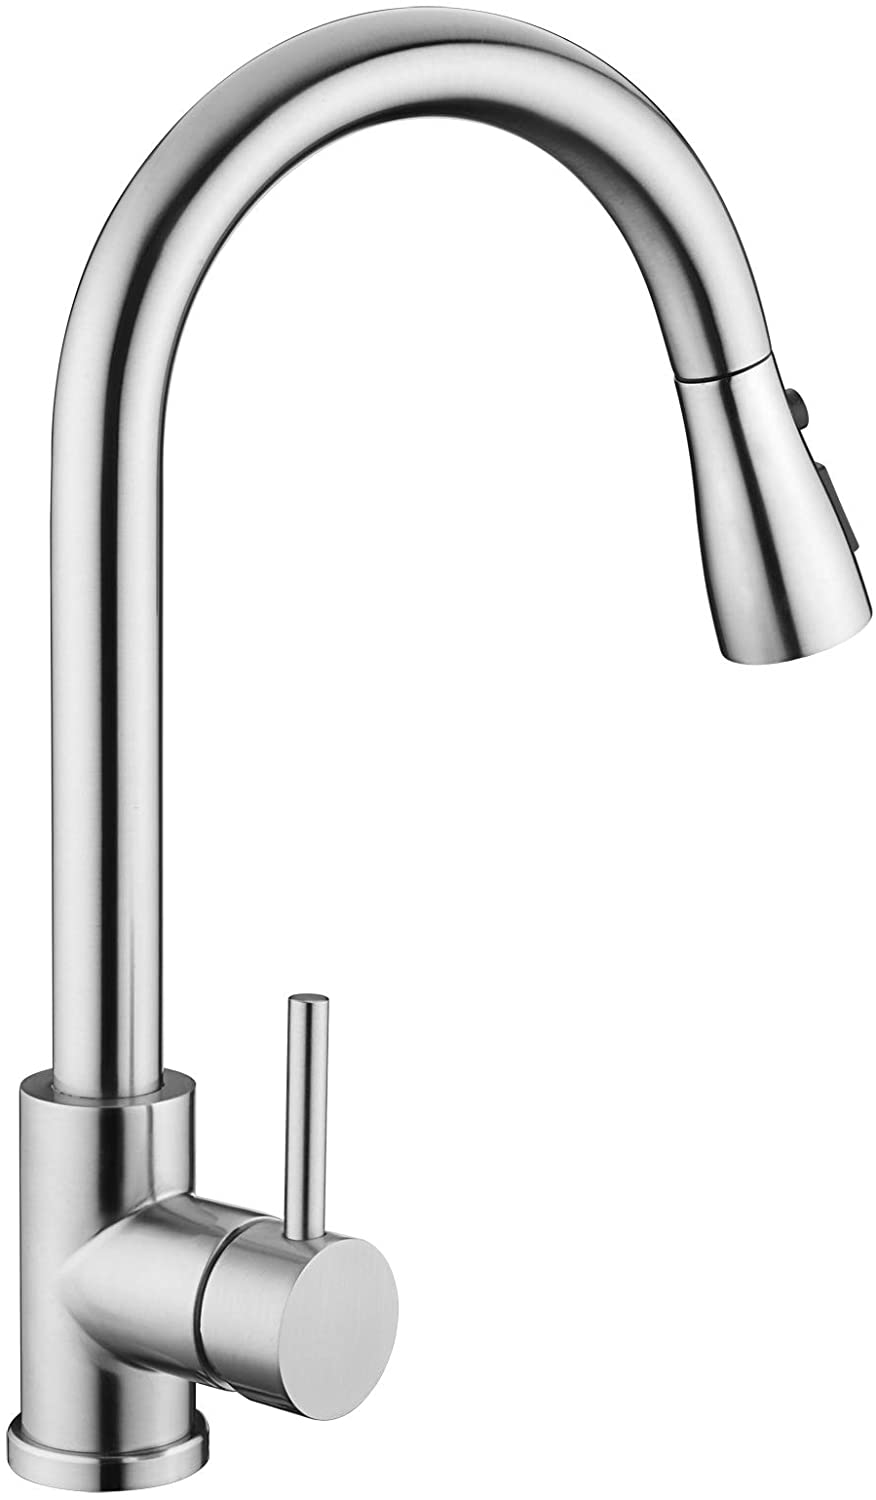
 Delta is a well-known and trusted brand in the world of kitchen faucets. Their products are known for their efficiency and durability, making them a popular choice for homeowners. The Delta kitchen sink faucet is designed with a high arc spout and multi-flow technology, allowing for a powerful and efficient water flow. Additionally, the faucet is made with high-quality materials, ensuring its durability and longevity in your kitchen.
Stylish and Versatile Design
 In addition to its functionality, the Delta kitchen sink faucet also offers a stylish and versatile design. With a variety of finishes to choose from, such as chrome, matte black, and stainless steel, you can easily find a faucet that complements your kitchen décor. The sleek and modern design of Delta faucets adds a touch of elegance to any kitchen, making it a popular choice among homeowners and interior designers.
Easy Installation Process
 Installing a Delta kitchen sink faucet is a simple and straightforward process, making it a great choice for DIY enthusiasts. The faucet comes with clear and easy-to-follow instructions, and most models can be installed using just a few basic tools. This not only saves you time and money but also gives you the satisfaction of completing a home improvement project on your own.
Wide Range of Features
 Delta offers a wide range of features in their kitchen sink faucets, making them a versatile and practical choice for any household. Some models come with touchless technology, allowing you to turn the faucet on and off with just a wave of your hand. Others have a pull-down or pull-out sprayer, making it easier to clean larger pots and dishes. With so many options to choose from, you can find the perfect Delta kitchen sink faucet to suit your needs and preferences.
In conclusion, the Delta kitchen sink faucet is a top choice for homeowners looking to upgrade their kitchen. With its efficiency, durability, stylish design, easy installation process, and wide range of features, it's no wonder why Delta is a trusted and popular brand in the world of kitchen faucets. Consider installing a Delta faucet in your home and see the difference it can make in your daily life.



:max_bytes(150000):strip_icc()/how-to-install-a-delta-kitchen-faucet-2718846-01-9afdae261752484eb66b3d38113cddd5.jpg)

:max_bytes(150000):strip_icc()/how-to-install-a-delta-kitchen-faucet-2718846-07-bb9b7224648c48a1921f59a67674a642.jpg)
:max_bytes(150000):strip_icc()/how-to-install-a-delta-kitchen-faucet-2718846-02-2c1a1f76d9474d21b25c2f2413a2e5b6.jpg)
:max_bytes(150000):strip_icc()/how-to-install-a-delta-kitchen-faucet-2718846-hero-cd6cef4c1b6140e99b1b665e441578e0.jpg)

:max_bytes(150000):strip_icc()/how-to-install-a-delta-kitchen-faucet-2718846-06-1782a3a8bd8a49bfa0a4afbf45fa2c55.jpg)


