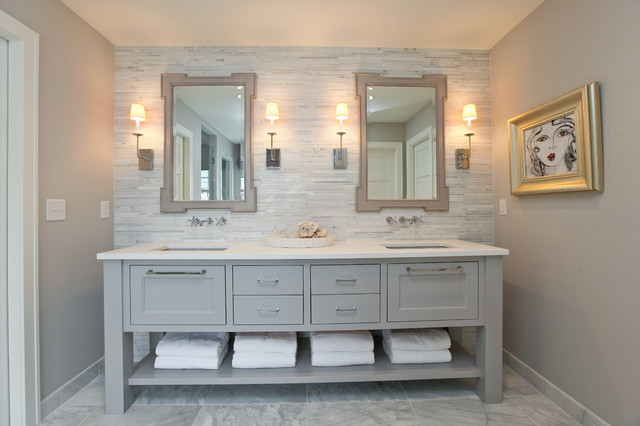
Tiling around the bathroom sink may seem like a daunting task, but with the right tools and techniques, it can be a simple and satisfying DIY project. Whether you have a pedestal sink, drop-in sink, undermount sink, vessel sink, or wall-mounted sink, the process of tiling around it is essentially the same. In this article, we will discuss the top 10 tips for tiling around a bathroom sink, so you can achieve a professional and polished look in your bathroom.Tiling around bathroom sink:


Tiling around bathroom sink:


Before starting, make sure you have all the necessary tools and materials. This includes tiles, tile adhesive, grout, tile spacers, tile cutter, trowel, sponge, and a bucket. It is important to choose the right type and size of tiles for your sink area. Large tiles can make a small bathroom appear bigger, while mosaic tiles can add a unique touch to the space. Start by measuring the sink area and cutting the tiles to fit. Use a tile cutter or wet saw to ensure clean and precise cuts. It is also important to leave a small gap between the tiles and the sink, as the sink may expand and contract with changes in temperature. Next, prepare the surface by cleaning it and ensuring it is dry and level. Apply tile adhesive to the back of the tiles and press them firmly onto the surface, using tile spacers to ensure even spacing between the tiles. It is important to work in small sections at a time, so the adhesive does not dry out before you can lay the tiles. Once all the tiles are in place, allow the adhesive to dry for at least 24 hours. Then, remove the tile spacers and begin grouting. Use a grout float to spread the grout over the tiles, making sure to fill in all the gaps. Wipe off excess grout with a damp sponge, and then buff the tiles with a dry cloth for a clean finish.How to tile around a bathroom sink:


How to tile around a bathroom sink


Here are some additional tips to help you achieve a professional and seamless look when tiling around a bathroom sink: 1. Use waterproof adhesive: As the bathroom is a moisture-prone area, it is important to use a waterproof adhesive to prevent any damage to the tiles in the long run. Waterproof adhesive will also ensure that the tiles stay securely in place. 2. Consider the color and style: The tiles around the sink can add a pop of color or pattern to your bathroom. Light-colored tiles can make the space appear brighter and bigger, while dark-colored tiles can add a dramatic touch. Mosaic tiles can also add a unique and stylish element to the space. 3. Plan the layout: Before starting, plan the layout of the tiles to avoid any awkward cuts or small slivers of tiles. This will also help you estimate the number of tiles needed. 4. Cut tiles for outlets and pipes: If your sink area has outlets or pipes, make sure to measure and cut the tiles to fit around them. A tile hole saw can be used to create precise cuts for the outlets. 5. Maintain a consistent grout line: To ensure a professional and polished look, maintain a consistent grout line throughout the tiling process. This will create a cohesive and seamless appearance.Bathroom sink tiling tips:


Bathroom sink tiling tips


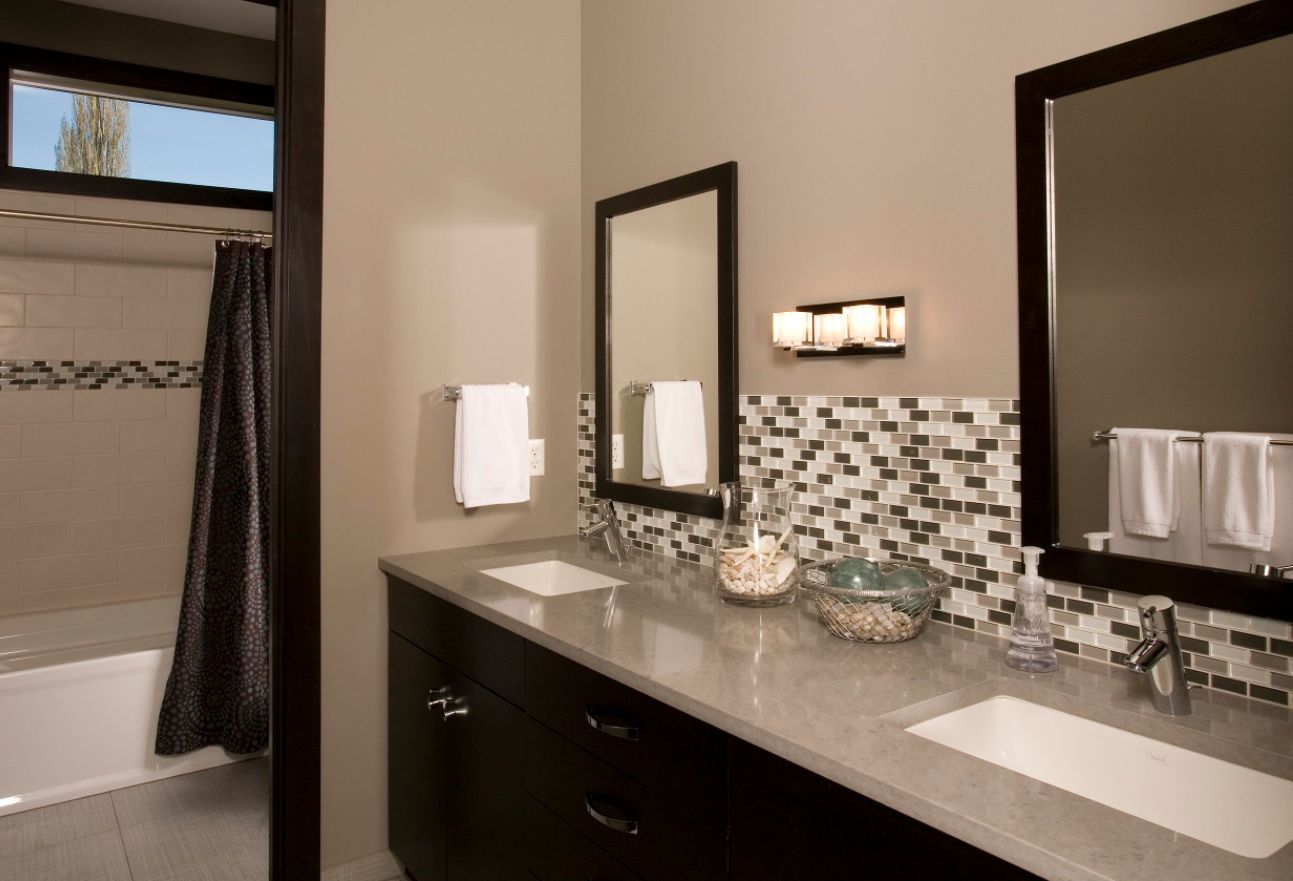
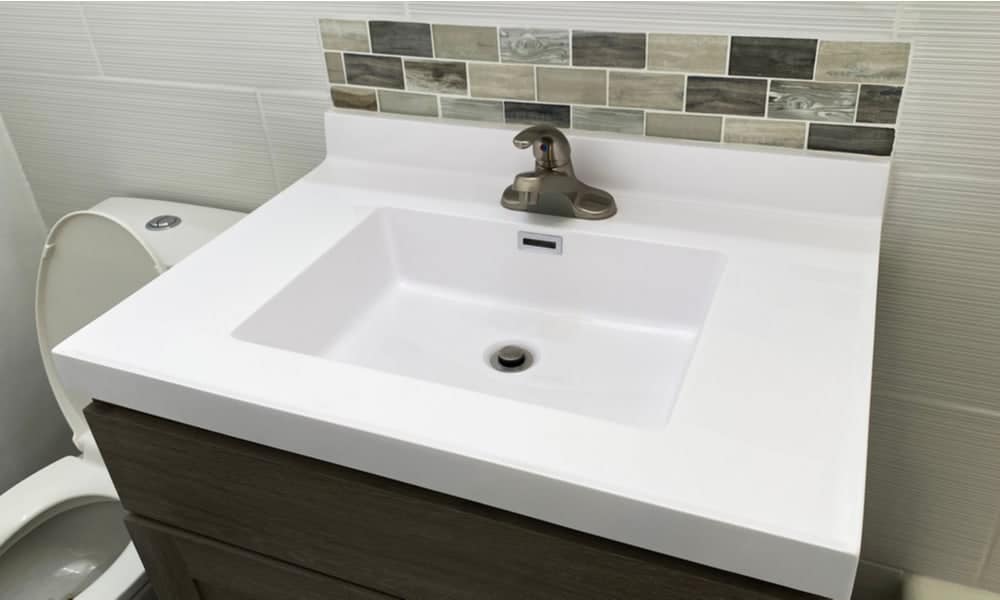
A bathroom sink backsplash not only adds a decorative touch to the space but also protects the wall from water splashes. The process of tiling a backsplash is similar to tiling around the sink, with a few additional steps. Start by measuring the area where you want the backsplash to be and cut the tiles to fit. Apply tile adhesive to the wall and press the tiles firmly onto the surface, using spacers to ensure even spacing. Follow the same steps for grouting and allow it to dry for 24 hours before using the sink.Tiling a bathroom sink backsplash:

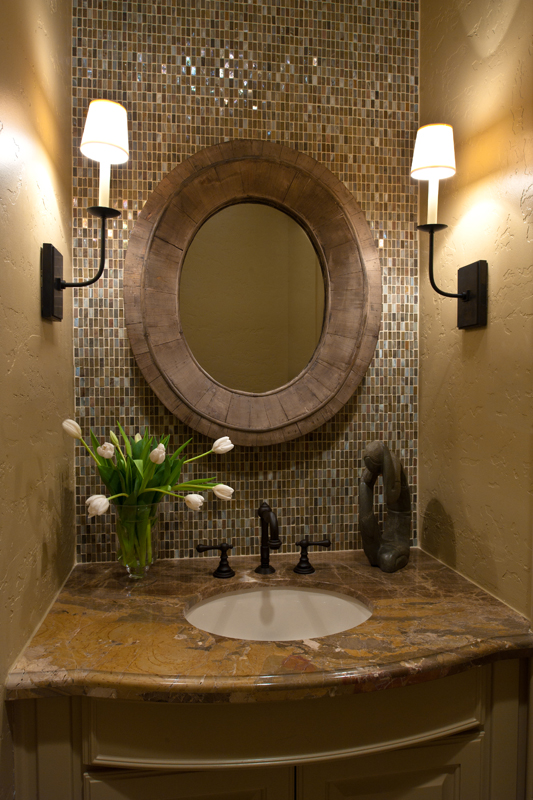
Tiling a bathroom sink backsplash


Tiling around a bathroom sink can be a fun and satisfying DIY project, as long as you have the right tools and knowledge. By following the above-mentioned tips and techniques, you can achieve a professional and polished look without having to hire a professional.DIY tiling around bathroom sink:


DIY tiling around bathroom sink


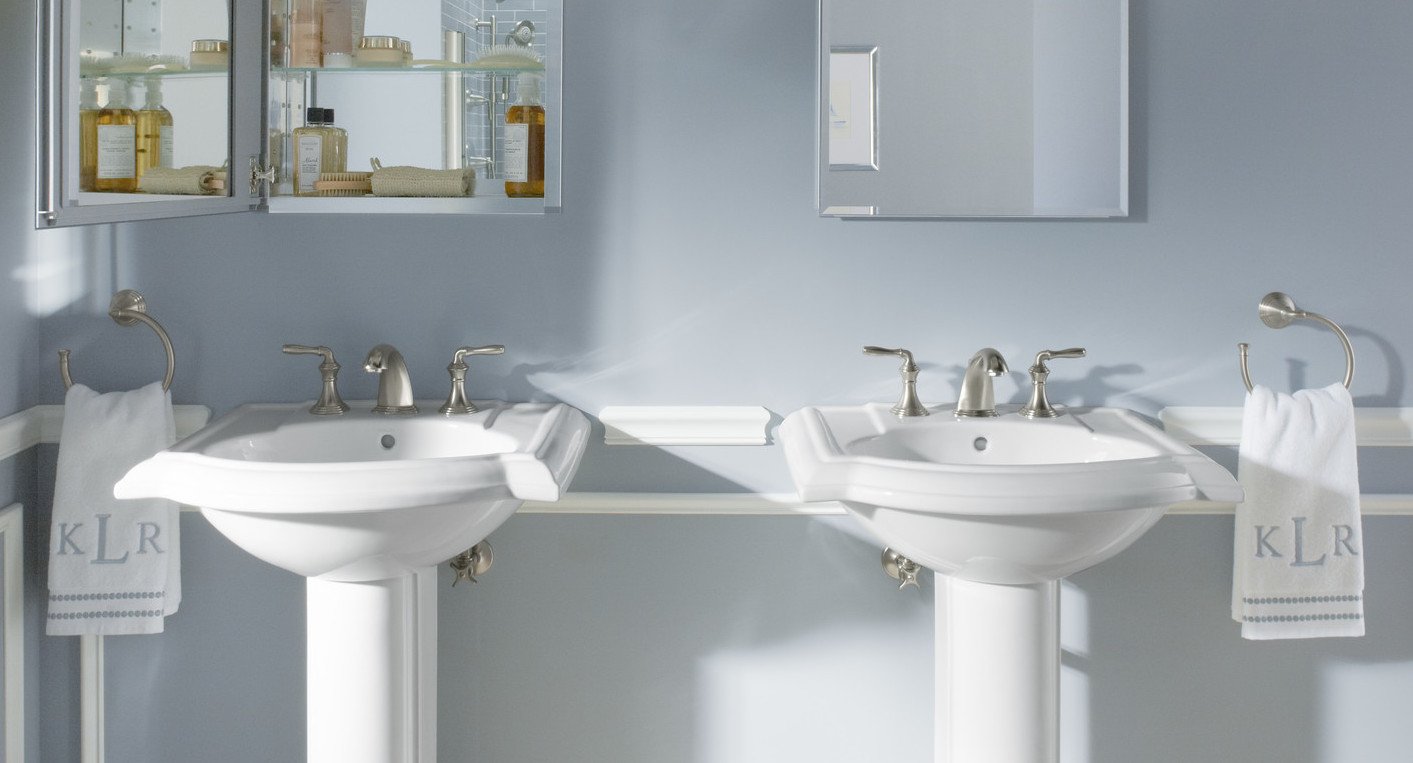
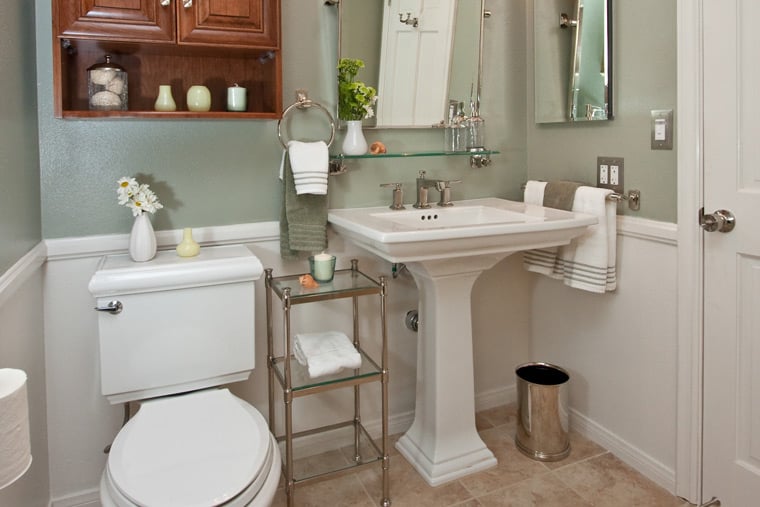
Pedestal sinks are a popular choice for small bathrooms, as they take up less space and create a sleek and modern look. When tiling around a pedestal sink, it is important to leave enough room for the pedestal to fit under the sink. It is also recommended to use smaller tiles for a more seamless look.Tiling around a pedestal sink:


Tiling around a pedestal sink


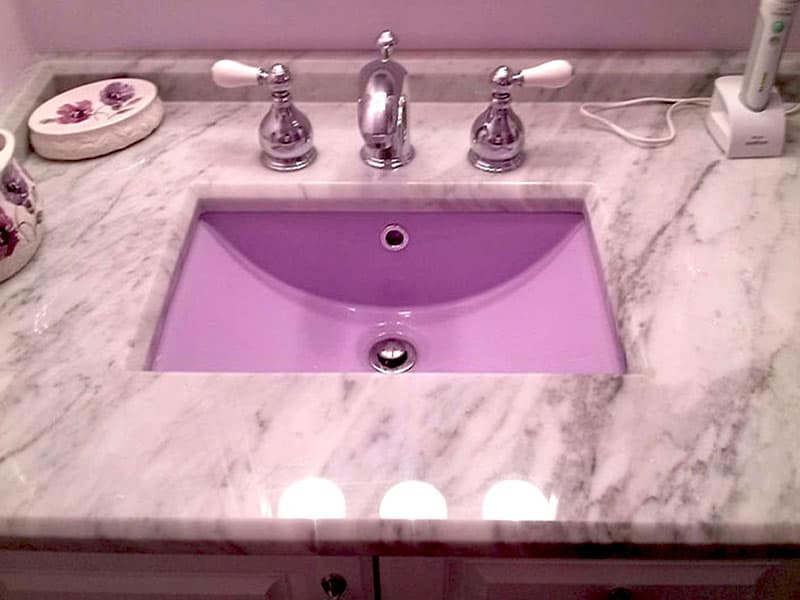
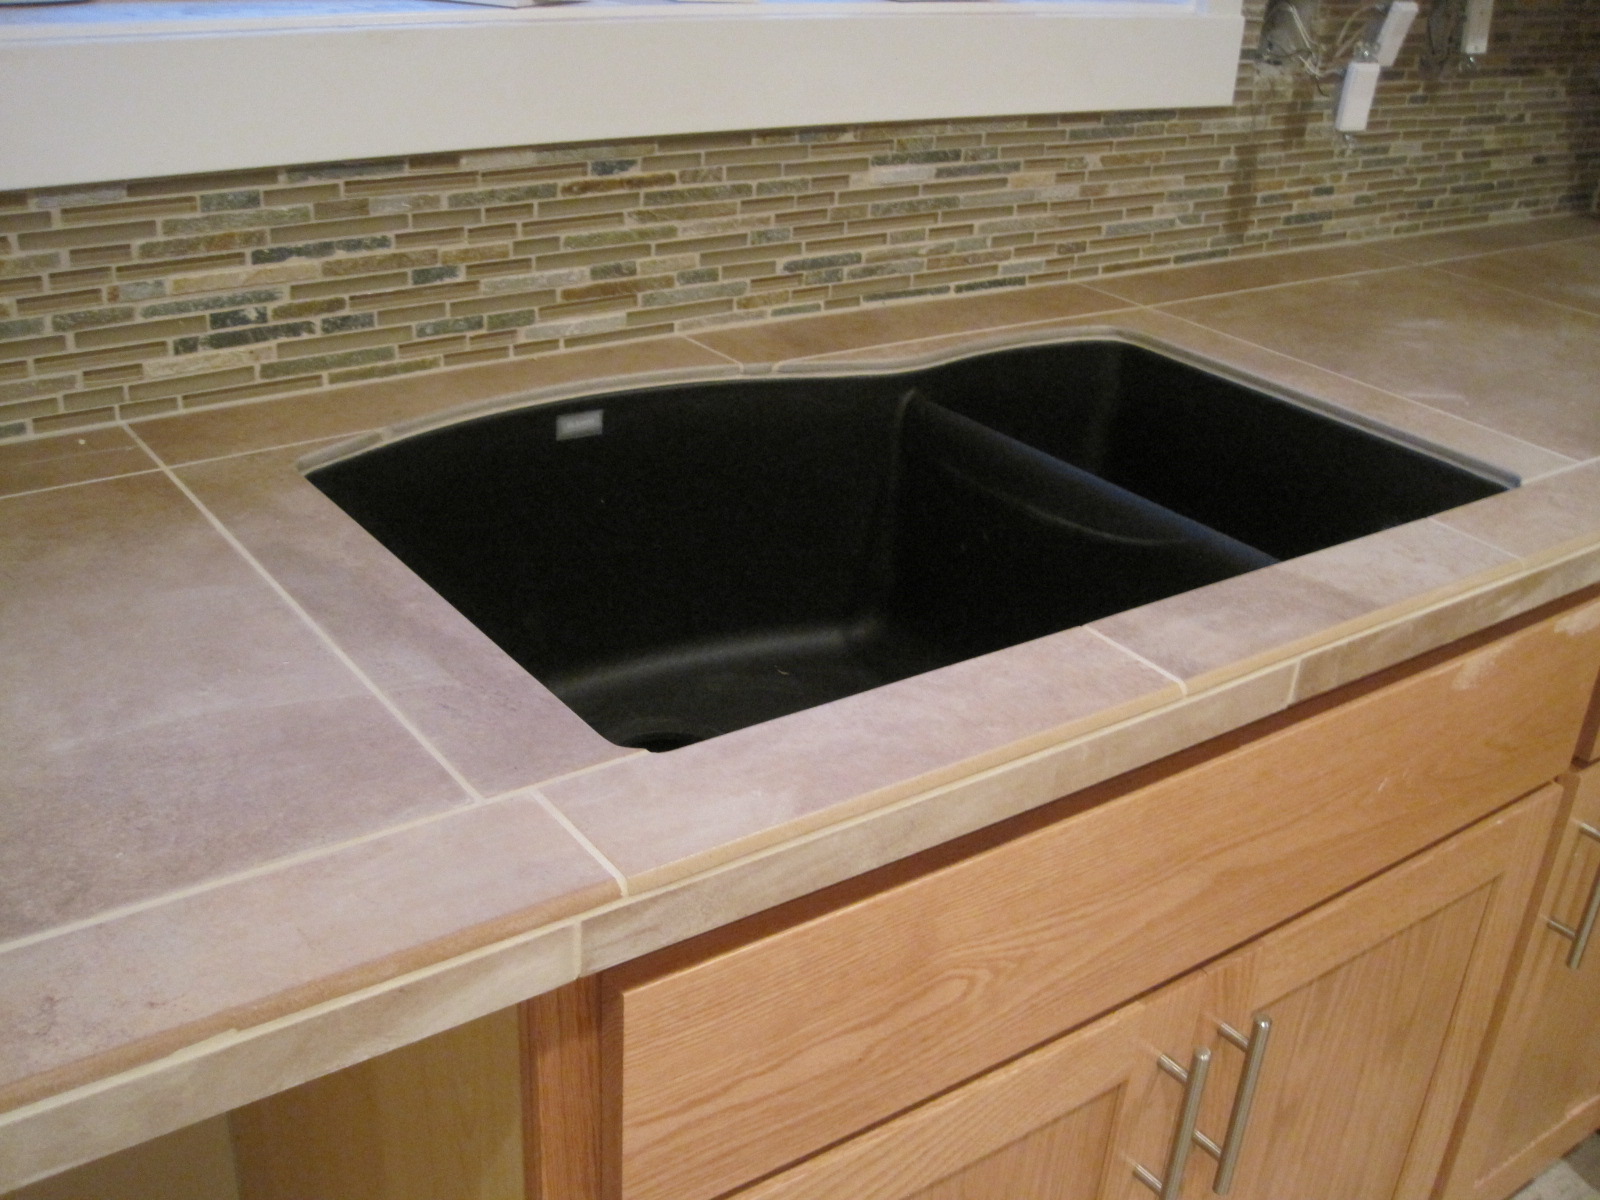
Drop-in sinks are installed by dropping them into a pre-cut hole in the countertop. When tiling around a drop-in sink, make sure to measure and cut the tiles to fit the shape of the sink. Use tile edging for a clean and finished look.Tiling around a drop-in sink:


Tiling around a drop-in sink


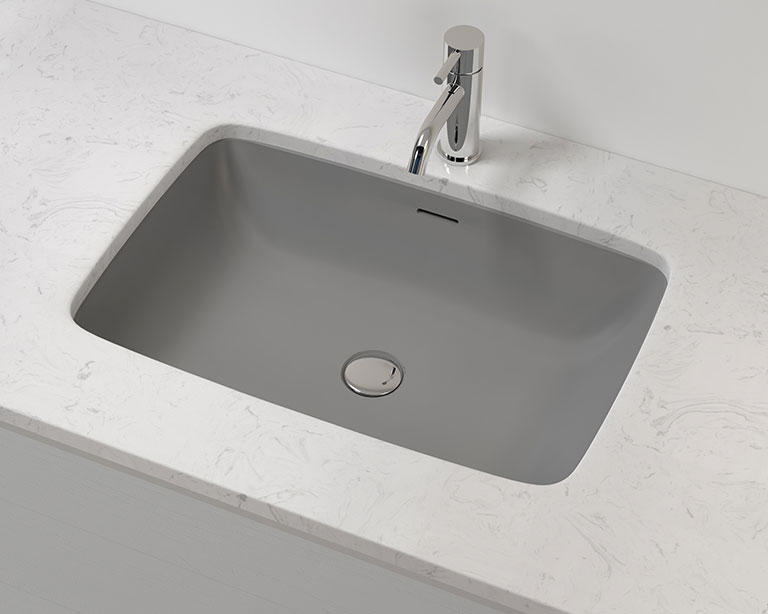
Undermount sinks are installed under the countertop, with the edges of the sink hidden. This creates a sleek and seamless look, but it also means that the tiles need to be cut precisely to fit around the sink. Use a tile cutter or wet saw for clean and accurate cuts.Tiling around an undermount sink:


Tiling around an undermount sink


:max_bytes(150000):strip_icc()/marble-countertop-hack-how-to-tile-over-laminate-countertop-countertops-how-to-kitchen-design-5bad532b4cedfd002687ed53.jpg)


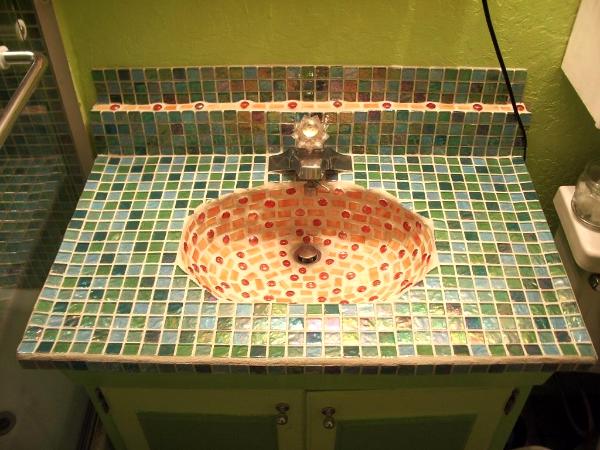
Vessel sinks sit on top of the countertop, creating a unique and stylish look. When tiling around a vessel sink, make sure to leave enough room for the sink to sit securely on the countertop. It is also recommended to use smaller tiles for a more intricate and decorative look.Tiling around a vessel sink:

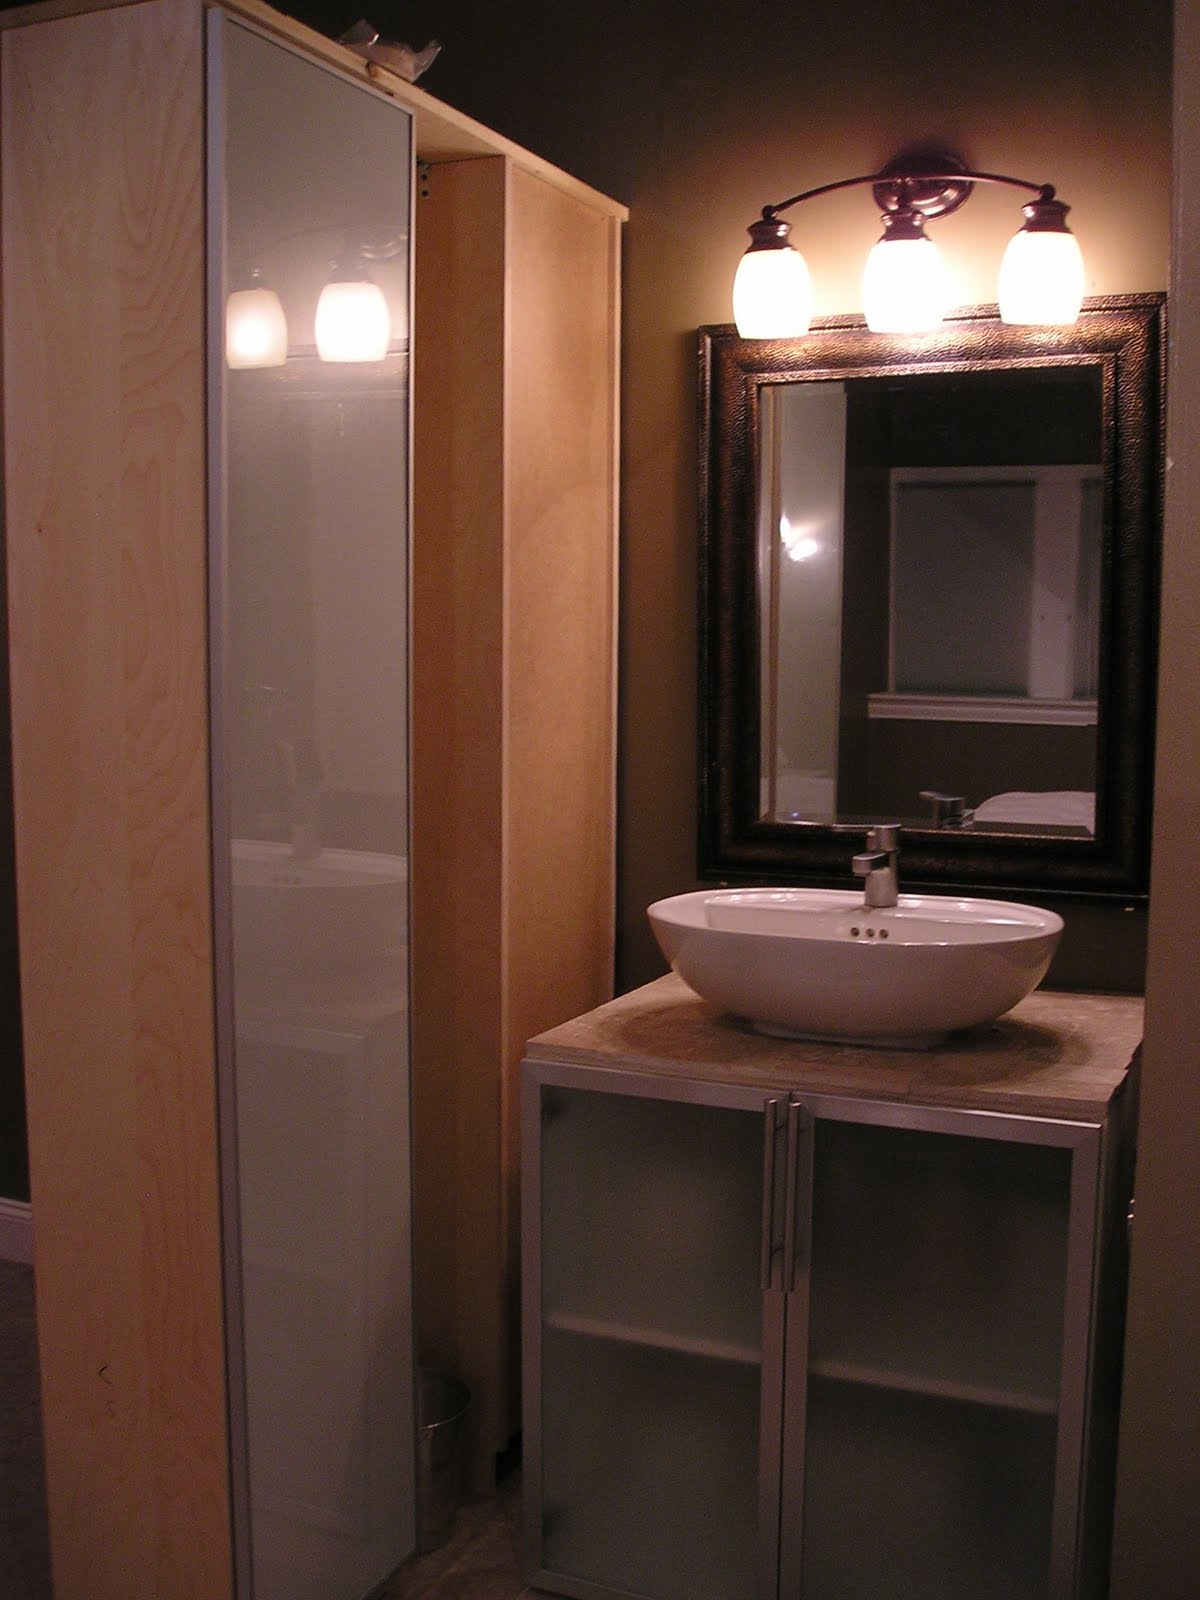
Tiling around a vessel sink


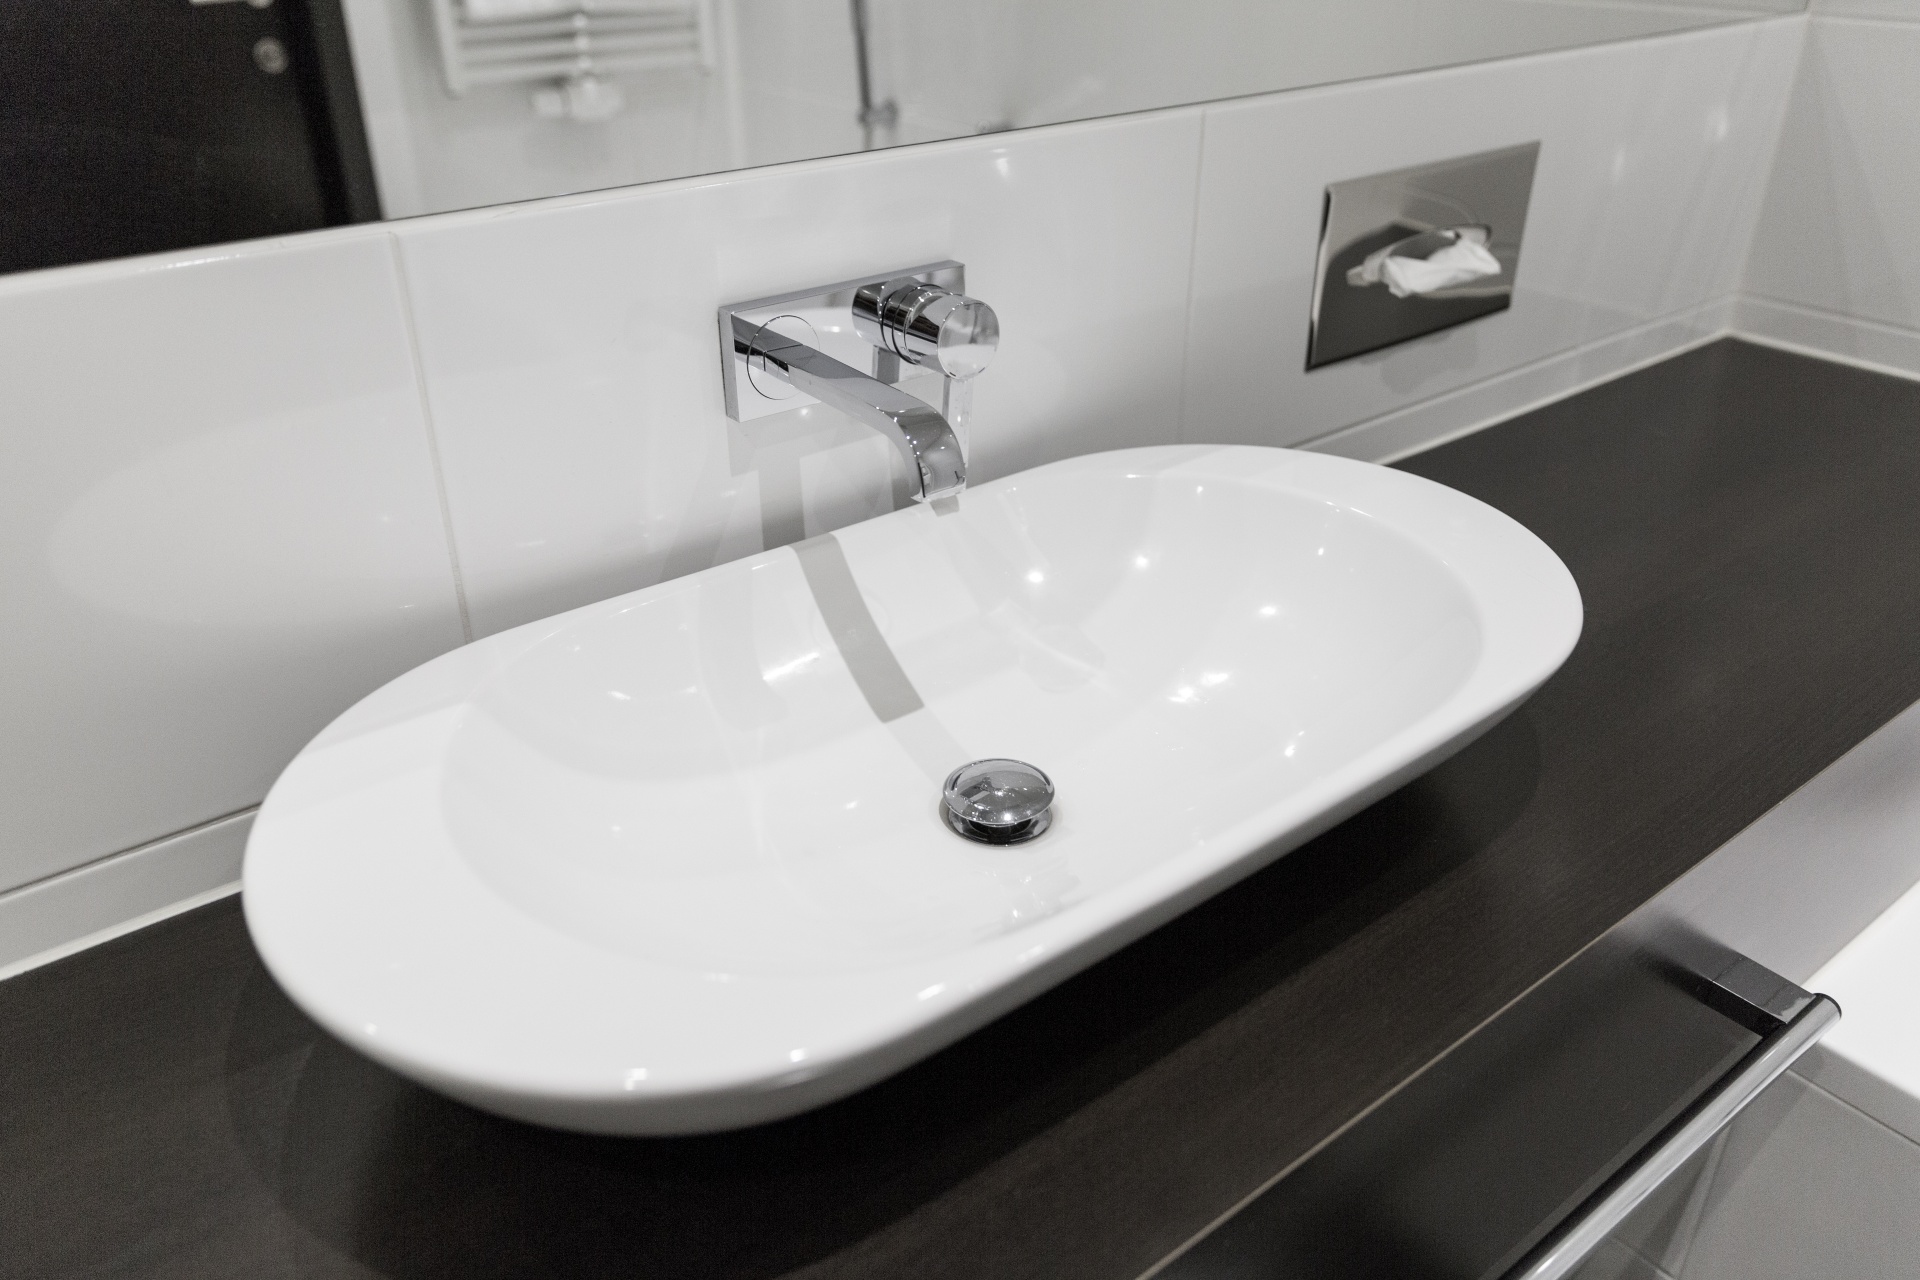
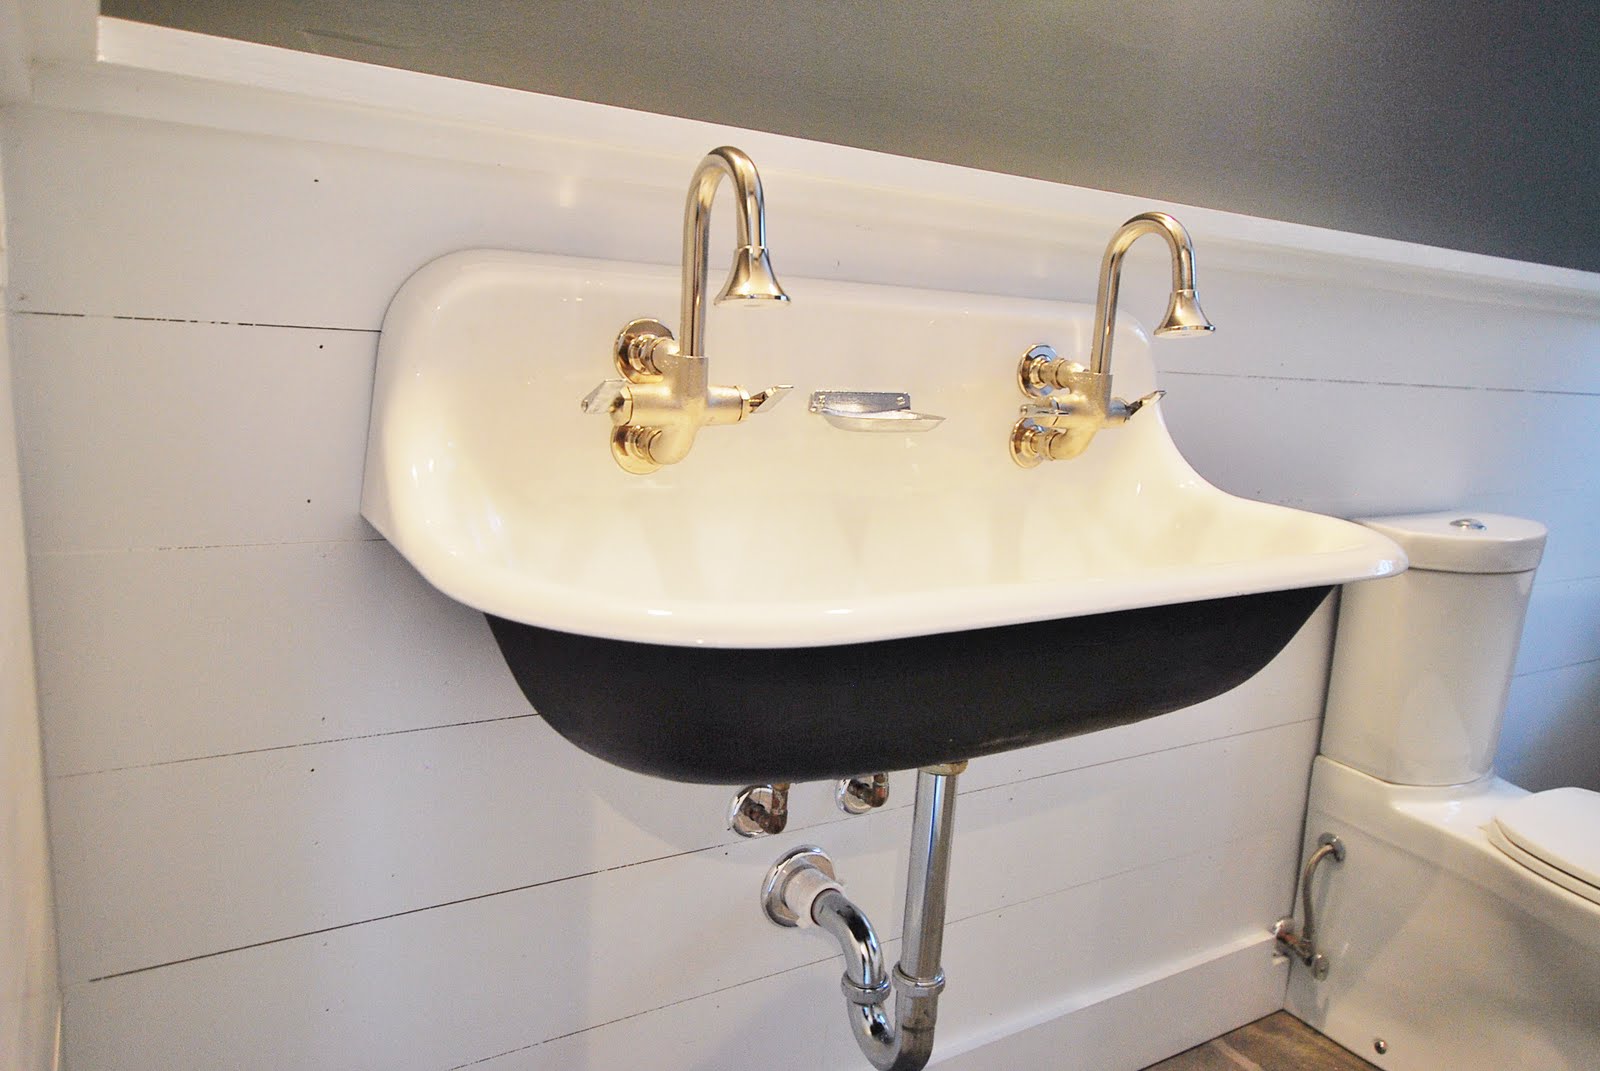
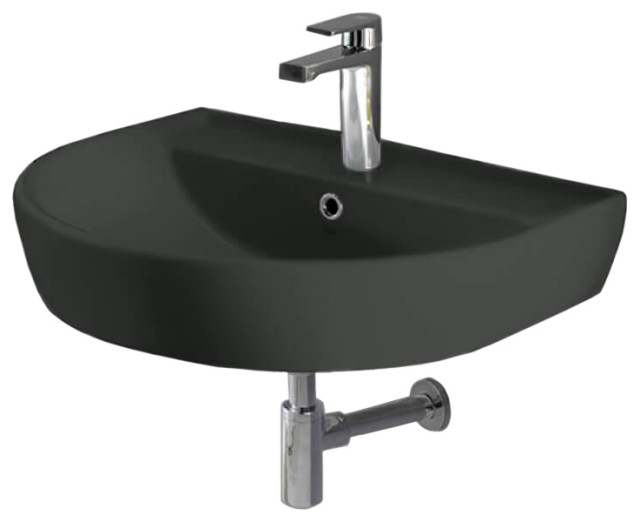
Wall-mounted sinks are ideal for small bathrooms, as they take up minimal space and create a clean and modern look. When tiling around a wall-mounted sink, ensure that the tiles are cut precisely to fit the edges of the sink. It is also recommended to use larger tiles for a more dramatic and seamless look. With these top 10 tips and techniques, you can confidently tackle tiling around your bathroom sink and achieve a professional and polished look. Remember to take your time and plan carefully, and you will have a beautiful and functional bathroom in no time.Tiling around a wall-mounted sink:


Tiling around a wall-mounted sink


Tiling Around Bathroom Sink: A Functional and Stylish Addition to Your Bathroom

Why Choose Tiling Around Your Bathroom Sink?
 When designing a bathroom, the sink area is often overlooked. However, tiling around your bathroom sink is a simple and effective way to add both functionality and style to your bathroom. Not only does it protect the walls and floors from water damage, but it also adds a touch of elegance to the space. With a wide range of tile options available, you can customize the look and feel of your bathroom to fit your personal style. Whether you prefer a sleek and modern look or a cozy and rustic feel, tiling around your bathroom sink can help achieve the desired aesthetic.
The Benefits of Tiling Around Your Bathroom Sink
 Aside from its aesthetic appeal, tiling around your bathroom sink also offers several practical benefits. For starters, tiles are highly durable and resistant to water, making them the perfect choice for a bathroom environment. They are also easy to clean and maintain, making them a practical choice for busy households. Additionally, tiles come in a variety of sizes and shapes, allowing for endless design possibilities. You can create a cohesive look by using the same tiles throughout your bathroom or mix and match for a more eclectic feel.
How to Choose the Right Tiles for Your Bathroom Sink Area
 When selecting tiles for your bathroom sink area, it's important to consider both style and functionality.
Main keywords: bathroom sink, tiles
Look for tiles that are water-resistant and have a low porosity level to prevent water damage and mold growth. You can also opt for textured tiles to provide better grip and prevent slips and falls. In terms of style, consider the overall theme and color scheme of your bathroom.
Main keywords: style, color scheme
For a modern look, opt for sleek and glossy tiles in neutral tones. For a more rustic feel, go for natural stone or wood-look tiles. And for a pop of color, consider mosaic or patterned tiles to add visual interest to the space.
When selecting tiles for your bathroom sink area, it's important to consider both style and functionality.
Main keywords: bathroom sink, tiles
Look for tiles that are water-resistant and have a low porosity level to prevent water damage and mold growth. You can also opt for textured tiles to provide better grip and prevent slips and falls. In terms of style, consider the overall theme and color scheme of your bathroom.
Main keywords: style, color scheme
For a modern look, opt for sleek and glossy tiles in neutral tones. For a more rustic feel, go for natural stone or wood-look tiles. And for a pop of color, consider mosaic or patterned tiles to add visual interest to the space.
The Importance of Professional Installation
 While tiling around your bathroom sink may seem like a simple task, it's important to have it done by a professional.
Main keywords: professional installation
Proper installation is crucial to ensure the longevity and durability of your tiles. A professional installer will also be able to provide advice on the best tile options for your specific bathroom and ensure that the tiles are laid out in a visually appealing and functional manner.
In conclusion, tiling around your bathroom sink is a practical and stylish addition to any bathroom. With the right tiles and professional installation, you can create a beautiful and functional space that reflects your personal style. So why settle for a plain and boring sink area when you can elevate it with the beauty and versatility of tiles?
Main keyword: tiling around bathroom sink
Start planning your bathroom renovation today and enjoy the benefits of a tiled sink area for years to come.
While tiling around your bathroom sink may seem like a simple task, it's important to have it done by a professional.
Main keywords: professional installation
Proper installation is crucial to ensure the longevity and durability of your tiles. A professional installer will also be able to provide advice on the best tile options for your specific bathroom and ensure that the tiles are laid out in a visually appealing and functional manner.
In conclusion, tiling around your bathroom sink is a practical and stylish addition to any bathroom. With the right tiles and professional installation, you can create a beautiful and functional space that reflects your personal style. So why settle for a plain and boring sink area when you can elevate it with the beauty and versatility of tiles?
Main keyword: tiling around bathroom sink
Start planning your bathroom renovation today and enjoy the benefits of a tiled sink area for years to come.