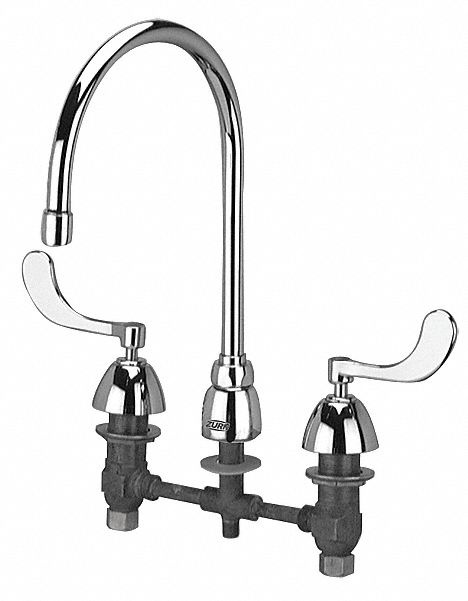
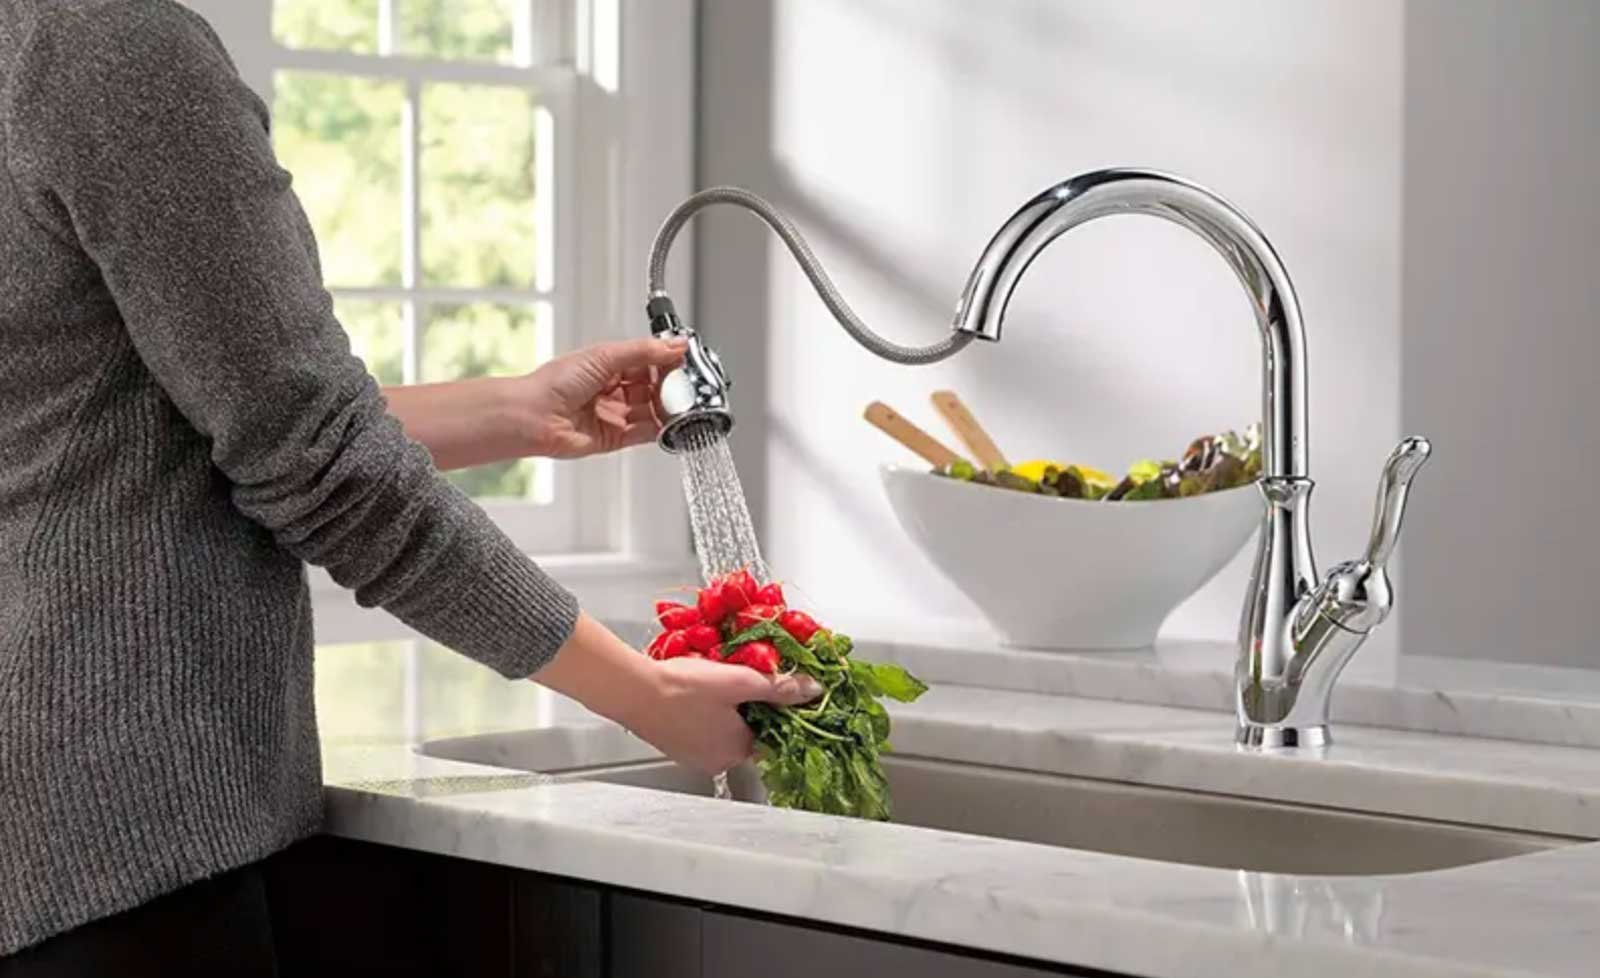
Installing a new kitchen sink faucet is a simple and cost-effective way to give your kitchen a fresh, updated look. With the right tools and a little bit of know-how, you can easily replace your old faucet with a new one. Here's how to install a kitchen sink faucet in just a few easy steps: Step 1: Gather Your Tools Before you begin, make sure you have all the necessary tools and materials. This includes a new faucet, adjustable wrench, plumber's putty, Teflon tape, and a bucket or towel to catch any water that may drip during the installation process. Step 2: Turn Off the Water Supply Before removing your old faucet, you'll need to turn off the water supply to your kitchen sink. This can typically be done by turning off the shut-off valves located under the sink. If your sink does not have shut-off valves, you may need to turn off the main water supply to your home. Step 3: Remove the Old Faucet Using your adjustable wrench, loosen and remove the nuts and bolts that hold the old faucet in place. Then, carefully lift the faucet out of the sink. Step 4: Prepare the Sink Remove any old putty or caulk from the sink using a putty knife. Clean the area thoroughly and dry it off before moving on to the next step. Step 5: Install the New Faucet Apply a thin layer of plumber's putty around the base of the new faucet. Then, insert the faucet into the sink and secure it in place using the mounting nuts and bolts provided with the faucet. Step 6: Connect the Water Supply Lines Connect the hot and cold water supply lines to the corresponding valves on the faucet. Make sure to use Teflon tape to ensure a tight seal. Step 7: Turn On the Water Supply Once the faucet is securely in place, turn the water supply back on and check for any leaks. If there are no leaks, you're all set!1. How to Install a Kitchen Sink Faucet

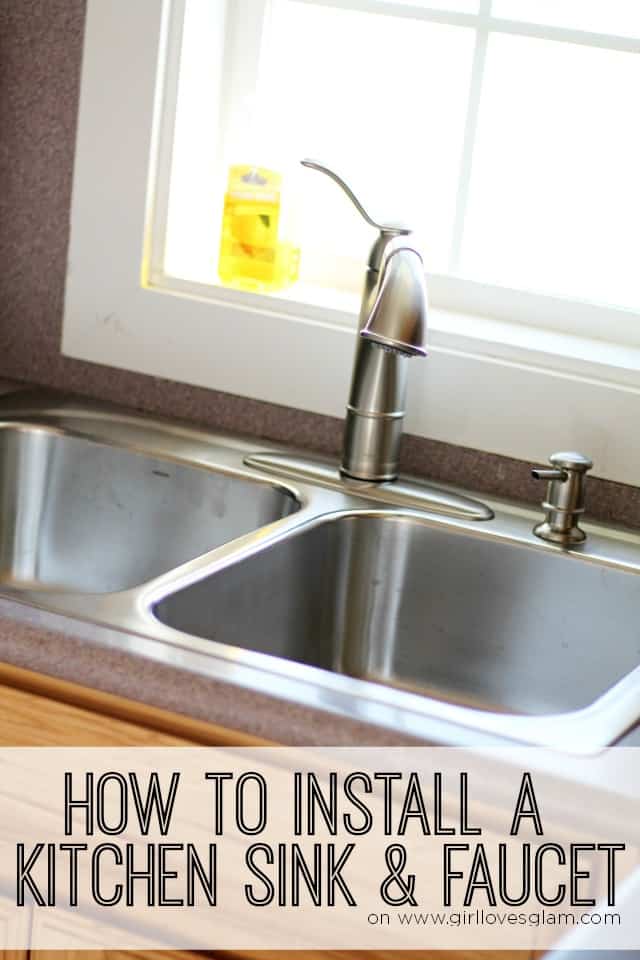
1. How to Install a Kitchen Sink Faucet

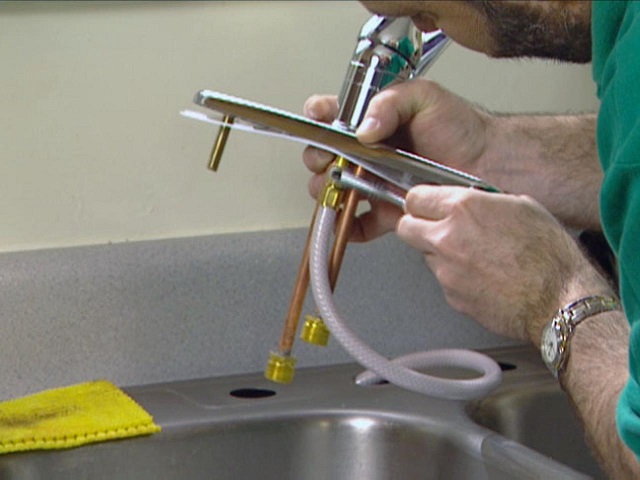


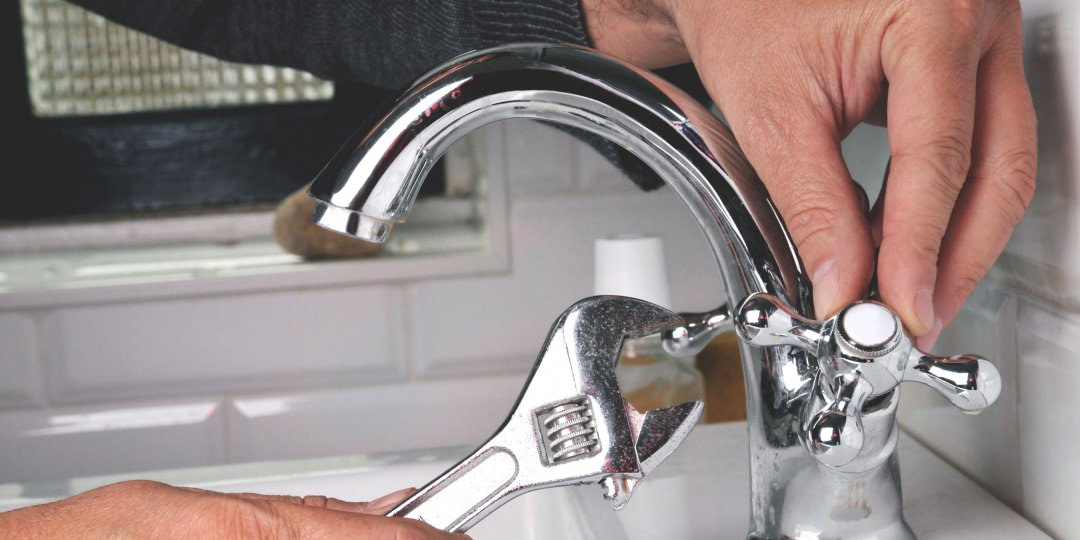
If your current kitchen sink faucet is damaged, outdated, or simply not functioning properly, it may be time to replace it. While it may seem like a daunting task, replacing a kitchen sink faucet is actually a fairly simple process. Here's how to do it: Step 1: Gather Your Tools Just like with installing a new faucet, you'll need a few tools and materials to replace an old one. This includes a new faucet, adjustable wrench, plumber's putty, Teflon tape, and a bucket or towel to catch any water that may drip during the replacement process. Step 2: Turn Off the Water Supply Before you begin, make sure to turn off the water supply to your kitchen sink. This can typically be done by turning off the shut-off valves located under the sink or by turning off the main water supply to your home. Step 3: Remove the Old Faucet Using your adjustable wrench, loosen and remove the nuts and bolts that hold the old faucet in place. Then, carefully lift the faucet out of the sink. Step 4: Prepare the Sink Remove any old putty or caulk from the sink using a putty knife. Clean the area thoroughly and dry it off before moving on to the next step. Step 5: Install the New Faucet Apply a thin layer of plumber's putty around the base of the new faucet. Then, insert the faucet into the sink and secure it in place using the mounting nuts and bolts provided with the faucet. Step 6: Connect the Water Supply Lines Connect the hot and cold water supply lines to the corresponding valves on the faucet. Make sure to use Teflon tape to ensure a tight seal. Step 7: Turn On the Water Supply Once the faucet is securely in place, turn the water supply back on and check for any leaks. If there are no leaks, your new faucet is ready to use!2. Replacing a Kitchen Sink Faucet


2. Replacing a Kitchen Sink Faucet


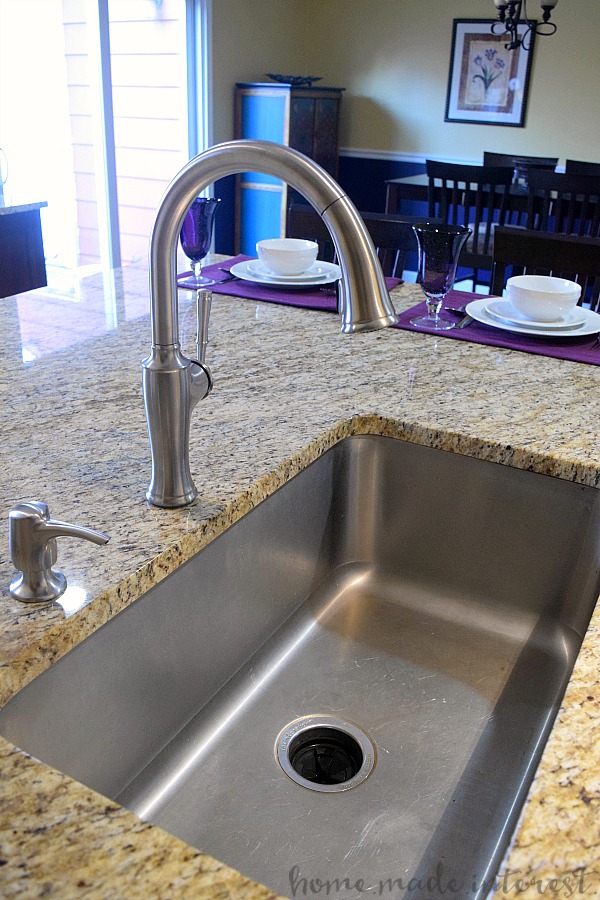
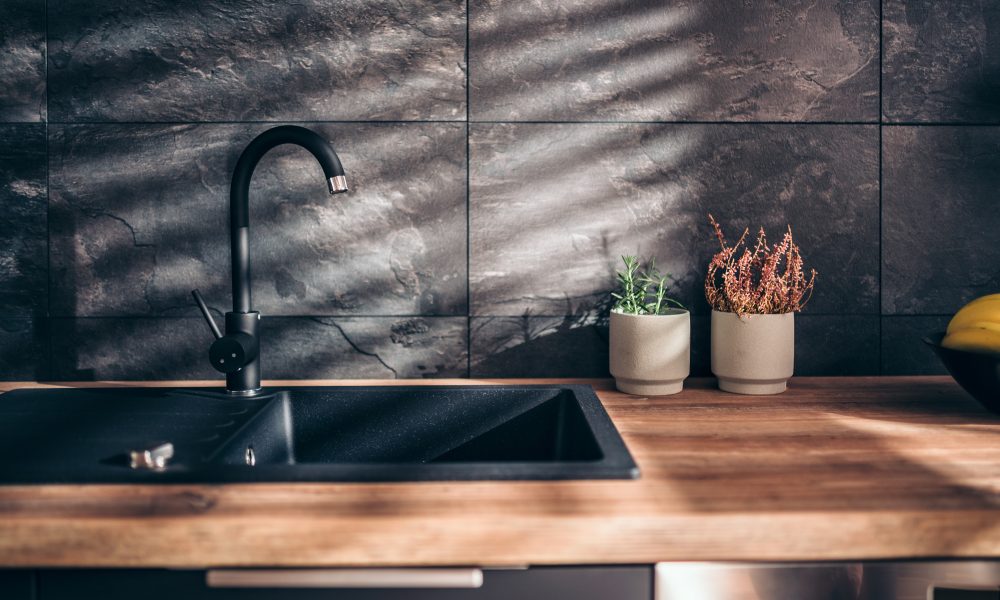
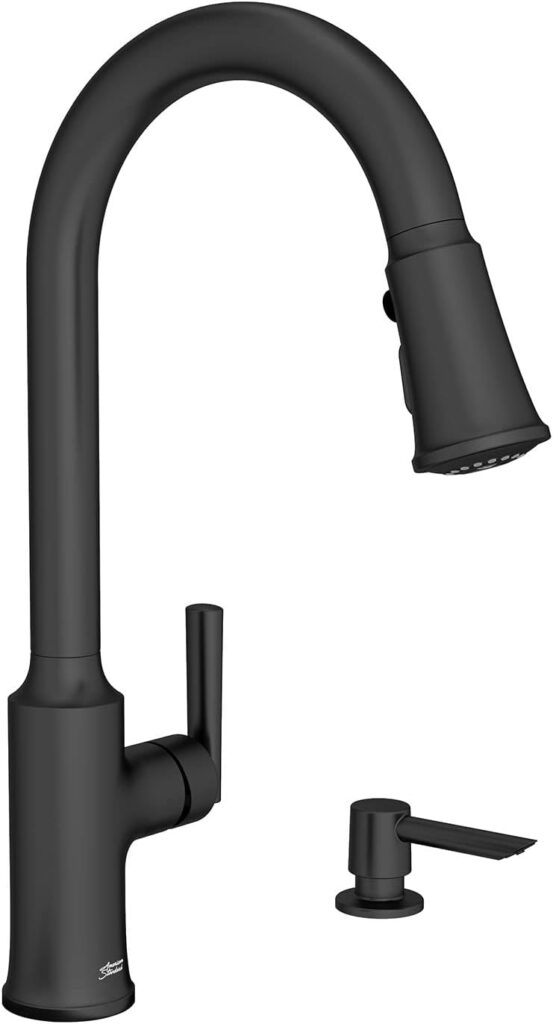
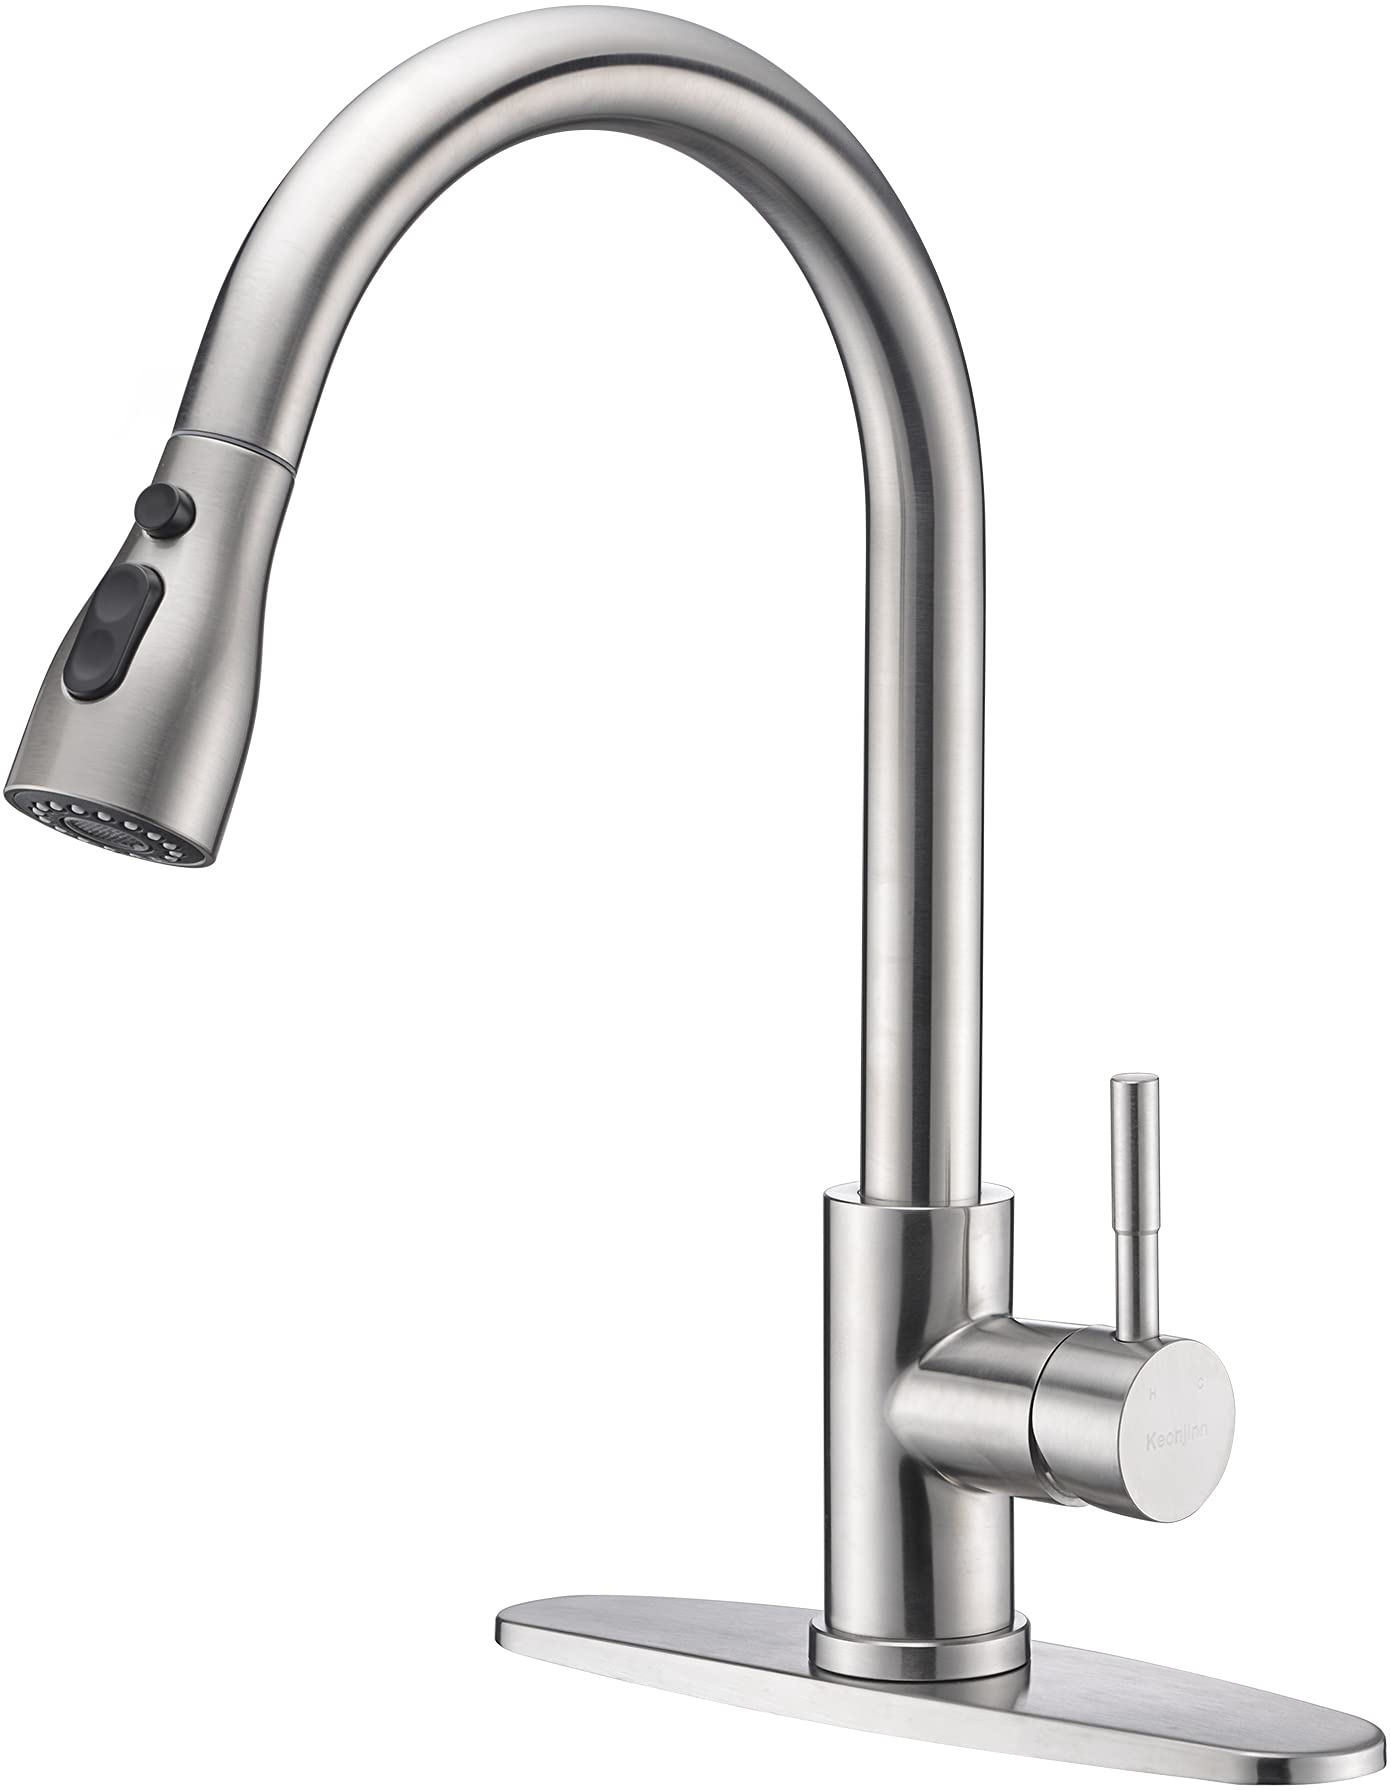
When it comes to choosing a kitchen sink faucet, there are a few factors to consider. Not only do you want a faucet that looks aesthetically pleasing, but you also want one that fits your needs and budget. Here are some things to keep in mind when selecting the right kitchen sink faucet: Style Kitchen sink faucets come in a variety of styles, including traditional, modern, and industrial. Consider the overall design of your kitchen and choose a faucet that complements it. Functionality Think about how you use your kitchen sink and what features would be most useful to you. Do you want a pull-down sprayer, touchless operation, or a high-arc spout? Choose a faucet that meets your specific needs. Finish Faucets come in a range of finishes, from chrome and stainless steel to bronze and matte black. Consider the finishes of your other kitchen fixtures and appliances and choose a faucet that will coordinate well with them. Budget Kitchen sink faucets can range in price from under $50 to over $500. Set a budget for yourself and stick to it while considering all of the above factors.3. Choosing the Right Kitchen Sink Faucet


3. Choosing the Right Kitchen Sink Faucet


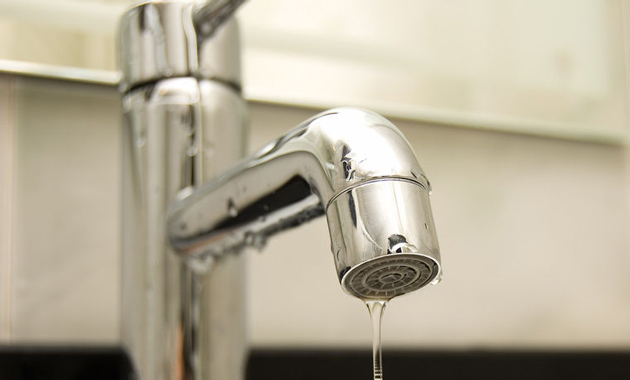
A leaky kitchen sink faucet is not only annoying, but it can also waste a significant amount of water and increase your water bill. Luckily, fixing a leaky faucet is a simple and inexpensive DIY project. Here's how to do it: Step 1: Turn Off the Water Supply Before you begin, make sure to turn off the water supply to your kitchen sink. This can typically be done by turning off the shut-off valves located under the sink. Step 2: Examine the Faucet Determine where the leak is coming from by examining the faucet. If the leak is coming from the base of the faucet, you may need to replace the O-ring or cartridge. If the leak is coming from the spout, you may need to replace the valve seat or the entire faucet. Step 3: Replace the Necessary Parts If the leak is coming from the base, use a wrench to remove the old O-ring or cartridge and replace it with a new one. If the leak is coming from the spout, you may need to replace the valve seat or the entire faucet. Follow the manufacturer's instructions for replacing these parts. Step 4: Reassemble the Faucet Once the necessary parts have been replaced, reassemble the faucet and turn the water supply back on. Check for any leaks and make any necessary adjustments.4. How to Fix a Leaky Kitchen Sink Faucet


4. How to Fix a Leaky Kitchen Sink Faucet


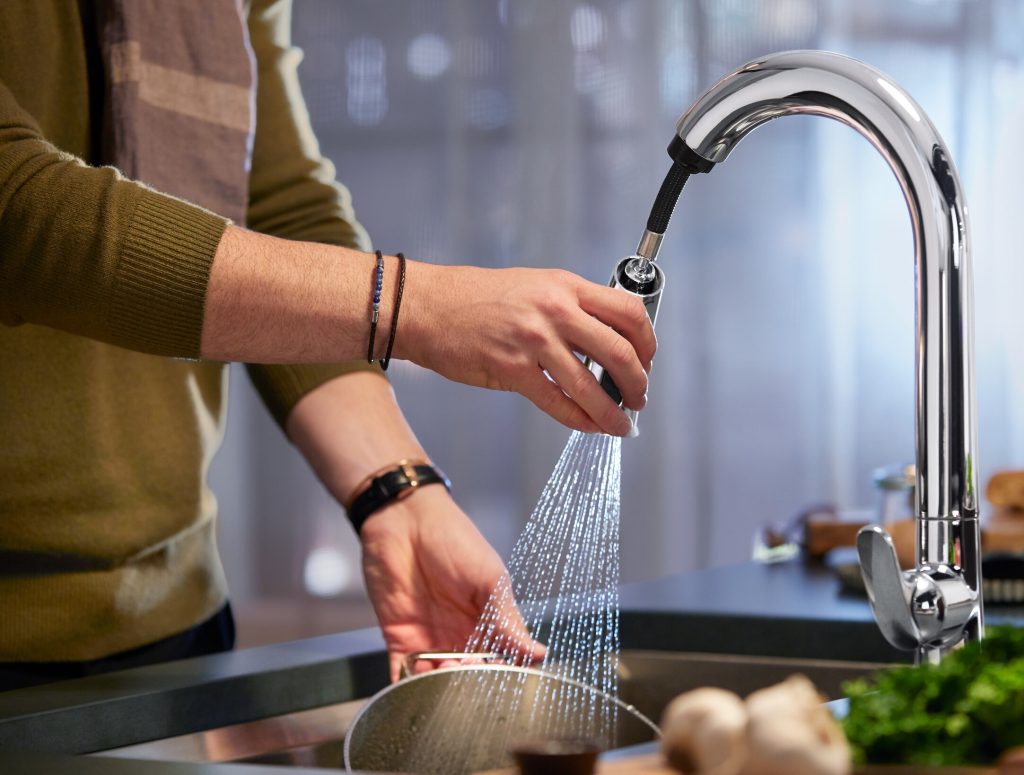
Touchless kitchen sink faucets have become increasingly popular in recent years due to their convenience and hygiene benefits. If you're interested in installing one in your kitchen, here's how to do it: Step 1: Gather Your Tools You'll need a few tools and materials to install a touchless kitchen sink faucet, including the faucet itself, adjustable wrench, plumber's putty, Teflon tape, and a bucket or towel to catch any water that may drip during the installation process. Step 2: Turn Off the Water Supply Before you begin, make sure to turn off the water supply to your kitchen sink. This can typically be done by turning off the shut-off valves located under the sink. Step 3: Remove the Old Faucet Using your adjustable wrench, loosen and remove the nuts and bolts that hold the old faucet in place. Then, carefully lift the faucet out of the sink. Step 4: Prepare the Sink Remove any old putty or caulk from the sink using a putty knife. Clean the area thoroughly and dry it off before moving on to the next step. Step 5: Install the New Faucet Apply a thin layer of plumber's putty around the base of the new touchless faucet. Then, insert the faucet into the sink and secure it in place using the mounting nuts and bolts provided with the faucet. Step 6: Connect the Water Supply Lines Connect the hot and cold water supply lines to the corresponding valves on the faucet. Make sure to use Teflon tape to ensure a tight seal. Step 7: Install the Sensor Follow the manufacturer's instructions for installing the touchless sensor. This may involve mounting it to the wall or the cabinet under the sink. Step 8: Turn On the Water Supply Once everything is securely in place, turn the water supply back on and check for any leaks. If there are no leaks, your new touchless kitchen sink faucet is ready to use!5. Installing a Touchless Kitchen Sink Faucet


5. Installing a Touchless Kitchen Sink Faucet


If you're looking to give your kitchen a quick and easy upgrade, replacing your old kitchen sink faucet is a great place to start. Here are a few reasons why upgrading your kitchen sink faucet is a good idea: Improved Functionality Older faucets may not have the same features and functionality as newer models. By upgrading, you can get a faucet with a pull-down sprayer, touchless operation, or other convenient features. Aesthetic Appeal A new kitchen sink faucet can instantly update the look of your kitchen. With a variety of styles and finishes to choose from, you can find a faucet that complements your kitchen's design. Energy and Water Savings Newer kitchen sink faucets are designed to be more energy and water-efficient, helping you save on your utility bills and reduce your environmental impact. Better Quality Older faucets may be prone to leaks and other issues. By upgrading to a newer, higher-quality faucet, you can avoid these problems and enjoy a reliable and durable fixture in your kitchen.6. Upgrading Your Kitchen Sink Faucet


6. Upgrading Your Kitchen Sink Faucet


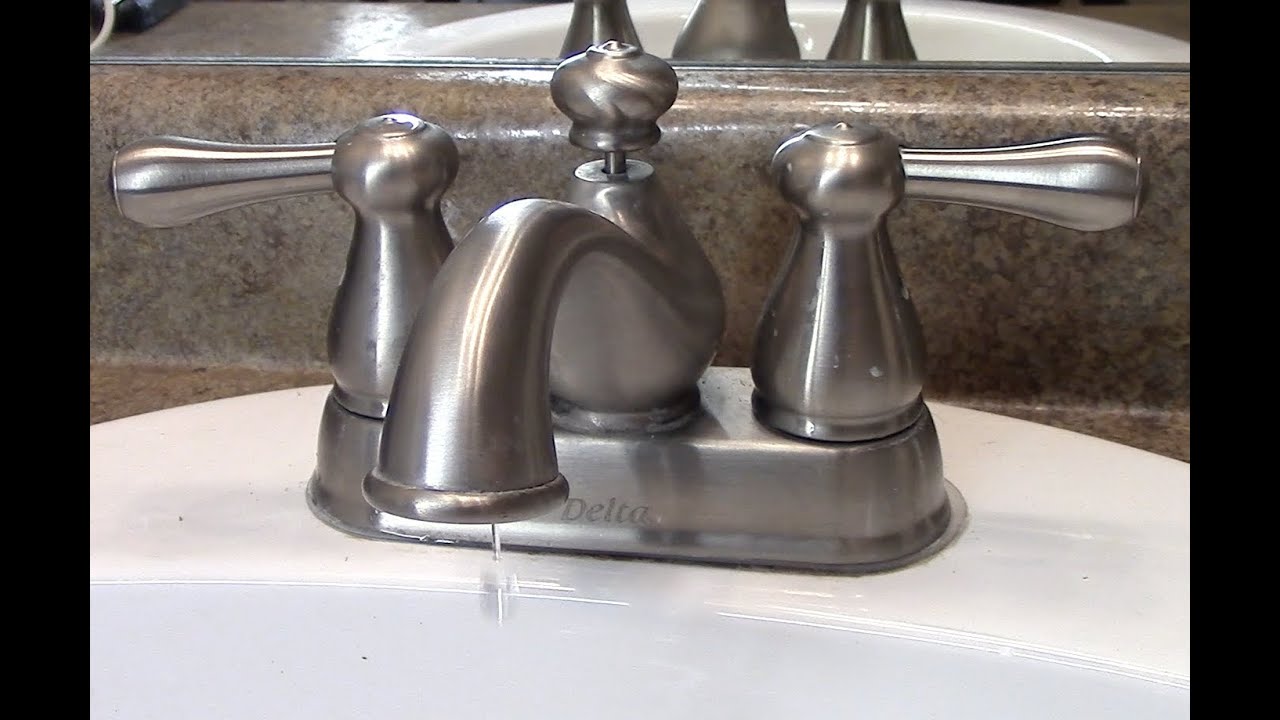
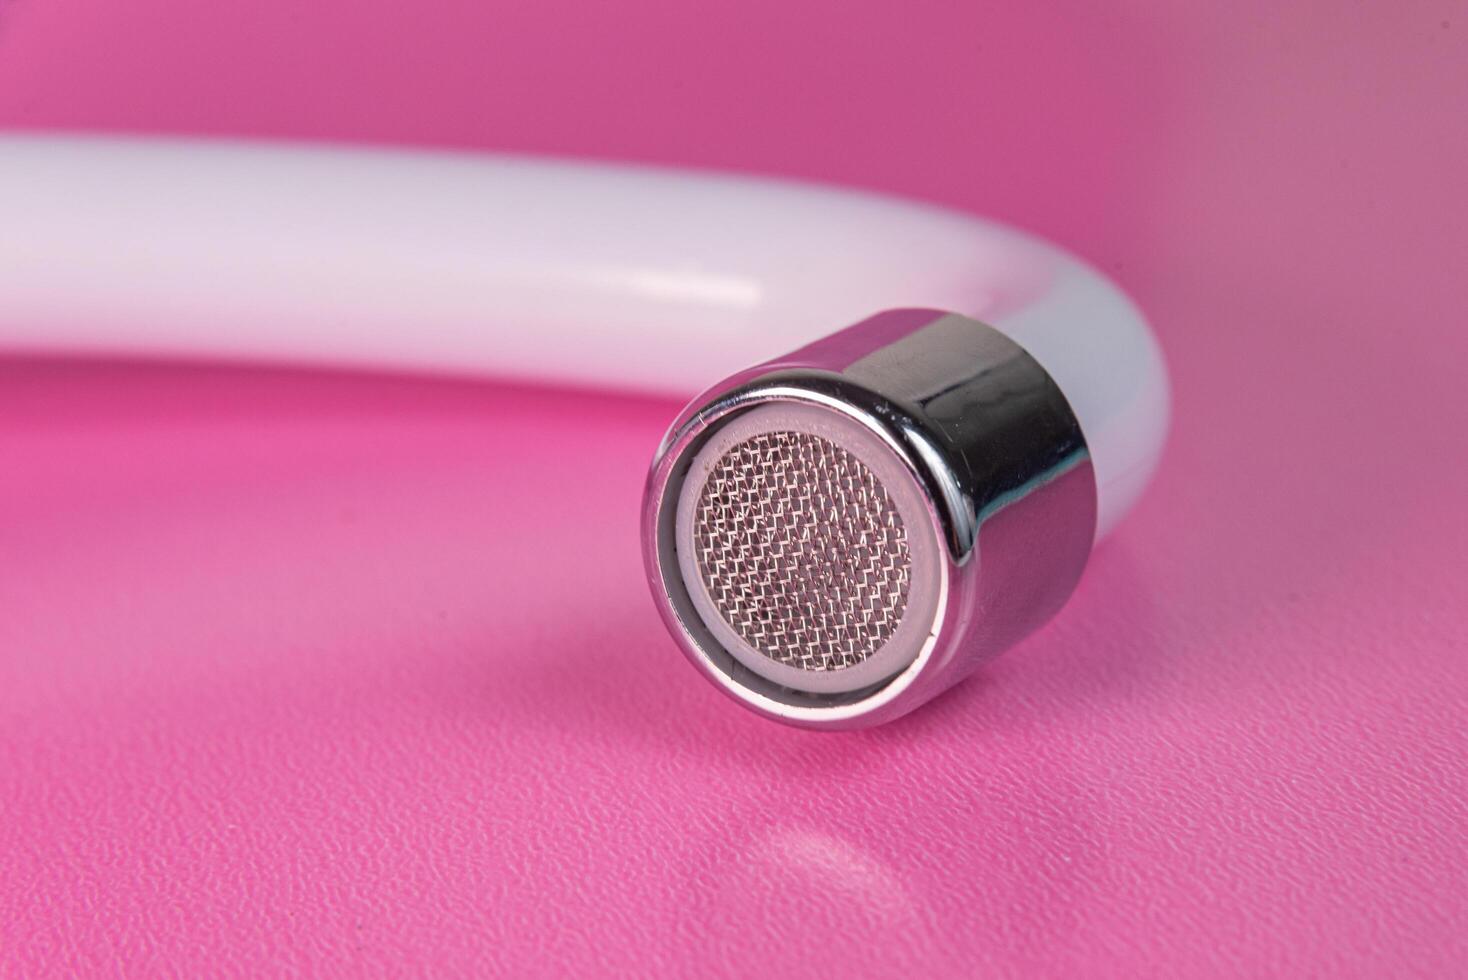
Even with proper installation and maintenance, kitchen sink faucets can still encounter issues from time to time. Here are some common problems you may encounter and how to troubleshoot them: Low Water Pressure If your faucet is experiencing low water pressure, check the aerator for any debris or mineral buildup. Clean or replace the aerator if necessary. Leaking Faucet If your faucet is leaking, check the valve seat and O-ring for any damage or wear and tear. Replace these parts if necessary. Sputtering Water Sputtering water can be a sign of a clogged aerator or water supply line. Clean or replace the aerator and check the water supply line for any obstructions. Inconsistent Water Temperature If you're experiencing inconsistent water temperature, check the hot and cold water supply lines for any kinks or clogs. Adjust or replace the lines if necessary.7. Troubleshooting Common Kitchen Sink Faucet Issues


7. Troubleshooting Common Kitchen Sink Faucet Issues


To ensure your kitchen sink faucet continues to function properly and looks its best, it's important to perform regular maintenance. Here are some tips for maintaining your kitchen sink faucet: Keep it Clean Regularly clean your faucet with mild soap and warm water to remove any dirt, grime, or buildup. Avoid using harsh chemicals or abrasive cleaners, as these can damage the finish of your faucet. Check for Leaks Periodically check your faucet for any leaks or drips. If you notice any, address them immediately to prevent further damage and water waste. Inspect the Water Supply Lines Check the water supply lines for any leaks, kinks, or damage. If you notice any issues, have them repaired or replaced as soon as possible. Replace Parts as Needed If you notice any worn or damaged parts, such as the O-ring or valve seat, replace them promptly to prevent further damage to your faucet.8. Maintaining Your Kitchen Sink Faucet

8. Maintaining Your Kitchen Sink Faucet


In addition to regular maintenance, proper cleaning and care can help extend the life of your kitchen sink faucet. Here's how to clean and care for your faucet: For Chrome and Stainless Steel Faucets9. How to Clean and Care for Your Kitchen Sink Faucet


9. How to Clean and Care for Your Kitchen Sink Faucet


Why You Should Consider Installing a Tap in Your Kitchen Sink
The Convenience and Practicality of a Kitchen Sink Tap
 When designing your dream kitchen, it's important to consider every aspect and detail, including the type of
tap
you will have in your kitchen sink. While traditional sinks typically only have a single spout for both hot and cold water,
a tap in your kitchen sink
offers a modern and convenient twist to this essential fixture.
When designing your dream kitchen, it's important to consider every aspect and detail, including the type of
tap
you will have in your kitchen sink. While traditional sinks typically only have a single spout for both hot and cold water,
a tap in your kitchen sink
offers a modern and convenient twist to this essential fixture.
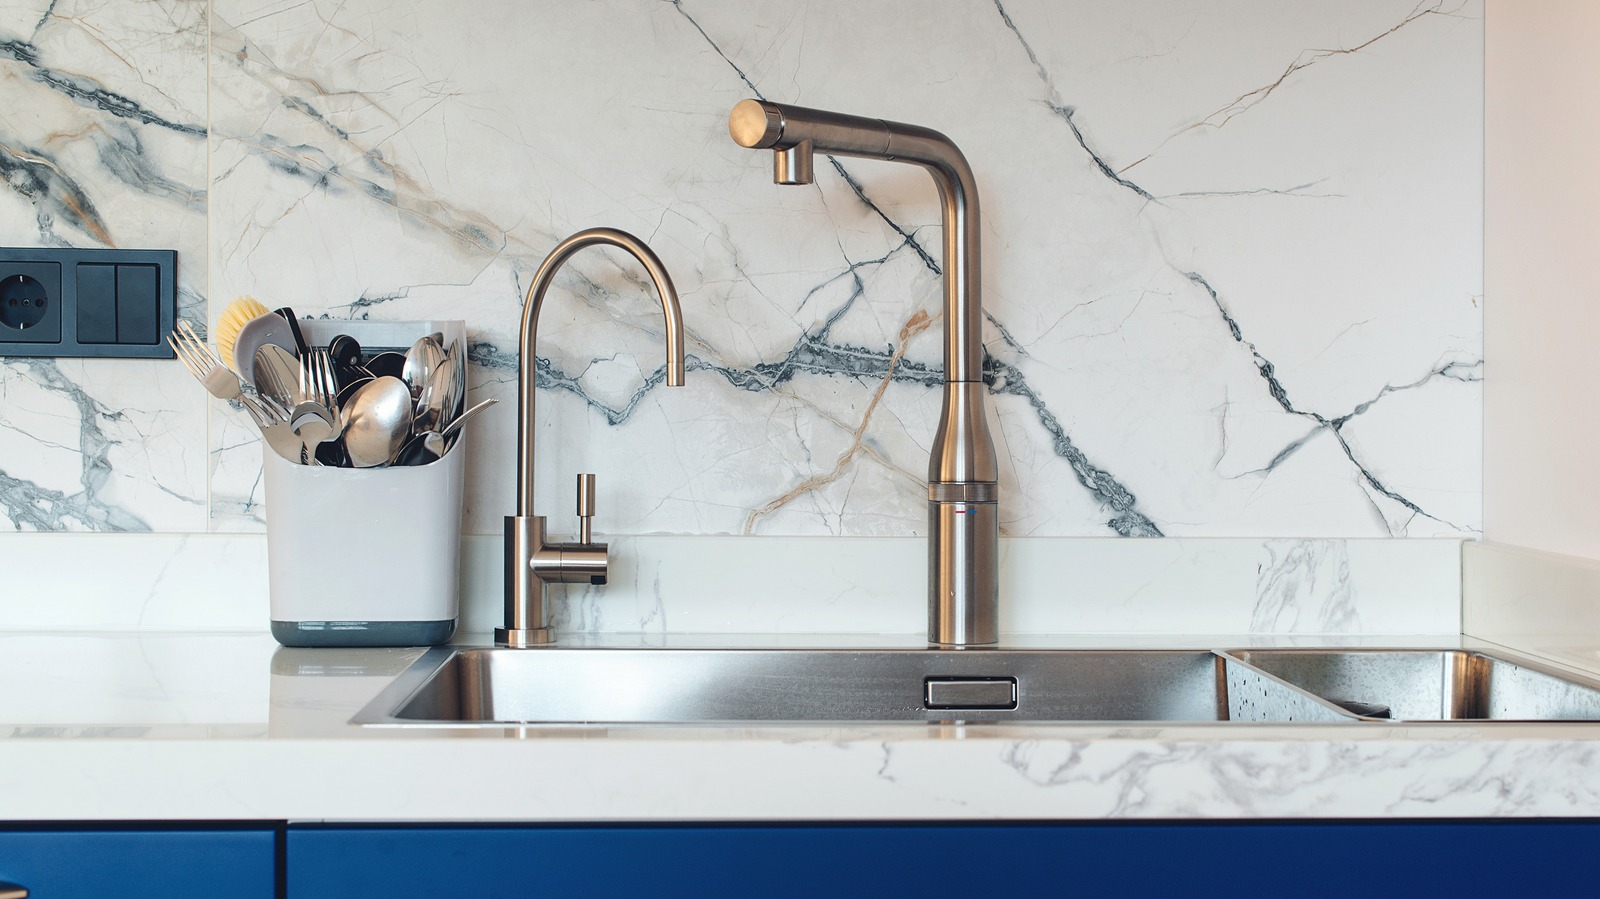
Efficient Use of Space and Functionality
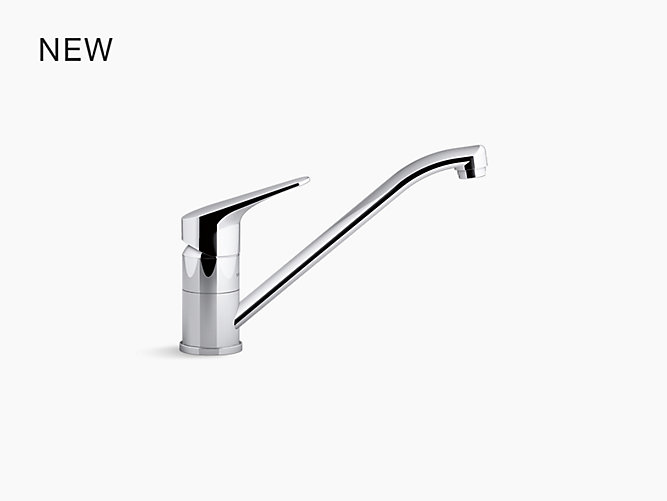
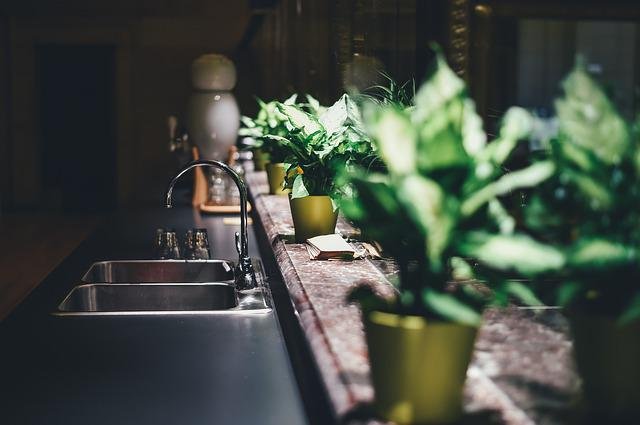
 One of the main benefits of having a tap in your kitchen sink is the efficient use of space. Instead of having a separate faucet and sprayer, a tap combines both functions in one sleek and compact design. This not only saves counter space, but also allows for a more streamlined and clutter-free look, making your kitchen appear more spacious and organized.
Convenience and Time-Saving
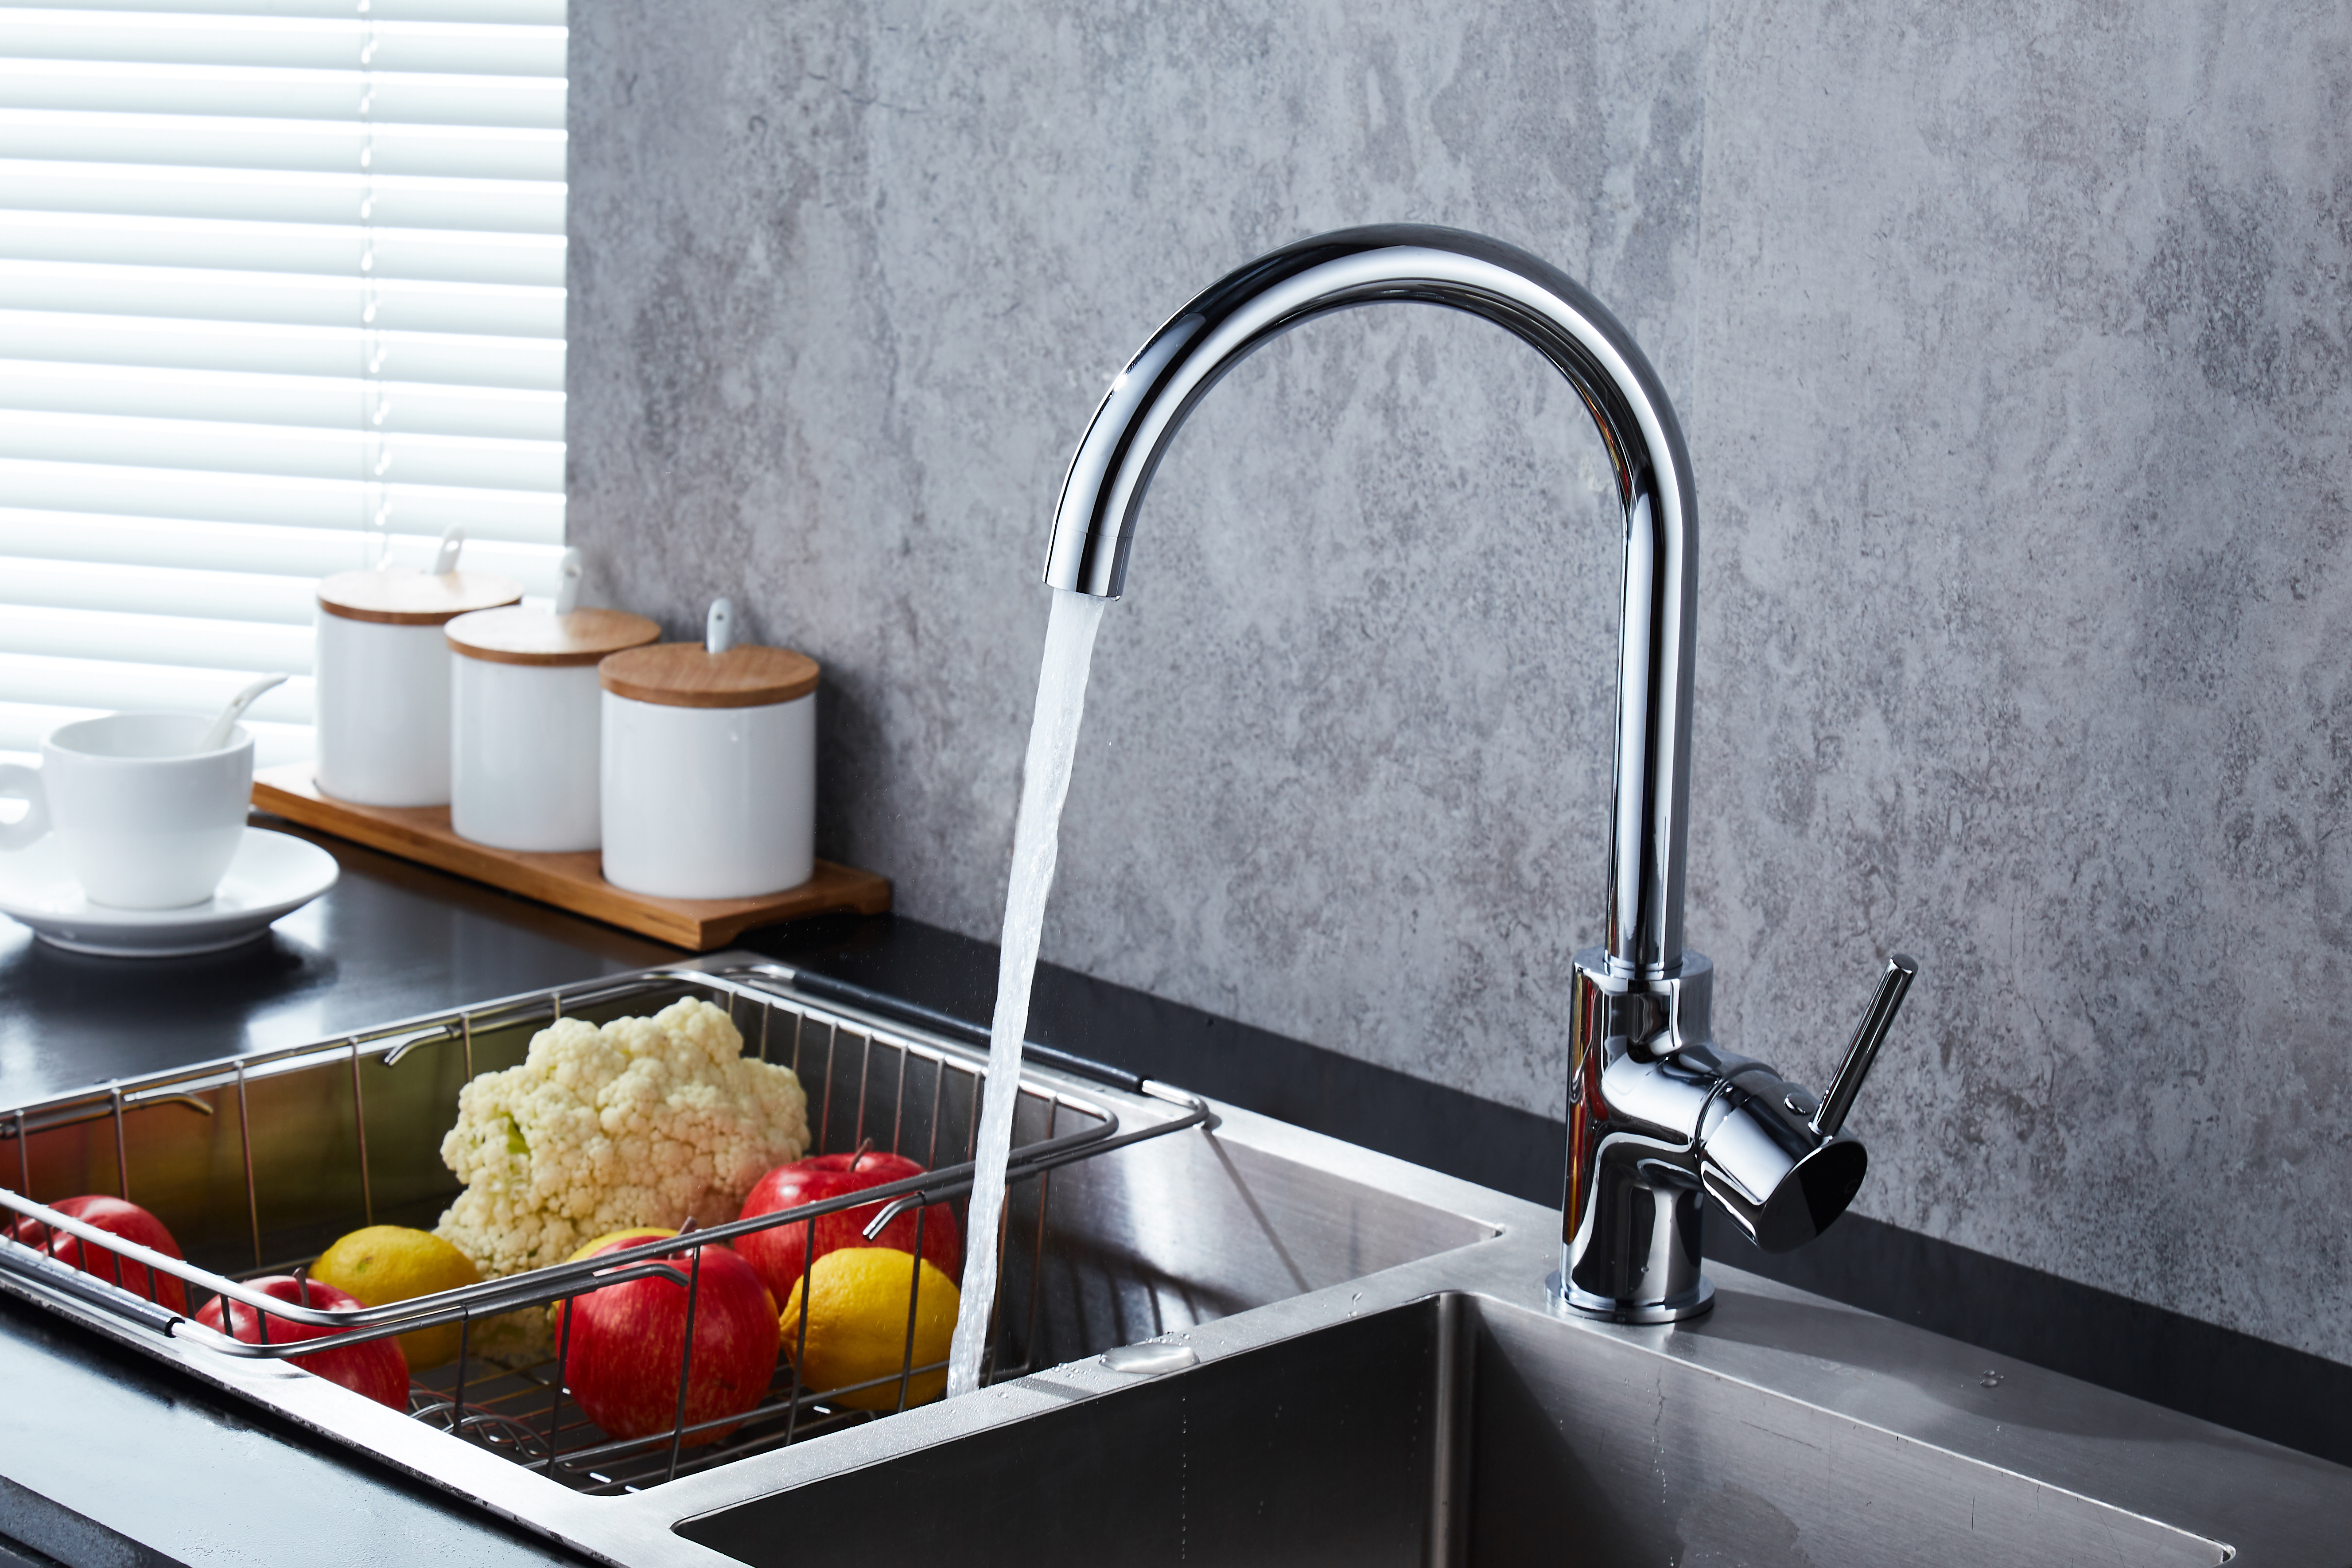
 Having a tap in your kitchen sink also offers convenience and saves time in your daily routine. With a separate faucet and sprayer, you may have to constantly switch between the two when washing dishes or preparing food. However, with a tap, you can easily switch between a steady stream of water and a powerful spray with just the touch of a button or lever. This makes tasks such as rinsing dishes or filling up pots much quicker and easier.
Aesthetic Appeal and Customization
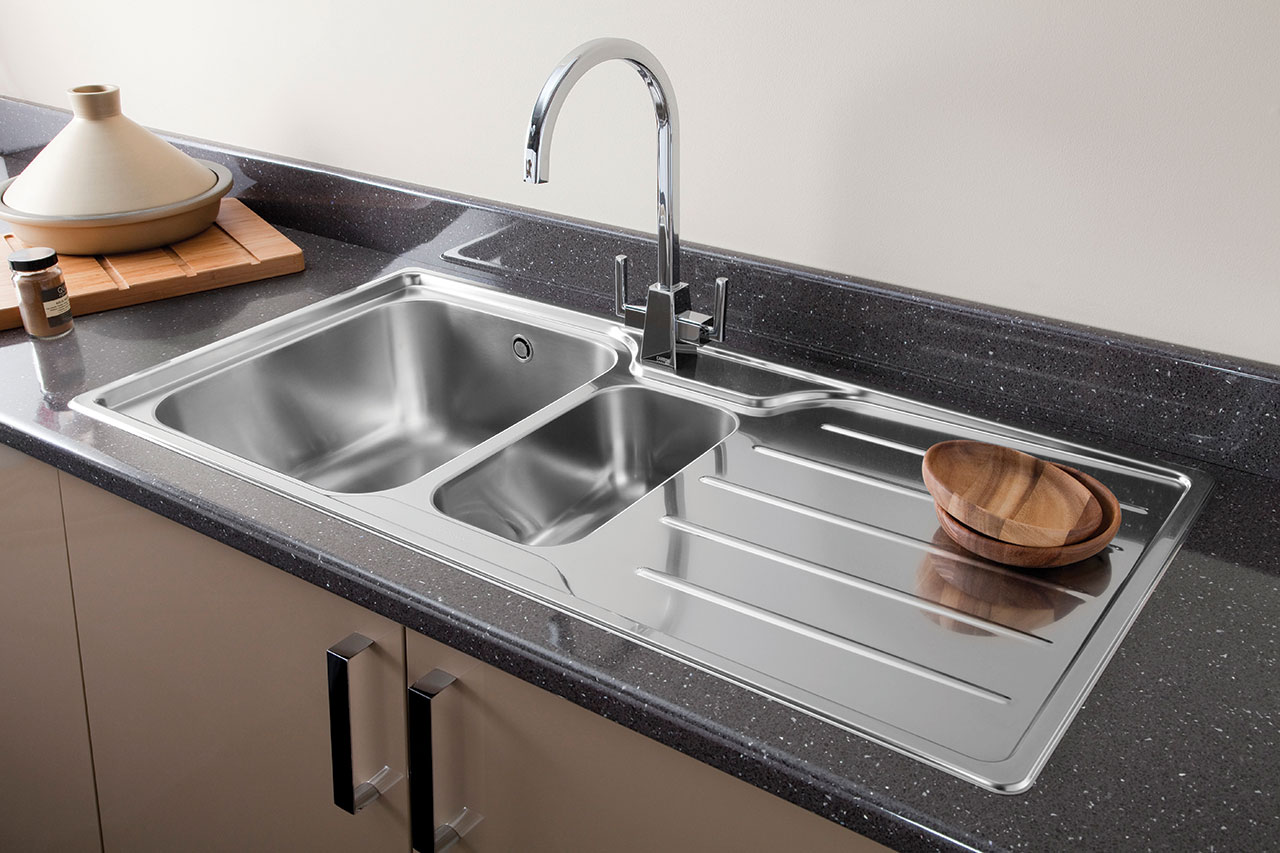
 In addition to its practicality, a tap in your kitchen sink can also add to the overall aesthetic appeal of your kitchen. With a variety of styles, finishes, and designs to choose from, you can easily find a tap that complements your kitchen's design and adds a touch of personalization. From sleek and modern to traditional and rustic, there is a tap option for every style and preference.
Conclusion
 In conclusion,
installing a tap in your kitchen sink
offers numerous benefits in terms of convenience, space-saving, and aesthetic appeal. With its combination of functionality and style, a tap is a practical and modern addition to any kitchen design. Consider incorporating this feature into your kitchen renovation or remodel to elevate your daily tasks and enhance the overall look of your kitchen.
In conclusion,
installing a tap in your kitchen sink
offers numerous benefits in terms of convenience, space-saving, and aesthetic appeal. With its combination of functionality and style, a tap is a practical and modern addition to any kitchen design. Consider incorporating this feature into your kitchen renovation or remodel to elevate your daily tasks and enhance the overall look of your kitchen.