If you're looking to update your kitchen, one easy and cost-effective way to do so is by removing the trim above your kitchen sink window. This small and often overlooked area can make a big impact on the overall look of your kitchen. Not to mention, removing the trim can also make it easier to clean the window and allow for more natural light to enter the space. If you're ready to take on this DIY project, here's a step-by-step guide to help you get started.Removing Trim Above Kitchen Sink Window


Removing Trim Above Kitchen Sink Window


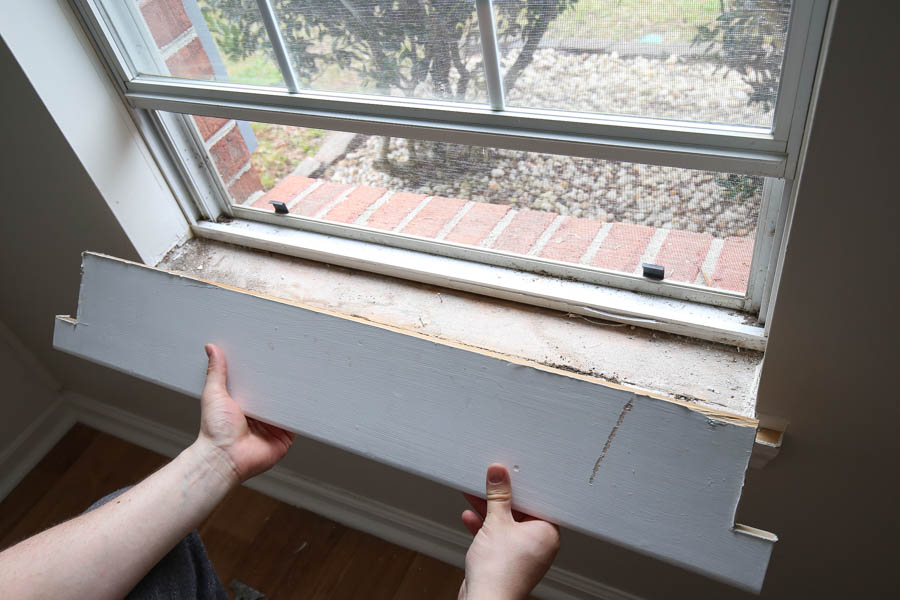
Before you begin, make sure you have all the necessary tools. You'll need a pry bar, hammer, utility knife, and a flathead screwdriver. It's also a good idea to have a drop cloth or tarp to protect your countertop and floor from any debris. Start by using the utility knife to score along the edges of the trim. This will help prevent any damage to your walls when removing the trim. Next, use the pry bar and hammer to gently pry the trim away from the wall. Work your way around the entire trim, removing any nails or screws as needed. Once the trim is completely free, carefully remove it from the wall and set it aside. You may need to use the flathead screwdriver to remove any stubborn nails or screws. With the trim removed, you can now clean and touch up the area if needed before installing any new trim.How to Take Out Trim Above Kitchen Sink Window


How to Take Out Trim Above Kitchen Sink Window

Removing the trim above your kitchen sink window is a relatively simple DIY project that can be completed in just a few hours. Not only will it give your kitchen a fresh new look, but it's also a budget-friendly way to update your space. Plus, you'll have the satisfaction of completing the project yourself. Before you begin, make sure to read through the rest of this guide and gather all the necessary tools and materials. It's also a good idea to watch a few video tutorials for a visual demonstration of the process.DIY: Removing Trim Above Kitchen Sink Window


DIY: Removing Trim Above Kitchen Sink Window


Step 1: Prepare the area by laying down a drop cloth or tarp to catch any debris. Step 2: Use a utility knife to score along the edges of the trim. Step 3: Gently pry the trim away from the wall using a pry bar and hammer. Step 4: Remove any nails or screws as you go. Step 5: Once the trim is completely free, clean and touch up the area if needed. Step 6: Install new trim if desired. Step 7: Enjoy your updated kitchen!Step-by-Step Guide for Removing Trim Above Kitchen Sink Window

Step-by-Step Guide for Removing Trim Above Kitchen Sink Window
To successfully remove the trim above your kitchen sink window, you'll need the following tools:Tools Needed for Removing Trim Above Kitchen Sink Window

Tools Needed for Removing Trim Above Kitchen Sink Window


Here are a few helpful tips to keep in mind as you tackle this project:Tips for Removing Trim Above Kitchen Sink Window
Tips for Removing Trim Above Kitchen Sink Window

While removing the trim above your kitchen sink window may seem like a straightforward task, there are a few common mistakes that can easily be avoided:Common Mistakes When Removing Trim Above Kitchen Sink Window

Common Mistakes When Removing Trim Above Kitchen Sink Window

If you're a visual learner, watching a video tutorial can be incredibly helpful in understanding the process of removing trim above your kitchen sink window. Here's a great tutorial to get you started:Video Tutorial: Removing Trim Above Kitchen Sink Window


Video Tutorial: Removing Trim Above Kitchen Sink Window

If you're having trouble removing the trim using the traditional method, there are a few alternative methods you can try:Alternative Methods for Removing Trim Above Kitchen Sink Window

Alternative Methods for Removing Trim Above Kitchen Sink Window

When removing trim above your kitchen sink window, it's important to take the necessary precautions to avoid any injuries or damage to your home. Make sure to wear gloves and protective eyewear, and be careful not to use too much force when prying off the trim. If you're unsure about anything, it's always best to consult a professional. Now that you know how to take out trim above your kitchen sink window, it's time to put this knowledge into action and give your kitchen a fresh new look. Remember to take your time, be patient, and follow these steps for a successful DIY project. Happy renovating!Precautions to Take When Removing Trim Above Kitchen Sink Window


Precautions to Take When Removing Trim Above Kitchen Sink Window


Taking Out Trim Piece Above Kitchen Sink Window: A Simple Upgrade for Your Kitchen

The kitchen is often referred to as the heart of the home, and for good reason. It is where we gather to cook, eat, and spend time with loved ones. As one of the most frequently used rooms in the house, the kitchen also tends to be a top priority when it comes to design and upgrades. One simple yet impactful upgrade that can enhance the look and functionality of your kitchen is taking out the trim piece above the kitchen sink window.
The Purpose of Trim Pieces

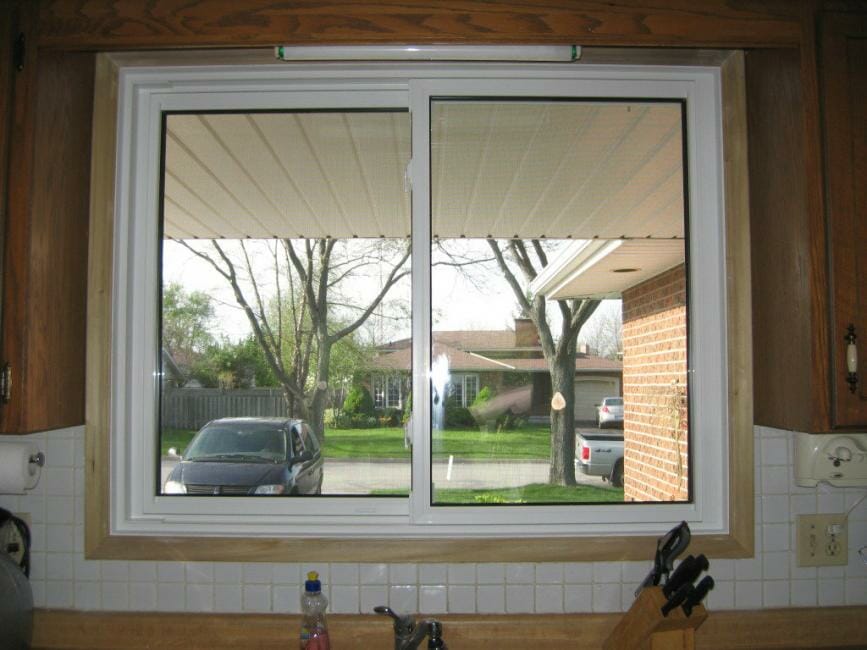
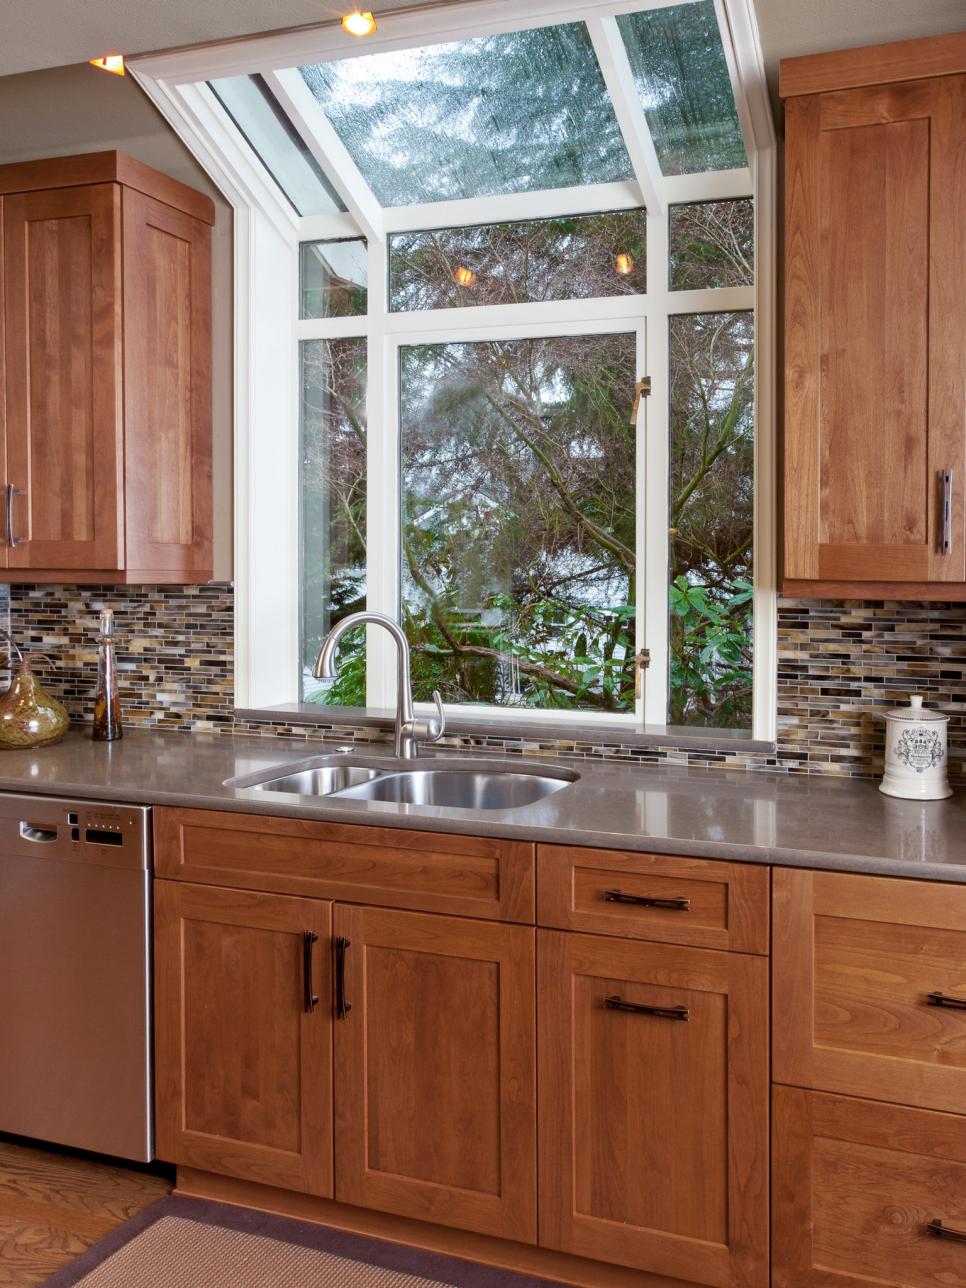
Trim pieces are decorative and functional elements that are used to frame windows, doors, and other areas in a room. In the kitchen, trim pieces are often seen above the sink window, adding a finished and polished look to the space. However, as design trends evolve, many homeowners are opting to remove this trim piece for a more modern and streamlined look.
The Benefits of Removing the Trim Piece

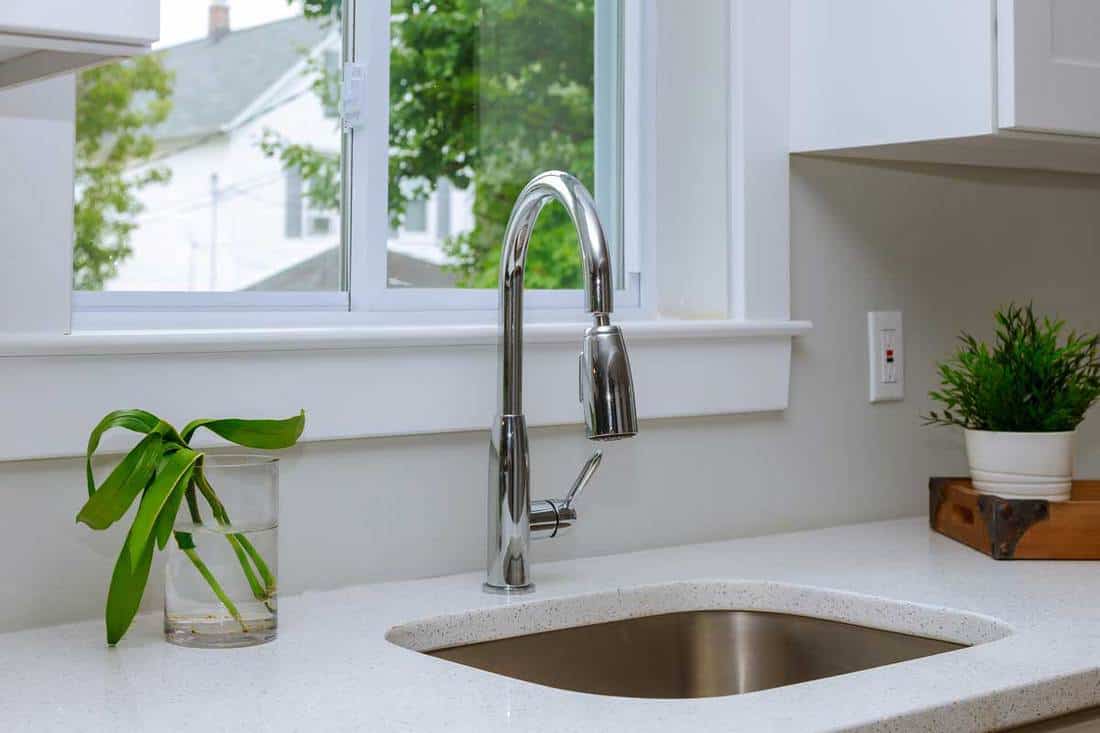
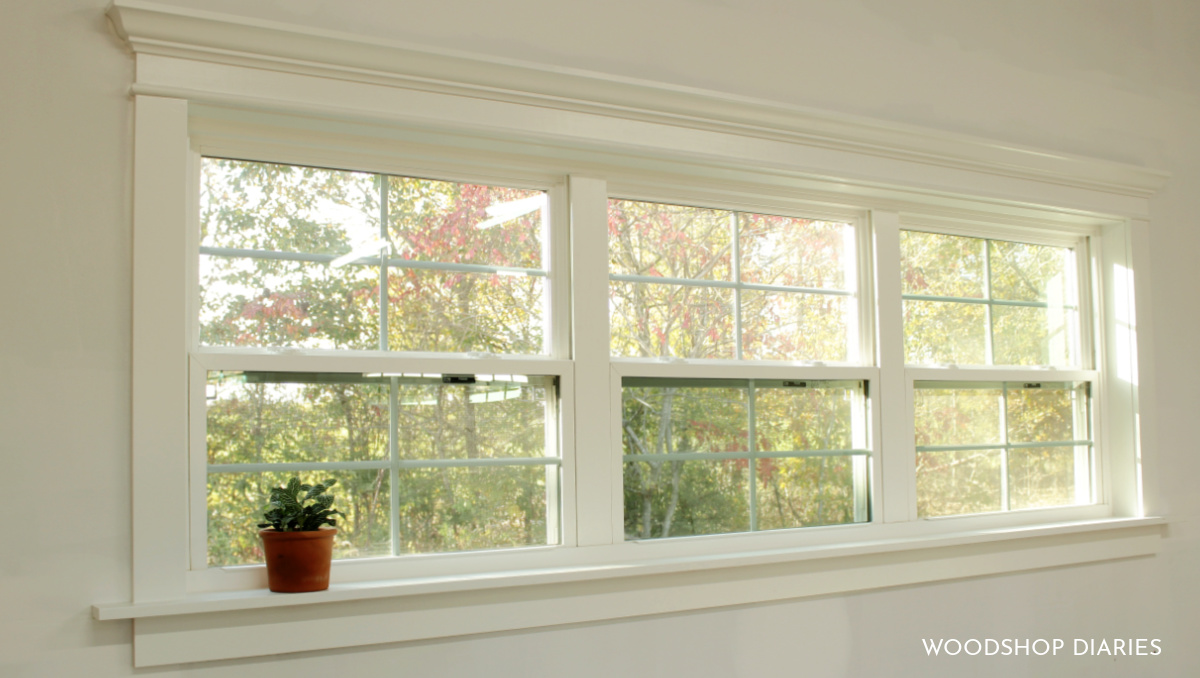
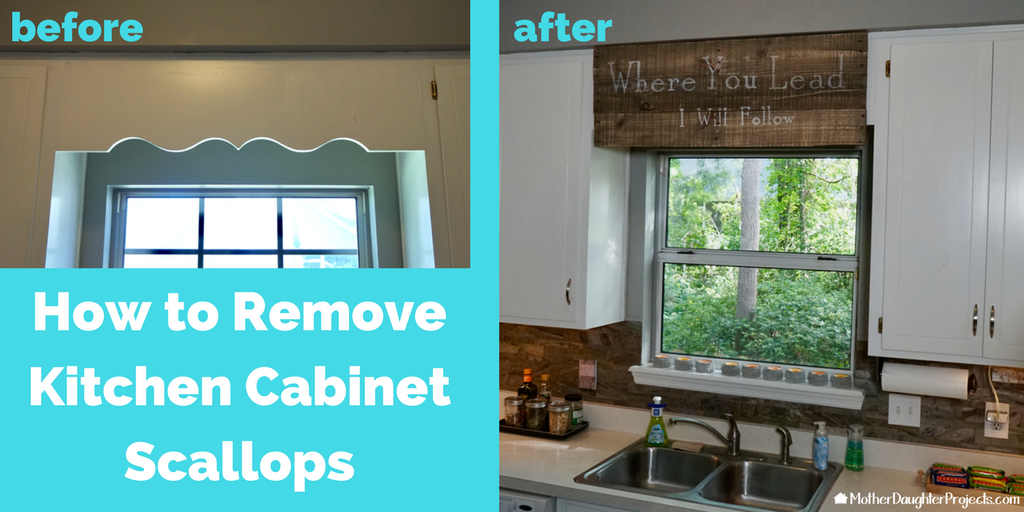
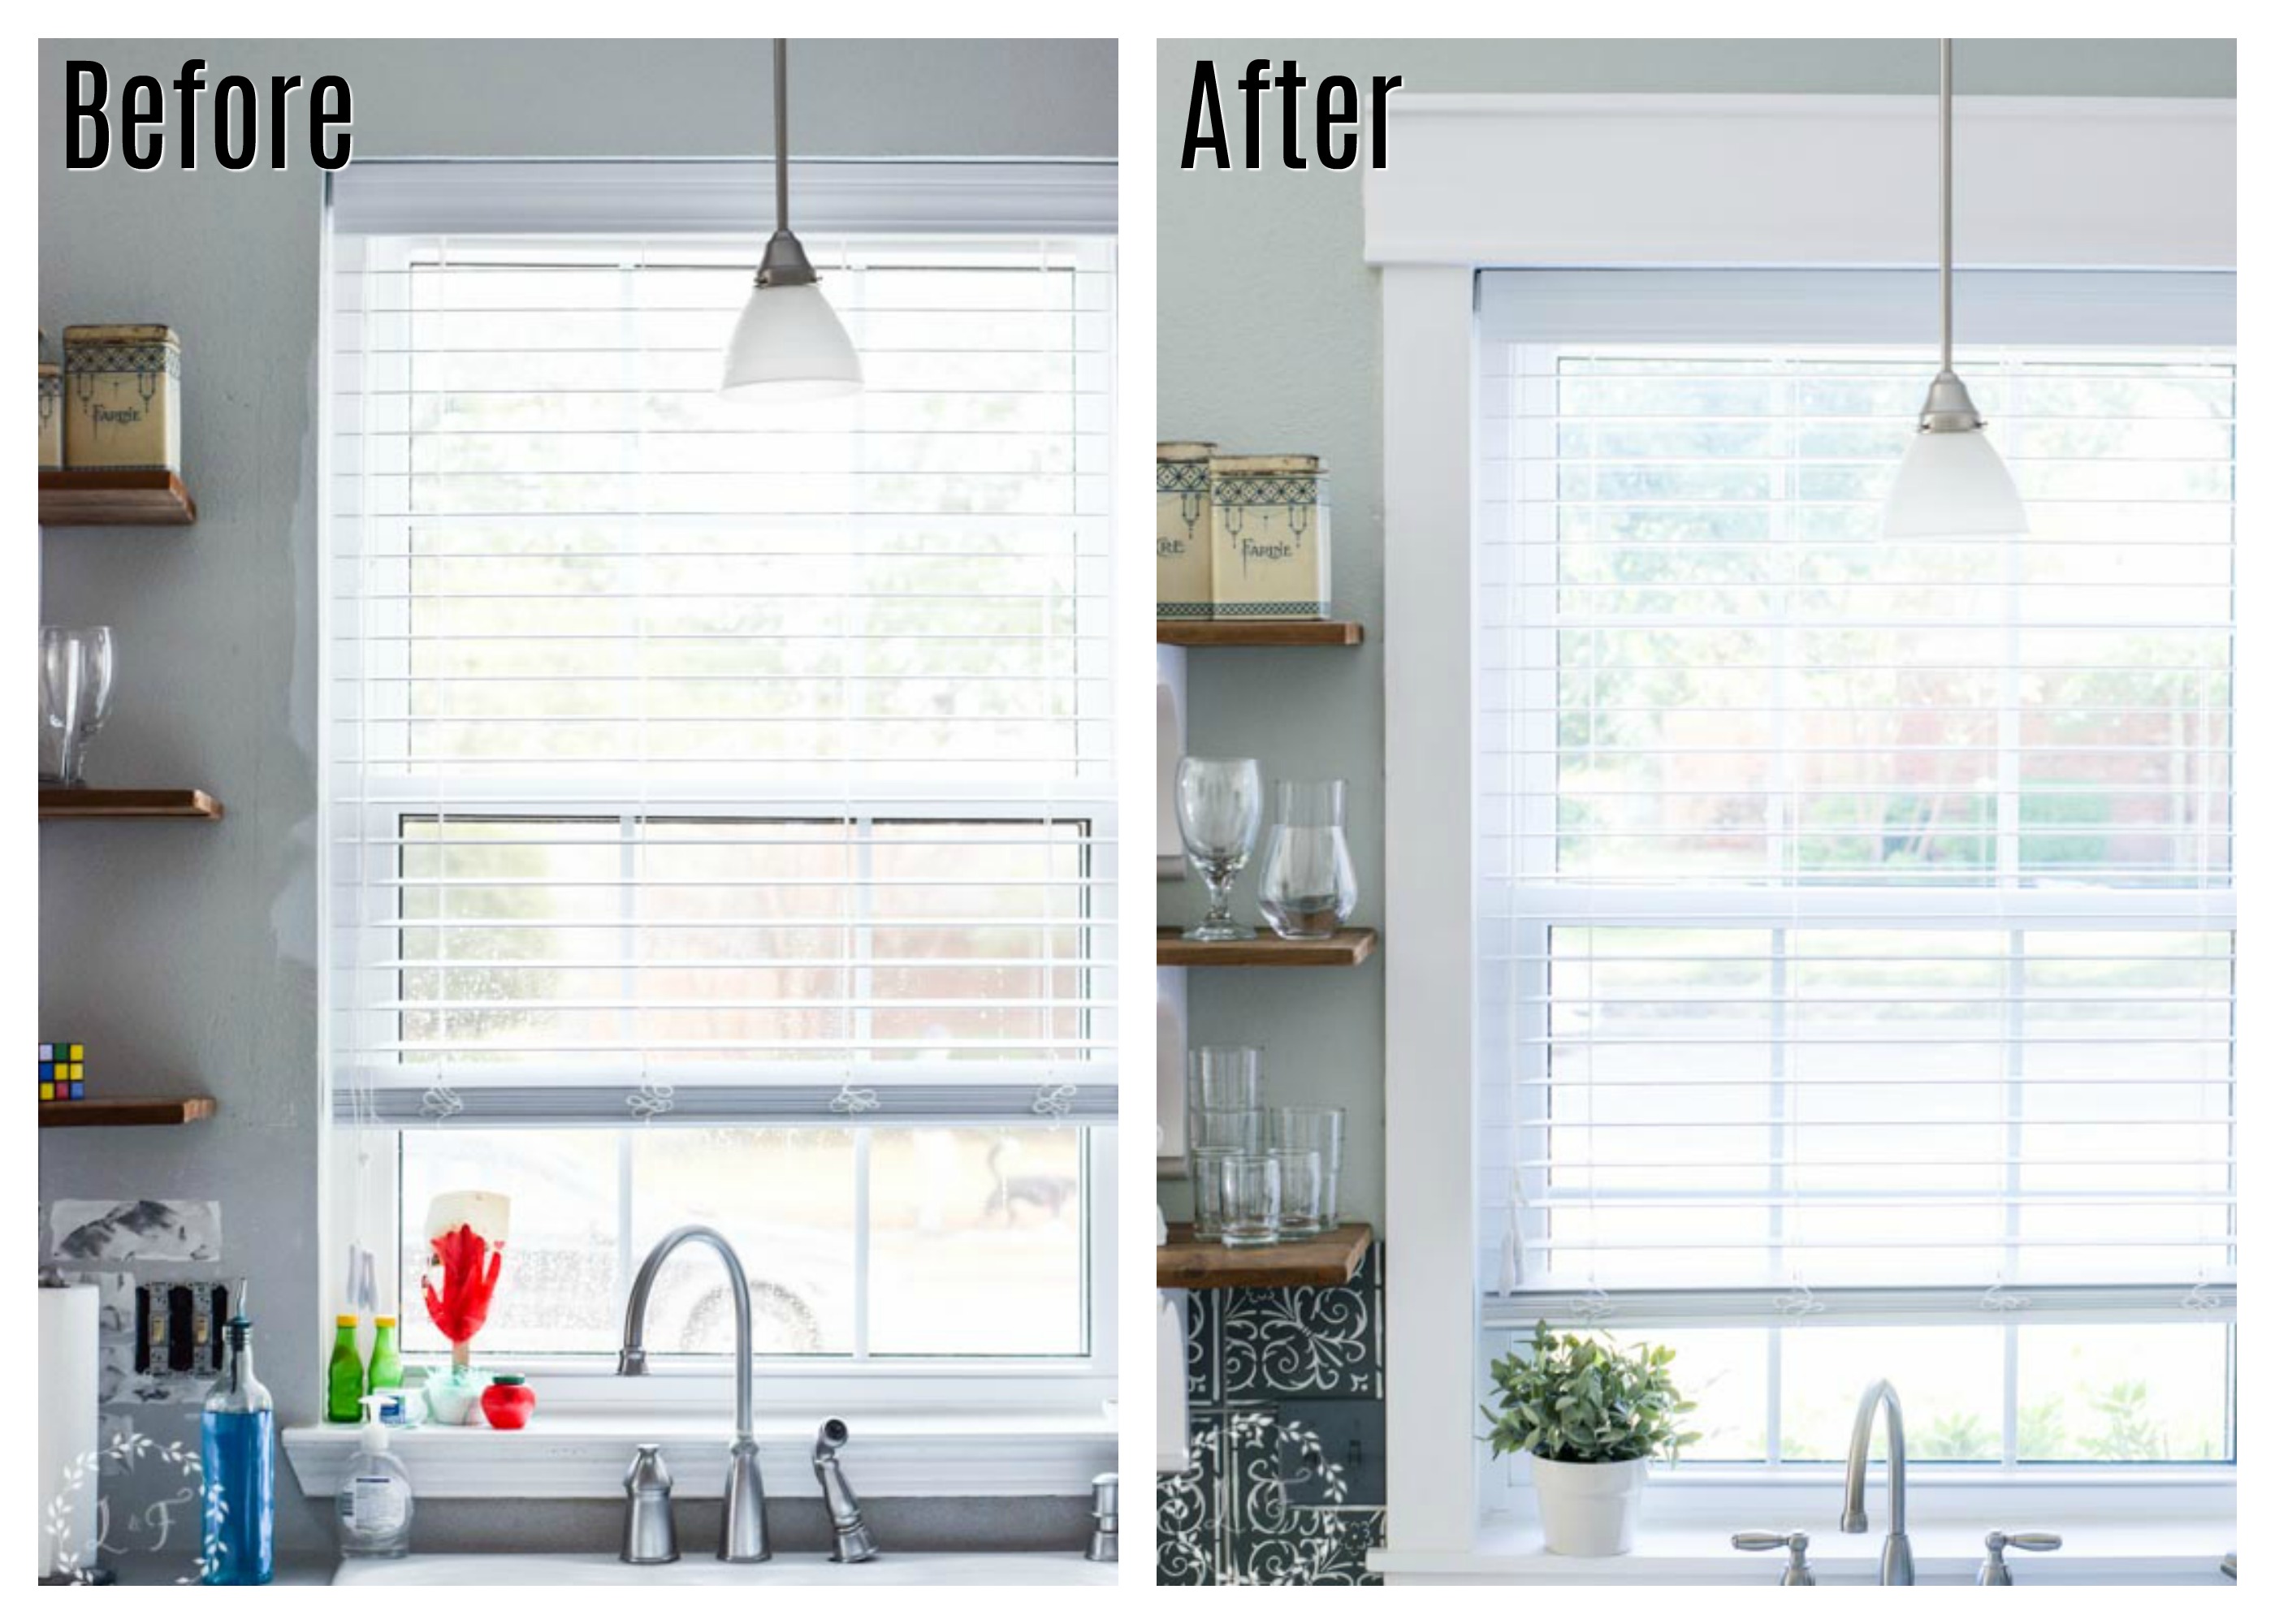
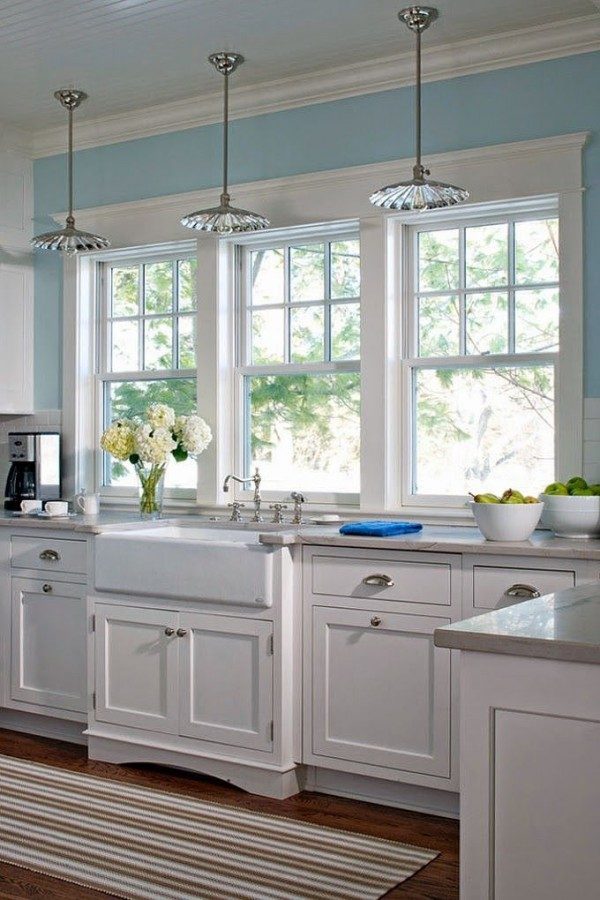
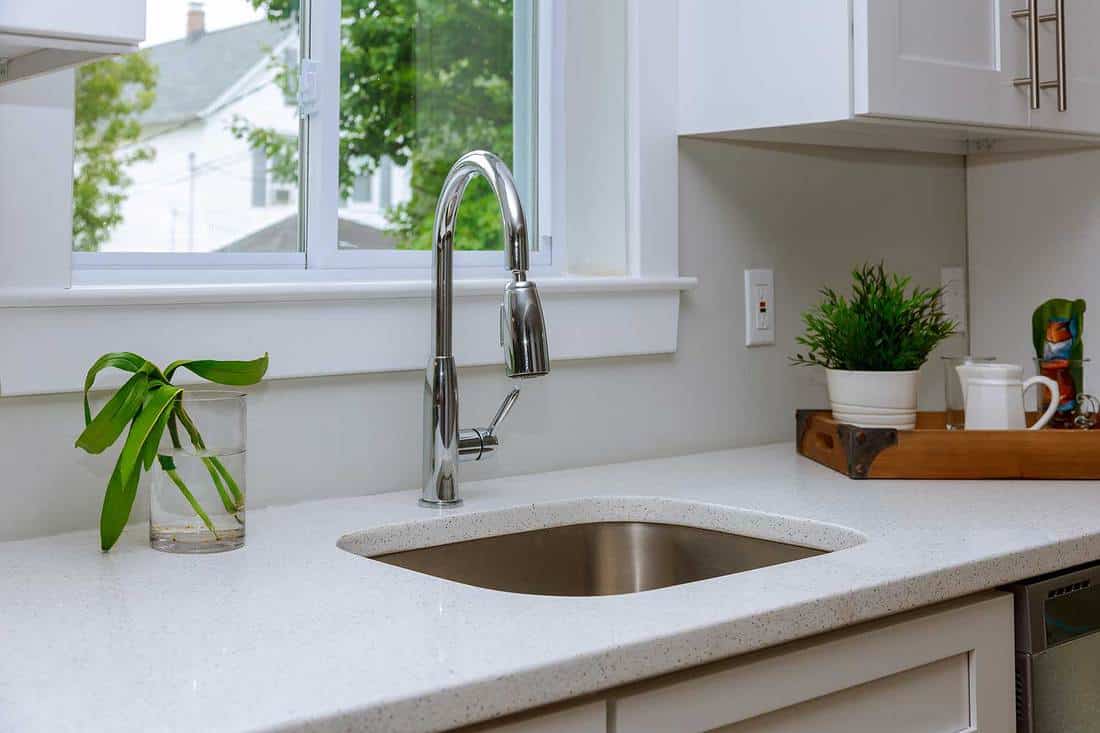
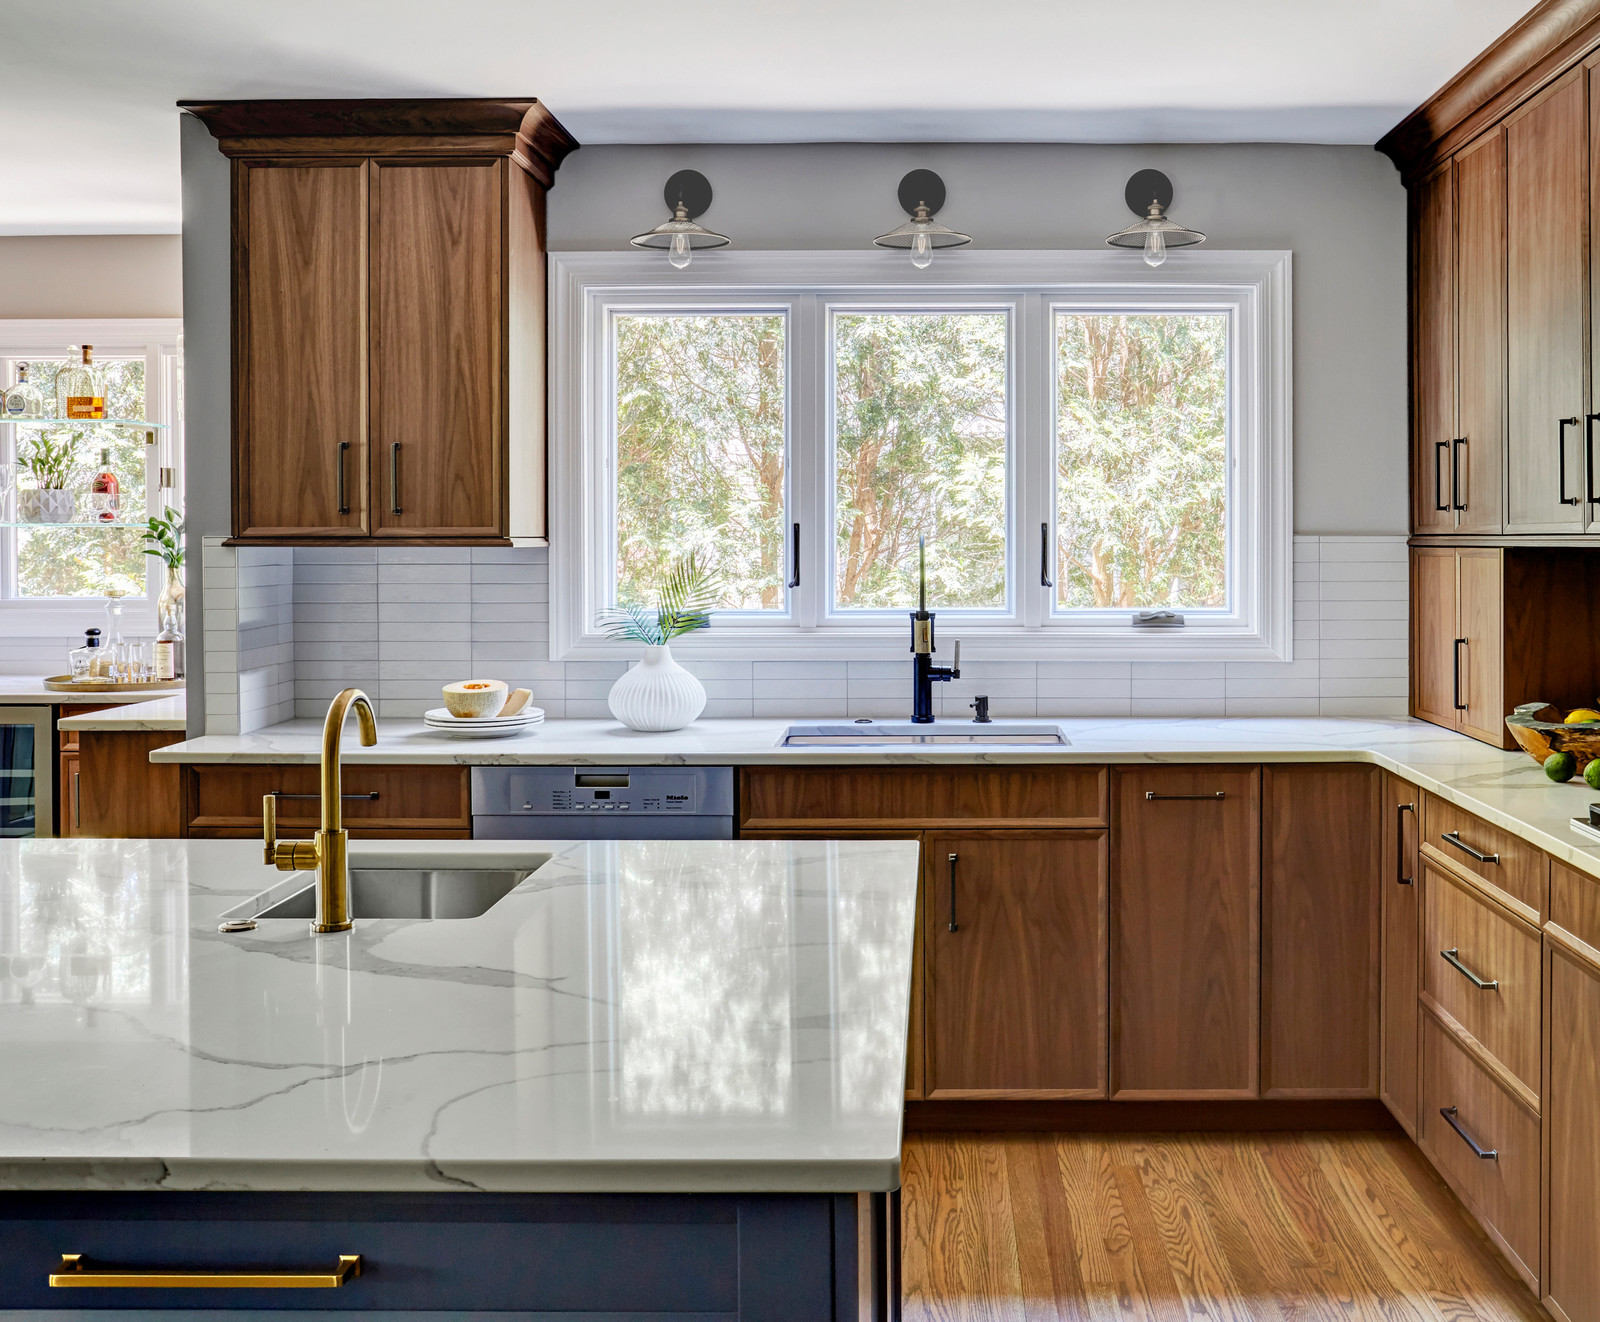
Removing the trim piece above the kitchen sink window can have a significant impact on the overall aesthetic of your kitchen. It creates a clean and open look, allowing more natural light to flow into the space. This not only makes the kitchen feel brighter and more inviting but can also make it appear larger. Without the trim piece, the eye is drawn to the view outside the window, adding depth and dimension to the room.
Additionally, taking out the trim piece can make cleaning and maintenance easier. The space between the window and the cabinet becomes more accessible, making it easier to wipe down and keep clean. It also eliminates the need to dust and maintain the trim piece itself.
The Process of Removing the Trim Piece

While the idea of taking out a trim piece may seem daunting, it is a relatively simple process that can be completed in just a few steps. Begin by carefully removing the trim piece using a pry bar and hammer. Be sure to wear gloves and protective eyewear to avoid any injuries. Once the trim piece is removed, fill in any holes or gaps with spackling compound and sand it down for a smooth finish. Finally, touch up the paint or add a fresh coat to complete the look.
Final Thoughts
Removing the trim piece above the kitchen sink window is a small yet impactful upgrade that can bring a modern and fresh look to your kitchen. It not only adds aesthetic appeal but also makes maintenance and cleaning easier. So if you're looking to give your kitchen a simple yet effective upgrade, consider taking out the trim piece above the sink window for a clean and open look.