How to Remove Supply Lines from a Kitchen Sink
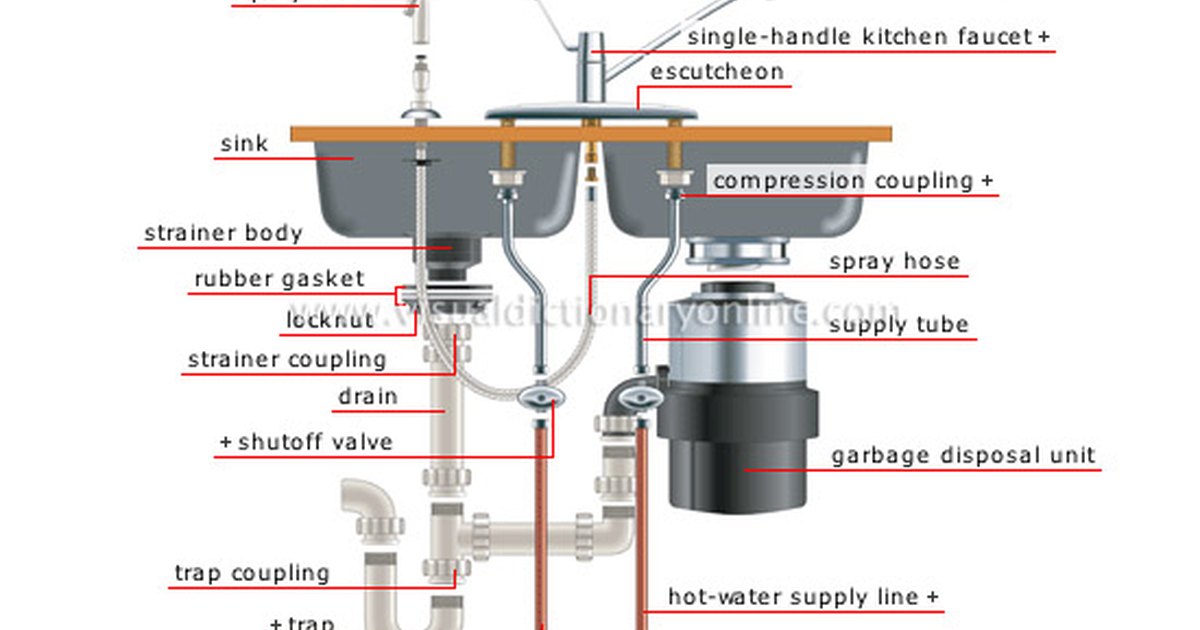
If you're planning on replacing your kitchen sink or doing some repairs, one of the tasks you'll need to do is remove the supply lines. These are the pipes that connect your sink to the water supply, and they can be a bit tricky to remove. But don't worry, with the right tools and techniques, you can easily remove the supply lines from your kitchen sink without any hassle. In this article, we'll guide you through the process of removing supply lines from a kitchen sink so you can get your project done smoothly and efficiently.
Removing Supply Lines from a Kitchen Sink: Step-by-Step Guide
Here's a step-by-step guide to help you remove the supply lines from your kitchen sink:
Step 1: Turn off the Water Supply
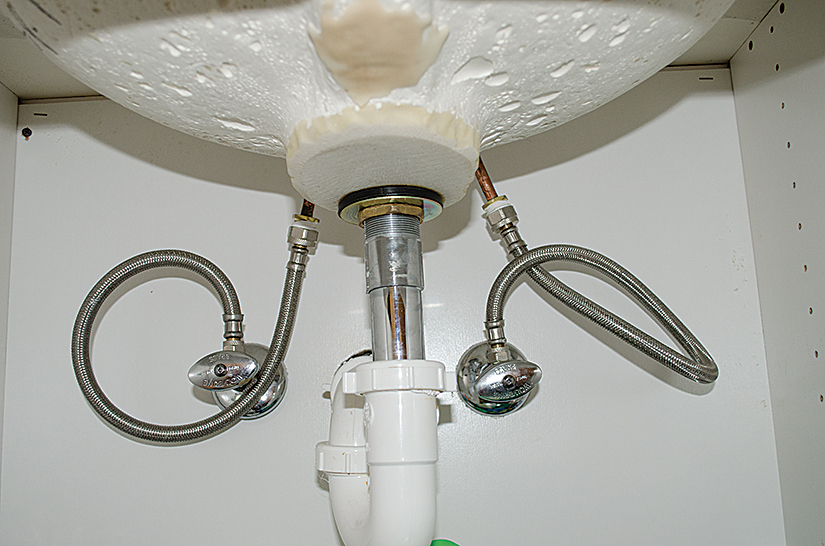
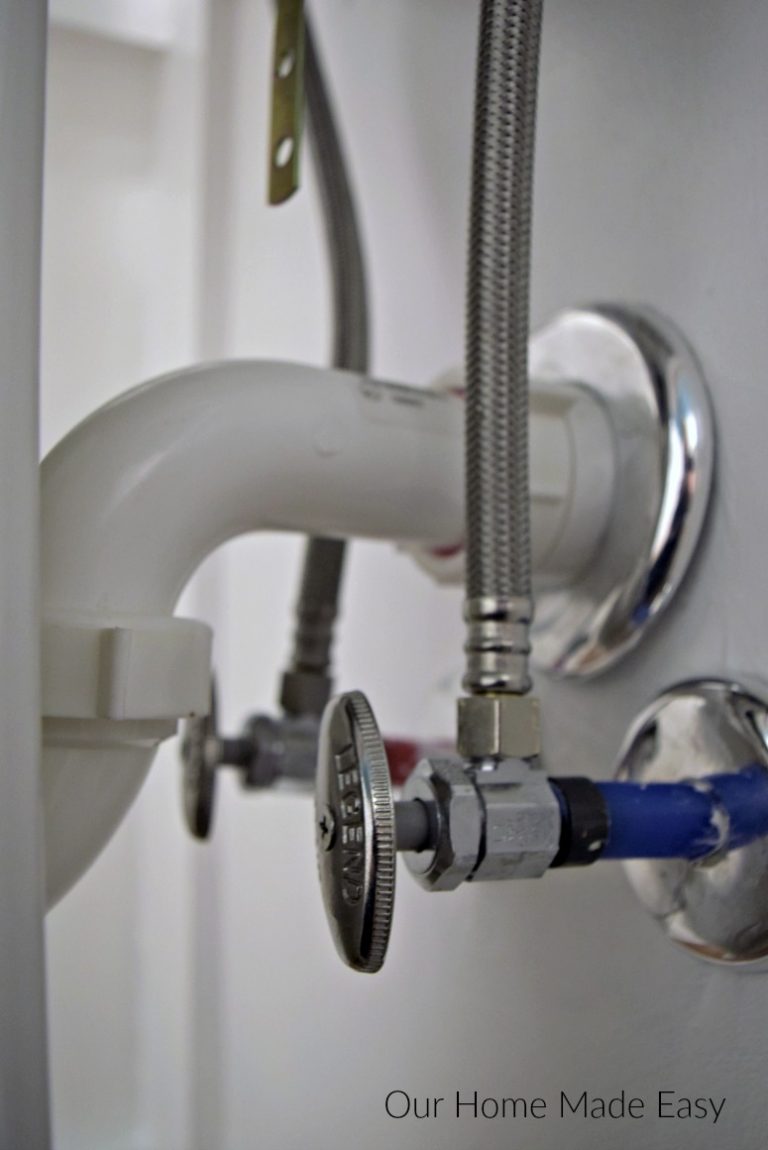
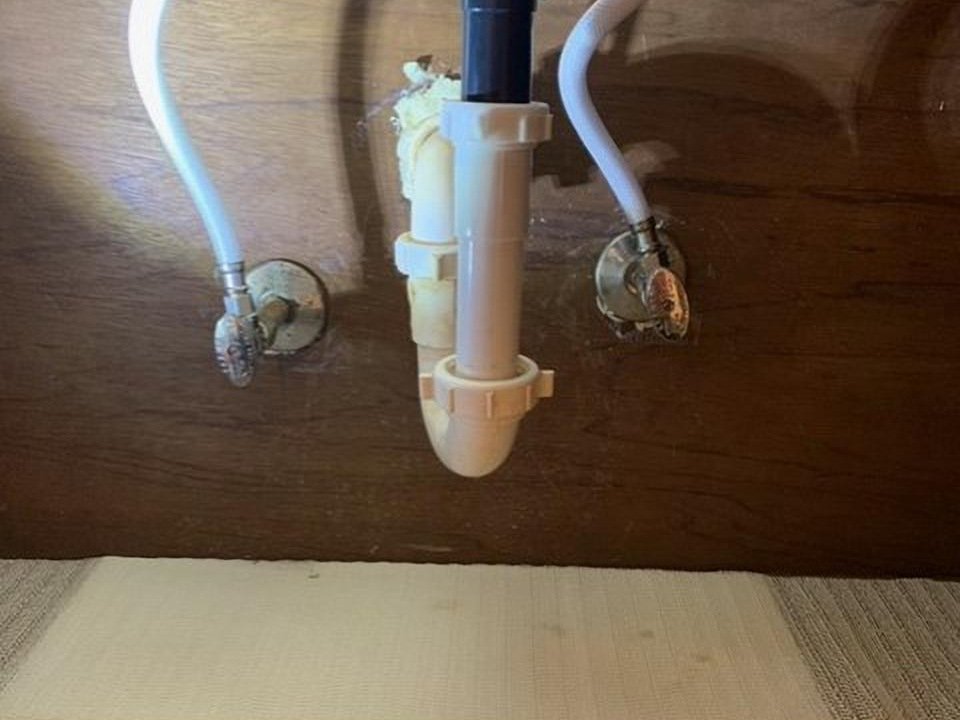
The first thing you need to do before removing the supply lines is to turn off the water supply. This will prevent any water from gushing out when you disconnect the lines. Locate the shut-off valves under the sink and turn them clockwise to shut off the water.
Step 2: Prepare Your Tools
You'll need a few tools to remove the supply lines, such as an adjustable wrench, pliers, and a bucket or towel to catch any water that may drip out. Make sure you have these tools on hand before you start the process.
Step 3: Loosen the Nuts
Using your adjustable wrench, loosen the nuts that connect the supply lines to the shut-off valves. You may need to use pliers to grip the nut if it's tight. Once the nuts are loosened, you can remove them by hand.
Step 4: Disconnect the Supply Lines
Once the nuts are removed, you can now disconnect the supply lines from the shut-off valves. You may need to use pliers to loosen the lines if they are stuck. Slowly pull the lines away from the valves to avoid any water from spilling out.
Step 5: Remove the Lines from the Faucet
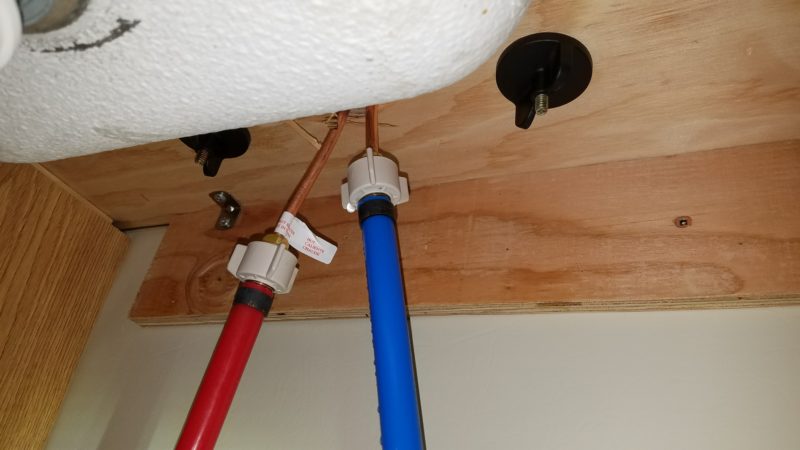
Next, you'll need to remove the supply lines from the faucet. Locate the nuts that connect the lines to the faucet and use your adjustable wrench to loosen and remove them. Once the nuts are removed, you can pull the supply lines away from the faucet.
Step 6: Clean the Area
Now that the supply lines are disconnected, you can clean the area around the valves and faucet. Use a cloth or sponge to wipe away any dirt or grime that may have accumulated.
DIY: How to Disconnect and Remove a Kitchen Sink Supply Line
If you prefer to do things on your own, here's a DIY guide to help you disconnect and remove a kitchen sink supply line:
Step 1: Gather Your Tools
Before you start, make sure you have all the necessary tools on hand. You'll need an adjustable wrench, pliers, and a bucket or towel to catch any water.
Step 2: Turn off the Water Supply
Locate the shut-off valves under the sink and turn them clockwise to shut off the water supply. This will prevent any water from spilling out when you disconnect the supply lines.
Step 3: Loosen the Nuts
Using your adjustable wrench, loosen the nuts that connect the supply lines to the shut-off valves. You may need to use pliers to grip the nut if it's tight. Once the nuts are loosened, you can remove them by hand.
Step 4: Disconnect the Lines
Once the nuts are removed, you can now disconnect the supply lines from the shut-off valves. You may need to use pliers to loosen the lines if they are stuck. Slowly pull the lines away from the valves to avoid any water from spilling out.
Step 5: Remove the Lines from the Faucet
Next, you'll need to remove the supply lines from the faucet. Locate the nuts that connect the lines to the faucet and use your adjustable wrench to loosen and remove them. Once the nuts are removed, you can pull the supply lines away from the faucet.
Step 6: Clean the Area
Before installing the new supply lines, make sure to clean the area around the valves and faucet. Use a cloth or sponge to wipe away any dirt or grime that may have accumulated.
Removing Kitchen Sink Supply Lines: Tips and Tricks
Here are some tips and tricks to keep in mind when removing supply lines from a kitchen sink:
Tip 1: Use WD-40 to Loosen Stuck Nuts
If the nuts connecting the supply lines are stuck, you can use WD-40 to help loosen them. Spray some WD-40 on the nuts and wait a few minutes before attempting to loosen them with your wrench.
Tip 2: Protect the Sink
Use a towel or bucket to protect your sink from any scratches or damage while removing the supply lines. This will also catch any water that may drip out.
Tip 3: Have a Helper
If possible, have someone assist you while removing the supply lines. They can hold the lines up while you loosen the nuts, making the process easier and quicker.
Step-by-Step Guide for Removing Supply Lines from a Kitchen Sink
If you prefer a more detailed step-by-step guide, here's a breakdown of the process for removing supply lines from a kitchen sink:
Step 1: Turn off the Water Supply
Step 2: Prepare Your Tools
Step 3: Loosen the Nuts
Step 4: Disconnect the Supply Lines
Step 5: Remove the Lines from the Faucet
Step 6: Clean the Area
Removing Kitchen Sink Supply Lines: Common Mistakes to Avoid
Here are some common mistakes to avoid when removing supply lines from a kitchen sink:
Mistake 1: Forgetting to Turn off the Water
Always remember to turn off the water supply before attempting to remove the supply lines. This will prevent any water from gushing out and causing a mess.
Mistake 2: Using the Wrong Tools
Make sure to use the right tools for the job. Using the wrong tools can damage the nuts or the supply lines, making it more difficult to remove them.
Mistake 3: Rushing the Process
Take your time when removing the supply lines. Rushing the process can lead to mistakes and potentially cause damage to your sink.
Tools You'll Need for Removing Supply Lines from a Kitchen Sink
Here are the tools you'll need to successfully remove supply lines from a kitchen sink:
1. Adjustable Wrench
2. Pliers
3. Bucket or Towel
4. WD-40 (optional)
How to Remove Old and Stubborn Supply Lines from a Kitchen Sink
If you're dealing with old and stubborn supply lines, here are some tips to help you remove them:
1. Use WD-40 to Loosen Stuck Nuts
2. Heat the Nuts with a Hair Dryer
3. Use a Pipe Wrench
4. Cut the Lines with a Hacksaw
Removing Supply Lines from a Kitchen Sink: Safety Precautions to Keep in Mind
Here are some safety precautions to keep in mind when removing supply lines from a kitchen sink:
Safety Precaution 1: Wear Protective Gear
Wear gloves and eye protection when working with the supply lines to protect your hands and eyes from any potential hazards.
Safety Precaution 2: Turn off the Water Supply
Always remember to turn off the water supply before attempting to remove the supply lines to prevent any accidents or injuries.
Safety Precaution 3: Be Gentle
Be gentle when removing the supply lines to avoid any damage to your sink or the lines. Use the right tools and don't rush the process.
Expert Tips for Removing Supply Lines from a Kitchen Sink with Ease
Here are some expert tips to help you remove supply lines from a kitchen sink with ease:
Expert Tip 1: Use a Basin Wrench
For hard-to-reach areas, use a basin wrench to loosen and remove the nuts connecting the supply lines to the faucet.
Expert Tip 2: Have Spare Parts on Hand
It's always a good idea to have spare supply lines and nuts on hand in case they need to be replaced during the removal process.
Expert Tip 3: Call a Professional
If you're not confident in your skills or encounter any difficulties, don't hesitate to call a professional plumber to help you remove the supply lines.
Now that you know how to remove supply lines from a kitchen sink, you can confidently tackle this task and get your project done efficiently. Remember to always prioritize safety and use the right tools for the job. Happy DIY-ing!
Benefits of Removing Supply Lines from Kitchen Sink

Improving Aesthetics
 Removing supply lines from your kitchen sink can greatly improve the aesthetics of your kitchen. The supply lines, also known as the water supply lines, are the pipes that connect your sink to the main water supply. These pipes are usually visible under the sink and can be an eyesore in an otherwise beautifully designed kitchen.
By removing these pipes, you can create a cleaner and more streamlined look for your sink area. This is especially beneficial if you have a modern or minimalist kitchen design, as it eliminates any unnecessary clutter and creates a more cohesive look.
Increased Storage Space
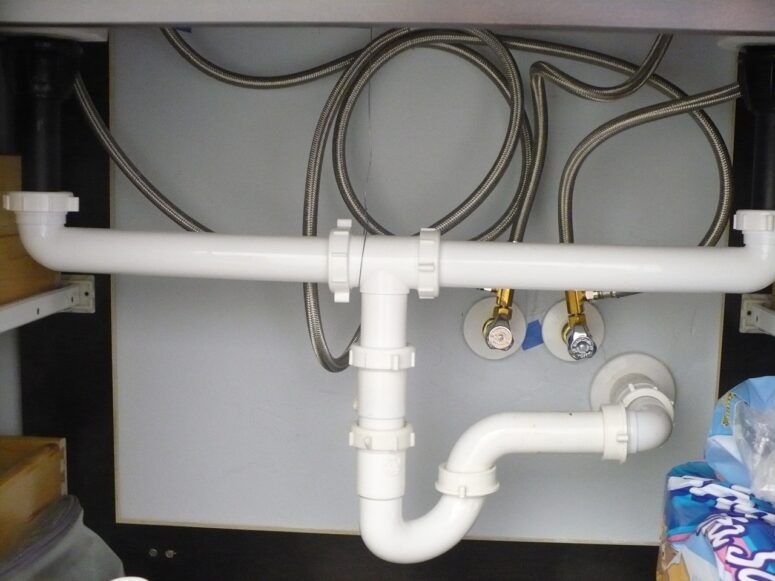 Another advantage of removing supply lines from your kitchen sink is the additional storage space it creates.
With the pipes no longer taking up space under the sink, you can utilize this area for storage. This can be particularly useful in smaller kitchens where storage space is limited. You can install shelves or cabinets to store cleaning supplies, extra dishware, or any other kitchen essentials. This not only maximizes space but also keeps your kitchen organized and clutter-free.
Easier Cleaning
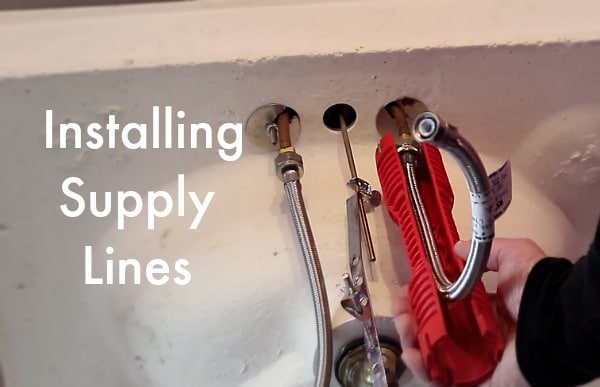 Supply lines can often get in the way when cleaning your kitchen sink.
With the pipes removed, you have better access to the bottom of the sink, making it easier to clean. This is especially useful for deep and large sinks, where it can be difficult to reach all areas with the pipes in place. Additionally, without the pipes, there is less chance of dirt and grime getting trapped, making cleaning more efficient and hygienic.
Cost Savings
 Removing supply lines from your kitchen sink can also lead to cost savings in the long run.
Over time, supply lines can become worn or damaged, resulting in leaks and water damage. By removing them, you eliminate the risk of these issues arising and potentially costly repairs. Additionally, with the pipes no longer connected to your sink, you have more flexibility in choosing the type of sink you want, which can also help save money.
Final Thoughts
 While supply lines are essential for a functioning kitchen sink, removing them can have many benefits for your kitchen design and overall functionality. Not only does it improve aesthetics, but it also creates more storage space, makes cleaning easier, and can lead to cost savings in the long run. Consider removing your supply lines for a more streamlined and efficient kitchen space.



:no_upscale()/cdn.vox-cdn.com/uploads/chorus_asset/file/19495086/drain_0.jpg)


