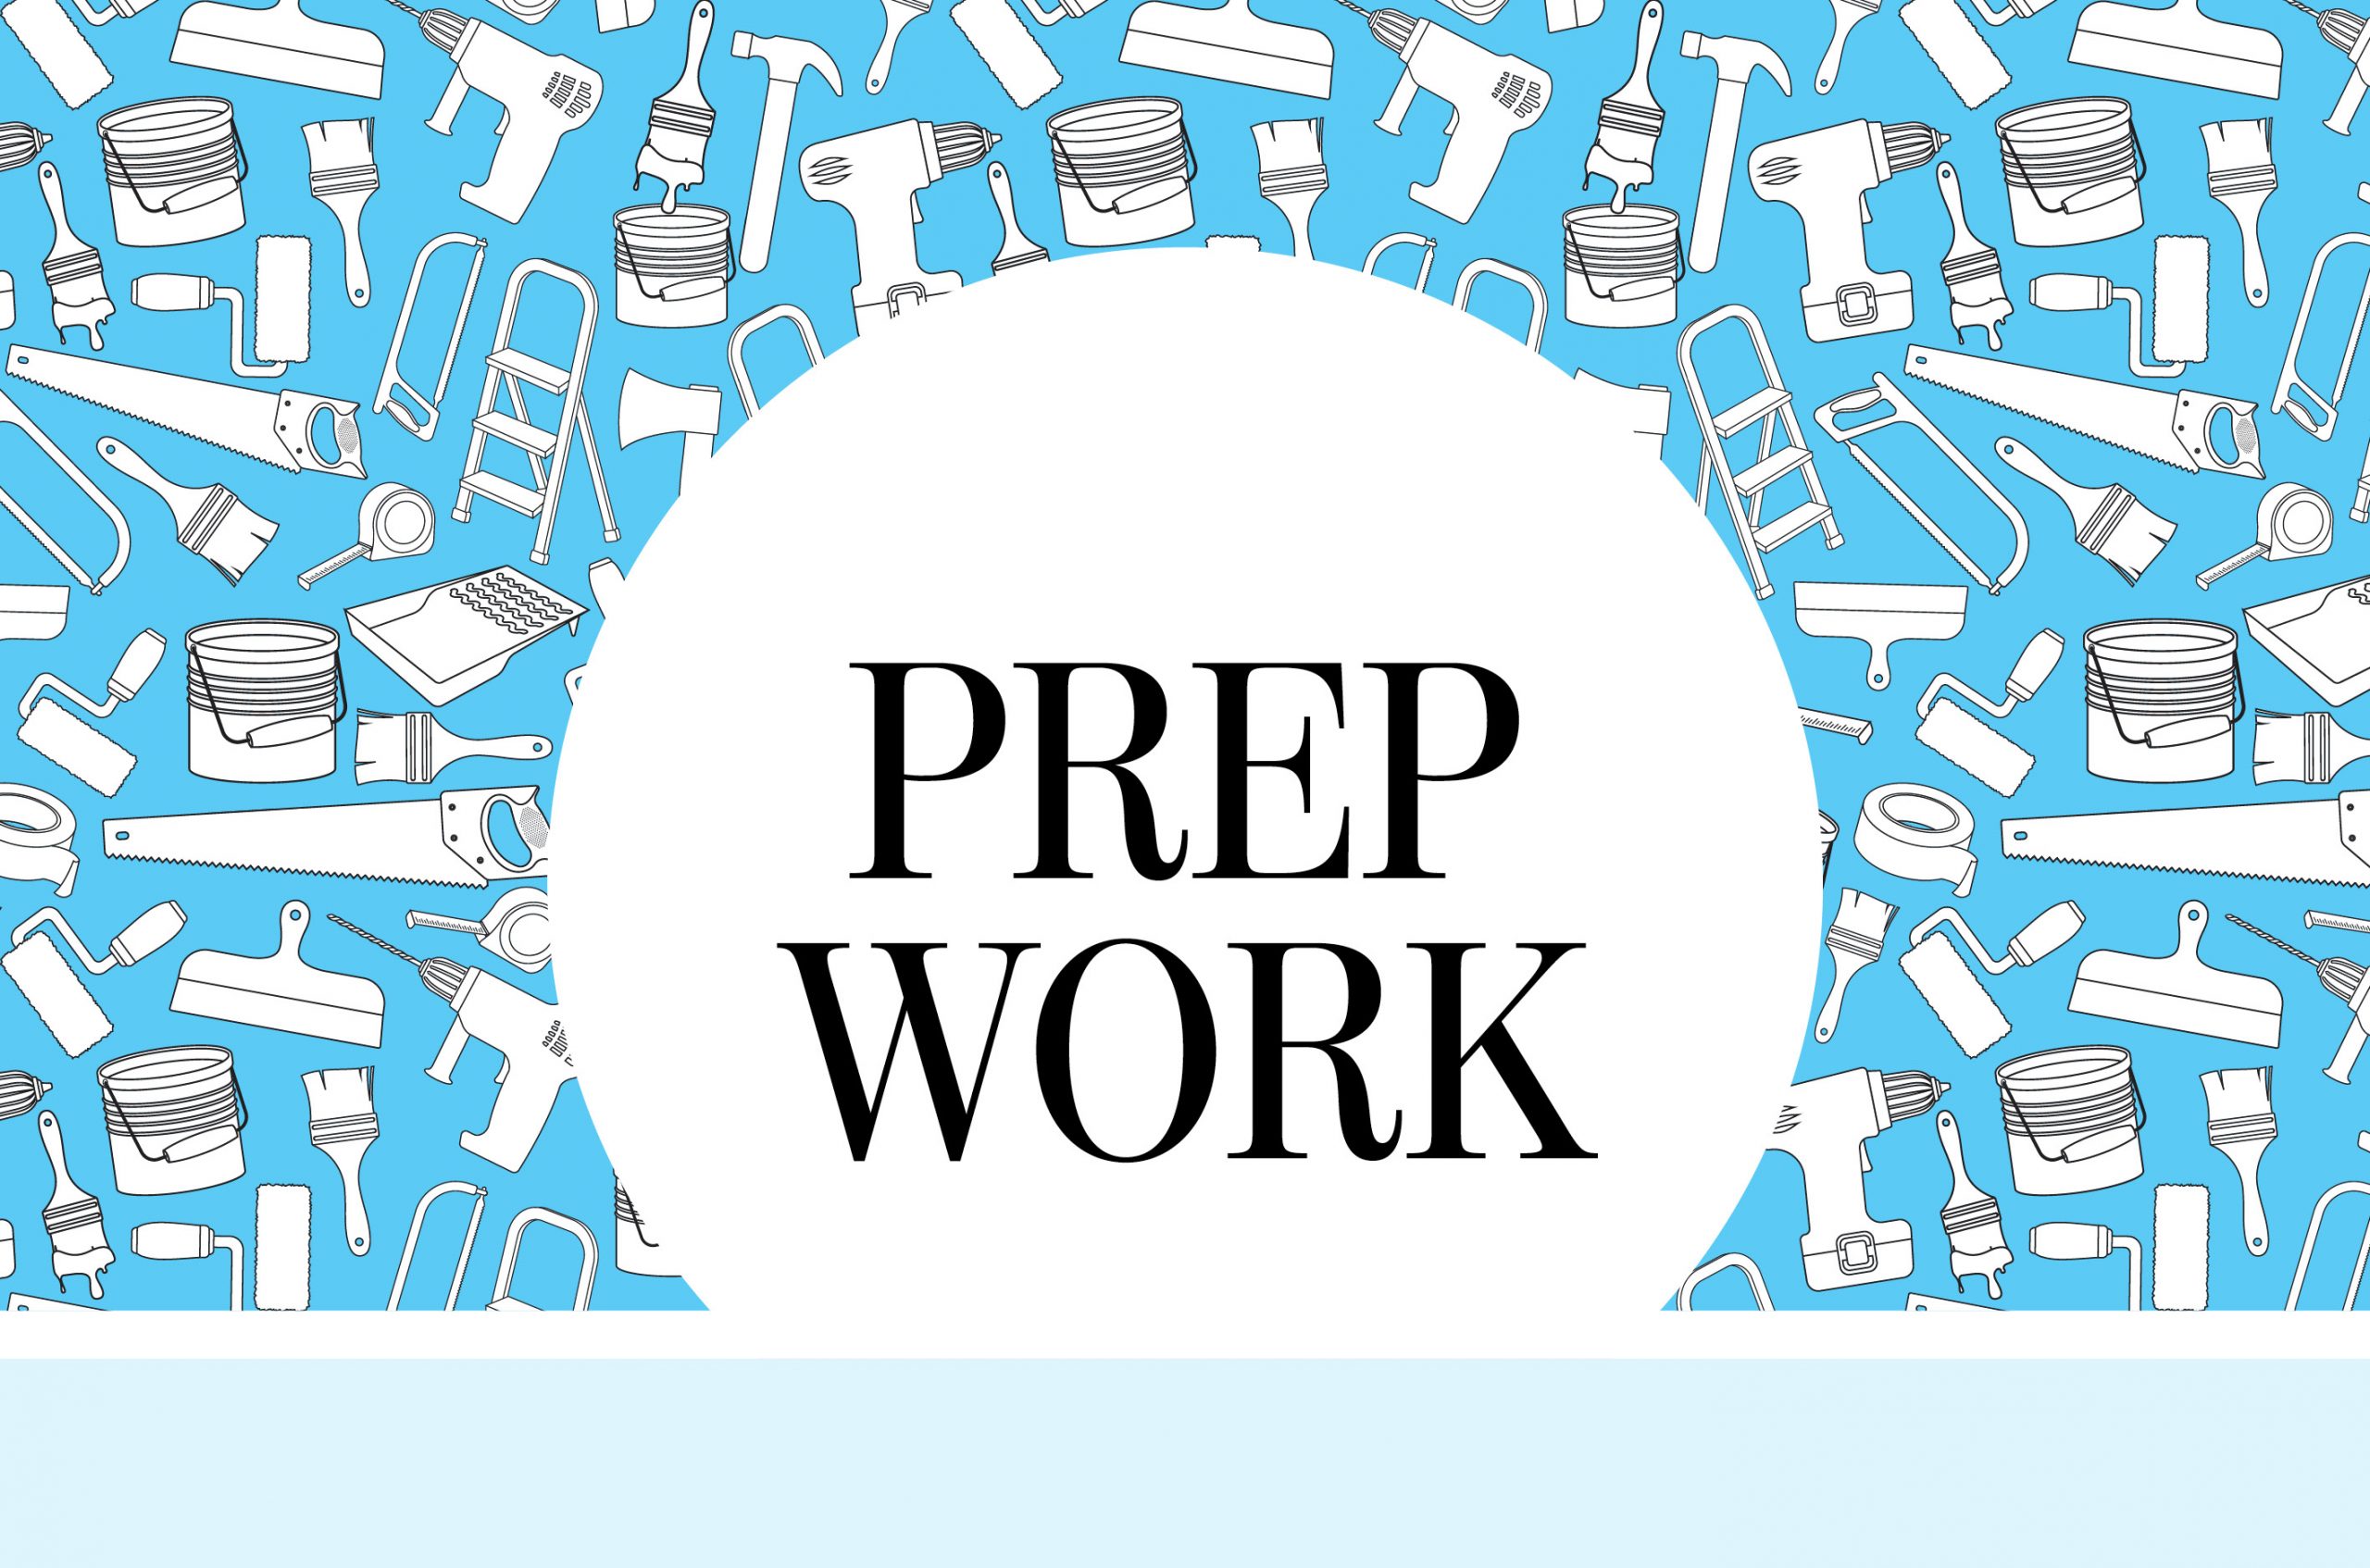
Prep Work
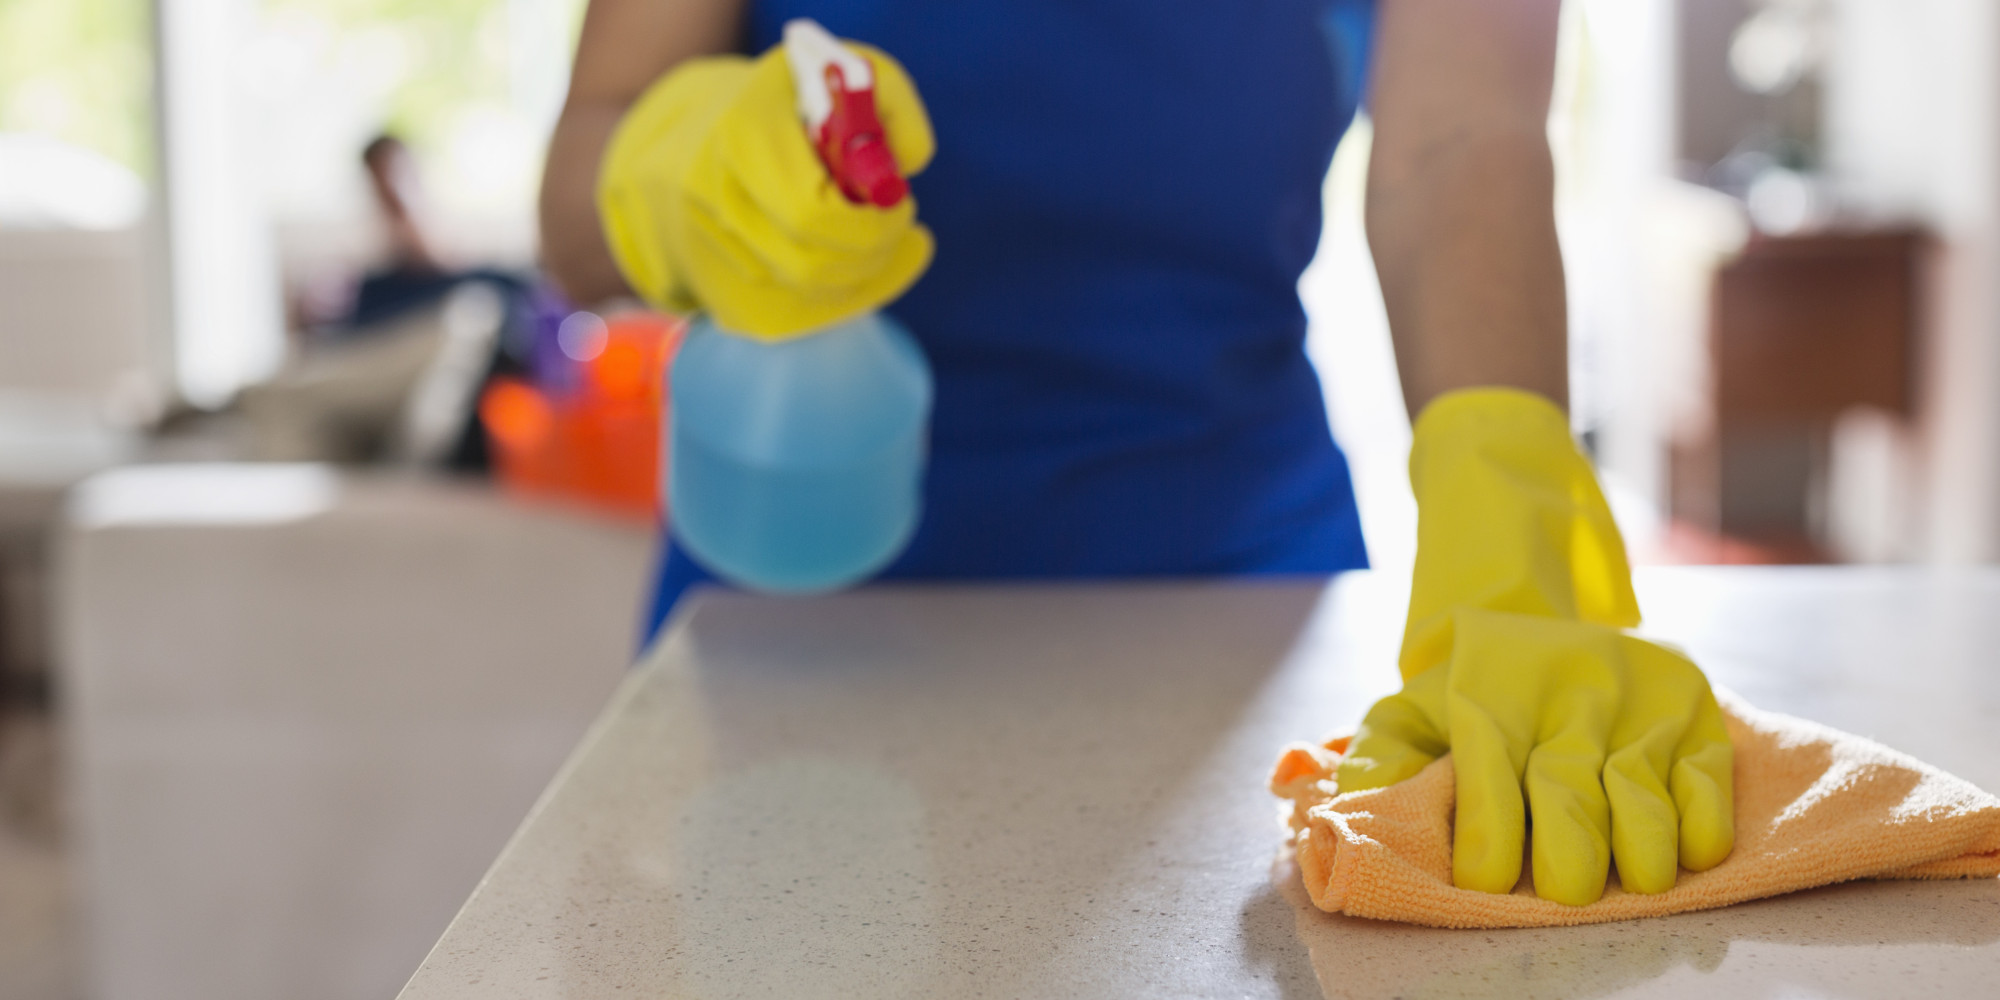
Before starting any painting project, it's important to properly prepare the area. Begin by covering the floor and any nearby furniture with drop cloths to protect them from paint splatters. Remove any hardware, like handles or knobs, from the kitchen island. Clean the surface thoroughly with a degreaser to remove any dirt or grime. If the island has previously been painted, sand it down to remove any old paint or rough patches.


Prep Work


Priming
Priming is a crucial step in painting a kitchen island from dark to light. It creates a smooth and even base for the paint to adhere to, and can also help the new color appear more vibrant. Choose a high-quality primer that is specifically designed for the type of paint you will be using. Apply the primer evenly with a paintbrush or roller, following the grain of the wood. Let it dry completely before moving on to the next step.

Priming
/priming-and-the-psychology-of-memory-4173092_FINAL-89739e1ba32f428f92a6576d8e6f7611.png)


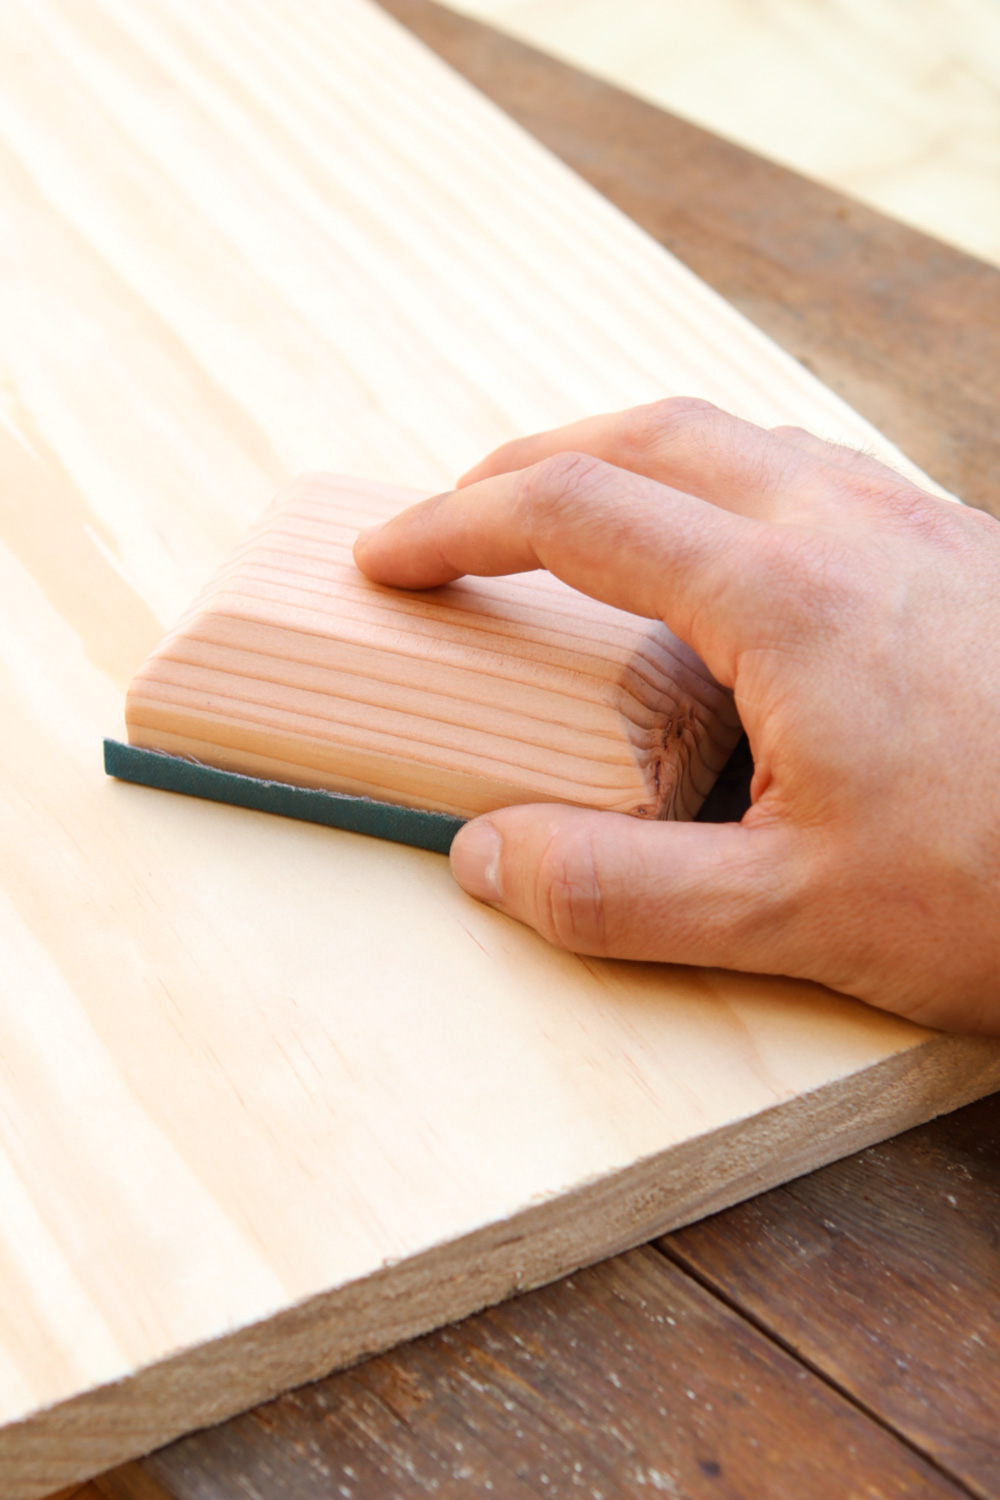
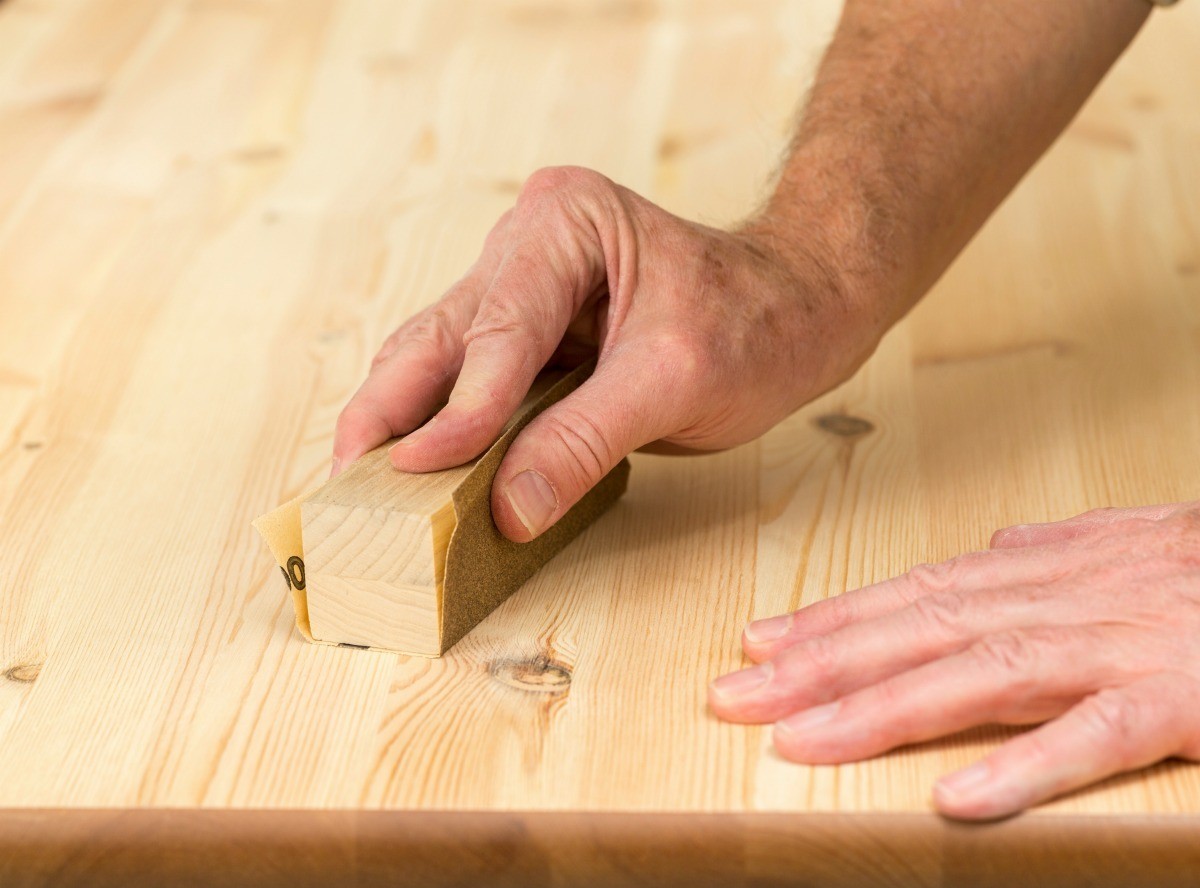
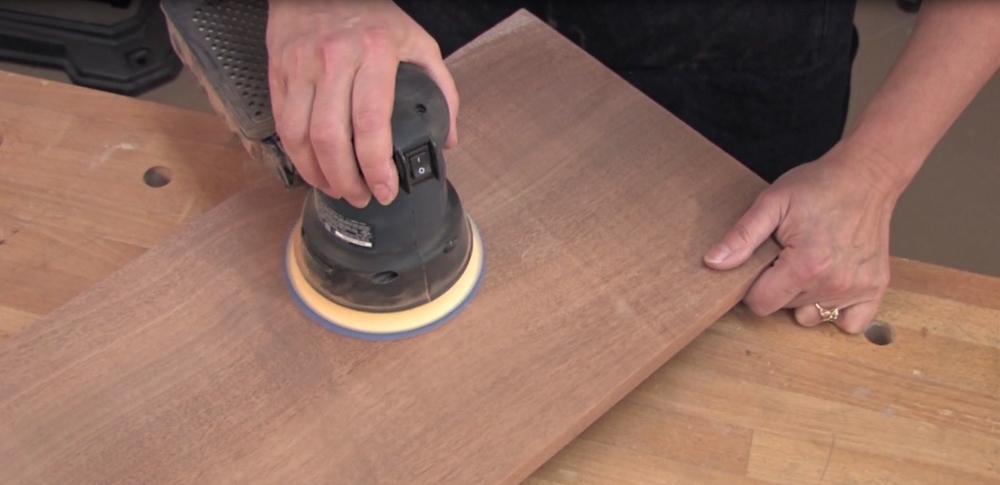
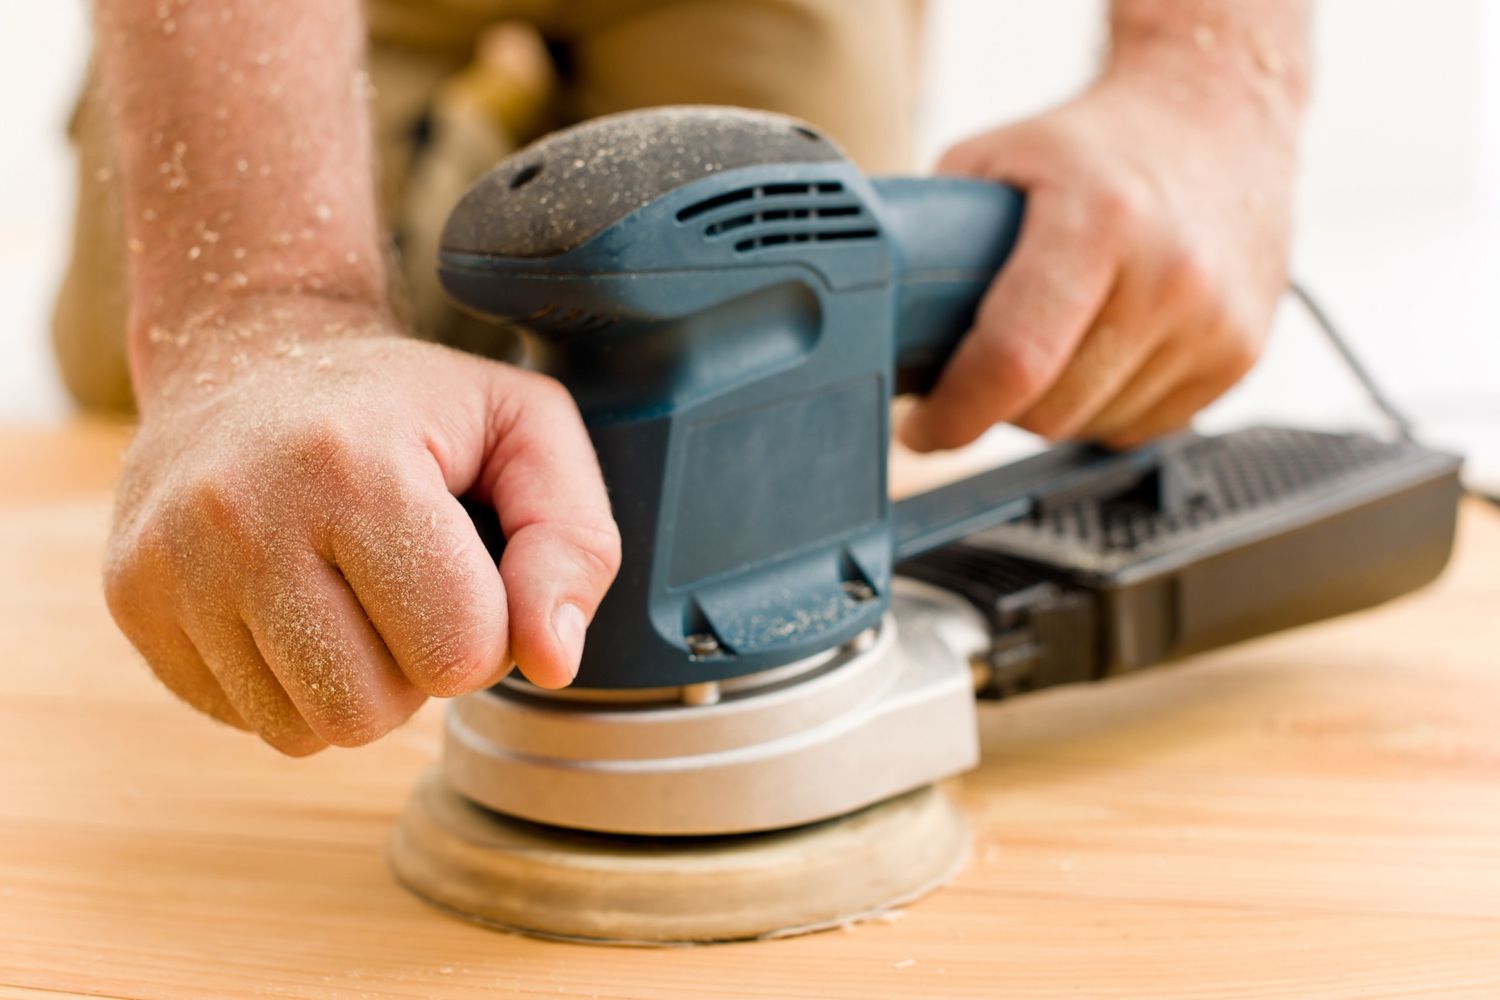
Sanding
Sanding is an important step in achieving a professional-looking paint job. Use a fine-grit sandpaper to smooth out any imperfections or rough spots on the island. This will also help the paint to adhere better. Be sure to wipe away any dust with a clean cloth before moving on to the next step.


Sanding
:max_bytes(150000):strip_icc()/GettyImages-501645641-58faccf75f9b581d596a6e5c.jpg)


/GettyImages-500817135-5a6519907bb283003730b5bb.jpg)

Painting
Now it's time for the fun part – painting! Choose a high-quality paint in the color of your choice. For best results, use a paintbrush for smaller areas and a roller for larger surfaces. Apply the paint evenly and in thin layers, allowing each coat to dry completely before applying the next. This will help prevent any drips or streaks. Be sure to follow the grain of the wood and paint in the same direction for a smooth finish.


Painting


.jpg)


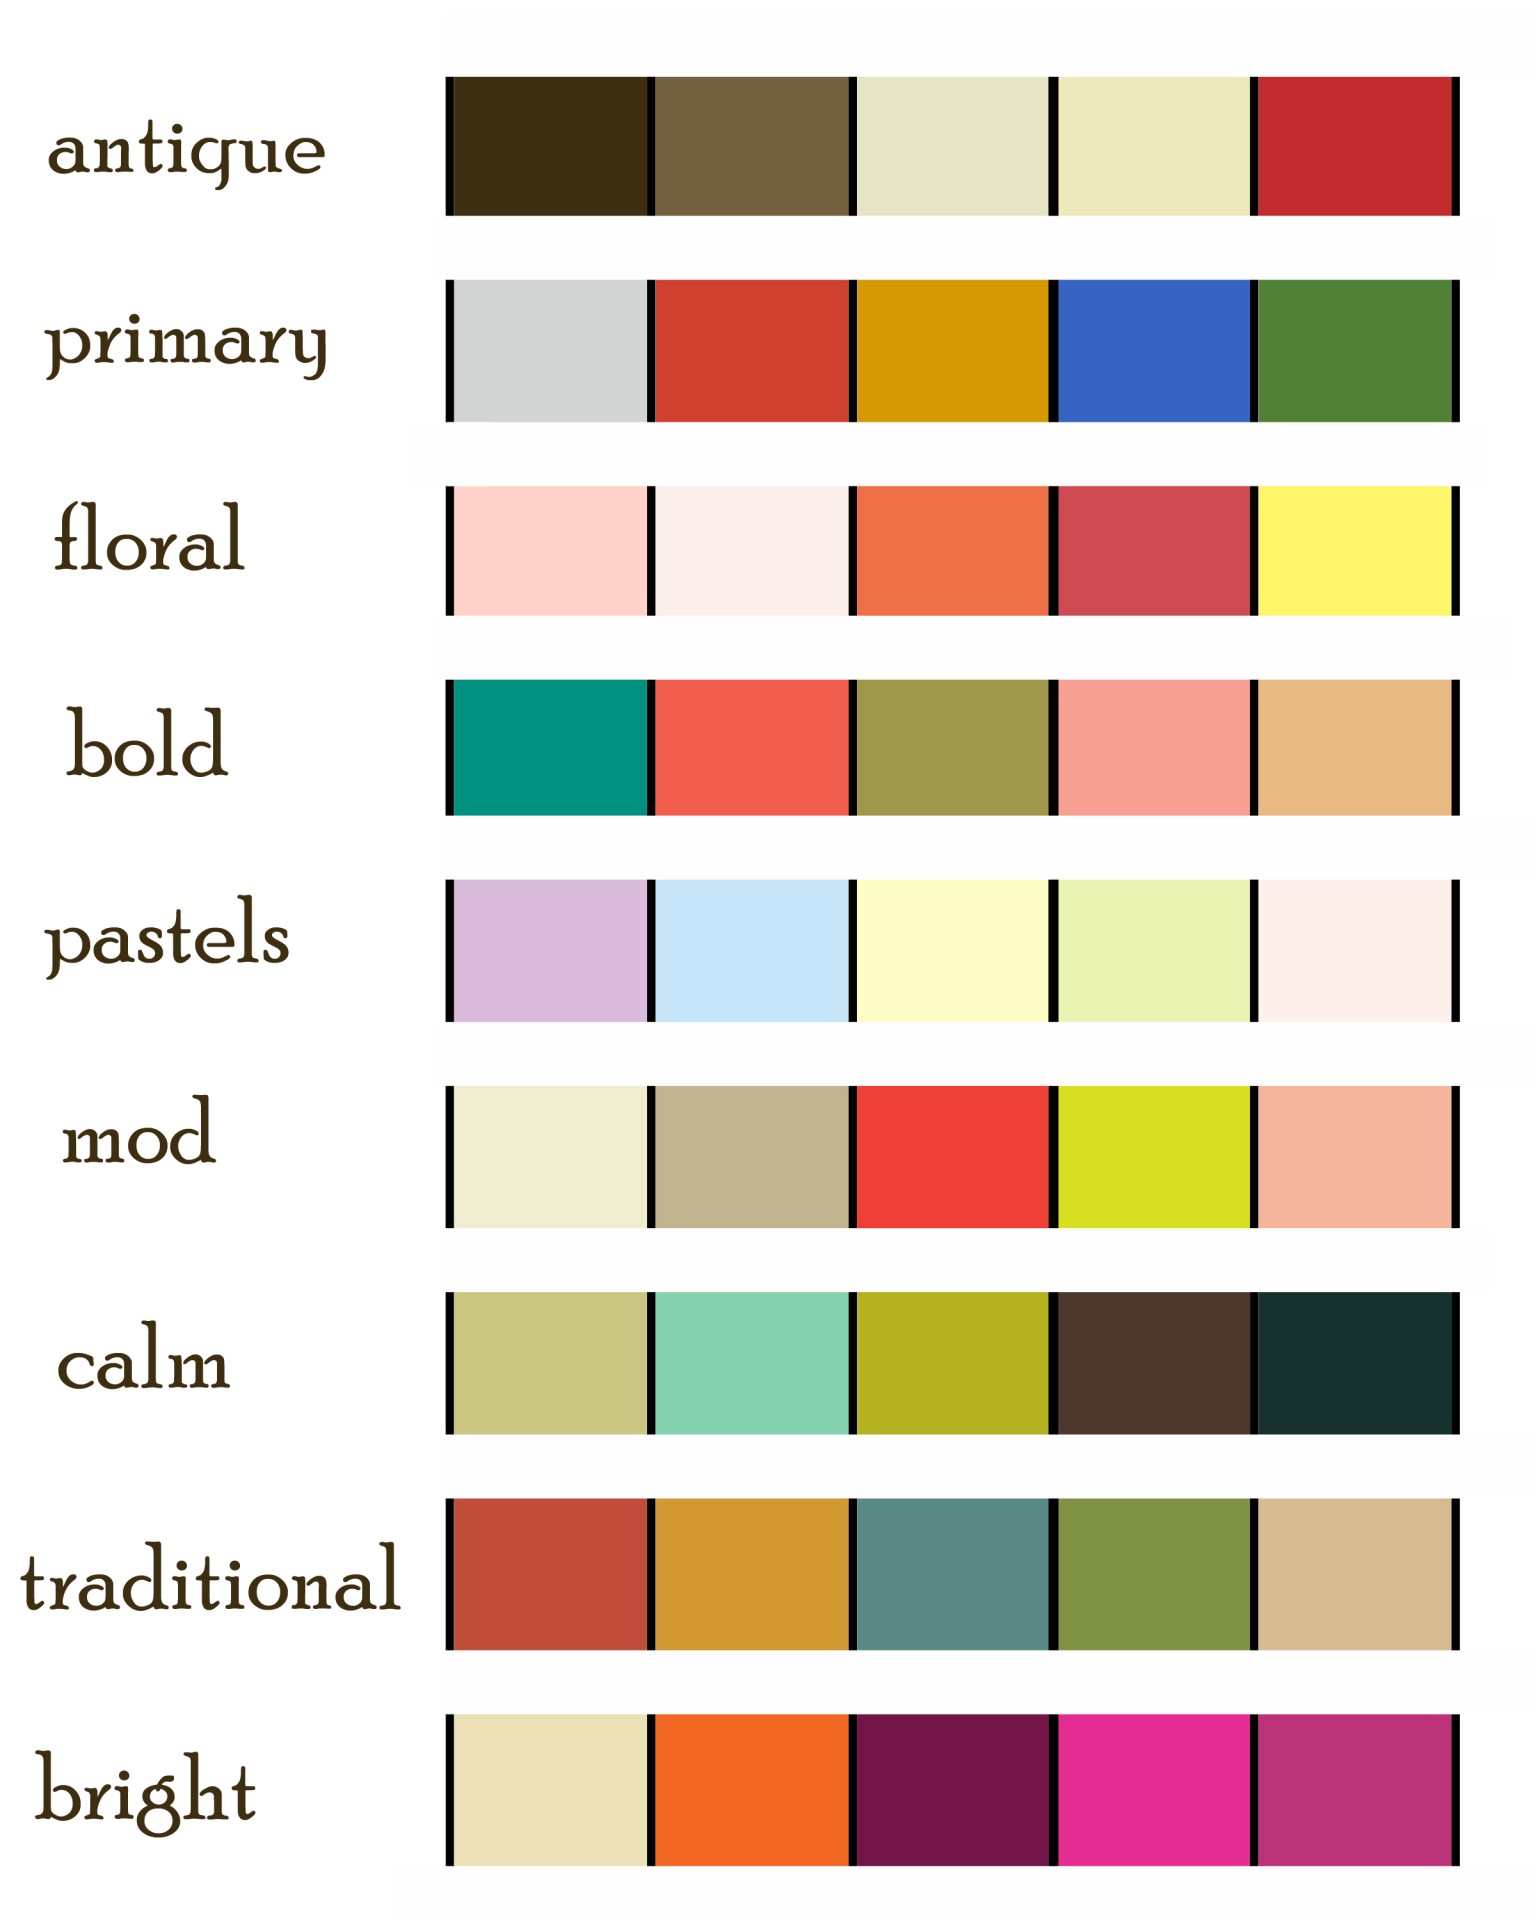
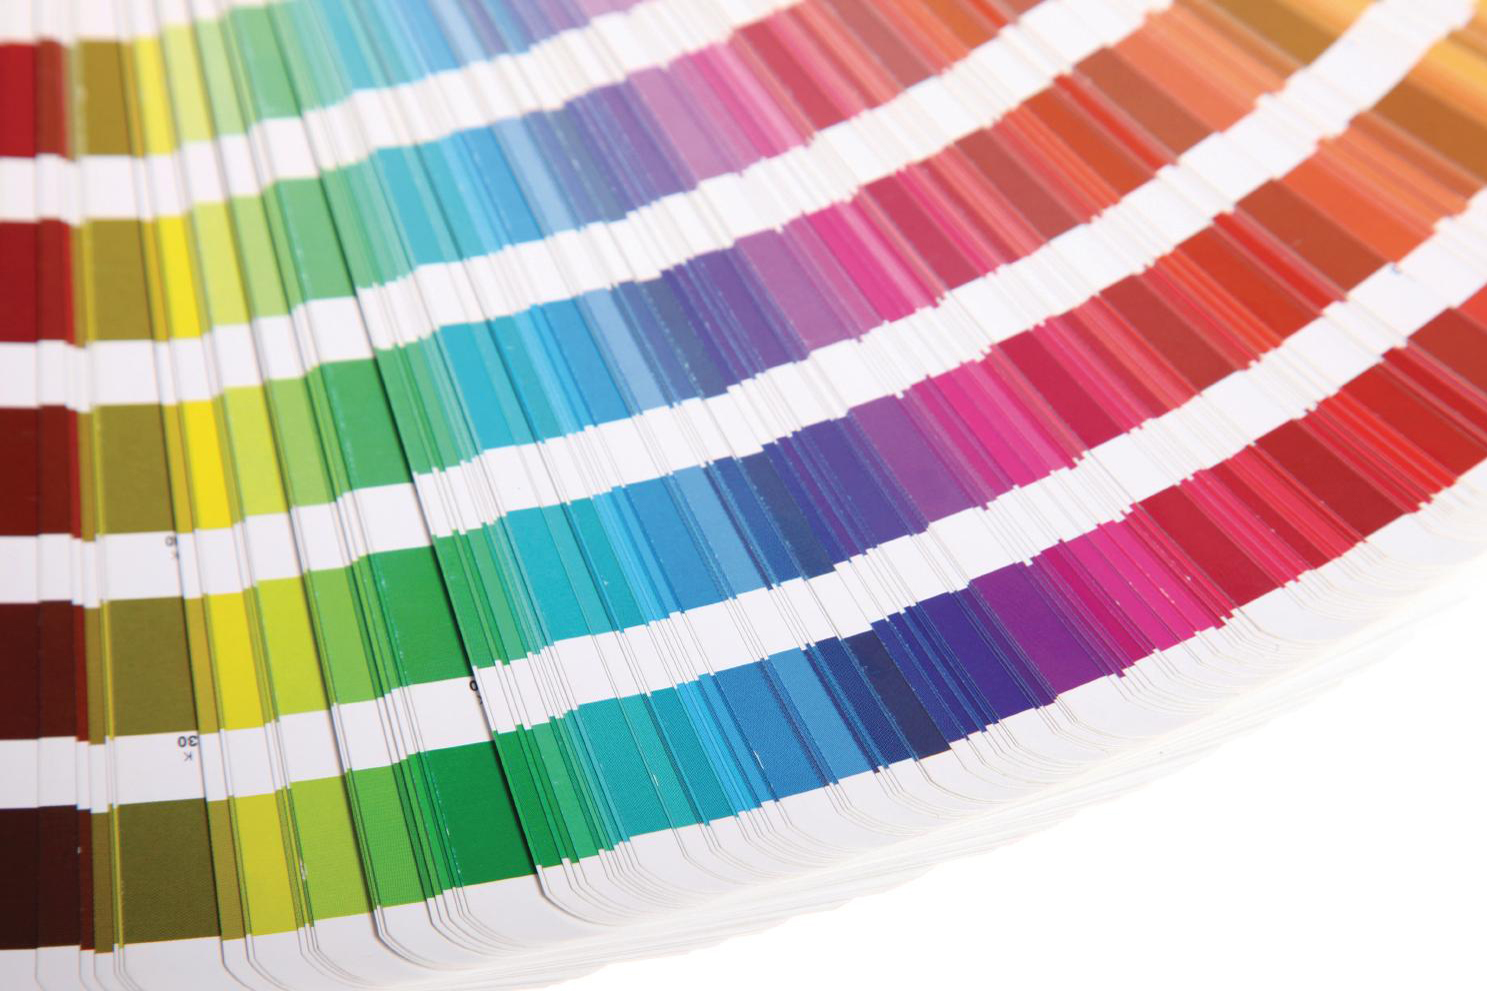
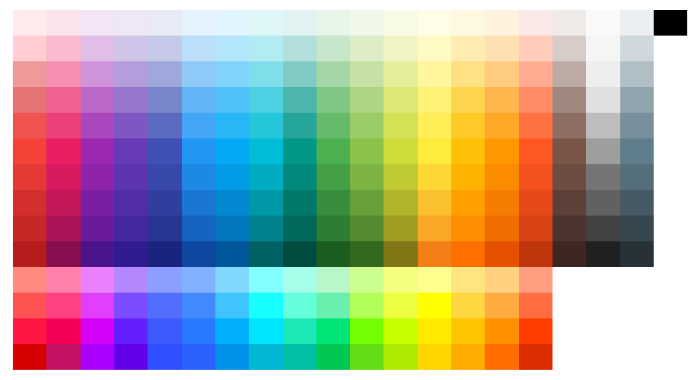
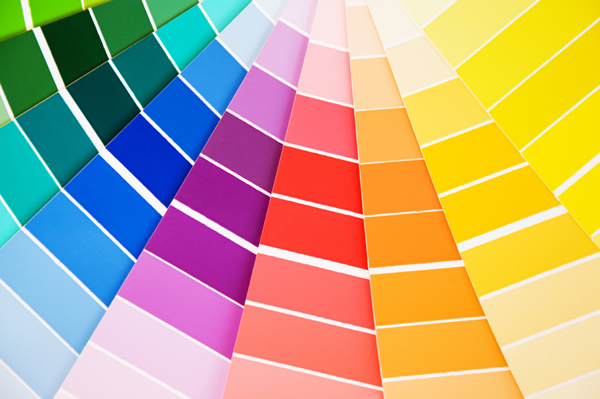
Color Selection
When choosing a color for your kitchen island, consider the overall aesthetic of your kitchen. Do you want a bold pop of color or a more subtle and cohesive look? Take into account the color of your cabinets and countertops when selecting a shade for the island. It's also a good idea to test out a sample of the paint on a small area of the island to ensure you are happy with the color before committing to the entire project.

Color Selection


Lightening Techniques
If you want to go from a dark to light color on your kitchen island, there are a few techniques you can use to help achieve a more even and smooth finish. One option is to use a tinted primer in a similar shade to your desired color. This will help to neutralize any dark undertones and prevent them from showing through the new paint. Another option is to use multiple thin coats of paint, allowing each to dry completely before applying the next. This will help to gradually lighten the color without any harsh lines or streaks.


Lightening Techniques


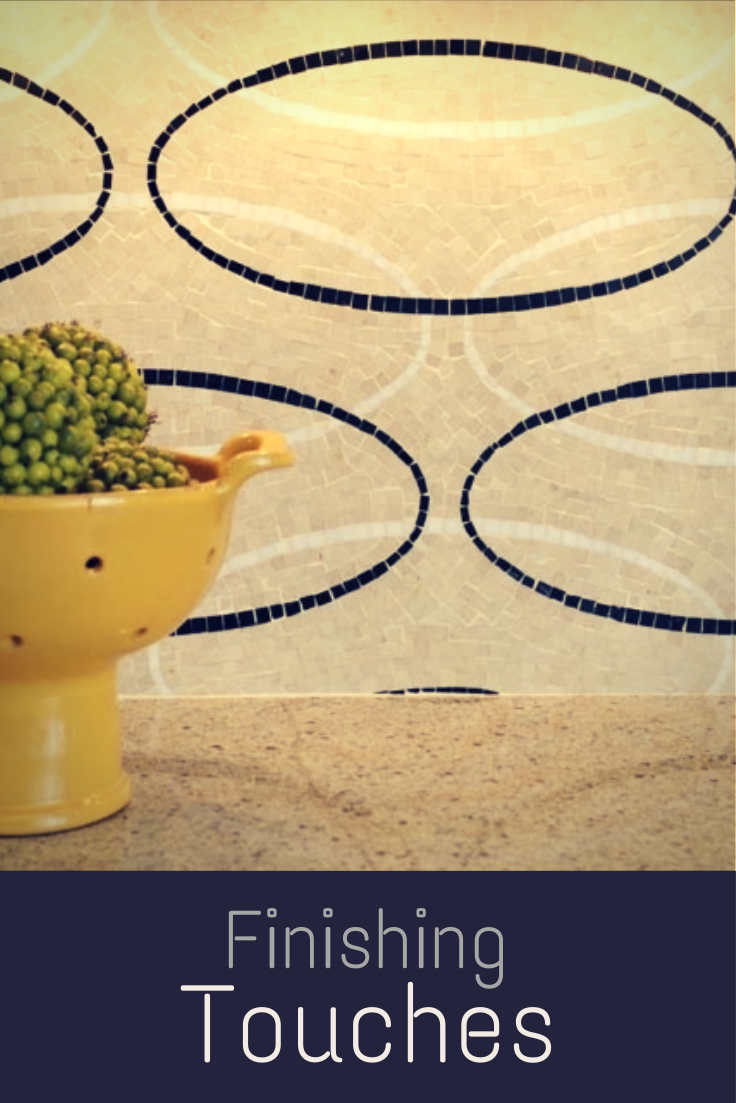
Finishing Touches
Once the paint has dried completely, it's time to add any finishing touches to your kitchen island. This could include new hardware, like handles or knobs, in a complementary color or style. You could also add decorative accents, such as stencils, to give your island a unique and personalized touch.


Finishing Touches


&w=1672&aspect=3:1)
Protective Coating
To ensure your newly painted kitchen island stays looking fresh and new, it's important to apply a protective coating. This could be a clear sealant or a wax finish. Be sure to follow the instructions on the product and apply it evenly with a clean cloth or brush. This will help to protect the paint from everyday wear and tear and make it easier to clean.


Protective Coating


Drying Time
It's important to allow the paint and protective coating to dry completely before using your kitchen island. This can take anywhere from a few hours to a full day, depending on the type of paint and finish you used. Be patient and avoid using the island until it is fully dry to prevent any smudges or damage to the finish.


Drying Time


Clean Up
Once your kitchen island is fully dry, it's time to clean up your work area. Remove the drop cloths and clean up any paintbrushes or tools. Return any hardware to the island and admire your newly painted kitchen island. With proper care and maintenance, your island will look beautiful for years to come.
With these steps and techniques, you can easily transform a dark kitchen island into a bright and welcoming centerpiece for your kitchen. Whether you choose a bold color or a more subtle shade, this project is sure to add a fresh and updated look to your space. So grab your paintbrush and get ready to enjoy your newly painted kitchen island!


Clean Up


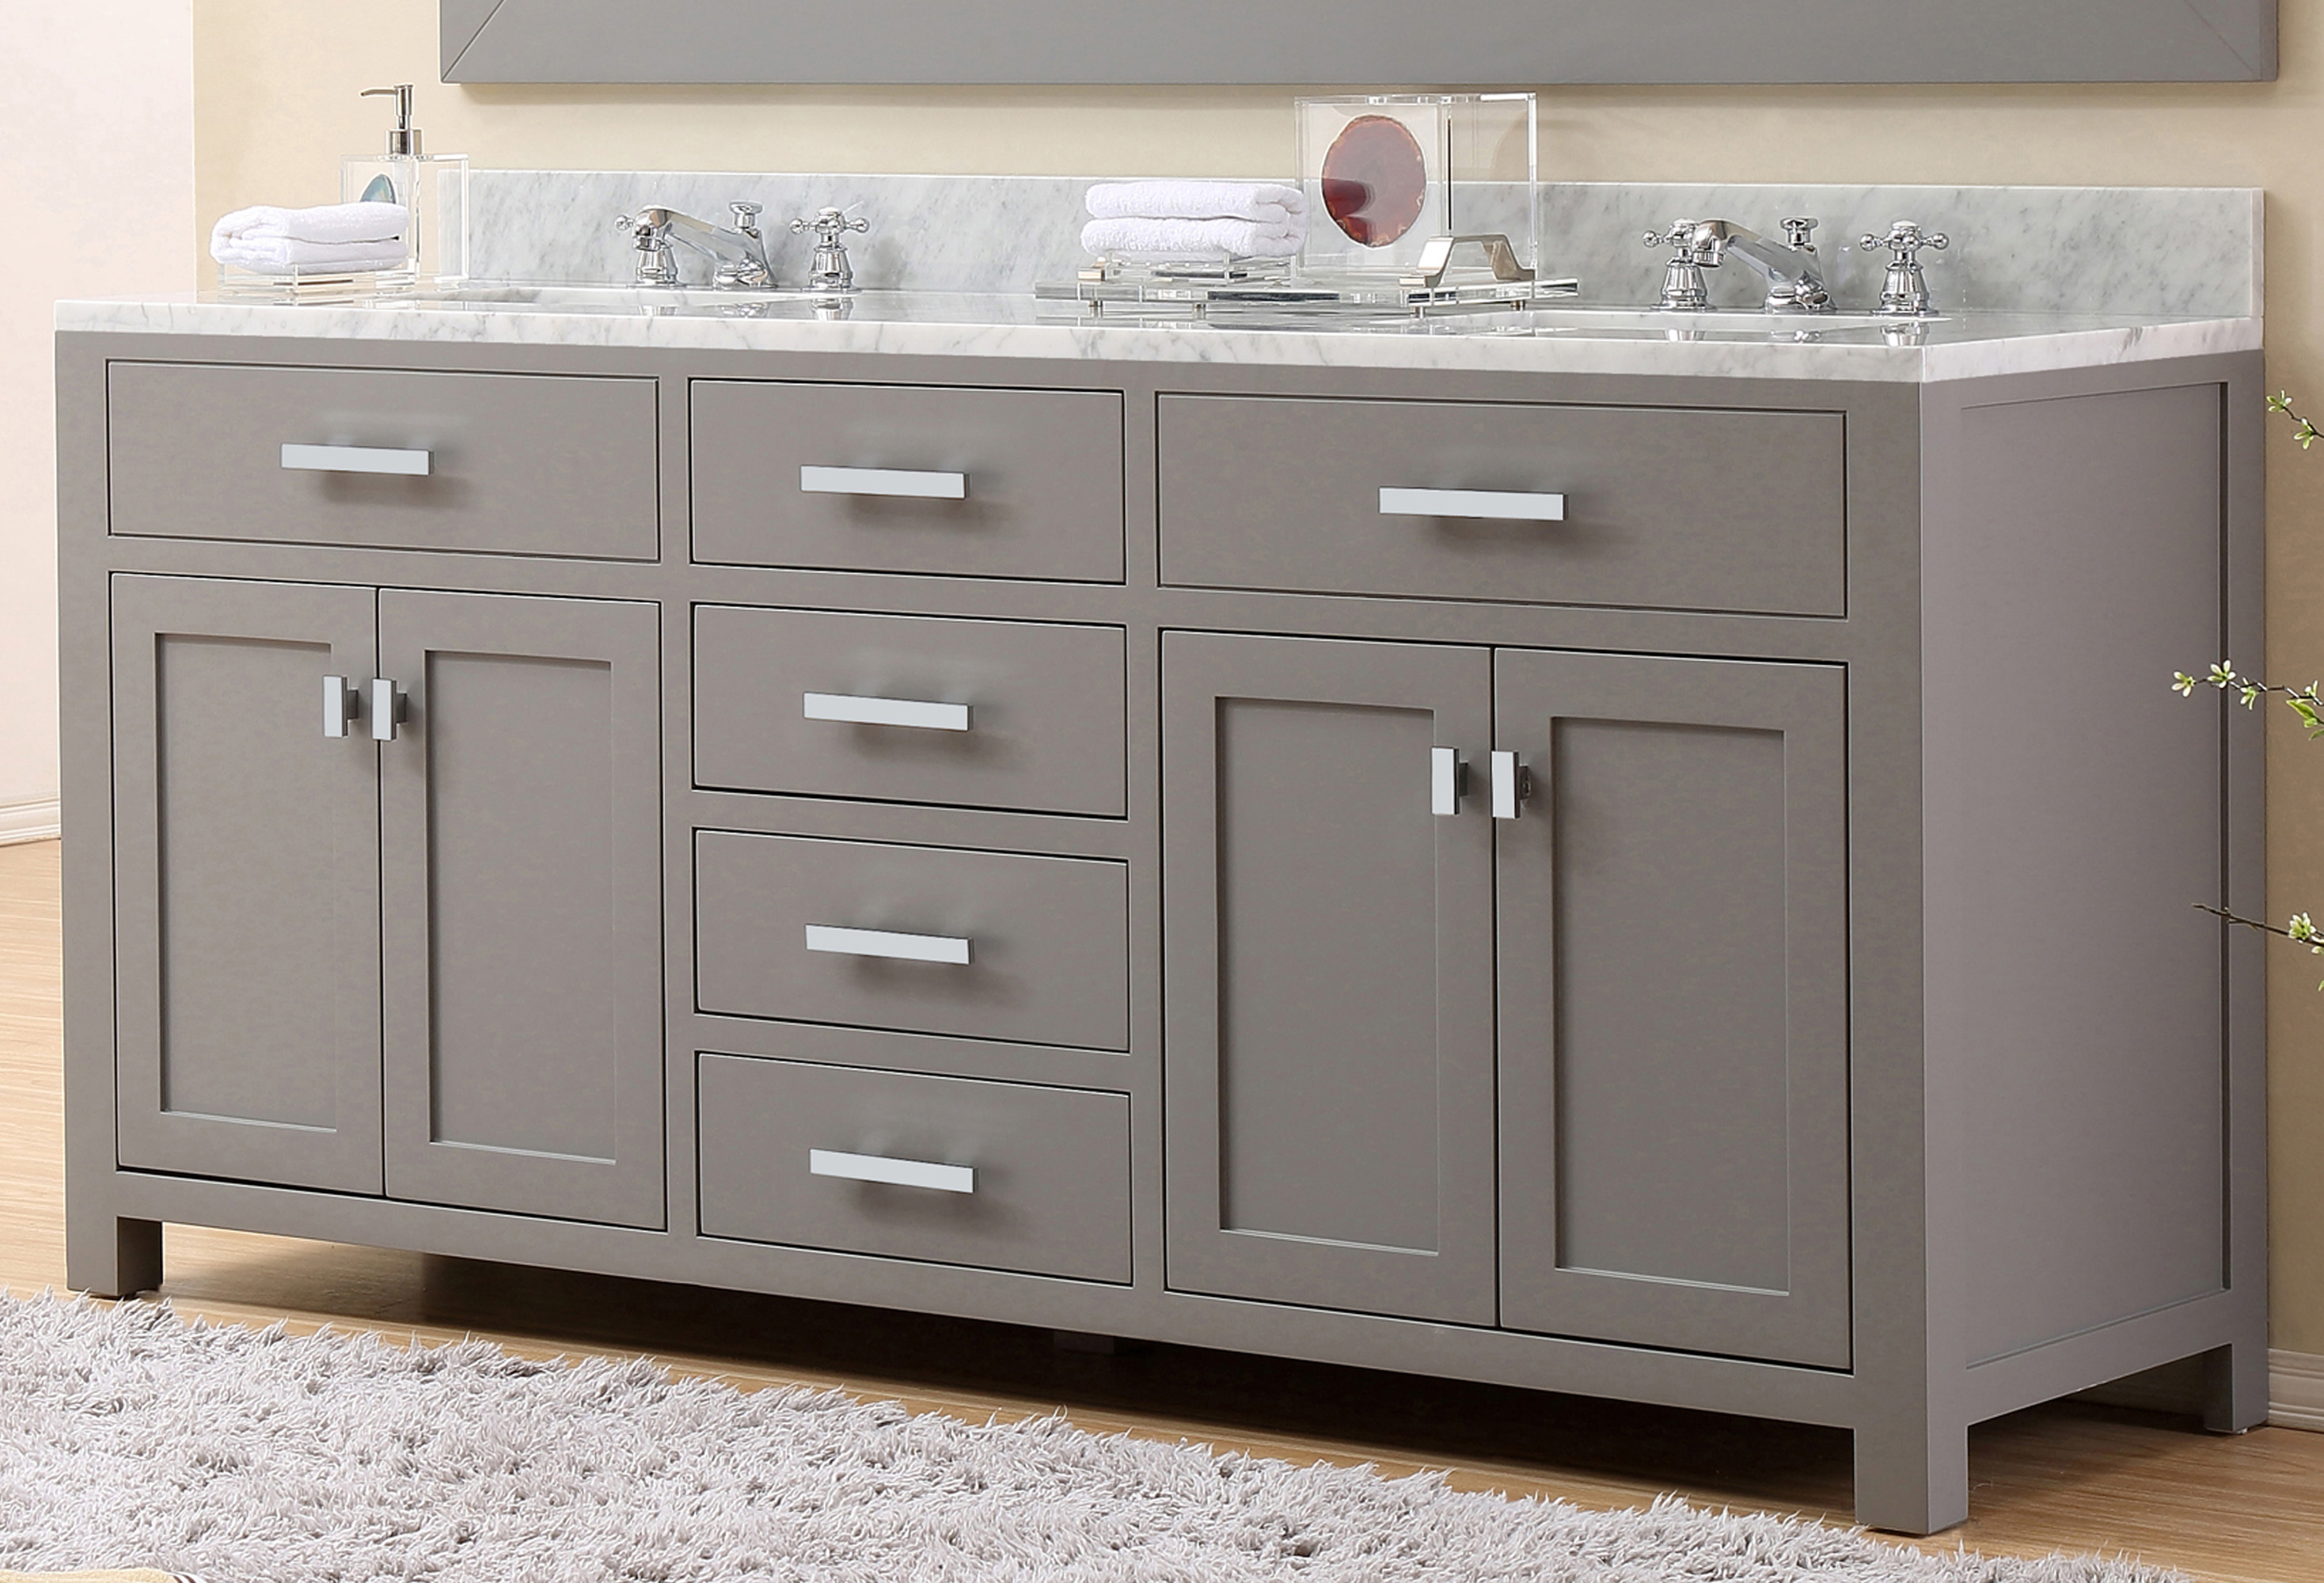
Transform Your Kitchen Island: From Dark to Light
 One of the easiest and most cost-effective ways to update your kitchen's design is by
painting
your kitchen island. A simple coat of
paint
can instantly transform the look and feel of your entire kitchen. In this article, we will discuss how to
paint
a kitchen island from dark to light, giving your space a fresh and modern look.
One of the easiest and most cost-effective ways to update your kitchen's design is by
painting
your kitchen island. A simple coat of
paint
can instantly transform the look and feel of your entire kitchen. In this article, we will discuss how to
paint
a kitchen island from dark to light, giving your space a fresh and modern look.
Why Choose a Lighter Color?
 When it comes to kitchen design,
lighter colors
are becoming increasingly popular. This is because lighter colors have the ability to make a space feel brighter, bigger, and more inviting. If your kitchen island is currently a dark color, it may be making your kitchen feel smaller and more closed off. By
painting
it a lighter color, you can instantly open up your kitchen and give it a more spacious feel.
When it comes to kitchen design,
lighter colors
are becoming increasingly popular. This is because lighter colors have the ability to make a space feel brighter, bigger, and more inviting. If your kitchen island is currently a dark color, it may be making your kitchen feel smaller and more closed off. By
painting
it a lighter color, you can instantly open up your kitchen and give it a more spacious feel.
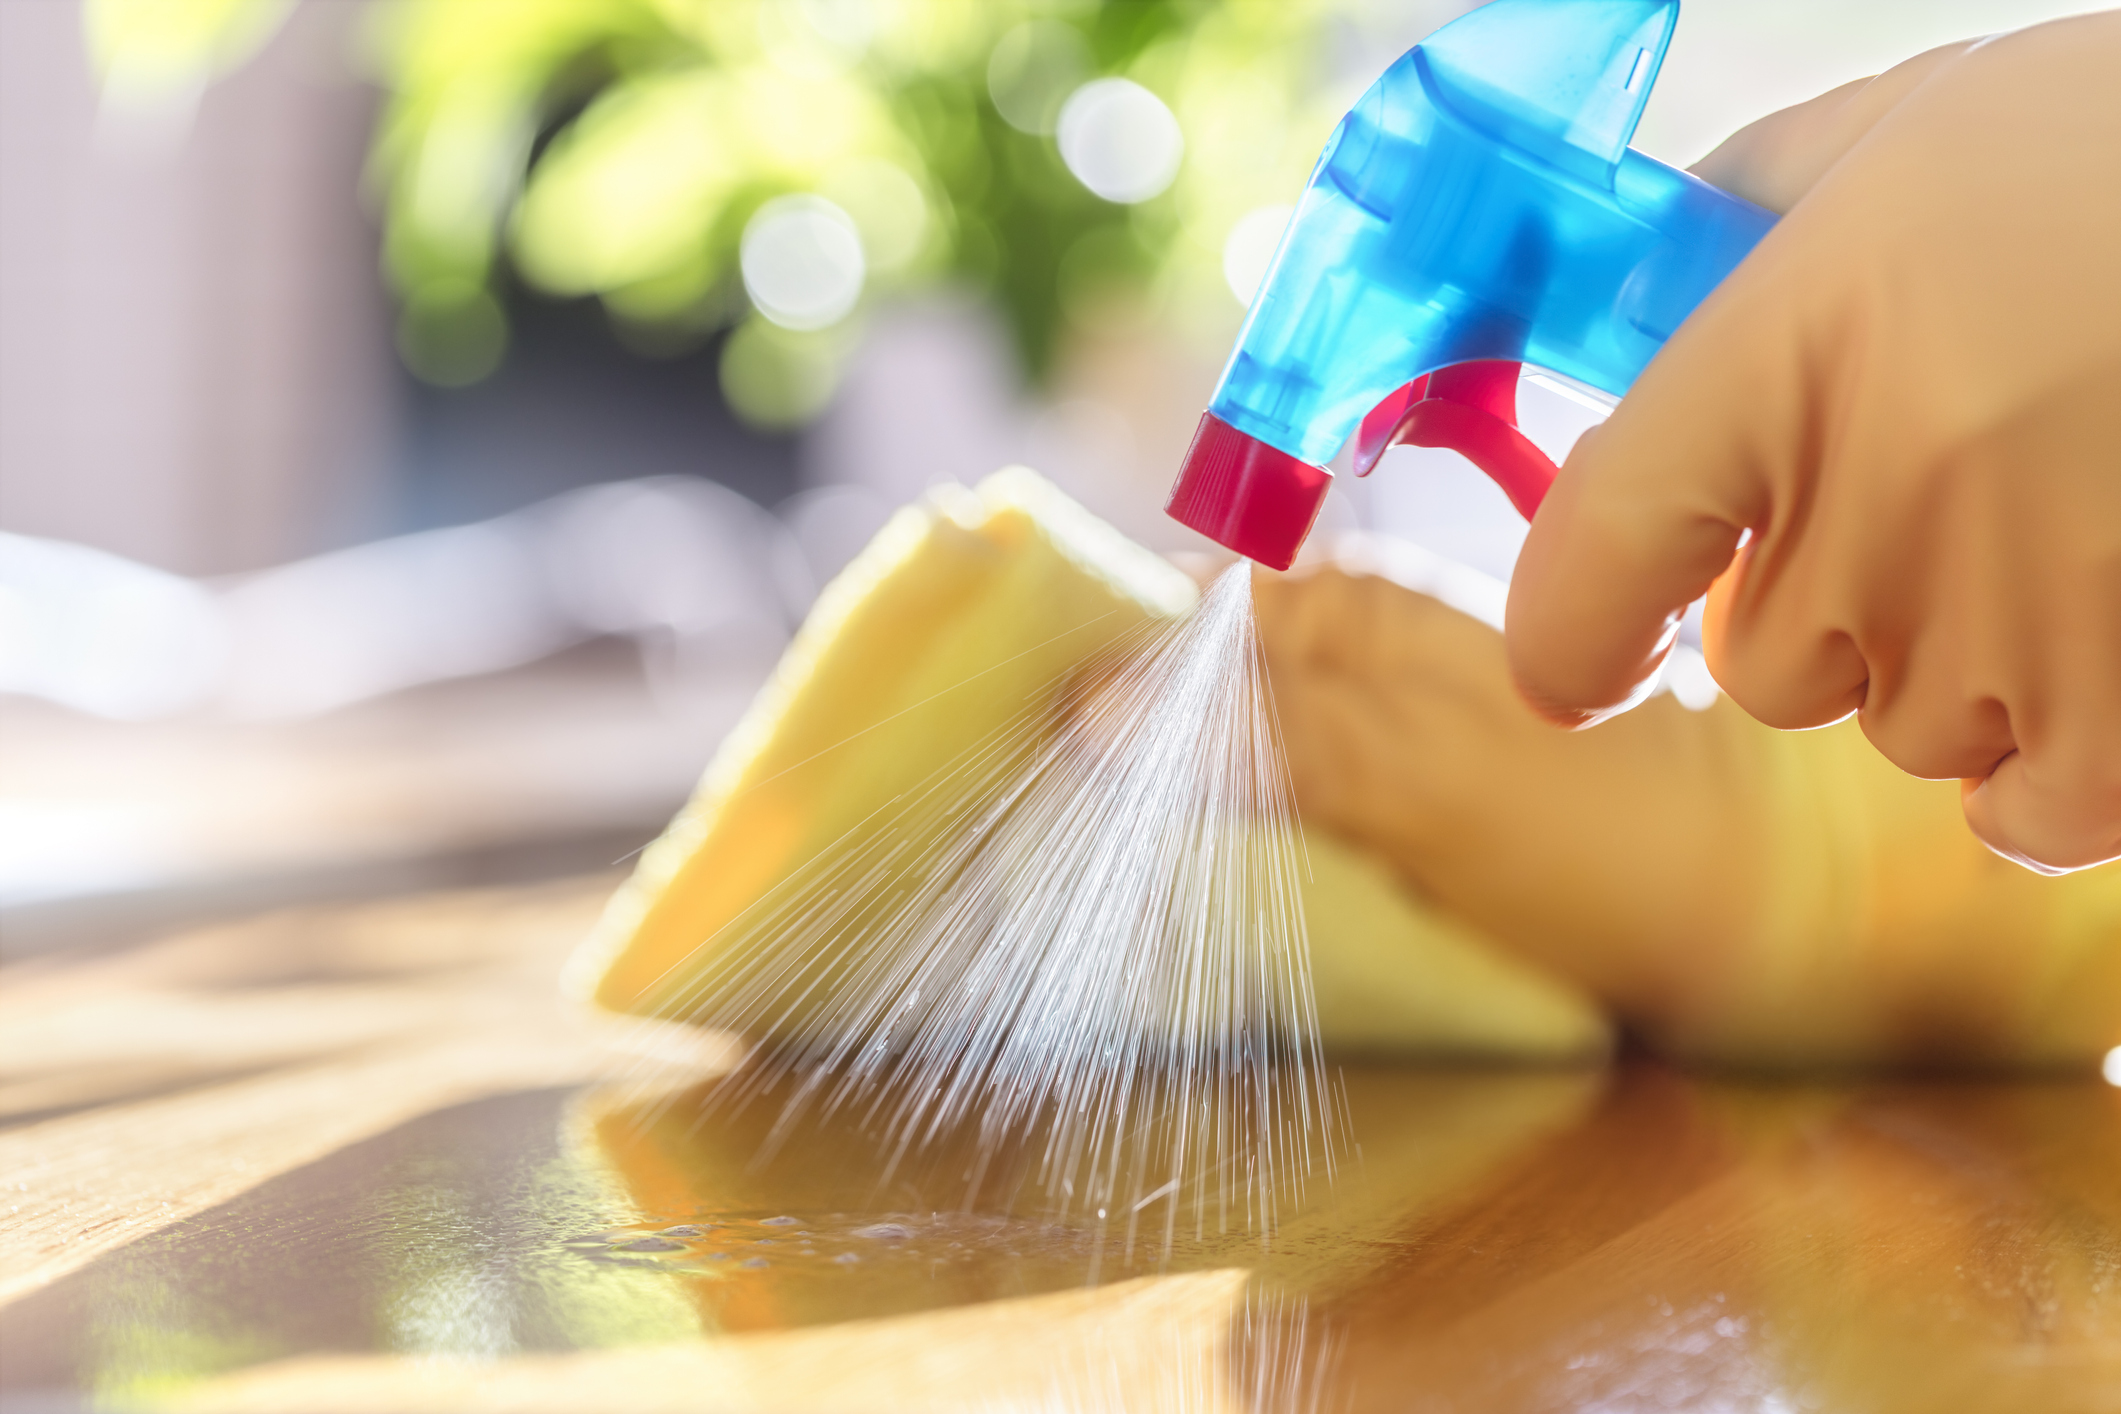
Prepping Your Kitchen Island for Painting
 Before you begin
painting
your kitchen island, it's important to properly prepare the surface. Start by removing any hardware or fixtures from the island, such as handles or knobs. Then, use a gentle
cleaner
to wipe down the surface and remove any dirt or grime. Next, lightly sand the surface to create a smooth and even base for the
paint
to adhere to.
Before you begin
painting
your kitchen island, it's important to properly prepare the surface. Start by removing any hardware or fixtures from the island, such as handles or knobs. Then, use a gentle
cleaner
to wipe down the surface and remove any dirt or grime. Next, lightly sand the surface to create a smooth and even base for the
paint
to adhere to.
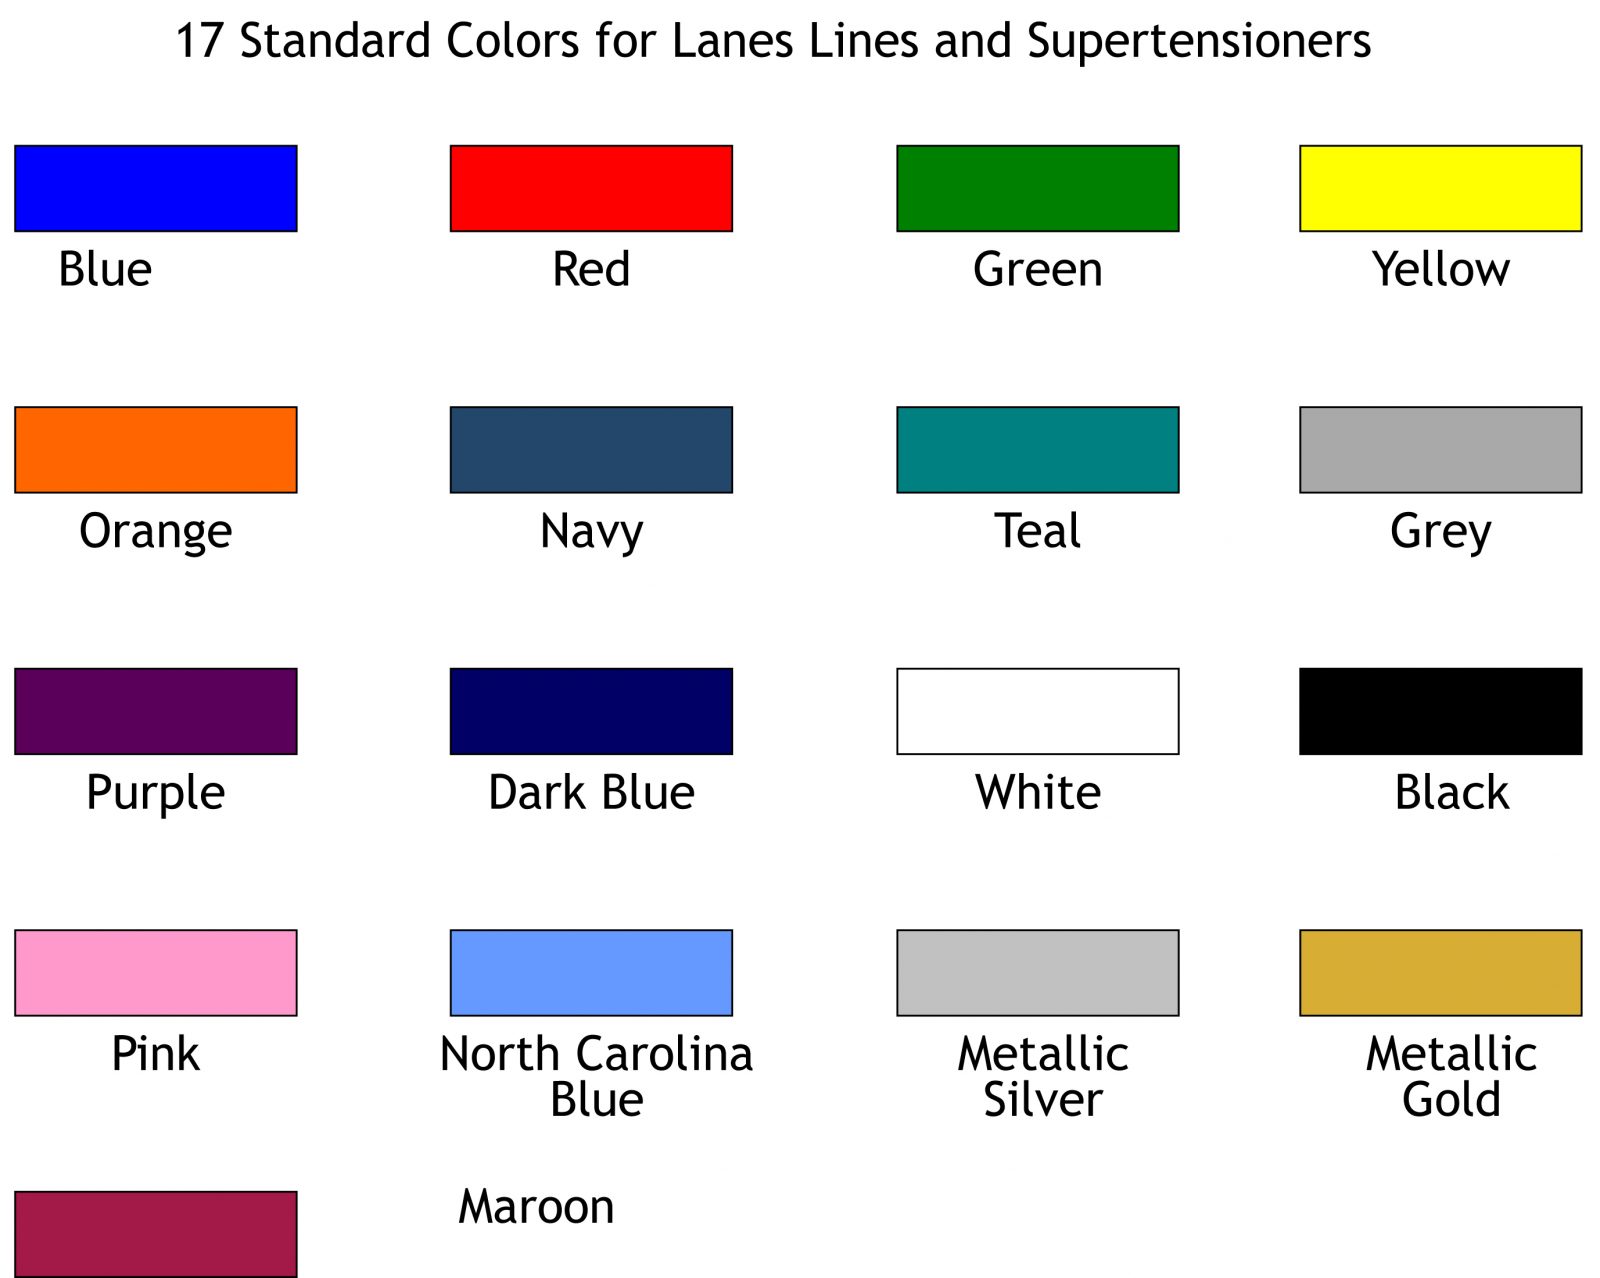
Choosing the Right Color
 When selecting a
lighter color
for your kitchen island, consider the overall color scheme of your kitchen. You want the island to complement the rest of the space, not clash with it. Some popular
light
colors for kitchen islands include white, cream, light gray, and light blue. These colors can add a touch of brightness and warmth to your kitchen.
When selecting a
lighter color
for your kitchen island, consider the overall color scheme of your kitchen. You want the island to complement the rest of the space, not clash with it. Some popular
light
colors for kitchen islands include white, cream, light gray, and light blue. These colors can add a touch of brightness and warmth to your kitchen.
Applying the Paint
 When it comes to
painting
your kitchen island, it's important to use high-quality
paint
and tools. This will ensure a smooth and even finish. Use a small roller or brush to apply the
paint
in thin, even layers. Allow each layer to dry completely before applying the next one. If necessary, apply a second or third coat for full coverage.
When it comes to
painting
your kitchen island, it's important to use high-quality
paint
and tools. This will ensure a smooth and even finish. Use a small roller or brush to apply the
paint
in thin, even layers. Allow each layer to dry completely before applying the next one. If necessary, apply a second or third coat for full coverage.
Finishing Touches
 Once the
paint
has dried, you can reattach any hardware and add any final touches to your kitchen island. Consider adding a new countertop or backsplash to further enhance the new look. You can also add new decorative items, such as a vase of fresh flowers or a bowl of colorful fruit, to add a pop of color to your
light
island.
In conclusion,
painting
your kitchen island from dark to light can have a big impact on the overall design of your kitchen. By following these simple steps and choosing the right color, you can give your kitchen a fresh and modern look without breaking the bank. So why wait? Grab a
paintbrush
and start transforming your kitchen island today!
Once the
paint
has dried, you can reattach any hardware and add any final touches to your kitchen island. Consider adding a new countertop or backsplash to further enhance the new look. You can also add new decorative items, such as a vase of fresh flowers or a bowl of colorful fruit, to add a pop of color to your
light
island.
In conclusion,
painting
your kitchen island from dark to light can have a big impact on the overall design of your kitchen. By following these simple steps and choosing the right color, you can give your kitchen a fresh and modern look without breaking the bank. So why wait? Grab a
paintbrush
and start transforming your kitchen island today!