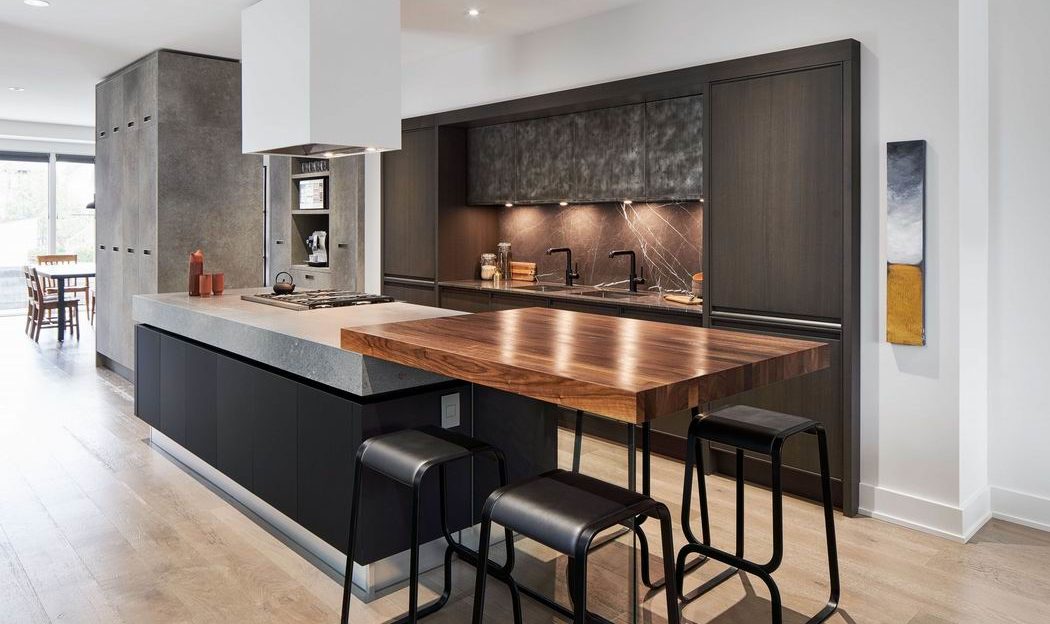
1. DIY Kitchen Island from a Small Table
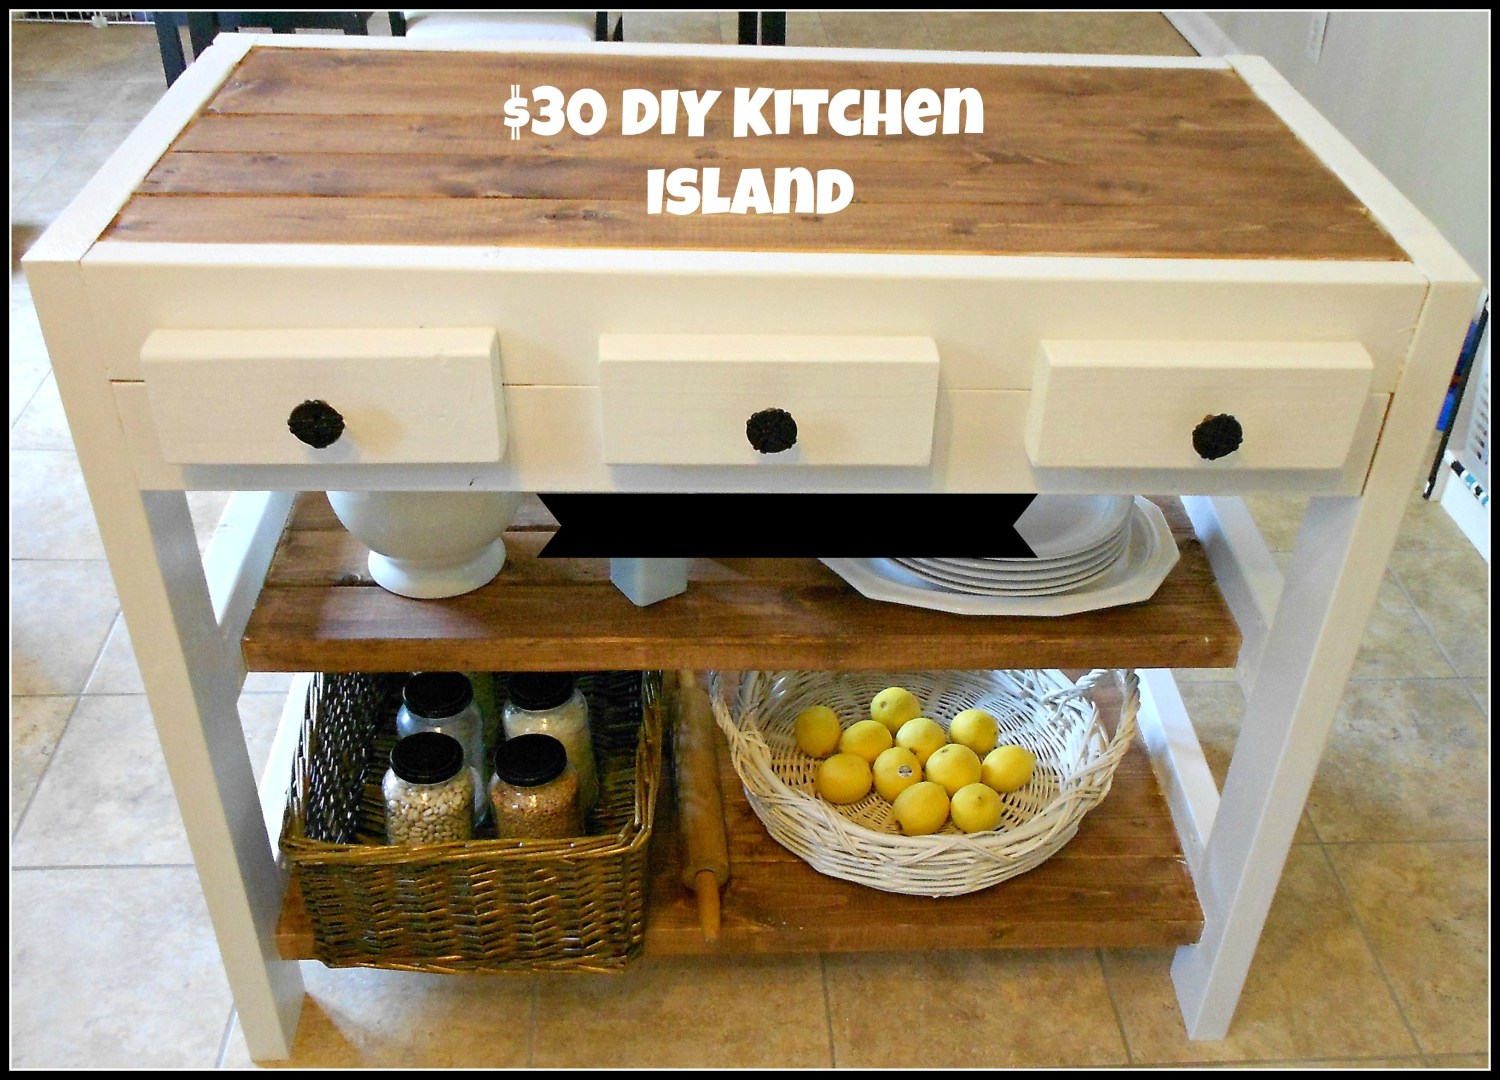
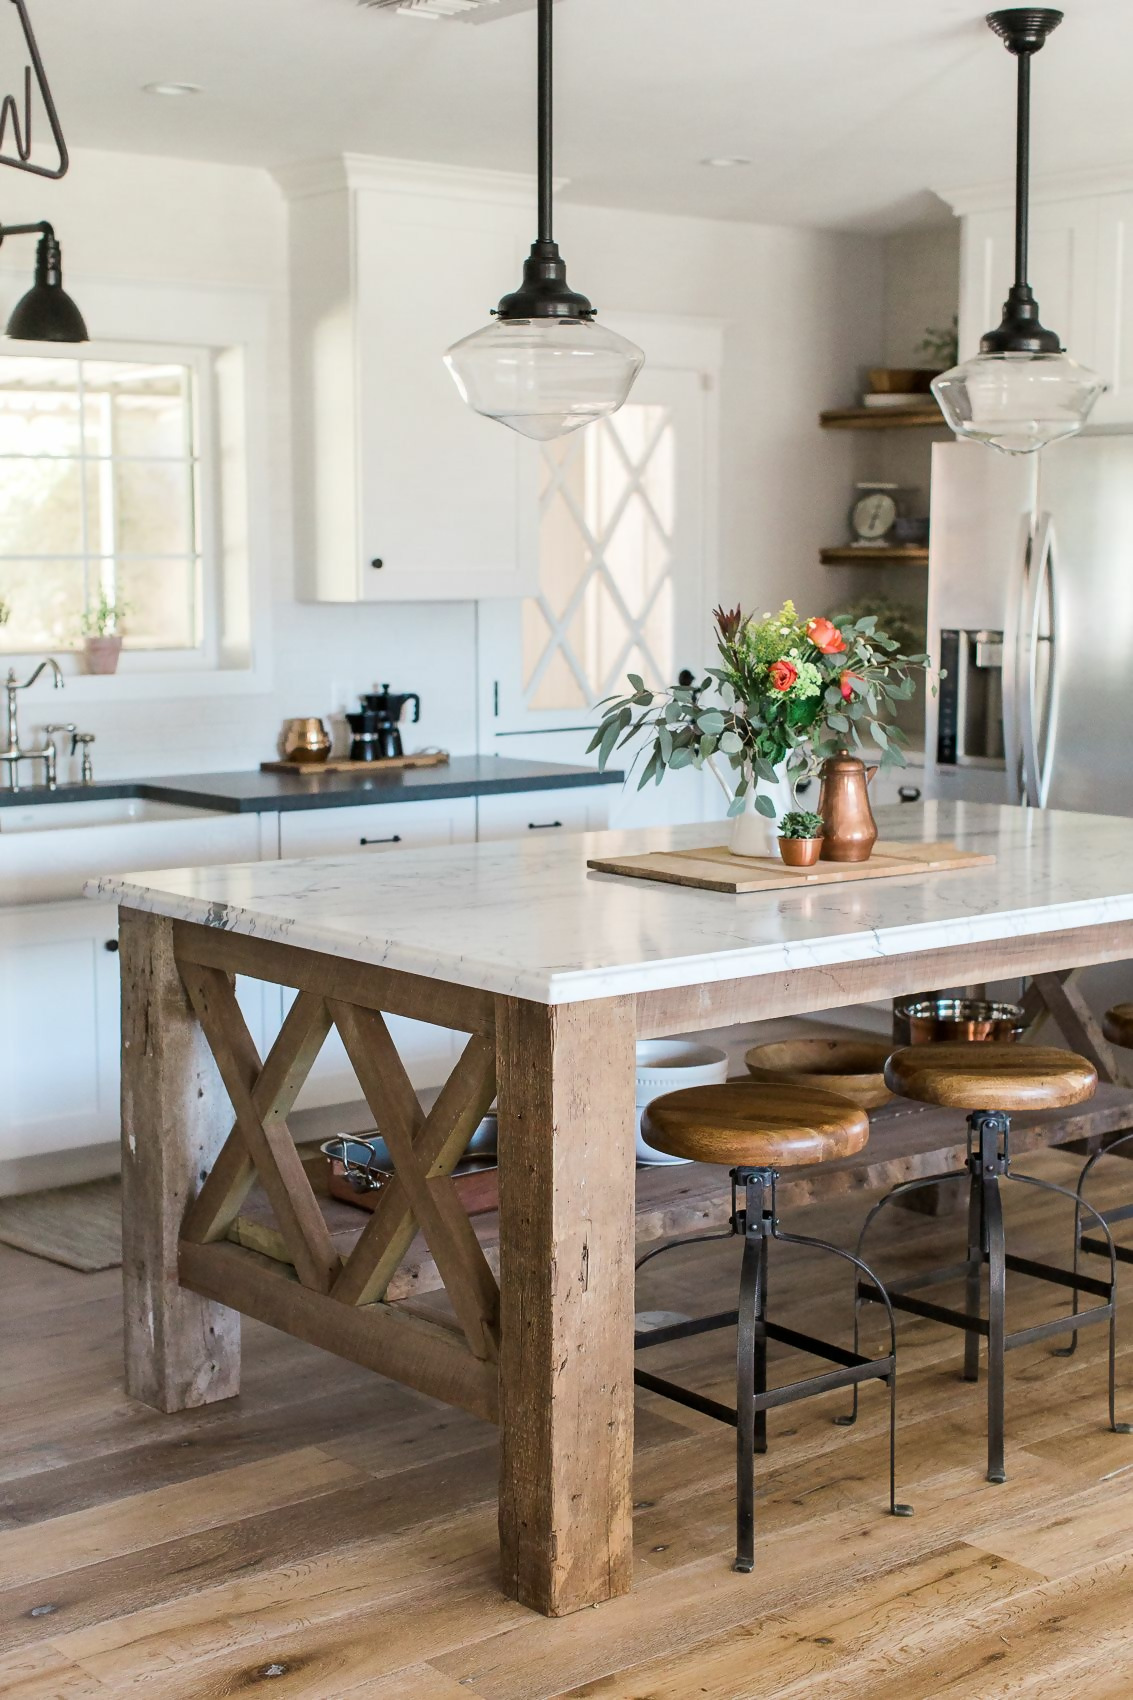
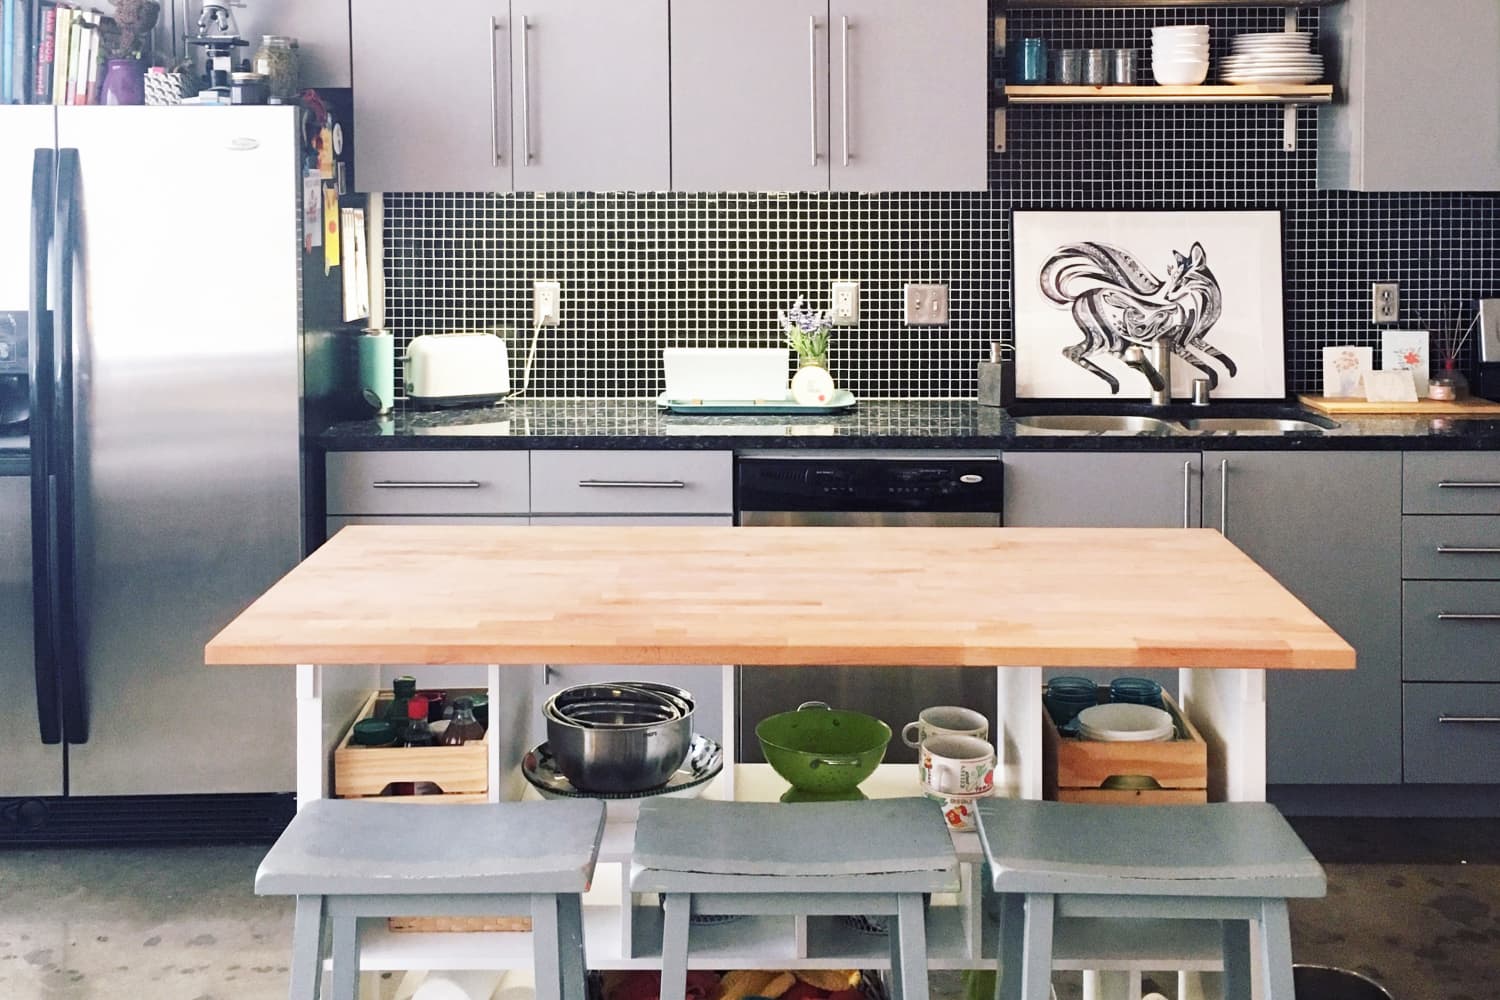
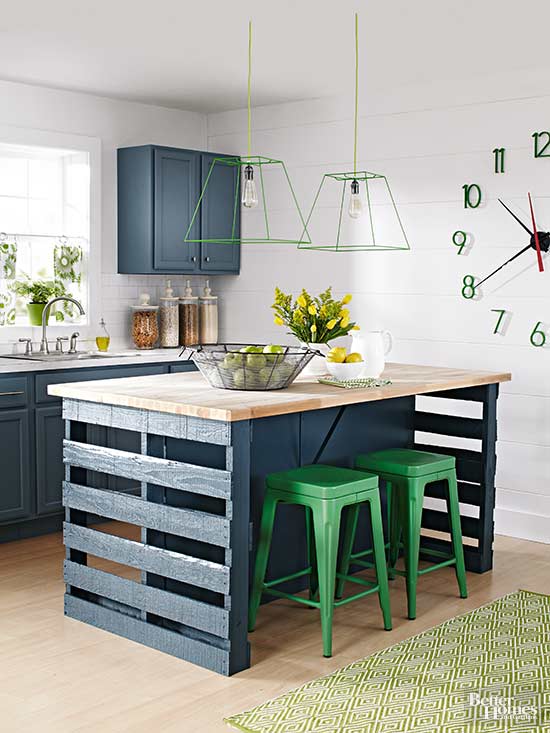
Are you looking to add more counter space and storage to your kitchen without breaking the bank? Look no further than your own home! With a little creativity and some basic tools, you can easily transform a small table into a functional kitchen island.
First, choose a sturdy table that is the right size for your space. It can be a vintage find or a table you already have in your home. The key is to make sure it is strong enough to support the weight of your kitchen items and can be easily maneuvered.
Next, gather your materials. You will need a power drill, screws, wood glue, and a saw. You may also want to add some additional features such as shelves, hooks, or a towel rack.
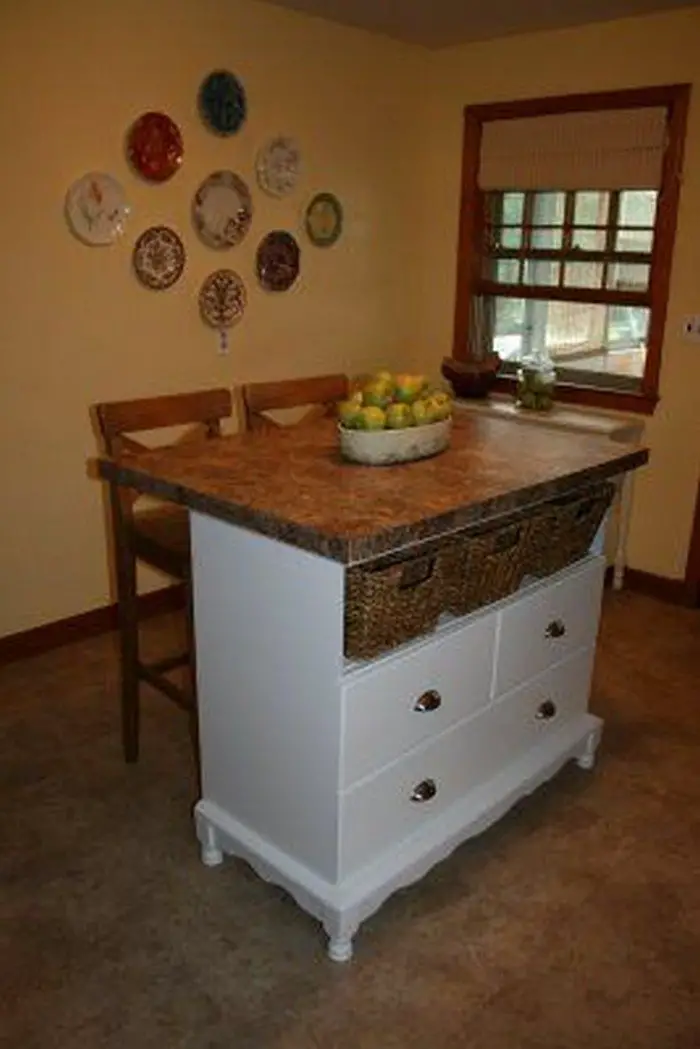
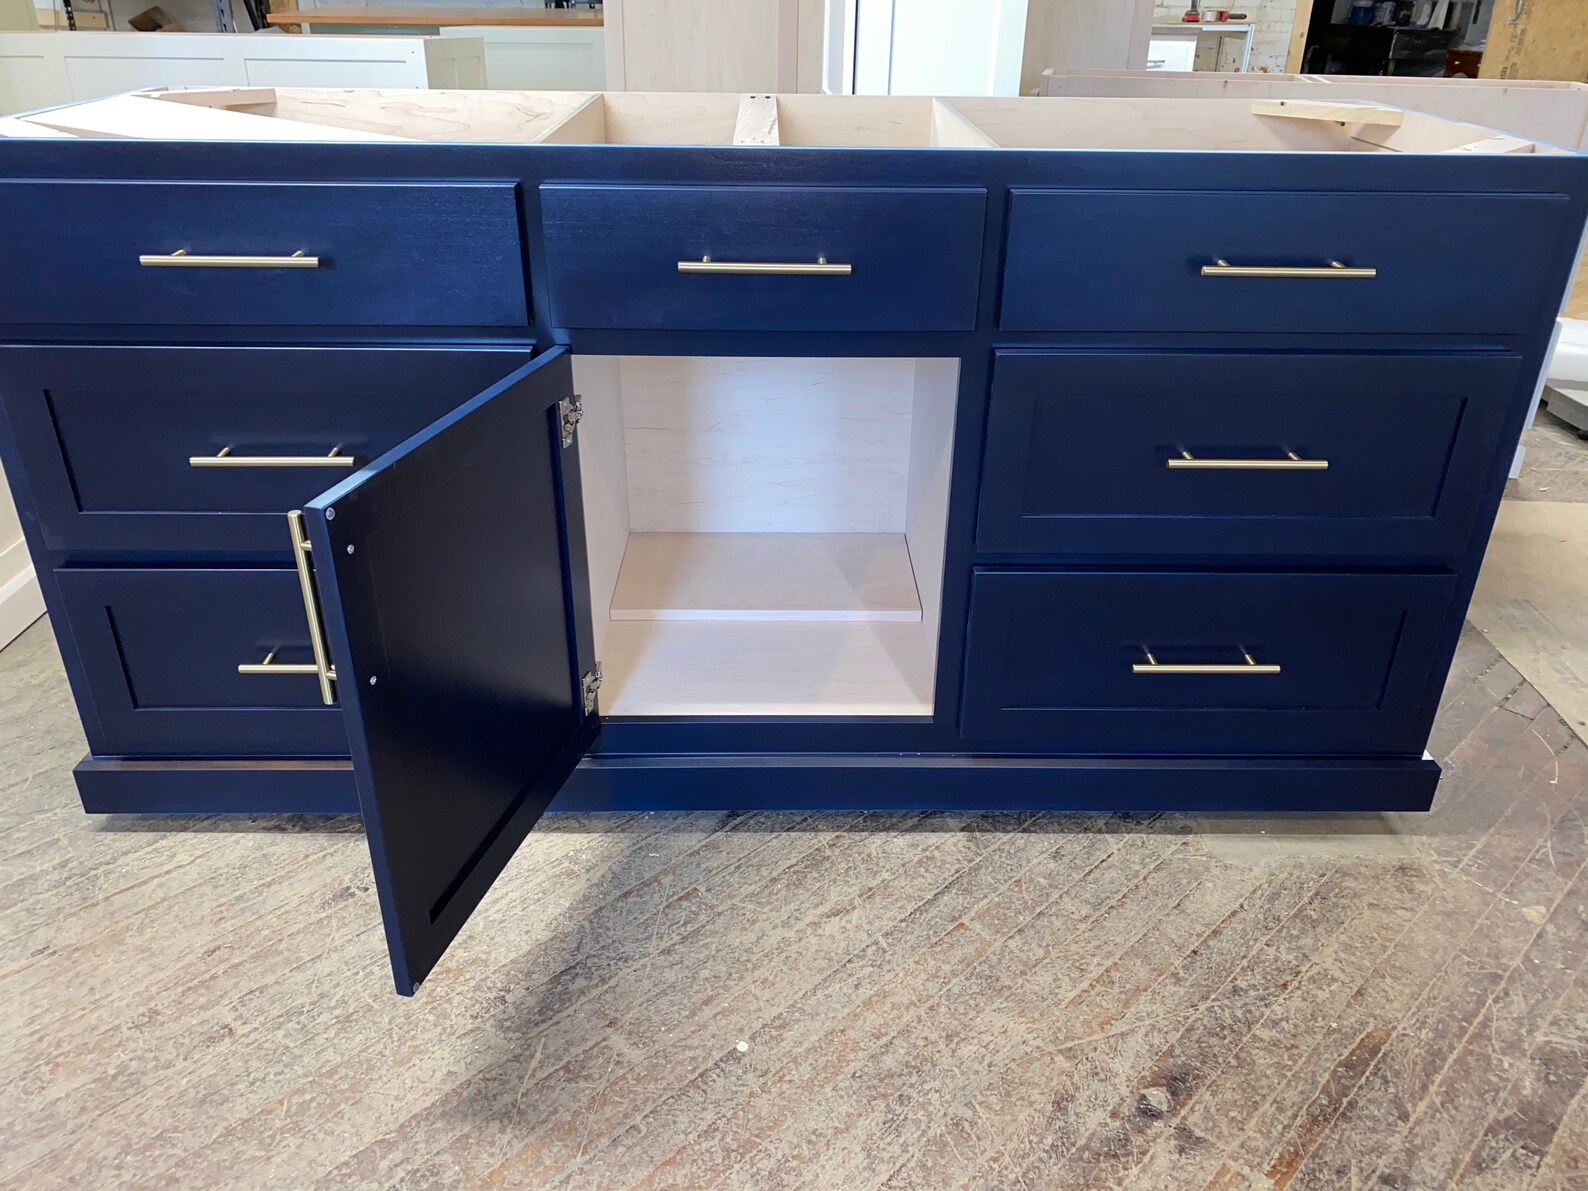
Start by removing any existing legs or attachments from the table. If the table has a drawer, you may want to remove it and repurpose it for additional storage on the island.
Measure and cut four wooden blocks to the desired height for your island's legs. Attach them to the bottom corners of the table using wood glue and screws. Make sure they are evenly spaced and securely attached.
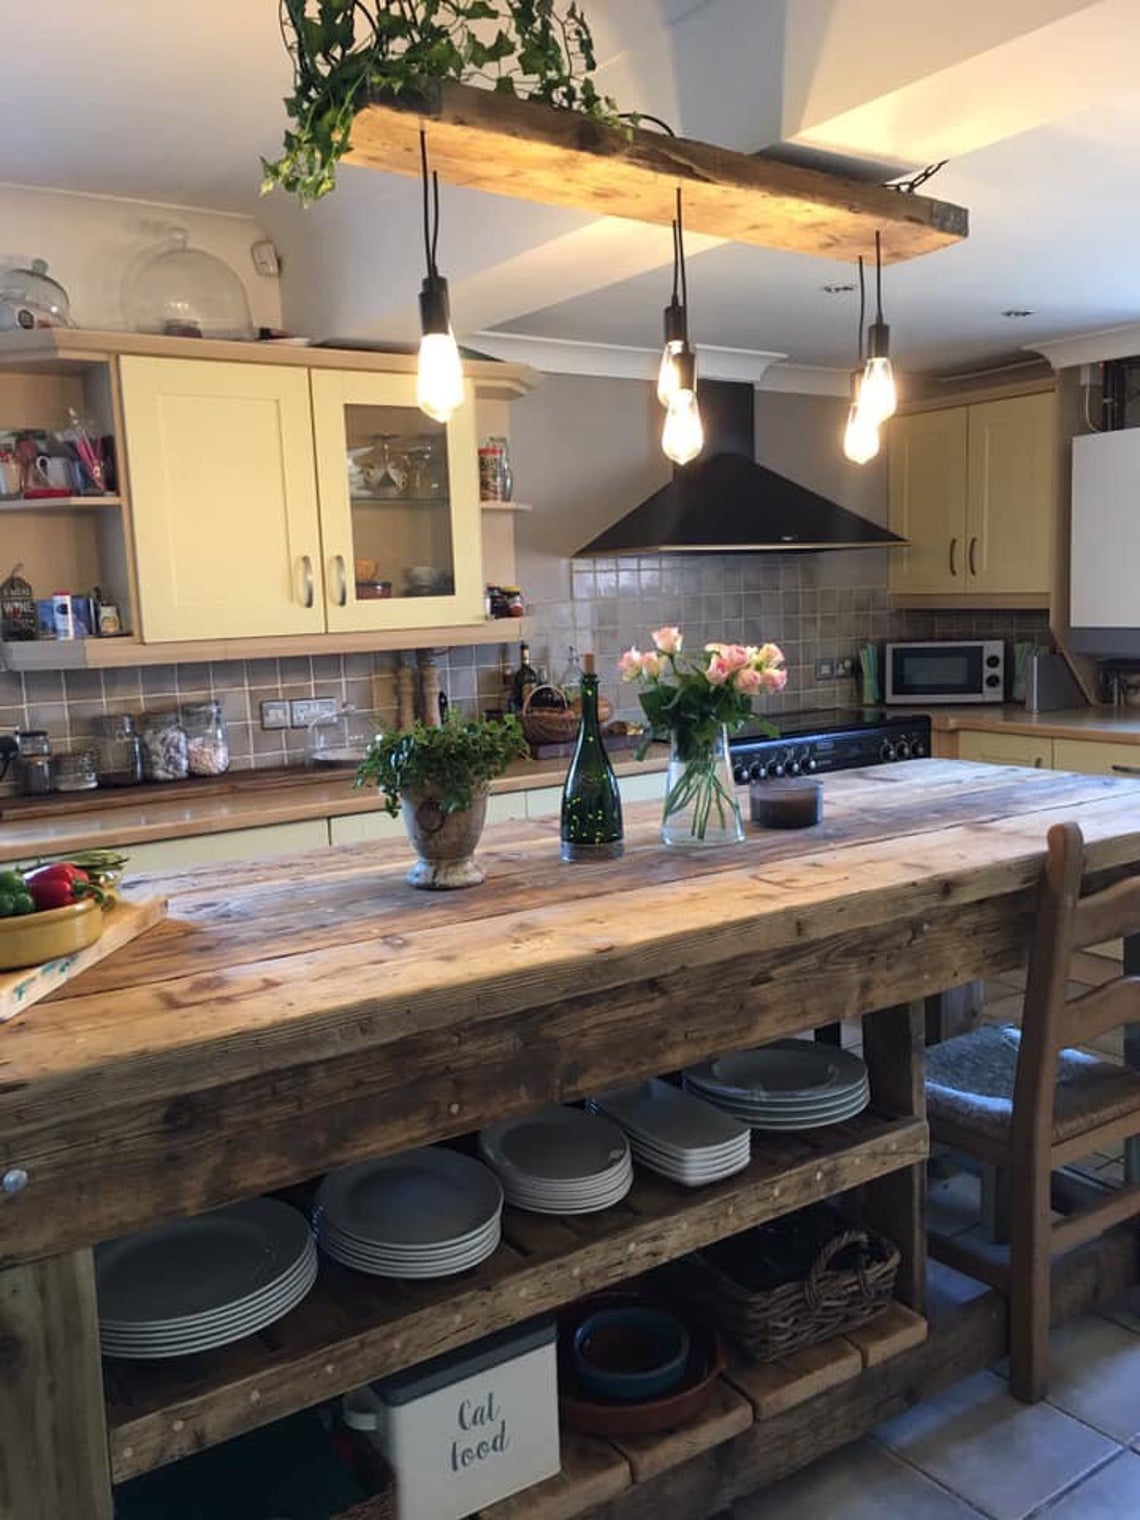
For added stability, you can also attach a wooden plank across the bottom of the legs. This will also serve as a shelf for additional storage.
Now comes the fun part - customizing your island! You can add shelves to the sides of the island for extra storage or use hooks to hang pots and pans. You can also add a towel rack or even a wine rack for a touch of elegance.
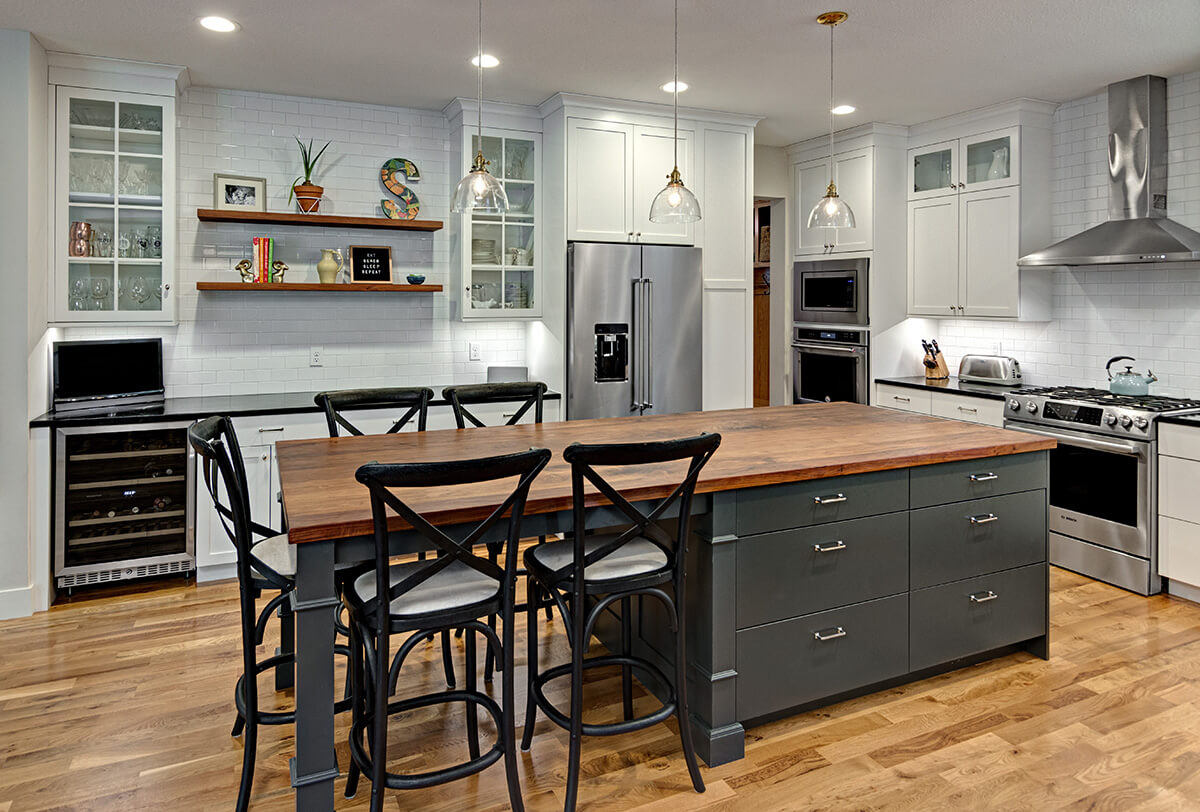
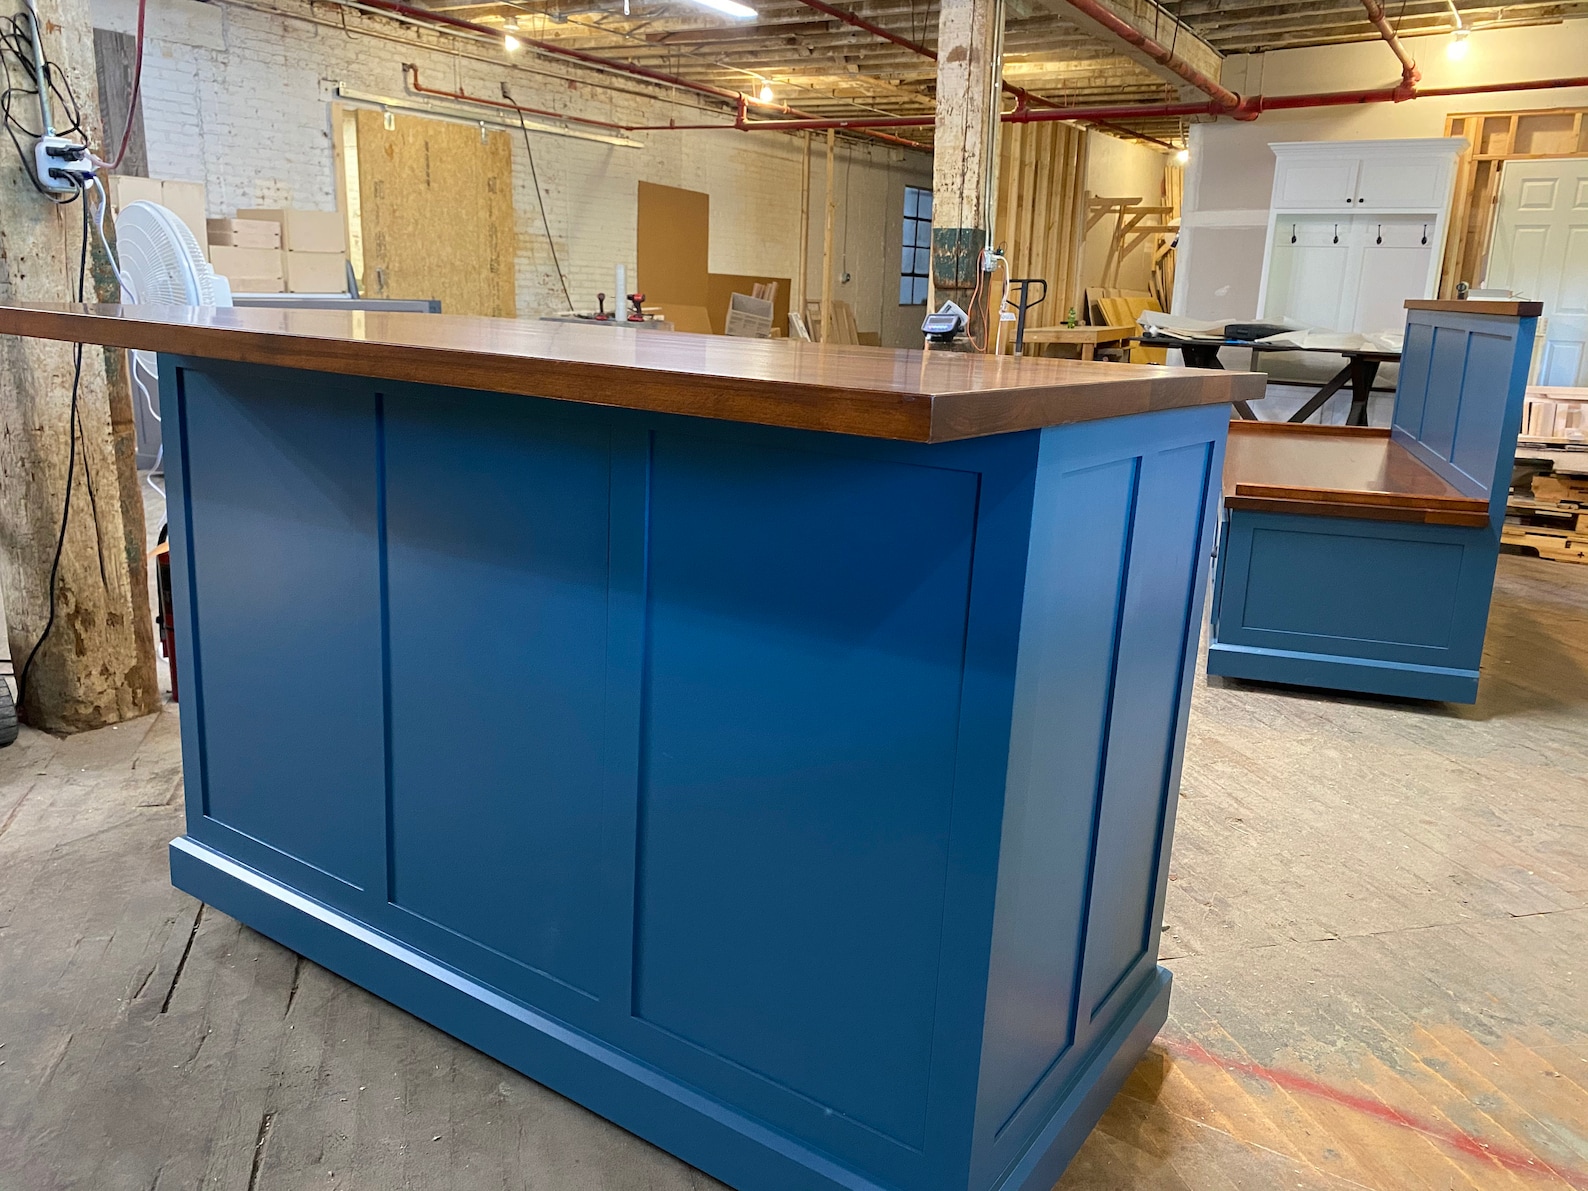
Once your island is complete, give it a fresh coat of paint or stain to match your kitchen's decor. You can also add a butcher block or granite countertop for a more polished look.
Your DIY kitchen island is now ready to use! Not only does it provide extra counter space and storage, but it also adds character and style to your kitchen.


1. DIY Kitchen Island from a Small Table


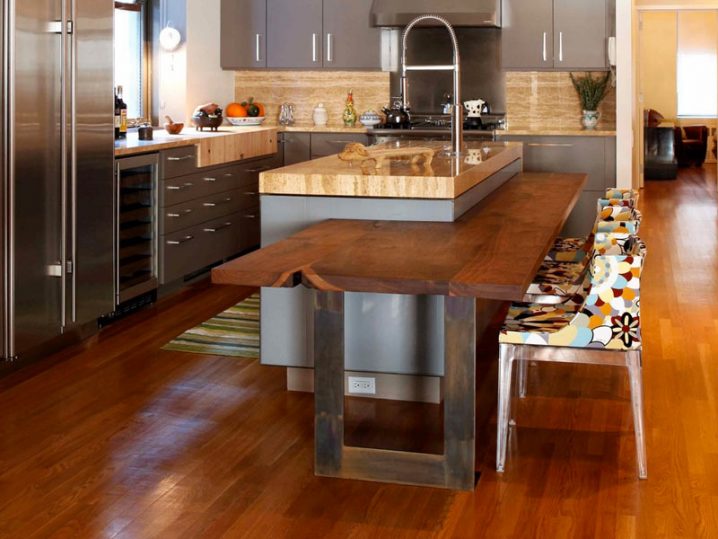
2. Transforming a Table into a Kitchen Island
In today's world, where space and functionality are highly valued, it's no surprise that kitchen islands have become a popular addition to many homes. However, purchasing a pre-made kitchen island can be expensive. Luckily, you can easily transform a small table into a kitchen island with just a few simple steps.
First, choose a table that is the right size and shape for your kitchen. A rectangular or square table will provide the most counter space, but a round table can also work well. Make sure the table is sturdy and can withstand the weight of your kitchen items.
Next, gather your tools and materials. You will need a saw, power drill, screws, and wood glue. You may also want to add some additional features such as shelves, hooks, or a towel rack.
Begin by removing any existing legs or attachments from the table. If the table has a drawer, you can either remove it or repurpose it for extra storage on the island.
Measure and cut four wooden blocks to the desired height for your island's legs. Attach them to the bottom corners of the table using wood glue and screws. Make sure they are evenly spaced and securely attached.
For added stability and storage, you can also attach a wooden plank across the bottom of the legs. This will also serve as a shelf for additional kitchen items.
Now it's time to add some personal touches to your island. You can add shelves to the sides for extra storage or use hooks to hang pots and pans. You can also add a towel rack or wine rack for added functionality and style.
Once your island is complete, give it a fresh coat of paint or stain to match your kitchen's decor. You can also add a butcher block or granite countertop for a more polished look.
Now you have a unique and functional kitchen island without breaking the bank. It's the perfect addition to any kitchen, providing extra counter space, storage, and style.
2. Transforming a Table into a Kitchen Island


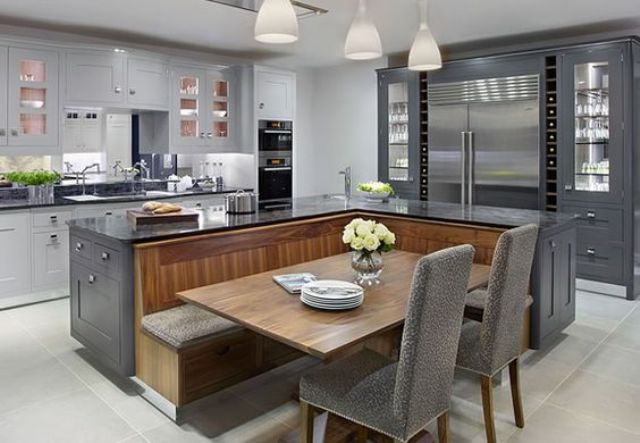
3. Converting a Small Table into a Functional Kitchen Island
Are you tired of your cramped and cluttered kitchen? Do you dream of having a spacious and functional kitchen island, but don't want to spend a fortune? Look no further than your own home! With a little creativity and some basic tools, you can easily convert a small table into a functional kitchen island.
First, choose a table that is the right size and shape for your space. It can be a vintage find or a table you already have in your home. Make sure it is sturdy enough to hold the weight of your kitchen items and can be easily moved around.
Gather your materials, including a power drill, screws, wood glue, and a saw. You may also want to add some extra features like shelves, hooks, or a towel rack.
Start by removing any existing legs or attachments from the table. If the table has a drawer, you can either remove it or repurpose it for additional storage on the island.
Next, measure and cut four wooden blocks to the desired height for your island's legs. Attach them to the bottom corners of the table using wood glue and screws. Make sure they are evenly spaced and securely attached.
For added stability and storage, you can also attach a wooden plank across the bottom of the legs. This will also serve as a shelf for extra kitchen items.
Now it's time to personalize your island. You can add shelves to the sides for additional storage or use hooks to hang pots and pans. You can also add a towel rack or wine rack for a touch of elegance.
Once your island is complete, give it a fresh coat of paint or stain to match your kitchen's decor. You can also add a butcher block or granite countertop for a more polished look.
Voila! Your DIY kitchen island is now ready to use. It not only provides extra counter space and storage, but it also adds character and style to your kitchen.


3. Converting a Small Table into a Functional Kitchen Island


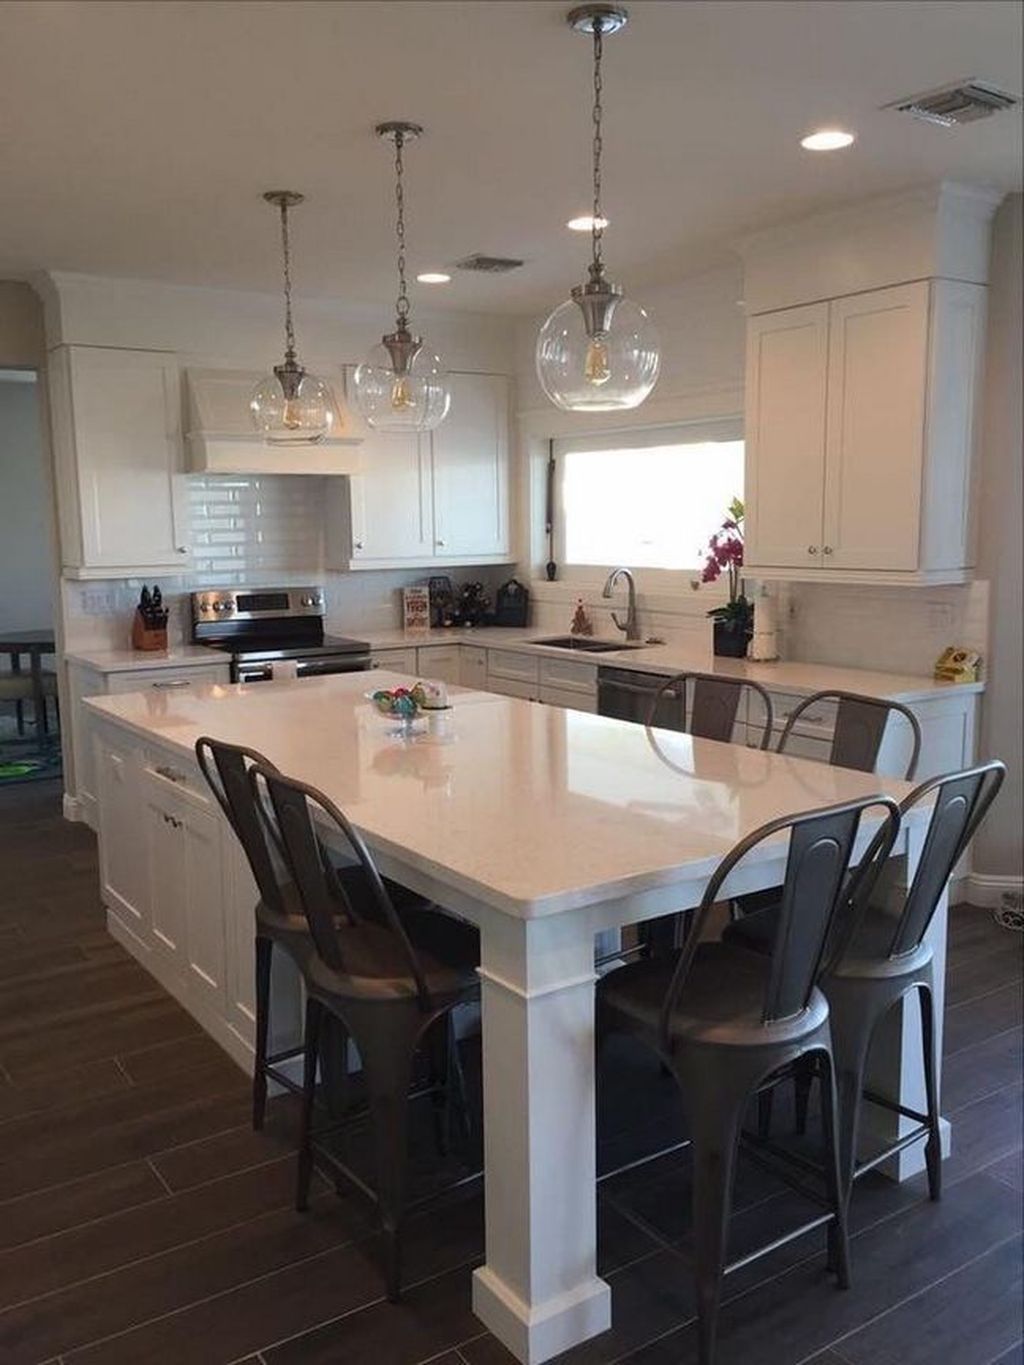
4. How to Make a Kitchen Island from a Small Table
Are you looking to add more counter space and storage to your kitchen without spending a fortune? Look no further than your own home! With a little creativity and some basic tools, you can easily make a kitchen island from a small table.
First, choose a sturdy table that is the right size for your space. It can be a table you already have in your home or a vintage find. Just make sure it can support the weight of your kitchen items and can be easily moved.
Gather your tools and materials, including a power drill, screws, wood glue, and a saw. You may also want to add some additional features such as shelves, hooks, or a towel rack.
Start by removing any existing legs or attachments from the table. If the table has a drawer, you can either remove it or repurpose it for extra storage on the island.
Measure and cut four wooden blocks to the desired height for your island's legs. Attach them to the bottom corners of the table using wood glue and screws. Make sure they are evenly spaced and securely attached.
For added stability and storage, you can also attach a wooden plank across the bottom of the legs. This will also serve as a shelf for additional kitchen items.
Next, add some personal touches to your island. You can add shelves to the sides for extra storage or use hooks to hang pots and pans. You can also add a towel rack or wine rack for added functionality and style.
Once your island is complete, give it a fresh coat of paint or stain to match your kitchen's decor. You can also add a butcher block or granite countertop for a more polished look.
Now you have a custom-made kitchen island that not only adds functionality but also adds character and style to your kitchen.


4. How to Make a Kitchen Island from a Small Table


5. Turning a Table into a Custom Kitchen Island
Are you looking to upgrade your kitchen without breaking the bank? Do you dream of having a custom kitchen island but don't want to spend a fortune on a pre-made one? The solution is simple - turn a table into a custom kitchen island!
First, choose a table that is the right size and shape for your space. It can be a table you already have in your home or a vintage find. Just make sure it is sturdy enough to hold the weight of your kitchen items and can be easily moved.
Gather your tools and materials, including a power drill, screws, wood glue, and a saw. You may also want to add some additional features such as shelves, hooks, or a towel rack.
Begin by removing any existing legs or attachments from the table. If the table has a drawer, you can either remove it or repurpose it for extra storage on the island.
Next, measure and cut four wooden blocks to the desired height for your island's legs. Attach them to the bottom corners of the table using wood glue and screws. Make sure they are evenly spaced and securely attached.
For added stability and storage, you can also attach a wooden plank across the bottom of the legs. This will also serve as a shelf for additional kitchen items.
Now it's time to add some personal touches to your island. You can add shelves to the sides for extra storage or use hooks to hang pots and pans. You can also add a towel rack or wine rack for a touch of elegance.
Once your island is complete, give it a fresh coat of paint or stain to match your kitchen's decor. You can also add a butcher block or granite countertop for a more polished look.
Now you have a custom kitchen island that not only adds functionality but also adds character and style to your kitchen. And the best part? It didn't cost you a fortune!


5. Turning a Table into a Custom Kitchen Island


6. Small Table Hack: Kitchen Island Edition
Are you looking for a budget-friendly way to add more counter space and storage to your kitchen? Look no further than your own home! With a little ingenuity and some basic tools, you can easily transform a small table into a functional kitchen island.
Start by choosing a sturdy table that is the right size and shape for your space. It can be a table you already have or a vintage find. Just make sure it can support the weight of your kitchen items and can be easily moved.
Gather your materials, including a power drill, screws, wood glue, and a saw. You may also want to add some additional features such as shelves, hooks, or a towel rack.
Begin by removing any existing legs or attachments from the table. If the table has a drawer, you can either remove it or repurpose it for extra storage on the island.
Next, measure and cut four wooden blocks to the desired height for your island's legs. Attach them to the bottom corners of the table using wood glue and screws. Make sure they are evenly spaced and securely attached.
For added stability and storage, you can also attach a wooden plank across the bottom of the legs. This will also serve as a shelf for additional kitchen items.
Now it's time to add some personal touches to your island. You can add shelves to the sides for extra storage or use hooks to hang pots and pans. You can also add a towel rack or wine rack for added functionality and style.
Once your island is complete, give it a fresh coat of paint or stain to match your kitchen's decor. You can also add a butcher block or granite countertop for a more polished look.
Now you have a functional and stylish kitchen island without spending a fortune. It's the perfect hack for any small kitchen!


6. Small Table Hack: Kitchen Island Edition


7. Creating a Kitchen Island from a Small Table on a Budget
Are you tired of your small and cluttered kitchen? Do you dream of having a spacious and functional kitchen island, but don't want to spend a fortune? Look no further than your own home! With a little creativity and some basic tools, you can easily create a kitchen island from a small table on a budget.
To start, choose a table that is the right size and shape for your space. It can be a vintage find or a table you already have. Just make sure it is sturdy enough to hold the weight of your kitchen items and can be easily moved.
Gather your tools and materials, including a power drill, screws, wood glue, and a saw. You may also want to add some additional features such as shelves, hooks, or a towel rack.
Begin by removing any existing legs or attachments from the table. If the table has a drawer, you can either remove it or repurpose it for extra storage on the island.
Next, measure and cut four wooden blocks to the desired height for your island's legs. Attach them to the bottom corners of the table using wood glue and screws. Make sure they are evenly spaced and securely attached.
For added stability and storage, you can also attach a wooden plank across the bottom of the legs. This will also serve as a shelf for additional kitchen items.
Now it's time to add some personal touches to your island. You can add shelves to the sides for extra storage or use hooks to hang pots and pans. You can also add a towel rack or wine rack for a touch of elegance.
Once your island is complete, give it a fresh coat of paint or stain to match your kitchen's decor. You can also add a butcher block or granite countertop for a more polished look.
Now you have a custom-made kitchen island that not only adds functionality but also adds character and style to your kitchen - all without breaking the bank.

7. Creating a Kitchen Island from a Small Table on a Budget


8. From Table to Island: DIY Kitchen Upgrade

8. From Table to Island: DIY Kitchen Upgrade


Transform Your Small Table into a Kitchen Island
Functionality Meets Style
 In today's fast-paced world, maximizing space has become a necessity in house design. As homeowners, we are constantly looking for ways to make our living spaces more functional and efficient. One area that often gets overlooked is the kitchen. The heart of the home, the kitchen is where meals are prepared, conversations are had, and memories are made. But what if you have a small kitchen with limited counter space? That's where the idea of transforming a small table into a kitchen island comes in.
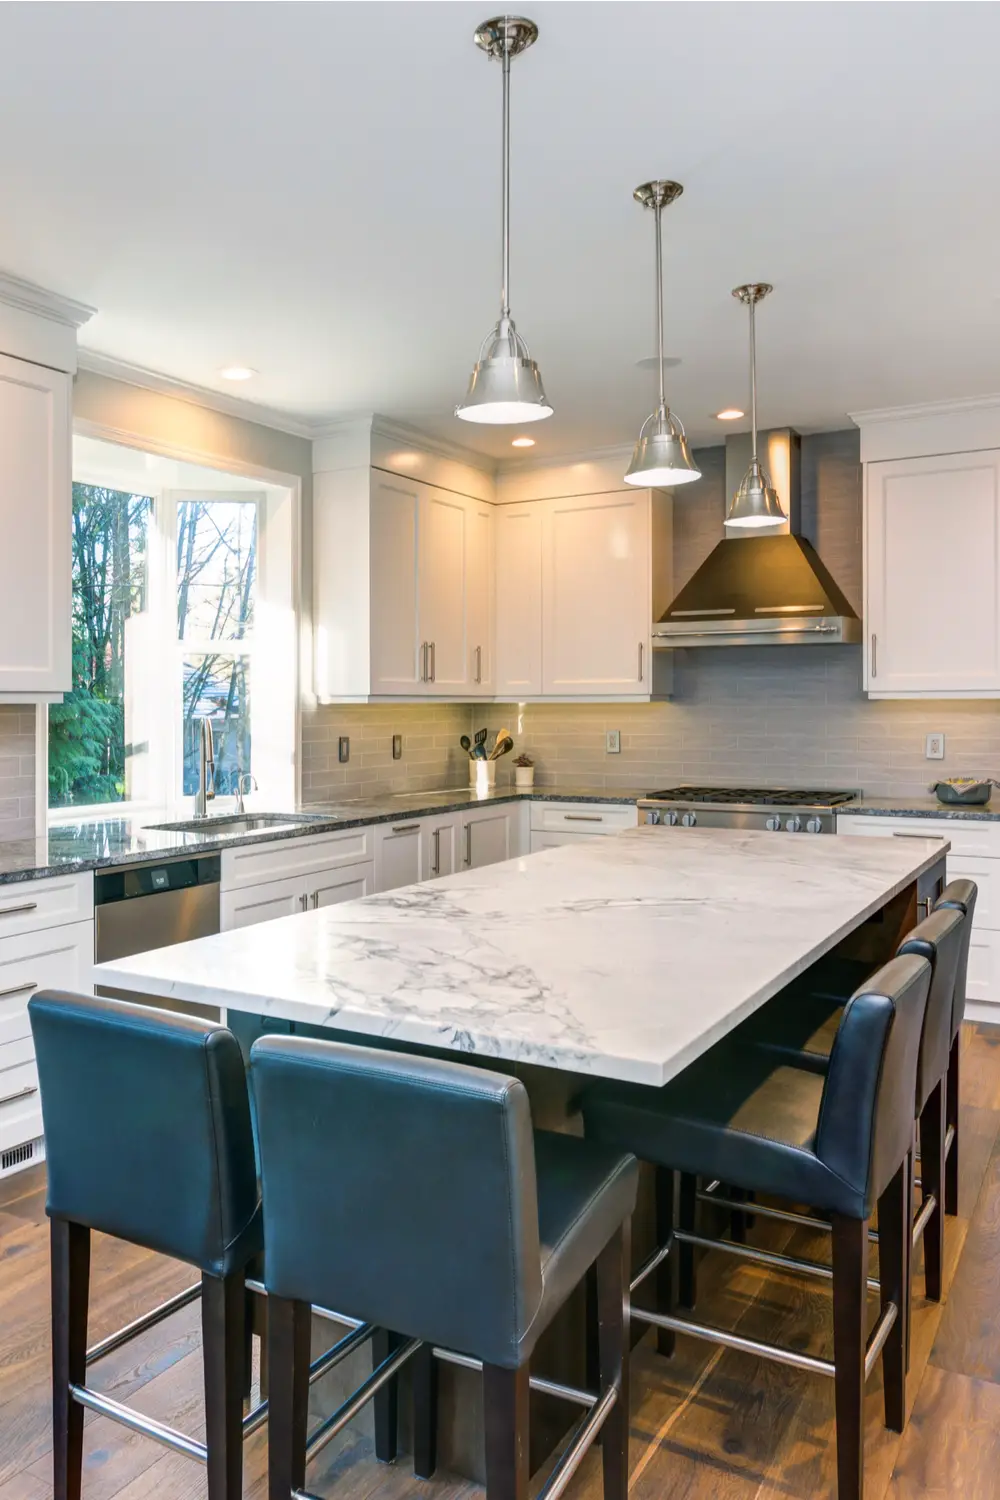
The Benefits of a Kitchen Island
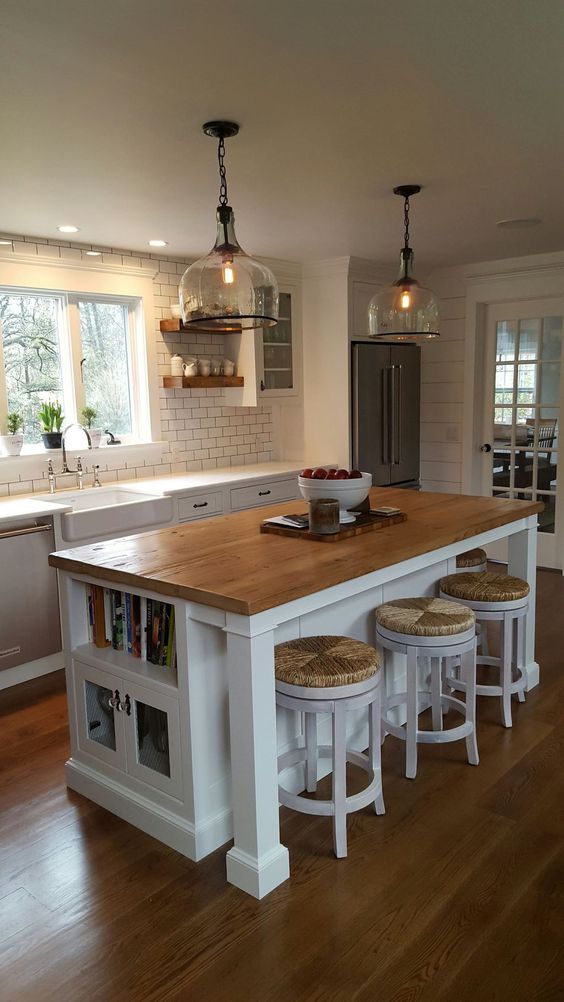
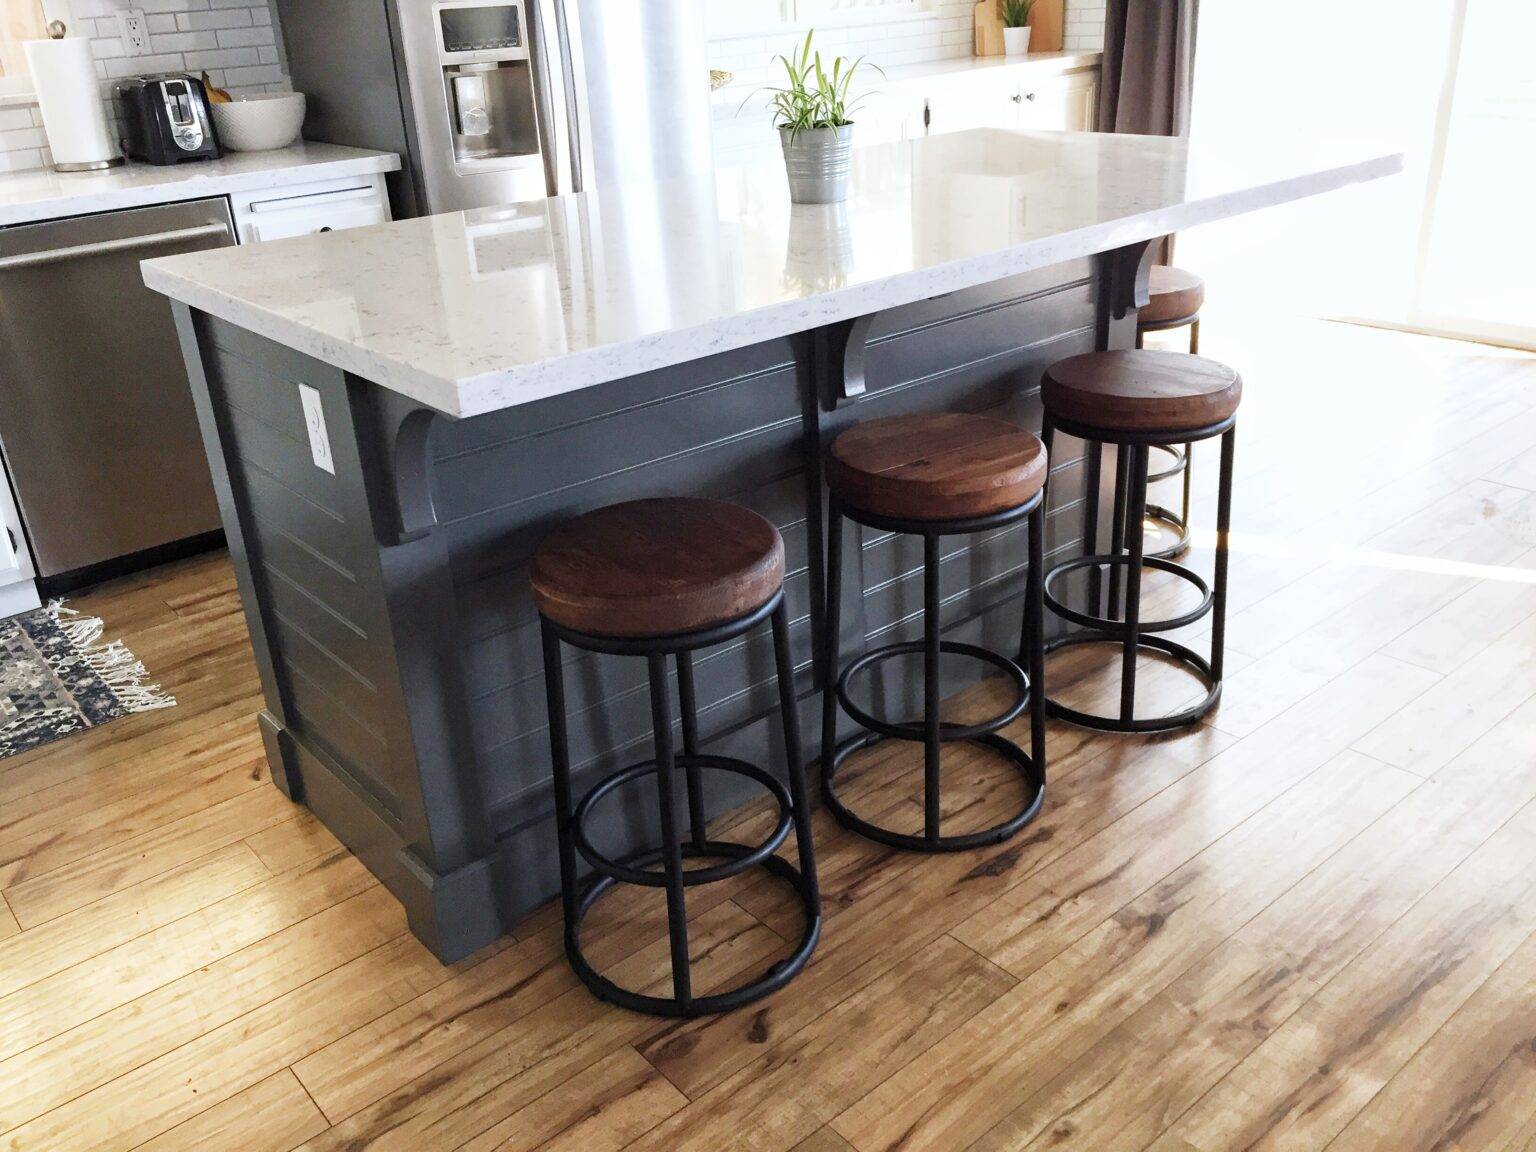
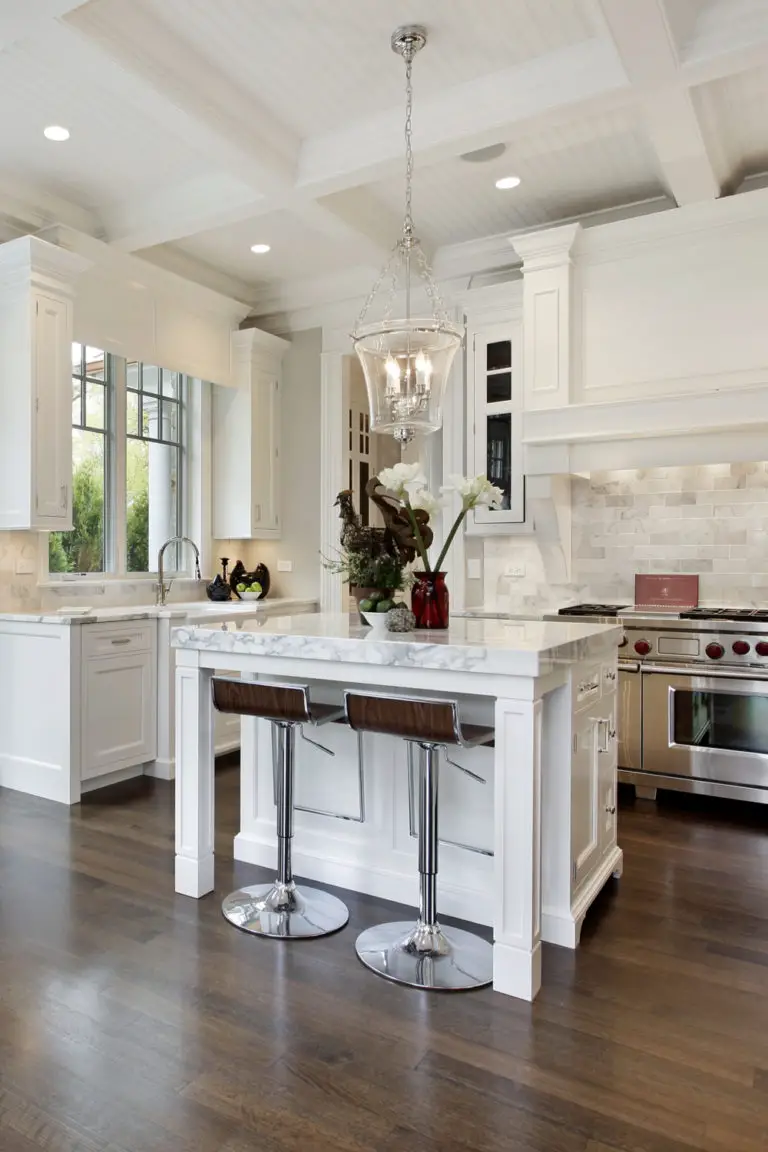
 A kitchen island provides many benefits, making it a must-have in any modern kitchen design. It not only adds extra counter space for meal prep but also serves as a gathering place for family and friends. It can also be used as a breakfast nook, a place to do homework, or even as a makeshift office while cooking. By adding a kitchen island, you can increase the functionality of your kitchen and create a more inviting atmosphere for your home.
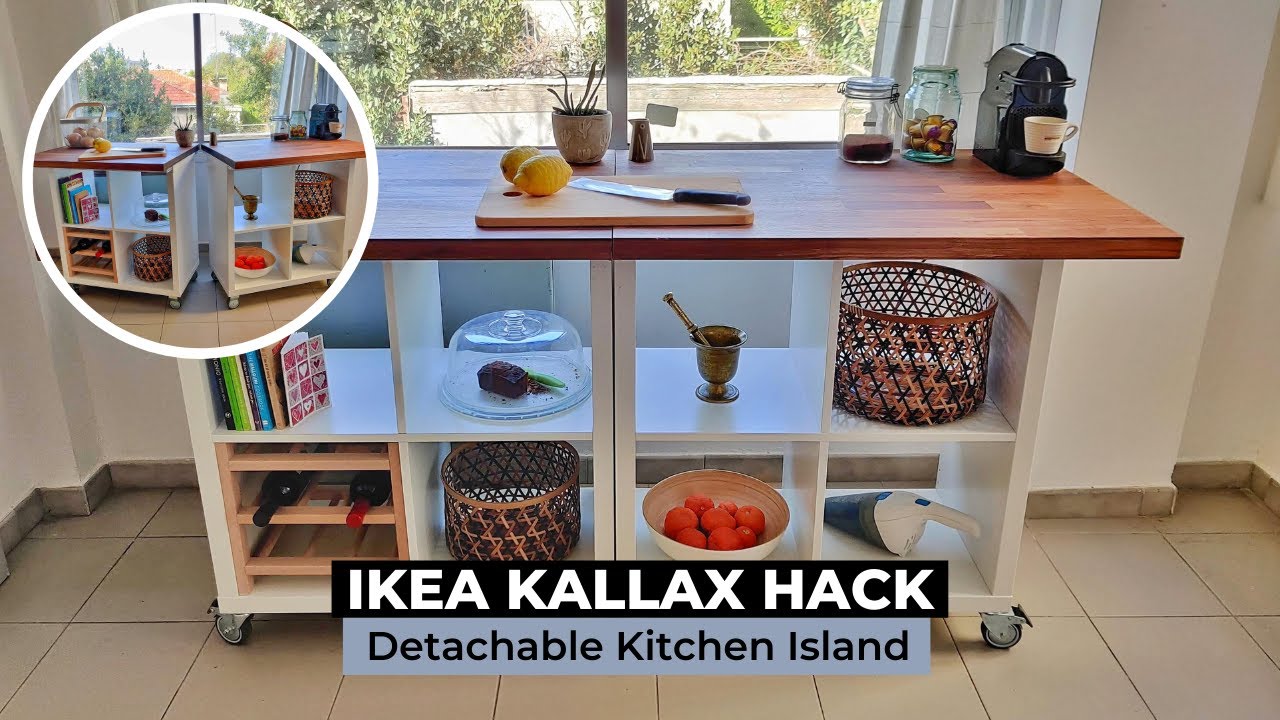
Transforming Your Small Table
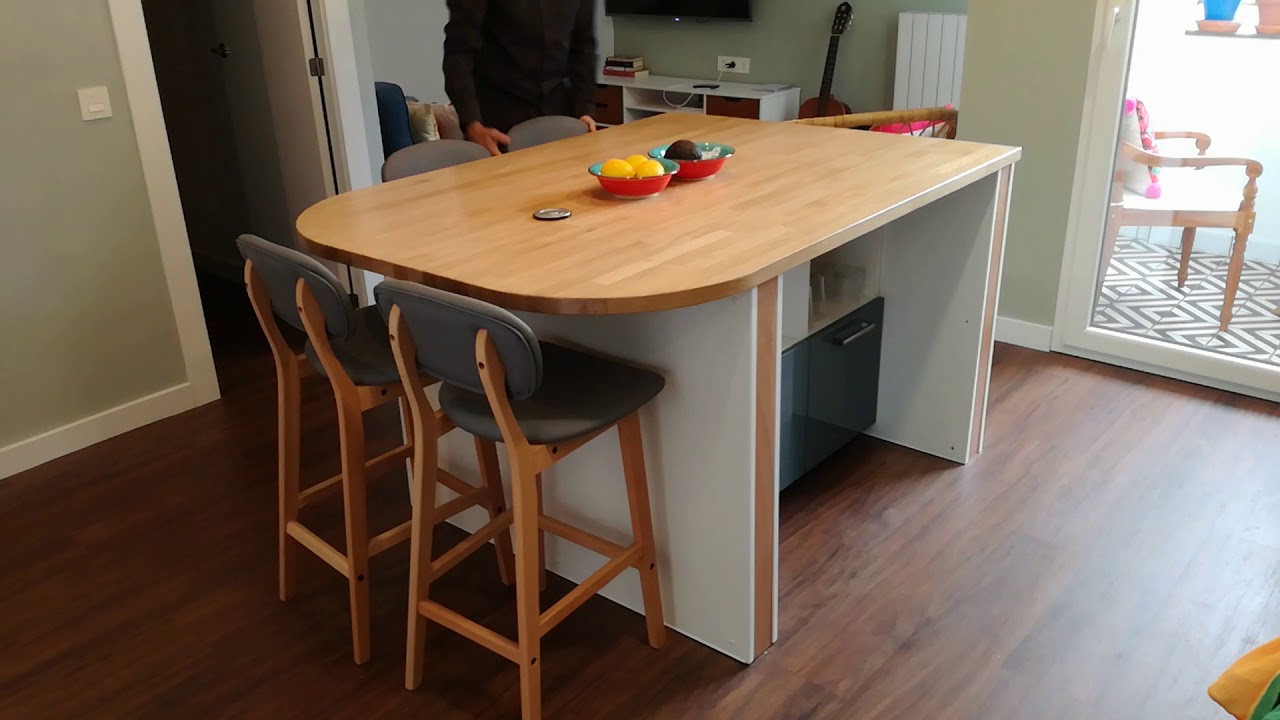
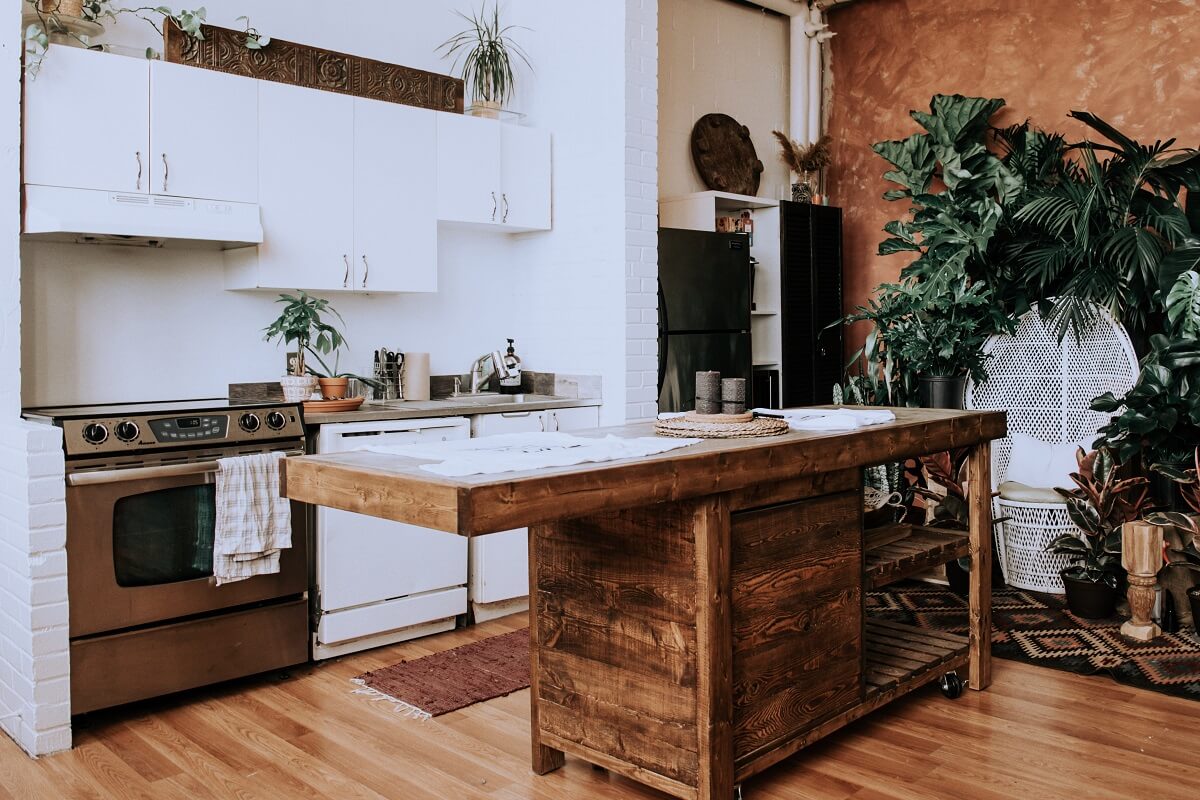
 Now, you may be wondering how a small table can be transformed into a kitchen island. The process is surprisingly simple and can be done with just a few materials. First, choose a sturdy table that is the appropriate size for your kitchen. Then, using a saw, cut off the legs of the table to make it the same height as your countertops. Next, add wheels to the bottom of the table to make it mobile. This allows you to move the kitchen island around as needed, making it even more functional.
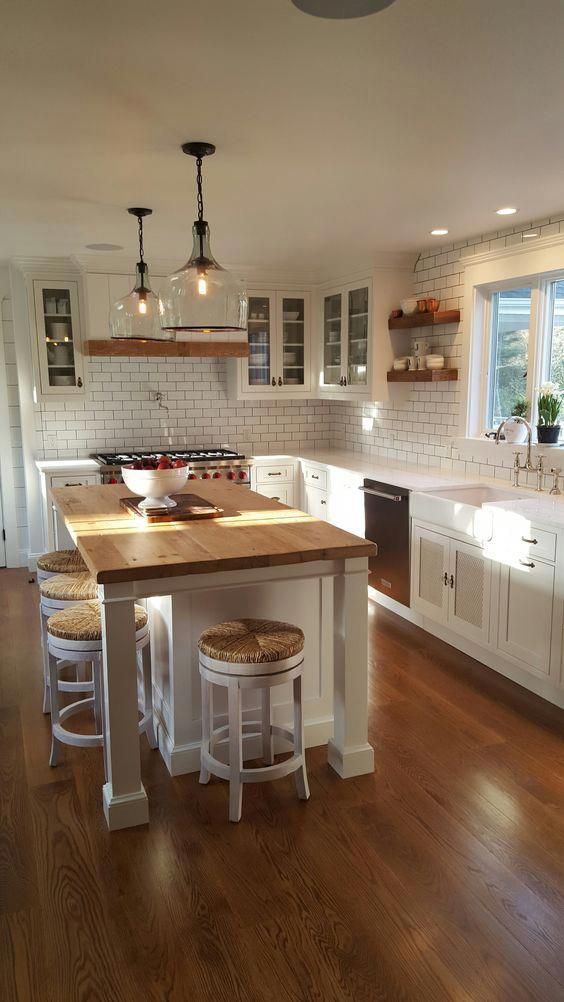
Adding Your Personal Touch
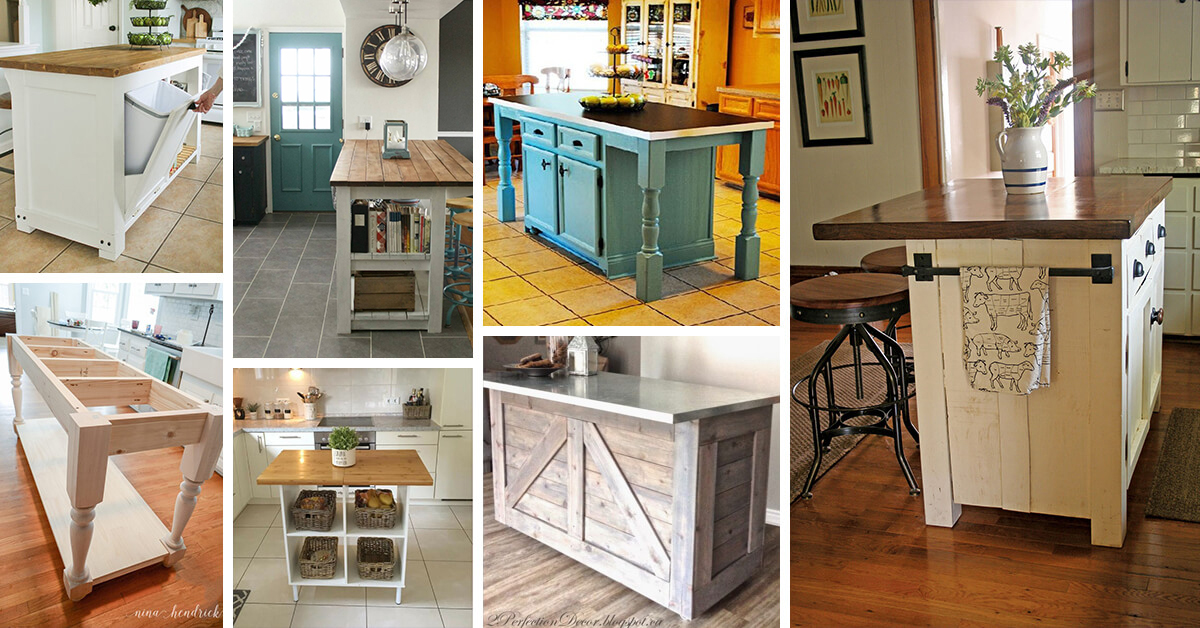
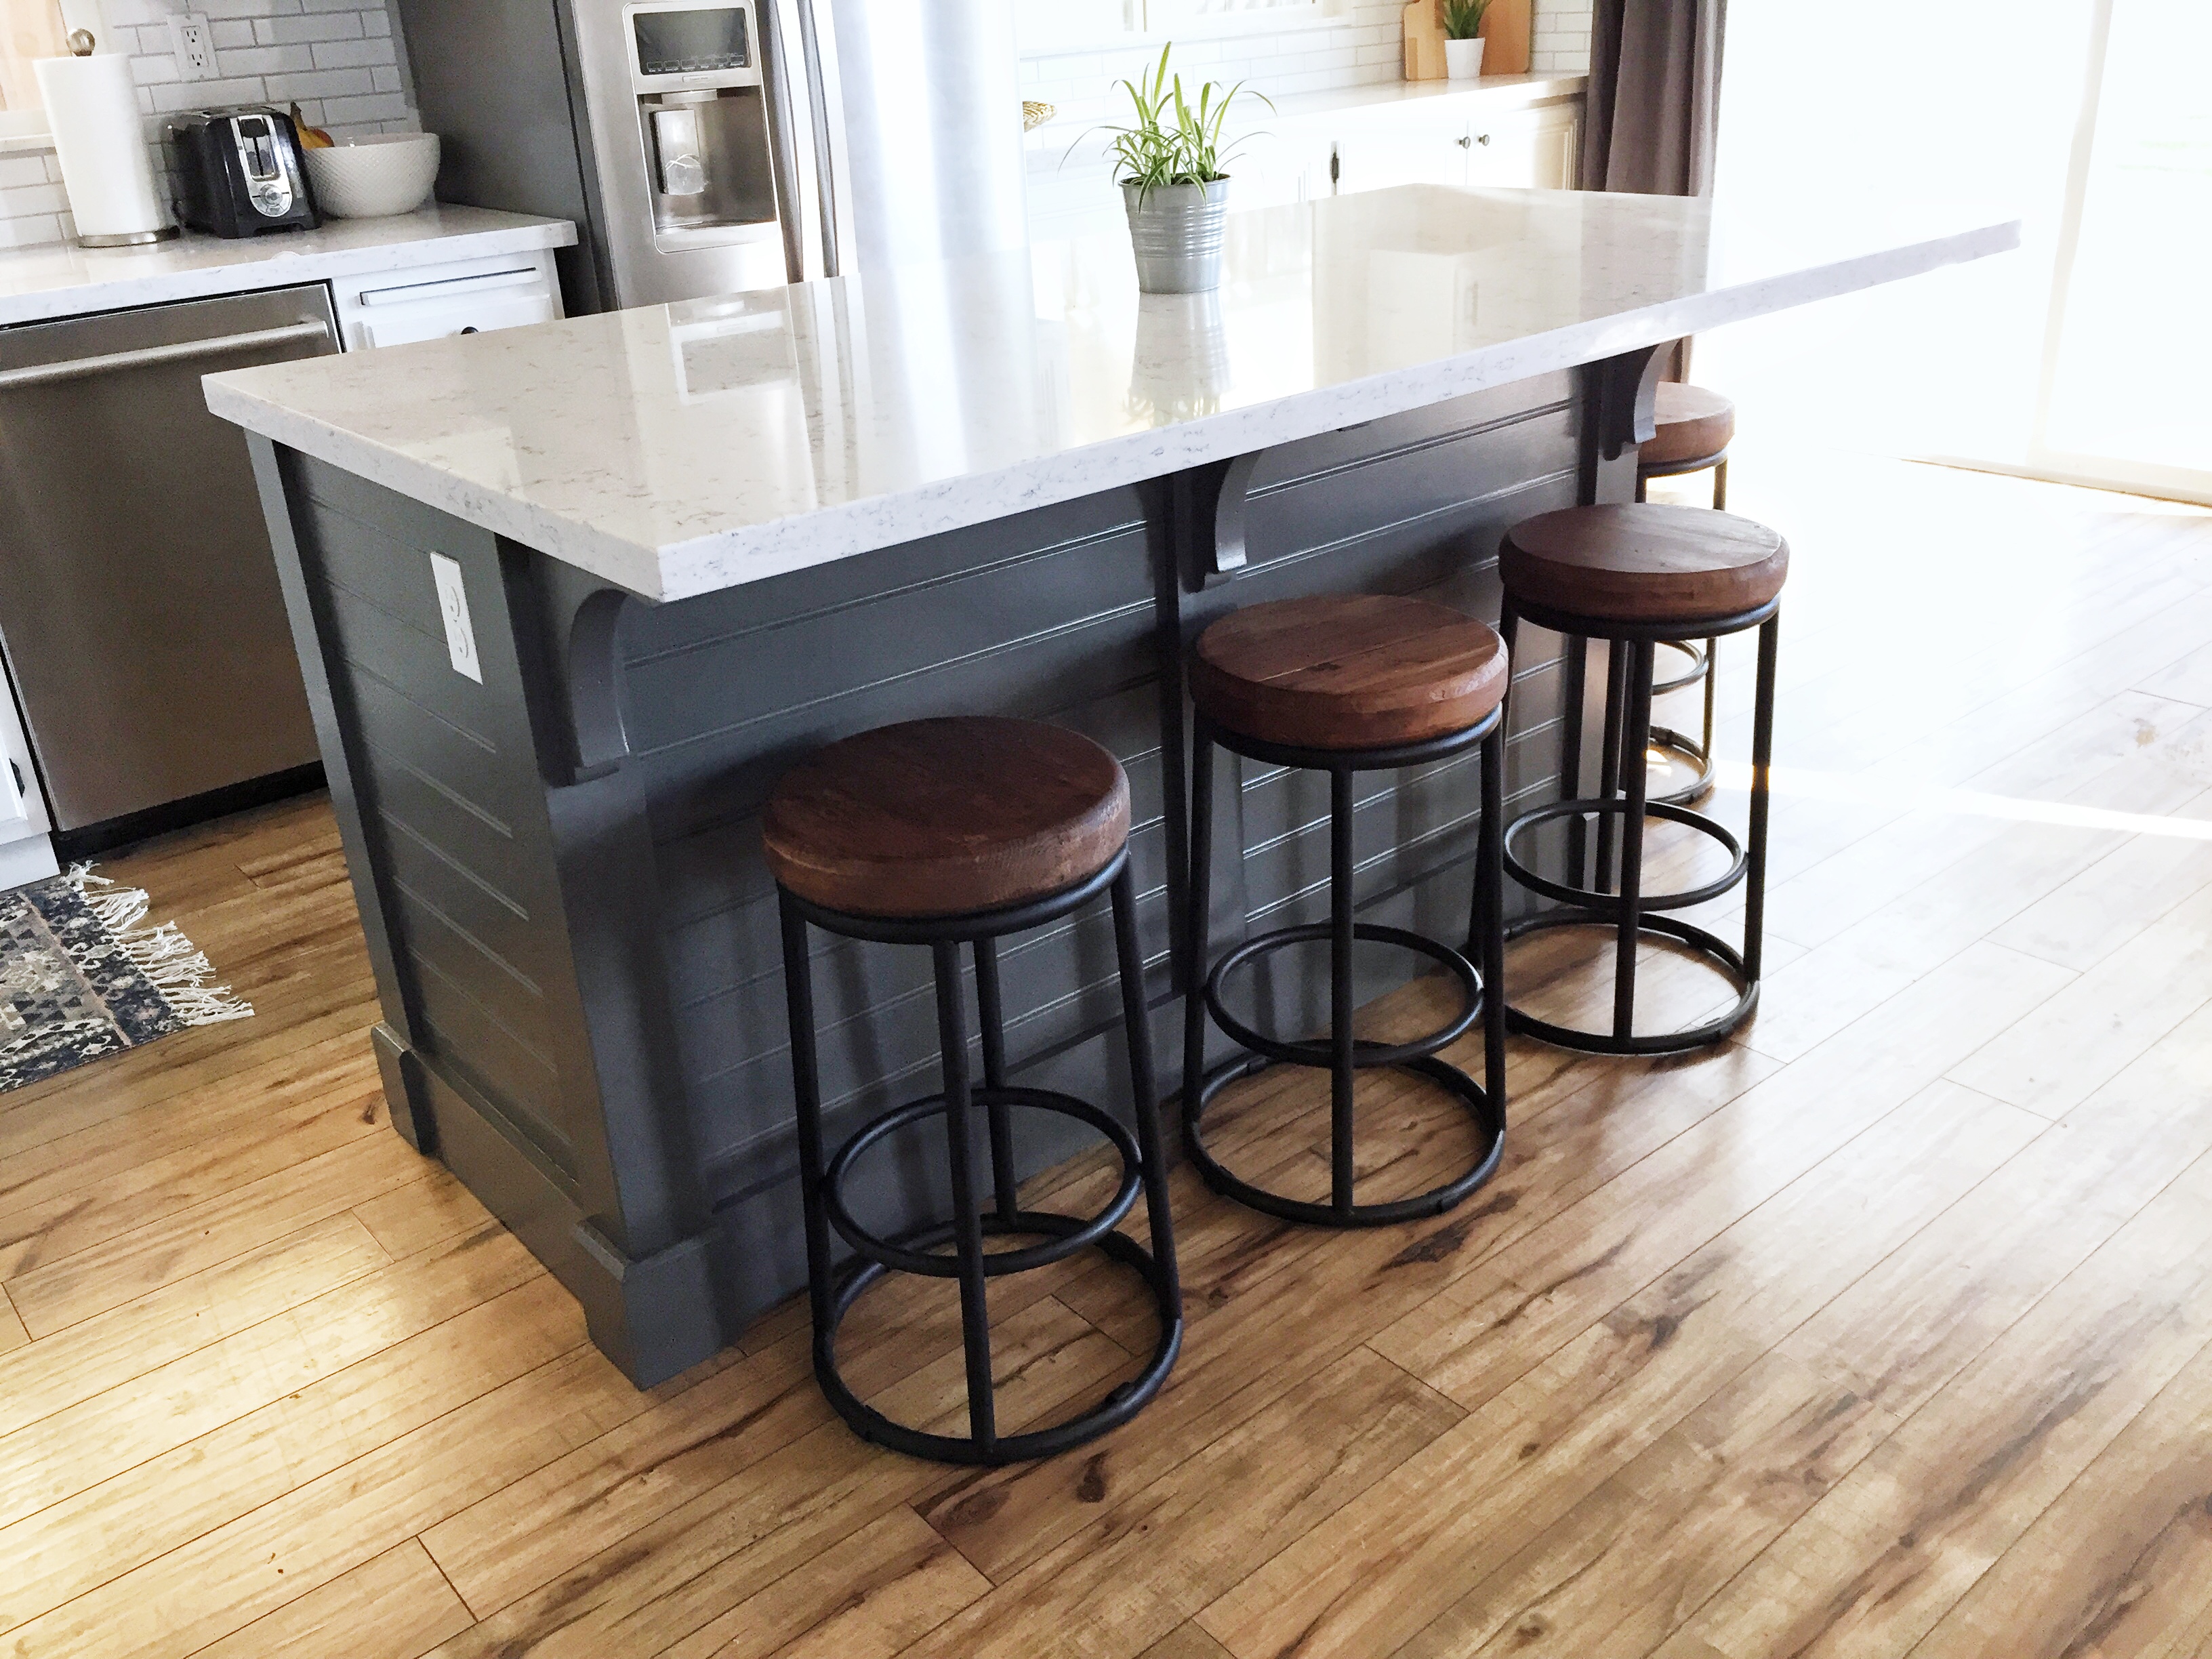
 The best part about transforming a small table into a kitchen island is the ability to add your personal touch to the design. You can paint the table to match your kitchen's color scheme, add shelves or hooks for additional storage, or even install a butcher block top for a more rustic look. The possibilities are endless, and you can customize your kitchen island to fit your unique style and needs.
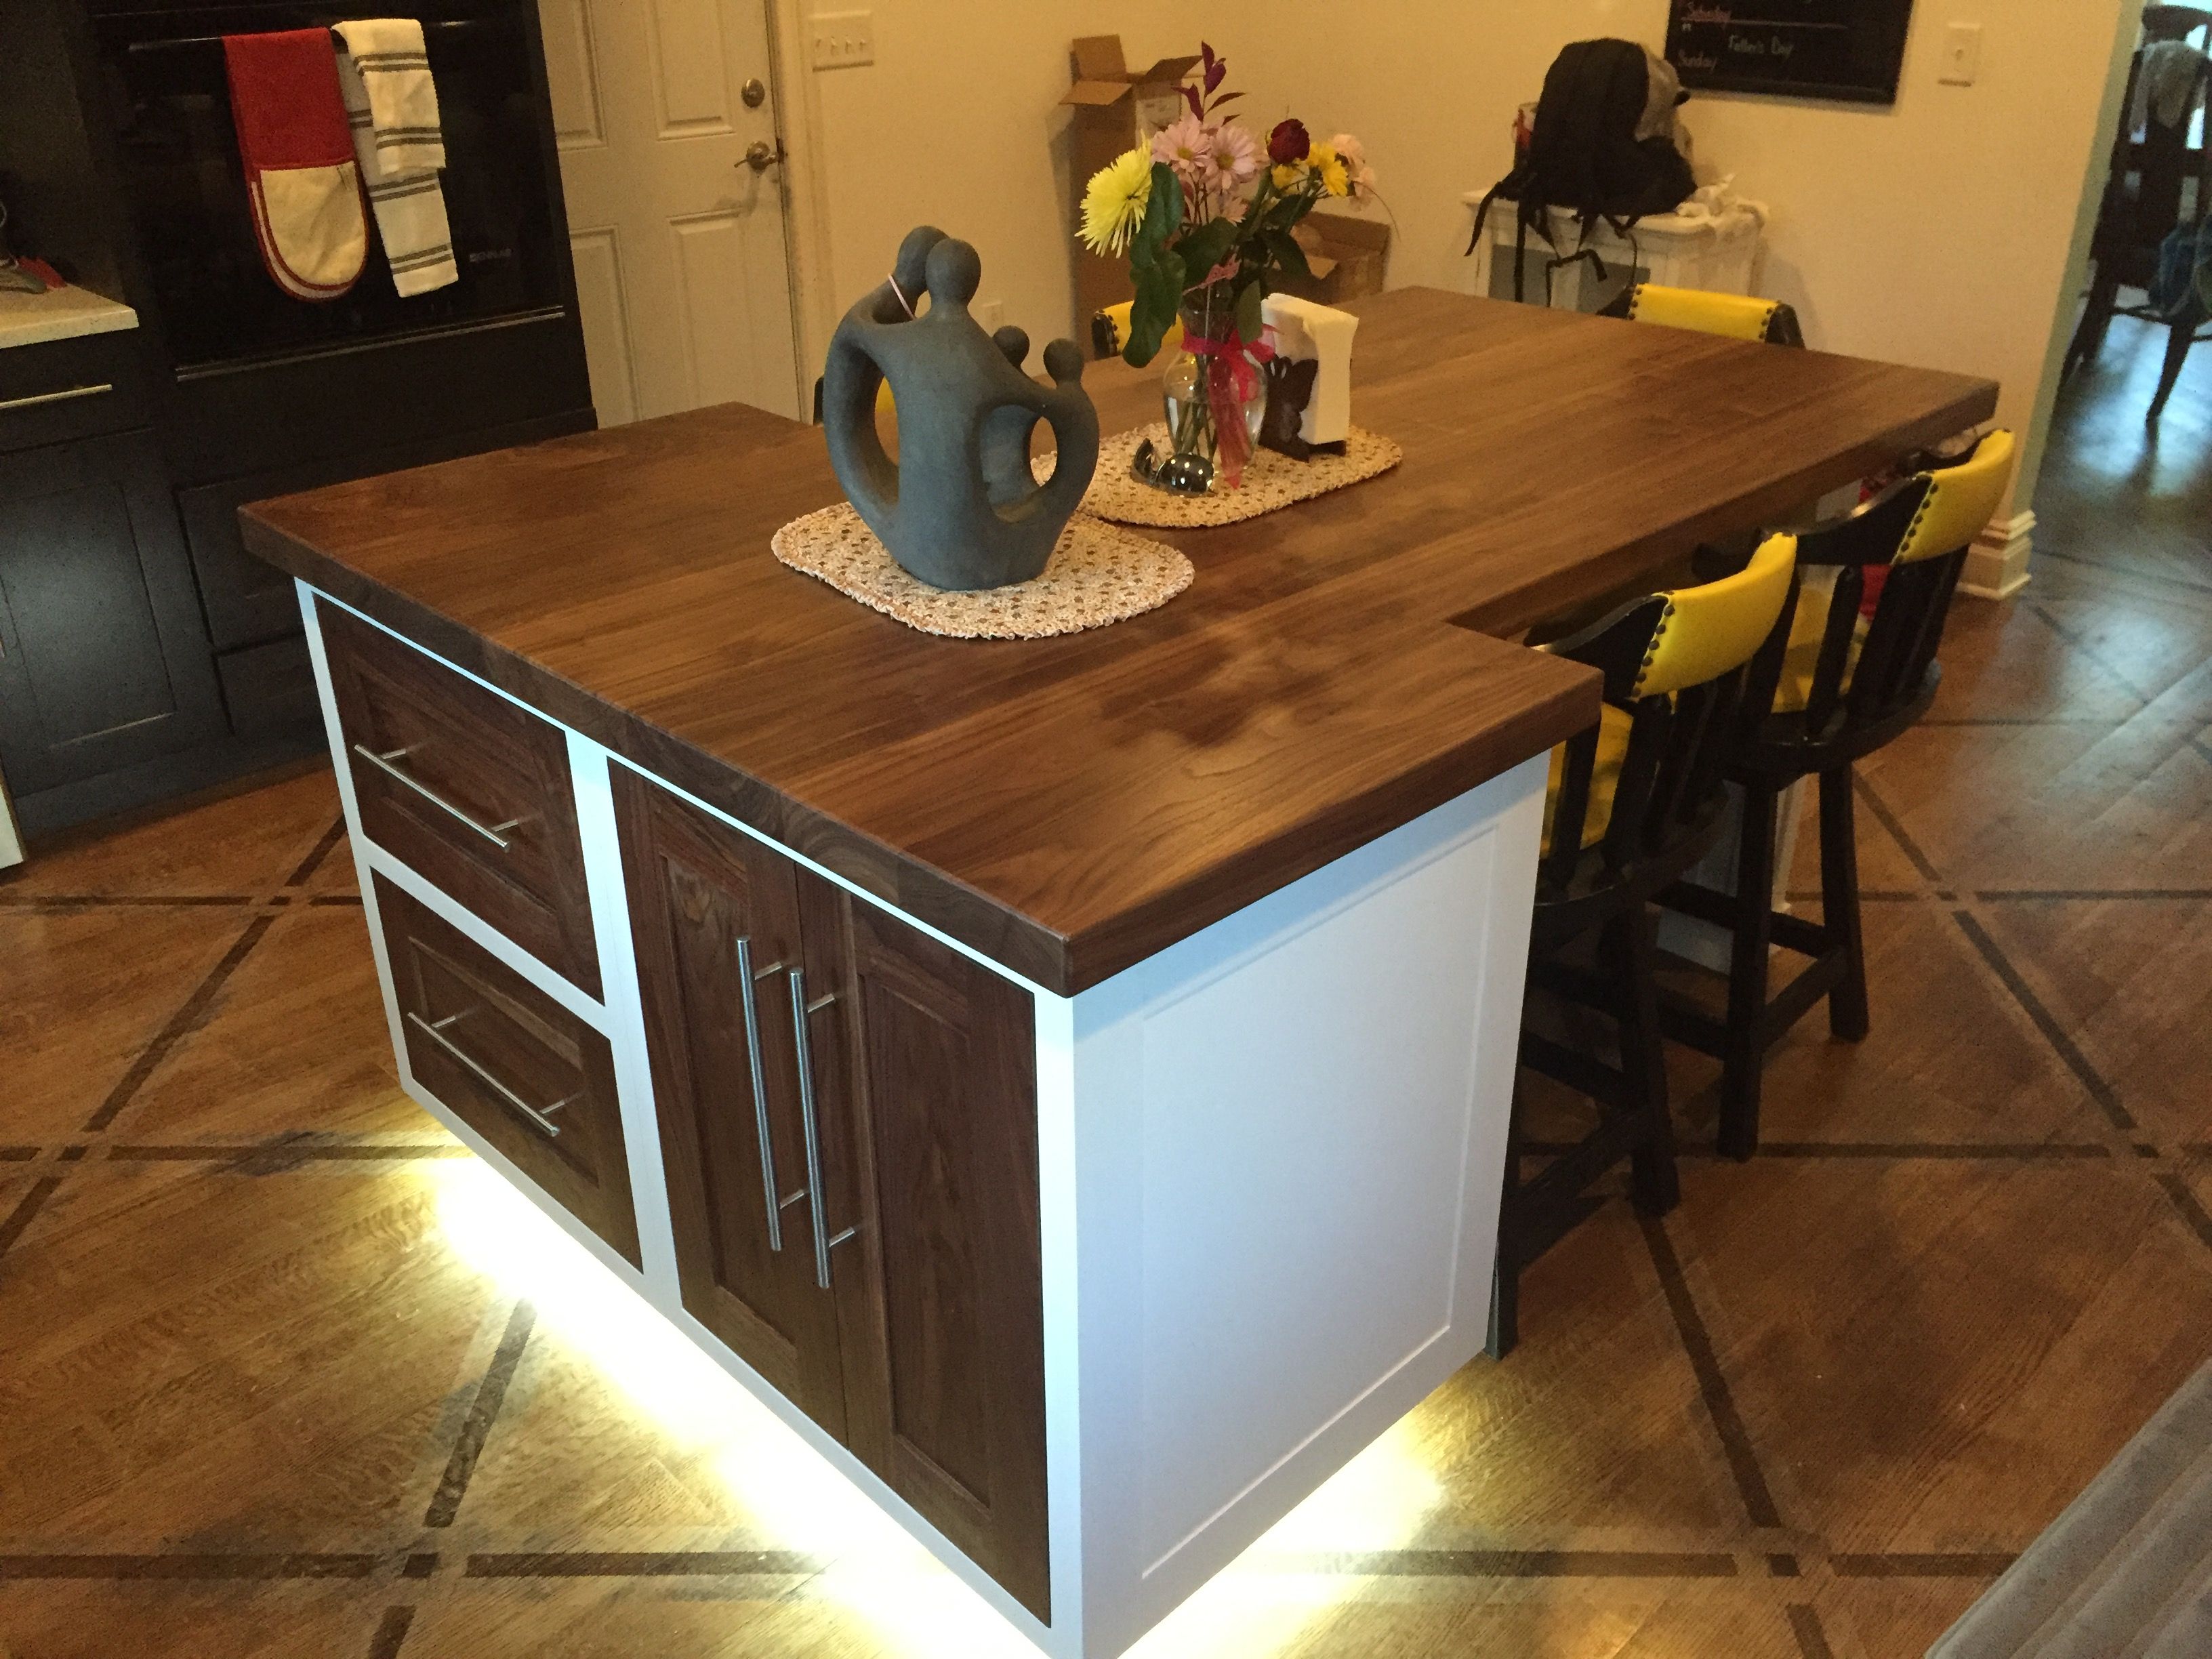
Conclusion
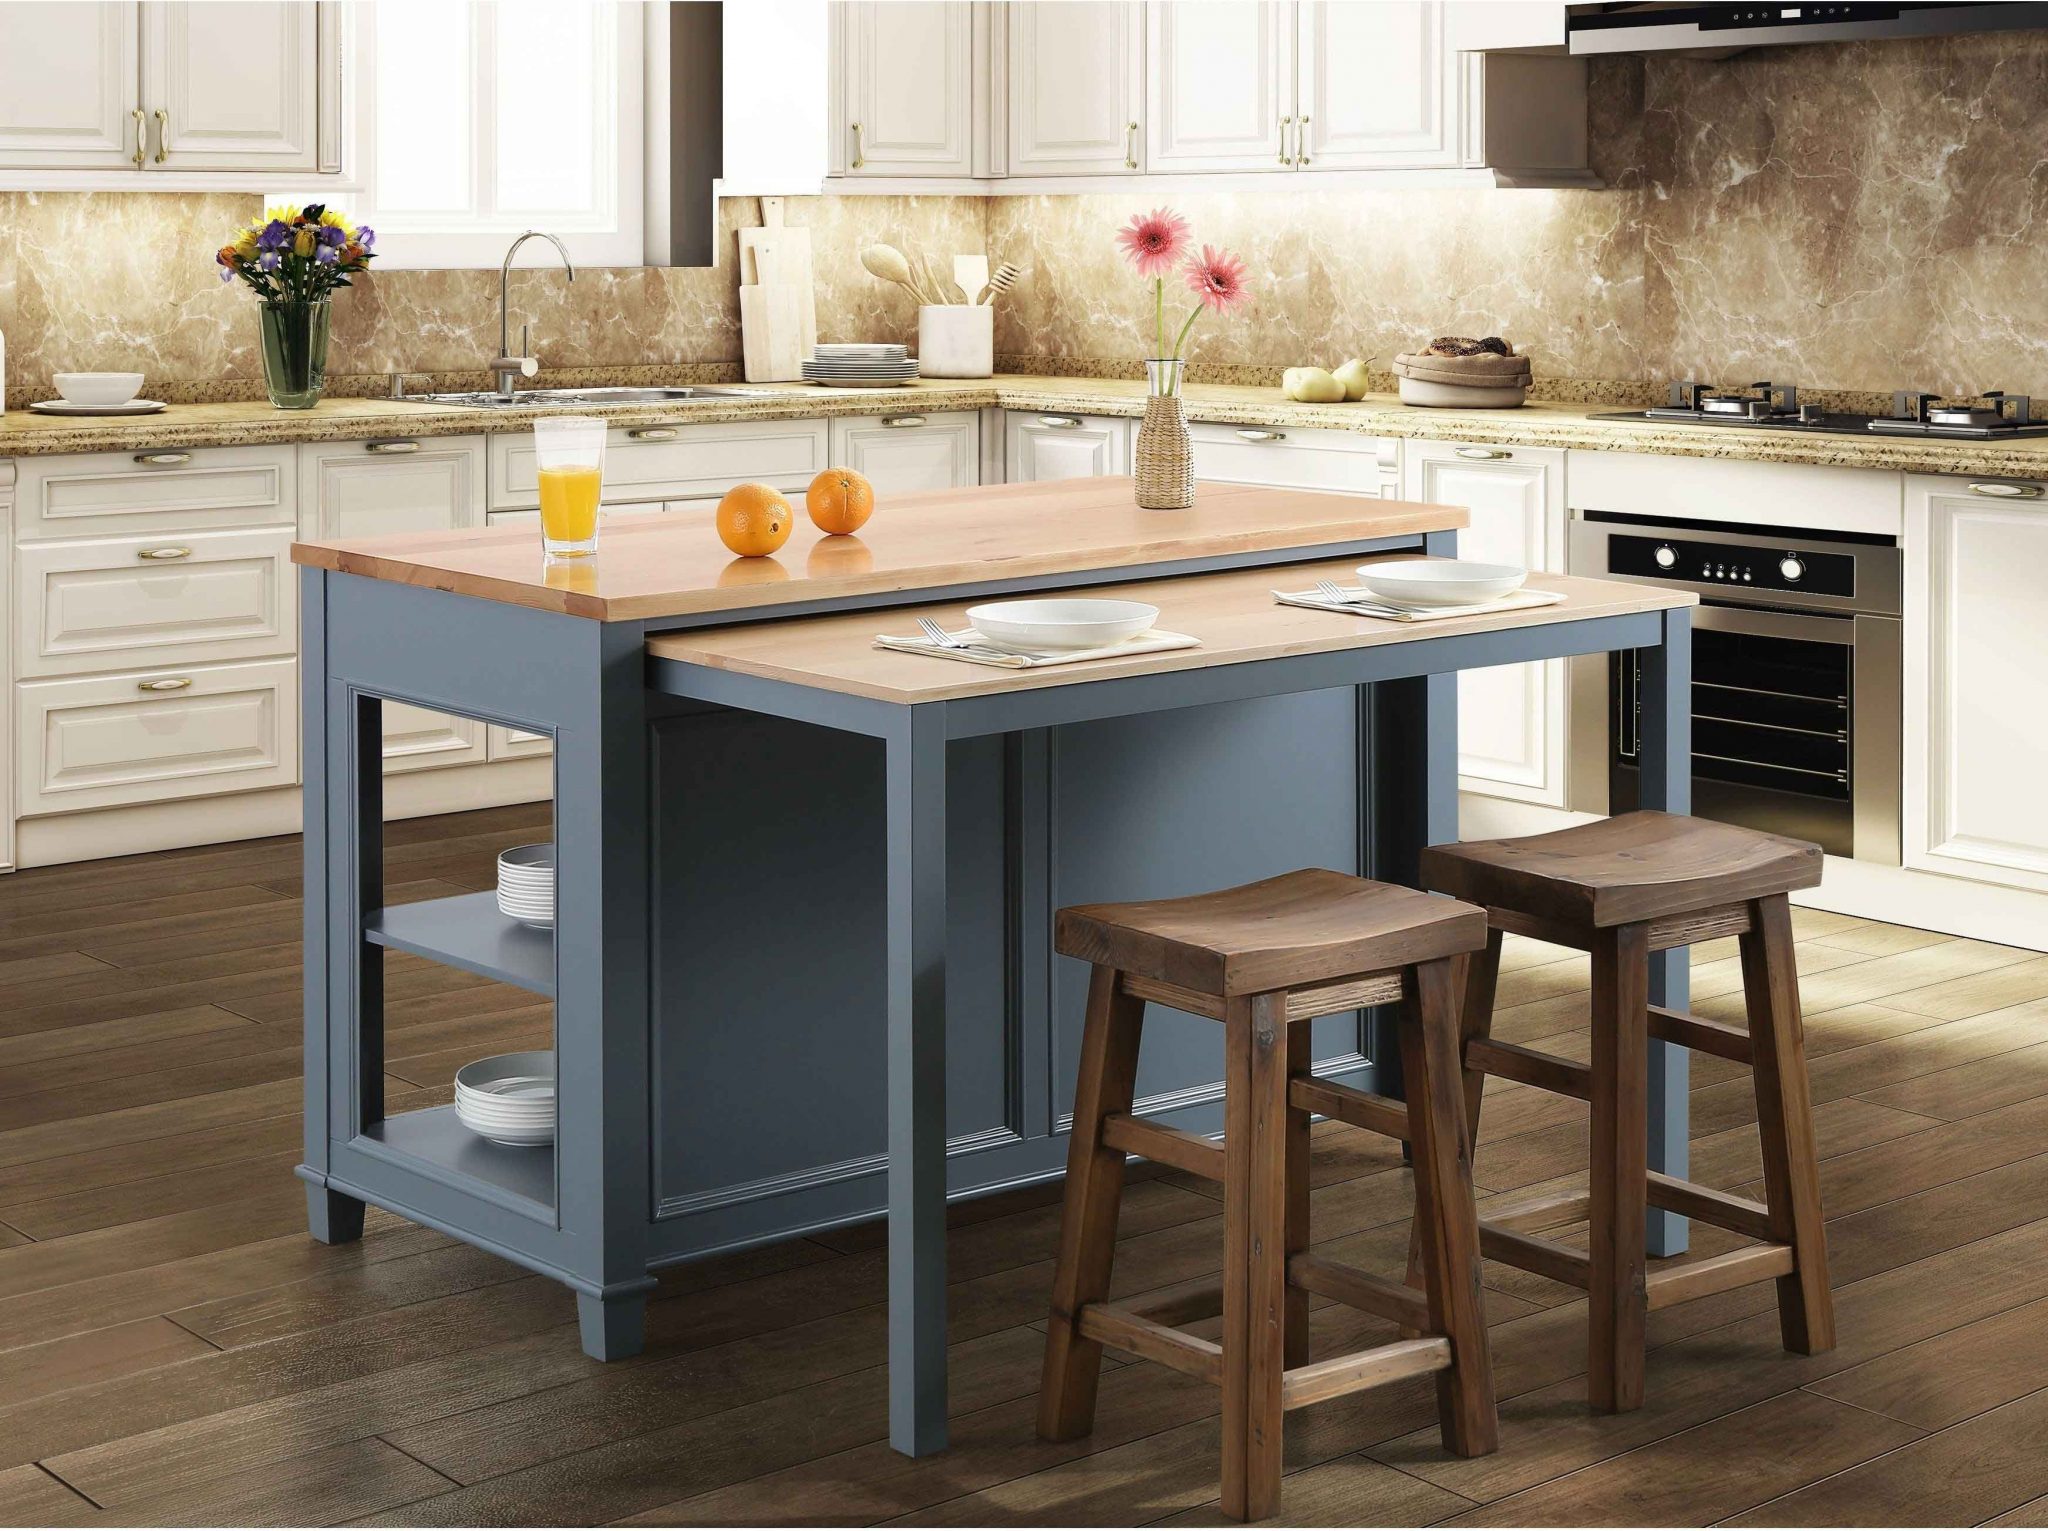
.jpg) In conclusion, turning a small table into a kitchen island is a cost-effective and practical solution for maximizing space in your kitchen. It not only adds functionality but also adds a touch of style to your home. So, why not give it a try and see the transformation for yourself? Your kitchen will thank you.
In conclusion, turning a small table into a kitchen island is a cost-effective and practical solution for maximizing space in your kitchen. It not only adds functionality but also adds a touch of style to your home. So, why not give it a try and see the transformation for yourself? Your kitchen will thank you.