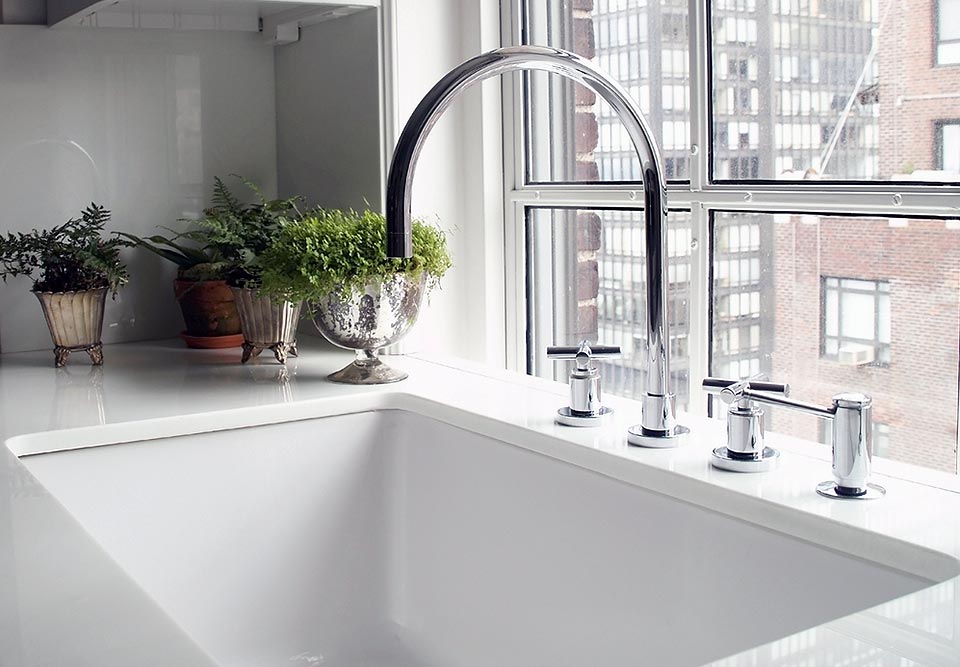
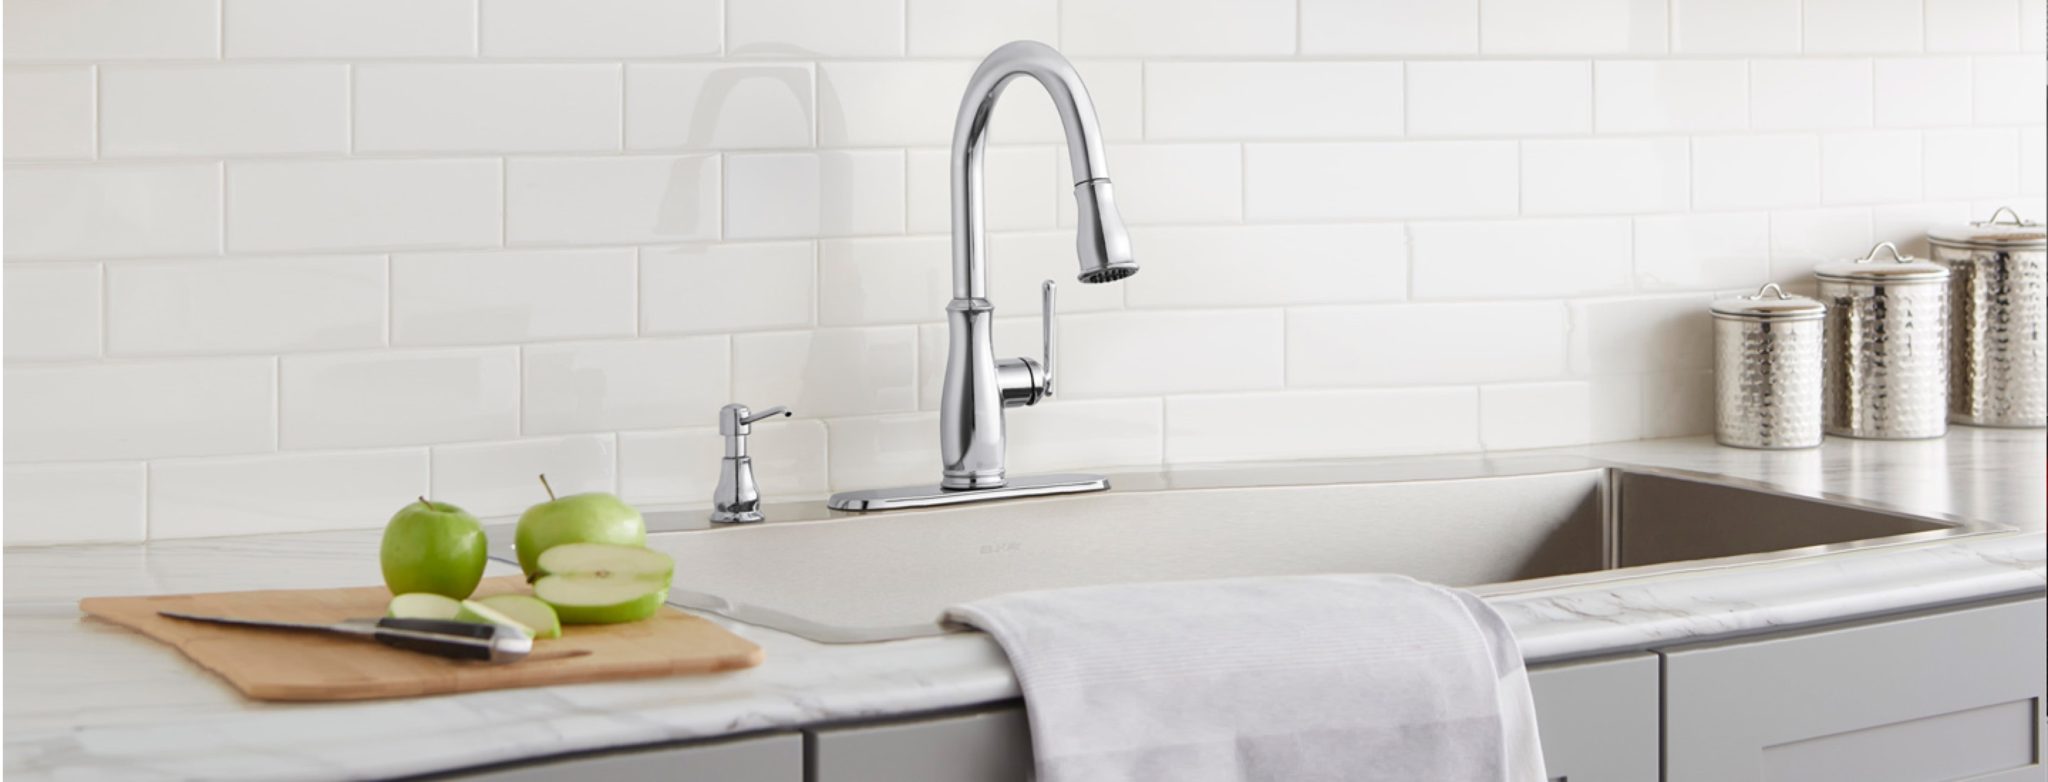
Installing a leakproof kitchen sink is an essential step in creating a functional and efficient kitchen. A leaky sink can cause damage to your cabinets and countertops, as well as lead to mold and mildew growth. But with the right materials and techniques, you can easily install a leakproof kitchen sink on your own. In this guide, we will take you through the step-by-step process of installing a leakproof kitchen sink and provide you with tips and tricks to ensure a successful installation.How to Install a Leakproof Kitchen Sink
Before you begin, make sure you have all the necessary tools and materials for the installation. This includes a new sink, faucet, plumber's putty, silicone caulk, mounting clips, and a screwdriver. Once you have everything you need, follow these steps:Leakproof Kitchen Sink Installation Guide
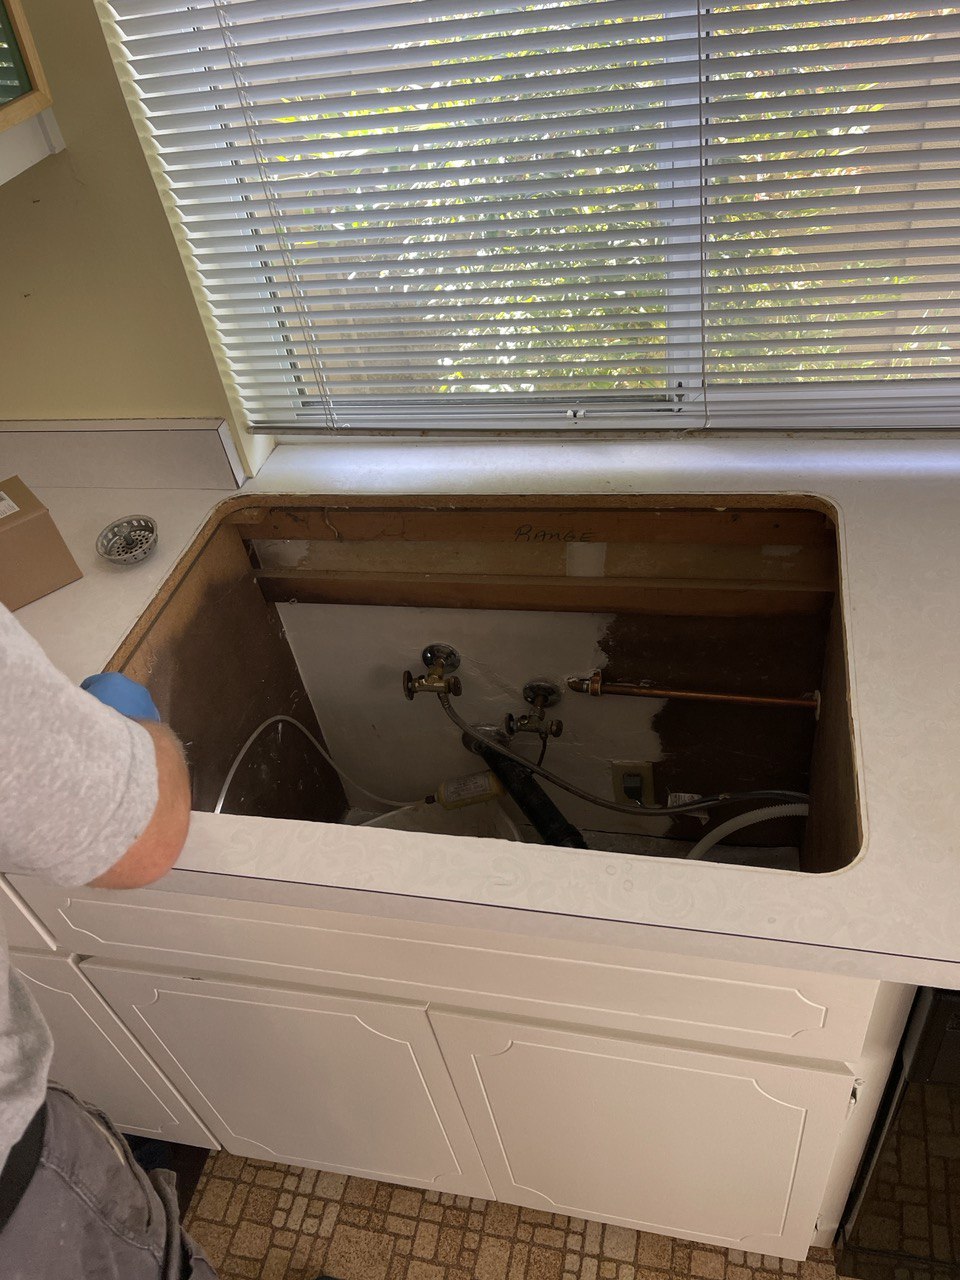
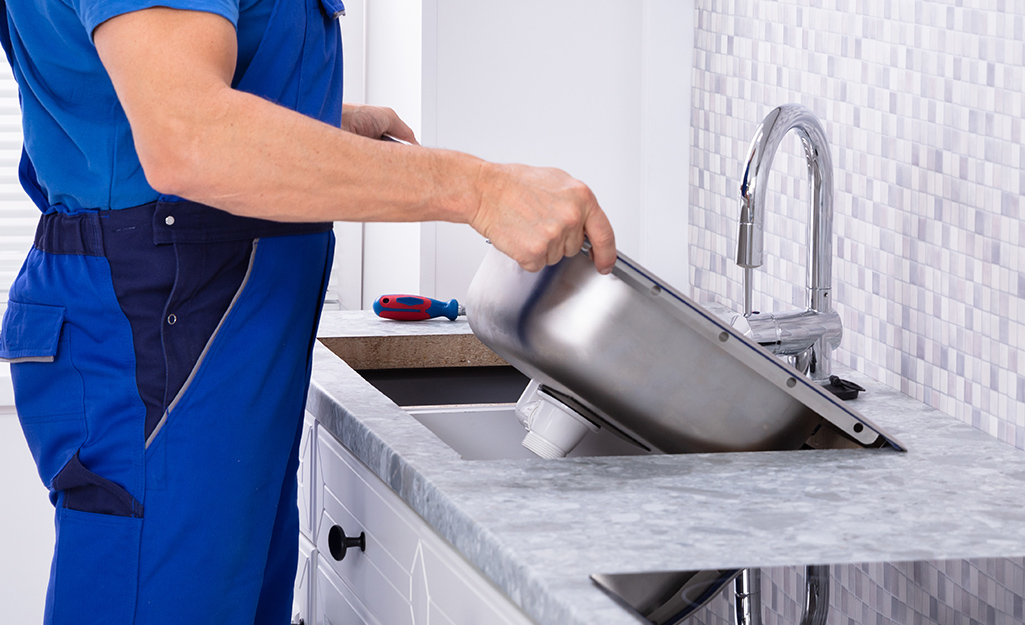
The first step is to prepare the sink and countertop for installation. If you are replacing an old sink, remove it by disconnecting the water supply and drain pipes. Clean the area where the old sink was installed and make sure it is dry before proceeding.Step 1: Prepare the Sink and Countertop
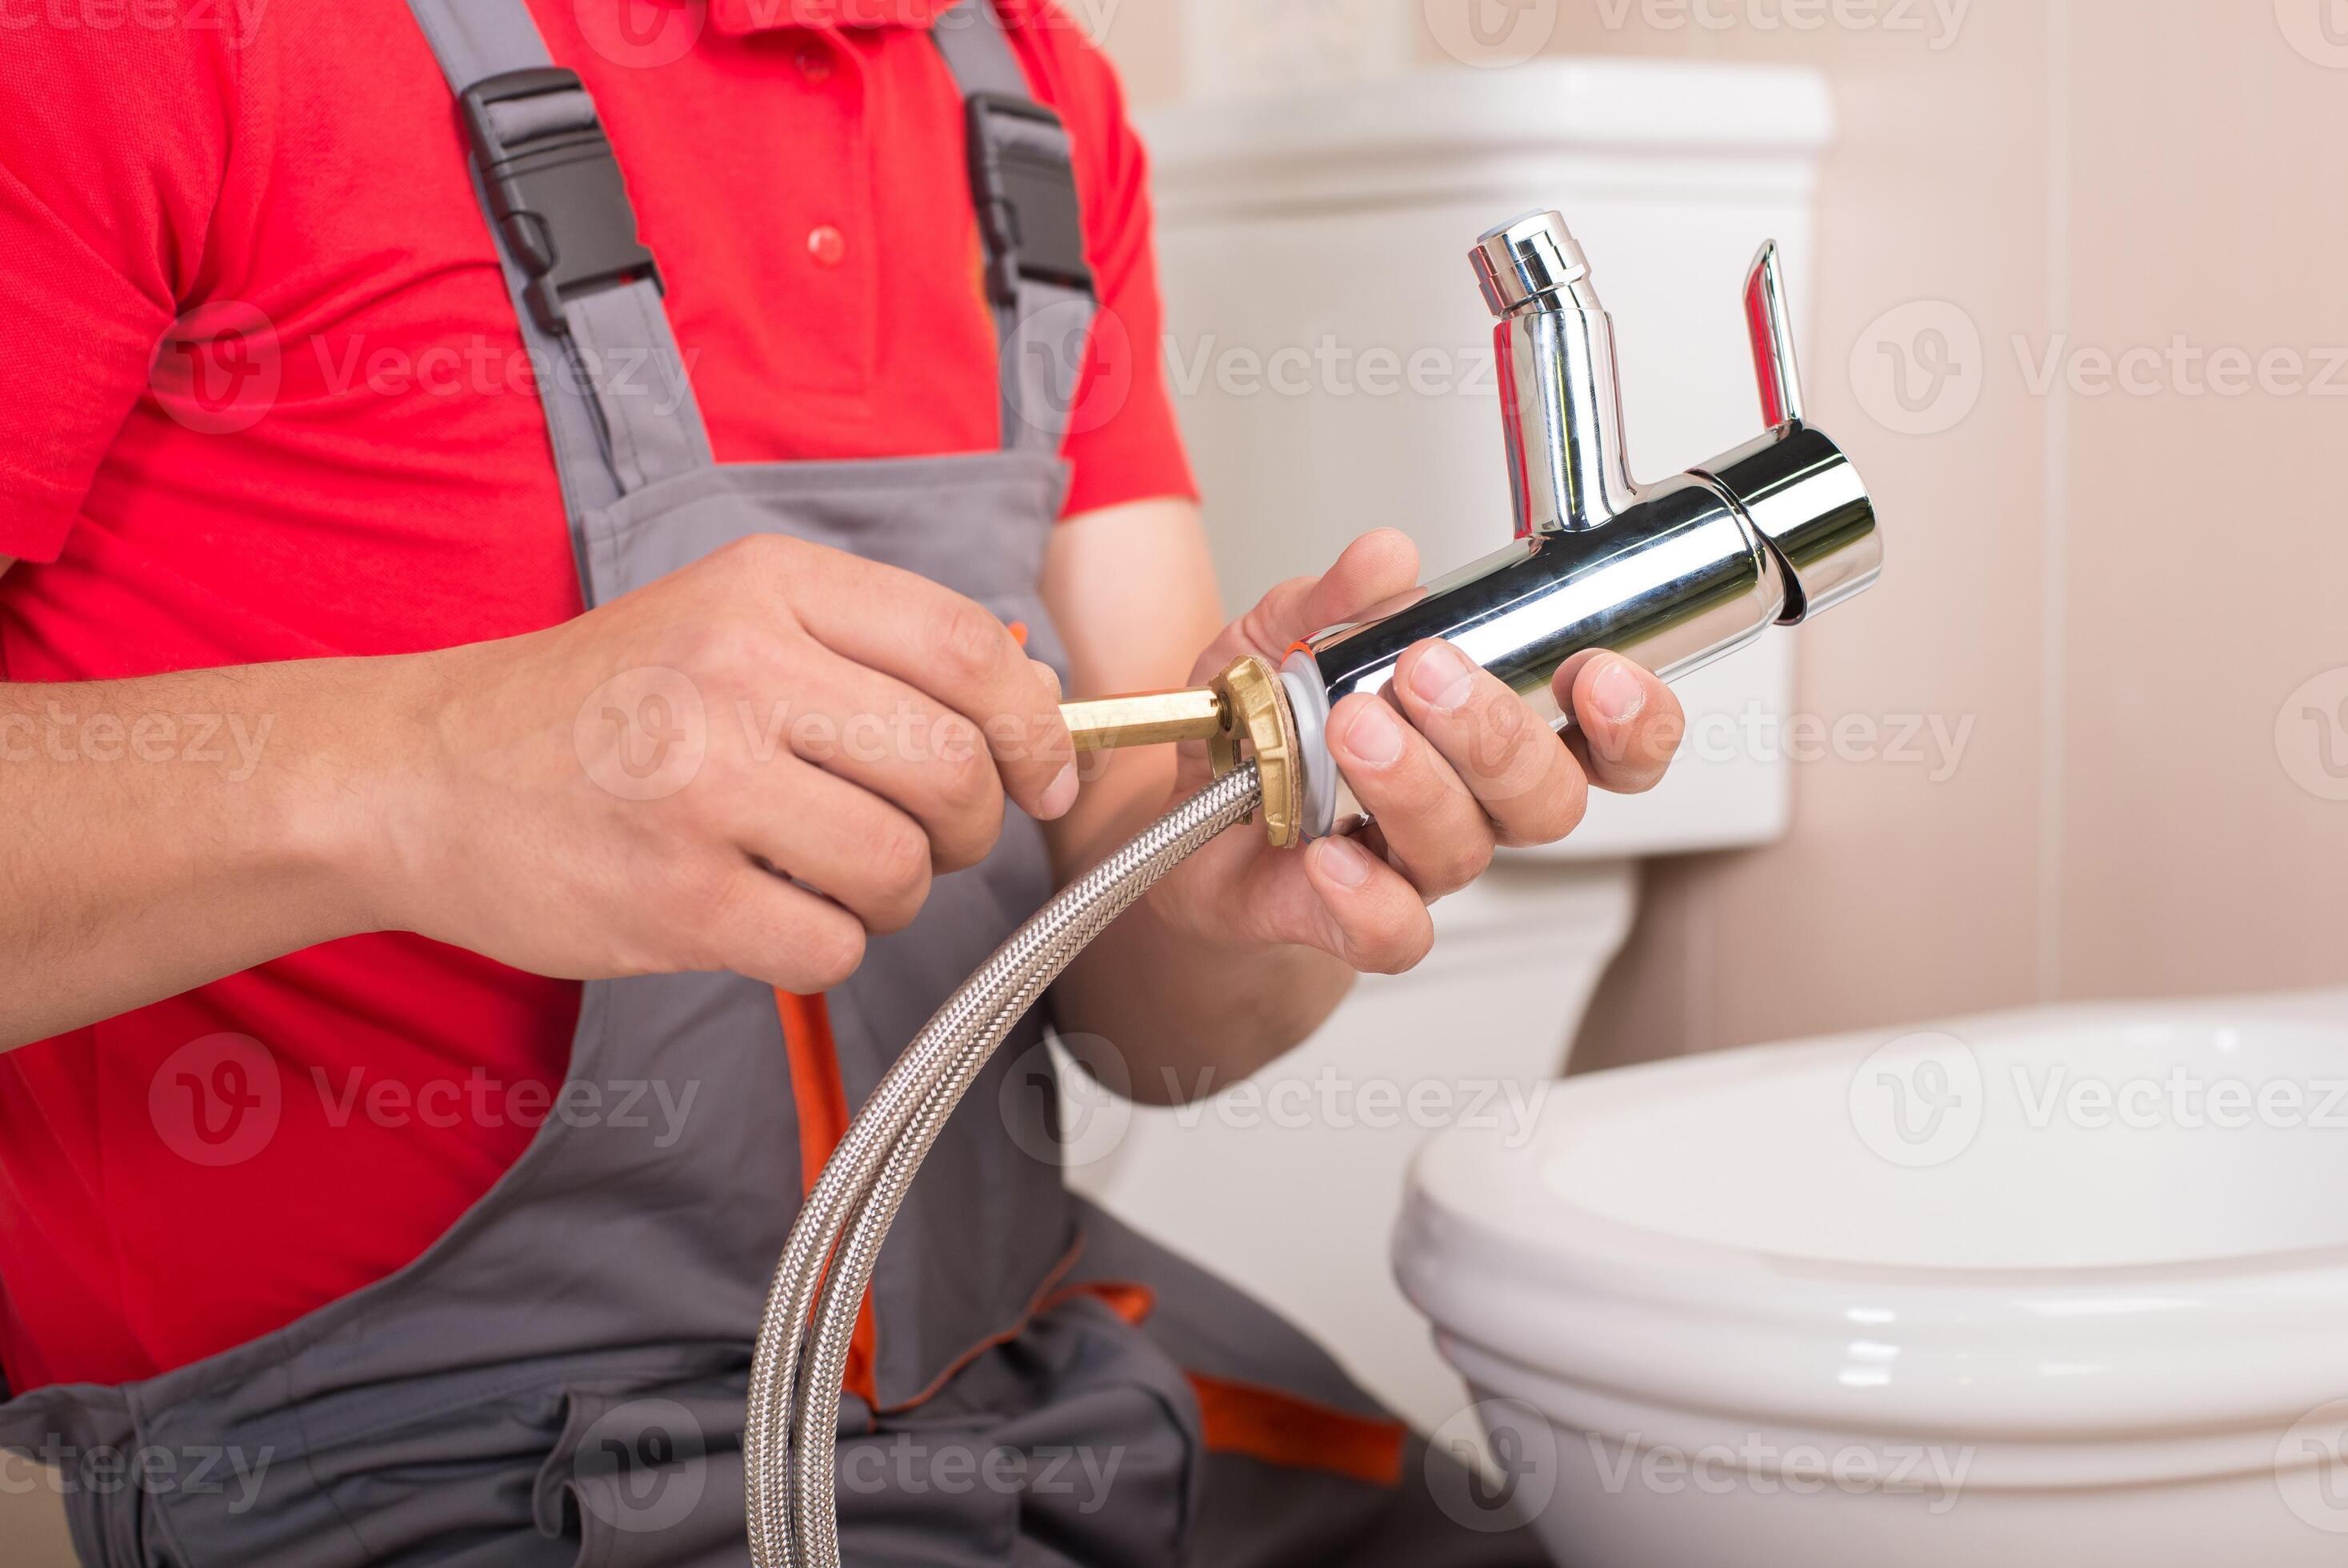
Before you install the sink, you need to install the faucet. Start by placing the rubber or plastic gasket on the bottom of the faucet and then insert it into the hole on the sink. Secure the faucet in place by tightening the mounting nuts from underneath the sink.Step 2: Install the Faucet
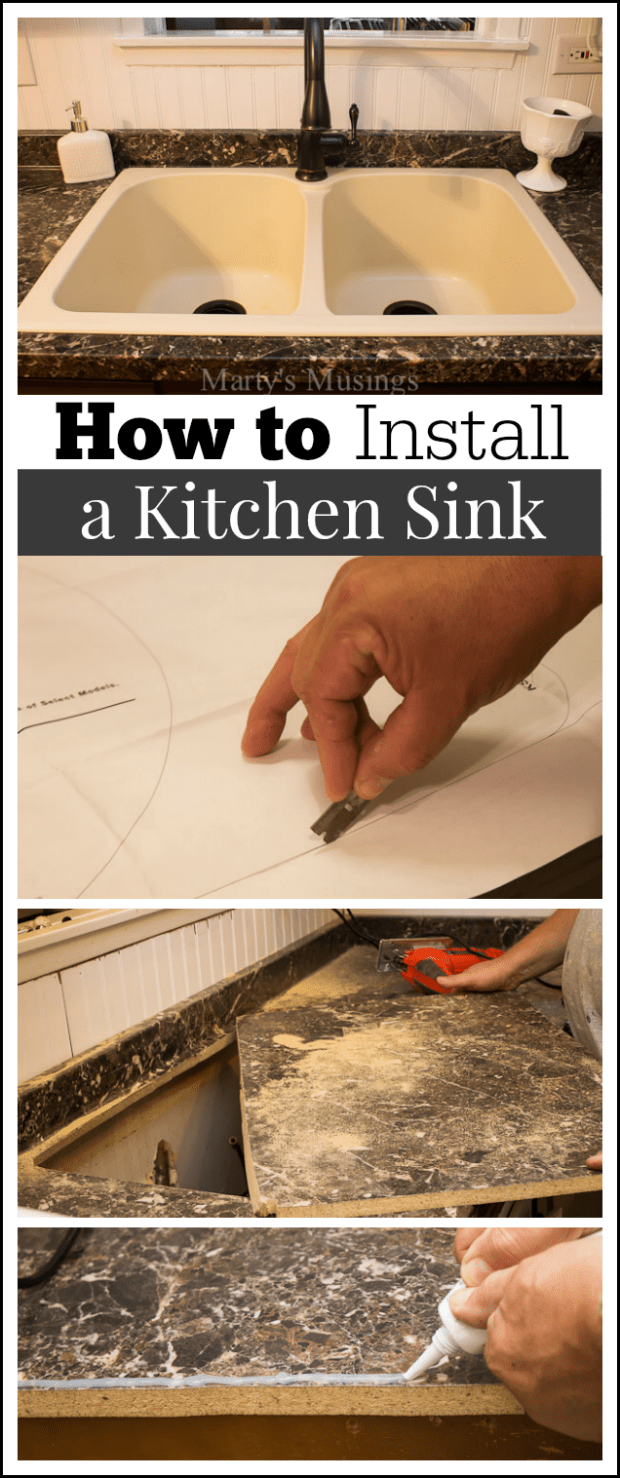
Next, apply plumber's putty around the edges of the sink opening. This will create a watertight seal between the sink and countertop, preventing any leaks from occurring. Make sure to apply an even layer of putty around the entire perimeter of the sink.Step 3: Apply Plumber's Putty
Place the sink on top of the countertop and press it down firmly to create a seal with the plumber's putty. Check for any gaps between the edges of the sink and the countertop. If there are any, add more putty to fill them in.Step 4: Position the Sink
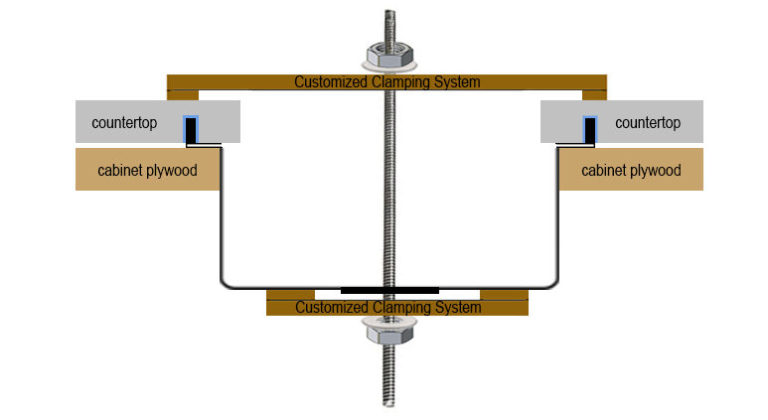
Once the sink is in position, secure it in place by attaching mounting clips to the underside of the sink. These clips will hold the sink in place and prevent it from shifting or moving. Use a screwdriver to tighten the clips and ensure a secure fit.Step 5: Secure the Sink
The final step is to connect the water supply and drain pipes to the sink. Make sure all connections are tight and secure to prevent any leaks. Turn on the water supply and check for any leaks. If everything looks good, you have successfully installed a leakproof kitchen sink!Step 6: Connect the Water Supply and Drain Pipes
If you are a DIY enthusiast, installing a leakproof kitchen sink is a project that you can easily tackle on your own. With the right tools and materials, you can save money by doing it yourself and have the satisfaction of a job well done. Just make sure to follow the steps outlined in this guide and take your time to ensure a proper installation.DIY Leakproof Kitchen Sink Installation
To ensure a successful and leakproof kitchen sink installation, here are some best practices to keep in mind:Best Practices for Installing a Leakproof Kitchen Sink
Why a Leakproof Kitchen Sink is Essential for Every Home
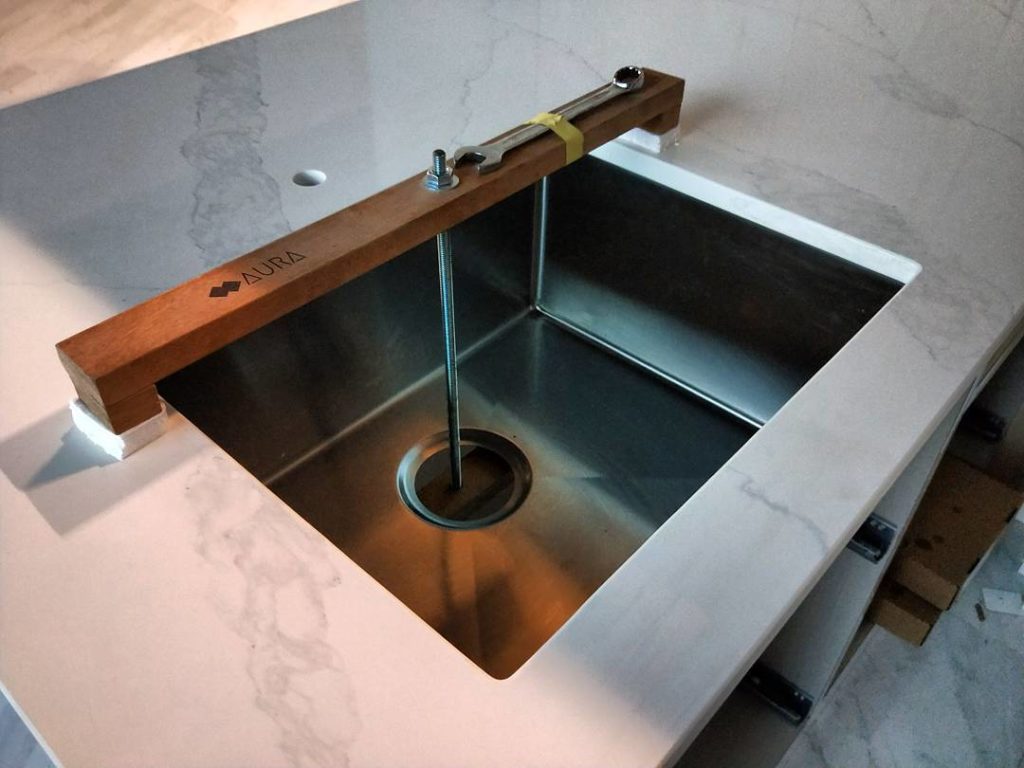
Prevent Water Damage and Mold Growth
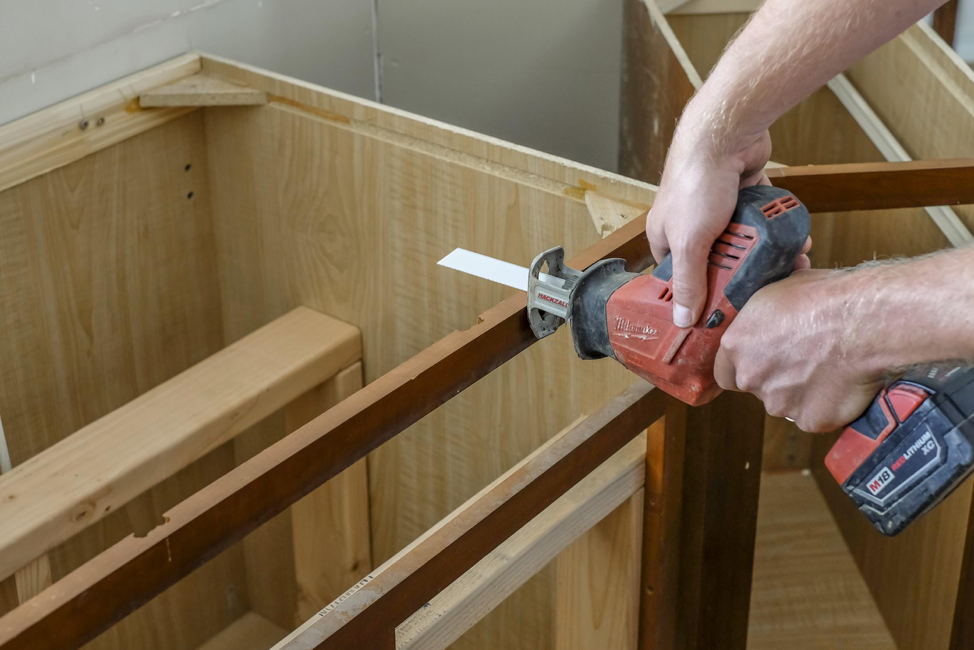 A
leakproof
kitchen sink not only ensures a clean and efficient kitchen, but it also plays a crucial role in preventing potential water damage and mold growth. Any leaks from the sink can seep into the surrounding cabinets and walls, causing structural damage and creating the perfect environment for mold to thrive. This not only poses a health hazard but also requires expensive repairs. By investing in a
leakproof
sink installation, you can avoid these issues and save yourself from future headaches.
Enhance the Overall Aesthetic of Your Kitchen
 A
leakproof
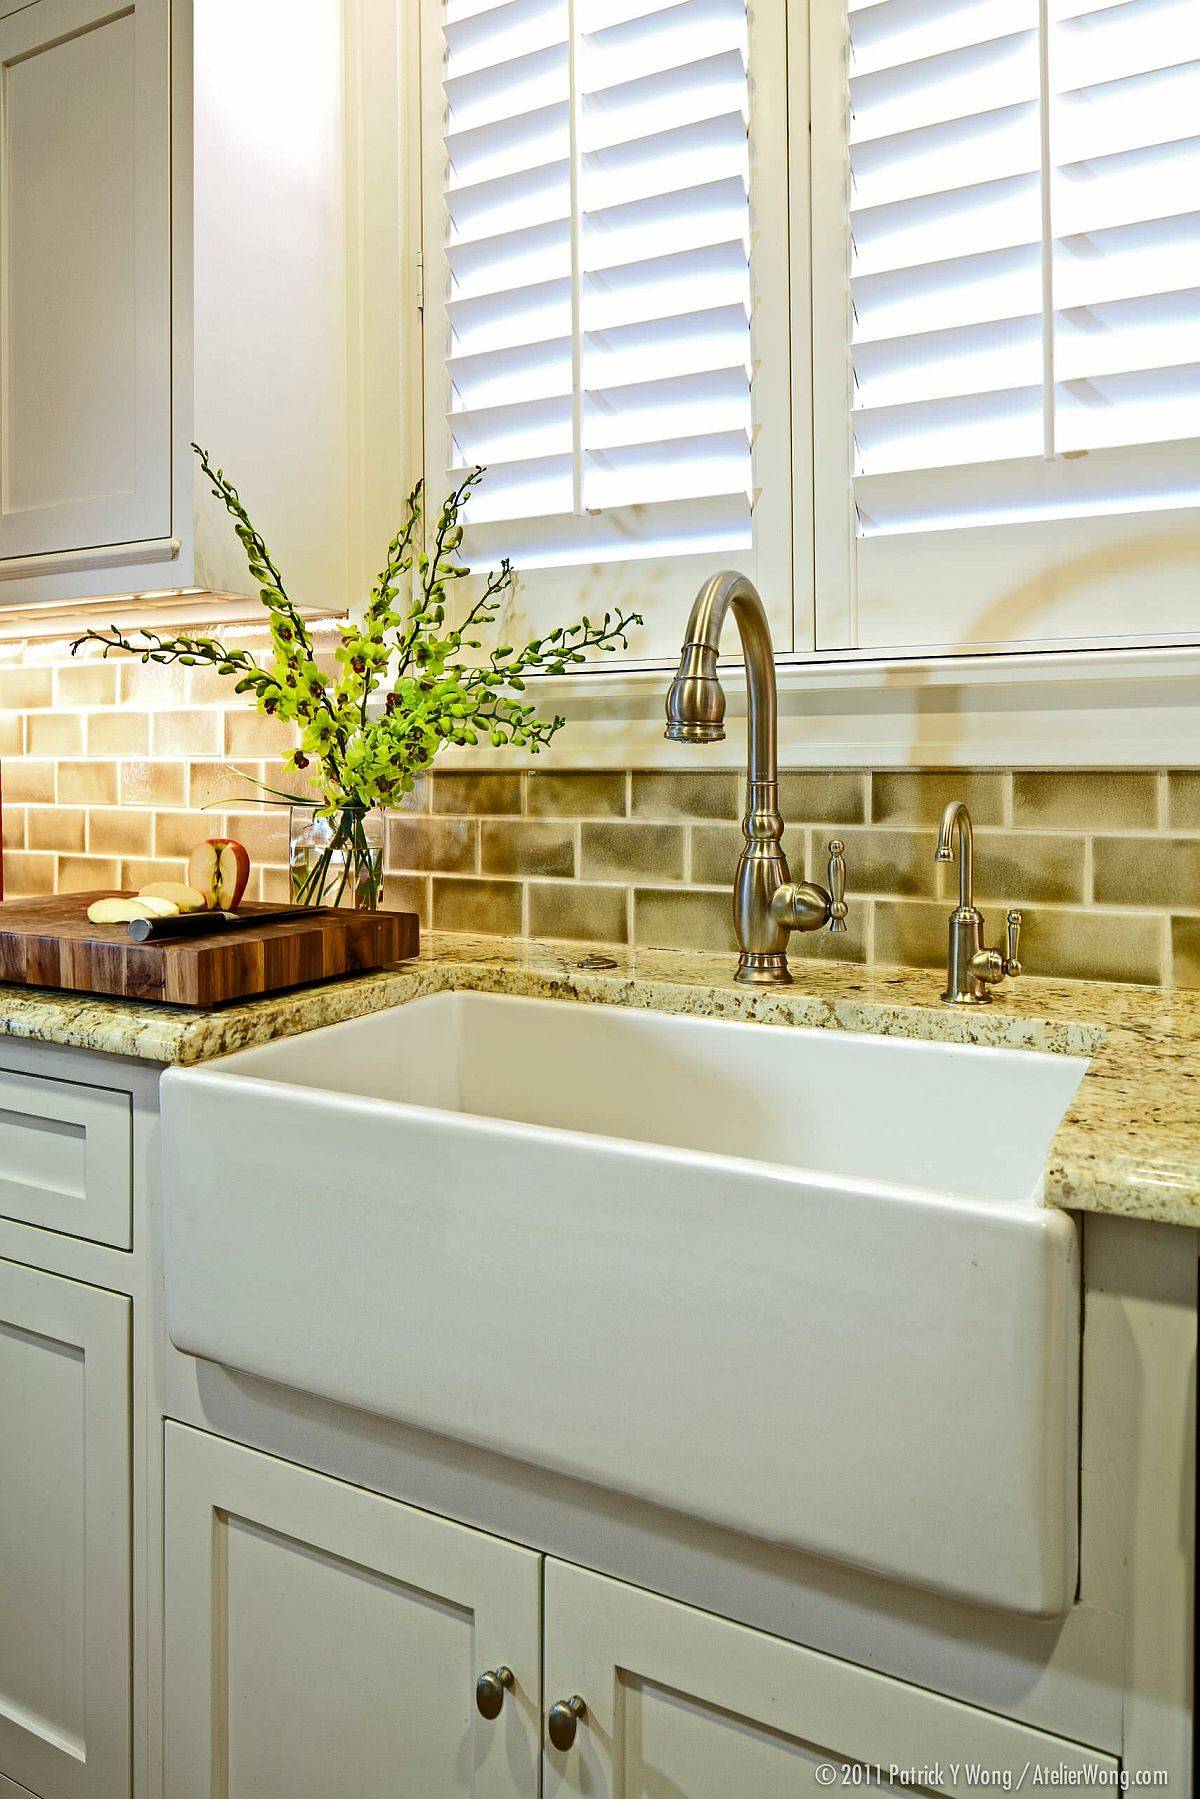
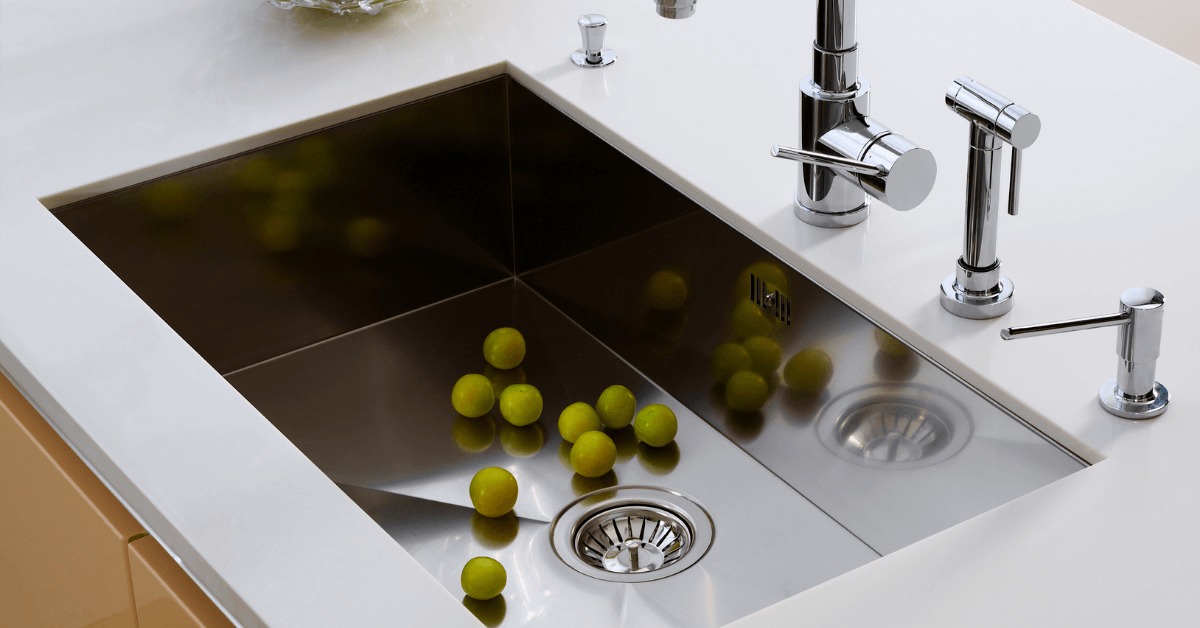
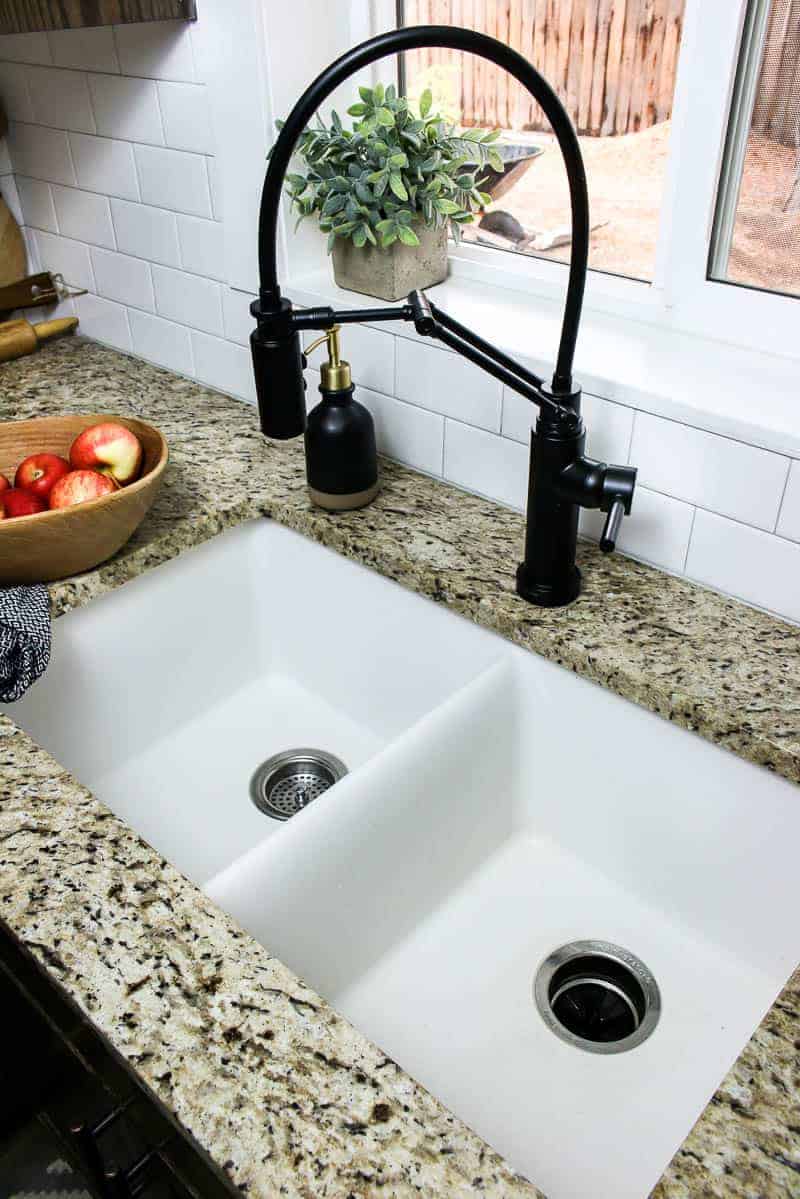
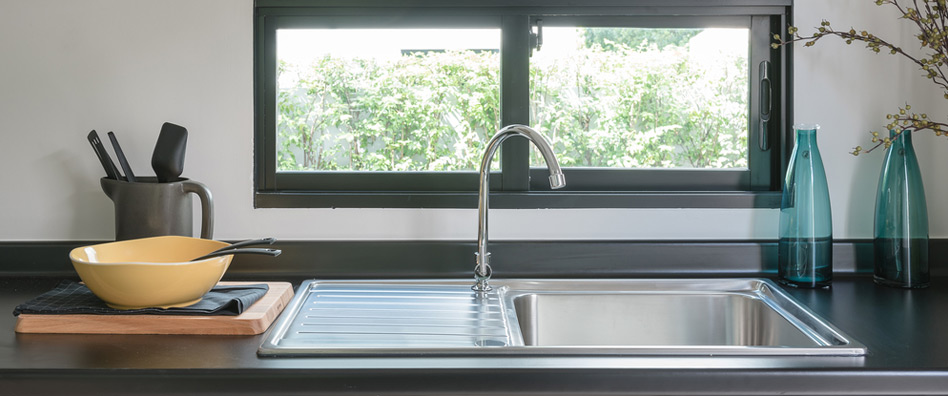
sink is not only functional but also adds to the overall aesthetic of your kitchen. With a variety of modern and stylish designs available, you can choose a sink that complements the rest of your kitchen decor. From farmhouse sinks to sleek stainless steel options, a
leakproof
sink can elevate the look and feel of your kitchen, making it a more inviting and enjoyable space for cooking and entertaining.
Increase the Value of Your Home
 For those looking to sell their home in the future, a
leakproof
kitchen sink is a valuable selling point. Potential buyers are often on the lookout for homes with updated and well-maintained features, including the kitchen sink. By investing in a
leakproof
sink installation now, you can increase the value of your home and attract potential buyers when it's time to sell.
Choose a Professional Installation for Peace of Mind
 While there are many DIY tutorials and videos available for installing a kitchen sink, it's always best to leave this task to the professionals. A proper and
leakproof
installation requires knowledge and experience, and a professional can ensure that the job is done correctly. This will give you peace of mind knowing that your sink is installed correctly and will not cause any issues in the future. Plus, many professionals offer warranties for their work, providing an added layer of protection for your investment.
In conclusion, a
leakproof
kitchen sink is an essential feature for every home. It not only prevents potential water damage and mold growth but also enhances the overall aesthetic of your kitchen and increases the value of your home. Make sure to choose a professional installation for a
leakproof
sink and enjoy a functional and beautiful kitchen for years to come.



:no_upscale()/cdn.vox-cdn.com/uploads/chorus_asset/file/19495086/drain_0.jpg)
















/how-to-install-a-sink-drain-2718789-hero-24e898006ed94c9593a2a268b57989a3.jpg)


