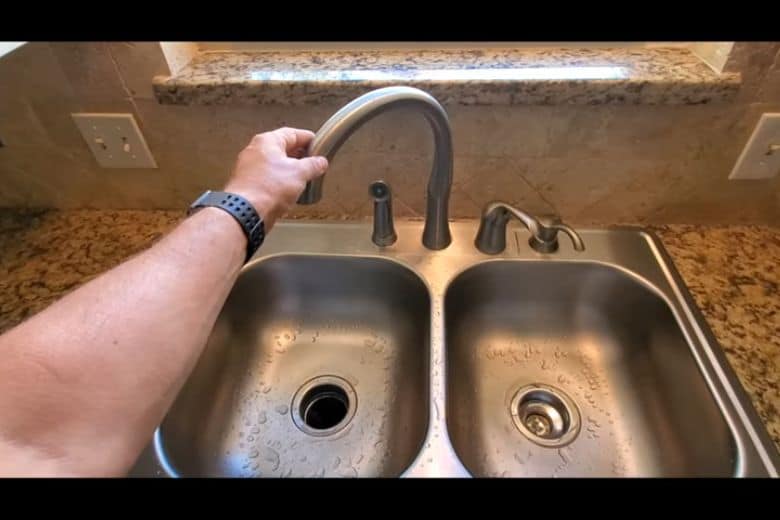
If you've ever experienced the frustration of a kitchen sink faucet that won't turn off, you know how inconvenient and wasteful it can be. Not only does it make a constant dripping sound, but it also leads to a higher water bill and potential damage to your sink area. But don't worry, fixing a kitchen sink faucet that won't turn off is easier than you might think. Step 1: Shut off the Water Supply The first step in fixing a kitchen sink faucet that won't turn off is to shut off the water supply. This can usually be done by turning off the shut-off valves located under the sink. If you can't find the shut-off valves or they are not working, you will need to shut off the main water supply to your house. Step 2: Identify the Problem Next, you will need to identify the problem with your kitchen sink faucet. There are a few common causes that could be causing your faucet to not turn off:How to Fix a Kitchen Sink Faucet That Won't Turn Off
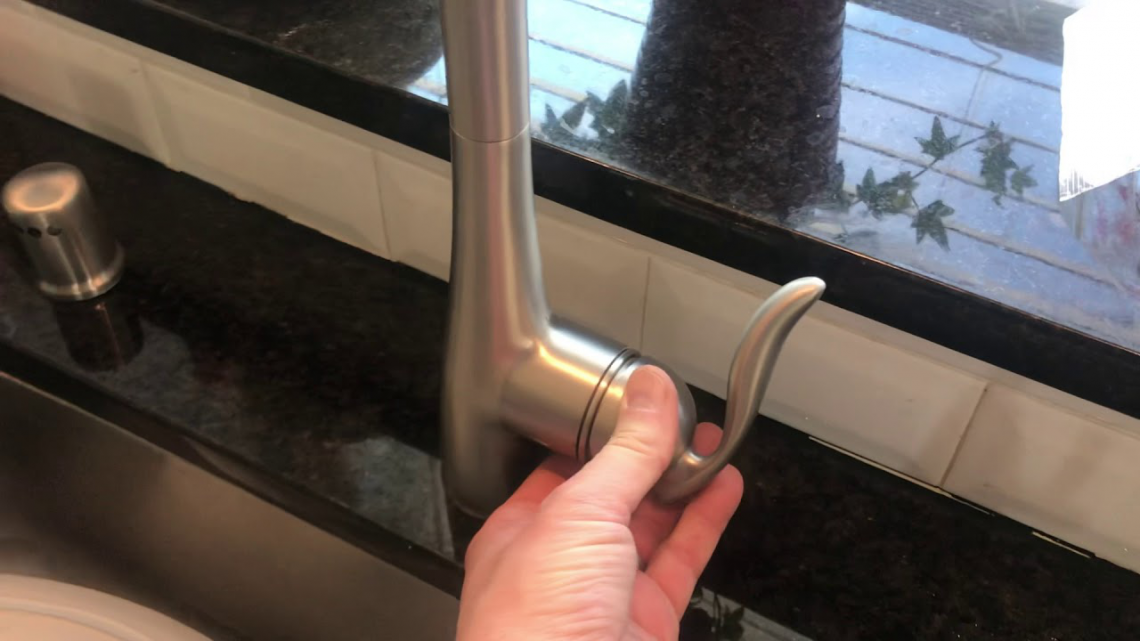
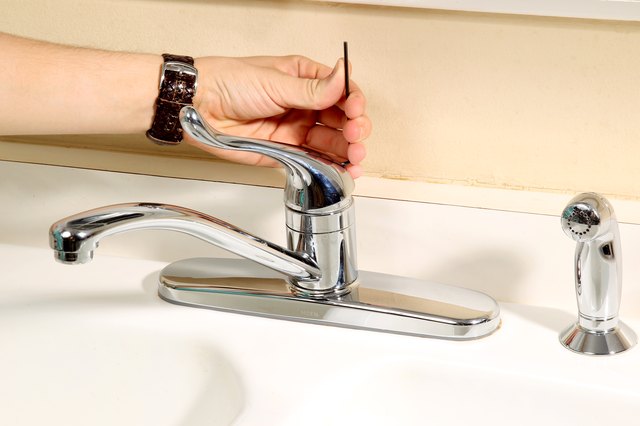
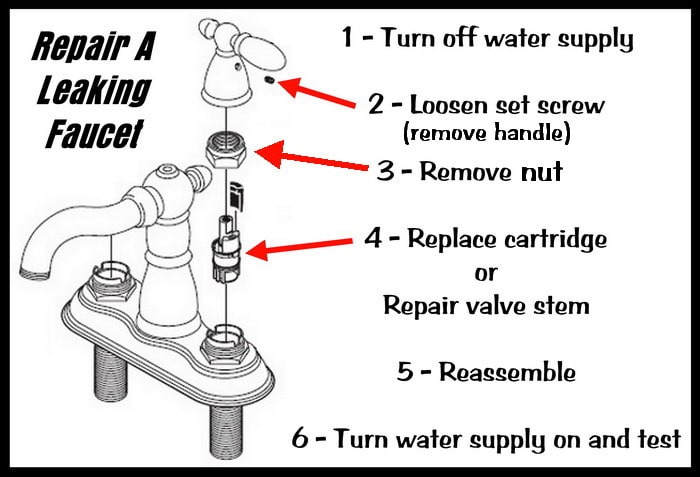
A leaky kitchen faucet is not only annoying, but it can also waste a significant amount of water and increase your water bill. Here's how you can fix a leaky kitchen faucet: Step 1: Shut off the Water Supply As with fixing a kitchen sink faucet that won't turn off, the first step is to shut off the water supply. This will prevent any water from leaking while you make repairs. Step 2: Remove the Handle Using a screwdriver, remove the handle of your kitchen faucet. This will expose the cartridge or valve, which is likely the source of the leak. Step 3: Replace the Cartridge or Valve If the cartridge or valve is worn out or damaged, you will need to replace it. You can find replacement parts at your local hardware store or online. Make sure to follow the manufacturer's instructions for proper installation. Step 4: Reassemble the Faucet Once you have replaced the cartridge or valve, reassemble the faucet by putting the handle back on and tightening any loose parts. If your kitchen faucet won't turn off, here are a few troubleshooting tips to help you identify and fix the problem:How to Repair a Leaky Kitchen Faucet
Troubleshooting a Kitchen Faucet That Won't Turn Off
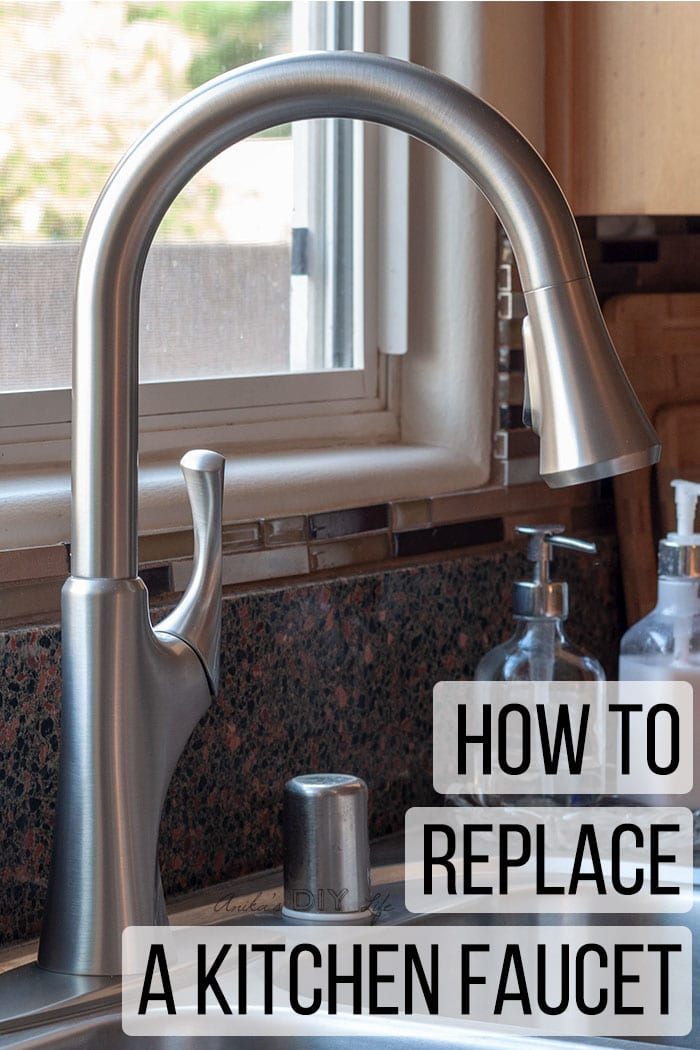
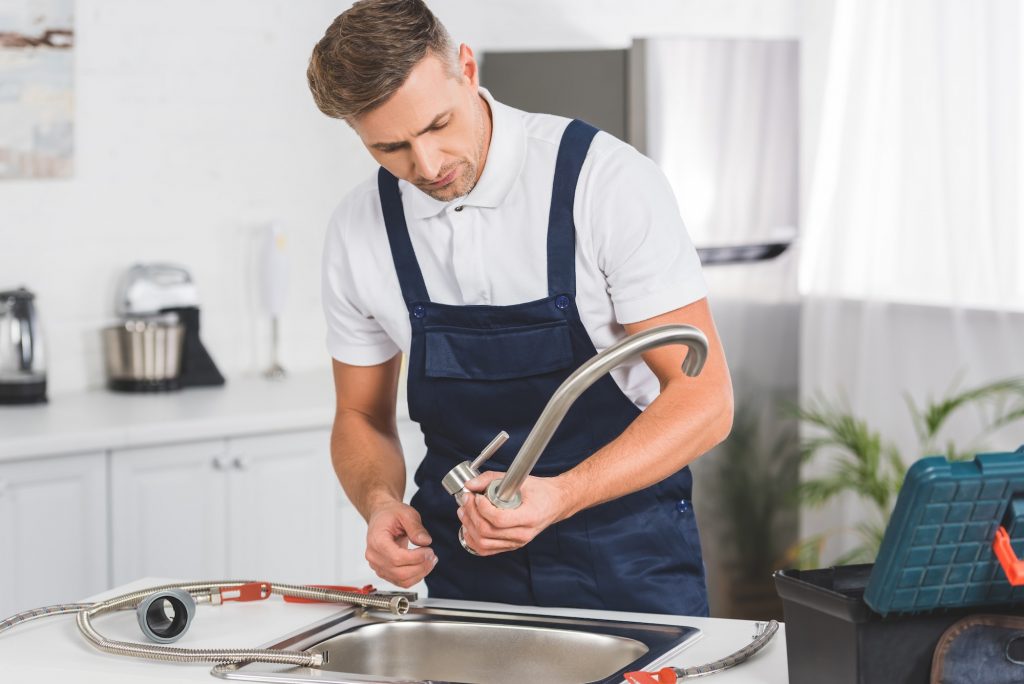
If your kitchen faucet is beyond repair, you may need to replace it. Here's how: Step 1: Gather Supplies Before you begin, make sure you have all the necessary supplies, including a new faucet, adjustable wrench, and plumber's tape. Step 2: Shut off the Water Supply As always, shut off the water supply before beginning any work. Step 3: Remove the Old Faucet Using an adjustable wrench, loosen and remove the nuts and bolts holding the old faucet in place. Once removed, you can lift the faucet out of the sink. Step 4: Install the New Faucet Follow the manufacturer's instructions to install the new faucet. This may involve attaching hoses and using plumber's tape to ensure a secure fit. Step 5: Turn on the Water Supply Once the new faucet is installed, turn the water supply back on and test the faucet to make sure it is working properly. There are a few common causes of a kitchen faucet not turning off:How to Replace a Kitchen Faucet
Common Causes of a Kitchen Faucet Not Turning Off
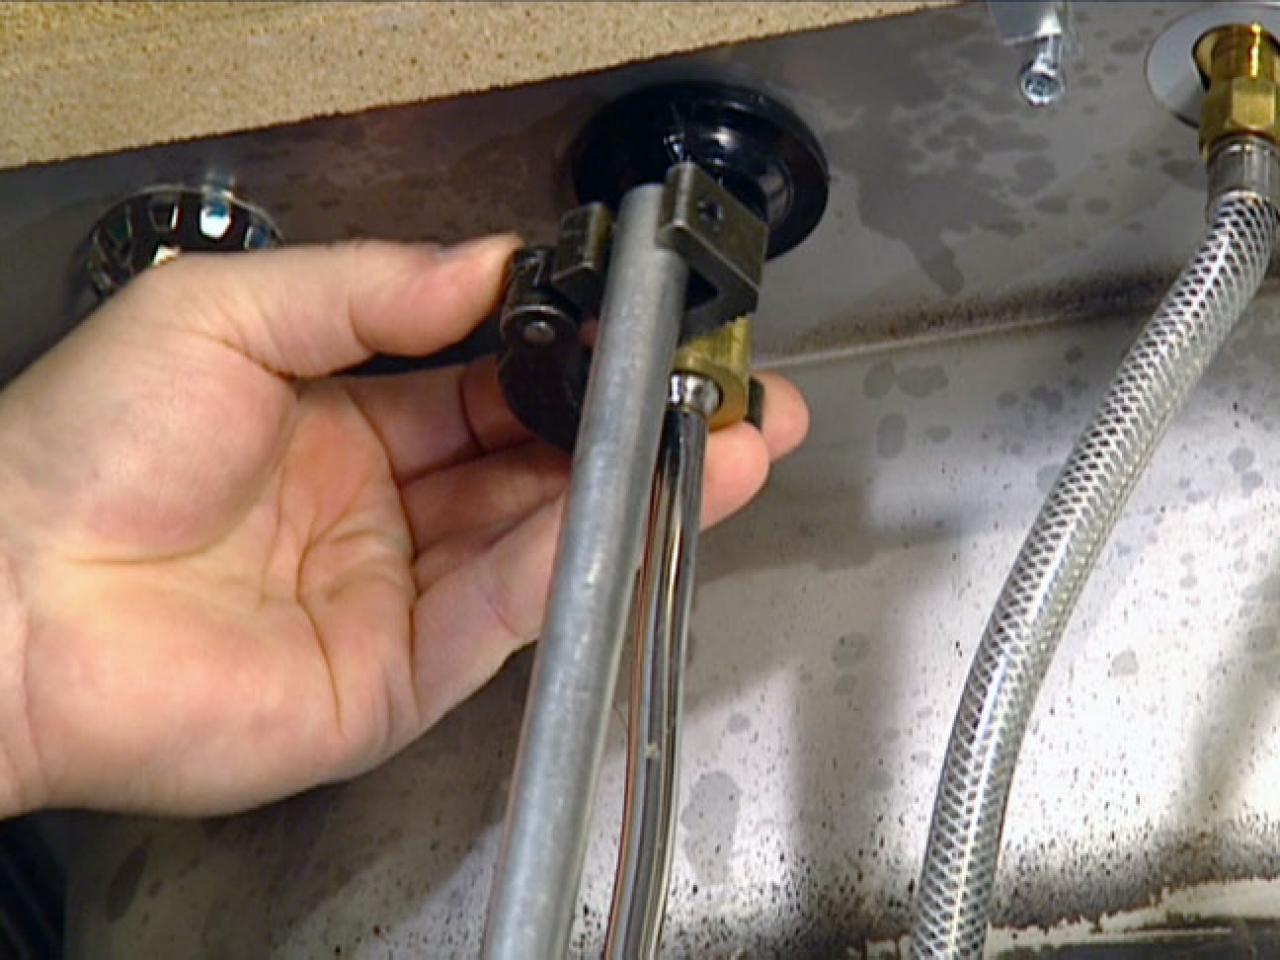
A dripping kitchen faucet is not only annoying, but it can also lead to a higher water bill. Here's how you can fix it: Step 1: Shut off the Water Supply As always, shut off the water supply before beginning any work. Step 2: Identify the Problem The most common cause of a dripping kitchen faucet is a worn out or faulty cartridge or valve. However, it could also be caused by loose or corroded parts. Step 3: Replace the Cartridge or Valve If the cartridge or valve is the culprit, you will need to replace it. You can find replacement parts at your local hardware store or online. Step 4: Tighten Loose Parts If the problem is loose or corroded parts, use an adjustable wrench to tighten them and see if that stops the dripping. If your kitchen faucet is leaking or won't turn off, you may need to replace the cartridge. Here's how: Step 1: Shut off the Water Supply As always, shut off the water supply before beginning any work. Step 2: Remove the Handle Using a screwdriver, remove the handle of your faucet to expose the cartridge. Step 3: Remove the Old Cartridge Using pliers, carefully remove the old cartridge from the faucet. Make sure to take note of how it is positioned so you can install the new one correctly. Step 4: Install the New Cartridge Insert the new cartridge into the faucet and secure it in place with the appropriate screws or bolts. Step 5: Reassemble the Faucet Put the handle back on and tighten any loose parts. Turn the water supply back on and test the faucet to make sure it is working properly. A loose kitchen faucet handle can be frustrating and make it difficult to turn the water on and off. Here's how you can fix it: Step 1: Shut off the Water Supply As always, shut off the water supply before beginning any work. Step 2: Identify the Problem The cause of a loose handle could be a loose screw or bolt, a worn out handle, or a faulty handle mechanism. Step 3: Tighten the Screw or Bolt If the screw or bolt holding the handle in place is loose, use an adjustable wrench to tighten it. Step 4: Replace the Handle If the handle is worn out or damaged, you will need to replace it. You can find replacement handles at your local hardware store or online. Step 5: Tighten the Handle Mechanism If the handle mechanism is faulty, use an adjustable wrench to tighten it and see if that resolves the issue. A single handle kitchen faucet is a popular choice for many households, but when it starts to malfunction, it can be frustrating. Here's how you can repair it: Step 1: Shut off the Water Supply As always, shut off the water supply before beginning any work. Step 2: Identify the Problem The most common issues with a single handle kitchen faucet include a loose handle, a worn out cartridge or valve, or a faulty handle mechanism. Step 3: Tighten the Handle If the handle is loose, use an adjustable wrench to tighten it. Step 4: Replace the Cartridge or Valve If the cartridge or valve is worn out or damaged, you will need to replace it. You can find replacement parts at your local hardware store or online. Step 5: Tighten the Handle Mechanism If the handle mechanism is faulty, use an adjustable wrench to tighten it and see if that resolves the issue. If your kitchen faucet won't turn off completely, here's what you can do to fix it: Step 1: Shut off the Water Supply As always, shut off the water supply before beginning any work. Step 2: Inspect the Faucet Check for any visible damage or wear on the faucet and handle. If you notice any, you will need to replace these parts. Step 3: Clean the Aerator Remove and clean the aerator to see if this resolves the issue. A clogged aerator can restrict water flow and prevent the faucet from turning off completely. Step 4: Replace the Cartridge or Valve If the cartridge or valve is the cause, you will need to replace it. You can find replacement parts at your local hardware store or online. Step 5: Tighten Loose Parts If the faucet has any loose or corroded parts, use an adjustable wrench to tighten them and see if that fixes the problem.How to Fix a Dripping Kitchen Faucet
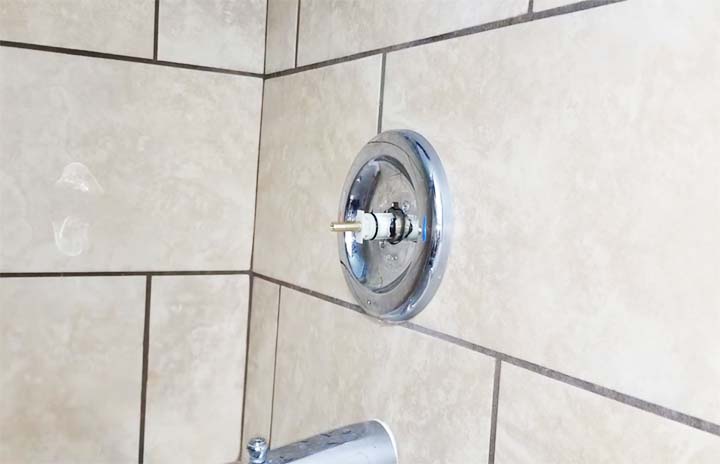
Replacing a Kitchen Faucet Cartridge
How to Tighten a Loose Kitchen Faucet Handle
How to Repair a Single Handle Kitchen Faucet
How to Fix a Kitchen Faucet That Won't Turn Off Completely
Possible Causes of a Kitchen Sink Faucet Not Turning Off

Faulty Cartridge
 One of the most common reasons for a kitchen sink faucet not turning off is a faulty cartridge. The cartridge is the part of the faucet that controls the flow of water. Over time, the cartridge can wear out or become damaged, causing it to malfunction. This can result in the faucet becoming stuck in the on position, making it difficult or impossible to turn off. If you suspect a faulty cartridge, it is best to call a professional plumber to replace it.
Worn Out O-Ring
 Another common cause of a kitchen sink faucet not turning off is a worn out O-ring. The O-ring is a small rubber ring that creates a watertight seal between the faucet and the sink. Over time, the O-ring can become cracked or damaged, causing leaks and preventing the faucet from fully shutting off. Luckily, replacing an O-ring is a simple fix that can be done by a homeowner with basic plumbing knowledge or by a professional plumber.
Buildup of Sediment
 If you have hard water, mineral deposits can build up inside your faucet over time. This can cause the faucet to become clogged, making it difficult to turn off. Additionally, the buildup of sediment can also damage the internal parts of the faucet, leading to malfunction. Regularly cleaning your faucet and using a water softener can help prevent this issue.
Broken Handle or Valve
 Sometimes, the problem may not be with the internal workings of the faucet, but rather with the handle or valve itself. If the handle is broken or the valve is damaged, it can prevent the faucet from turning off. In this case, the handle or valve will need to be replaced to fix the issue.
Conclusion
 A kitchen sink faucet not turning off can be a frustrating and inconvenient problem. However, it is important to address this issue as soon as possible to prevent water waste and potential damage to your home. By understanding the possible causes of a faulty faucet and knowing when to call a professional, you can quickly and effectively resolve this common household problem.












:max_bytes(150000):strip_icc()/RanchoEncinitasTreehouse-LivingRoom26-31e31f5d18a84c2c8bb365bc37137d40.jpg)


