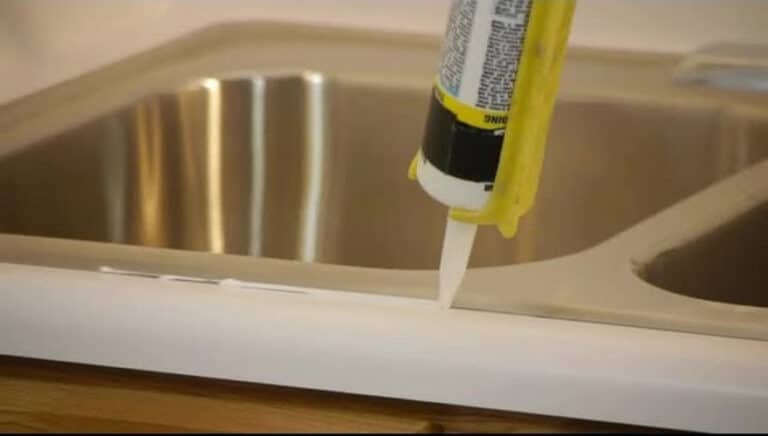
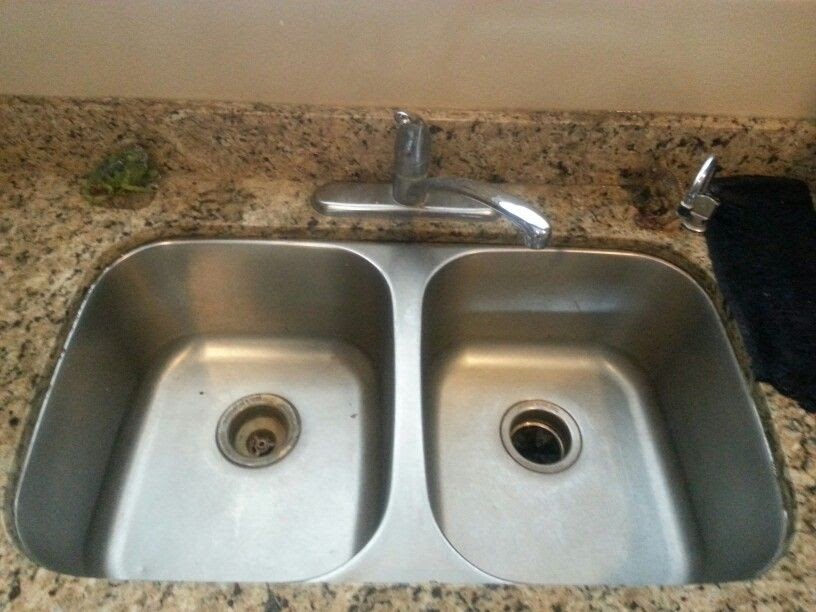
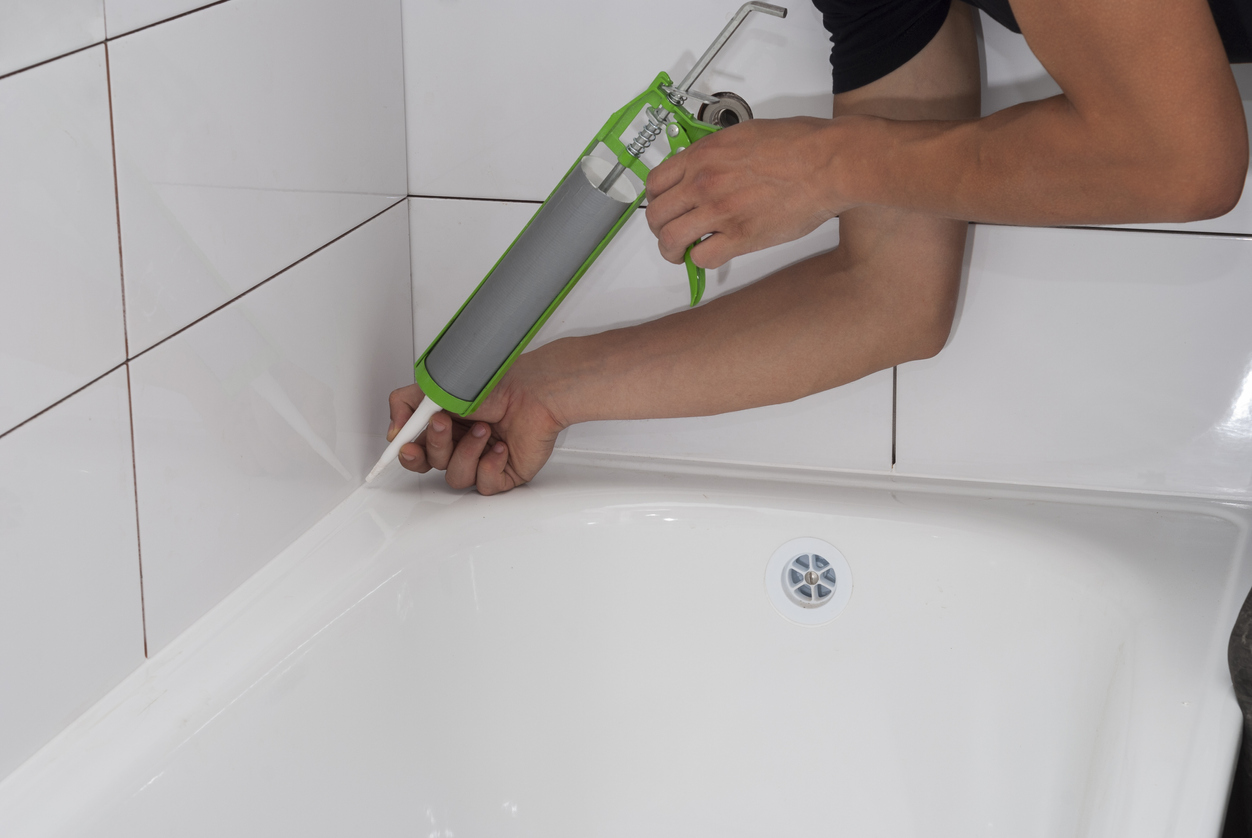
When it comes to keeping your kitchen sink in top shape, caulking is an essential task. This simple process involves filling in any gaps or cracks around your sink to prevent water from seeping in and causing damage. Not only does it help maintain the appearance of your sink, but it also helps to keep it clean and hygienic. In this section, we'll walk you through the steps of caulking your kitchen sink to ensure a perfect finish every time.1. How to Caulk a Kitchen Sink


1. How to Caulk a Kitchen Sink


.jpg)

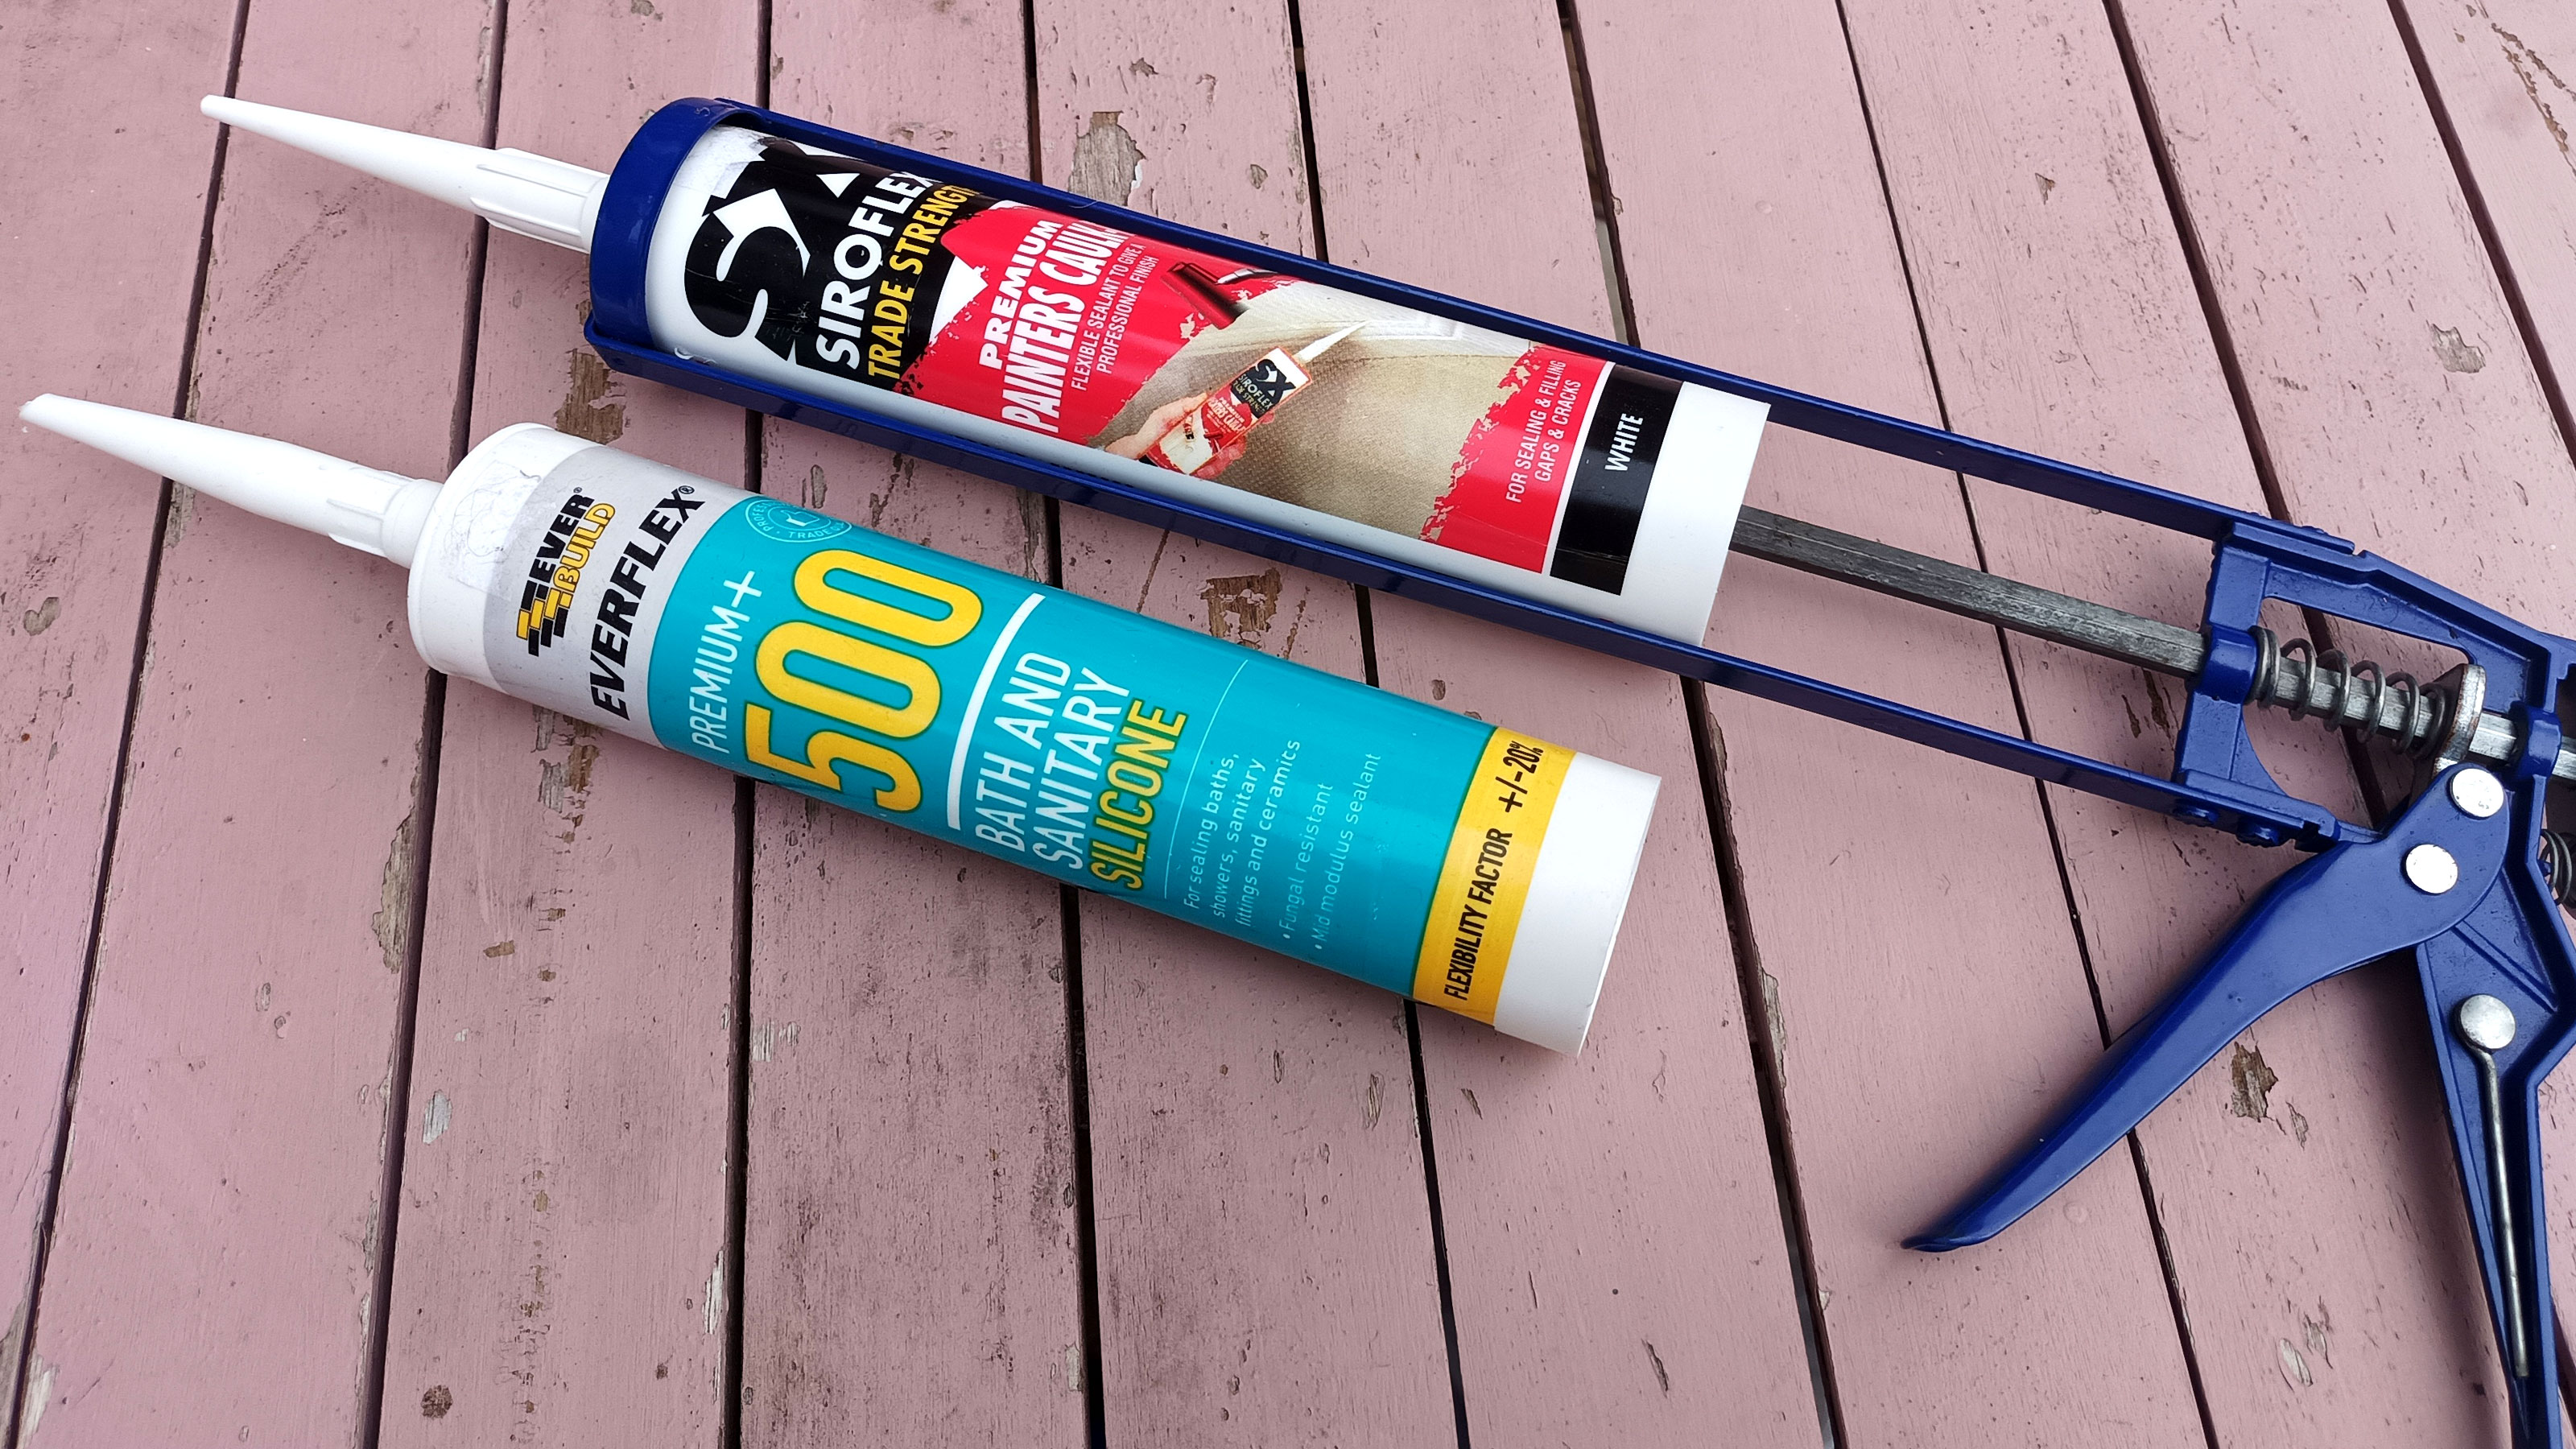
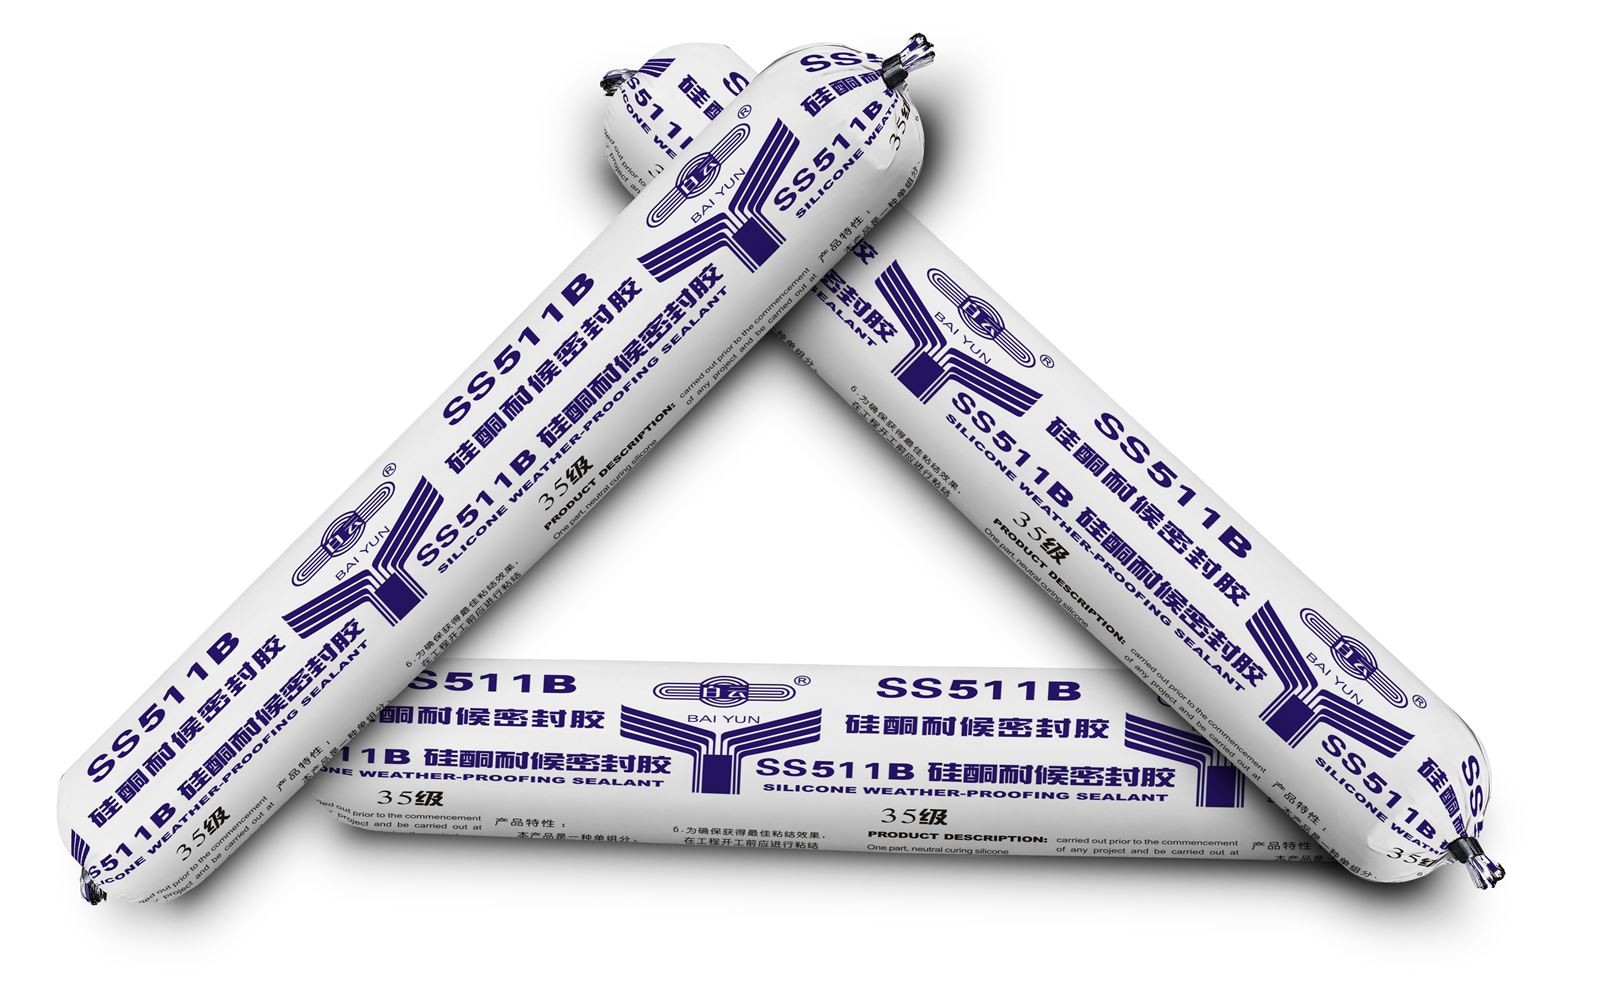
Choosing the right caulk for your kitchen sink is crucial for a long-lasting and effective seal. There are several options available on the market, including silicone, acrylic, and latex caulk. While each type has its own set of benefits, we recommend using a silicone-based caulk for your kitchen sink. This type of caulk is waterproof, flexible, and durable, making it perfect for use in high-moisture areas such as the kitchen sink.2. Best Caulk for Kitchen Sink


2. Best Caulk for Kitchen Sink


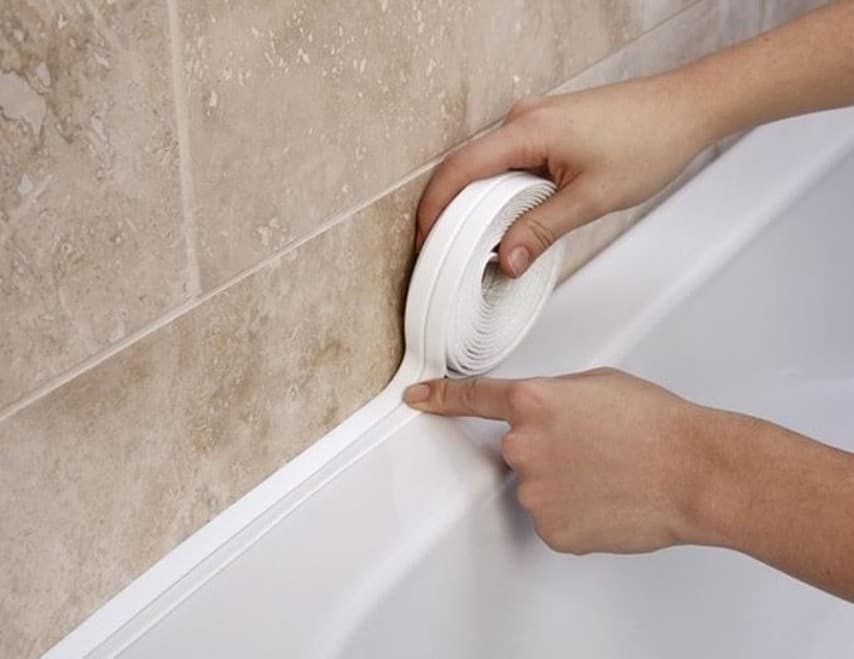
If you're looking for a mess-free and easy alternative to traditional caulk, consider using a caulking strip for your kitchen sink. These self-adhesive strips are made of flexible PVC and are designed to stick to the edges of your sink, creating a watertight seal. They are also easy to remove and replace, making them a convenient option for those who want to avoid the hassle of traditional caulking.3. Caulking Strip for Kitchen Sink


3. Caulking Strip for Kitchen Sink


Over time, caulk can become discolored, cracked, or moldy, and may need to be replaced. Before applying a new layer of caulk, it's essential to remove the old one properly. Start by using a sharp utility knife to cut along the edges of the caulk. Then, use a caulk scraper or putty knife to carefully peel away the rest of the caulk. Be sure to clean the area thoroughly before applying the new caulk.4. How to Remove Caulk from Kitchen Sink


4. How to Remove Caulk from Kitchen Sink


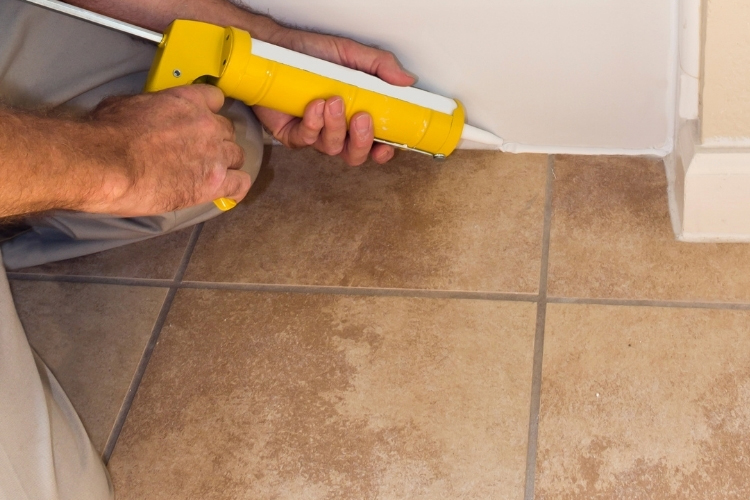
When it comes to caulking your kitchen sink, you have two main options – using a caulking strip or a caulk gun. While both methods can effectively seal your sink, they have their own set of pros and cons. Caulk strips are easy to apply and require no tools, making them a great option for beginners. On the other hand, caulk guns provide more control and precision, allowing you to achieve a neater finish. Ultimately, the choice depends on your personal preference.5. Caulk Strip vs. Caulk Gun for Kitchen Sink


5. Caulk Strip vs. Caulk Gun for Kitchen Sink


If you notice that the caulk around your kitchen sink has become cracked or damaged, it's important to replace it as soon as possible. This will help prevent any water damage or mold growth around your sink. To replace the caulk, follow the same steps as removing it, then wipe down the area with a damp cloth. Once the area is completely dry, apply a new layer of caulk using a caulk gun or caulking strip.6. How to Replace Caulk around Kitchen Sink


6. How to Replace Caulk around Kitchen Sink


When it comes to caulking your kitchen sink, it's essential to use a waterproof caulk. This will ensure that the seal remains intact even when exposed to water and moisture. Silicone-based caulk is the best option for a waterproof seal, as it is flexible and can withstand frequent exposure to water without cracking or deteriorating.7. Waterproof Caulk for Kitchen Sink


7. Waterproof Caulk for Kitchen Sink


Regular cleaning is key to maintaining the appearance and effectiveness of your caulk. To clean caulk from your kitchen sink, start by mixing equal parts of white vinegar and water in a spray bottle. Spray the solution onto the caulk and let it sit for a few minutes. Then, use a toothbrush or scrub brush to gently scrub the caulk. Rinse with water and dry the area thoroughly.8. How to Clean Caulk from Kitchen Sink


8. How to Clean Caulk from Kitchen Sink
Undermount kitchen sinks are becoming increasingly popular for their sleek and modern look. However, caulking these types of sinks can be tricky due to the lack of a visible lip. In this case, using a caulking strip can be a convenient solution. Simply apply the strip along the edges of the sink, pressing down firmly to create a seal. Then, gently smooth out any bubbles or wrinkles for a clean finish.9. Caulk Strip for Undermount Kitchen Sink


9. Caulk Strip for Undermount Kitchen Sink


Now that you know how to choose the right caulk, remove and replace old caulk, and clean and maintain your caulk, it's time to seal your sink. Start by removing any old caulk and cleaning the area thoroughly. Then, using a caulk gun or caulking strip, apply a thin, even layer of caulk along the edges of the sink. Use a wet finger or caulk smoothing tool to smooth out the caulk and remove any excess. Let the caulk dry completely before using your sink. By following these tips, you can achieve a professional-looking caulk job for your kitchen sink. Remember to choose the right type of caulk, clean and maintain it regularly, and replace it as needed for a long-lasting and effective seal.10. How to Seal a Kitchen Sink with Caulk


10. How to Seal a Kitchen Sink with Caulk


The Benefits of Using Kitchen Sink Caulk Strips for a Polished House Design

Sealing Gaps and Cracks
 When it comes to designing a house, attention to detail is crucial. Even small gaps and cracks in areas such as the kitchen sink can affect the overall look and feel of a room. This is where
kitchen sink caulk strips
come in handy. These strips are specifically designed to seal gaps and cracks around the edges of the sink, providing a clean and polished finish to your kitchen. Not only do they prevent water from seeping into these gaps and causing damage, but they also create a smooth and seamless look.
When it comes to designing a house, attention to detail is crucial. Even small gaps and cracks in areas such as the kitchen sink can affect the overall look and feel of a room. This is where
kitchen sink caulk strips
come in handy. These strips are specifically designed to seal gaps and cracks around the edges of the sink, providing a clean and polished finish to your kitchen. Not only do they prevent water from seeping into these gaps and causing damage, but they also create a smooth and seamless look.
Easy to Use
 One of the main benefits of using
kitchen sink caulk strips
is their ease of use. Unlike traditional caulk, which can be messy and difficult to apply, these strips are pre-cut and self-adhesive, making the application process quick and hassle-free. Simply measure and cut the strip to fit the length of your sink, remove the backing, and press it firmly onto the surface. The result is a neat and professional finish that can easily be achieved by anyone, regardless of their DIY skills.
One of the main benefits of using
kitchen sink caulk strips
is their ease of use. Unlike traditional caulk, which can be messy and difficult to apply, these strips are pre-cut and self-adhesive, making the application process quick and hassle-free. Simply measure and cut the strip to fit the length of your sink, remove the backing, and press it firmly onto the surface. The result is a neat and professional finish that can easily be achieved by anyone, regardless of their DIY skills.
Affordable and Durable
 Another advantage of using
kitchen sink caulk strips
is their affordability and durability. These strips are made from high-quality materials that are resistant to water, mold, and mildew, ensuring that they will last for a long time. This means you won't have to constantly replace or reapply caulk, saving you money in the long run. Plus, with their sleek and seamless design, these strips can add a touch of elegance to your kitchen without breaking the bank.
Another advantage of using
kitchen sink caulk strips
is their affordability and durability. These strips are made from high-quality materials that are resistant to water, mold, and mildew, ensuring that they will last for a long time. This means you won't have to constantly replace or reapply caulk, saving you money in the long run. Plus, with their sleek and seamless design, these strips can add a touch of elegance to your kitchen without breaking the bank.
Customizable and Versatile
 Not only are
kitchen sink caulk strips
functional, but they are also customizable and versatile. They come in a variety of colors and finishes, allowing you to choose the one that best matches your kitchen design. You can also easily cut the strips to fit any sink shape or size, making them suitable for a wide range of kitchen sinks. Whether you have a modern or traditional kitchen design, these strips can be easily incorporated to create a cohesive and polished look.
In conclusion,
kitchen sink caulk strips
are a must-have for any house design. They offer numerous benefits such as sealing gaps and cracks, ease of use, affordability, durability, and customization. By using these strips, you can achieve a flawless and professional finish for your kitchen sink, adding value and style to your home. So why settle for messy and ineffective caulk when you can upgrade to the convenience and effectiveness of kitchen sink caulk strips? Try them out and see the difference they can make in your house design.
Not only are
kitchen sink caulk strips
functional, but they are also customizable and versatile. They come in a variety of colors and finishes, allowing you to choose the one that best matches your kitchen design. You can also easily cut the strips to fit any sink shape or size, making them suitable for a wide range of kitchen sinks. Whether you have a modern or traditional kitchen design, these strips can be easily incorporated to create a cohesive and polished look.
In conclusion,
kitchen sink caulk strips
are a must-have for any house design. They offer numerous benefits such as sealing gaps and cracks, ease of use, affordability, durability, and customization. By using these strips, you can achieve a flawless and professional finish for your kitchen sink, adding value and style to your home. So why settle for messy and ineffective caulk when you can upgrade to the convenience and effectiveness of kitchen sink caulk strips? Try them out and see the difference they can make in your house design.