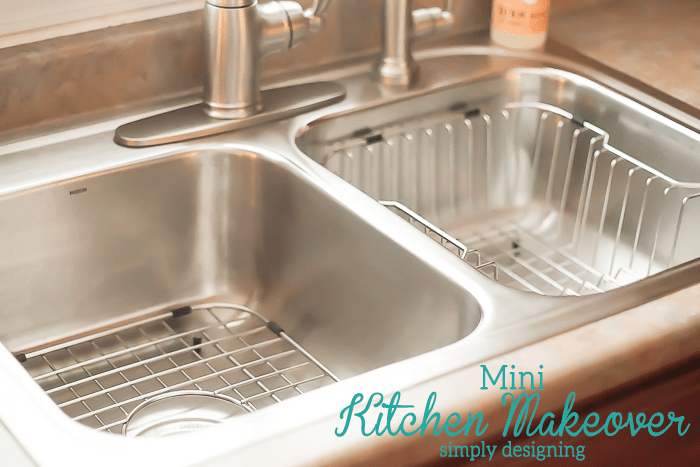
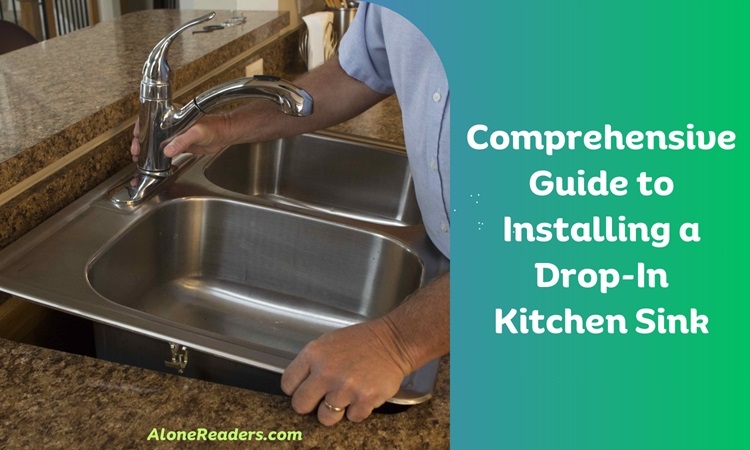
How to Install a Drop-In Kitchen Sink
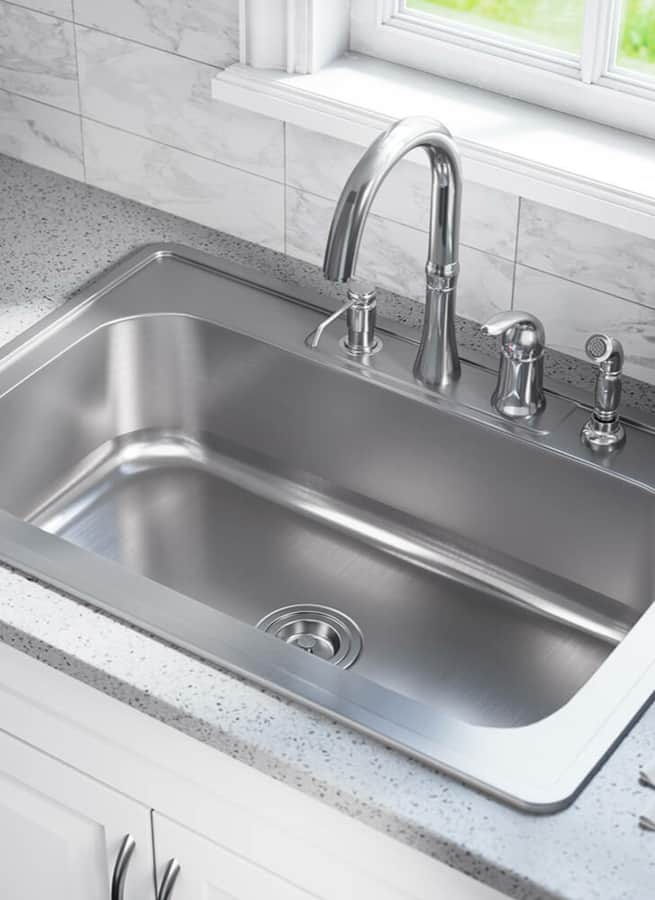
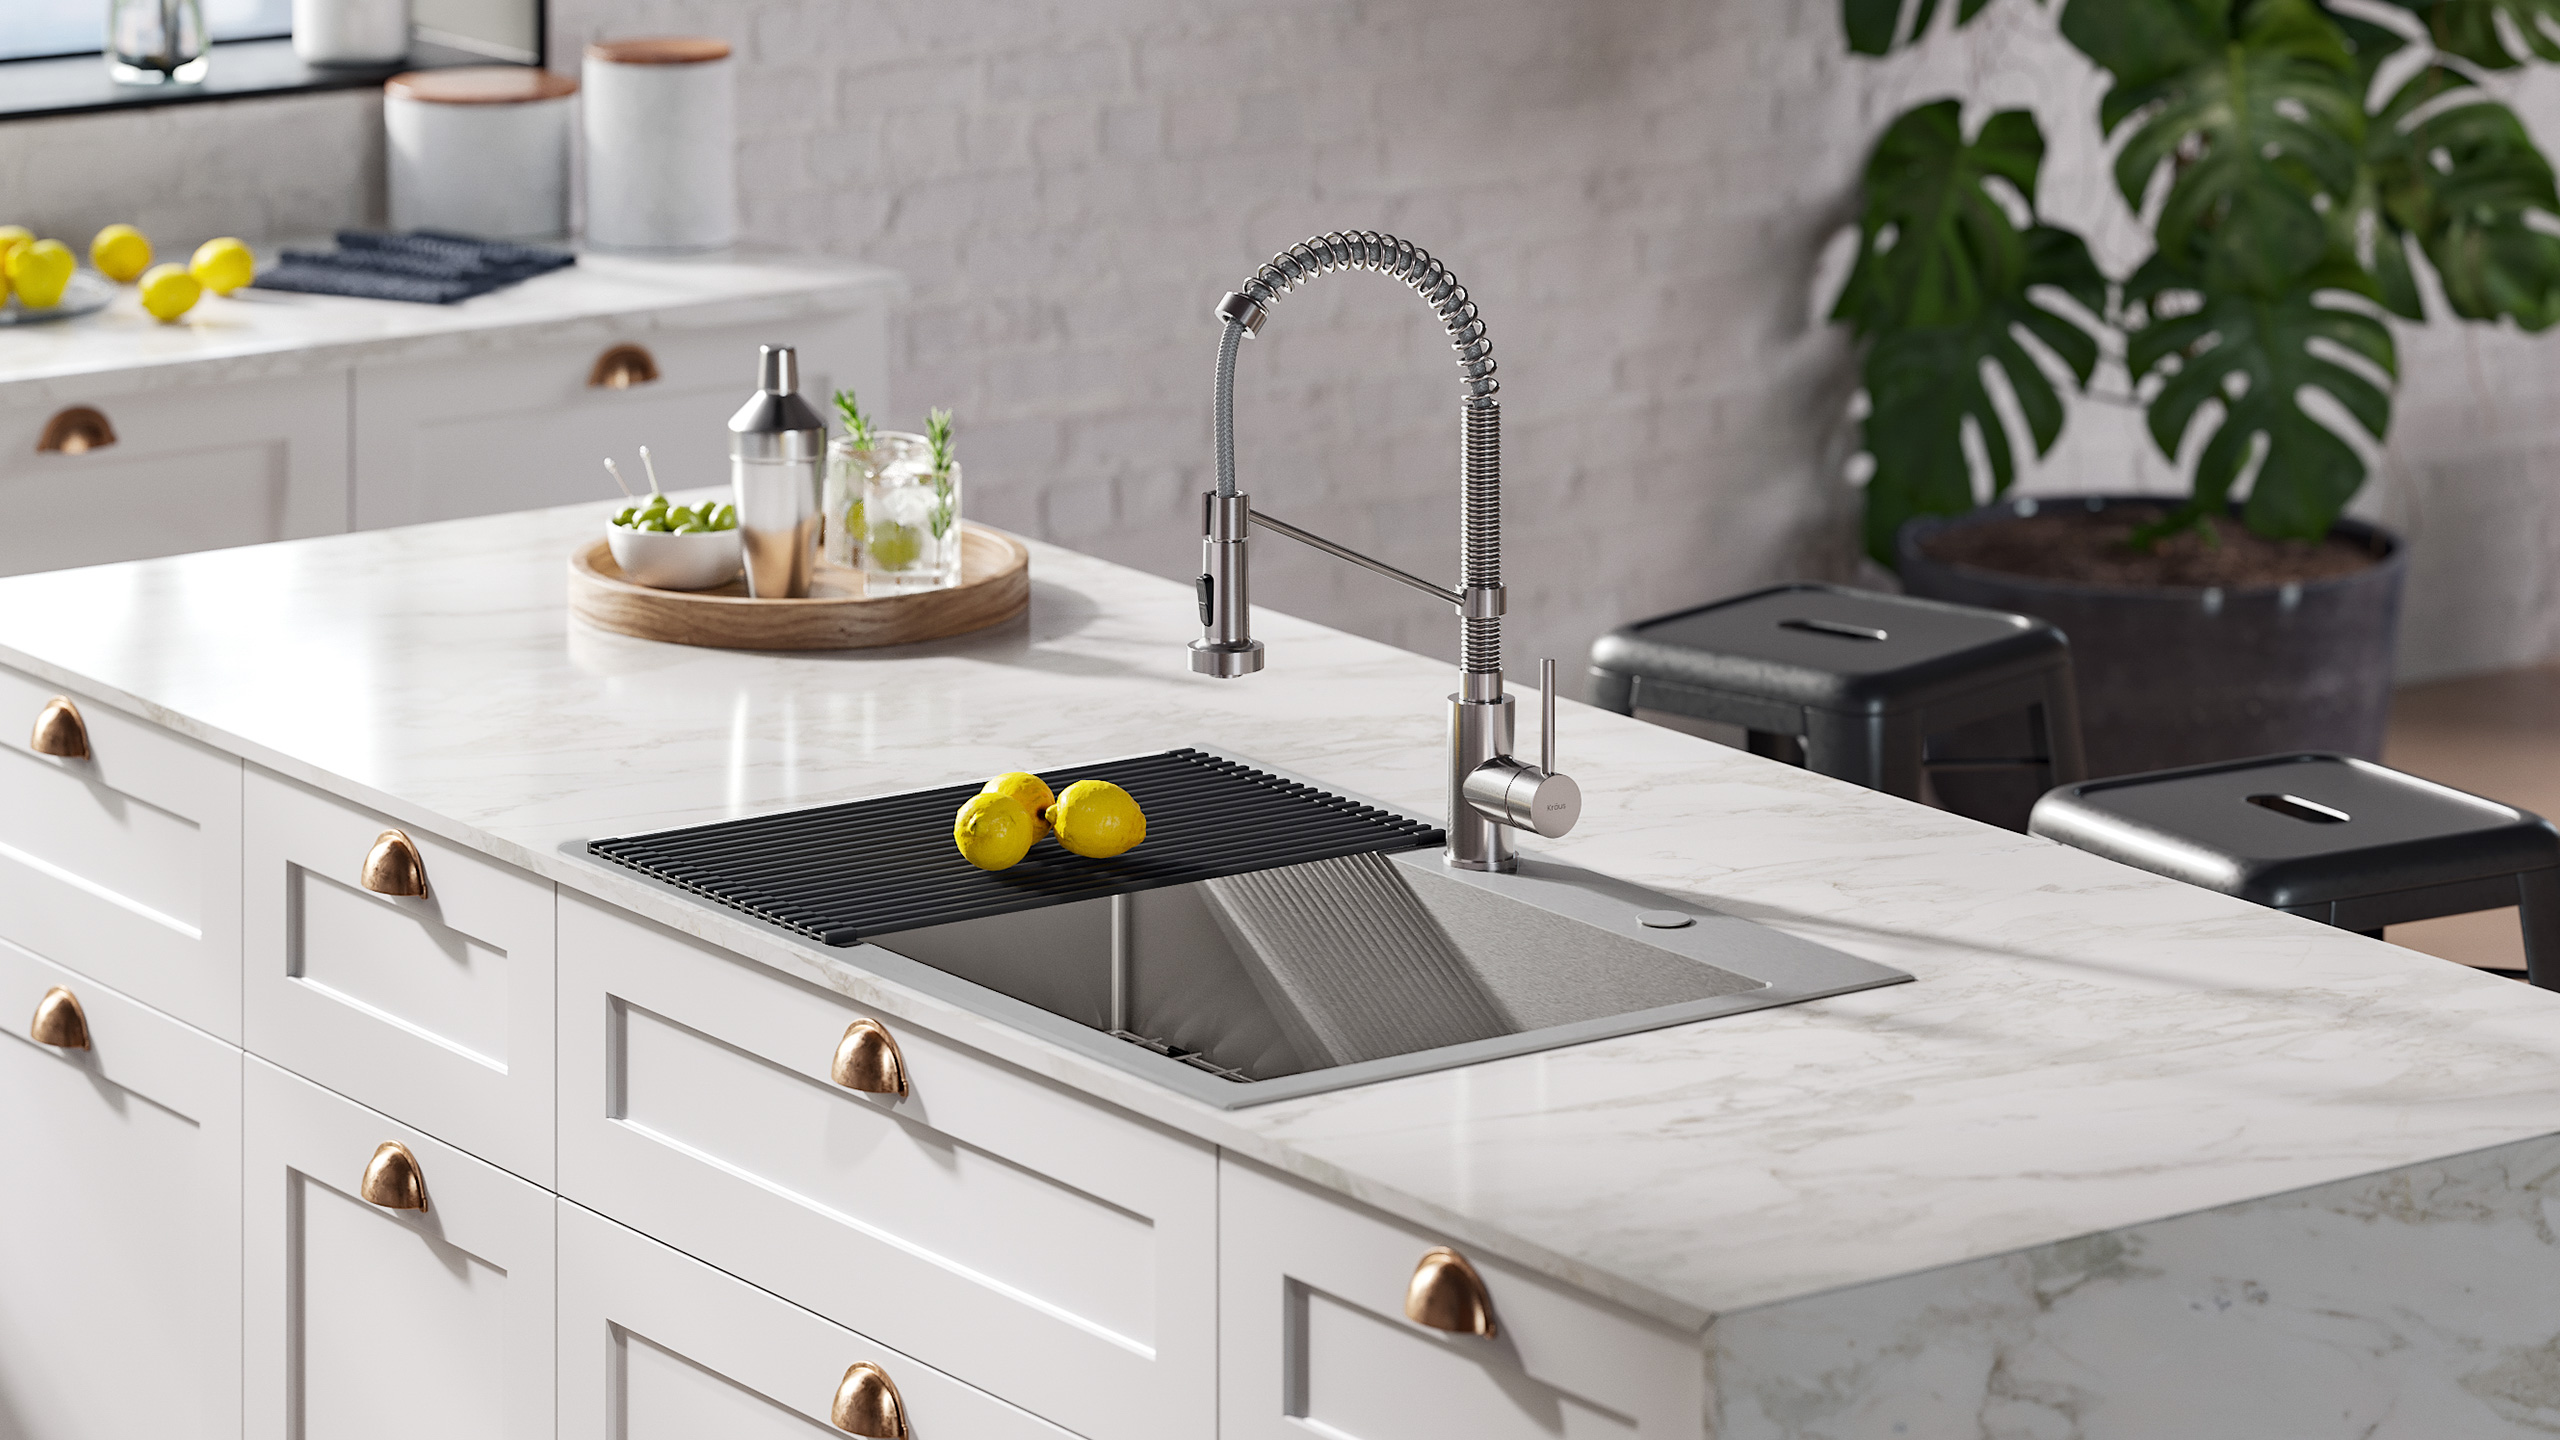
Installing a new kitchen sink can be a daunting task, but with the right tools and knowledge, it can be a simple and satisfying DIY project. A drop-in kitchen sink, also known as a top-mount or self-rimming sink, is a popular choice for many homeowners due to its easy installation process and versatile design. In this article, we will guide you through the steps of installing a drop-in kitchen sink, from start to finish. So roll up your sleeves and let's get started!
How to Install a Drop-In Kitchen Sink in 4 Steps
Before you begin, make sure you have all the necessary tools and materials ready. This includes a drop-in kitchen sink, a faucet, a drain assembly, plumber's putty, silicone caulk, a screwdriver, a wrench, and a tape measure. Once you have everything on hand, follow these four simple steps to install your new drop-in kitchen sink.
Step 1: Prepare the Sink and Countertop
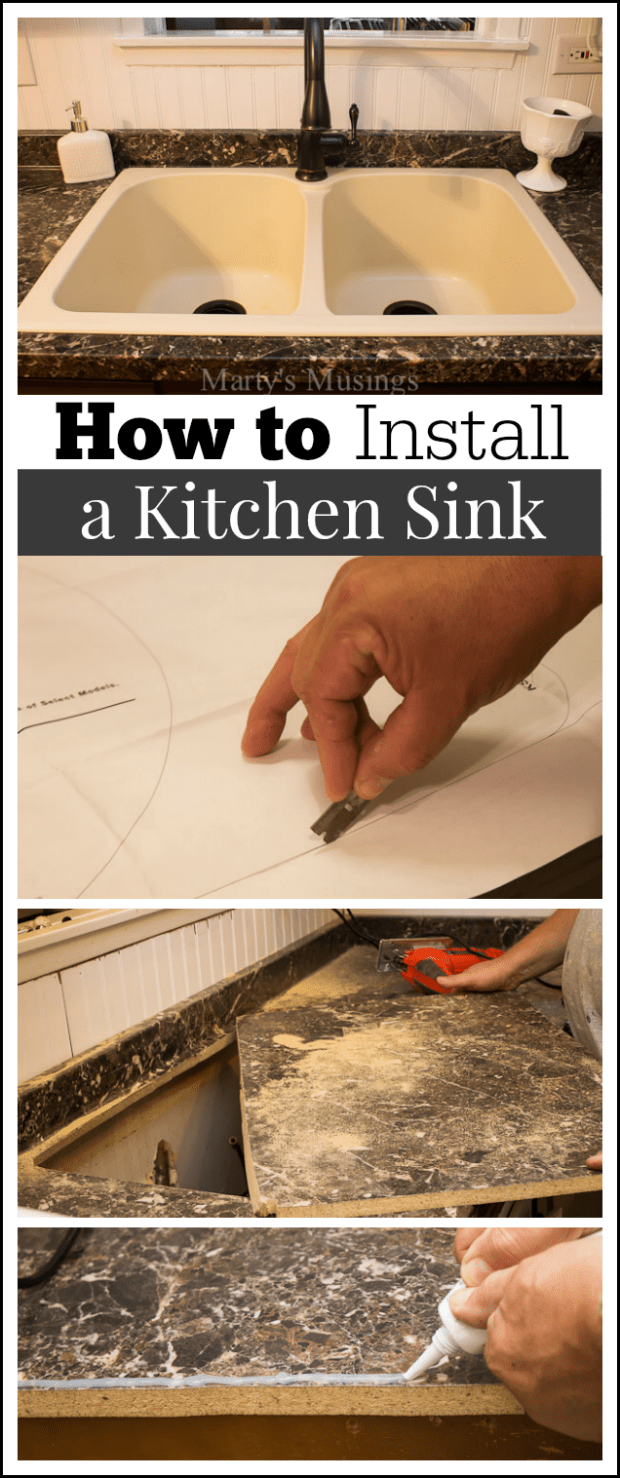
The first step is to prepare the sink and countertop for installation. Measure the size of your sink and cut the hole in the countertop accordingly. Make sure the hole is slightly smaller than the size of the sink to provide a secure fit. Next, apply a thin layer of plumber's putty around the edge of the sink opening. This will create a watertight seal between the sink and countertop.
Step 2: Place the Sink in Position
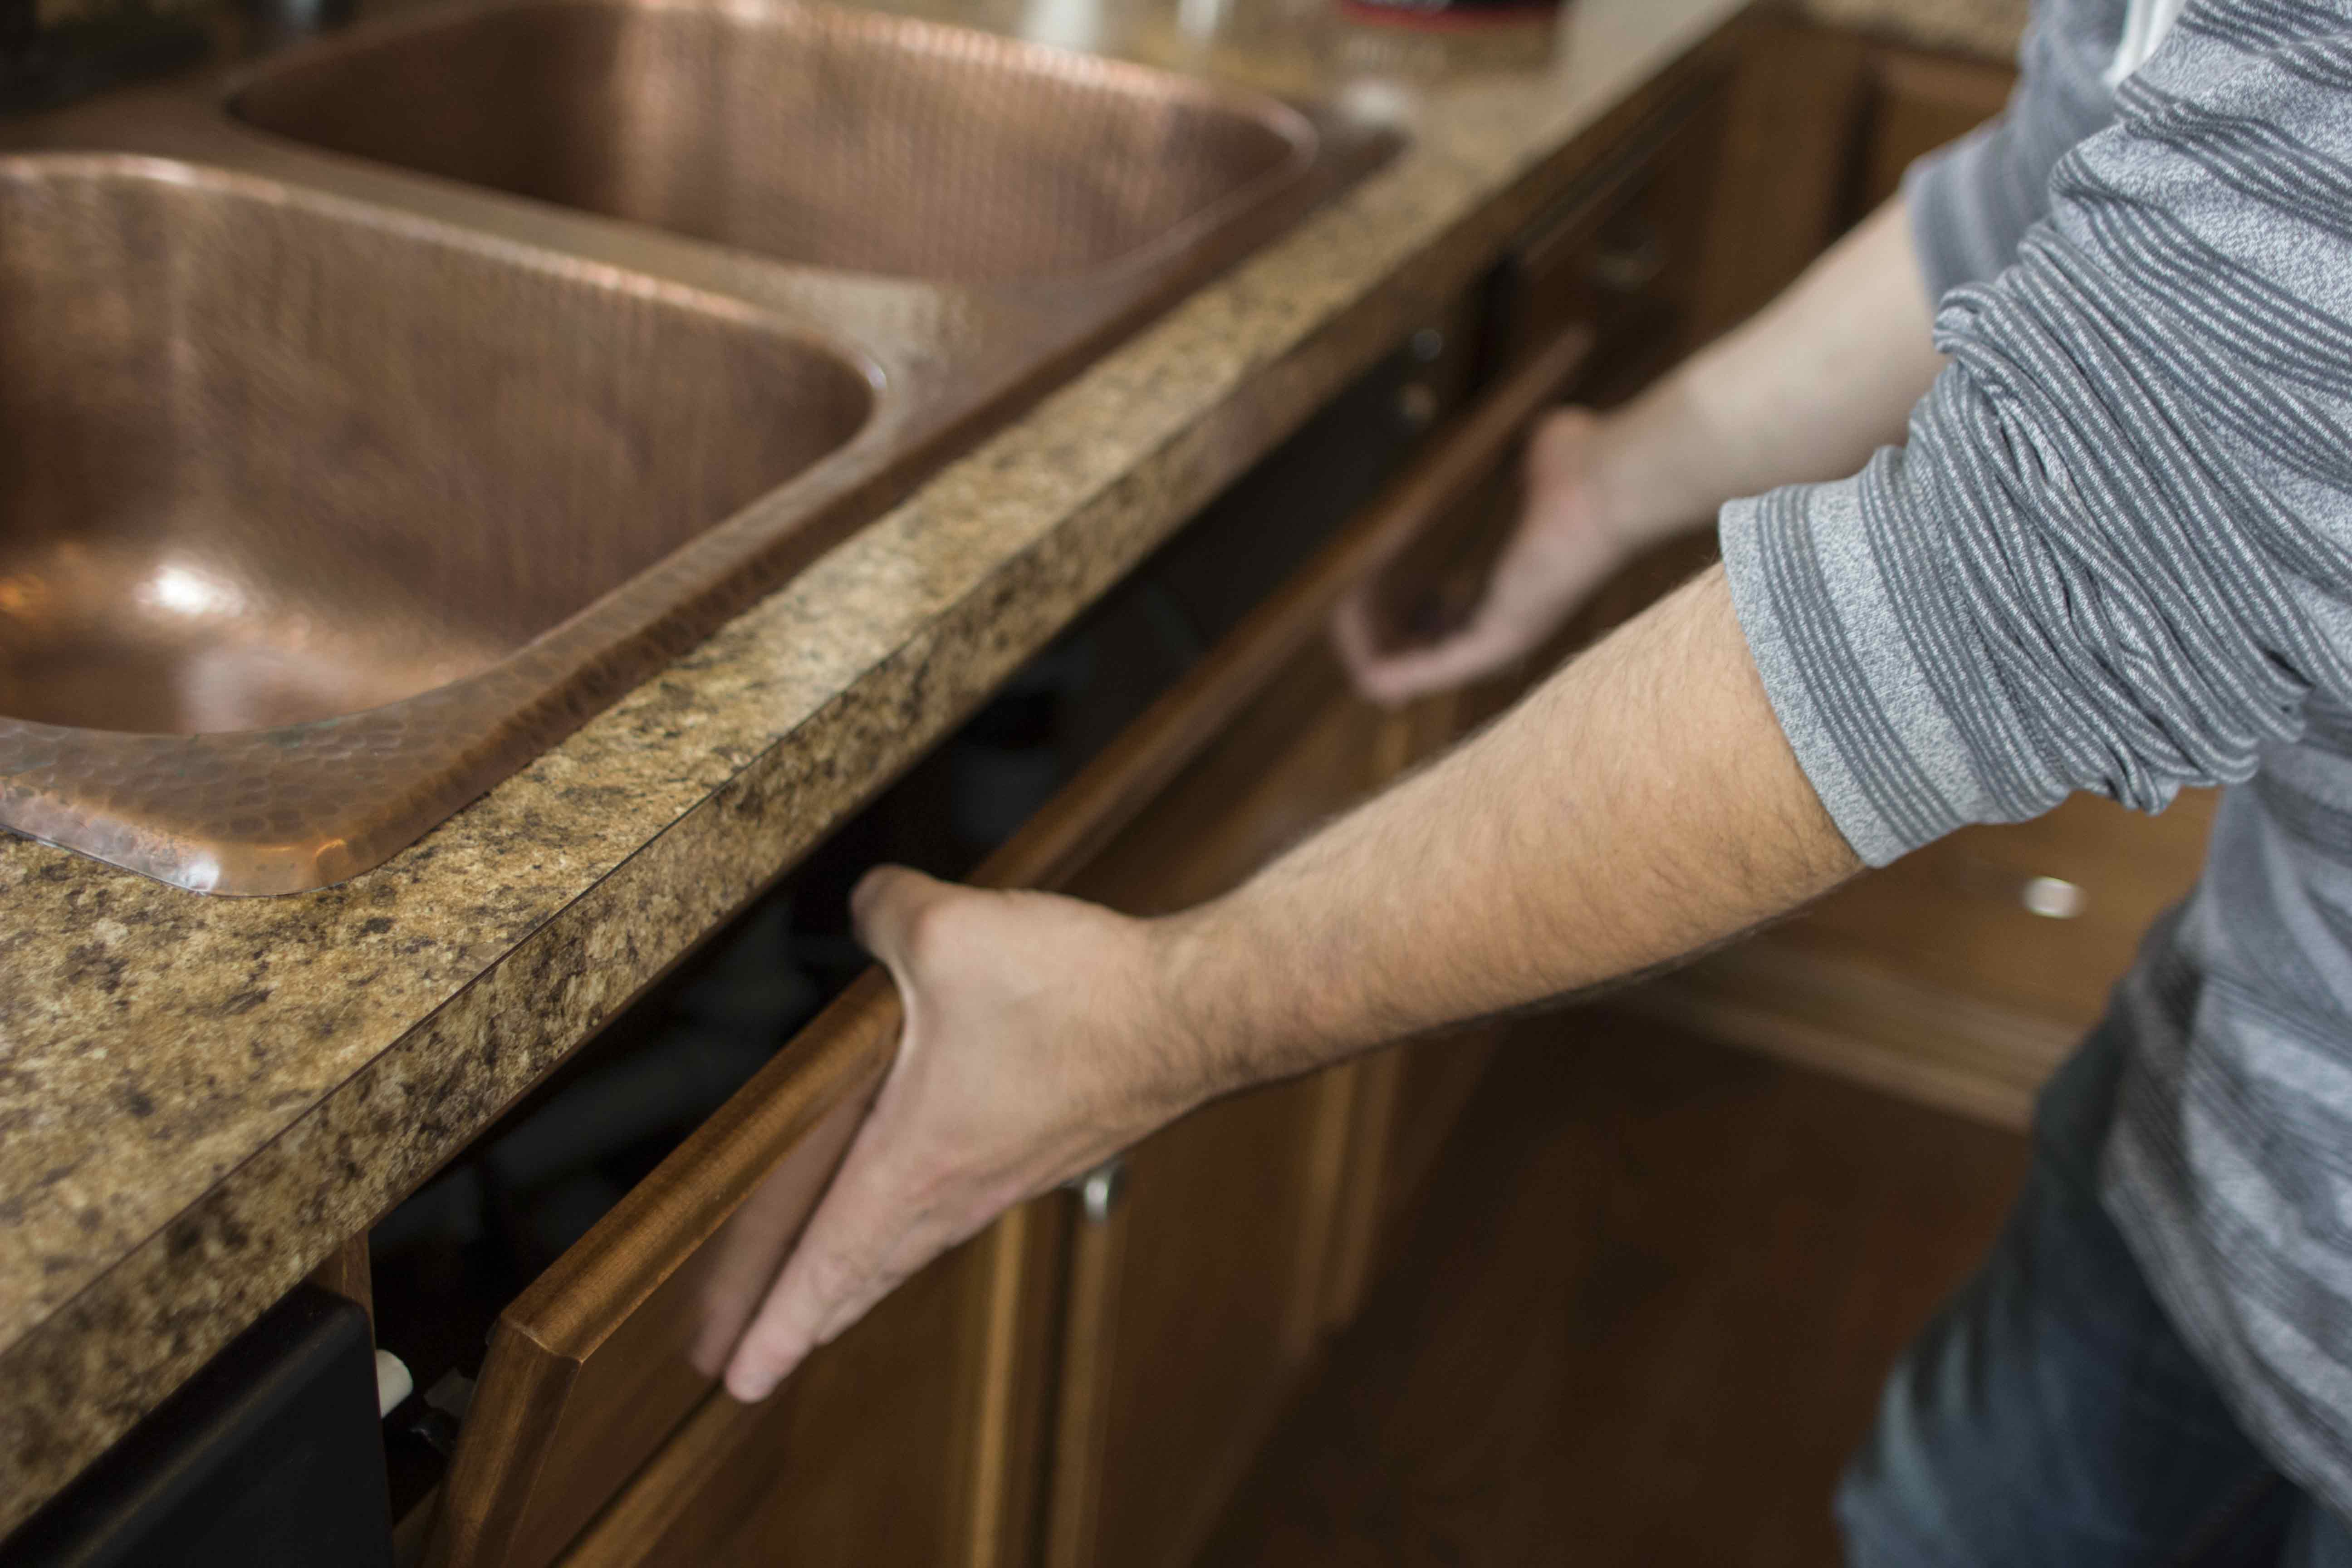
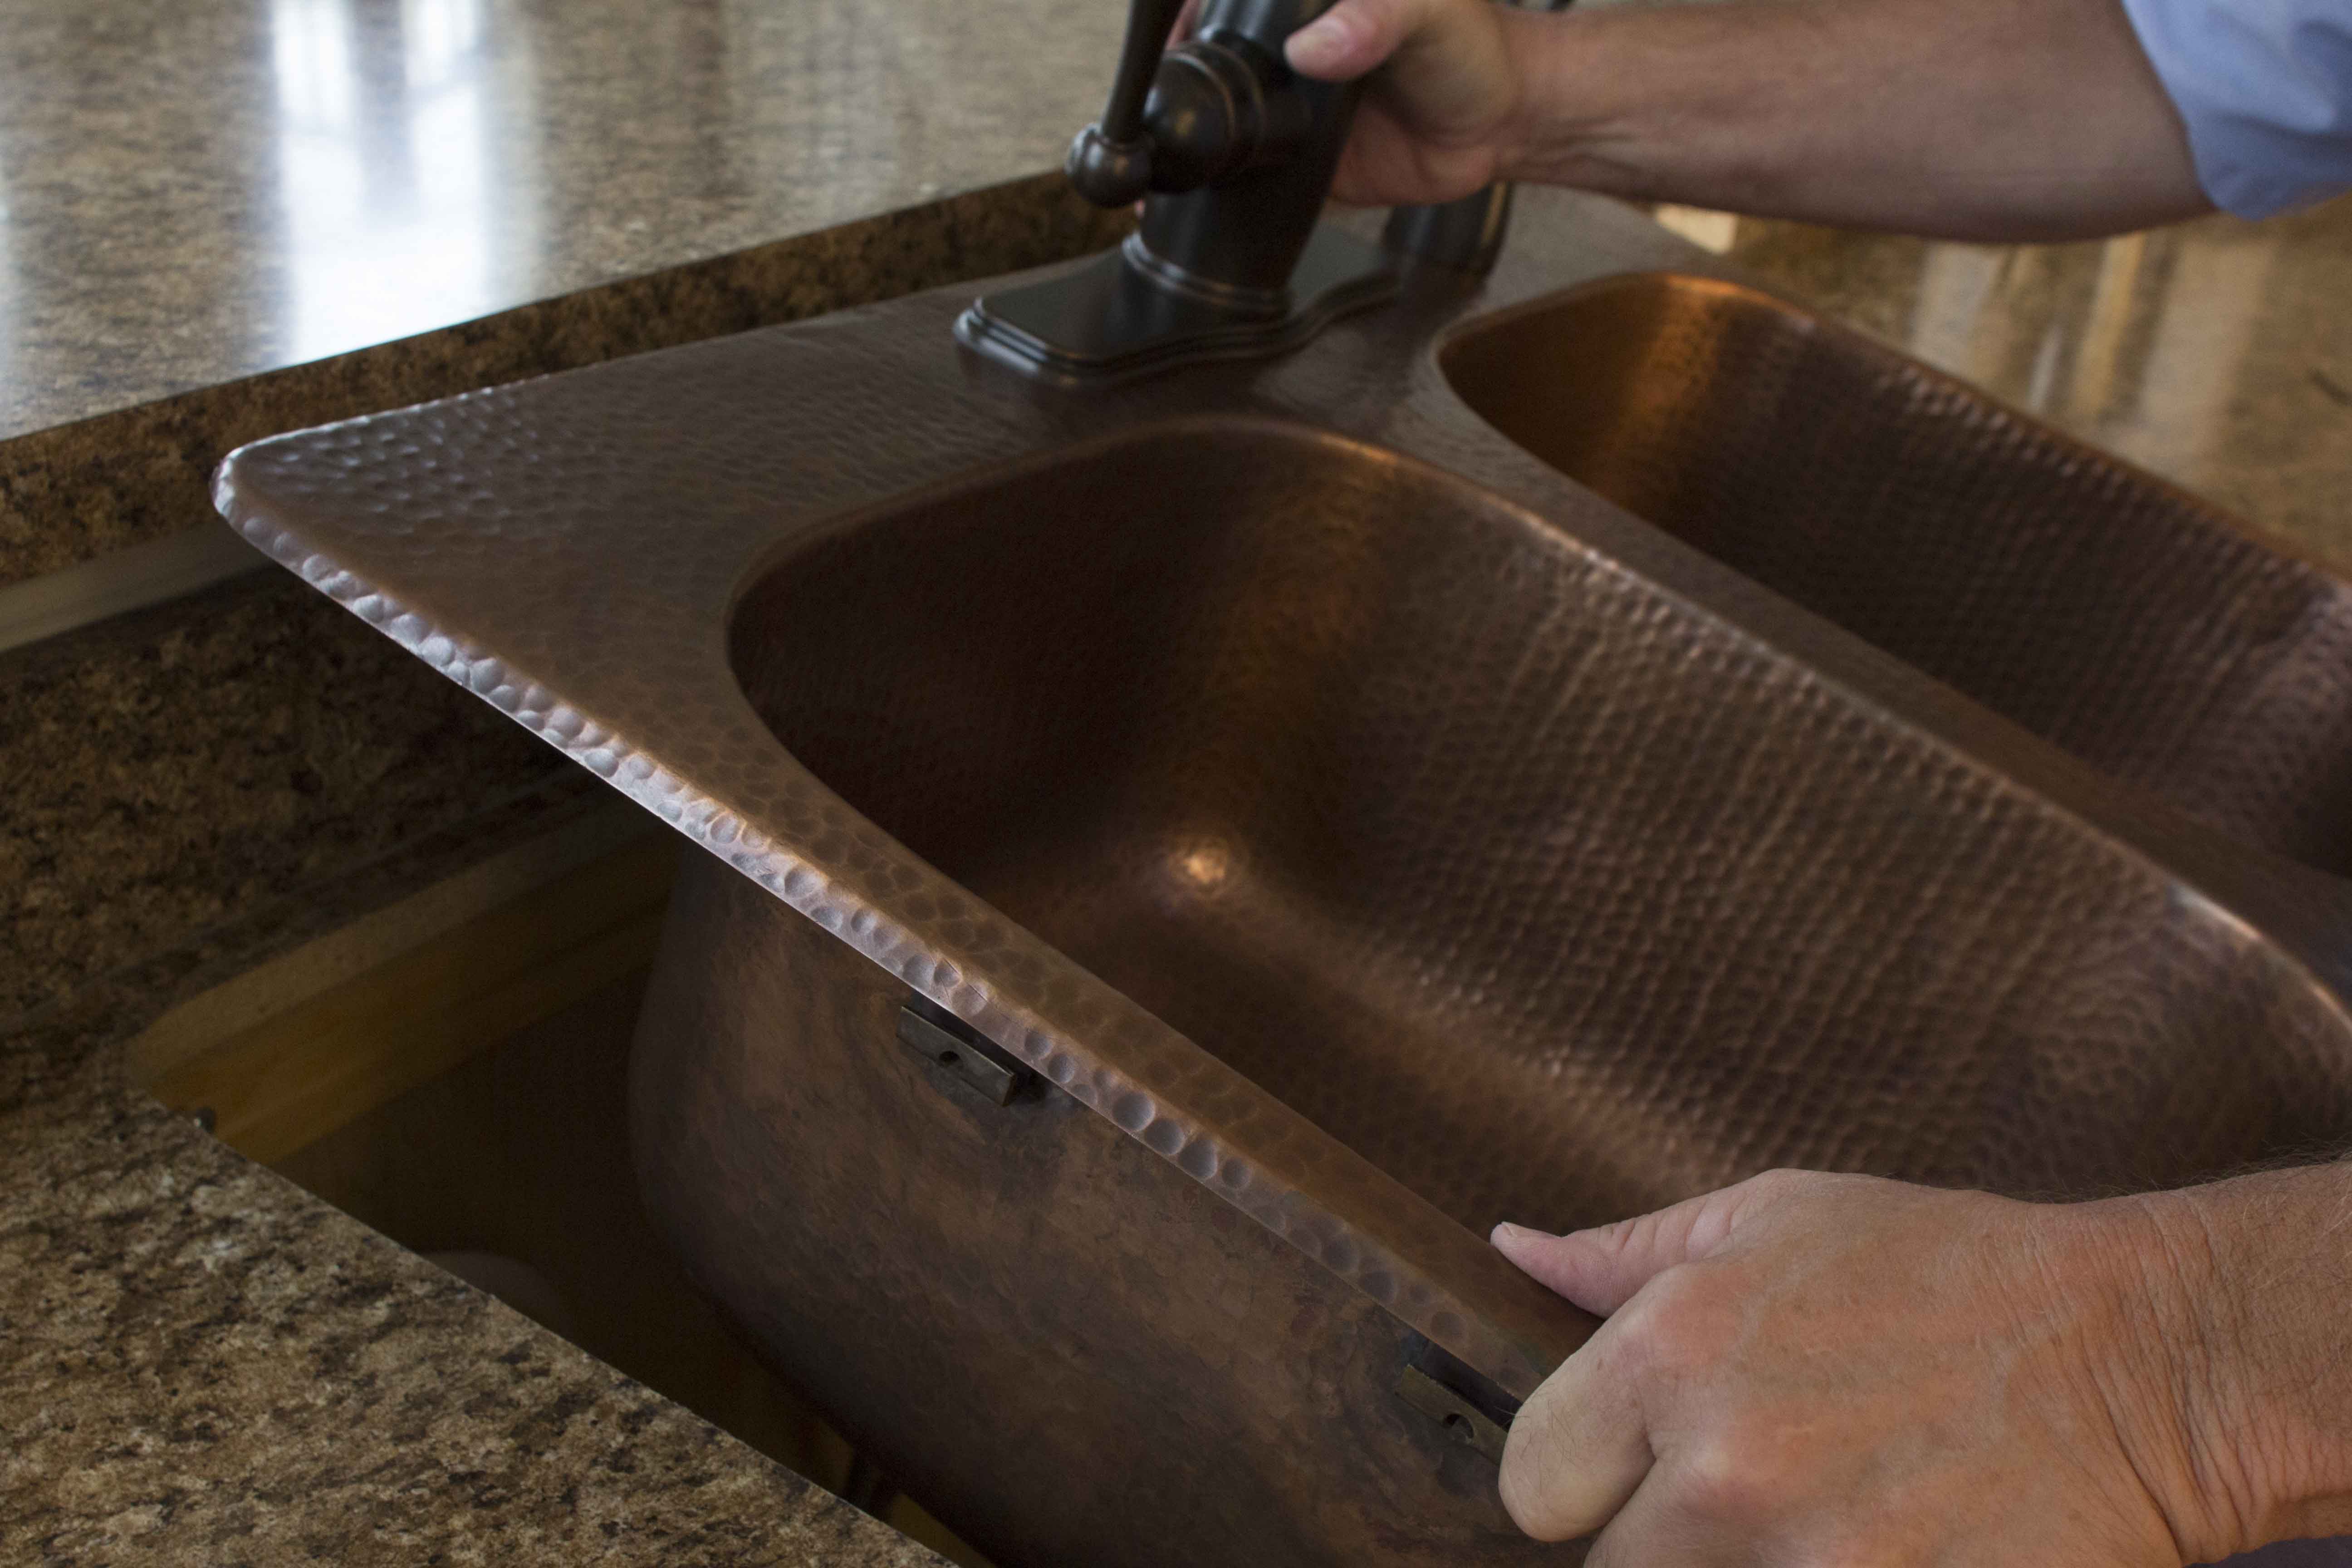
With the help of a friend or family member, carefully lift the sink and place it into the hole in the countertop. Make sure the sink is centered and level before proceeding. You can use a level to ensure the sink is straight. Once the sink is in position, press down firmly to secure it in place.
Step 3: Attach the Faucet and Drain Assembly
Now it's time to install the faucet and drain assembly. Follow the manufacturer's instructions to attach the faucet to the sink. Next, insert the drain assembly into the sink's drain hole and secure it from underneath using a wrench. Make sure the drain is tightly sealed to prevent any leaks.
Step 4: Seal the Sink and Countertop
The final step is to seal the sink and countertop to ensure a watertight fit. Apply a thin bead of silicone caulk along the edge of the sink and smooth it out with your finger or a caulk tool. This will not only prevent water from leaking but also give your sink a polished look.
DIY: Installing a Drop-In Kitchen Sink
Installing a drop-in kitchen sink is a great DIY project that can save you time and money. Not to mention, it can also give your kitchen an instant upgrade. With just a few tools and some basic plumbing knowledge, you can easily install a drop-in kitchen sink in a few hours. So why not take on this project and give your kitchen a fresh new look?
Installing a Drop-In Kitchen Sink: A Beginner's Guide
If you're a beginner when it comes to home improvement projects, installing a drop-in kitchen sink is a great place to start. It requires minimal plumbing knowledge and can be completed in just a few steps. Plus, the satisfaction of completing a project like this on your own is unbeatable. So don't be afraid to give it a try and see the amazing results for yourself.
Drop-In Kitchen Sink Installation Made Easy
Gone are the days of complicated and time-consuming kitchen sink installations. With a drop-in kitchen sink, the installation process has been made easy and hassle-free. You no longer need to hire a professional or spend hours trying to figure out how to install your sink. With the help of this step-by-step guide, you can have your new sink up and running in no time.
Tools and Materials Needed for Installing a Drop-In Kitchen Sink
Before you begin the installation process, make sure you have all the necessary tools and materials ready. This includes a drop-in kitchen sink, a faucet, a drain assembly, plumber's putty, silicone caulk, a screwdriver, a wrench, and a tape measure. Having these items on hand will make the installation process much smoother and quicker.
Choosing the Perfect Drop-In Kitchen Sink for Your Home

The Importance of a Quality Kitchen Sink
 When it comes to designing your dream kitchen, one of the most important elements to consider is the
drop-in kitchen sink
. Not only is it a functional necessity for daily use, but it also serves as a design statement for your kitchen space. A high-quality kitchen sink can enhance the overall aesthetics of your kitchen and make daily tasks more efficient and enjoyable.
Factors to Consider When Choosing a Drop-In Kitchen Sink
 Before purchasing a
drop-in kitchen sink
, there are several factors to take into consideration. The first is the size of your kitchen and the space available for the sink. You want to make sure that the sink will fit comfortably and leave enough room for other kitchen appliances and accessories.
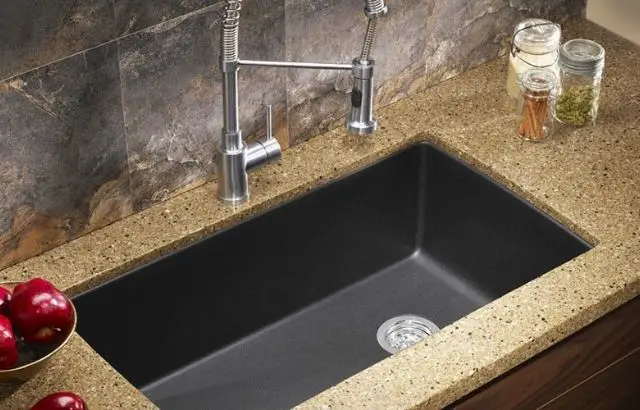
The next factor to consider is the material of the sink.
Stainless steel
is a popular option for its durability and easy maintenance.
Granite
and
fireclay
sinks are also gaining popularity for their sleek and modern look. It is important to choose a material that not only complements your kitchen design but also fits your budget and lifestyle.
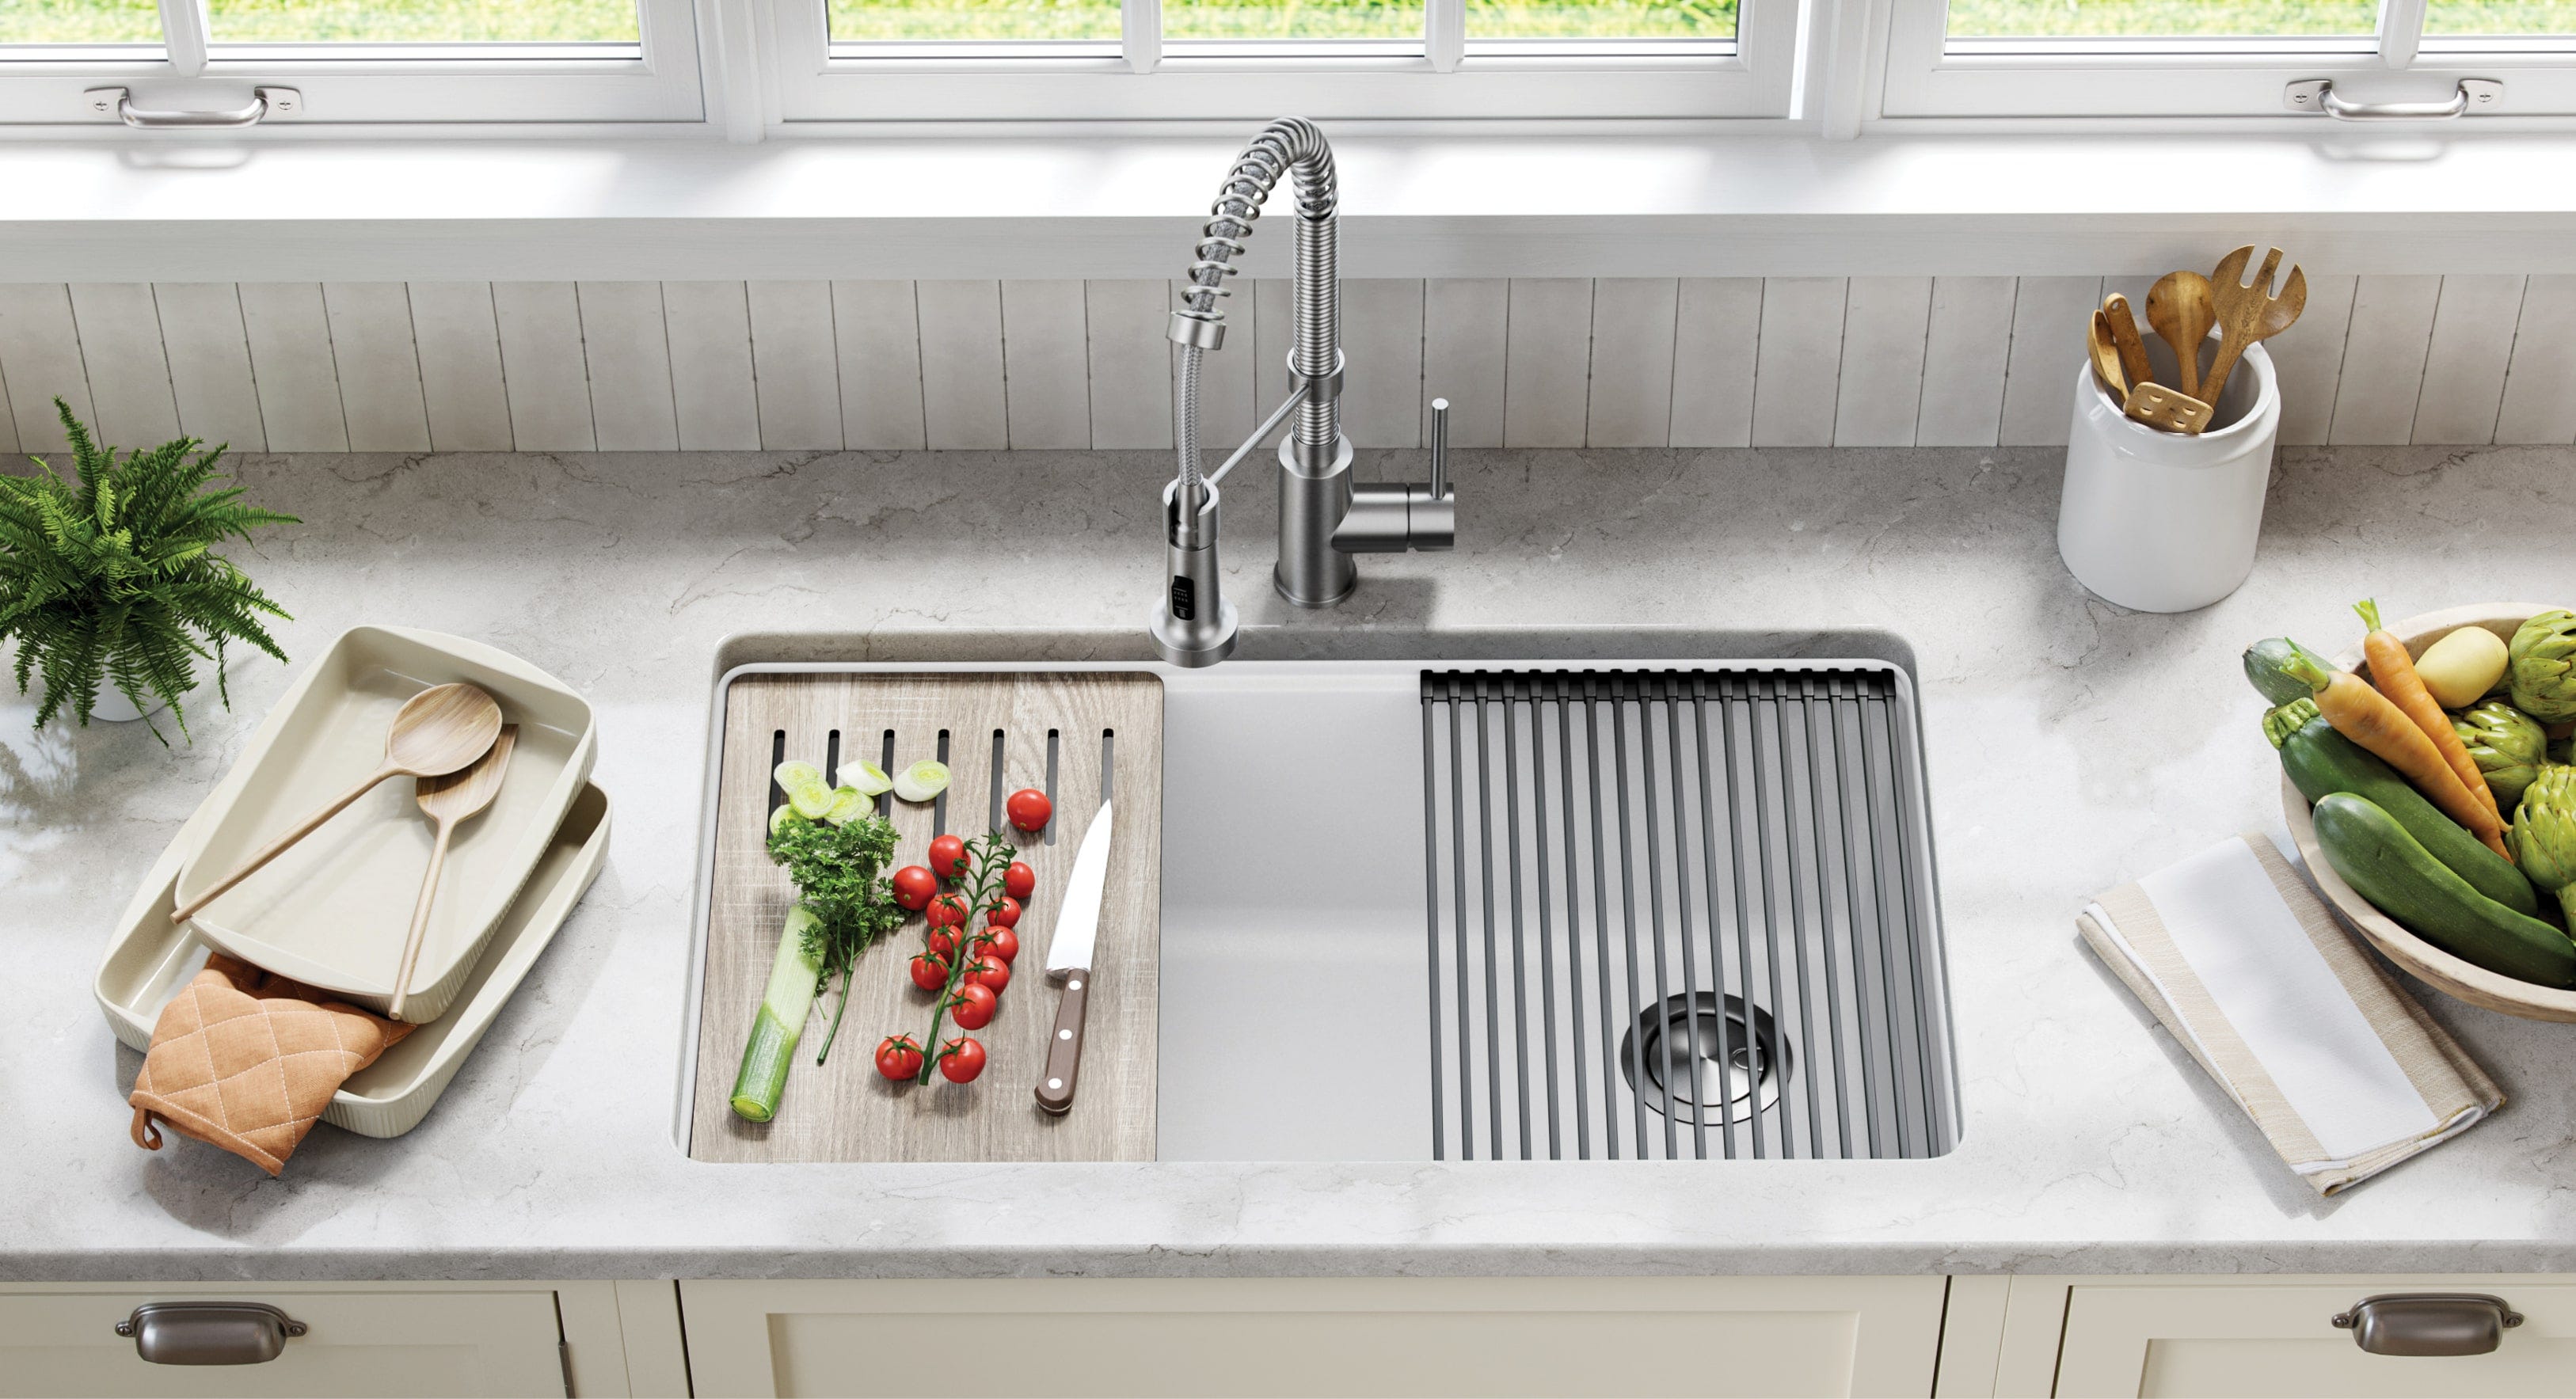
Another important factor is the number of bowls in the sink. Single bowl sinks are great for smaller kitchens or for those who prefer a larger sink space.
Double bowl sinks
are ideal for multitasking and separating tasks, such as washing dishes and preparing food, in one sink. The number of bowls you choose will depend on your personal preferences and daily kitchen activities.
The Installation Process
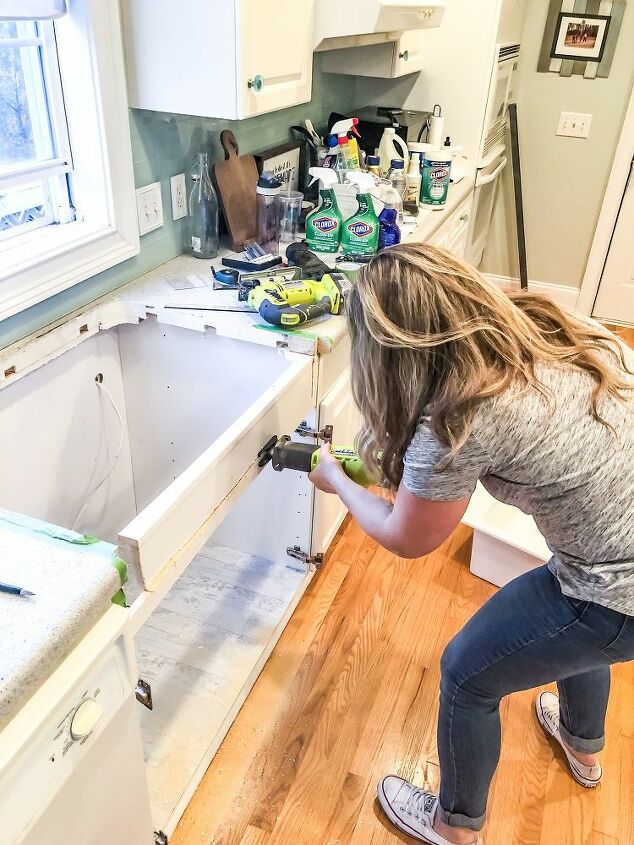
 Once you have chosen the perfect drop-in sink for your kitchen, it is important to properly install it to ensure its longevity and functionality. The first step is to measure the opening in your countertop and make sure it is the correct size for your chosen sink. Next, you will need to cut a hole in the countertop and carefully place the sink into the opening.
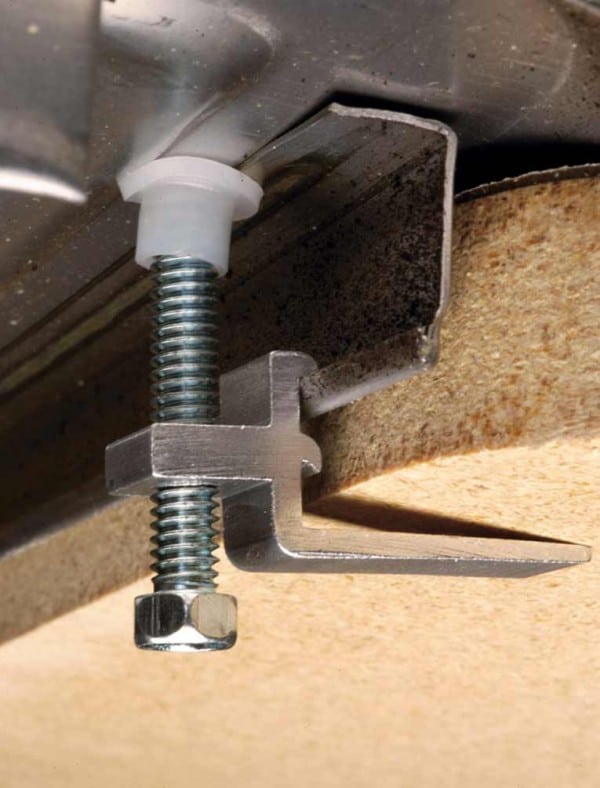
Once the sink is in place, secure it with clips or brackets provided by the manufacturer. Finally, attach the plumbing and seal the edges of the sink with caulk to prevent any water leakage.
In Conclusion
 Investing in a high-quality
drop-in kitchen sink
is essential for any kitchen design. Take the time to carefully consider the size, material, and number of bowls when choosing your sink. And don't forget to properly install it for optimal functionality. With the right drop-in sink, your kitchen will not only look beautiful but also make daily tasks a breeze.








:no_upscale()/cdn.vox-cdn.com/uploads/chorus_asset/file/19495086/drain_0.jpg)












:no_upscale()/cdn.vox-cdn.com/uploads/chorus_asset/file/19495086/drain_0.jpg)


/how-to-install-a-sink-drain-2718789-hero-24e898006ed94c9593a2a268b57989a3.jpg)
