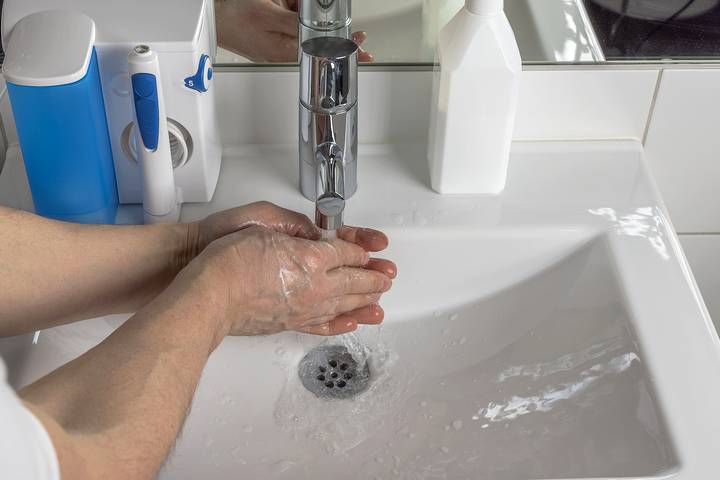
IKEA Bathroom Sink Installation Instructions
Are you looking to upgrade your bathroom with a sleek and modern sink? Look no further than IKEA. Known for their affordable and stylish home furnishings, IKEA offers a variety of bathroom sinks that are both functional and aesthetically pleasing. But before you can enjoy your new sink, you'll need to install it. Don't worry, we've got you covered with these top 10 MAIN_ikea bathroom sink installation instructions. Follow along and transform your bathroom in no time!


IKEA Bathroom Sink Installation Instructions


How to Install an IKEA Bathroom Sink
Installing an IKEA bathroom sink may seem like a daunting task, but with the right tools and instructions, it can be a breeze. First and foremost, make sure you have all the necessary tools and materials on hand. This includes a drill, level, measuring tape, silicone caulk, and of course, your new IKEA bathroom sink. Once you have everything ready, let's dive into the step-by-step guide for installing an IKEA bathroom sink.


How to Install an IKEA Bathroom Sink


Step-by-Step Guide for Installing an IKEA Bathroom Sink
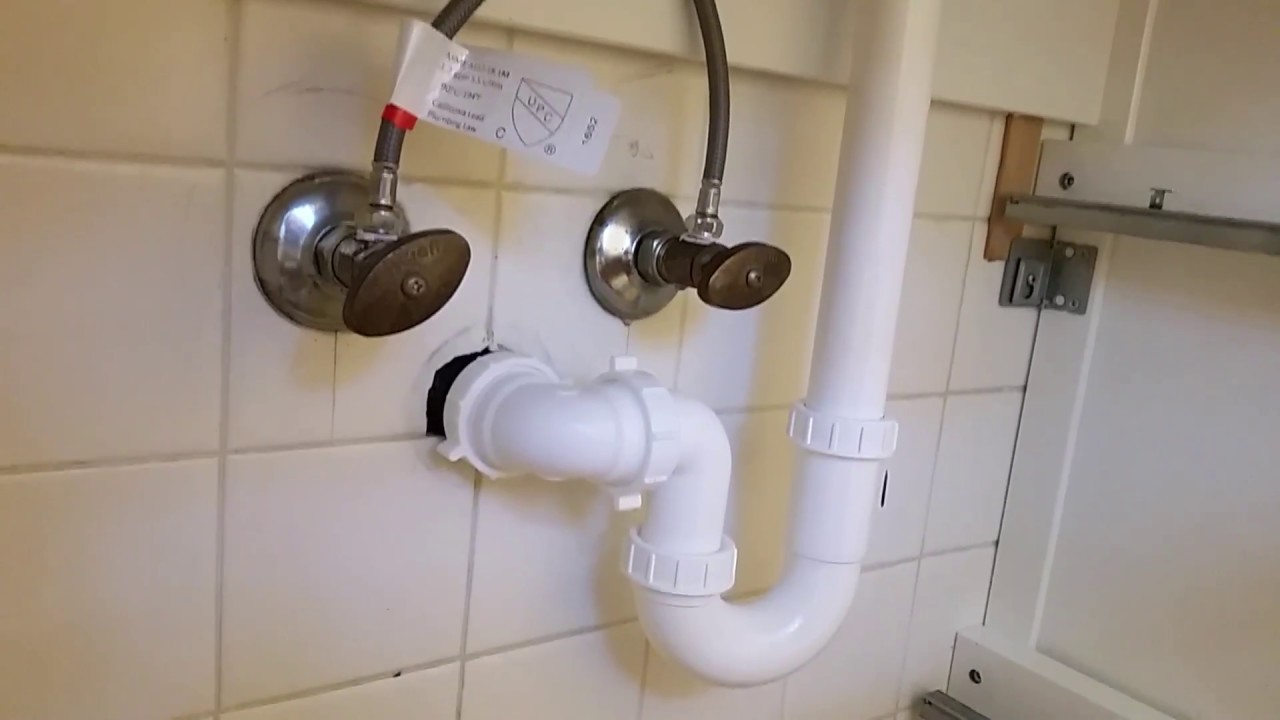
Step 1: Begin by turning off the water supply to your bathroom sink. This is typically done by turning the water valves located under the sink counterclockwise. Once the water is turned off, turn on the faucet to ensure no water is left in the pipes.
Step 2: Next, remove the old sink by disconnecting the water supply lines and loosening any mounting hardware. Make sure to have a bucket or towel handy to catch any excess water that may come out.
Step 3: Measure the space where your new sink will go and mark the location of the drain and water supply lines on the wall. This will ensure your new sink is properly aligned.
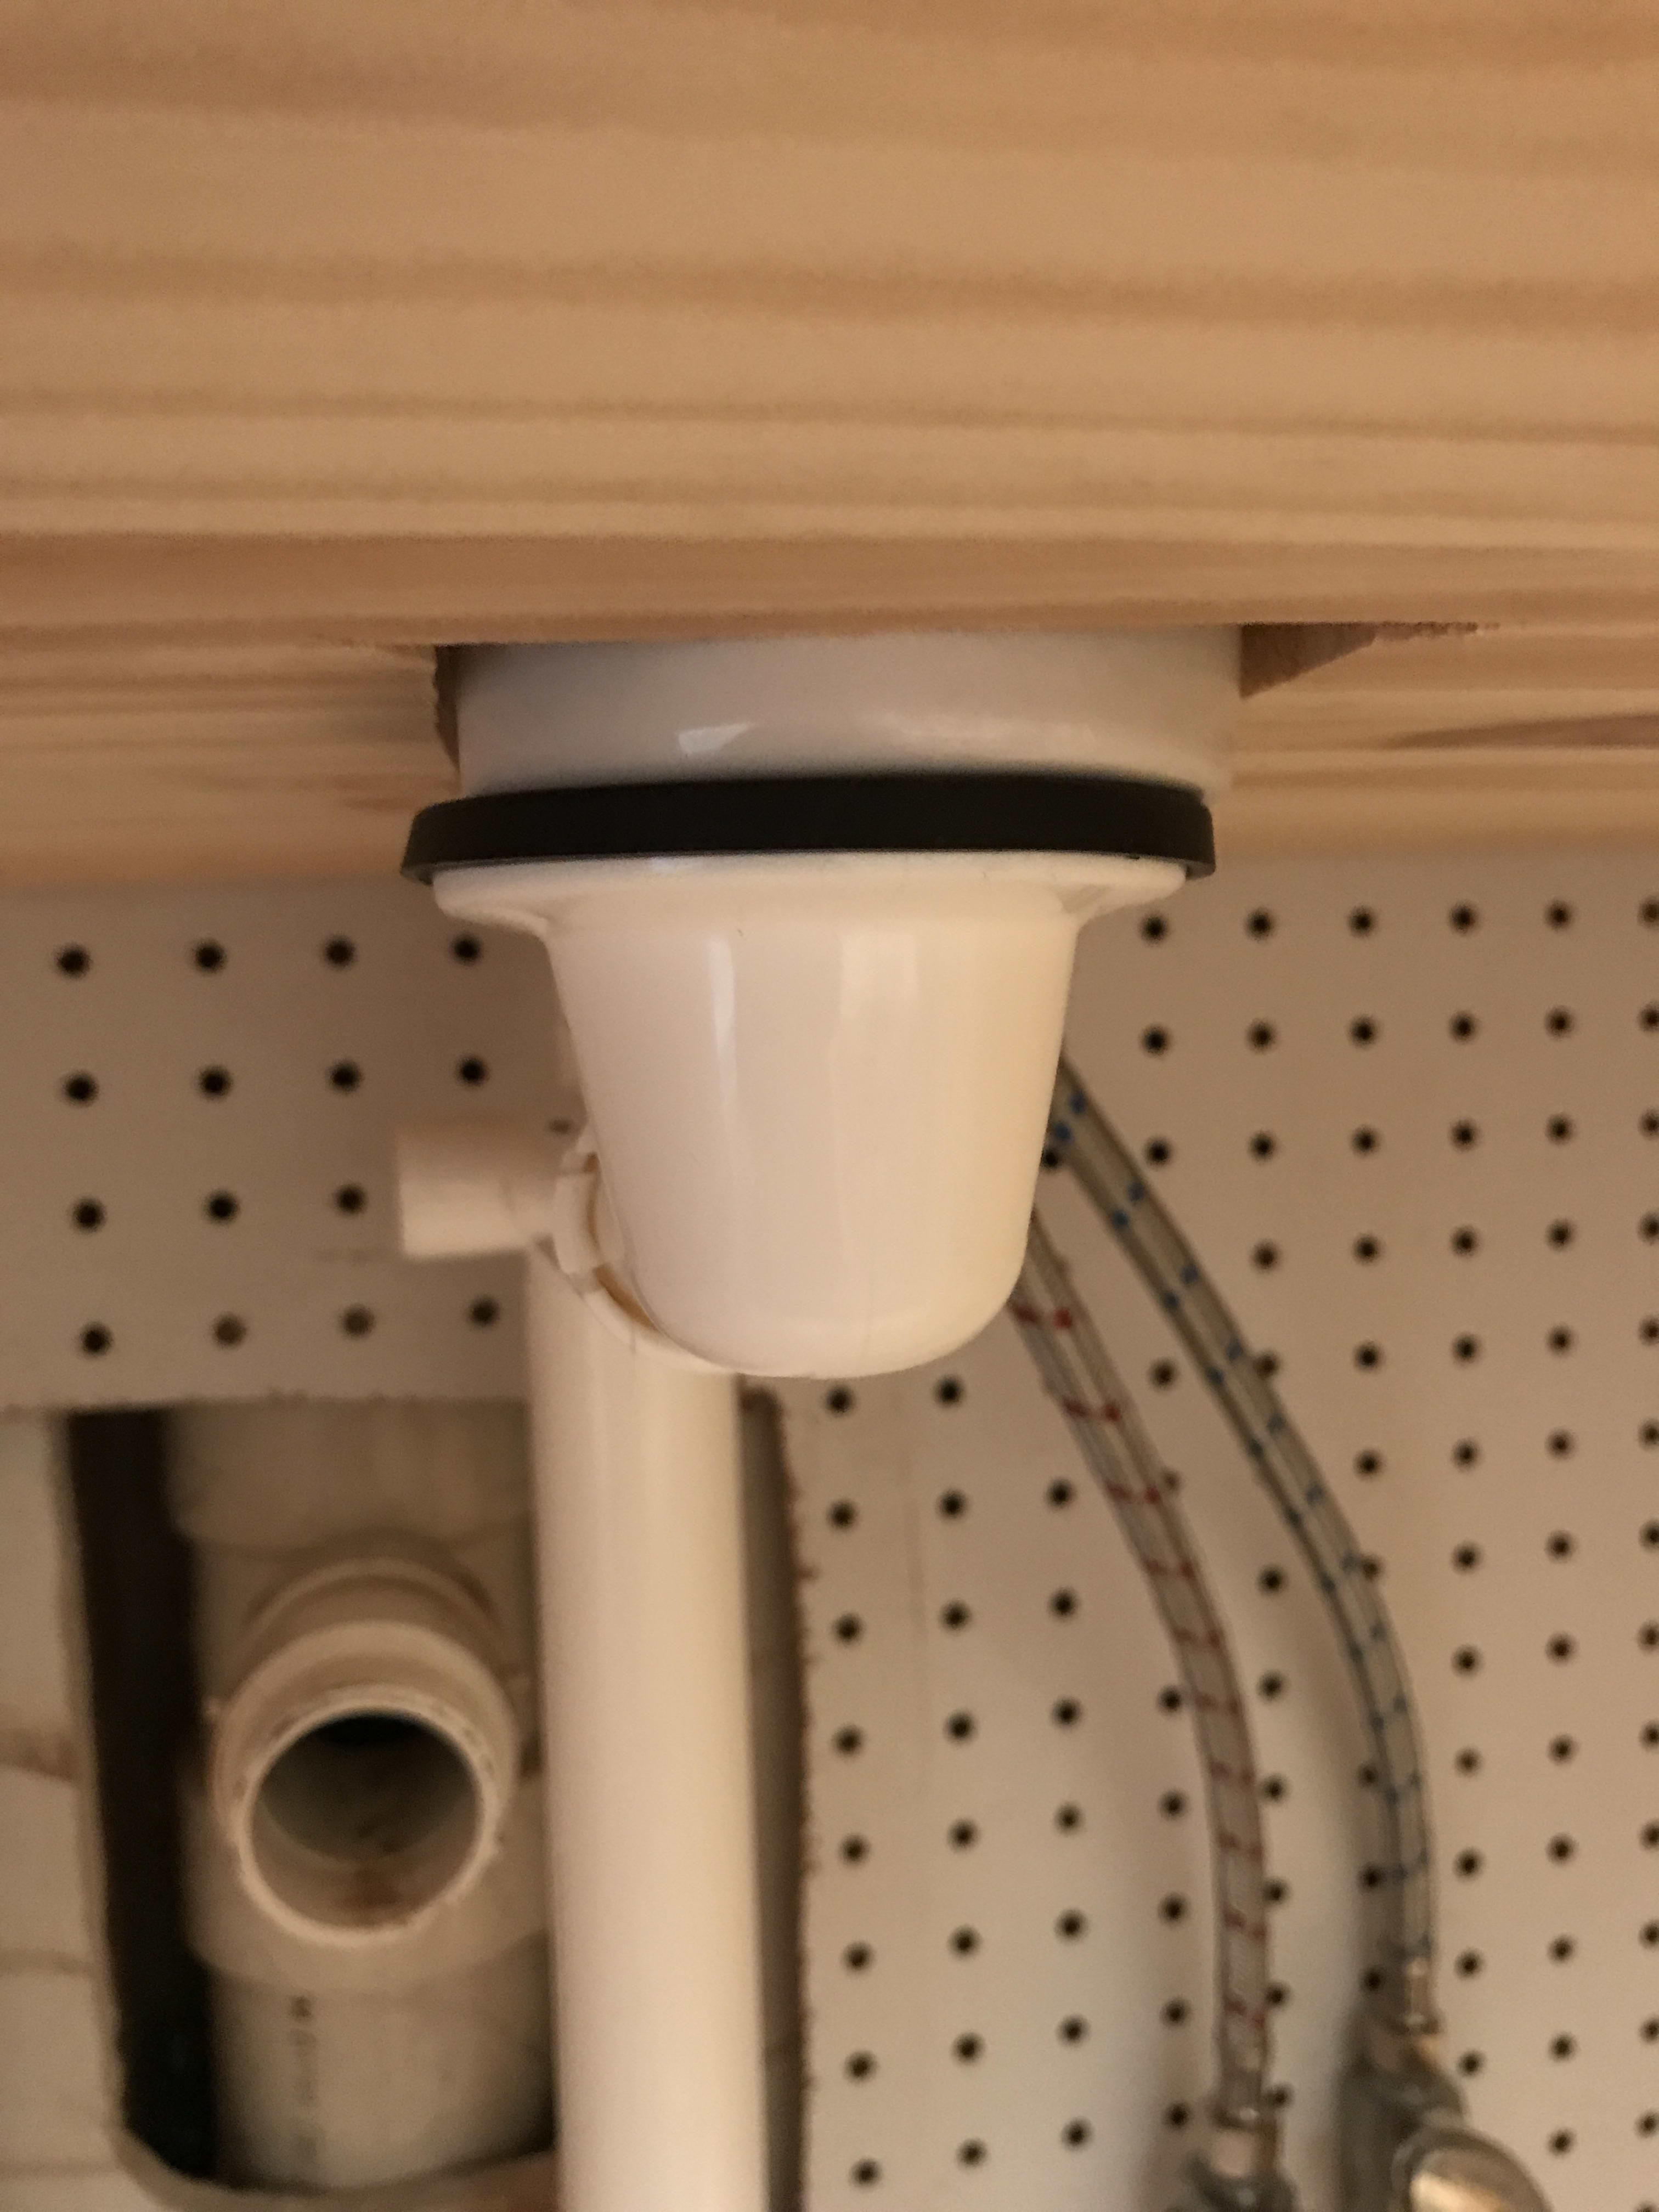
Step 4: Now it's time to assemble your IKEA bathroom sink according to the manufacturer's instructions. This may include attaching the faucet and drain to the sink before installation.
Step 5: With your sink assembled, place it on top of the vanity or countertop and use a level to ensure it's straight. Make any necessary adjustments before moving on to the next step.
Step 6: Once your sink is level, mark the location of the mounting holes on the wall. Use a drill to create pilot holes for the mounting hardware.
Step 7: Secure the sink to the wall using the mounting hardware provided by IKEA. Make sure the sink is securely attached before moving on.
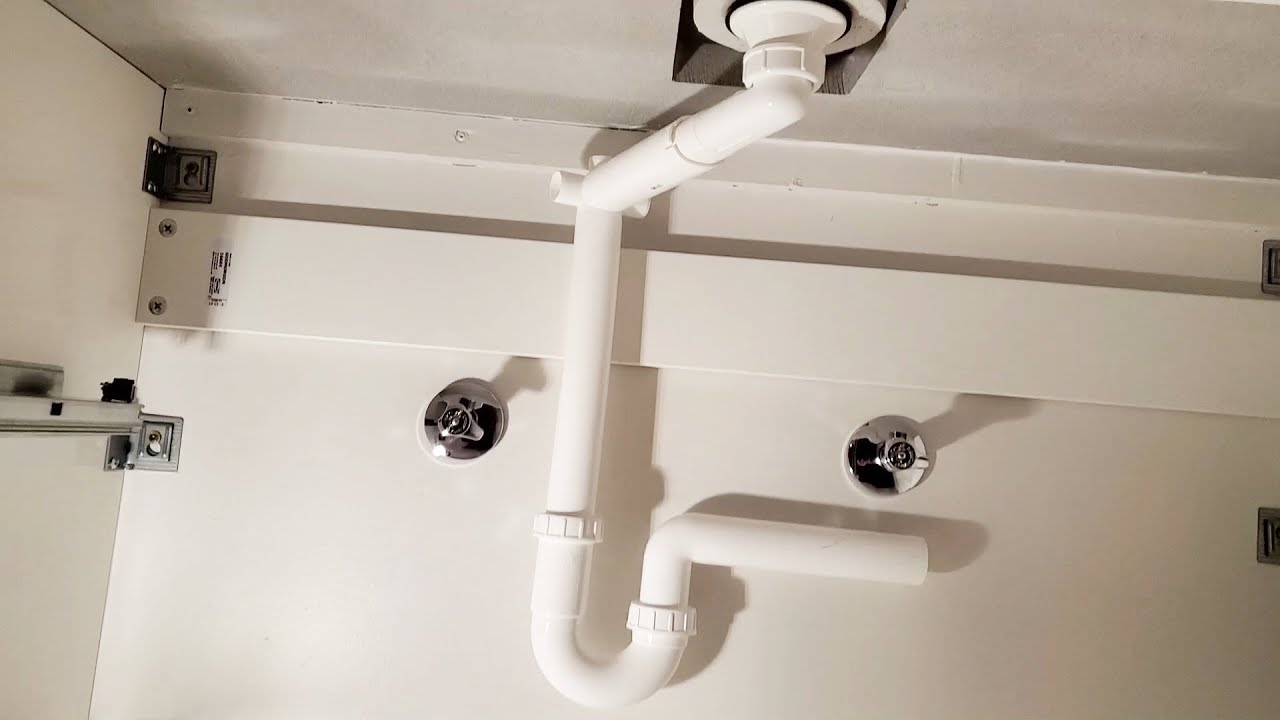
Step 8: Connect the water supply lines to the faucet and the drain to the sink. Use silicone caulk to seal any gaps between the sink and vanity or countertop.
Step 9: Turn the water supply back on and check for any leaks. If everything looks good, you're ready for the final step.
Step 10: Clean up any excess caulk and enjoy your newly installed IKEA bathroom sink!


Step-by-Step Guide for Installing an IKEA Bathroom Sink


DIY IKEA Bathroom Sink Installation
Installing an IKEA bathroom sink is a great DIY project for those with some basic plumbing skills. It's also a great way to save money on installation costs. However, if you're not confident in your abilities, it's always best to hire a professional to ensure the job is done correctly.

DIY IKEA Bathroom Sink Installation


Tips for Installing an IKEA Bathroom Sink
To ensure a successful and stress-free installation, here are a few tips to keep in mind:
Tips for Installing an IKEA Bathroom Sink


Common Mistakes to Avoid When Installing an IKEA Bathroom Sink
Even with the best instructions and tips, mistakes can still happen. Here are some common mistakes to avoid when installing an IKEA bathroom sink:


Common Mistakes to Avoid When Installing an IKEA Bathroom Sink


Tools Needed for Installing an IKEA Bathroom Sink
To successfully install an IKEA bathroom sink, you'll need the following tools:


Tools Needed for Installing an IKEA Bathroom Sink


Preparing Your Bathroom for an IKEA Sink Installation
Before beginning the installation process, there are a few steps you can take to prepare your bathroom for an IKEA sink:


Preparing Your Bathroom for an IKEA Sink Installation


Troubleshooting Common Issues with IKEA Bathroom Sink Installation
Even with careful preparation and following the instructions, you may encounter some issues during the installation process. Here are a few common problems and how to troubleshoot them:


Troubleshooting Common Issues with IKEA Bathroom Sink Installation


Final Steps for a Successful IKEA Bathroom Sink Installation
With your new sink successfully installed, it's time to add some finishing touches to complete the look:

Final Steps for a Successful IKEA Bathroom Sink Installation

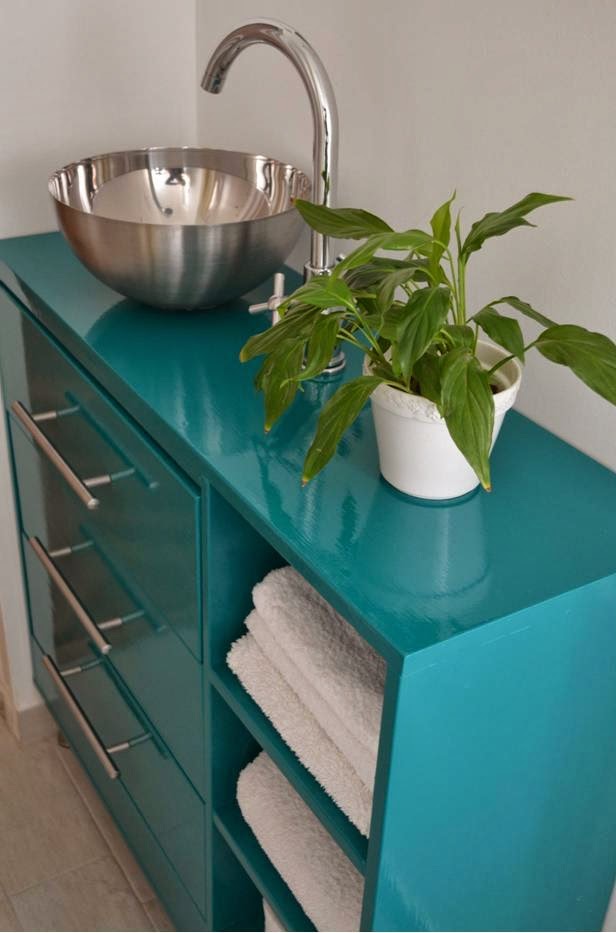
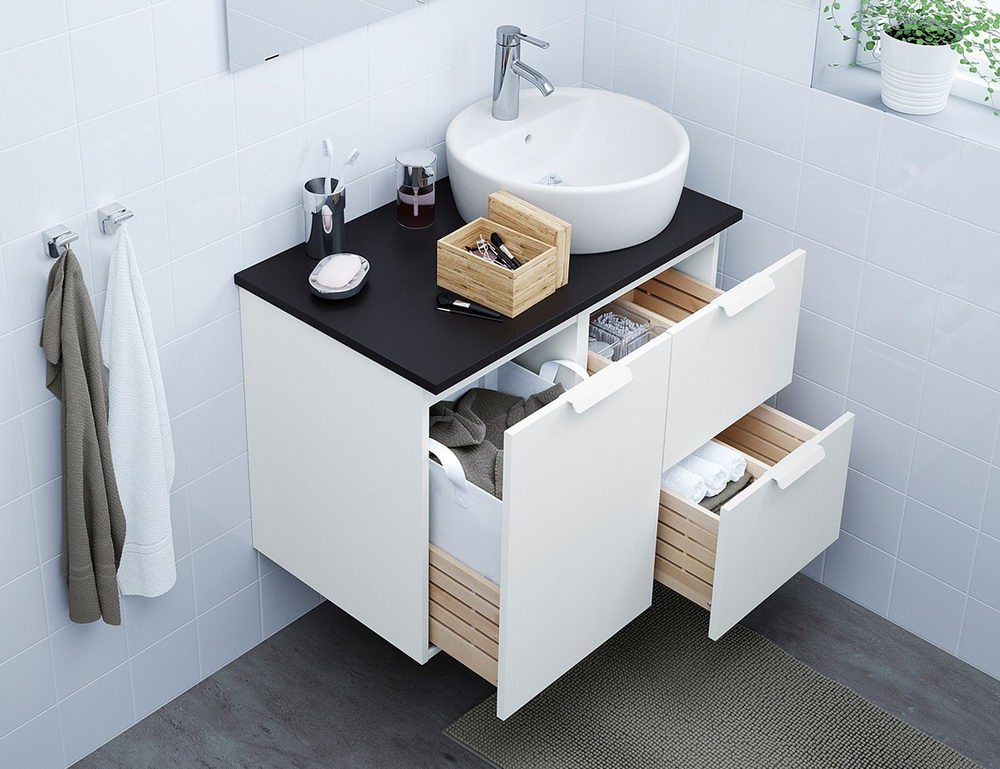
Why Choose IKEA Bathroom Sinks for Your Home Design

Sleek and Modern Designs
 When it comes to designing your bathroom, one of the key elements to consider is the sink. Not only is it a functional necessity, but it also plays a major role in the overall aesthetic of the space. That's where IKEA bathroom sinks come in. With their sleek and modern designs, they can instantly elevate the look of any bathroom. From simple and elegant pedestal sinks to stylish and functional vanity sinks, IKEA offers a wide range of options to suit any design preference.
High-Quality Materials
 IKEA is known for its commitment to quality, and their bathroom sinks are no exception. They use durable materials such as ceramic, porcelain, and stainless steel to ensure that their sinks not only look great but also stand the test of time. These materials are also easy to clean and maintain, making them a practical choice for busy households.
Customizable Options
 Another reason to choose IKEA bathroom sinks for your home design is the ability to customize them to fit your specific needs and style. Many of their sinks come with optional accessories such as storage shelves and towel racks, allowing you to personalize your sink area and make it more functional. They also offer a variety of colors and finishes, giving you the freedom to match your sink to the rest of your bathroom decor.
Easy Installation
 Installing a new sink can seem like a daunting task, but with IKEA's easy-to-follow instructions, it doesn't have to be. Their sinks are designed for simple and efficient installation, making it a DIY project that even beginners can tackle. The instructions are clear and easy to understand, and with the help of a few basic tools, you can have your new IKEA bathroom sink up and running in no time.
Affordable Prices
 One of the biggest advantages of choosing IKEA bathroom sinks for your home design is their affordable prices. With a wide range of options starting at just a fraction of the cost of other brands, you can create a stylish and functional bathroom without breaking the bank. This makes IKEA a budget-friendly choice for those looking to upgrade their bathroom design.
In conclusion, when it comes to designing your bathroom, IKEA bathroom sinks are a top choice for their sleek designs, high-quality materials, customizable options, easy installation, and affordable prices. With their wide range of options, there is sure to be a sink that fits your style and budget. So why wait? Head to your nearest IKEA store or visit their website to start creating your dream bathroom today.
One of the biggest advantages of choosing IKEA bathroom sinks for your home design is their affordable prices. With a wide range of options starting at just a fraction of the cost of other brands, you can create a stylish and functional bathroom without breaking the bank. This makes IKEA a budget-friendly choice for those looking to upgrade their bathroom design.
In conclusion, when it comes to designing your bathroom, IKEA bathroom sinks are a top choice for their sleek designs, high-quality materials, customizable options, easy installation, and affordable prices. With their wide range of options, there is sure to be a sink that fits your style and budget. So why wait? Head to your nearest IKEA store or visit their website to start creating your dream bathroom today.