Glueing down a single kitchen sink without clamps may seem like a daunting task, but with the right techniques and materials, it can be done easily and efficiently. Whether you're installing a new sink or replacing an old one, this step-by-step guide will walk you through the process of securing your sink without the use of clamps. Say goodbye to bulky tools and hello to a sleek and seamless sink installation.How to Glue Down a Single Kitchen Sink Without Clamps

How to Glue Down a Single Kitchen Sink Without Clamps


Before we dive into the steps, let's first discuss the materials you'll need to successfully glue down a single kitchen sink without clamps. You'll need a strong adhesive, such as silicone or epoxy, to secure the sink to the countertop. It's important to choose an adhesive that is specifically designed for kitchen and bathroom use, as these areas are prone to moisture and require a strong bond. You'll also need a caulking gun, a putty knife, and a clean cloth to wipe away any excess adhesive. It's always a good idea to have some painter's tape on hand as well, in case you need to hold the sink in place while the adhesive sets.How to Secure a Kitchen Sink Without Clamps

How to Secure a Kitchen Sink Without Clamps


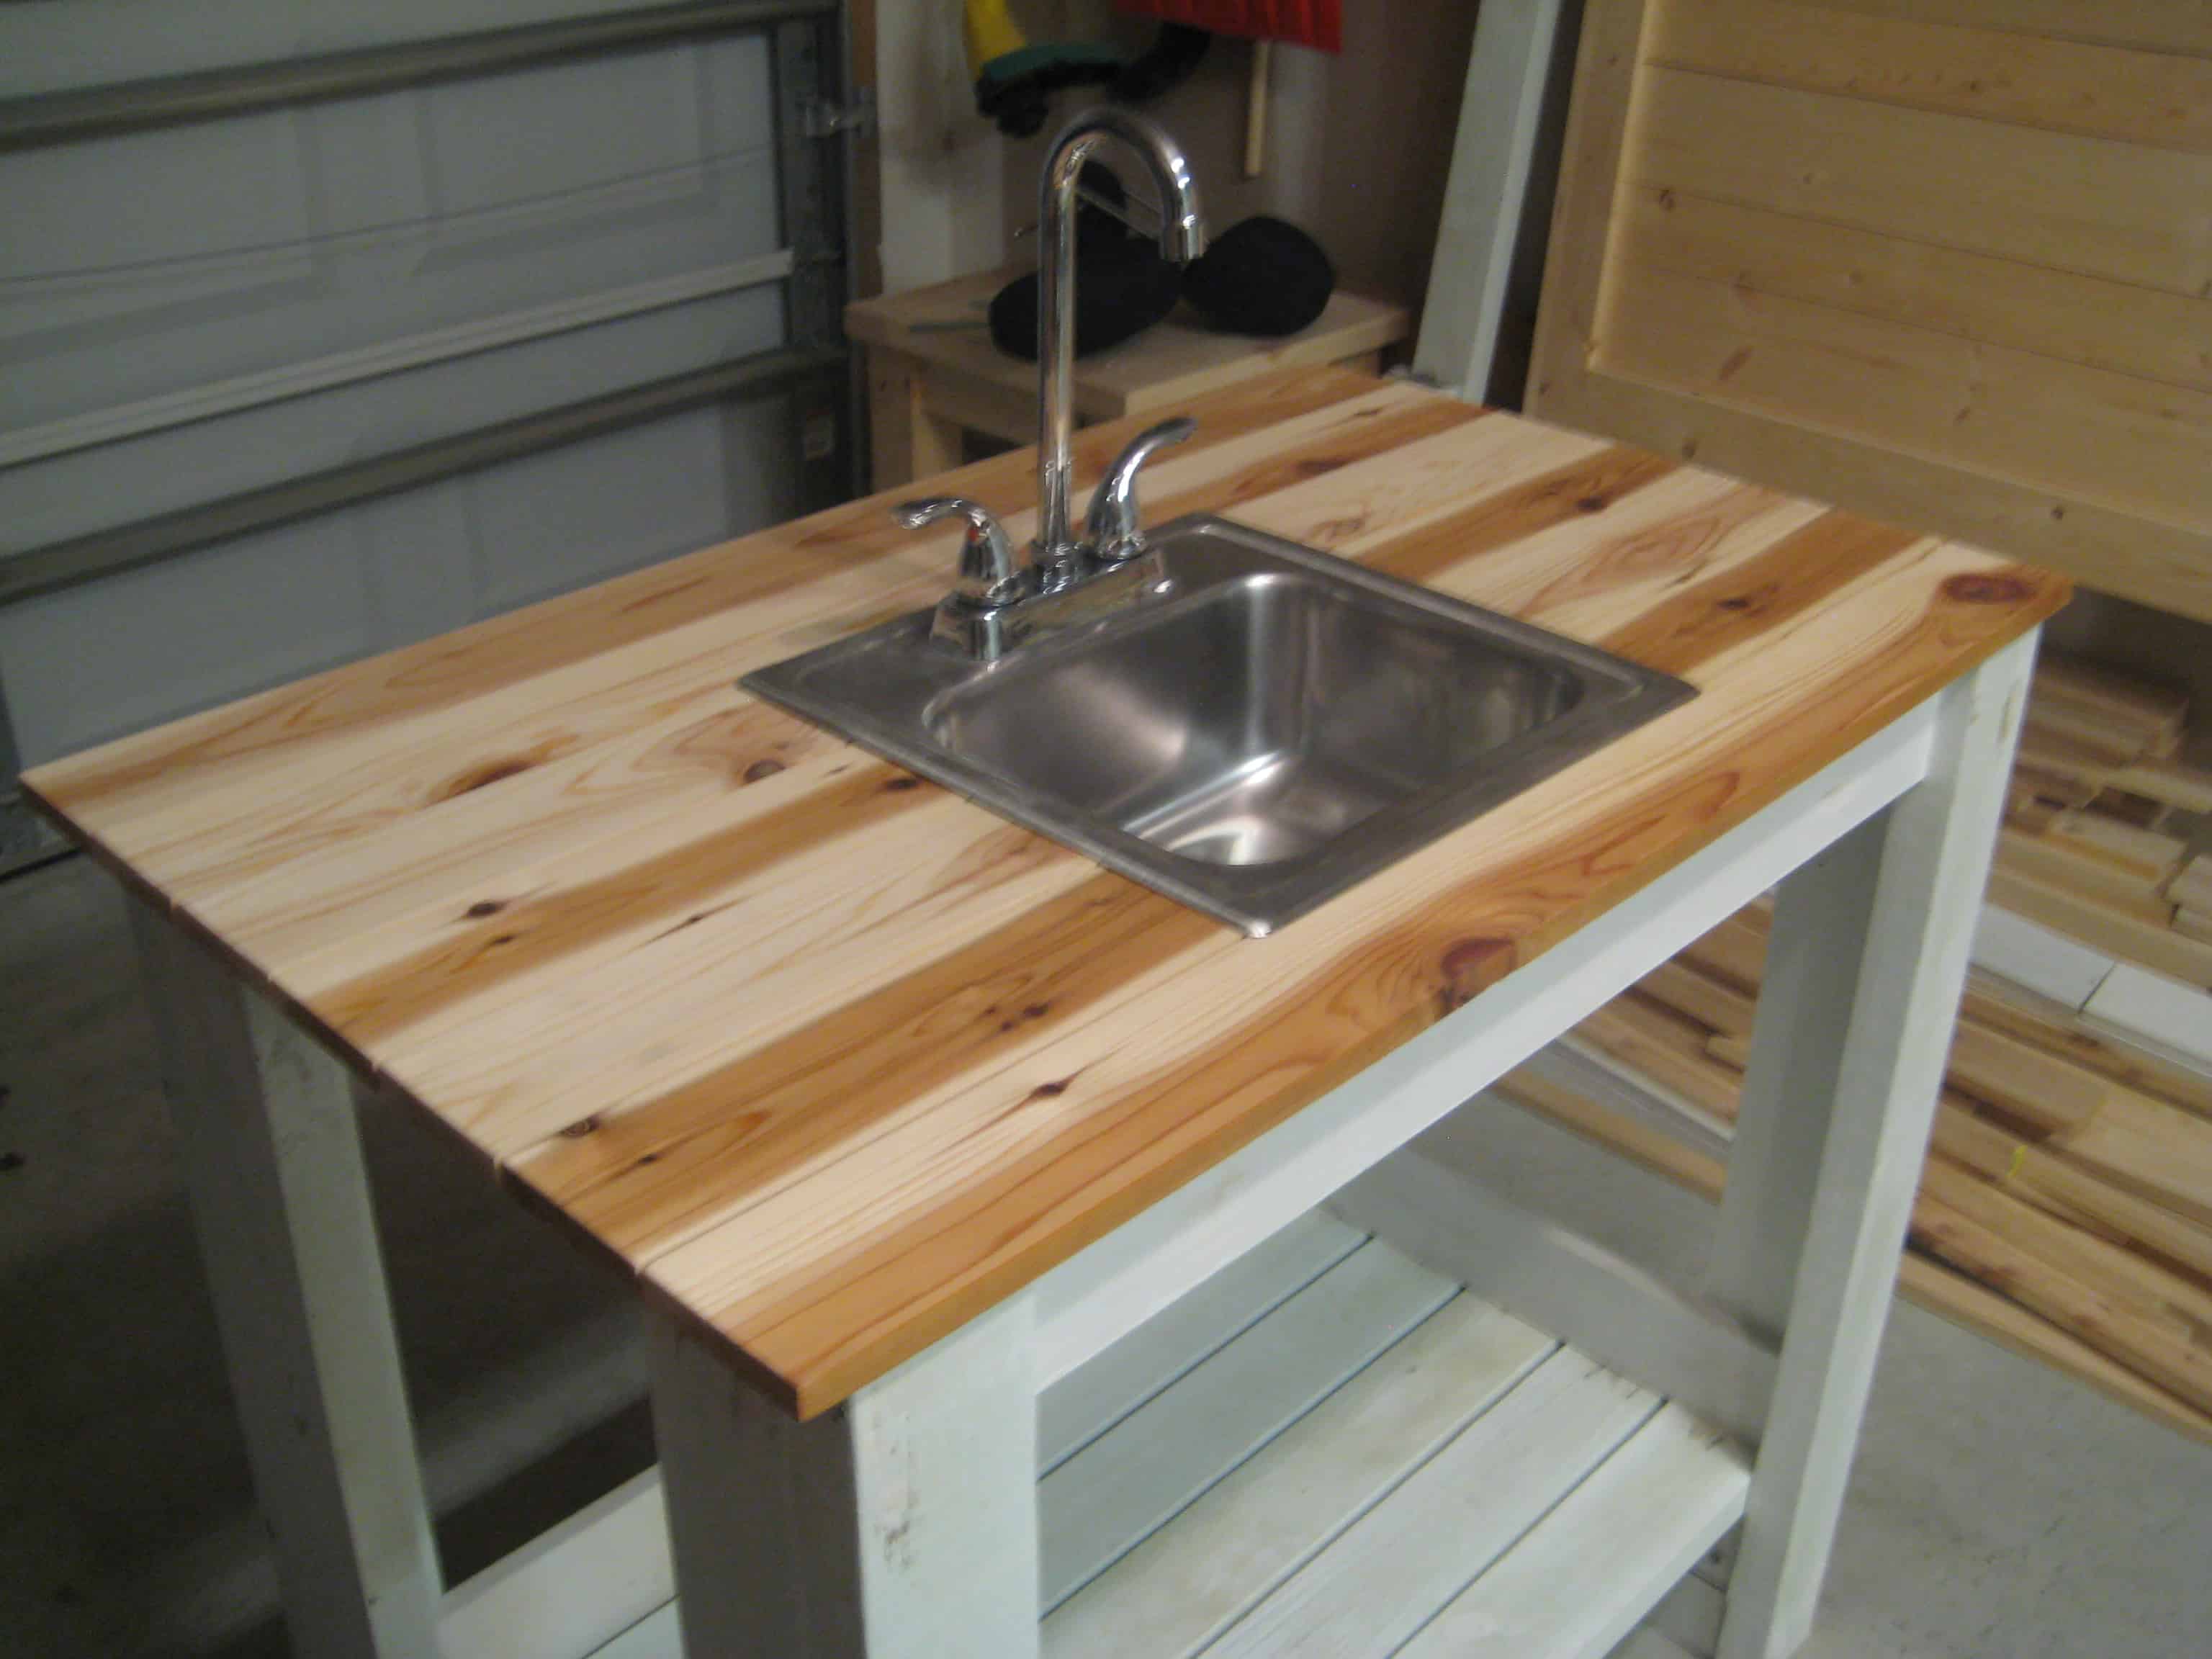
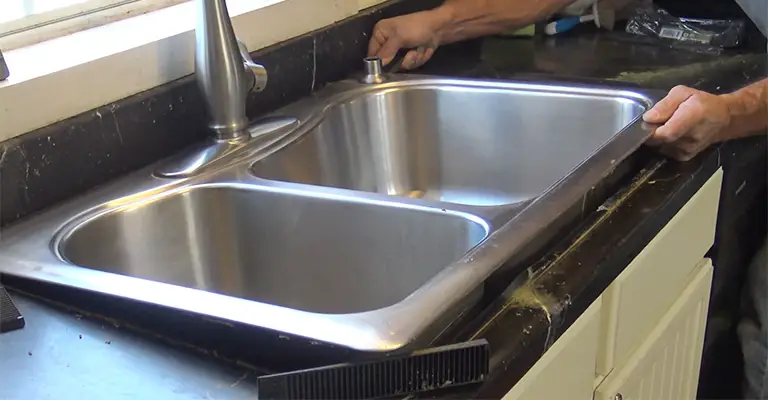
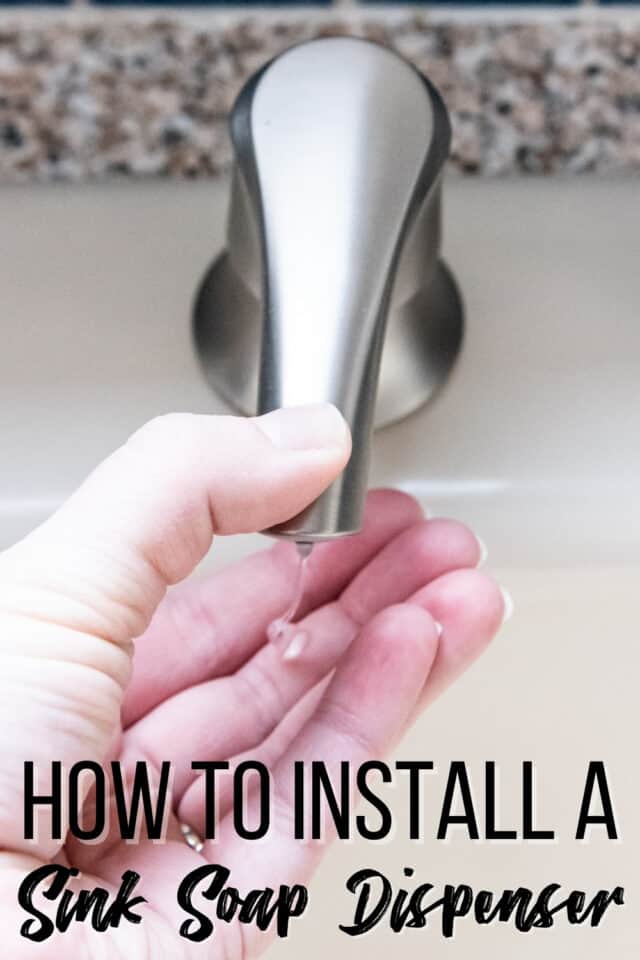
Now that you have your materials ready, it's time to get started on the actual installation process. Here's a step-by-step guide on how to glue down a single kitchen sink without clamps: Step 1: Measure and mark the placement of your sink on the countertop. Make sure to account for the size of the sink and any additional accessories, such as a faucet or soap dispenser. Step 2: Clean the countertop and the bottom of the sink thoroughly. Any dirt, debris, or residue can affect the adhesion of the adhesive. Step 3: Apply a generous amount of adhesive around the edges of the sink. Be sure to follow the manufacturer's instructions for the specific adhesive you're using. Step 4: Carefully place the sink onto the countertop, making sure it is aligned with your markings. Use painter's tape to hold the sink in place if needed. Step 5: Wipe away any excess adhesive with a clean cloth. You can also use a putty knife to smooth out the edges and create a clean, professional look. Step 6: Let the adhesive dry completely before using the sink. This can take anywhere from 24 to 48 hours, so be sure to follow the recommended drying time for the adhesive you're using.DIY Kitchen Sink Installation Without Clamps


DIY Kitchen Sink Installation Without Clamps


As mentioned earlier, there are a few different types of adhesives that can be used for installing a kitchen sink without clamps. Here are some of the most common options: Silicone: Silicone adhesive is a popular choice for securing sinks because it is waterproof and flexible. This allows for a strong bond that can withstand the constant exposure to water and movement that a sink experiences. Epoxy: Epoxy adhesive is another strong option for installing a kitchen sink without clamps. It can bond a variety of materials, including metal, plastic, and ceramic, making it a versatile choice for sink installation. Polyurethane: Polyurethane adhesive is a good option for securing heavy sinks, as it has a strong hold and can also be used to fill in any gaps between the sink and the countertop.Adhesive Options for Installing a Kitchen Sink


Adhesive Options for Installing a Kitchen Sink


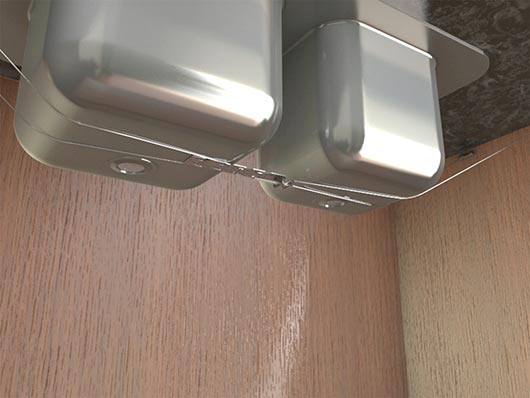
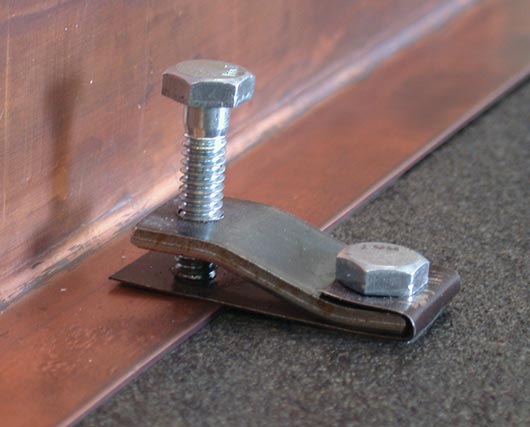
If you don't have access to adhesive or prefer not to use it, there are alternative methods for securing a kitchen sink without clamps. One option is to use mounting clips, which can be attached to the underside of the sink and then screwed into the countertop. Another option is to use a sink bracket kit, which involves installing brackets onto the sink and then securing them to the countertop with screws.Alternative Methods for Securing a Kitchen Sink


Glueing Down a Sink Without Clamps: Step-by-Step Guide


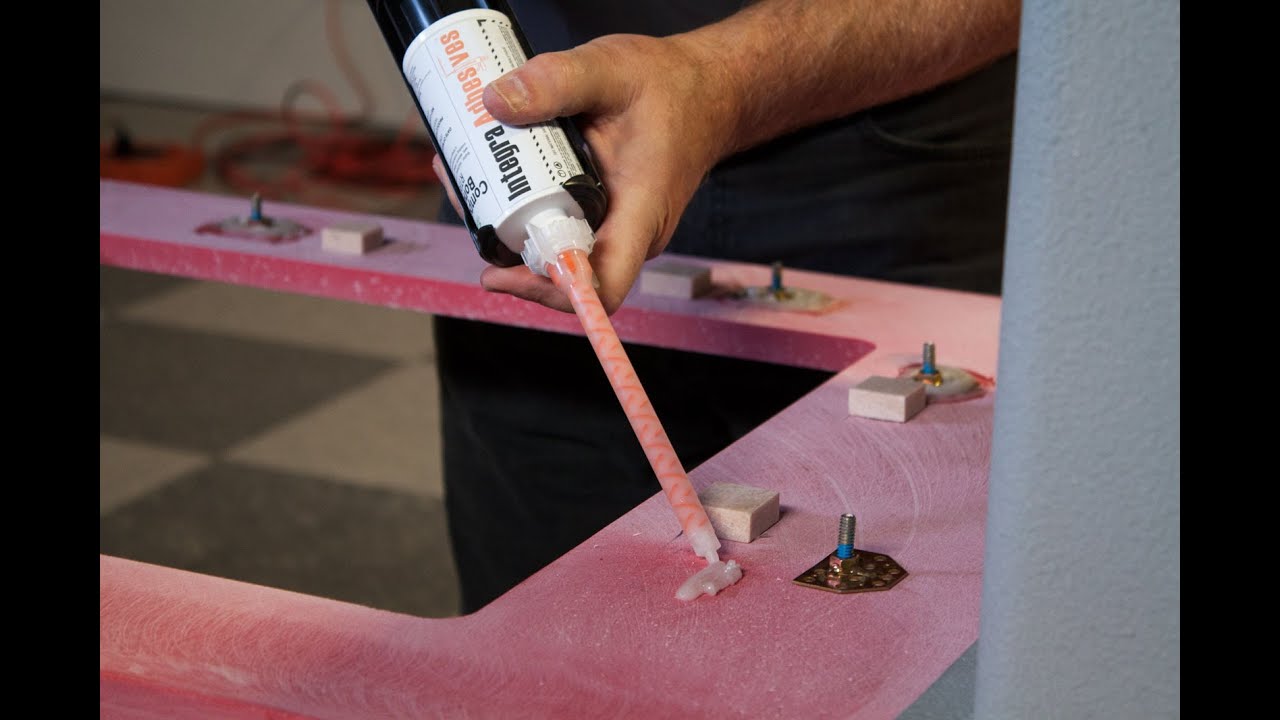
For this tutorial, we'll focus on using epoxy adhesive to install a kitchen sink without clamps. Here are some tips to keep in mind: Tip #1: Make sure to mix the epoxy according to the manufacturer's instructions. This usually involves combining equal parts of resin and hardener and stirring until the mixture is smooth. Tip #2: Use a putty knife or similar tool to apply the epoxy to the edges of the sink. Be sure to work quickly, as epoxy can dry fast. Tip #3: Once the sink is in place, use painter's tape to hold it in place while the epoxy dries. This will ensure a secure bond and prevent the sink from shifting or moving.Using Epoxy to Install a Kitchen Sink Without Clamps


Alternative Methods for Securing a Kitchen Sink


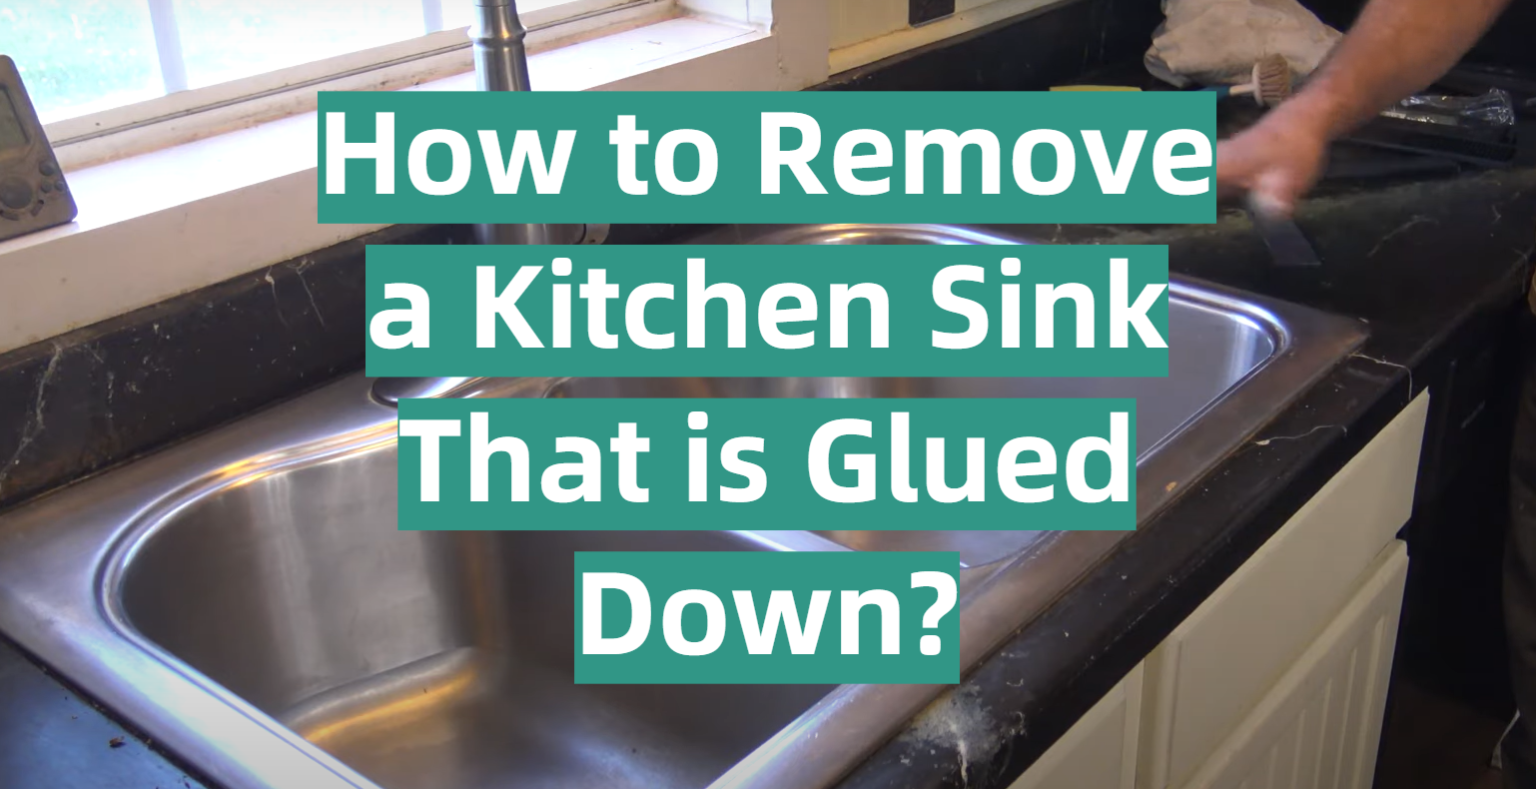
To ensure a smooth and successful installation, here are some additional tips to keep in mind: Tip #1: Make sure the sink is level before applying the adhesive. If it's not, use shims or other leveling tools to adjust it. Tip #2: Use a bead of silicone or caulk around the edges of the sink after the adhesive has dried to create a watertight seal. Tip #3: If you're replacing an old sink, be sure to remove any old adhesive and thoroughly clean the area before installing the new sink.Tips for Successfully Glueing Down a Kitchen Sink


Using Epoxy to Install a Kitchen Sink Without Clamps


If you prefer a visual guide, there are many helpful video tutorials available online that can walk you through the steps of installing a kitchen sink without clamps. Be sure to find a tutorial that uses the same type of adhesive you're planning to use for your installation.How to Install a Kitchen Sink Without Clamps: Video Tutorial


Tips for Successfully Glueing Down a Kitchen Sink


Glueing down a kitchen sink without clamps may seem like a simple task, but there are some common mistakes that can lead to a less-than-perfect installation. Here are a few to avoid: Mistake #1: Not using enough adhesive. It's better to have some excess adhesive that can be wiped away than not enough, which can lead to a weak bond. Mistake #2: Not allowing enough drying time. Rushing the process can result in a sink that isn't securely attached to the countertop. Mistake #3: Using the wrong type of adhesive. Be sure to choose an adhesive that is specifically designed for kitchen and bathroom use to ensure a strong bond. Now that you have all the information you need, you're ready to successfully glue down a single kitchen sink without clamps. With the right materials and techniques, you can achieve a professional and seamless installation that will last for years to come.Common Mistakes to Avoid When Glueing Down a Kitchen Sink
How to Install a Kitchen Sink Without Clamps: Video Tutorial
:max_bytes(150000):strip_icc()/replacing-existing-surface-mounted-sink-1824896-06-d8eb6b67fe4f451b90c415551f75ad0f.jpg)


:no_upscale()/cdn.vox-cdn.com/uploads/chorus_asset/file/19495086/drain_0.jpg)
How to Glue Down a Single Kitchen Sink Without Clamps: A Guide to Efficient Kitchen Design

Introduction
 When it comes to designing a kitchen, every detail matters. From the color scheme to the layout, homeowners want to create a space that is not only functional but also visually appealing. One crucial element in a kitchen is the sink, and its installation can make all the difference. While most sinks are typically secured with clamps, some situations may call for alternative methods. In this article, we will discuss how to
glue down a single kitchen sink without clamps
, providing you with a step-by-step guide to achieve a seamless and efficient kitchen design.
When it comes to designing a kitchen, every detail matters. From the color scheme to the layout, homeowners want to create a space that is not only functional but also visually appealing. One crucial element in a kitchen is the sink, and its installation can make all the difference. While most sinks are typically secured with clamps, some situations may call for alternative methods. In this article, we will discuss how to
glue down a single kitchen sink without clamps
, providing you with a step-by-step guide to achieve a seamless and efficient kitchen design.
Why Glueing Down a Single Kitchen Sink?
 The use of clamps to secure a kitchen sink is a common practice, but it may not always be suitable for every situation. For instance, some sinks may not come with pre-drilled holes for clamps, or the countertop material may not be compatible with clamps. In such cases,
glueing down a single kitchen sink
can be a viable option. This method also eliminates the need for drilling into the countertop, making it a more convenient and less intrusive approach.
The use of clamps to secure a kitchen sink is a common practice, but it may not always be suitable for every situation. For instance, some sinks may not come with pre-drilled holes for clamps, or the countertop material may not be compatible with clamps. In such cases,
glueing down a single kitchen sink
can be a viable option. This method also eliminates the need for drilling into the countertop, making it a more convenient and less intrusive approach.
Materials Needed
 Before attempting to
glue down a single kitchen sink without clamps
, there are a few materials you will need to gather. These include:
Before attempting to
glue down a single kitchen sink without clamps
, there are a few materials you will need to gather. These include:
- High-quality adhesive or sealant (such as epoxy or silicone)
- Painter's tape or masking tape
- Caulking gun
- Clean cloth or sponge
- Utility knife
Step-by-Step Guide
 Now that you have all the necessary materials, let's dive into the process of
glueing down a single kitchen sink without clamps
:
Now that you have all the necessary materials, let's dive into the process of
glueing down a single kitchen sink without clamps
:
- First, thoroughly clean the underside of the sink and the surrounding countertop area. This will ensure that the adhesive will bond properly and create a strong seal.
- Next, apply strips of painter's tape or masking tape along the edges of the sink, leaving a small gap between the tape and the sink. This will prevent any excess adhesive from oozing out and creating a messy finish.
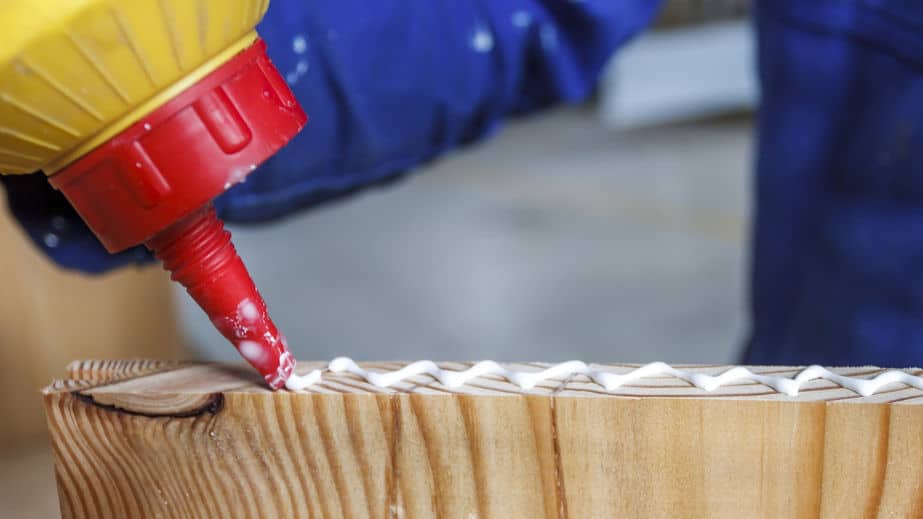
- Using a caulking gun, carefully apply the adhesive or sealant along the edges of the sink, making sure to cover the entire perimeter. It is important to use a high-quality adhesive to ensure a strong bond.
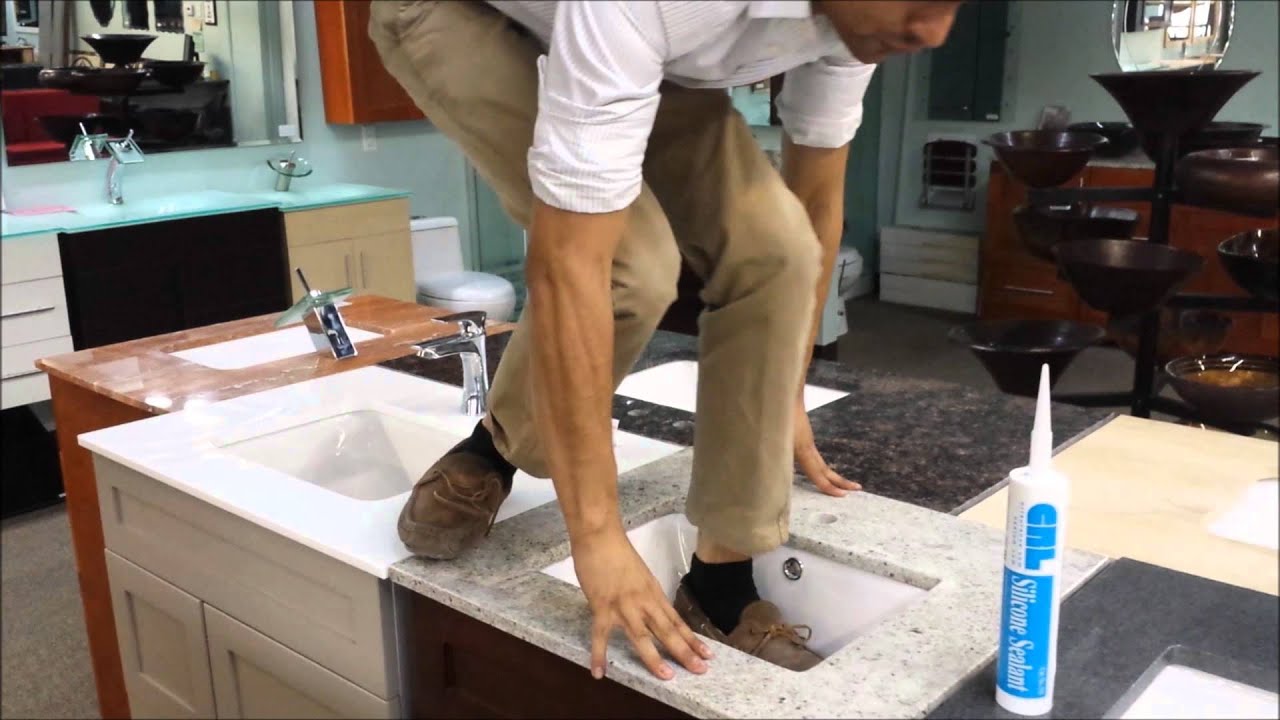
- Once the adhesive is applied, gently lower the sink into place, pressing down firmly to secure it. Use a clean cloth or sponge to wipe away any excess adhesive that may have oozed out from under the sink.
- Allow the adhesive to dry completely according to the manufacturer's instructions. This may take anywhere from 24 hours to a few days, depending on the type of adhesive used.
- Once the adhesive is completely dry, carefully remove the painter's tape or masking tape. Use a utility knife to scrape away any excess adhesive that may have dried on the edges of the sink.
- Your glued-down single kitchen sink is now ready to use and will provide a seamless and secure finish to your kitchen design.
In Conclusion
 Glueing down a single kitchen sink without clamps may seem like a daunting task, but with the right materials and techniques, it can be a straightforward and efficient process. By following the steps outlined in this article, you can achieve a
professional and well-organized
kitchen design that meets your functional and aesthetic needs. So the next time you encounter a sink installation situation that calls for an alternative method, remember this guide and confidently
glue down your kitchen sink without clamps
.
Glueing down a single kitchen sink without clamps may seem like a daunting task, but with the right materials and techniques, it can be a straightforward and efficient process. By following the steps outlined in this article, you can achieve a
professional and well-organized
kitchen design that meets your functional and aesthetic needs. So the next time you encounter a sink installation situation that calls for an alternative method, remember this guide and confidently
glue down your kitchen sink without clamps
.