Installing a kitchen sink plug may seem like a daunting task, but with the right tools and knowledge, it can be a simple DIY project. Whether you're replacing an old plug or installing a new one, this step-by-step guide will walk you through the process and give you the confidence to tackle this project on your own.How to Fit a Kitchen Sink Plug


How to Fit a Kitchen Sink Plug


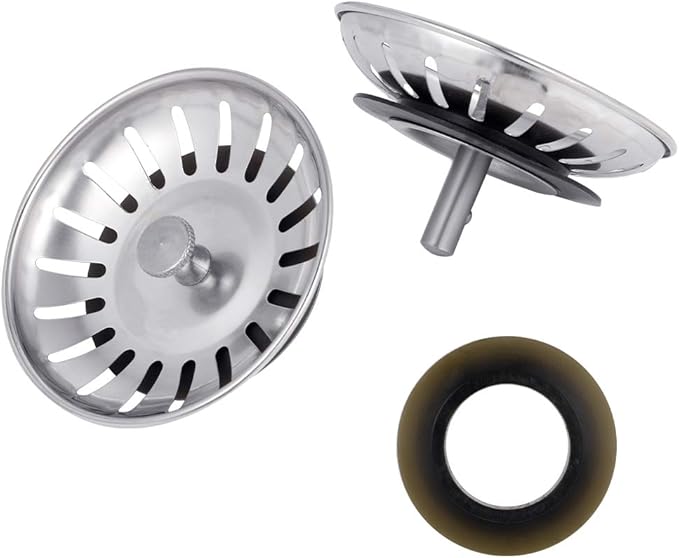
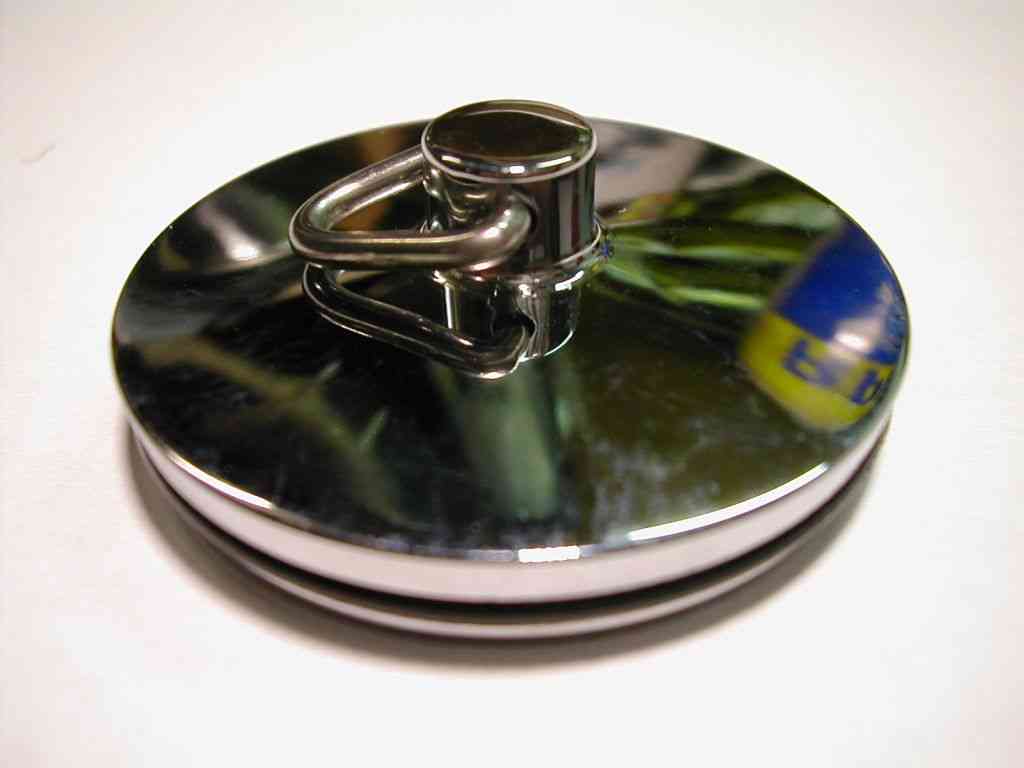
The first step in fitting a kitchen sink plug is to gather all the necessary tools. You will need a pair of pliers, a screwdriver, a putty knife, plumber's putty, and the new sink plug assembly. Once you have all the tools, you can begin the installation process.How to Install a Kitchen Sink Plug


How to Install a Kitchen Sink Plug


If you're feeling handy and want to save some money, fitting a kitchen sink plug can be a DIY project. It's important to follow the steps carefully and take your time to ensure a proper installation. With a little patience and attention to detail, you can successfully fit a sink plug on your own.DIY Kitchen Sink Plug Fitting


DIY Kitchen Sink Plug Fitting


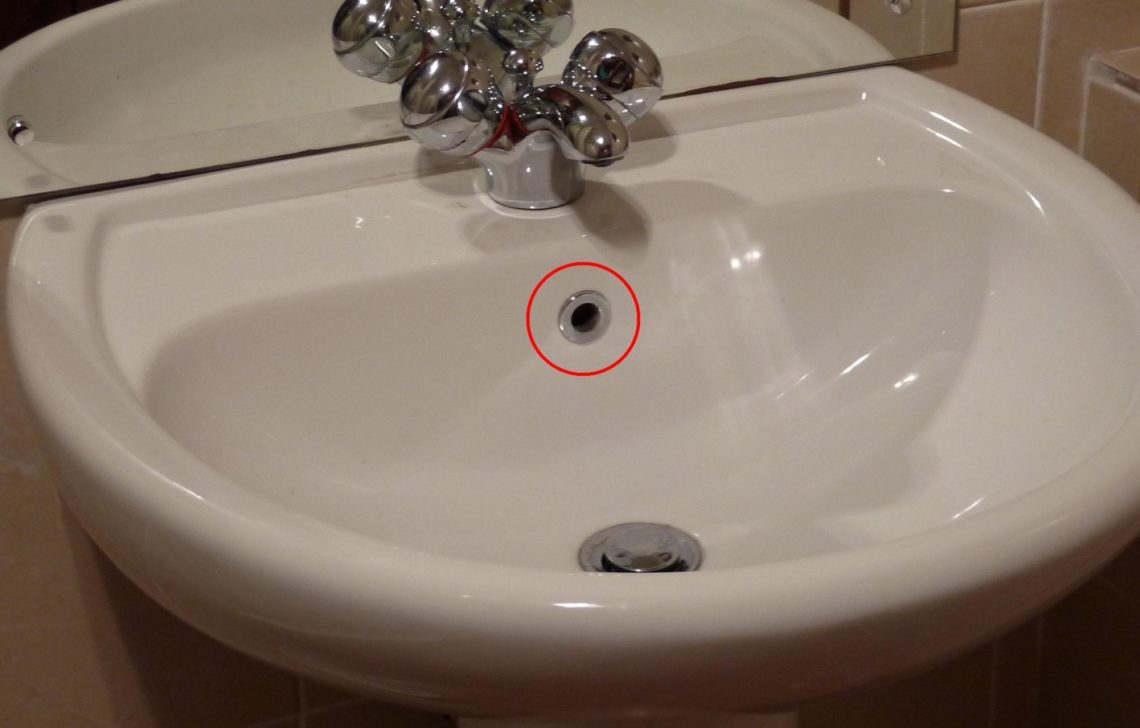
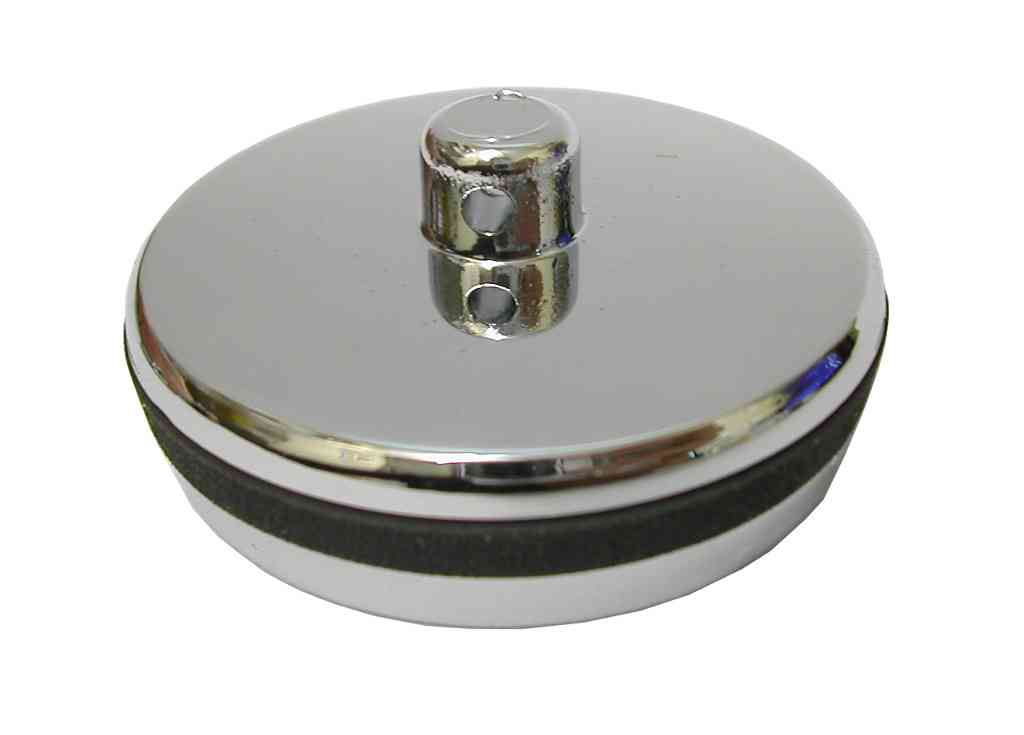
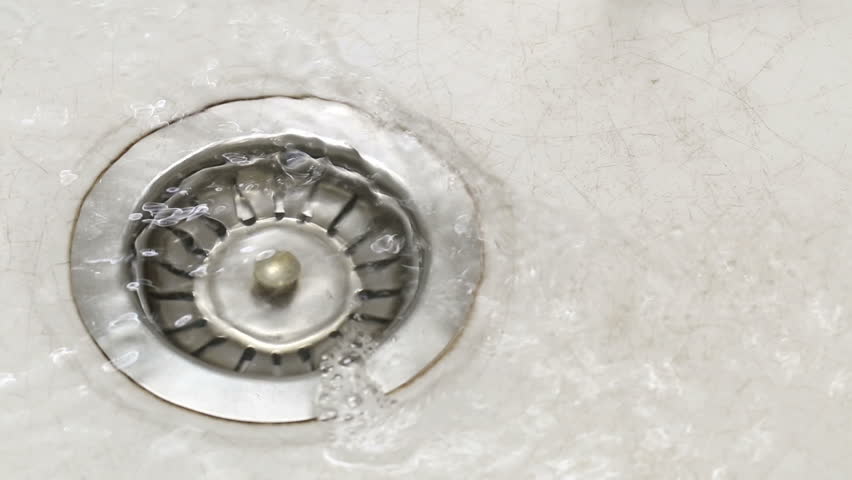
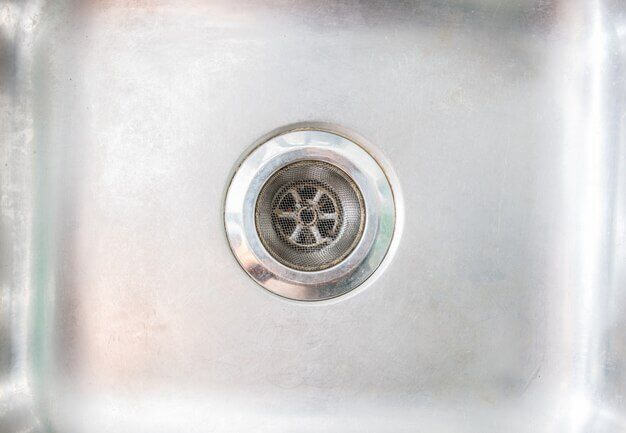
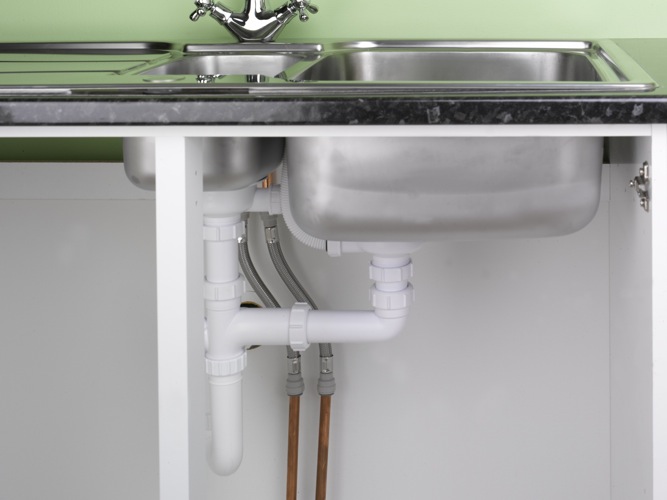
Step 1: Begin by removing the old plug assembly. Use a pair of pliers to loosen the locknut underneath the sink. Once the locknut is removed, the old assembly should come out easily. Step 2: Clean the area where the old plug was installed. Use a putty knife to remove any old plumber's putty or debris from the sink and drain hole. Step 3: Roll a small amount of plumber's putty between your hands to form a thin rope. Place the putty around the bottom of the new plug assembly, making sure it covers the entire circumference. Step 4: Insert the new plug assembly into the drain hole, making sure it is centered and straight. Use a screwdriver to tighten the locknut underneath the sink, securing the assembly in place. Step 5: Test the plug by filling the sink with water. If there are any leaks, tighten the locknut further or add more plumber's putty as needed.Step-by-Step Guide for Fitting a Kitchen Sink Plug


Step-by-Step Guide for Fitting a Kitchen Sink Plug

:no_upscale()/cdn.vox-cdn.com/uploads/chorus_asset/file/19495086/drain_0.jpg)

As mentioned earlier, you will need a pair of pliers, a screwdriver, a putty knife, plumber's putty, and the new sink plug assembly. It's also helpful to have a towel or rag handy to clean up any excess putty or water.Tools Needed for Fitting a Kitchen Sink Plug


Tools Needed for Fitting a Kitchen Sink Plug
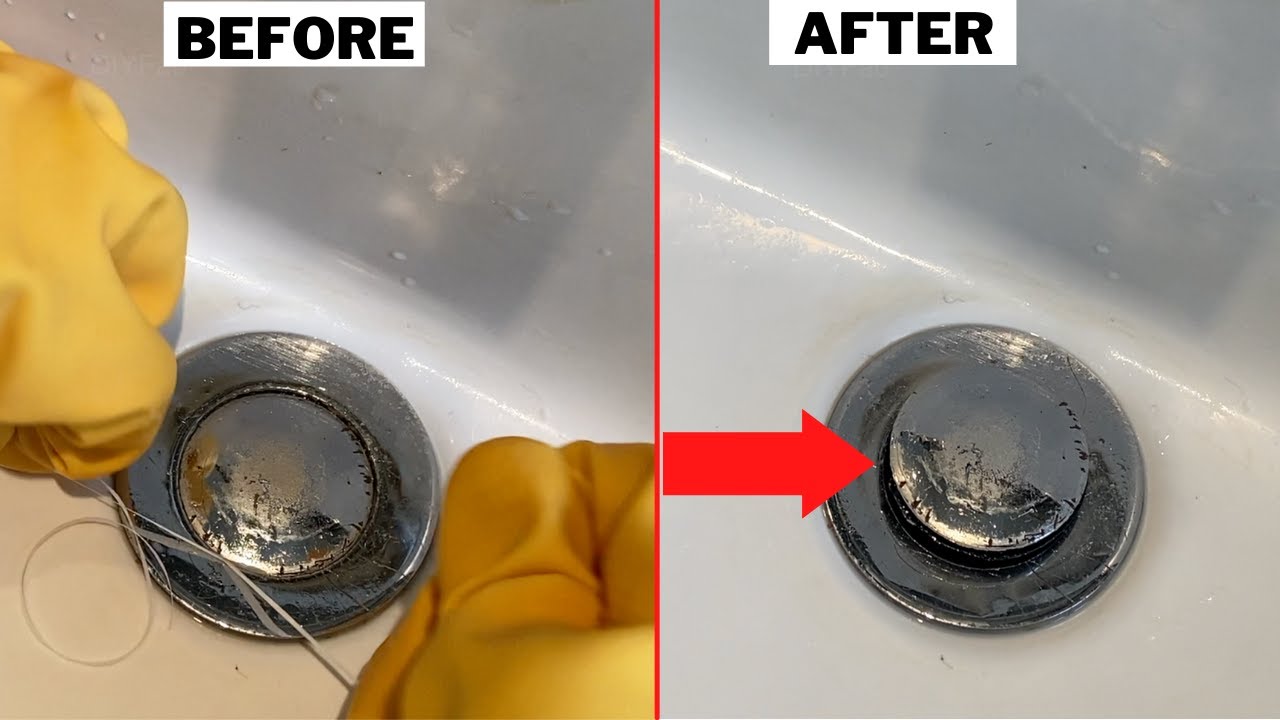
When rolling the plumber's putty, make sure to wear gloves to prevent any staining on your hands. Also, be sure to clean the sink and drain hole thoroughly before applying the putty. This will ensure a tight seal and prevent any leaks.Tips for Fitting a Kitchen Sink Plug


Tips for Fitting a Kitchen Sink Plug
The most common mistake when fitting a kitchen sink plug is not using enough plumber's putty. It's important to create a complete seal around the plug assembly to prevent any leaks. Another mistake is not tightening the locknut enough, which can also lead to leaks.Common Mistakes When Fitting a Kitchen Sink Plug


Common Mistakes When Fitting a Kitchen Sink Plug

If you're a visual learner, there are plenty of helpful video tutorials available online that can guide you through the process of fitting a kitchen sink plug. These tutorials can provide additional tips and tricks to make the installation process even easier.Video Tutorial for Fitting a Kitchen Sink Plug


Video Tutorial for Fitting a Kitchen Sink Plug


If you're not confident in your DIY skills or simply don't have the time to tackle this project yourself, you can always hire a professional plumber to fit the kitchen sink plug for you. They have the expertise and tools to get the job done quickly and efficiently.Professional Services for Fitting a Kitchen Sink Plug


Professional Services for Fitting a Kitchen Sink Plug

The cost of fitting a kitchen sink plug can vary depending on the plumber and your location. On average, you can expect to pay between $100-$200 for professional installation. If you choose to DIY, the cost will be significantly lower, only requiring the purchase of the new plug assembly and plumber's putty. Fitting a kitchen sink plug may seem like a daunting task, but with the right tools and knowledge, it can be a simple and cost-effective project. By following this step-by-step guide and utilizing helpful tips and tricks, you can successfully install a new plug and have your kitchen sink functioning properly in no time.Costs of Fitting a Kitchen Sink Plug


Costs of Fitting a Kitchen Sink Plug


Fitting a Kitchen Sink Plug: A Must-Have Step in Your House Design

Why Having a Properly Installed Kitchen Sink Plug is Important
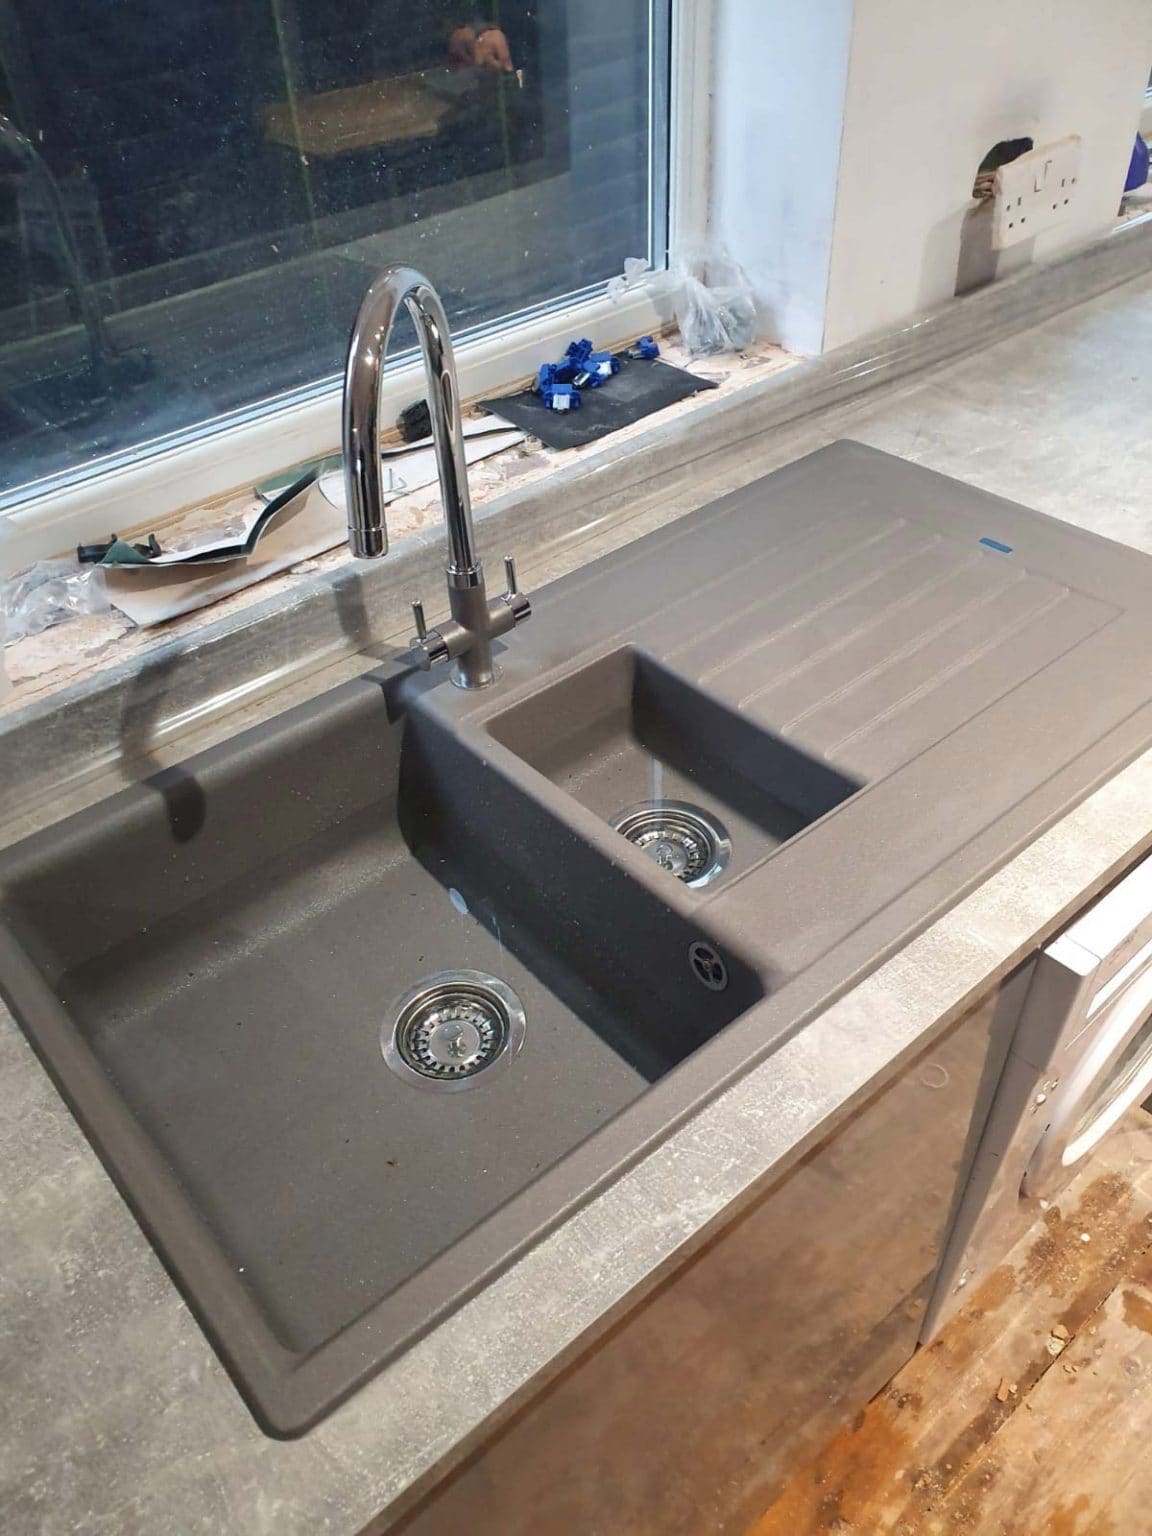
 When it comes to designing a house, every little detail matters. And one of the most important details in a kitchen is the sink plug. This seemingly small piece of equipment is actually essential for the proper functioning of your kitchen sink. Not only does it prevent water from leaking out of the sink, but it also helps in keeping your sink clean and hygienic. Therefore, it is crucial to ensure that your kitchen sink plug is properly fitted. In this article, we will discuss the importance of fitting a kitchen sink plug and the steps to do so.
Step-by-Step Guide to Fitting a Kitchen Sink Plug
 Fitting a kitchen sink plug may seem like a daunting task, but with the right tools and techniques, it can be done easily. Here are the steps you need to follow to ensure your kitchen sink plug is properly fitted:
Step 1: Gather the Necessary Tools
Before you begin the installation process, make sure you have all the necessary tools at hand. These include a wrench, pliers, plumber's putty, and a new kitchen sink plug.
Step 2: Remove the Old Plug
Using the pliers, carefully remove the old plug from the sink. Make sure to turn off the water supply before attempting to remove the plug.
Step 3: Clean the Sink and Drain
Once the old plug is removed, clean the sink and the drain thoroughly. This will ensure that there is no buildup of grime or debris that could hinder the installation process.
Step 4: Apply Plumber's Putty
Take a small amount of plumber's putty and roll it into a thin rope. Apply it around the edges of the drain hole. This will help create a watertight seal when the new plug is installed.
Step 5: Install the New Plug
Place the new plug into the drain hole and tighten it using the wrench. Make sure it is securely fitted and does not move around.
Step 6: Test the Plug
Turn on the water supply and test the plug by filling the sink with water. If there are no leaks, then the plug is properly fitted.
Fitting a kitchen sink plug may seem like a daunting task, but with the right tools and techniques, it can be done easily. Here are the steps you need to follow to ensure your kitchen sink plug is properly fitted:
Step 1: Gather the Necessary Tools
Before you begin the installation process, make sure you have all the necessary tools at hand. These include a wrench, pliers, plumber's putty, and a new kitchen sink plug.
Step 2: Remove the Old Plug
Using the pliers, carefully remove the old plug from the sink. Make sure to turn off the water supply before attempting to remove the plug.
Step 3: Clean the Sink and Drain
Once the old plug is removed, clean the sink and the drain thoroughly. This will ensure that there is no buildup of grime or debris that could hinder the installation process.
Step 4: Apply Plumber's Putty
Take a small amount of plumber's putty and roll it into a thin rope. Apply it around the edges of the drain hole. This will help create a watertight seal when the new plug is installed.
Step 5: Install the New Plug
Place the new plug into the drain hole and tighten it using the wrench. Make sure it is securely fitted and does not move around.
Step 6: Test the Plug
Turn on the water supply and test the plug by filling the sink with water. If there are no leaks, then the plug is properly fitted.
Conclusion
 Fitting a kitchen sink plug may seem like a small task, but it plays a crucial role in the overall design and functionality of your kitchen. By following the steps mentioned above, you can ensure that your kitchen sink plug is properly fitted and working efficiently. So, the next time you are designing or renovating your kitchen, do not forget to pay attention to this essential detail.