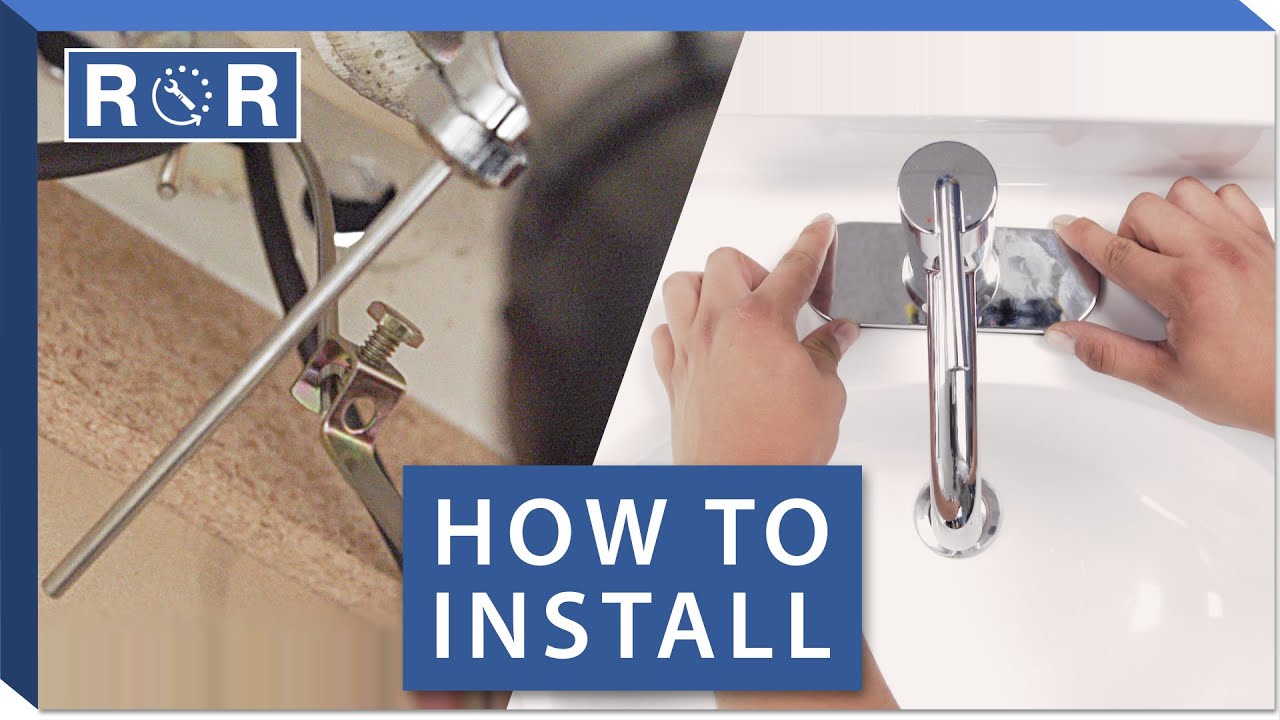
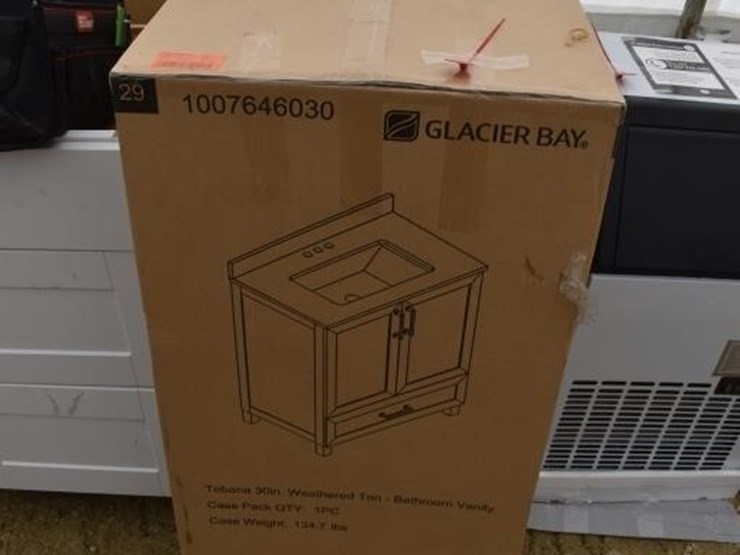
If you've recently purchased a beautiful Glacier Bay Bathroom Vanity, congratulations! Before you can start enjoying its functionality and style, you'll need to properly install it. This may seem like a daunting task, but with the right instructions and tools, it can be a breeze. Here's a step-by-step guide on how to install your new vanity.1. Preparing for Installation


Glacier Bay Bathroom Vanity Installation Instructions

Before you begin, make sure to gather all the tools and materials you'll need for the installation. These may include a drill, screwdriver, level, measuring tape, and a pencil. It's also a good idea to have someone to assist you during the installation process.2. Gather the Necessary Tools


Glacier Bay Vanity Installation Instructions


Before you start drilling and screwing, take the time to read the Glacier Bay Vanity Installation Instructions carefully. This will ensure that you don't miss any important steps and that you have a clear understanding of the process.3. Read the Instructions


Bathroom Vanity Installation Instructions
:max_bytes(150000):strip_icc()/8_IMG_3767-56a4a2753df78cf772835b72.JPG)


Before you start installing the vanity, make sure the area is clean and free of any debris. Remove the old vanity if there is one and clean the area thoroughly. This will provide a clean and stable surface for the new vanity to be installed.4. Prepare the Area


Glacier Bay Vanity Instructions


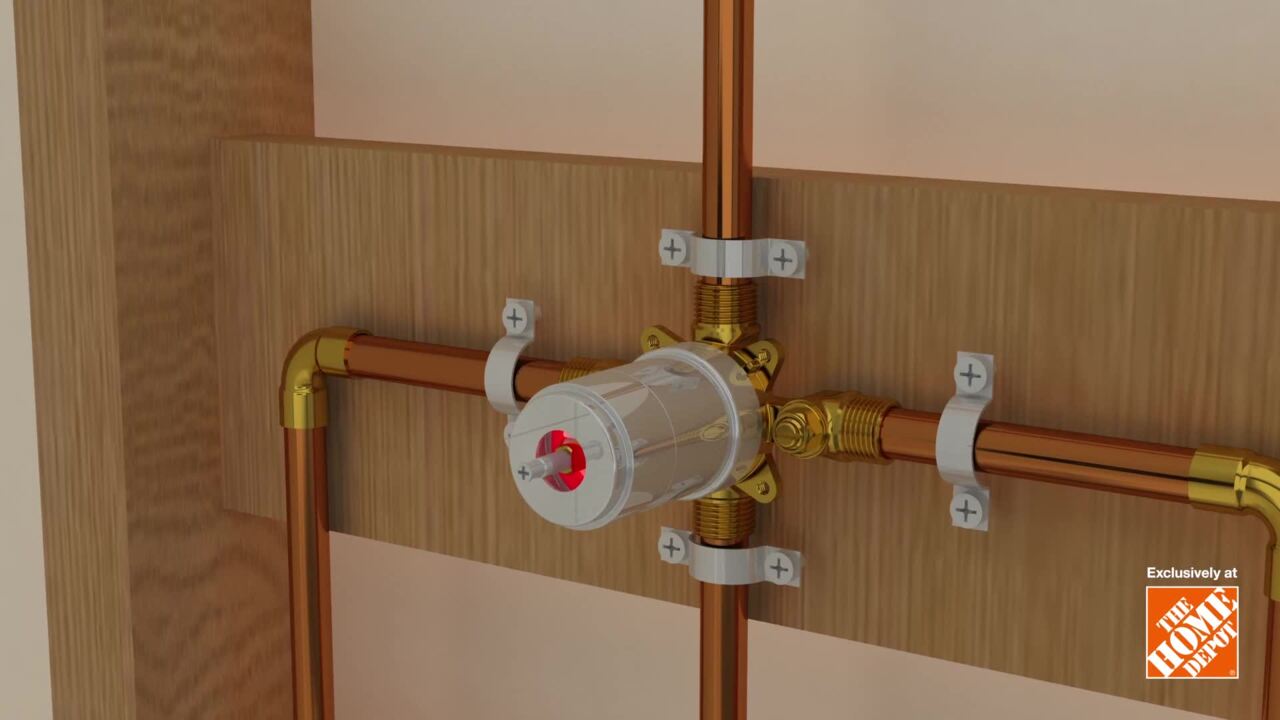
Once the area is prepped, use a level to make sure the spot where the vanity will be placed is even. If it's not, use shims to adjust the level. Also, make sure the plumbing is properly aligned and that there is enough space for the pipes to fit through the back of the vanity.5. Check for Level and Plumbing


Bathroom Vanity Instructions
:max_bytes(150000):strip_icc()/build-something-diy-vanity-594402125f9b58d58ae21158.jpg)


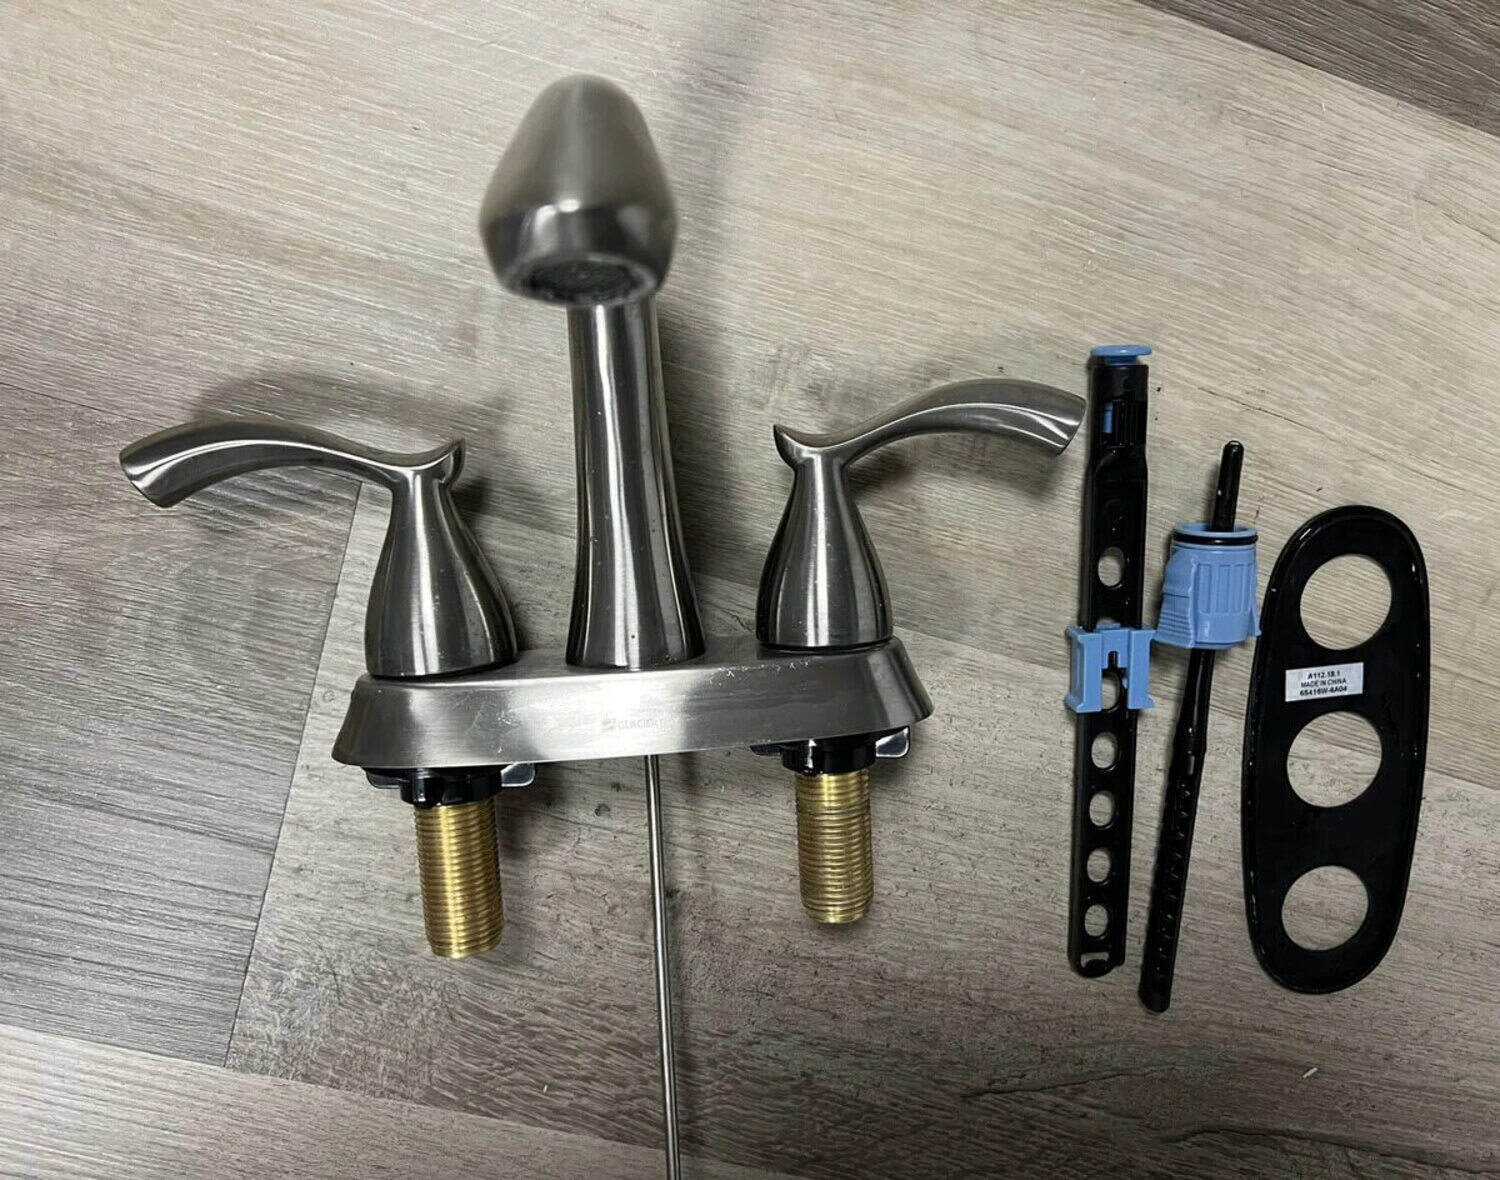
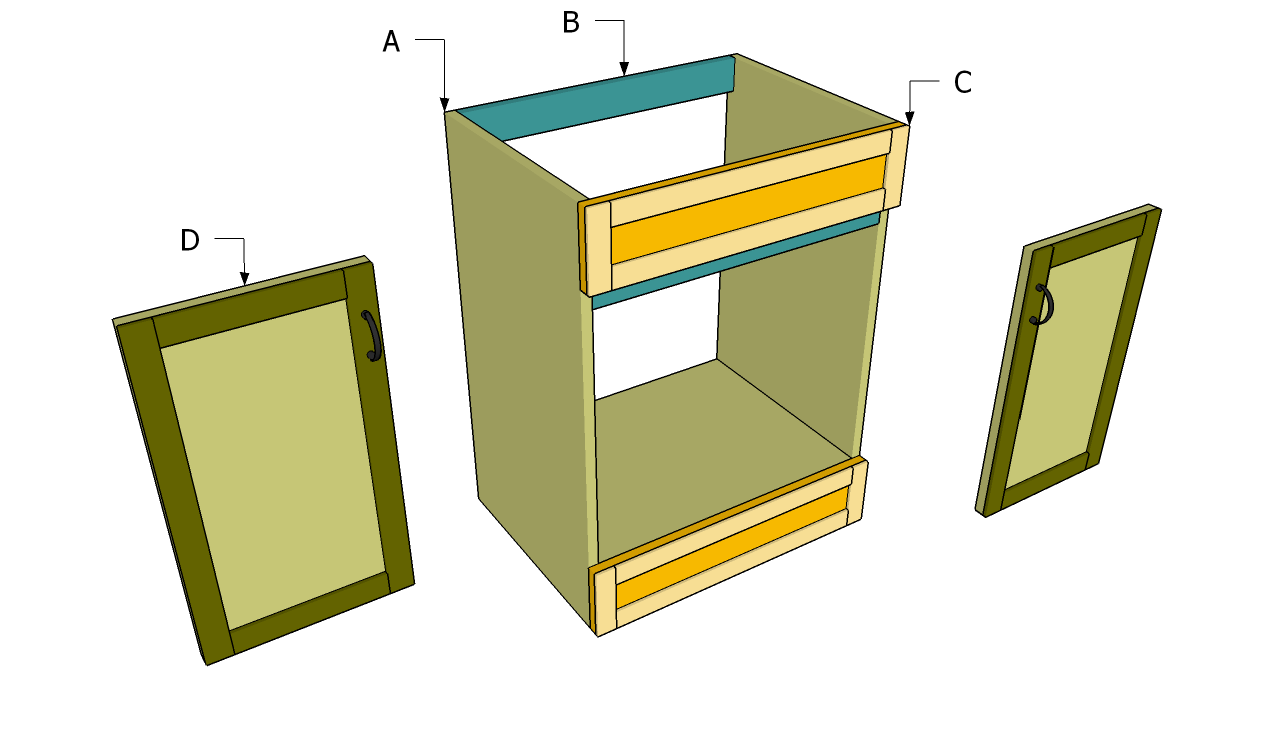
Follow the instructions to assemble the vanity. This may involve attaching the sink, faucet, and any other components. Make sure to tighten all screws and connections securely.6. Assemble the Vanity


Glacier Bay Installation Instructions


With the help of your assistant, carefully lift the assembled vanity and place it in the desired location. Use a drill to secure the vanity to the wall, making sure it is level and properly aligned.7. Attach the Vanity to the Wall

Bathroom Installation Instructions
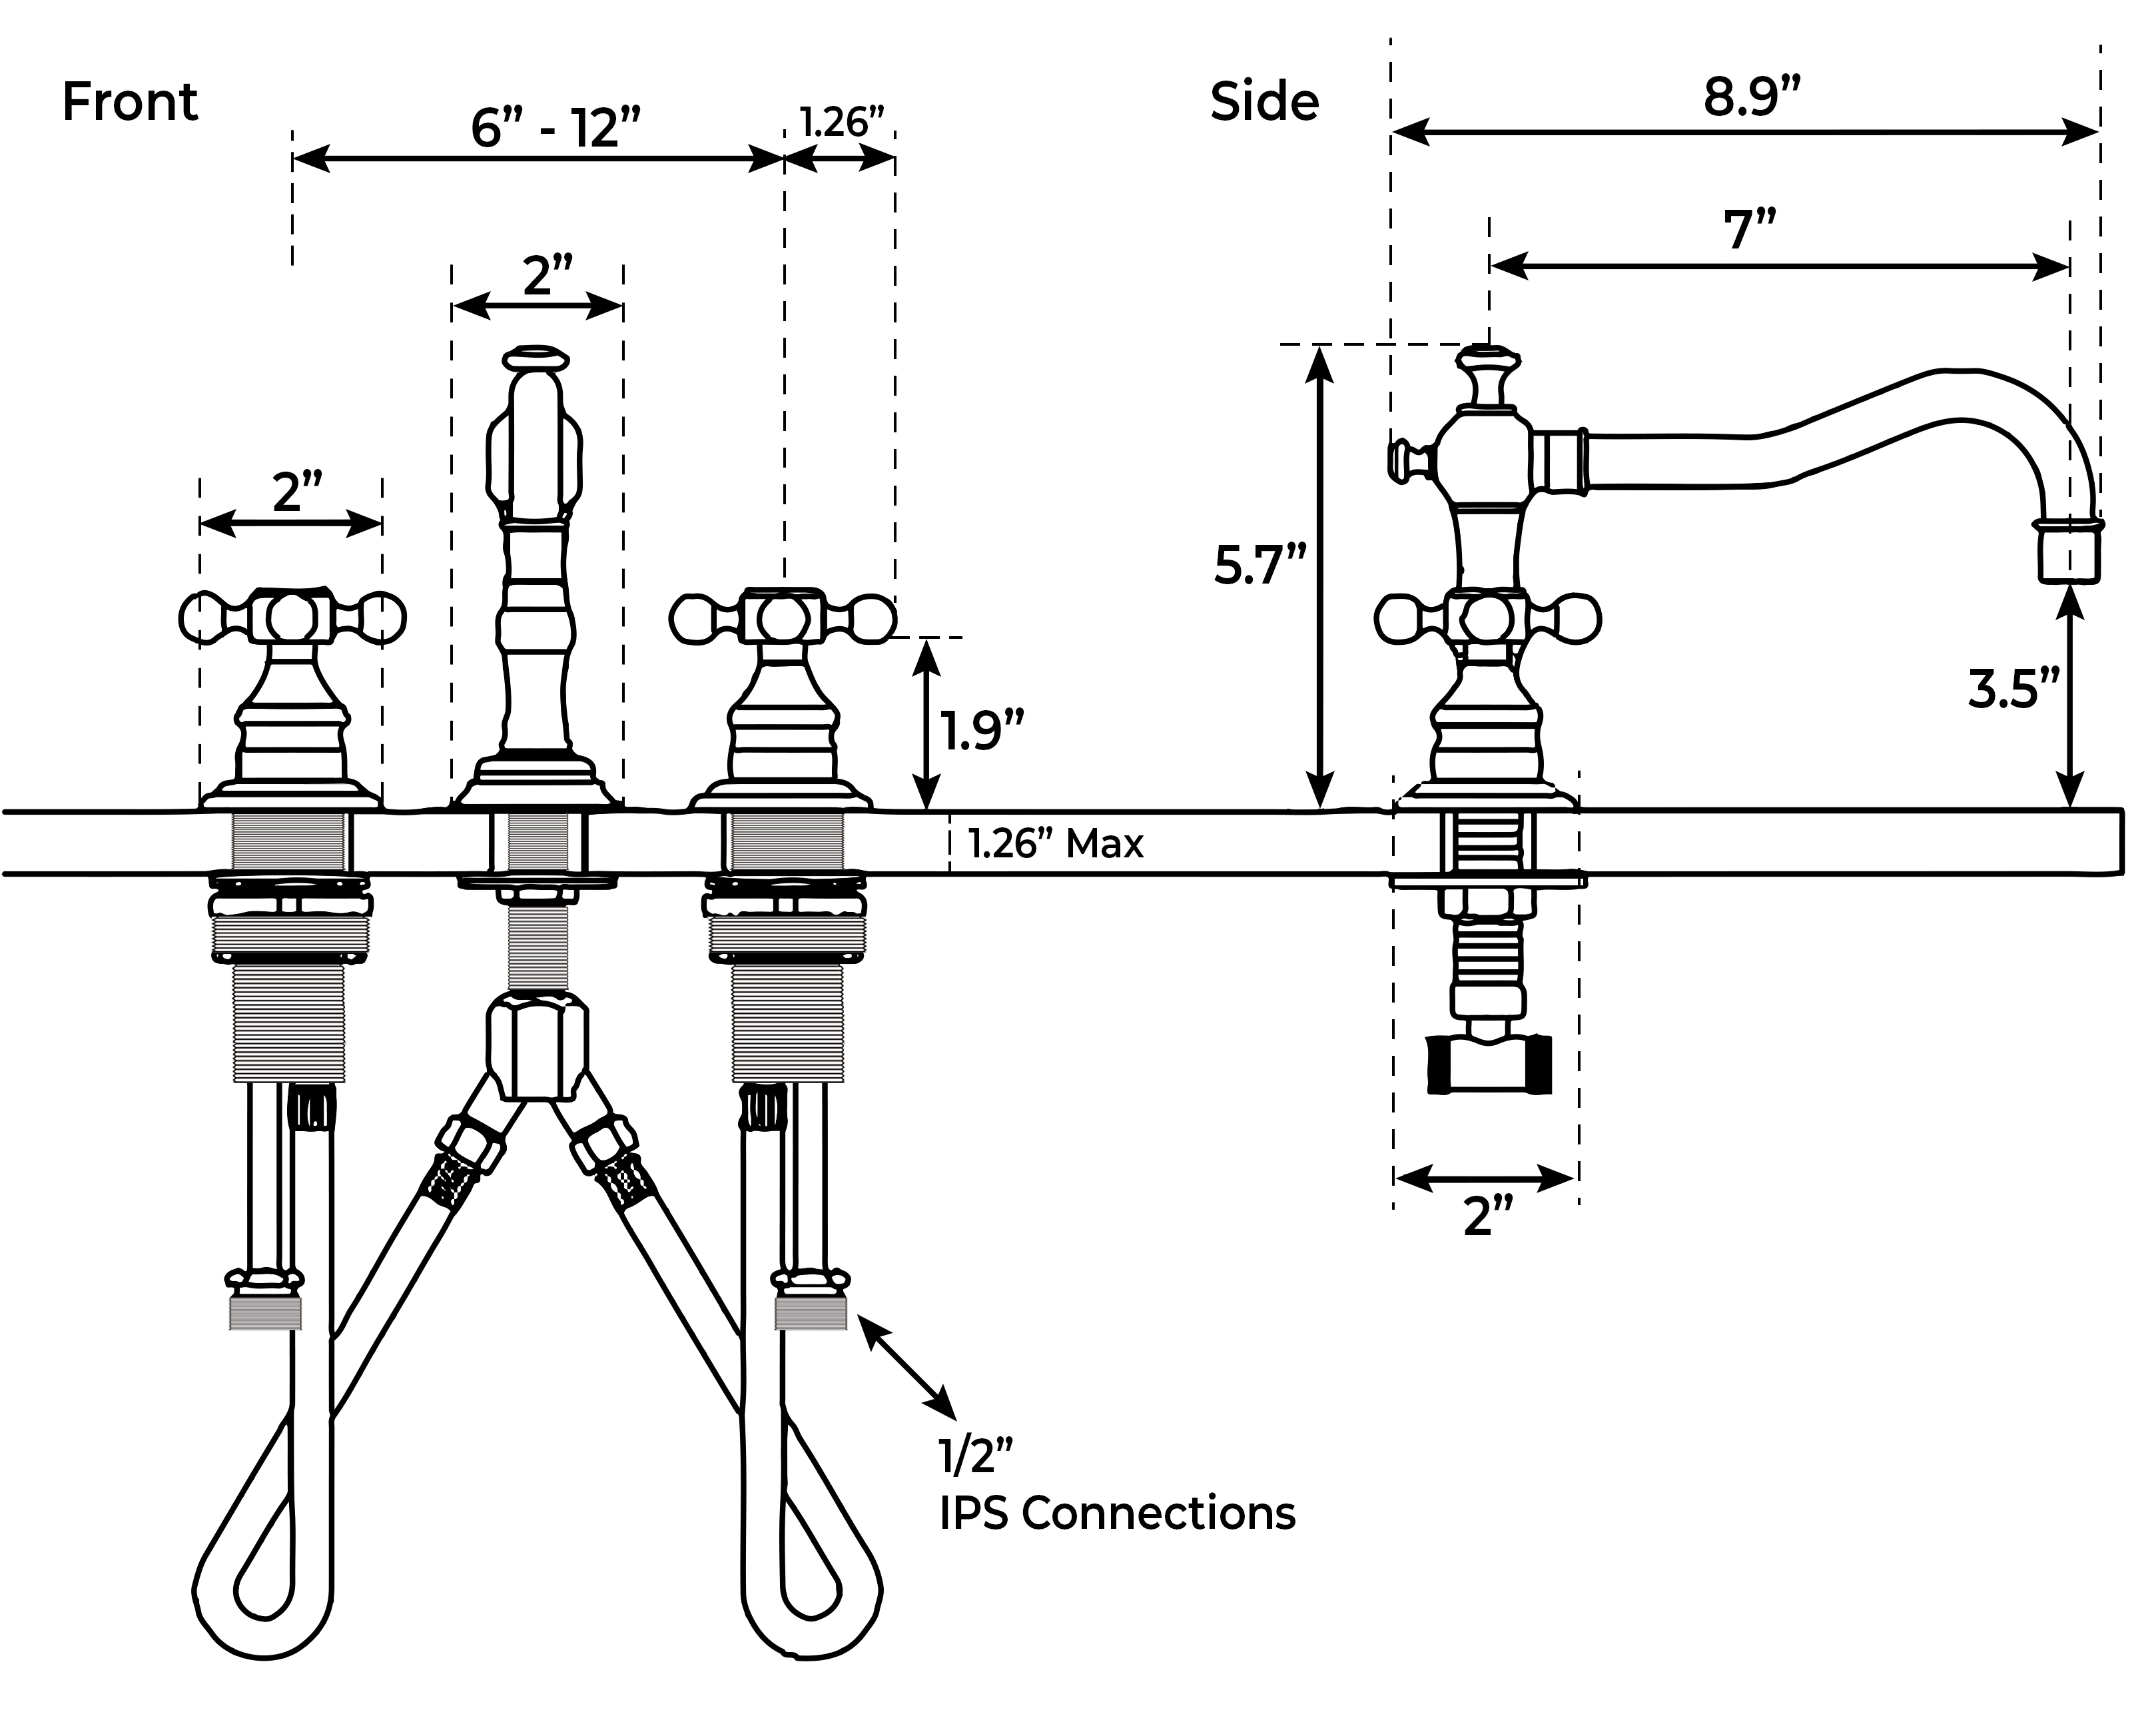


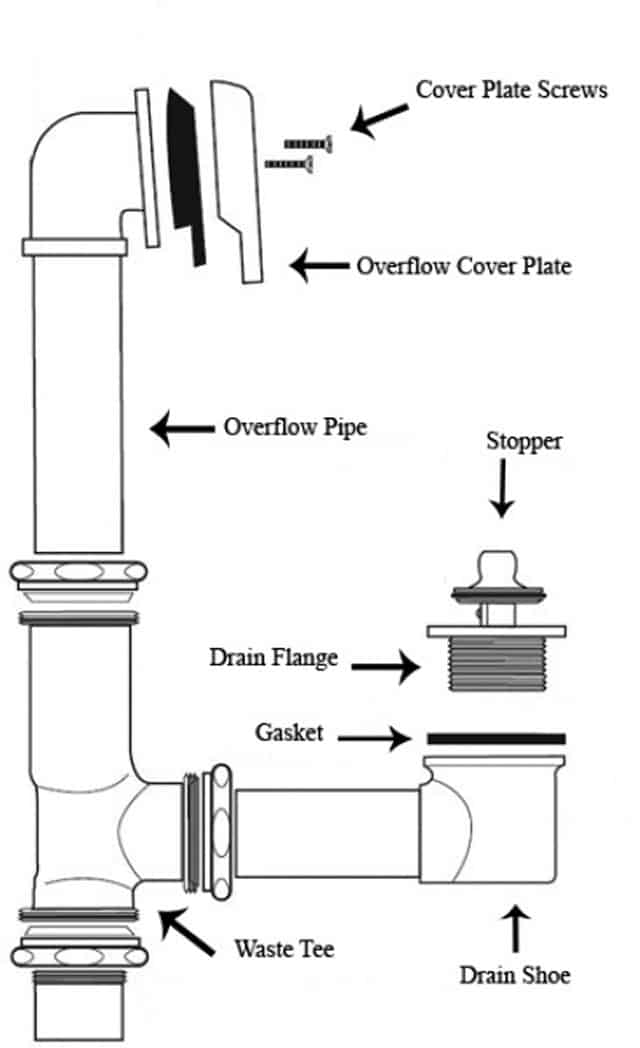
Once the vanity is in place, it's time to connect the plumbing. Follow the instructions for your specific vanity model to connect the water supply lines and drain pipes. Make sure all connections are secure and leak-free.8. Connect the Plumbing


Vanity Installation Instructions

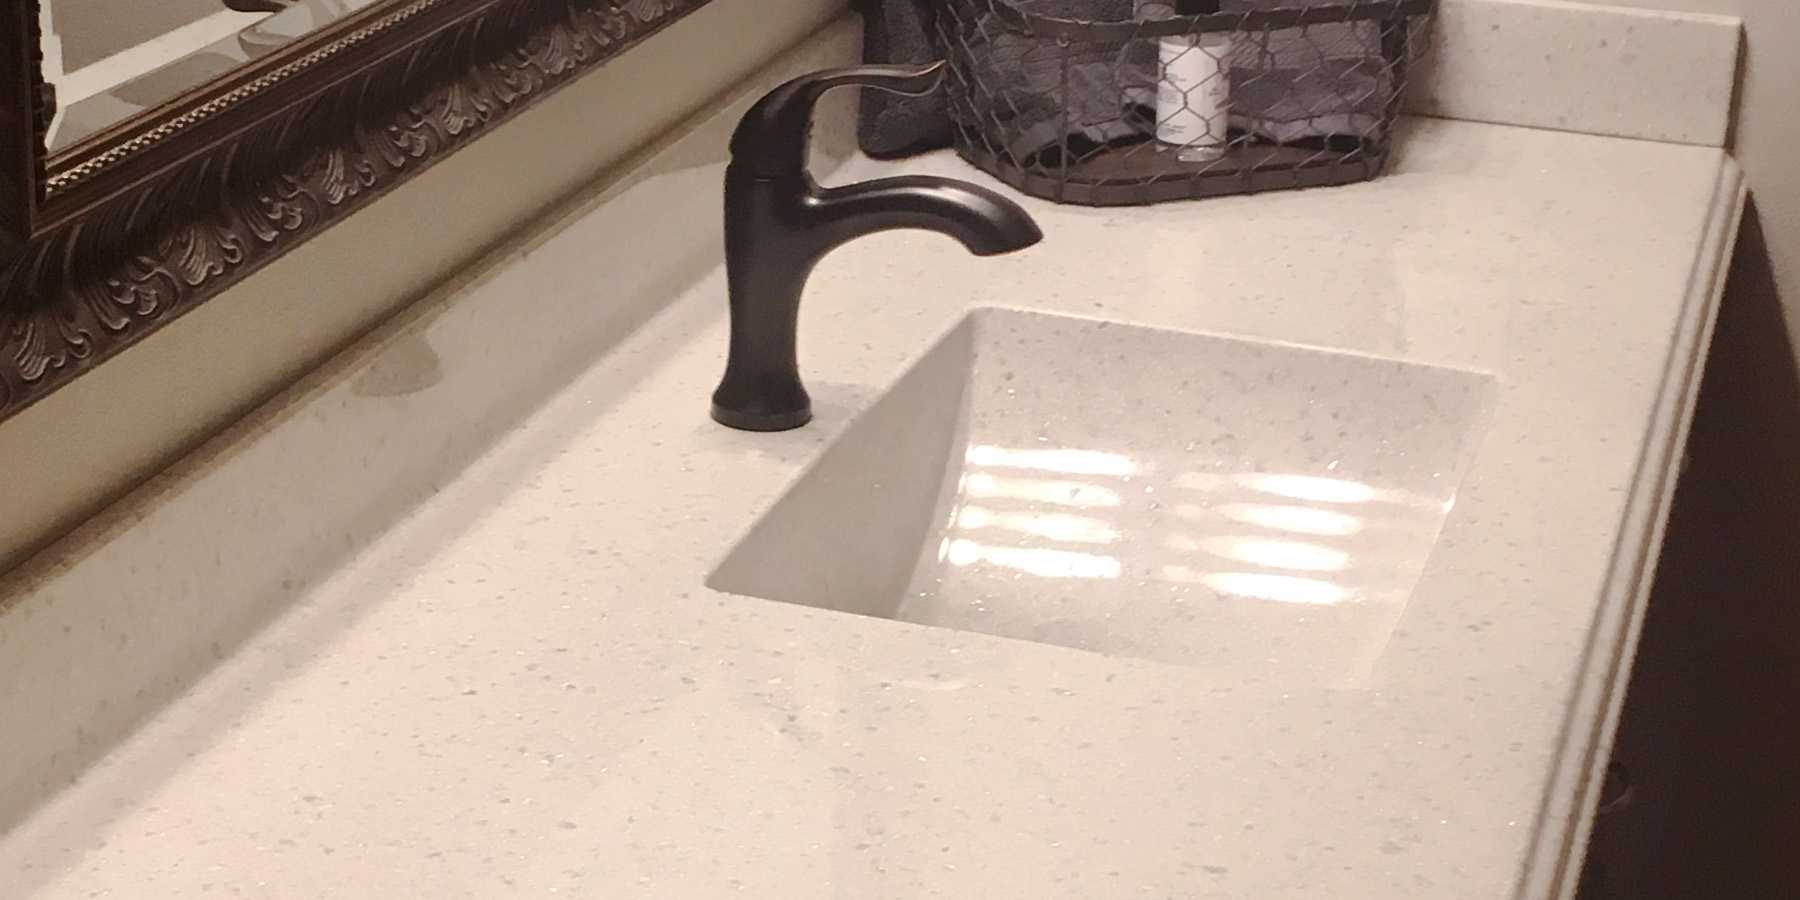


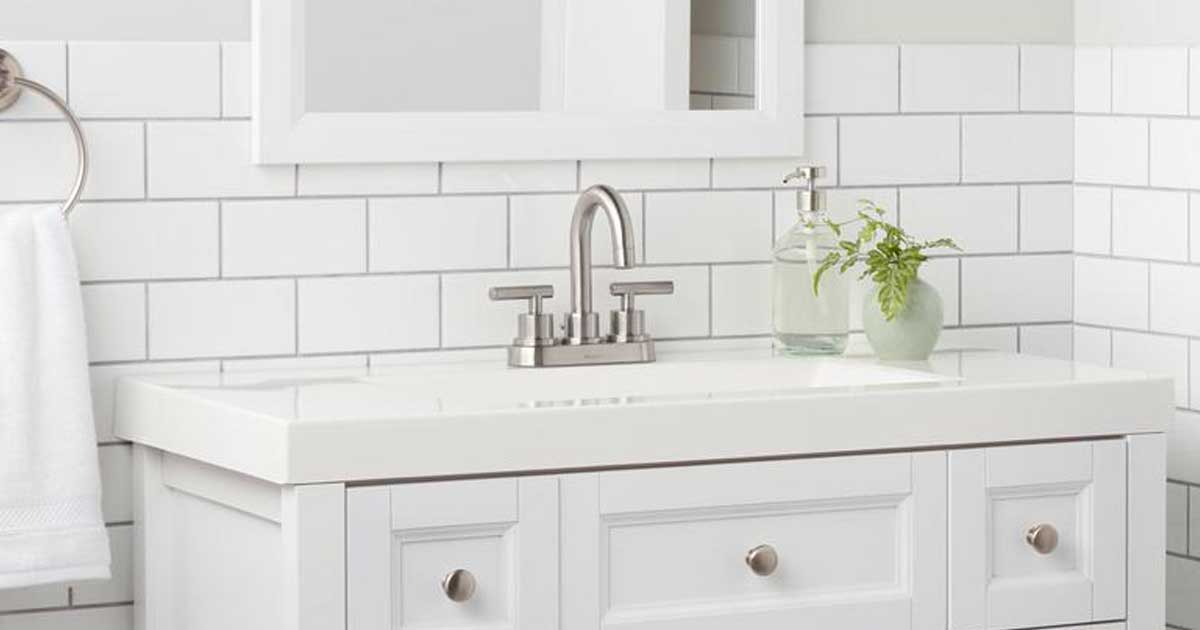
If your vanity comes with a separate countertop, carefully place it on top of the vanity and secure it in place according to the instructions. Make sure it is level and securely attached to the vanity.9. Install the Countertop


Glacier Bay Bathroom Vanity


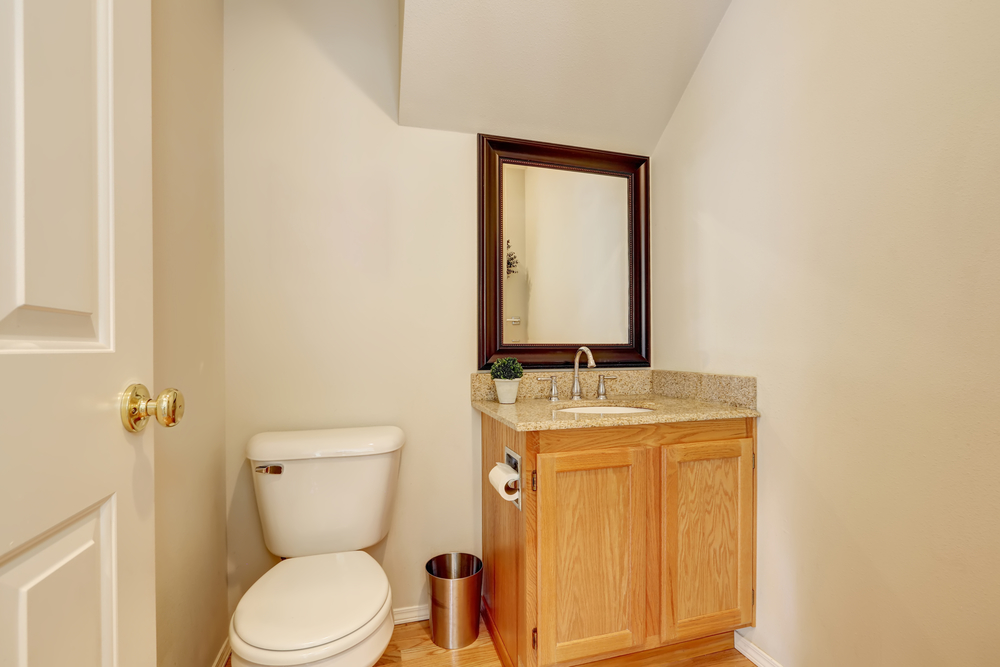
With the vanity securely in place, it's time to add the finishing touches. Install any hardware such as drawer pulls or knobs, and caulk around the edges of the vanity and countertop to create a seamless finish. With these Bathroom Vanity Installation Instructions, you can easily install your Glacier Bay Vanity and add a touch of style and functionality to your bathroom. If you encounter any issues during the process, don't hesitate to consult a professional for assistance. Enjoy your new vanity!10. Finishing Touches

Bathroom Vanity
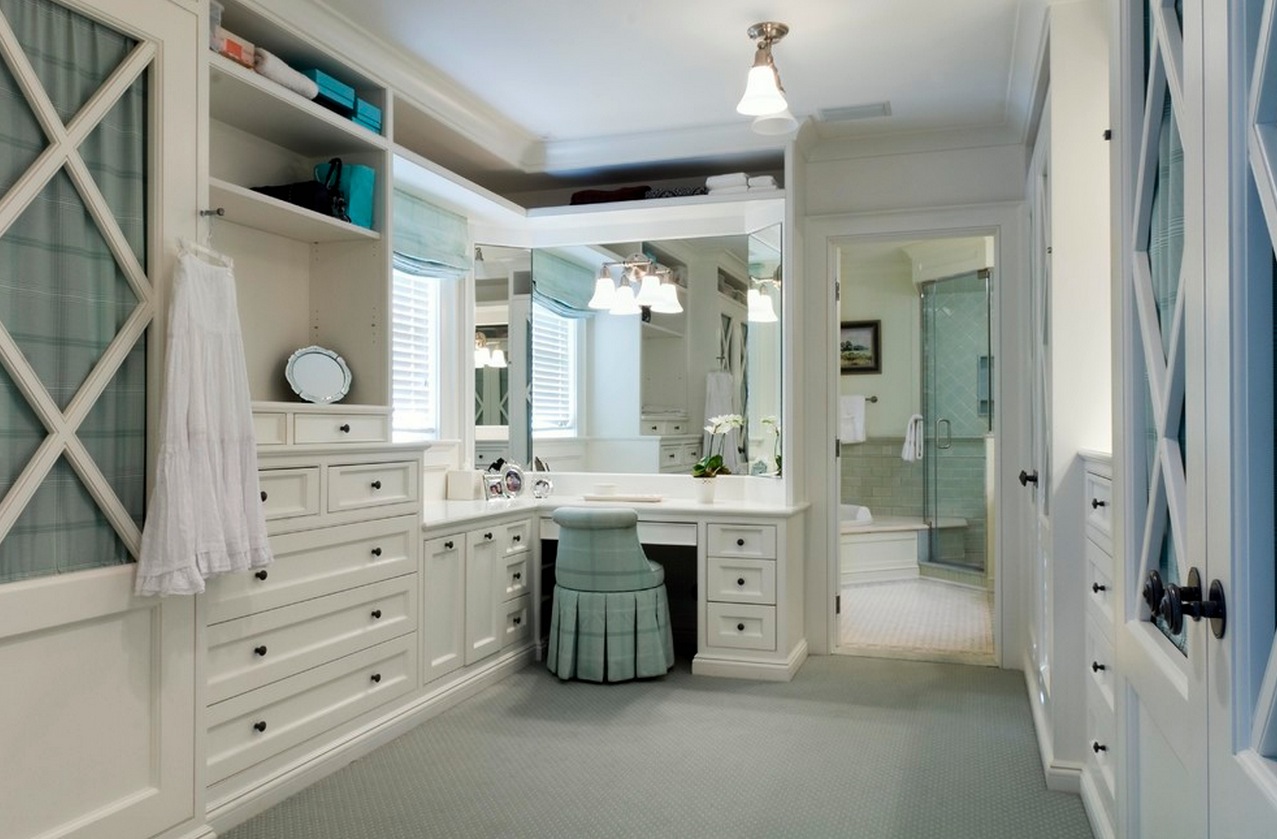
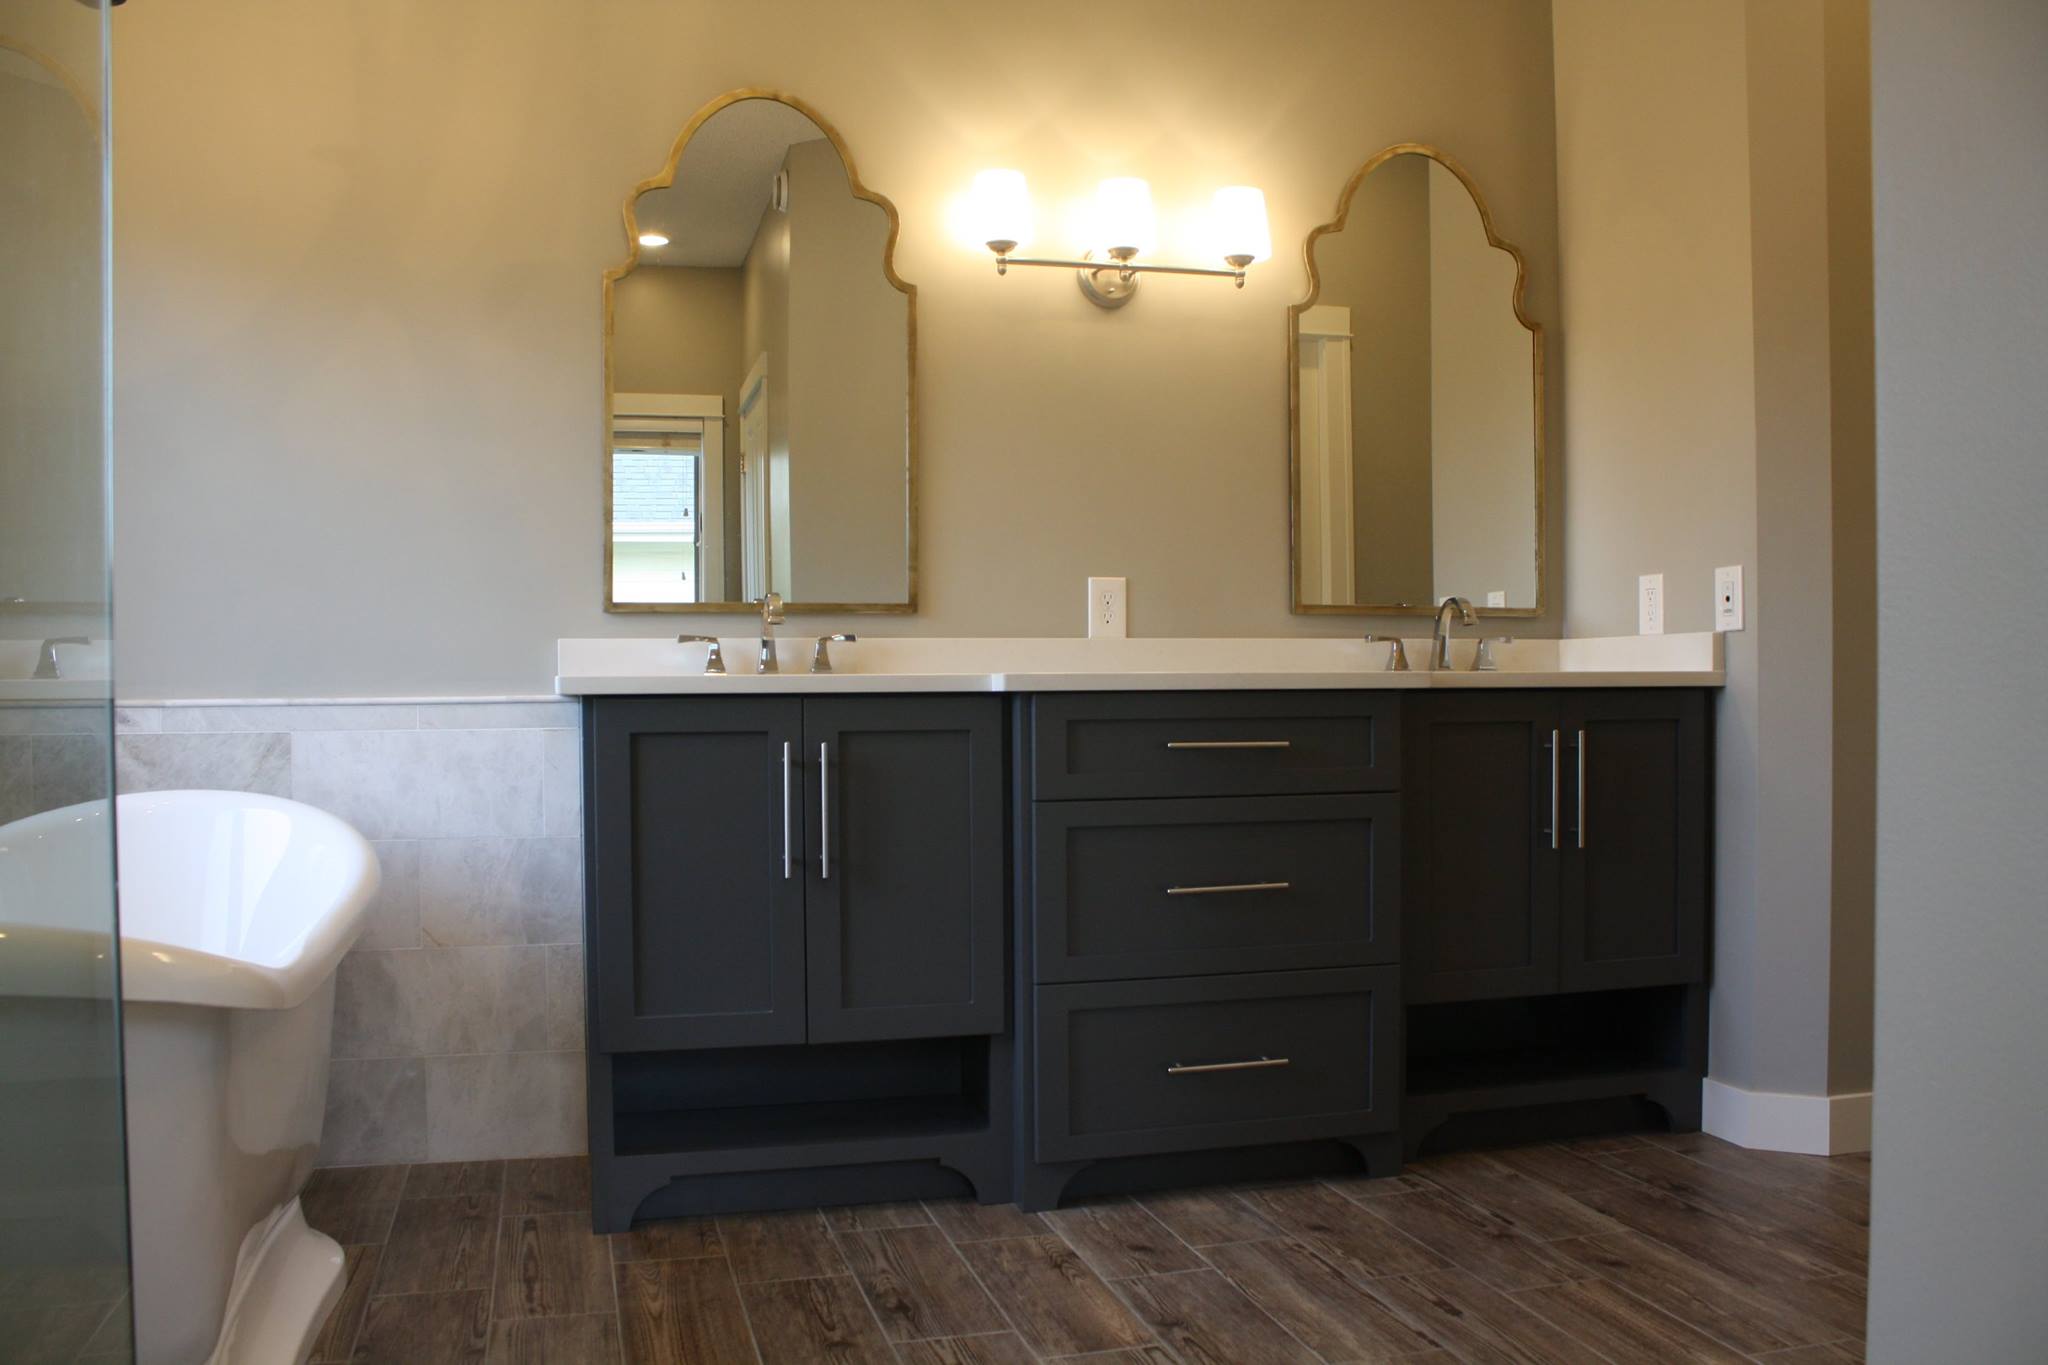

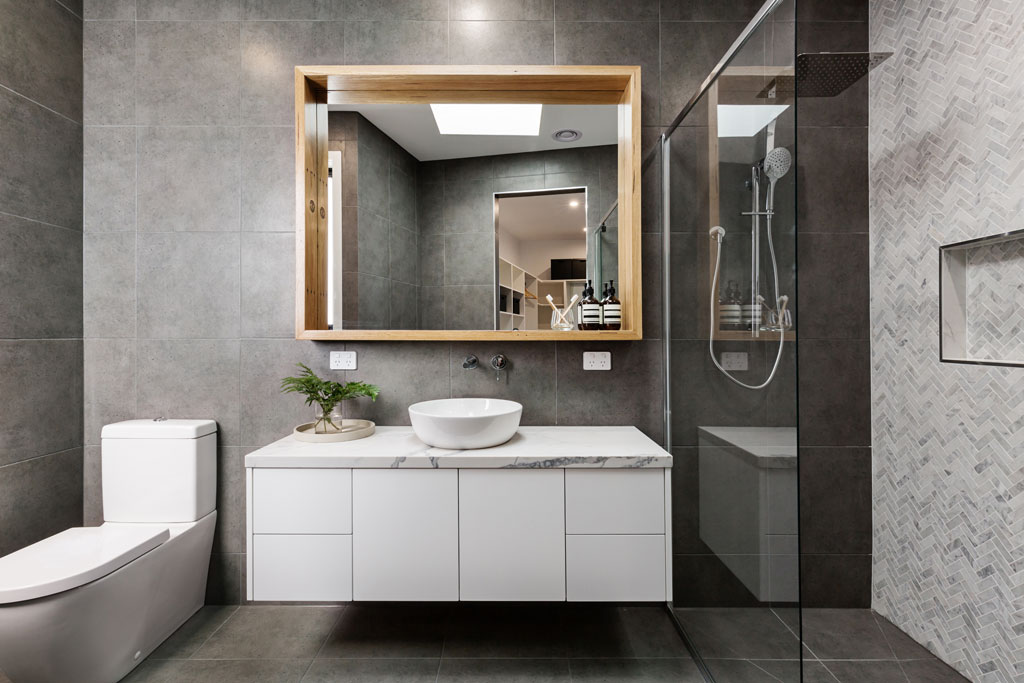

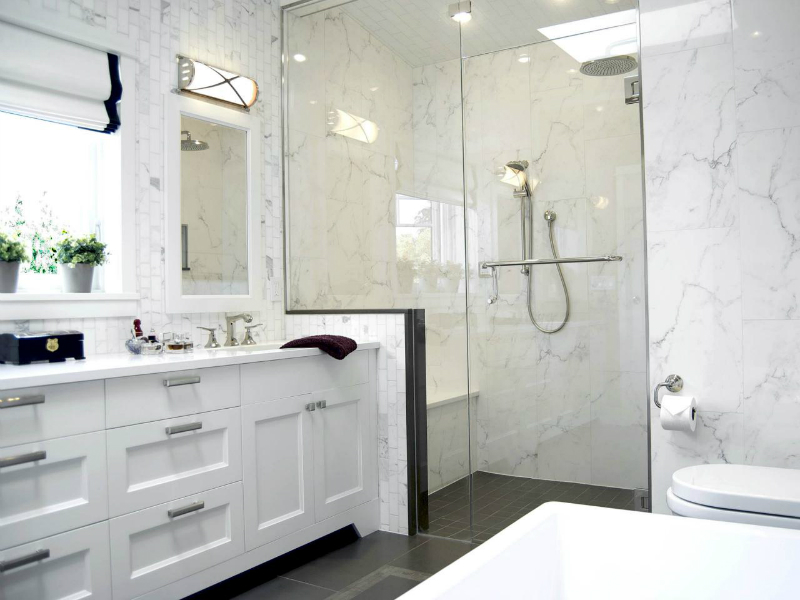
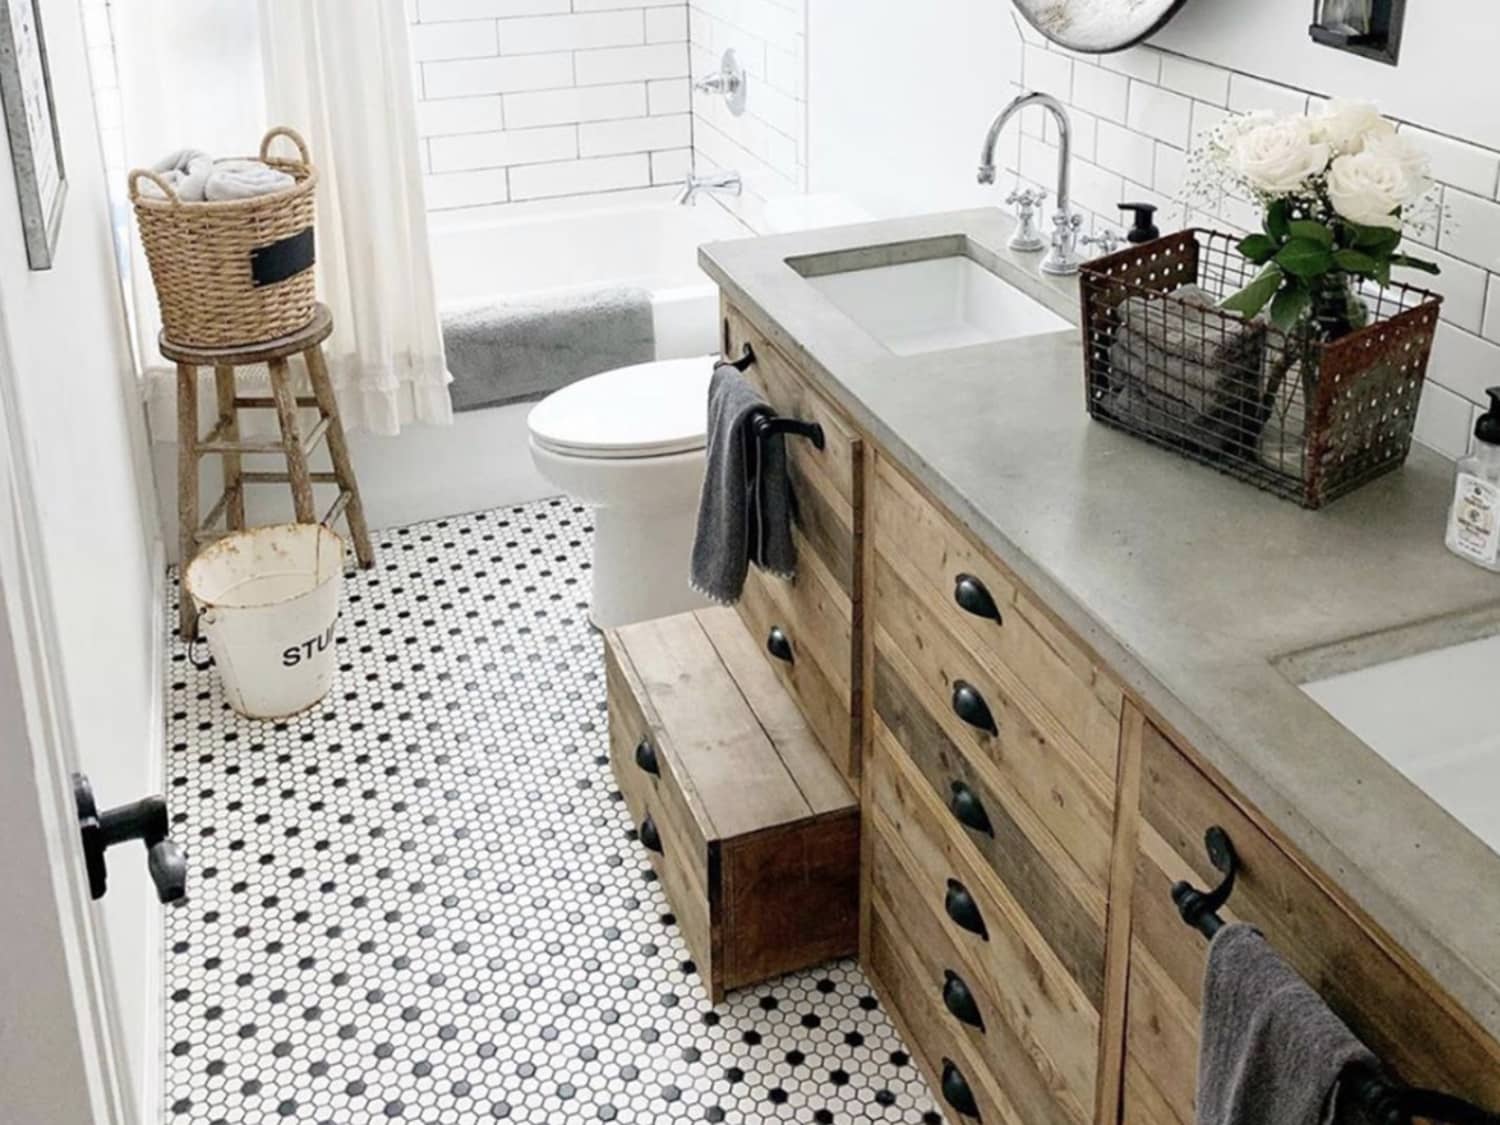
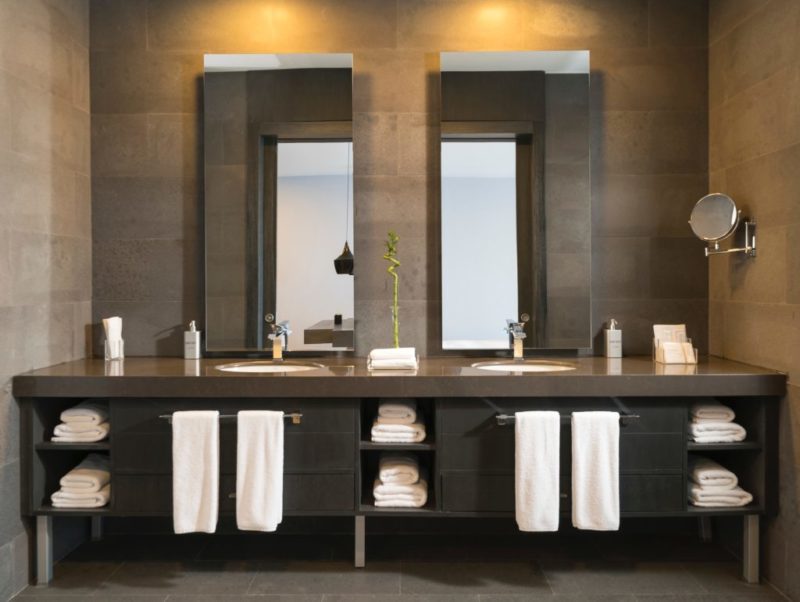

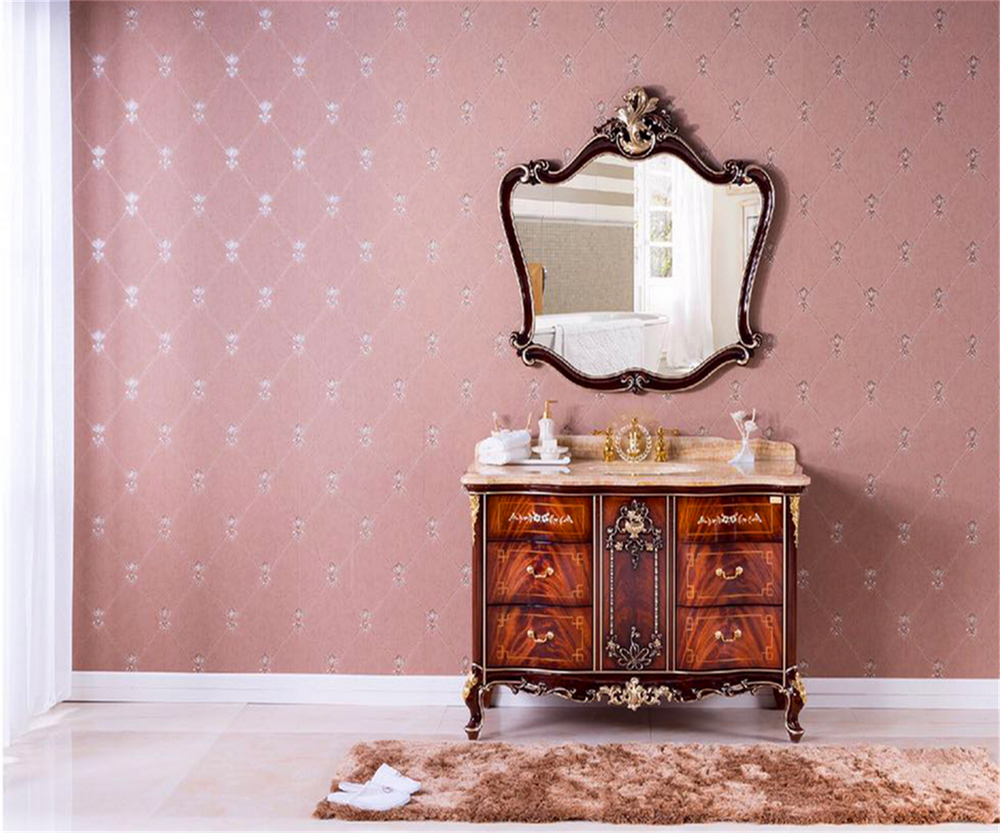
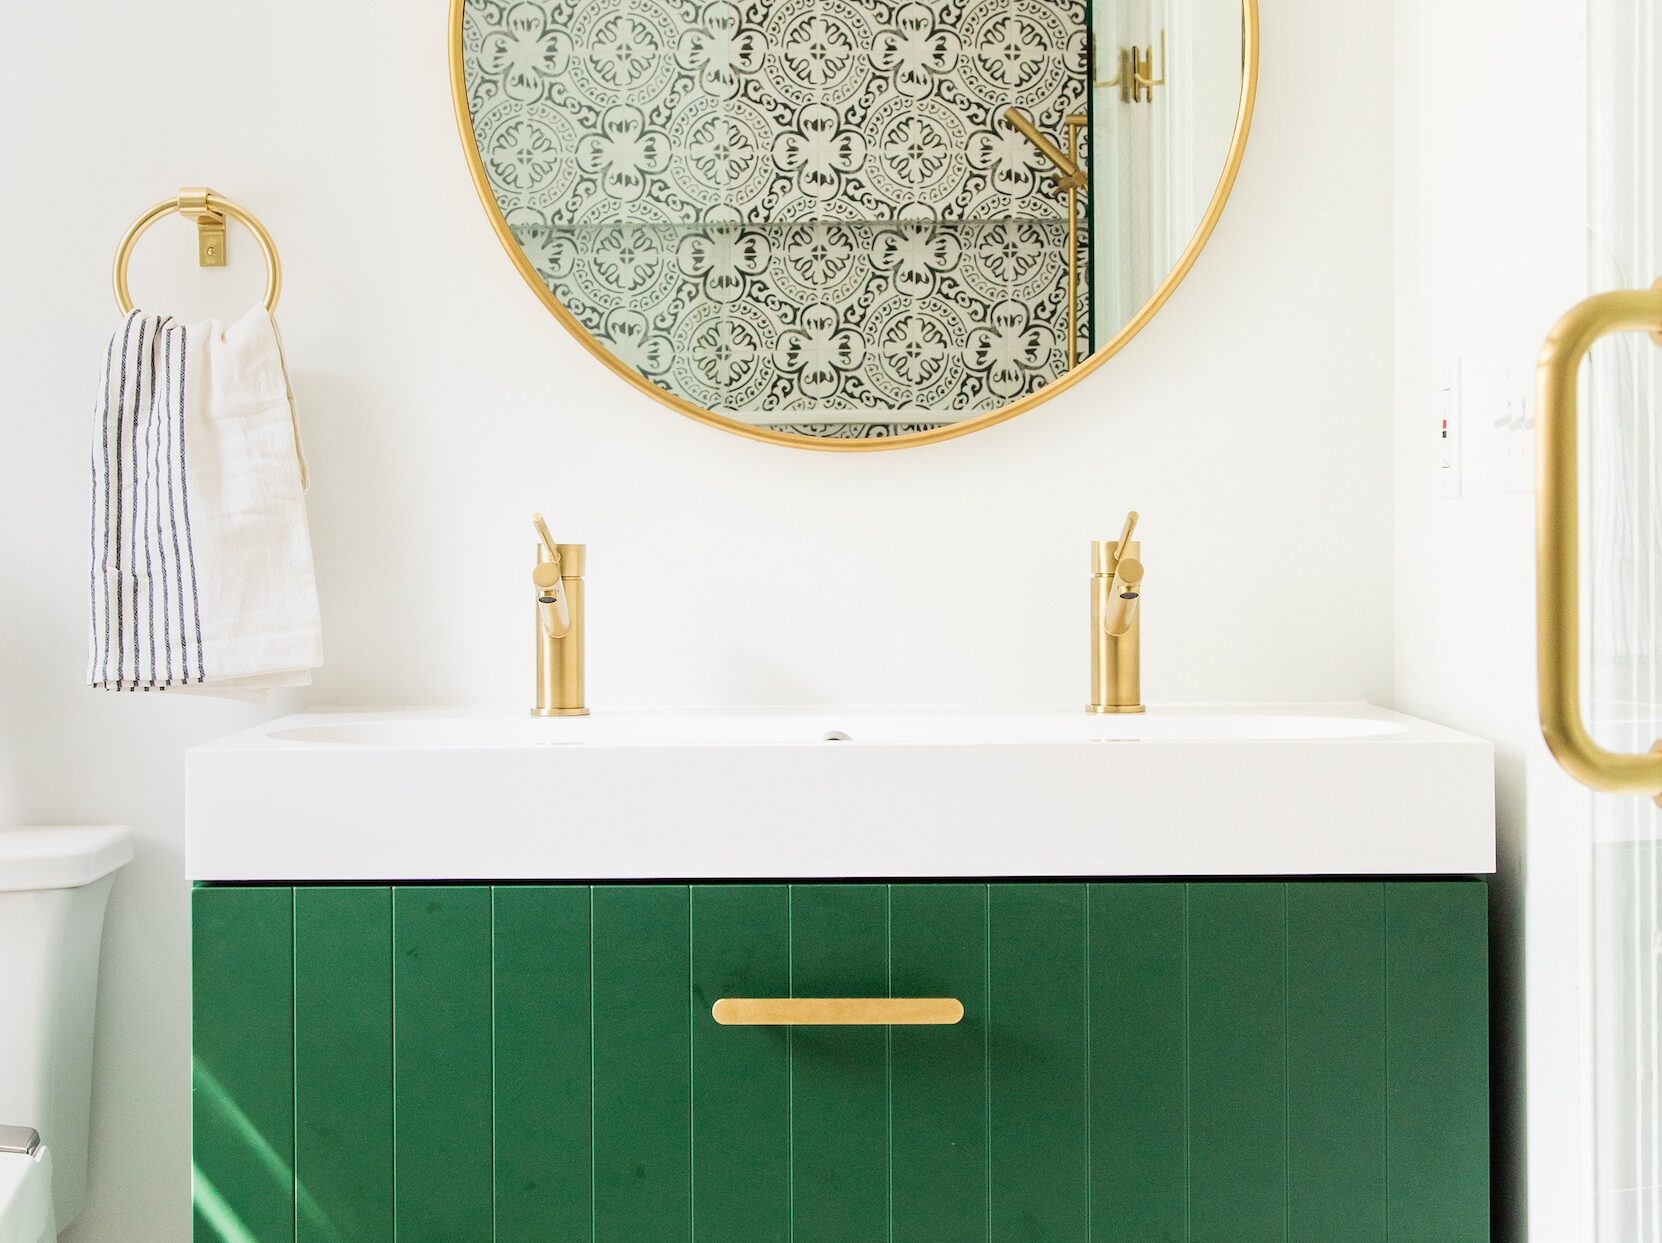
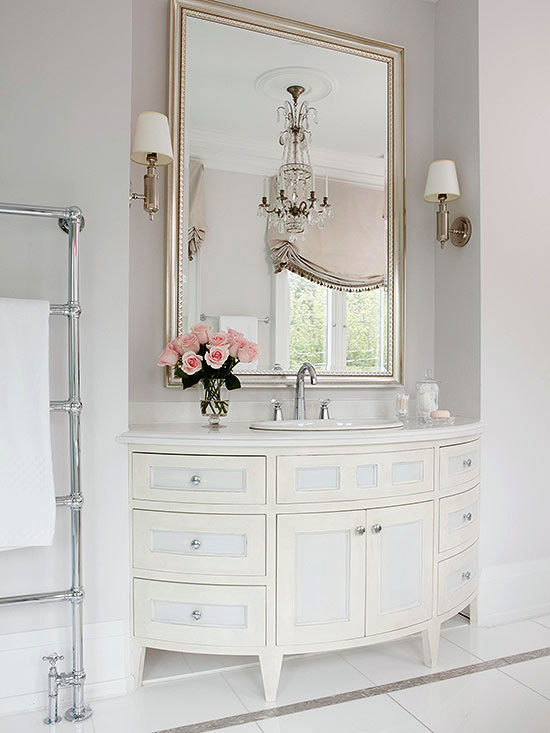
Maximizing Space in Your Bathroom with Glacier Bay Bathroom Vanities

The Importance of Choosing the Right Bathroom Vanity
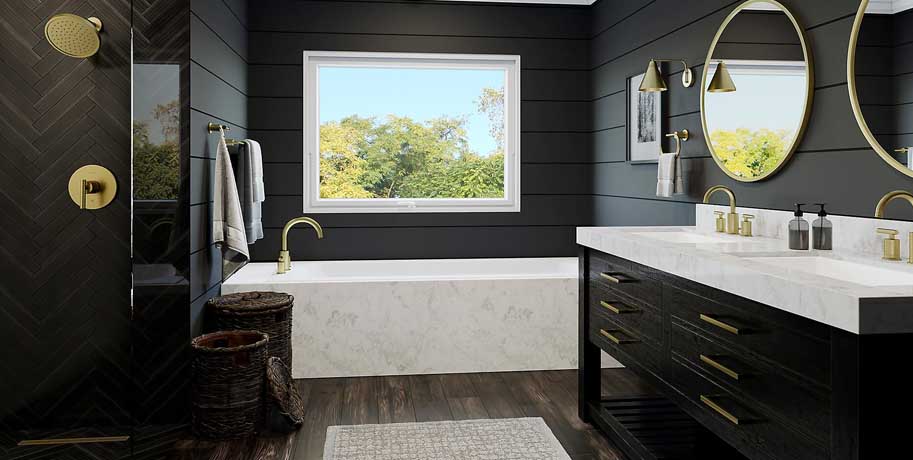
 When it comes to designing or renovating your bathroom, choosing the right bathroom vanity is crucial for both functionality and aesthetics. A bathroom vanity is not just a storage unit, but it also serves as a focal point in the room. That's why it's important to choose a vanity that not only fits your needs but also complements the overall design of your bathroom.
One brand that offers a wide range of high-quality and stylish bathroom vanities is Glacier Bay. Their bathroom vanities are not only affordable but also easy to install, making them a popular choice among homeowners. If you're planning to install a Glacier Bay bathroom vanity in your bathroom, here are some helpful tips and instructions to ensure a successful installation.
When it comes to designing or renovating your bathroom, choosing the right bathroom vanity is crucial for both functionality and aesthetics. A bathroom vanity is not just a storage unit, but it also serves as a focal point in the room. That's why it's important to choose a vanity that not only fits your needs but also complements the overall design of your bathroom.
One brand that offers a wide range of high-quality and stylish bathroom vanities is Glacier Bay. Their bathroom vanities are not only affordable but also easy to install, making them a popular choice among homeowners. If you're planning to install a Glacier Bay bathroom vanity in your bathroom, here are some helpful tips and instructions to ensure a successful installation.
Step-by-Step Installation Guide for Glacier Bay Bathroom Vanities
 Step 1: Measure and Prepare
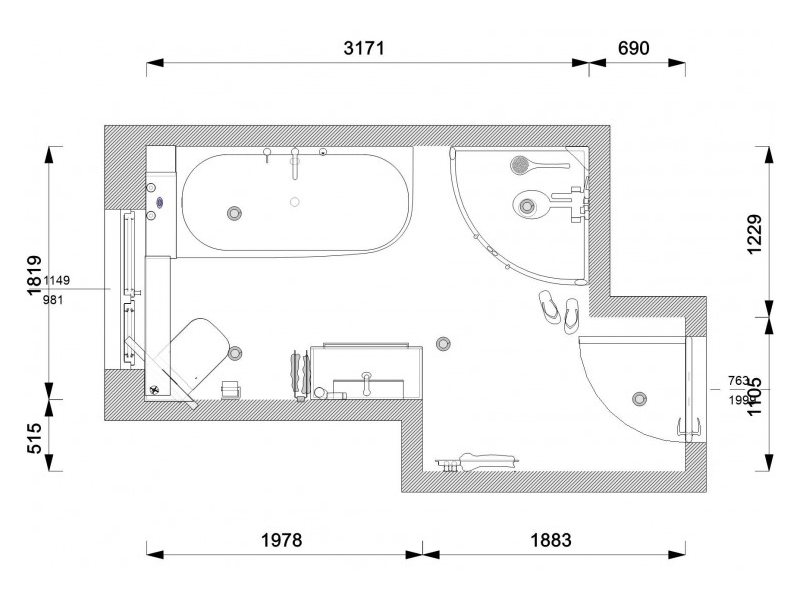
Before purchasing your Glacier Bay bathroom vanity, it's important to measure the space where you plan to install it. Make sure to take accurate measurements of the length, width, and height of the area. This will help you determine the size and type of vanity that will best fit your bathroom.
After measuring, prepare the space by removing any existing vanity, sink, or countertop. This will provide a clean and smooth surface for the new vanity to be installed on.
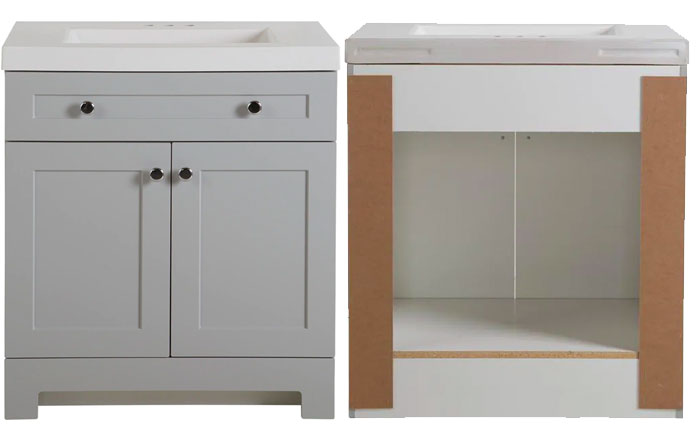
Step 2: Assemble the Vanity
Once you have your new Glacier Bay bathroom vanity, follow the manufacturer's instructions to assemble it. Make sure to use the necessary tools and hardware provided in the package for a secure and sturdy assembly.
Step 3: Install the Vanity
Place the assembled vanity into the designated space in your bathroom. Use a level to ensure that it is perfectly straight. Once in place, secure the vanity to the wall using screws and anchors. This will prevent the vanity from tipping over and ensure its stability.
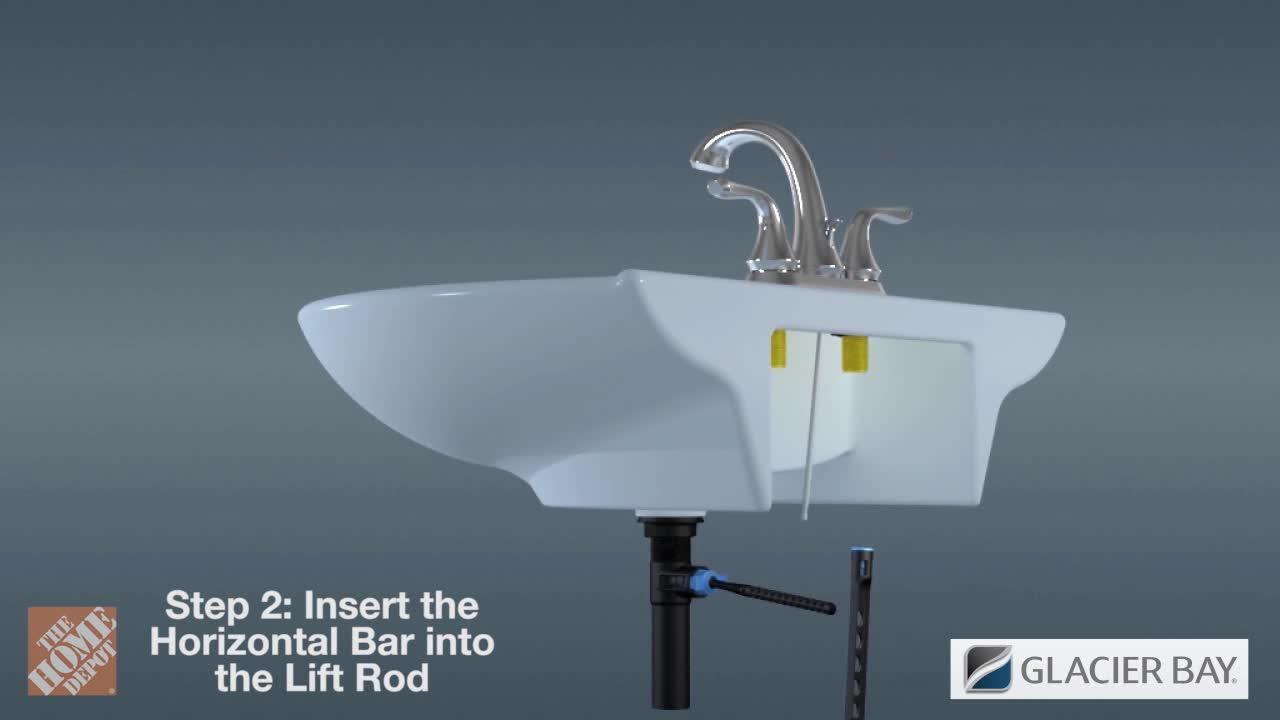
Step 4: Connect Plumbing
Next, connect the plumbing to the vanity. This includes attaching the faucet, drain, and water supply lines. Make sure to follow the instructions carefully and double-check for any leaks before moving on to the next step.
Step 5: Install the Countertop and Sink
Lastly, install the countertop and sink onto the vanity. Apply a bead of caulk along the edge of the vanity before placing the countertop on top. Then, carefully place the sink onto the countertop and secure it with clips or brackets.
Step 1: Measure and Prepare
Before purchasing your Glacier Bay bathroom vanity, it's important to measure the space where you plan to install it. Make sure to take accurate measurements of the length, width, and height of the area. This will help you determine the size and type of vanity that will best fit your bathroom.
After measuring, prepare the space by removing any existing vanity, sink, or countertop. This will provide a clean and smooth surface for the new vanity to be installed on.
Step 2: Assemble the Vanity
Once you have your new Glacier Bay bathroom vanity, follow the manufacturer's instructions to assemble it. Make sure to use the necessary tools and hardware provided in the package for a secure and sturdy assembly.
Step 3: Install the Vanity
Place the assembled vanity into the designated space in your bathroom. Use a level to ensure that it is perfectly straight. Once in place, secure the vanity to the wall using screws and anchors. This will prevent the vanity from tipping over and ensure its stability.
Step 4: Connect Plumbing
Next, connect the plumbing to the vanity. This includes attaching the faucet, drain, and water supply lines. Make sure to follow the instructions carefully and double-check for any leaks before moving on to the next step.
Step 5: Install the Countertop and Sink
Lastly, install the countertop and sink onto the vanity. Apply a bead of caulk along the edge of the vanity before placing the countertop on top. Then, carefully place the sink onto the countertop and secure it with clips or brackets.
Final Thoughts
/bathroom-sink-drain-installation-2718843-01-4955fe1f576b447a91abe51c126d220b.jpg) Installing a Glacier Bay bathroom vanity is a simple and cost-effective way to add style and functionality to your bathroom. With proper measurements and following the installation instructions, you can easily transform your bathroom into a beautiful and organized space. So why wait? Upgrade your bathroom with a Glacier Bay bathroom vanity today!
Installing a Glacier Bay bathroom vanity is a simple and cost-effective way to add style and functionality to your bathroom. With proper measurements and following the installation instructions, you can easily transform your bathroom into a beautiful and organized space. So why wait? Upgrade your bathroom with a Glacier Bay bathroom vanity today!