Is your air mattress leaking air and ruining your sleep? Don't panic, there's a simple and budget-friendly solution – duct tape! Known for its strong adhesive properties, duct tape can easily fix holes and tears in your air mattress, saving you from the hassle and expense of buying a new one. In this article, we'll show you how to fix an air mattress with duct tape in just a few easy steps. So grab your duct tape and let's get started!How to Fix an Air Mattress with Duct Tape
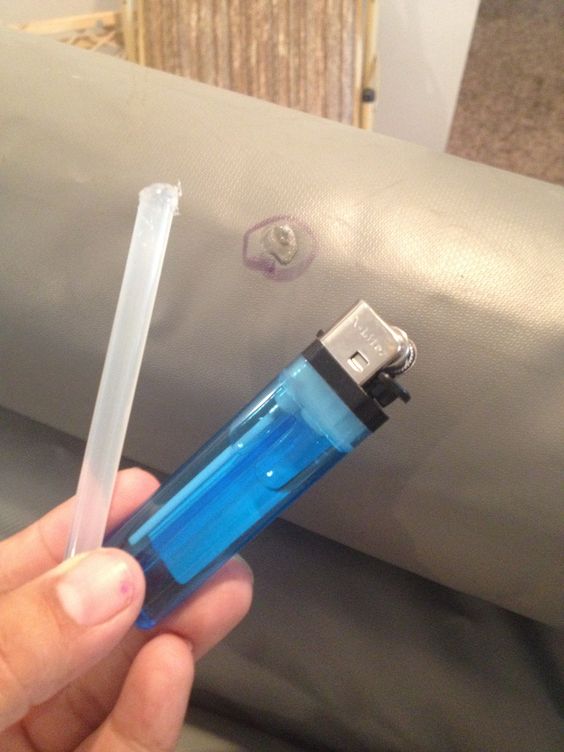
The first step in fixing your air mattress is to locate the leak. This can be done by inflating the mattress and running your hand along the surface, feeling for any escaping air. Once you've found the leak, use a marker or tape to mark its location for easier identification later on. Next, deflate the air mattress completely and clean the area around the leak with a damp cloth. This will ensure that the duct tape adheres properly and provides a strong seal. Now it's time to cut a piece of duct tape that's slightly larger than the size of the leak. Make sure to use a high-quality duct tape to ensure a strong and long-lasting fix. You can also double up on the tape for added strength if needed. Carefully place the duct tape over the leak, making sure to cover it completely and press down firmly to create a tight seal. It's important to smooth out any air bubbles or wrinkles to ensure that the tape adheres properly. Once the duct tape is in place, let it sit for a few minutes to allow the adhesive to set. You can then inflate the air mattress and check for any remaining leaks. If there are no more leaks, your air mattress is now fixed and ready to use!Fixing an Air Mattress with Duct Tape: A Step-by-Step Guide
Fixing an air mattress with duct tape is a simple and cost-effective DIY project that anyone can do. It's a handy skill to have, especially for those unexpected leaks that can ruin a good night's sleep. With the right tools and techniques, you can repair your air mattress in no time and save yourself from buying a new one. Aside from fixing leaks, duct tape can also be used to repair small tears or holes in your air mattress. Simply follow the same steps as above and apply the duct tape over the damaged area. Be sure to smooth out any edges or corners to prevent the tape from peeling off. If you're using your air mattress for camping or outdoor activities, it's always a good idea to bring some duct tape with you in case of emergencies. It's a versatile and durable repair tool that can come in handy for a variety of situations.DIY: Fixing an Air Mattress with Duct Tape
When it comes to fixing an air mattress, duct tape is the go-to solution for many people. It's quick, easy, and requires minimal effort. There's no need for special tools or skills, making it a convenient fix for anyone to do. One of the great things about using duct tape for air mattress repair is that it's a temporary fix that can last for a long time, depending on the quality of the tape and the extent of the damage. It's a great solution for those times when you need a quick fix but don't have the time or resources to replace your air mattress.Quick and Easy Fix: Air Mattress Repair with Duct Tape
While fixing an air mattress with duct tape is a simple process, there are a few tips and tricks that can help ensure a successful repair. Here are some things to keep in mind: Use a clean and dry surface – Before applying the duct tape, make sure the area around the leak is clean and dry. This will help the tape adhere better and create a stronger seal. Apply the tape on both sides – For larger holes or tears, it's best to apply the duct tape on both sides of the mattress. This will provide double the strength and prevent the tape from peeling off. Double up on the tape – If you're dealing with a particularly stubborn leak, you can double up on the duct tape for added strength. Just make sure to smooth out any air bubbles or wrinkles for a secure seal. Let the adhesive set – After applying the duct tape, let it sit for a few minutes to allow the adhesive to set and create a strong bond. This will ensure a long-lasting repair.Fixing a Leaky Air Mattress with Duct Tape: Tips and Tricks
Air mattresses are a convenient and comfortable option for sleeping, but a leaky one can quickly ruin your sleep and leave you with a sore back in the morning. Instead of tossing it out and buying a new one, try fixing it with duct tape. Not only will you save money, but you'll also save your sleep and avoid the hassle of finding a replacement. Remember, duct tape is not a permanent fix for an air mattress. It's best to use it as a temporary solution while you search for a more permanent fix or replacement. With that said, using duct tape can extend the life of your air mattress and give you more time to find a suitable replacement.Save Your Sleep: How to Repair an Air Mattress with Duct Tape
We've all been in situations where we need a quick fix for something, and an air mattress is no exception. Whether you're having guests over and discover a leak in your air mattress or you're camping and your only sleeping option is now a deflated mattress, duct tape can save the day. It's a simple and effective solution for emergency air mattress repair. Keep a roll of duct tape in your emergency kit or camping gear to ensure you're always prepared for any unexpected air mattress mishaps. Remember to check the tape regularly and replace it if it starts to peel off or lose its adhesive properties.Emergency Air Mattress Repair: Using Duct Tape to Fix Leaks
Punctures in an air mattress can be a frustrating and inconvenient problem, especially when you're in the midst of a camping trip or have guests staying over. Luckily, fixing a punctured air mattress with duct tape is a simple and straightforward solution. Be sure to inspect the puncture carefully before applying the duct tape. If the hole is too big, you may need to use a patch or multiple layers of duct tape to cover it completely. Remember to smooth out any air bubbles or wrinkles to ensure a secure seal. Once the duct tape is applied, inflate the mattress and check for any remaining leaks. If all is good, you can now enjoy a comfortable and uninterrupted sleep.Fixing a Punctured Air Mattress with Duct Tape: A Simple Solution
As we've mentioned, fixing an air mattress with duct tape is not a permanent solution. However, it can extend the life of your mattress and save you from having to throw it away and buy a new one. This is not only budget-friendly but also environmentally friendly. Instead of adding to the growing waste in landfills, try repairing your air mattress with duct tape and get a few more uses out of it before disposing of it properly. This small effort can make a big impact on the environment.Don't Throw It Away: How to Fix a Hole in an Air Mattress with Duct Tape
Lastly, one of the best things about fixing an air mattress with duct tape is that it's a budget-friendly solution. You can purchase a roll of duct tape for just a few dollars, making it a much cheaper alternative to buying a new air mattress. With the rising costs of living, it's always great to find ways to save money. By learning how to fix an air mattress with duct tape, you can add one more cost-saving skill to your DIY repertoire. In conclusion, duct tape is a versatile and reliable solution for fixing leaks, tears, and holes in your air mattress. With the right tools and techniques, you can easily repair your air mattress and extend its lifespan. Remember to always use high-quality duct tape, clean and dry the surface before application, and let the adhesive set for a strong and long-lasting seal. Happy fixing!Budget-Friendly Fix: Repairing an Air Mattress with Duct Tape
How to Fix an Air Mattress with Duct Tape: A Quick and Easy Solution

The Importance of a Good Night's Sleep
 A good night's sleep is essential for our overall well-being. It allows us to recharge and rejuvenate, preparing us for the challenges of the next day. However, a lumpy and deflated air mattress can ruin our sleep and leave us feeling unrested and achy. If you are facing this problem, don't worry, as there is a simple solution that can save your mattress and your sleep – duct tape.
The Versatility of Duct Tape
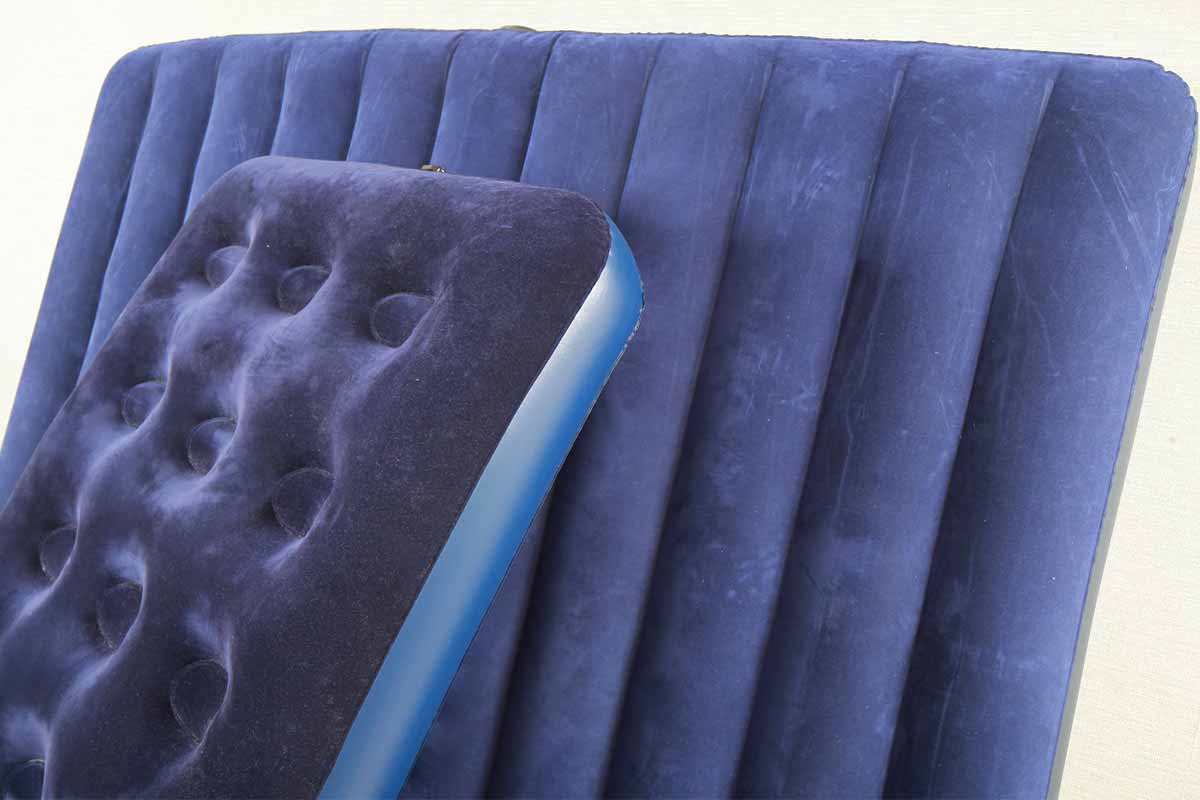 Duct tape is a household staple known for its strong adhesive and durability. It is commonly used for repairs and fixes, making it the perfect tool for fixing an air mattress. Its versatility allows it to be used on different surfaces, including the PVC material of an air mattress.
Steps to Fix an Air Mattress with Duct Tape
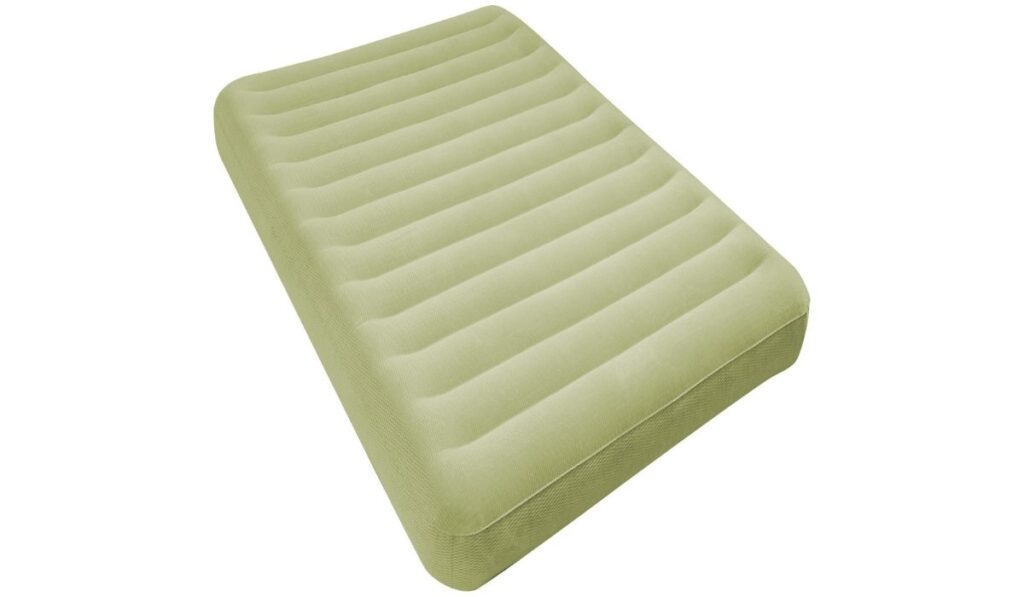 Now, let's get into the steps on how to fix an air mattress with duct tape:
Step 1:
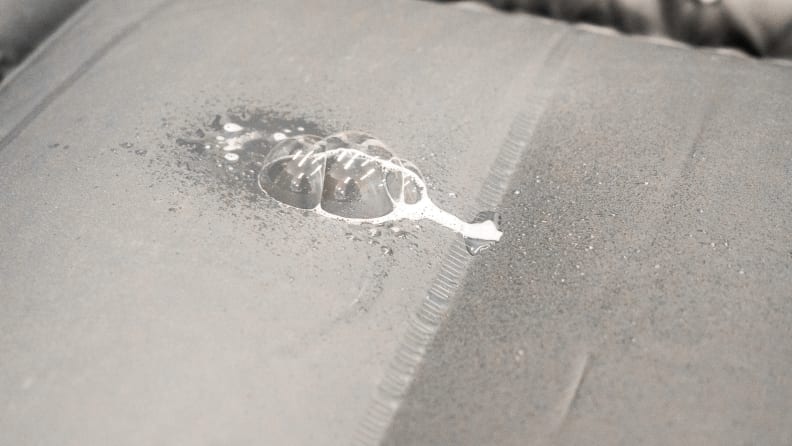
Identify the leak in your air mattress. This can be done by inflating the mattress and listening for the sound of air escaping or using a mixture of soap and water to locate bubbles.
Step 2:
Clean and dry the area around the leak. Use a cloth or paper towel to remove any debris or moisture.
Step 3:
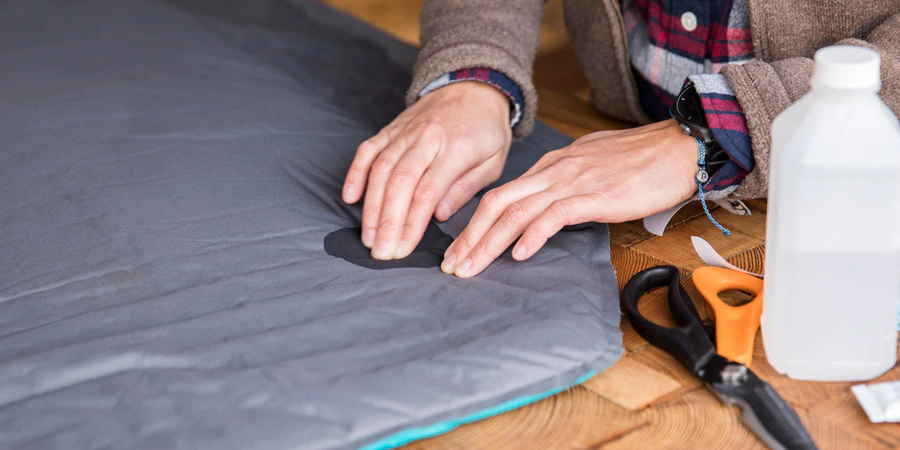
Cut a piece of duct tape that is slightly larger than the size of the leak.
Step 4:
Apply the duct tape over the leak, making sure to cover the entire area. Press down firmly to ensure a strong seal.
Step 5:
Repeat this process on the other side of the mattress if there are multiple leaks.
Additional Tips
 - To make the duct tape more effective, you can apply a layer of fabric glue before placing the tape over the leak. This will create a stronger bond.
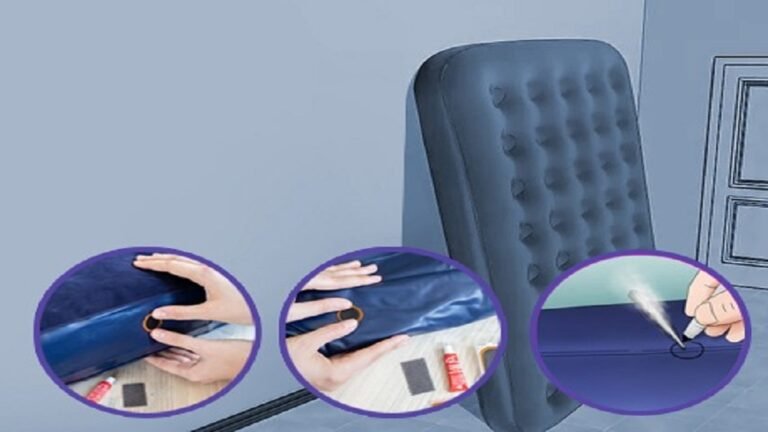
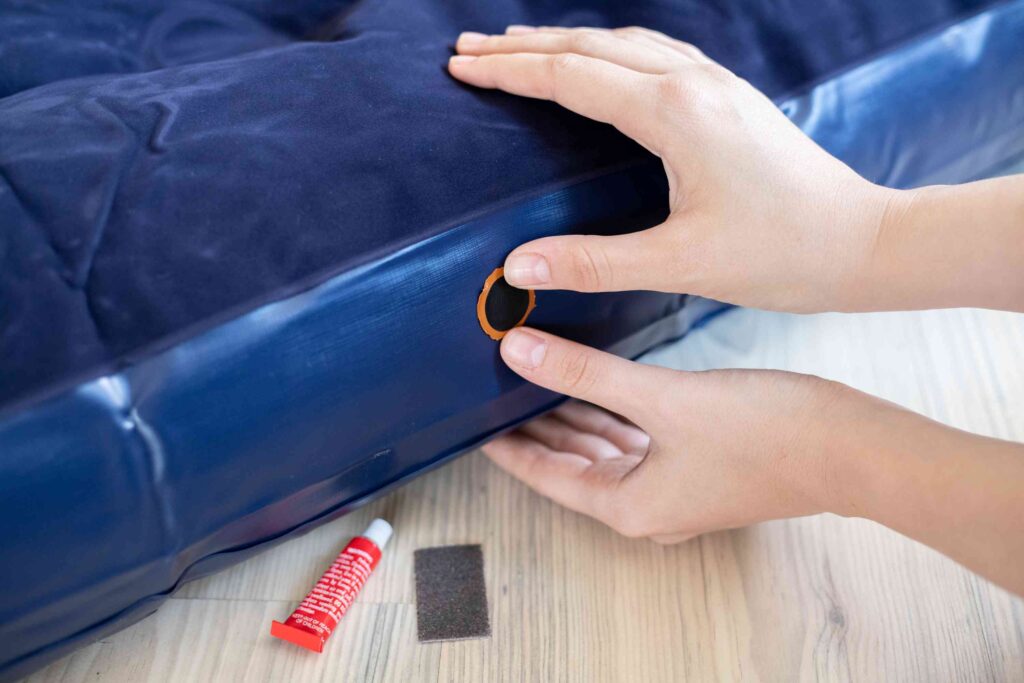
- If your air mattress has a large tear, you can use a patch kit in combination with duct tape for a more secure fix.
- Once the duct tape is applied, let it dry for at least 24 hours before using the mattress. This will ensure that the tape has fully adhered and the leak is sealed.



















/Primary_Images-a885ad380d8b4cf693e1a2489fed2b51.jpg)

