Are you tired of your old bathroom sink and looking to upgrade? Installing a new bathroom sink on top of your counter can completely transform the look and feel of your bathroom. Plus, doing it yourself can save you a significant amount of money. With the right tools and a little bit of know-how, you can easily install a new sink on top of your counter in no time. In this article, we will provide you with a step-by-step guide on how to install a bathroom sink on top of a counter.DIY Bathroom Sink Installation on Top Counter


DIY Bathroom Sink Installation on Top Counter


Before we dive into the installation process, it is important to gather all the necessary tools and materials. You will need a new sink, faucet, plumber's putty, silicone caulk, and a wrench. It is also recommended to have a helper, as some parts of the installation may require an extra set of hands. Once you have all your materials ready, follow these steps to install your new bathroom sink on top of your counter:How to Install a Bathroom Sink on Top of a Counter


How to Install a Bathroom Sink on Top of a Counter
:max_bytes(150000):strip_icc()/8_IMG_3767-56a4a2753df78cf772835b72.JPG)


Start by turning off the water supply to your sink. This can usually be done by turning the shut-off valves under the sink in a clockwise direction. Next, remove the old sink and faucet by disconnecting the water supply lines and the drain pipe. Clean the area where the new sink will be installed to ensure a smooth and even surface.Step 1: Prepare the Area


/7_IMG_3765-56a4a2743df78cf772835b6f.JPG)
Step-by-Step Guide for Installing a Bathroom Sink on Top Counter


Using the manufacturer's instructions, install the faucet onto the sink. This typically involves inserting the faucet through the designated holes on the sink and securing it in place with the provided hardware.Step 2: Install the Faucet


Top Counter Bathroom Sink Installation Tutorial


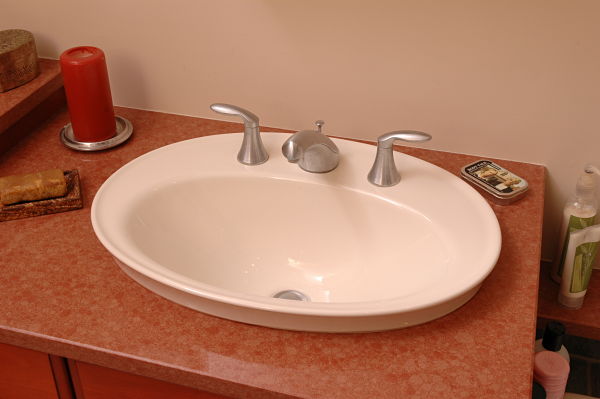


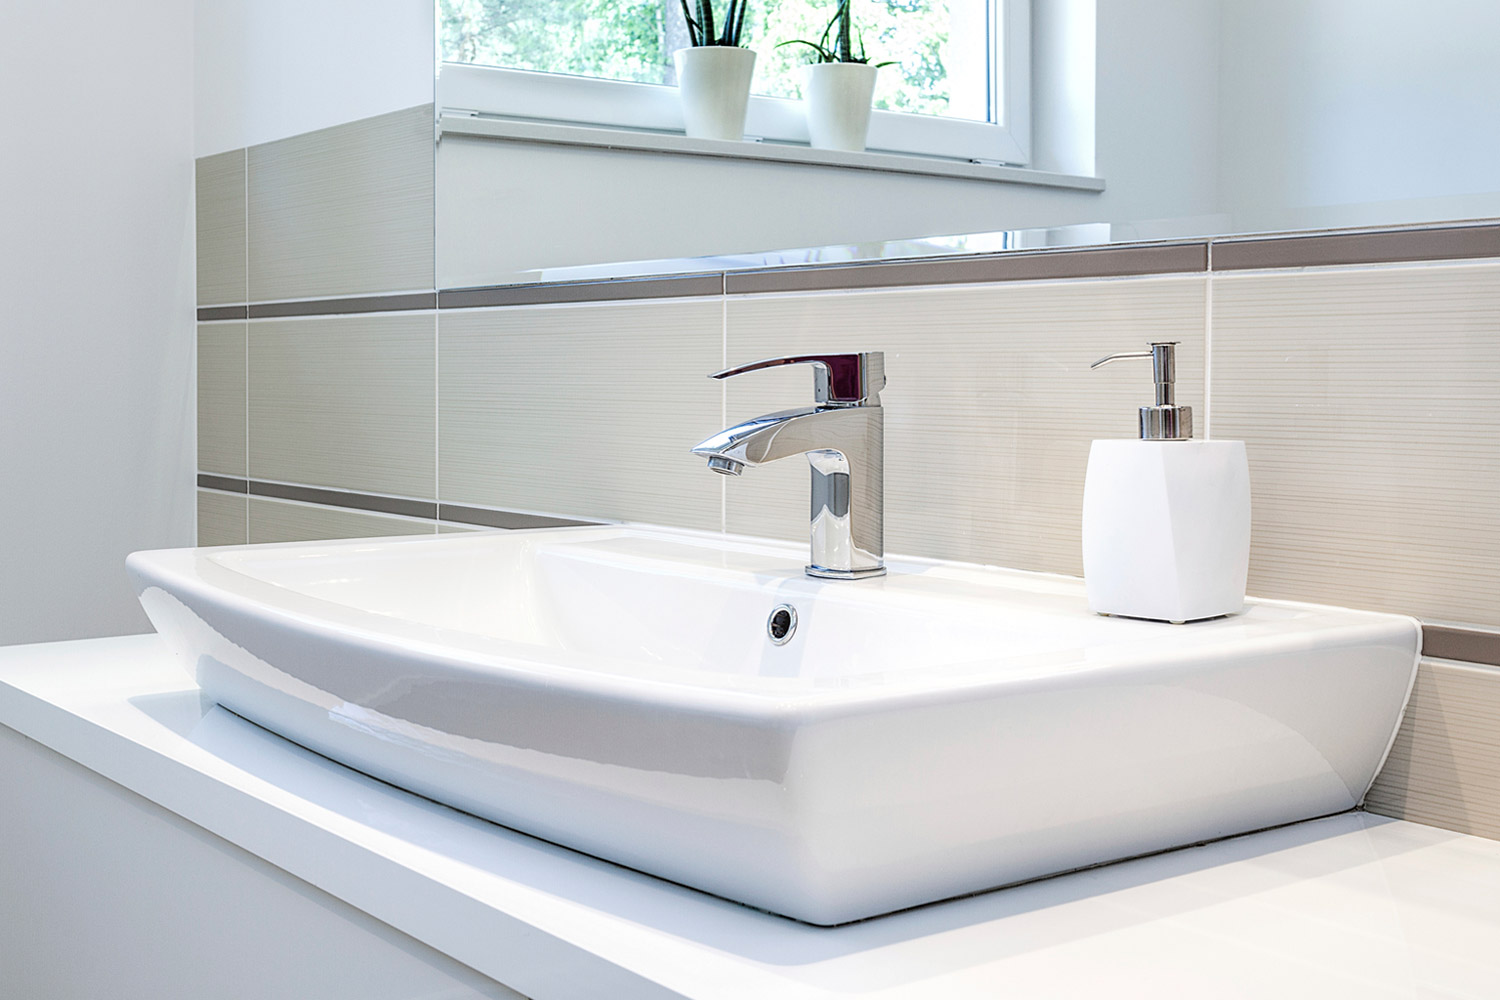
Take a small amount of plumber's putty and roll it into a thin rope. Place the putty around the edge of the sink and then carefully place the sink on top of the counter. Make sure the sink is aligned properly and press down gently to secure it in place. Wipe away any excess putty around the edges.Step 3: Apply Plumber's Putty


DIY Bathroom Sink on Top Counter: Tips and Tricks


Connect the water supply lines to the faucet. Make sure to use the correct size and type of supply lines for your faucet. Tightly secure the connections using a wrench.Step 4: Connect the Water Supply Lines


Easy and Affordable Bathroom Sink on Top Counter Installation


Insert the drain assembly into the sink's drain hole. Apply a bead of silicone caulk around the edges of the drain hole to create a watertight seal. Place the drain flange on top of the silicone and screw it in place. Use a wrench to tighten the drain flange securely.Step 5: Install the Drain


Transform Your Bathroom with a DIY Sink on Top Counter


Connect the drain pipe from the sink to the drain in the wall. Make sure all connections are tight and secure.Step 6: Connect the Drain Pipe


Budget-Friendly Bathroom Sink on Top Counter Ideas


Once all the connections are in place, turn on the water supply and check for any leaks. If there are any, tighten the connections as needed.Step 7: Turn on the Water Supply


Maximizing Space with a DIY Bathroom Sink on Top Counter


:max_bytes(150000):strip_icc()/build-something-diy-vanity-594402125f9b58d58ae21158.jpg)

Using silicone caulk, run a bead of caulk around the edges of the sink where it meets the counter. This will create a watertight seal and also give a clean and finished look to your new sink.Step 8: Apply Caulk

Upgrade Your Bathroom with a Stylish Sink on Top Counter


Why You Should Consider a DIY Bathroom Sink on Top Counter

Save Money and Customize Your Design
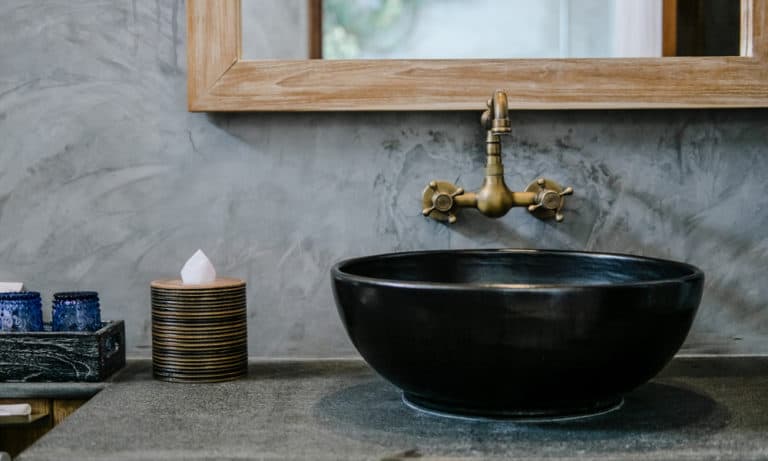
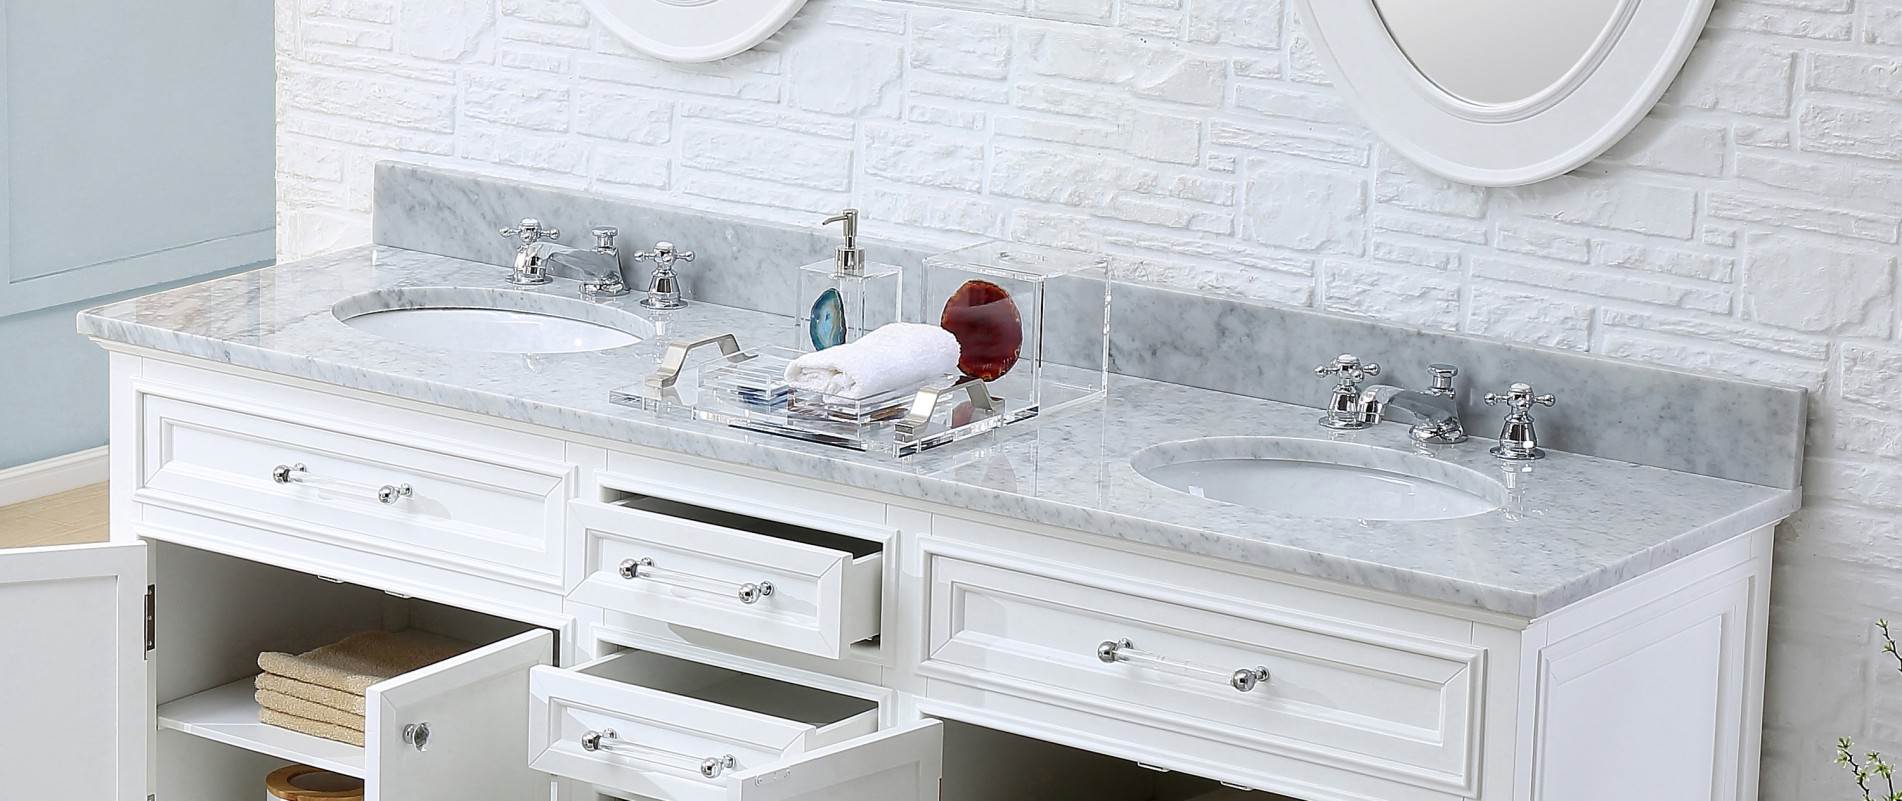
 If you're looking for a budget-friendly and personalized option for your bathroom sink, a DIY bathroom sink on top counter may be the perfect solution. By choosing to do it yourself, you can save money on installation costs and have more control over the design and materials used. Plus, with the wide variety of materials available, you can choose a sink and countertop combination that perfectly suits your style and needs.
Easy Installation Process
 Installing a bathroom sink on top of a counter is a relatively simple process that can be completed in just a few steps. First, you'll need to measure and cut the hole for the sink in the countertop. Then, you can attach the sink to the countertop using adhesive or brackets. Finally, install the faucet and plumbing, and your new sink is ready to use. With some basic tools and a little bit of patience, you can have a beautiful and functional sink in no time.
Maximize Space in Your Bathroom
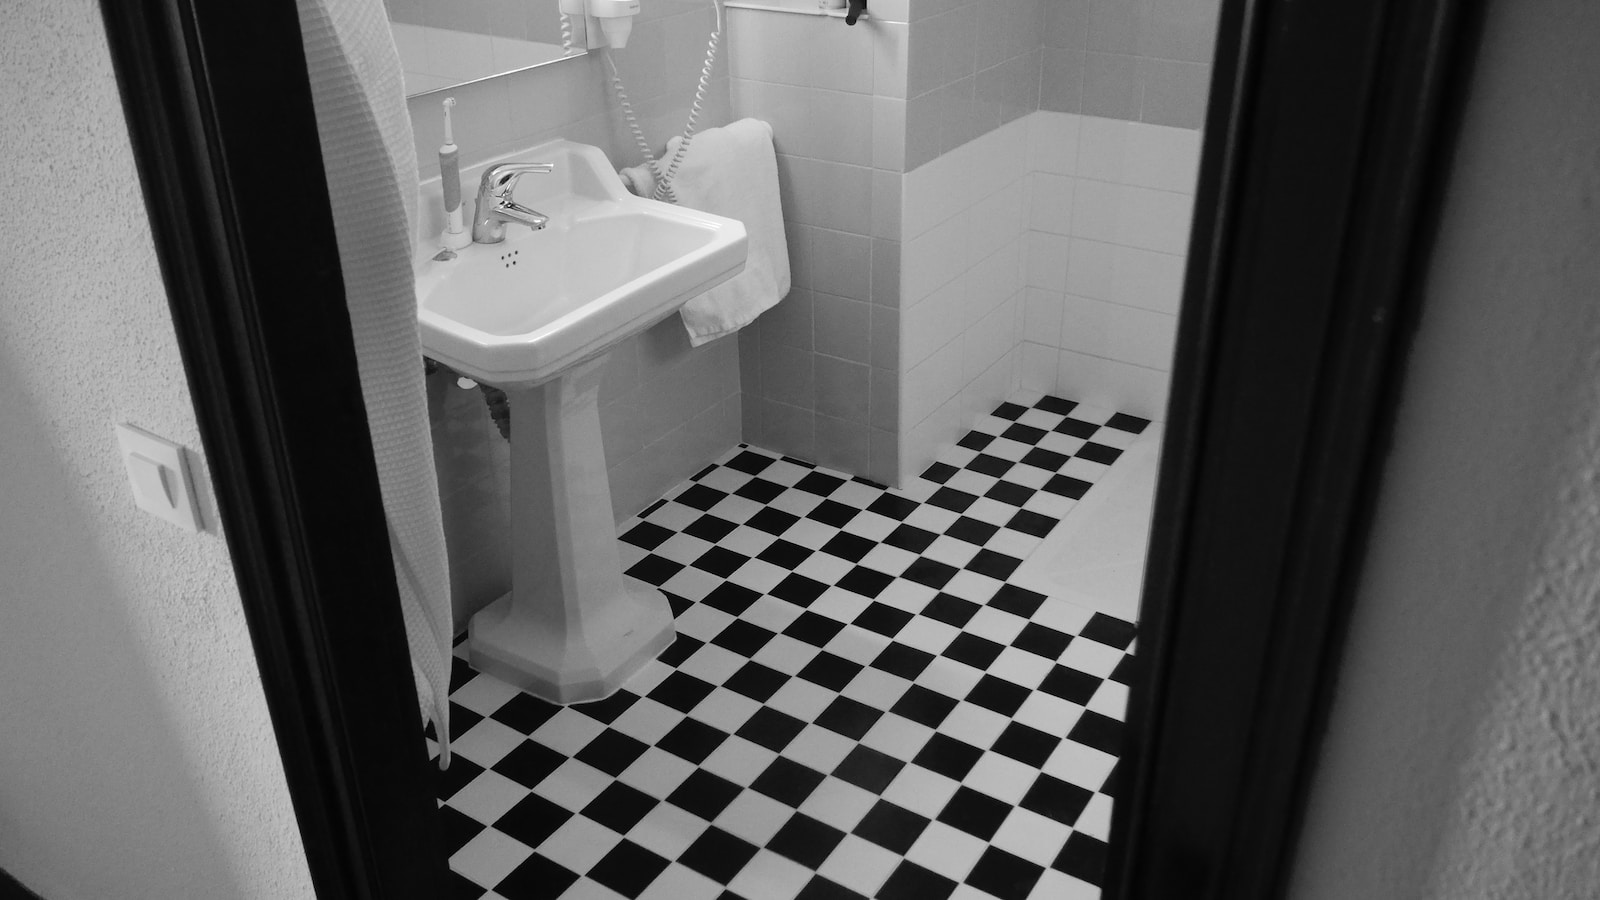
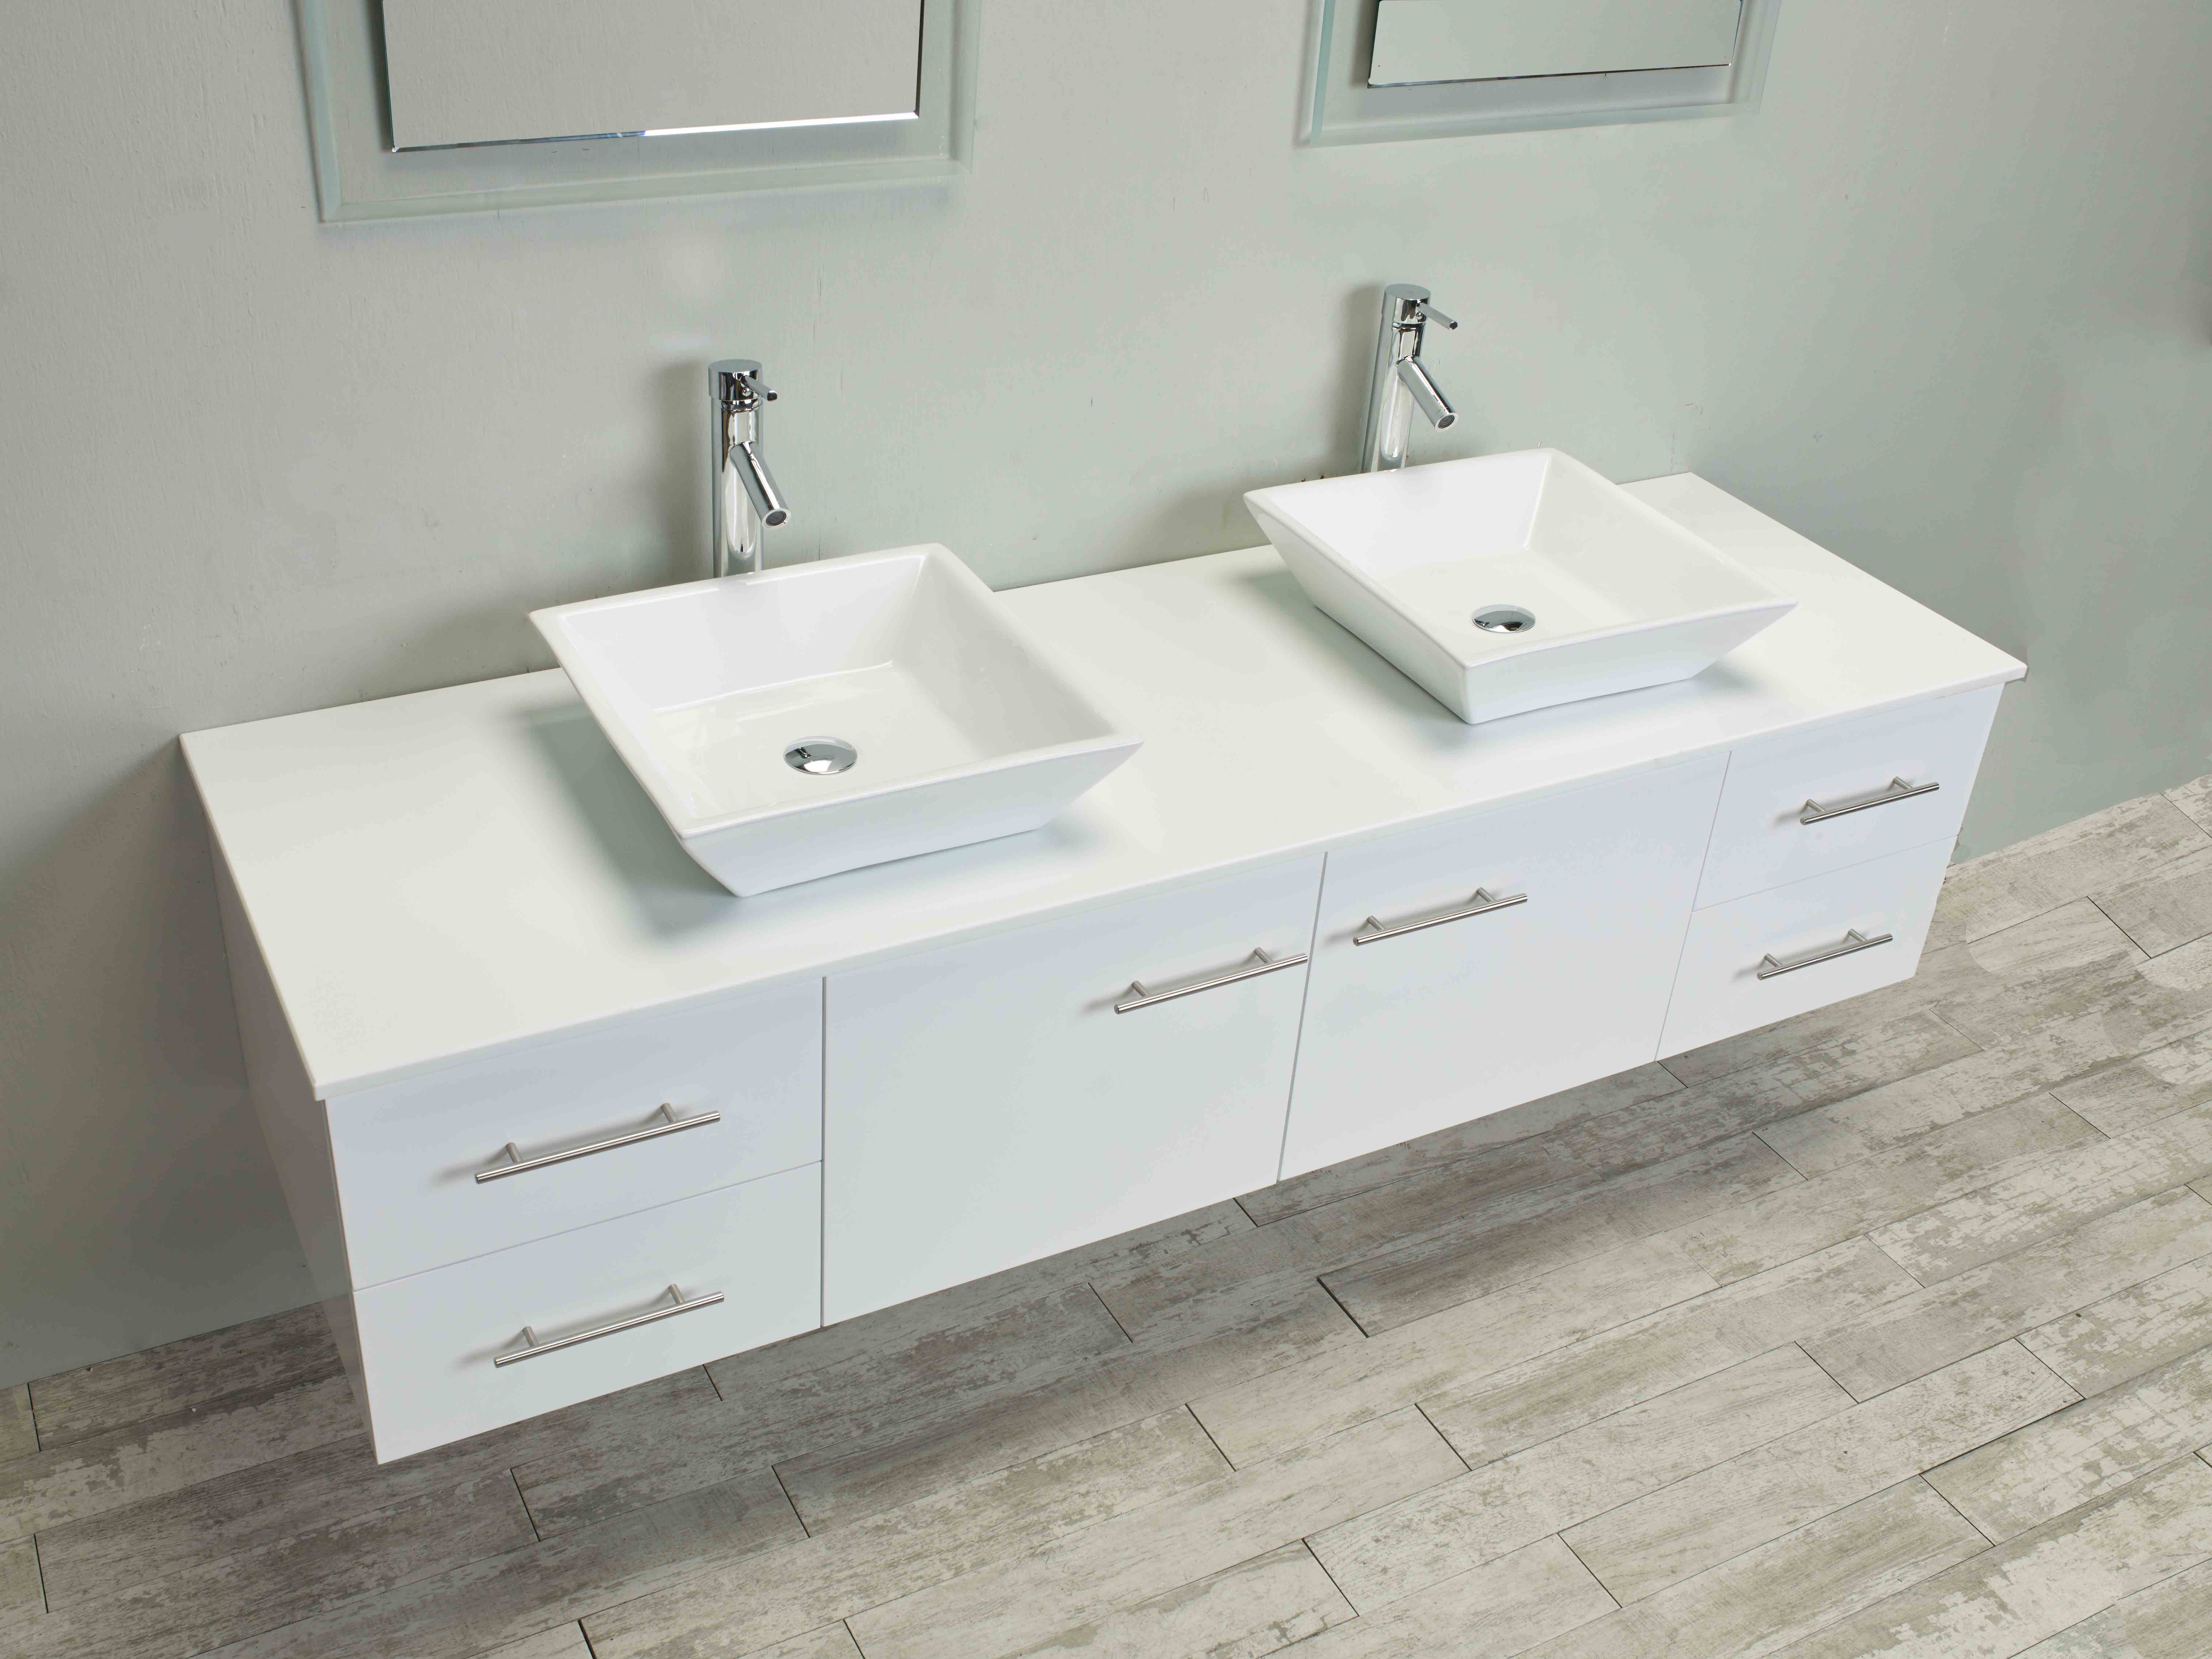
 One of the biggest advantages of a DIY bathroom sink on top counter is that it can help maximize space in your bathroom. By placing the sink on top of the counter, you eliminate the need for a separate vanity or cabinet, freeing up more room for other essential bathroom items. This is especially useful in smaller bathrooms where space is limited but functionality is still a top priority.
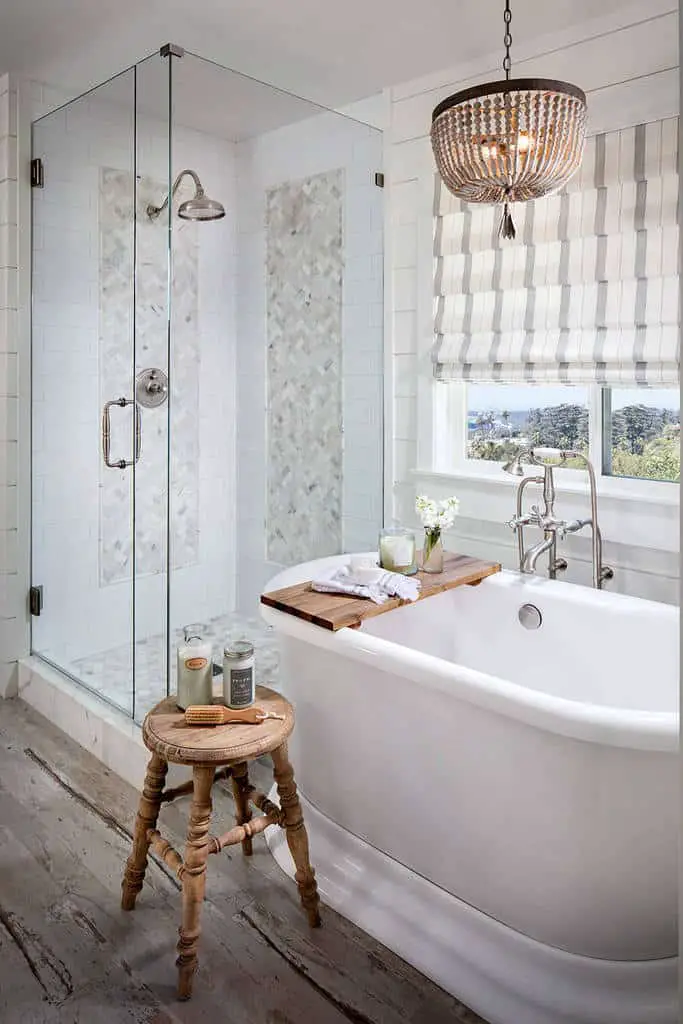
Customize Your Height and Placement
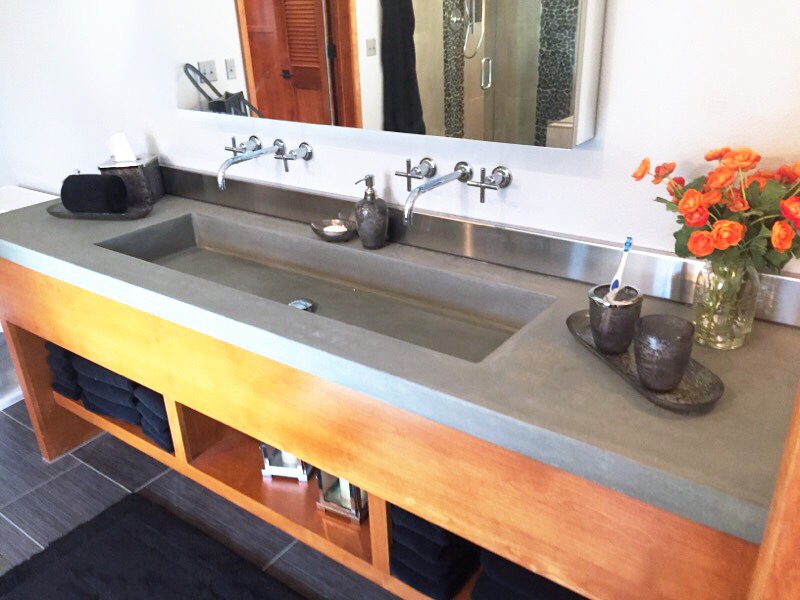
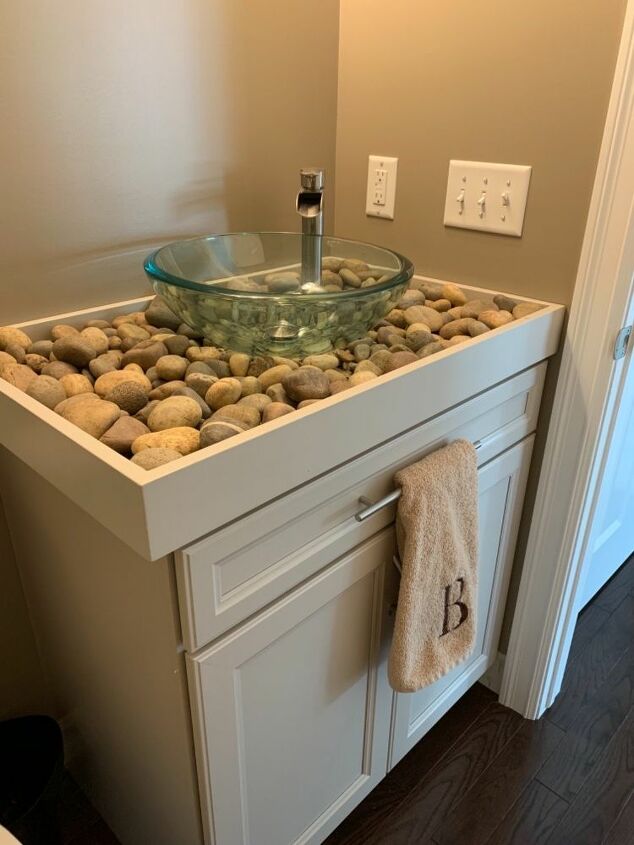
 Another benefit of a DIY bathroom sink on top counter is the ability to customize its height and placement. By choosing the height of your counter and sink, you can ensure that it's comfortable and convenient for your specific needs. This is especially helpful for individuals with mobility issues or families with children. Additionally, you can choose to place the sink off-center or in a unique position, adding a touch of creativity to your bathroom design.
In conclusion, a DIY bathroom sink on top counter is a cost-effective, customizable, and space-saving option for your bathroom design. With its easy installation process and ability to customize height and placement, it's a great choice for any homeowner looking to add a personal touch to their bathroom. So why not give it a try and see the difference it can make in your bathroom space?
Another benefit of a DIY bathroom sink on top counter is the ability to customize its height and placement. By choosing the height of your counter and sink, you can ensure that it's comfortable and convenient for your specific needs. This is especially helpful for individuals with mobility issues or families with children. Additionally, you can choose to place the sink off-center or in a unique position, adding a touch of creativity to your bathroom design.
In conclusion, a DIY bathroom sink on top counter is a cost-effective, customizable, and space-saving option for your bathroom design. With its easy installation process and ability to customize height and placement, it's a great choice for any homeowner looking to add a personal touch to their bathroom. So why not give it a try and see the difference it can make in your bathroom space?