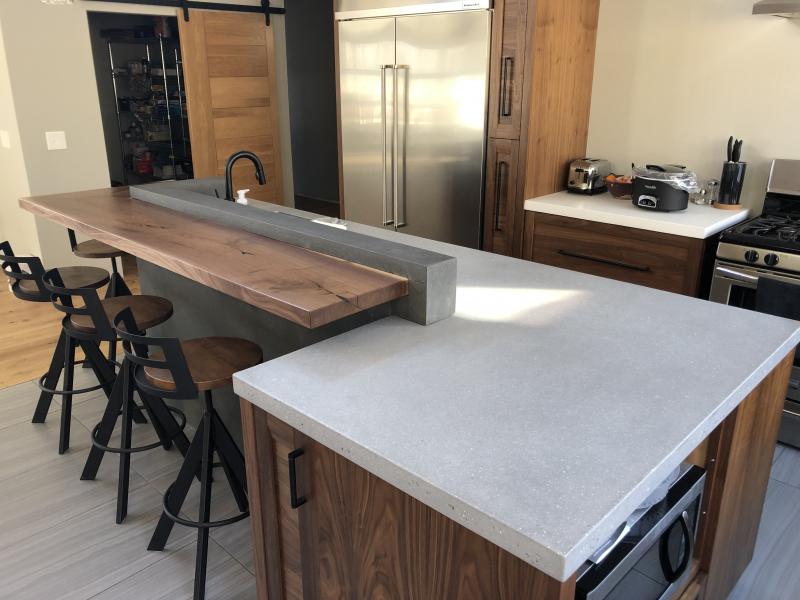
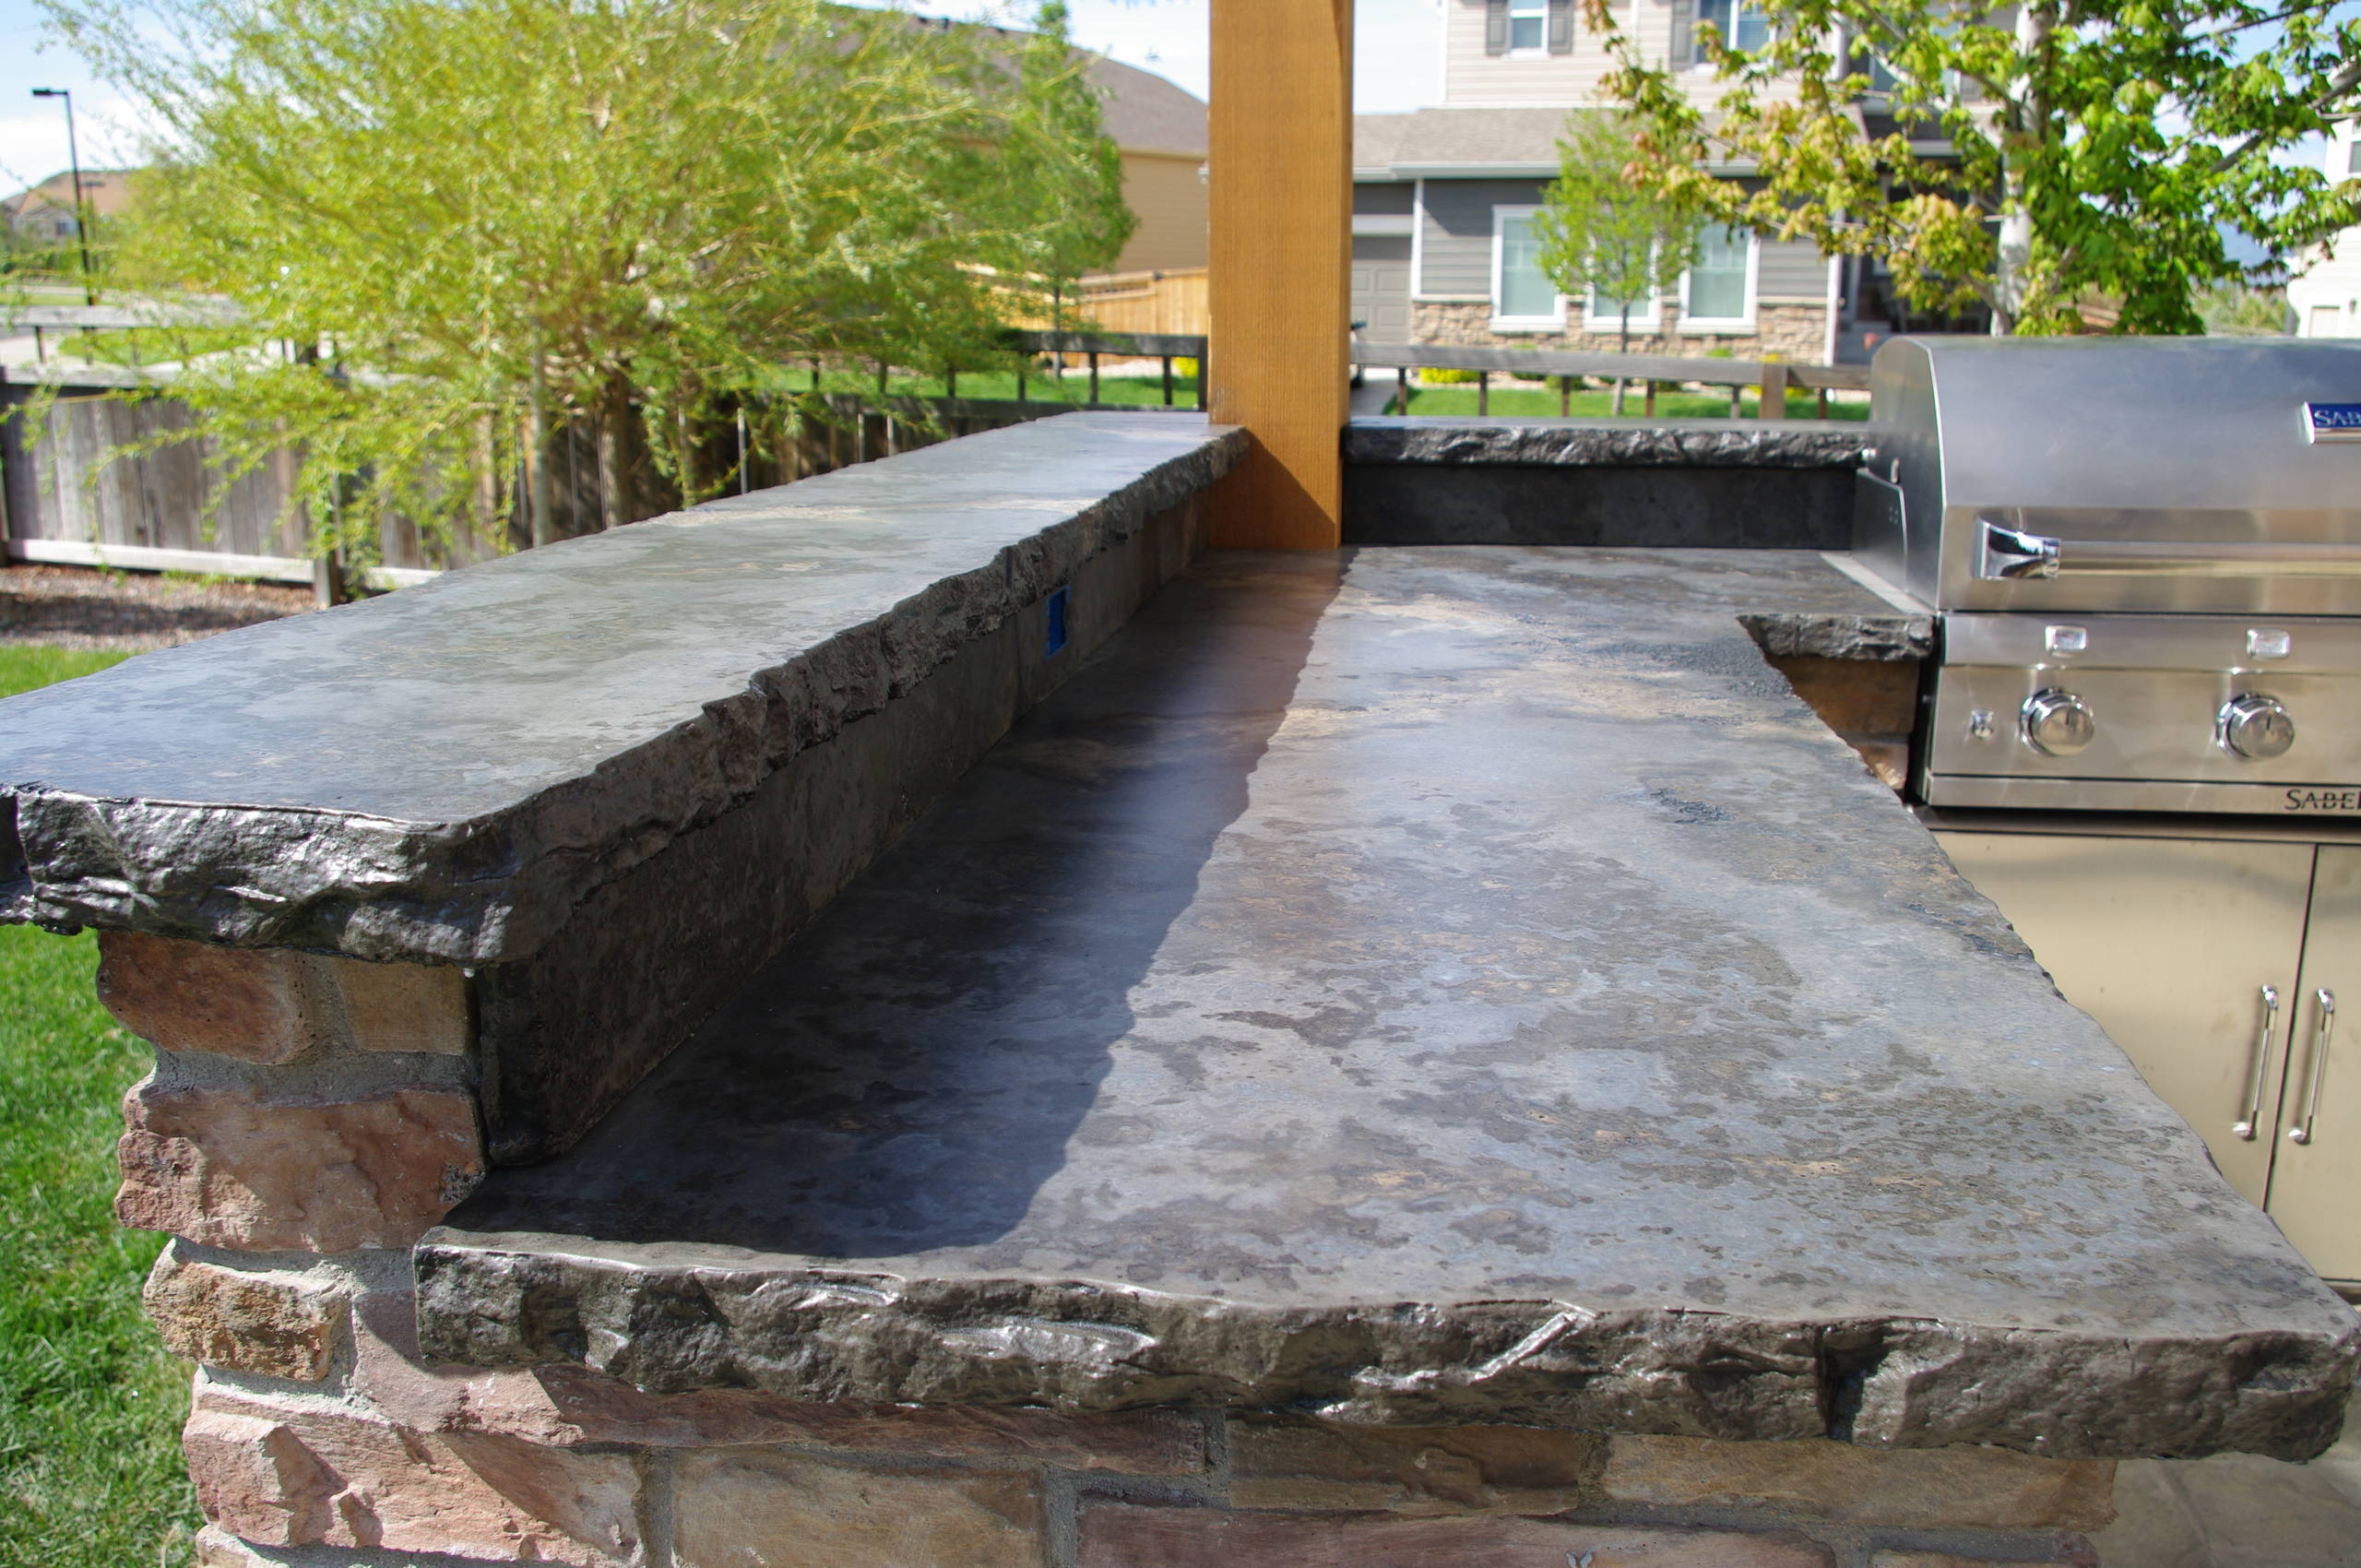
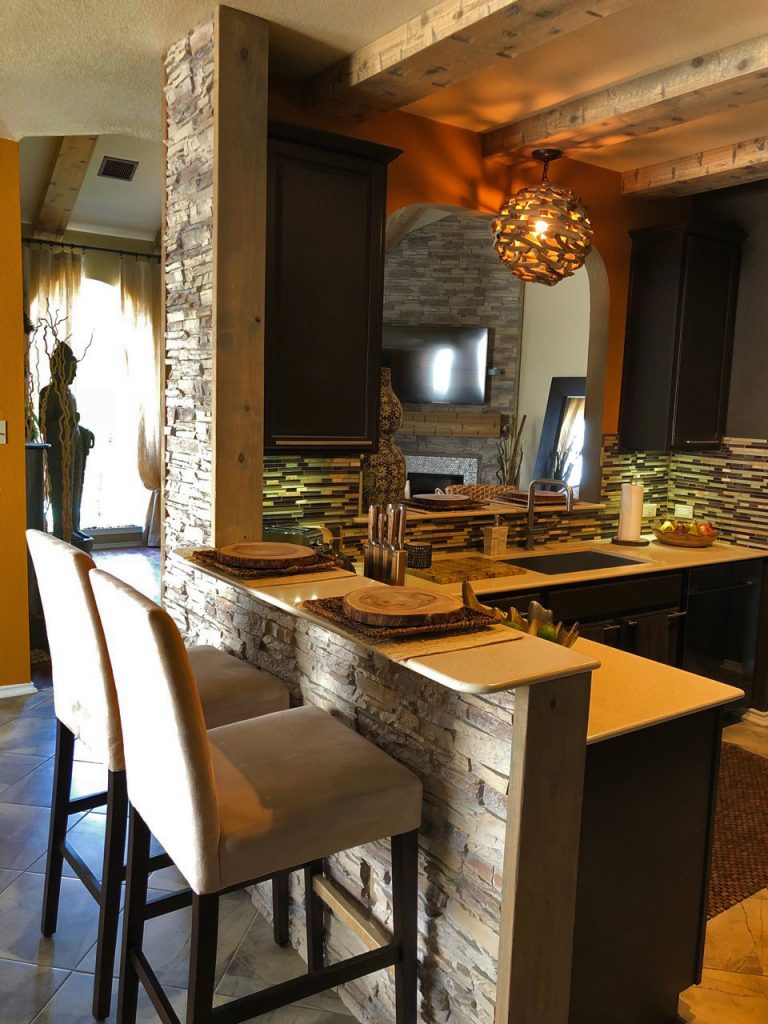
If you're looking for a modern and durable kitchen bar top, a DIY concrete countertop is the perfect choice. Not only is it cost-effective, but it also adds a unique touch to your kitchen. To begin, gather your materials such as cement, sand, aggregates, and water. Mix them together to create a smooth concrete mixture. Pour it into a mold that fits the size and shape of your kitchen bar. Let it dry for at least 24 hours before removing it from the mold. Sand down any rough edges and seal it with a food-safe concrete sealer. Your new concrete kitchen bar top is now ready to impress your guests!1. DIY Concrete Countertop for a Kitchen Bar


1. DIY Concrete Countertop for a Kitchen Bar


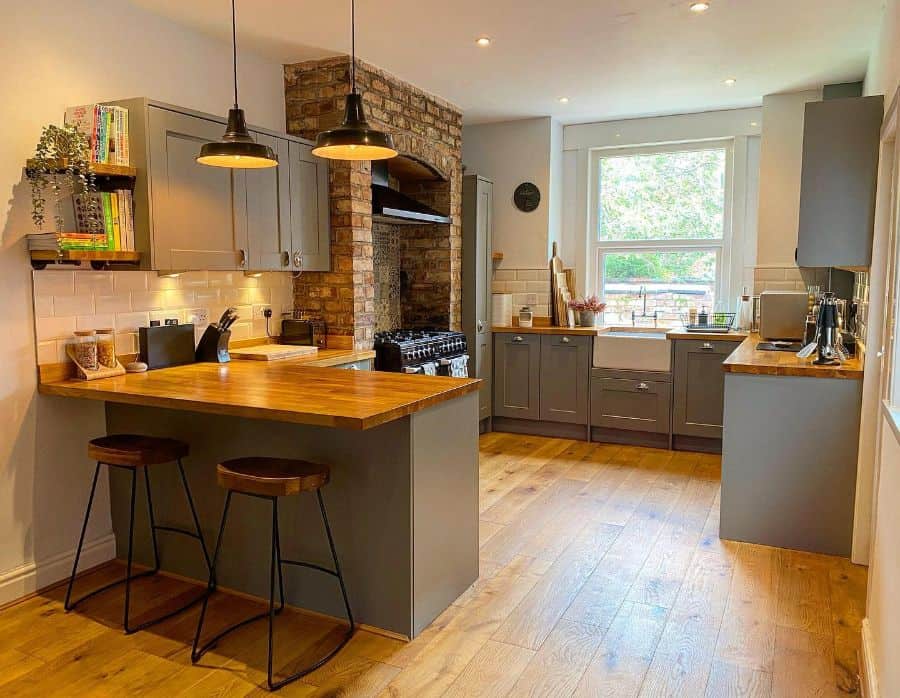
If you prefer a natural and warm look for your kitchen bar, a DIY wooden countertop is a great option. Start by measuring and cutting your chosen wood to fit the size of your kitchen bar. Sand down the edges and seal the wood with a food-safe sealant. For added durability, you can also add a layer of polyurethane. Finally, secure the wooden top to your kitchen bar using screws or adhesive. You now have a beautiful and functional kitchen bar top made entirely by yourself.2. How to Build a Kitchen Bar Top with Wood


2. How to Build a Kitchen Bar Top with Wood
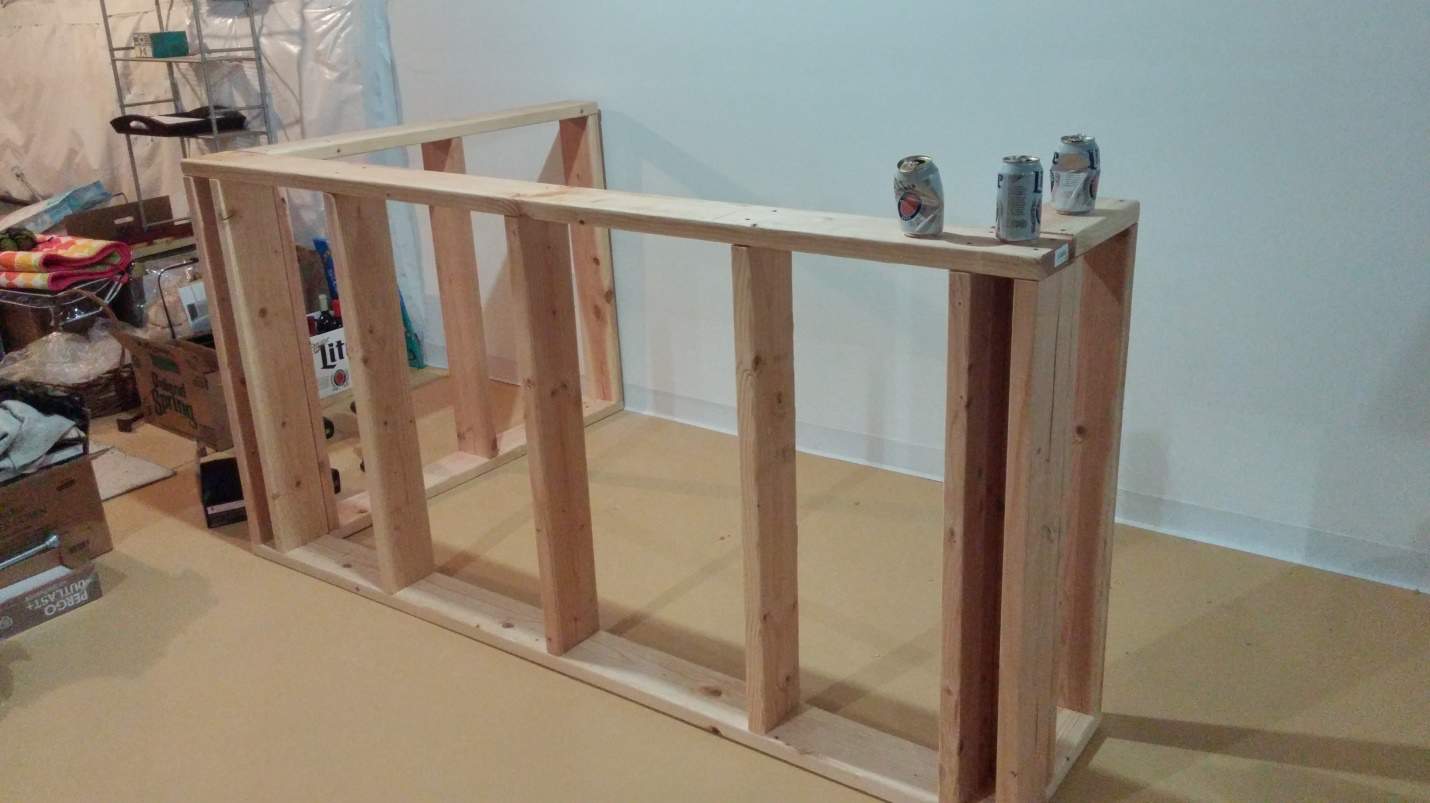

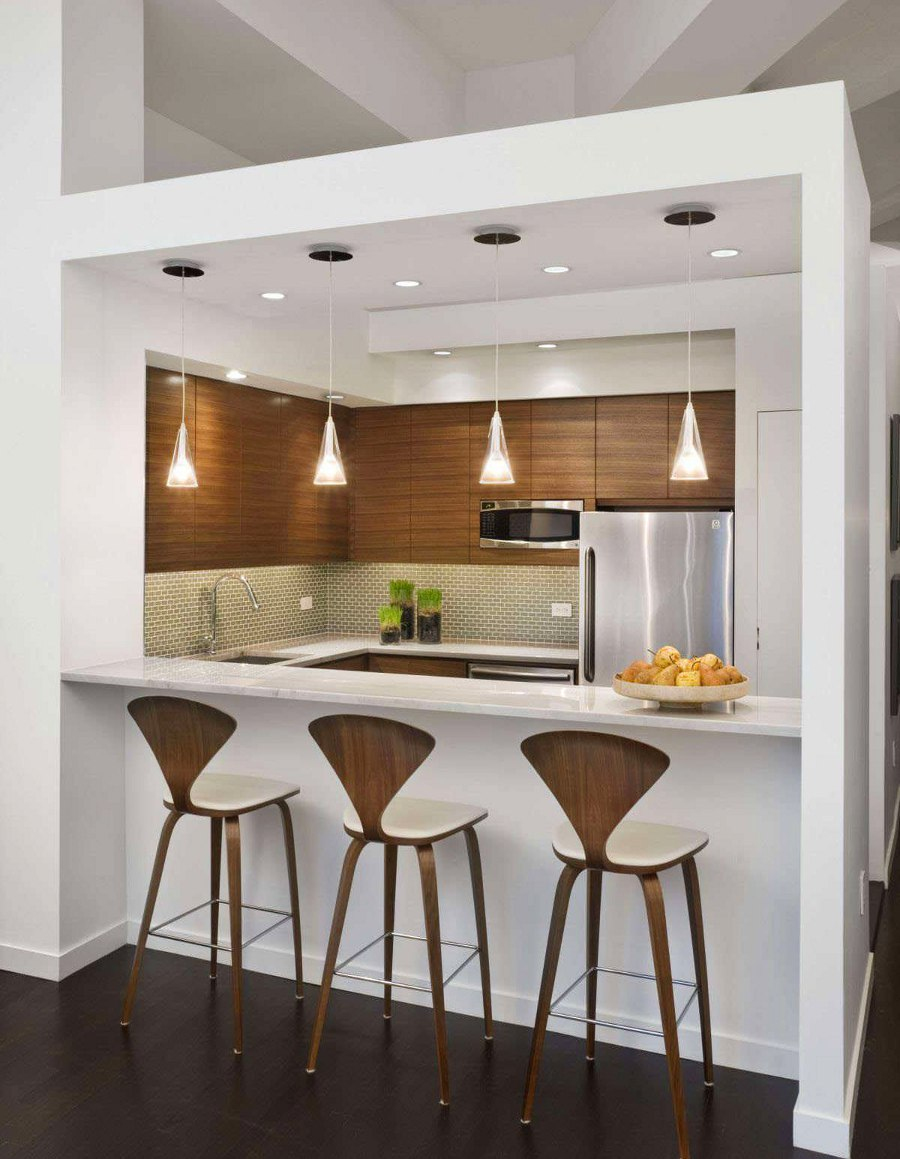
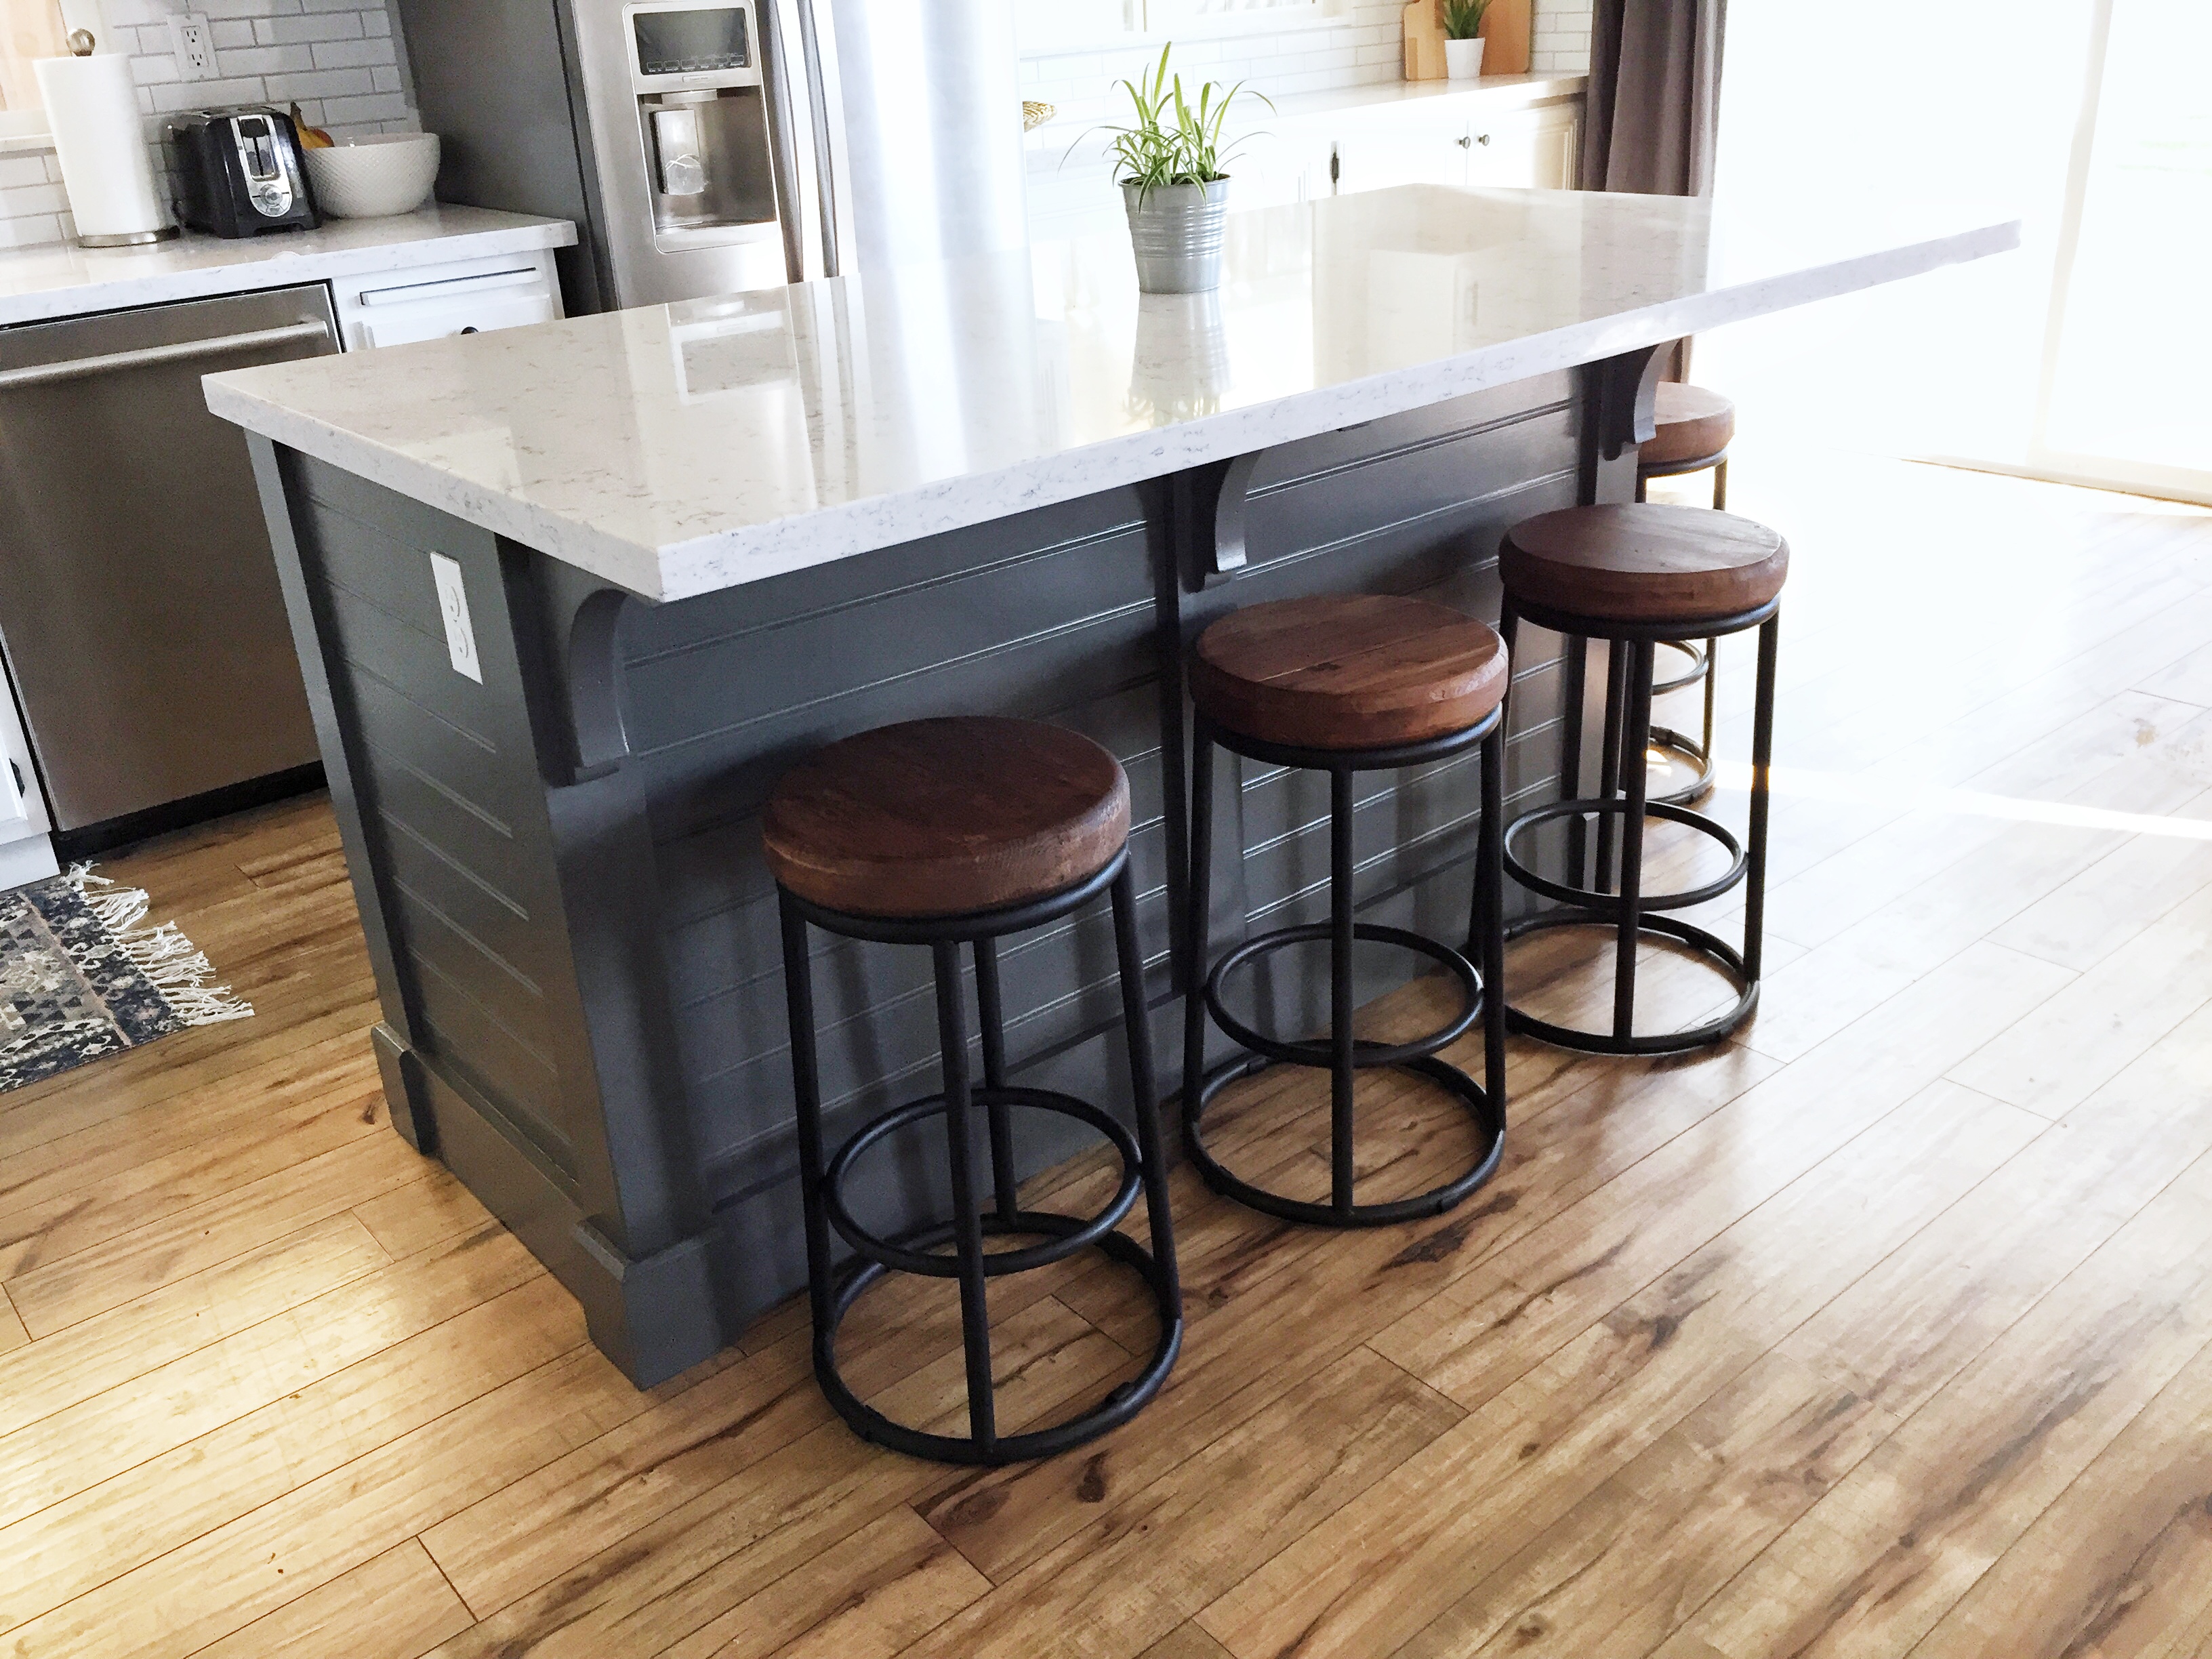
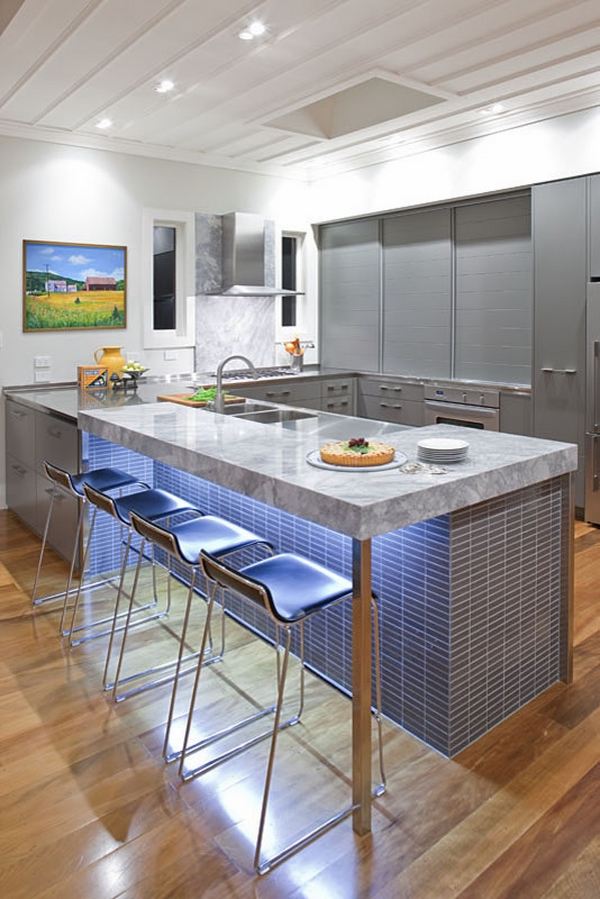
Why stop at just a kitchen bar top when you can have a whole kitchen island? If you have the space, building a DIY kitchen island with a bar top can add both style and functionality to your kitchen. Start by constructing the base of the island with wood or metal. Then, add a countertop of your choice, whether it's concrete, wood, or even marble. Finally, add some bar stools and you have a perfect spot for casual dining or entertaining guests.3. DIY Kitchen Island with Bar Top
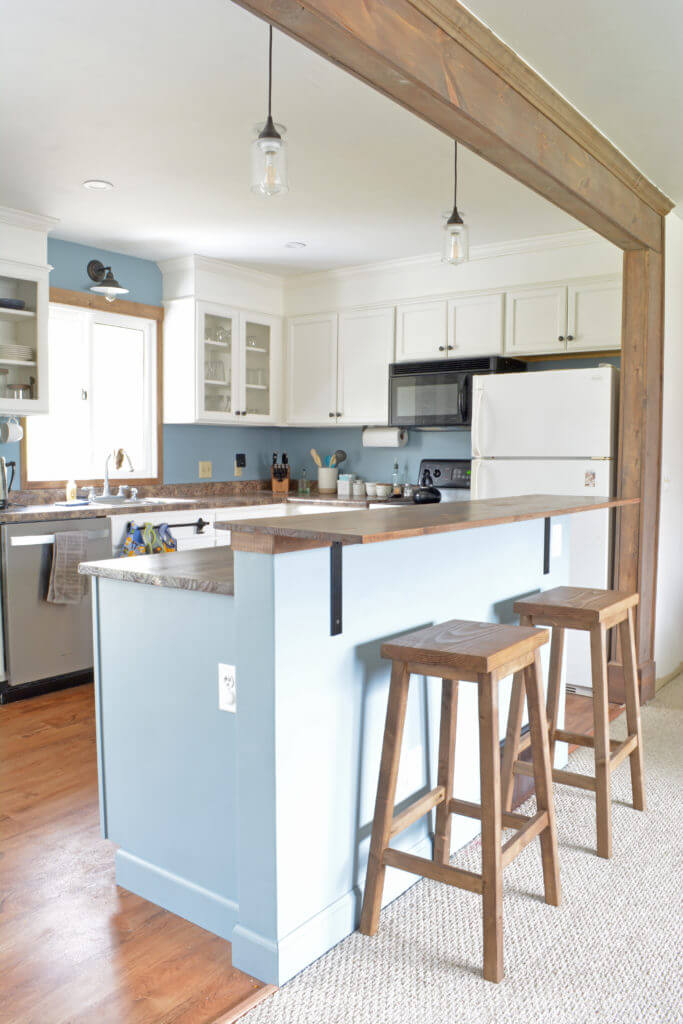


3. DIY Kitchen Island with Bar Top


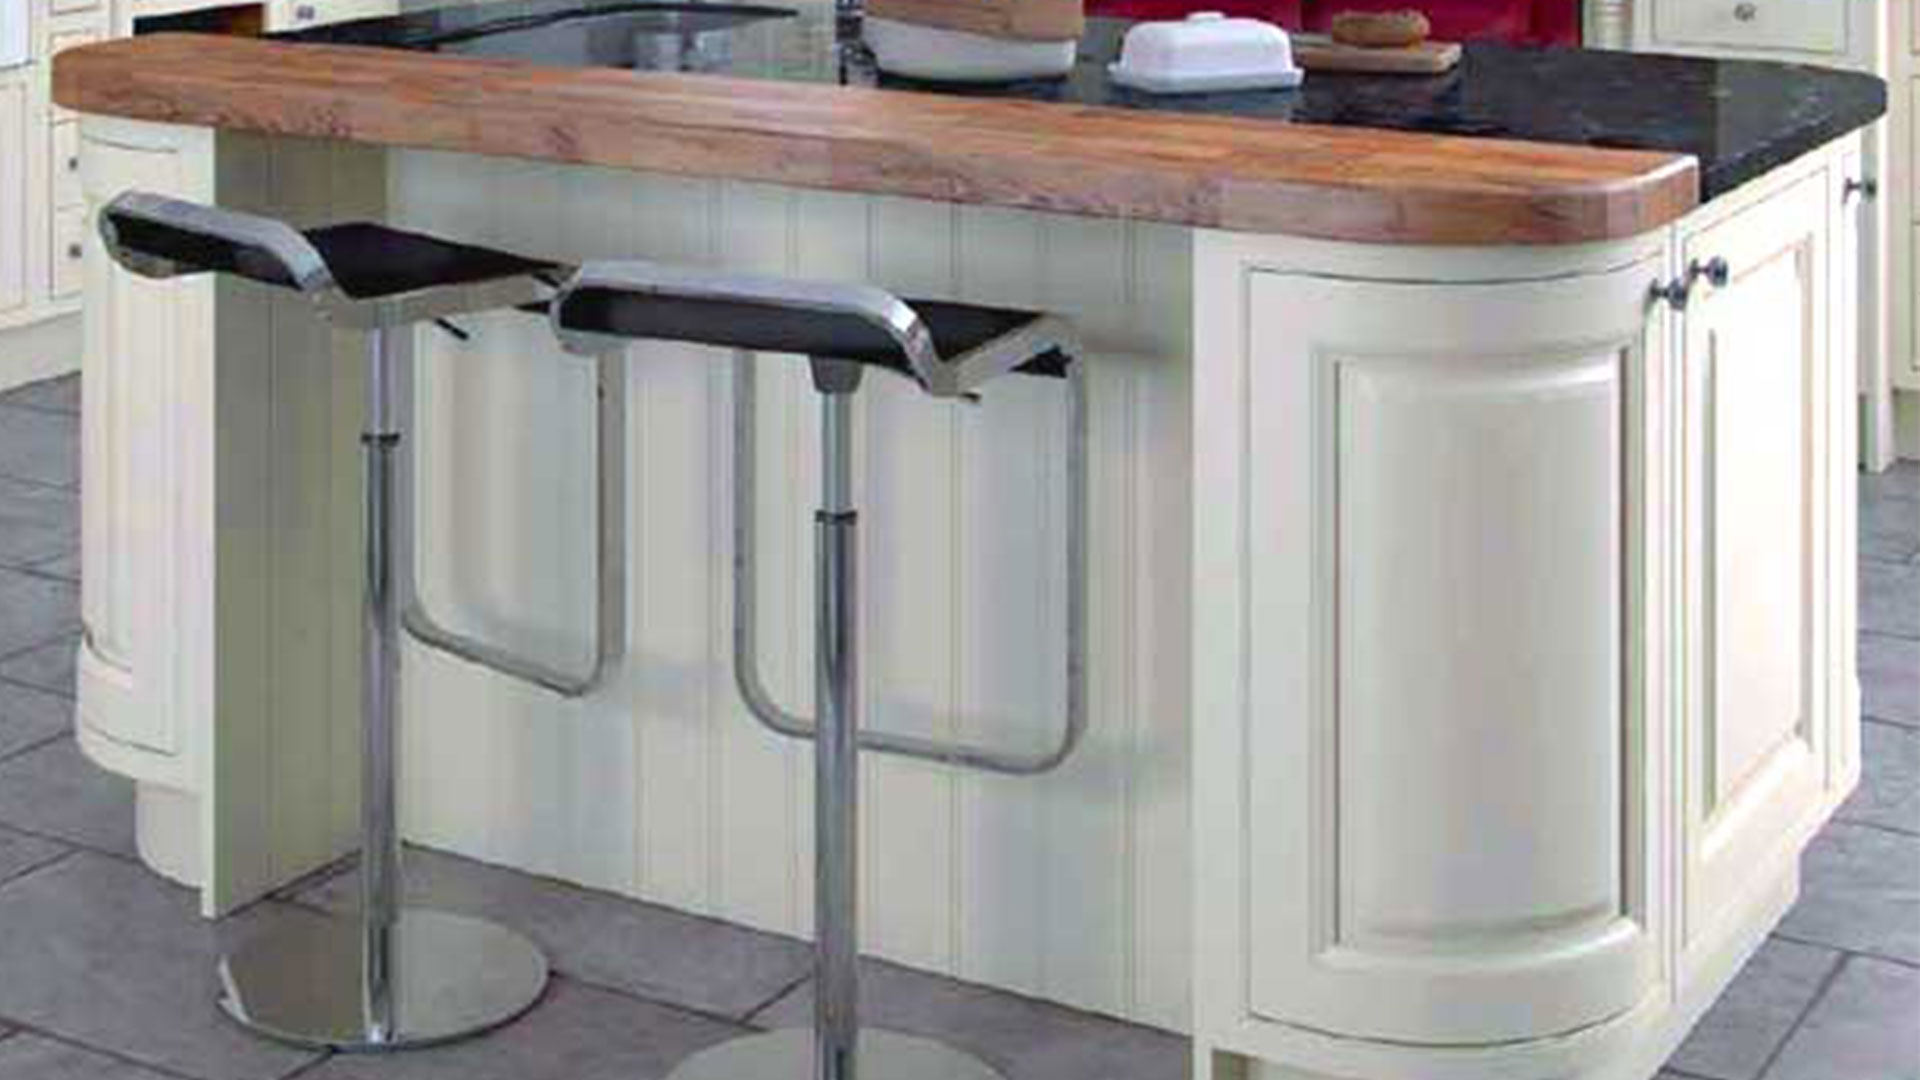


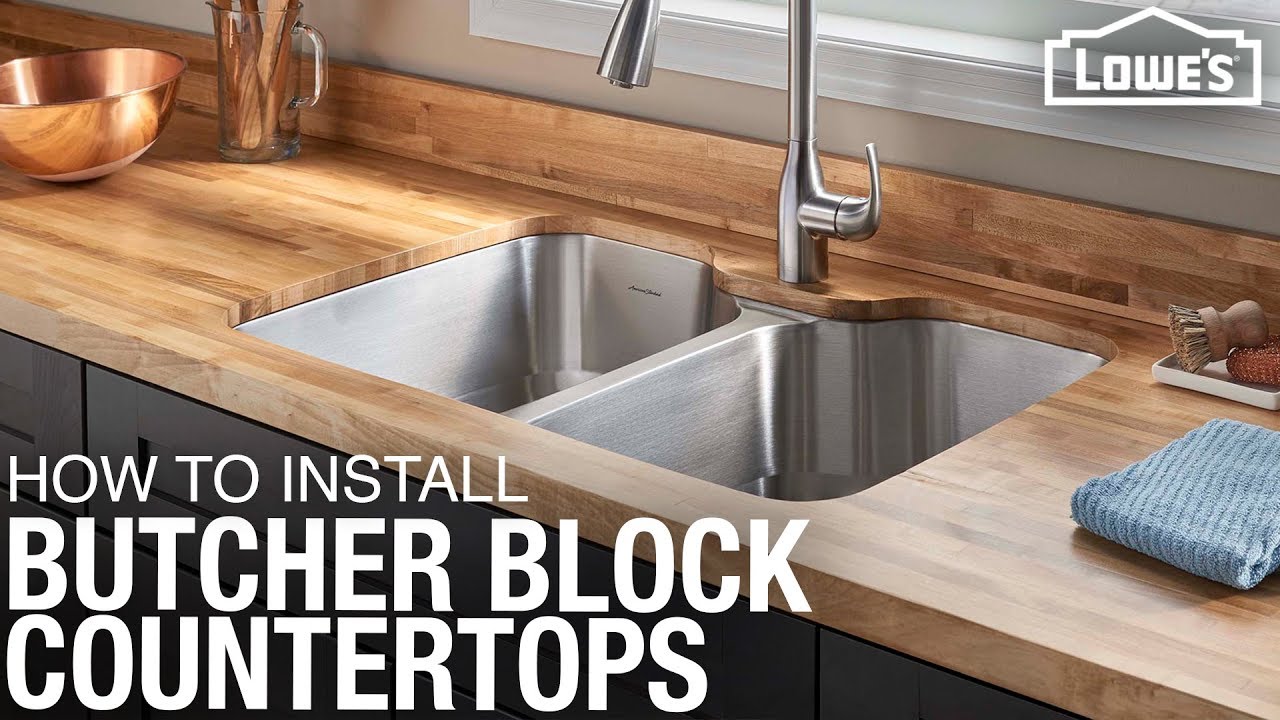
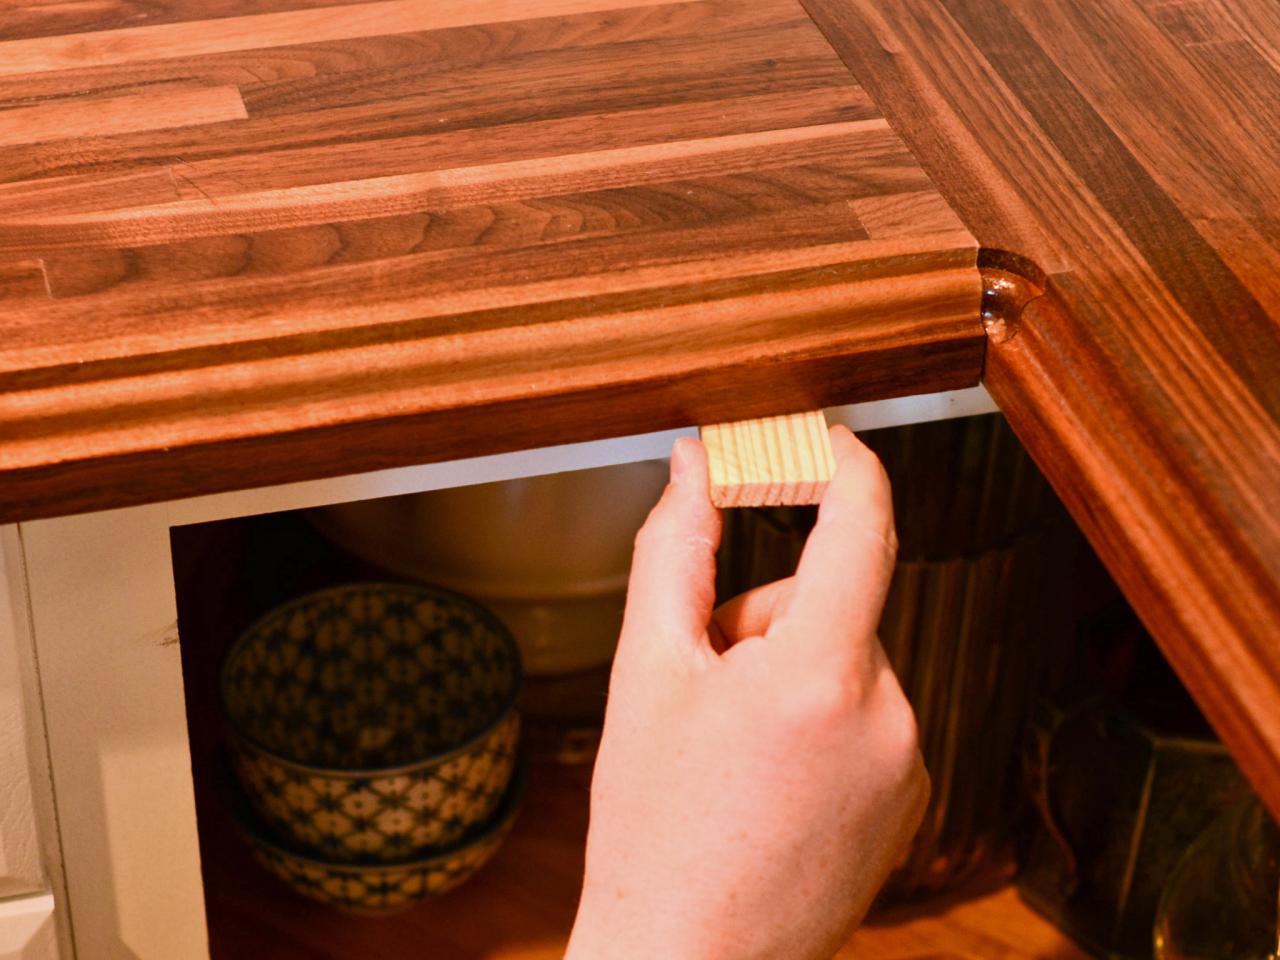
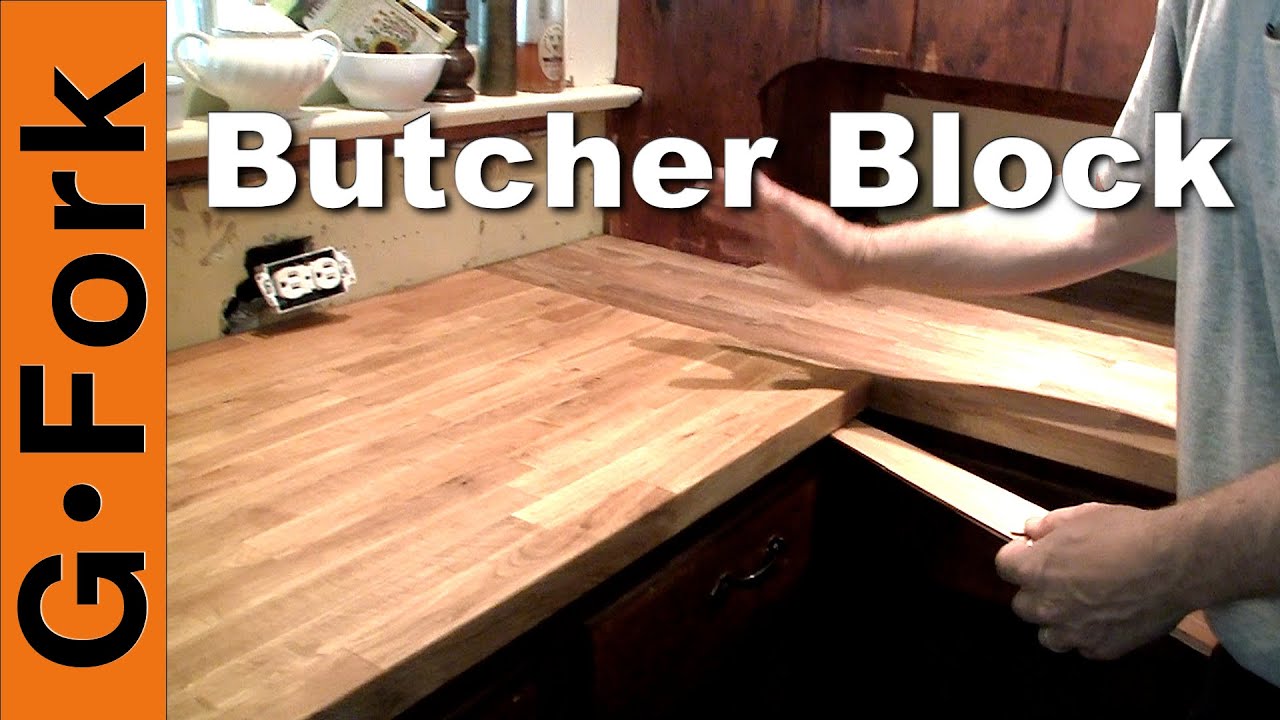
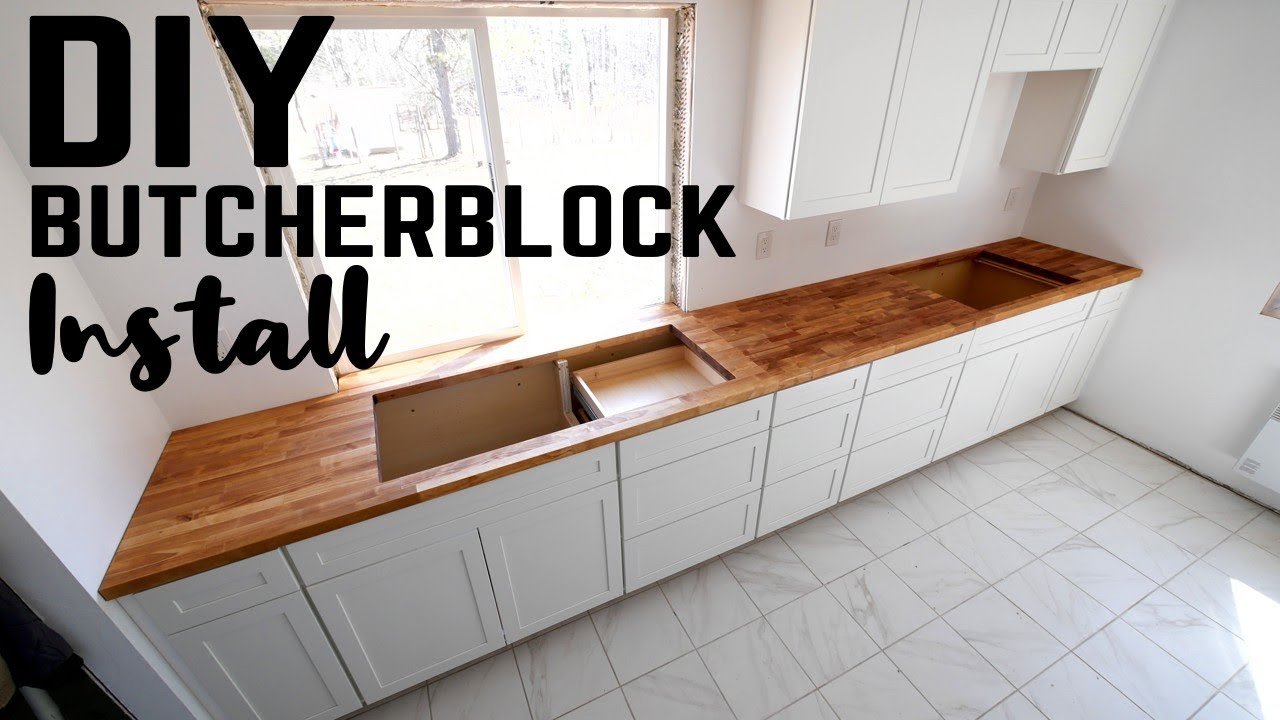
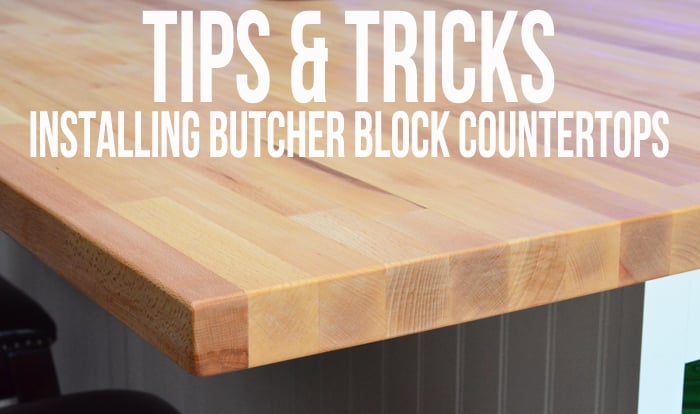
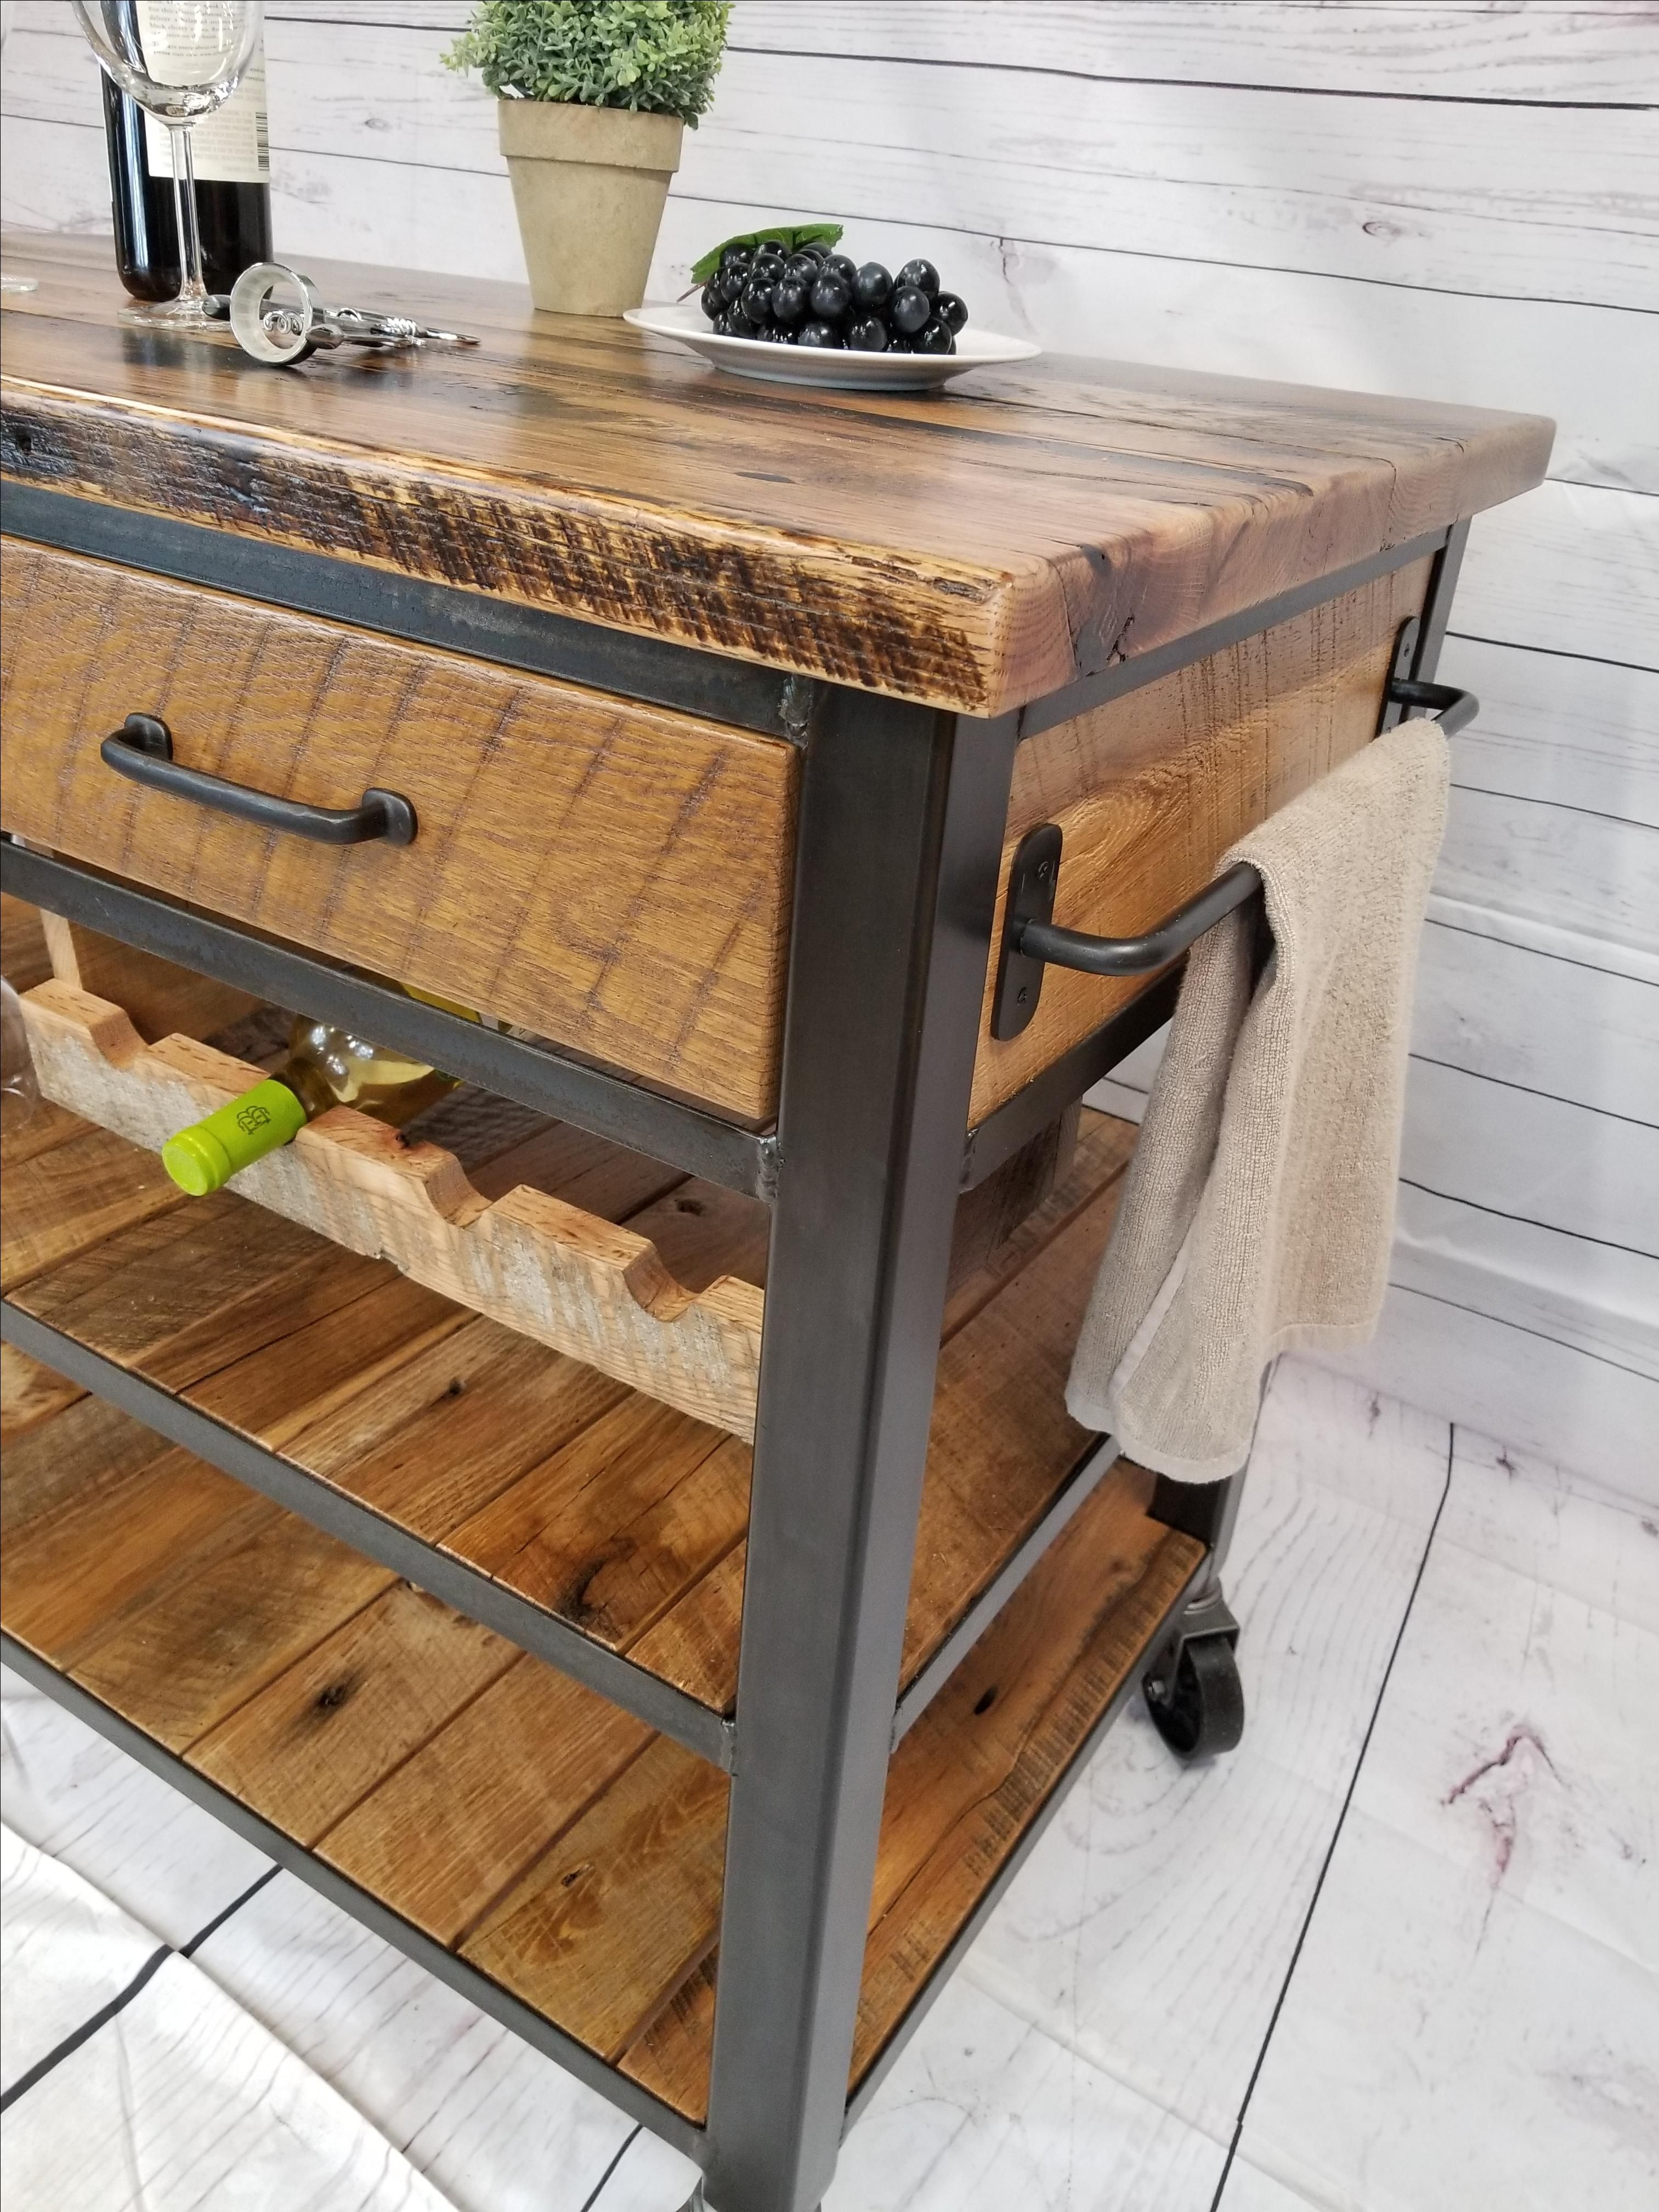
A butcher block bar top is not only practical but also adds a touch of warmth and character to your kitchen. To install one, measure and cut the butcher block to fit your kitchen bar. Make sure to leave a small overhang for a comfortable seating area. Then, secure it to the bar with screws and add a food-safe sealant. With proper care and maintenance, your butcher block bar top will last for years to come.4. How to Install a Butcher Block Bar Top in Your Kitchen


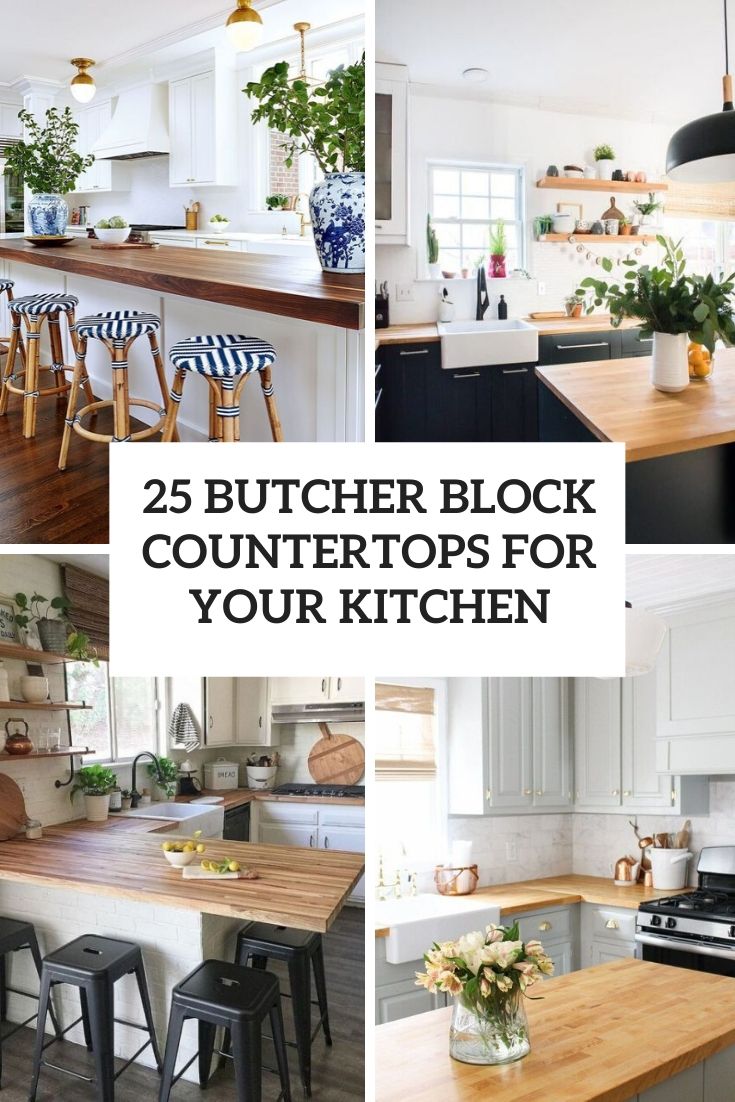
4. How to Install a Butcher Block Bar Top in Your Kitchen


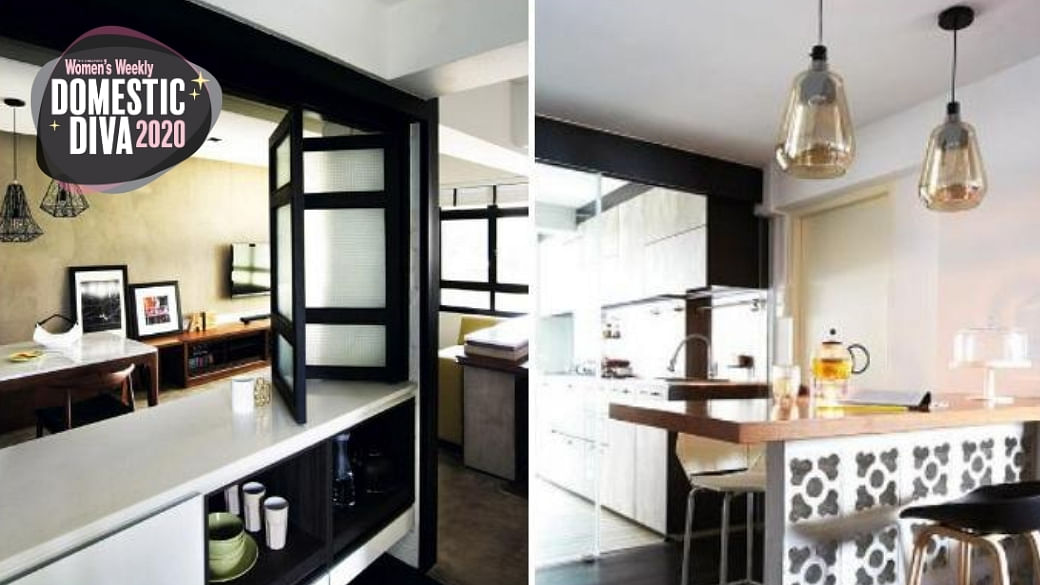
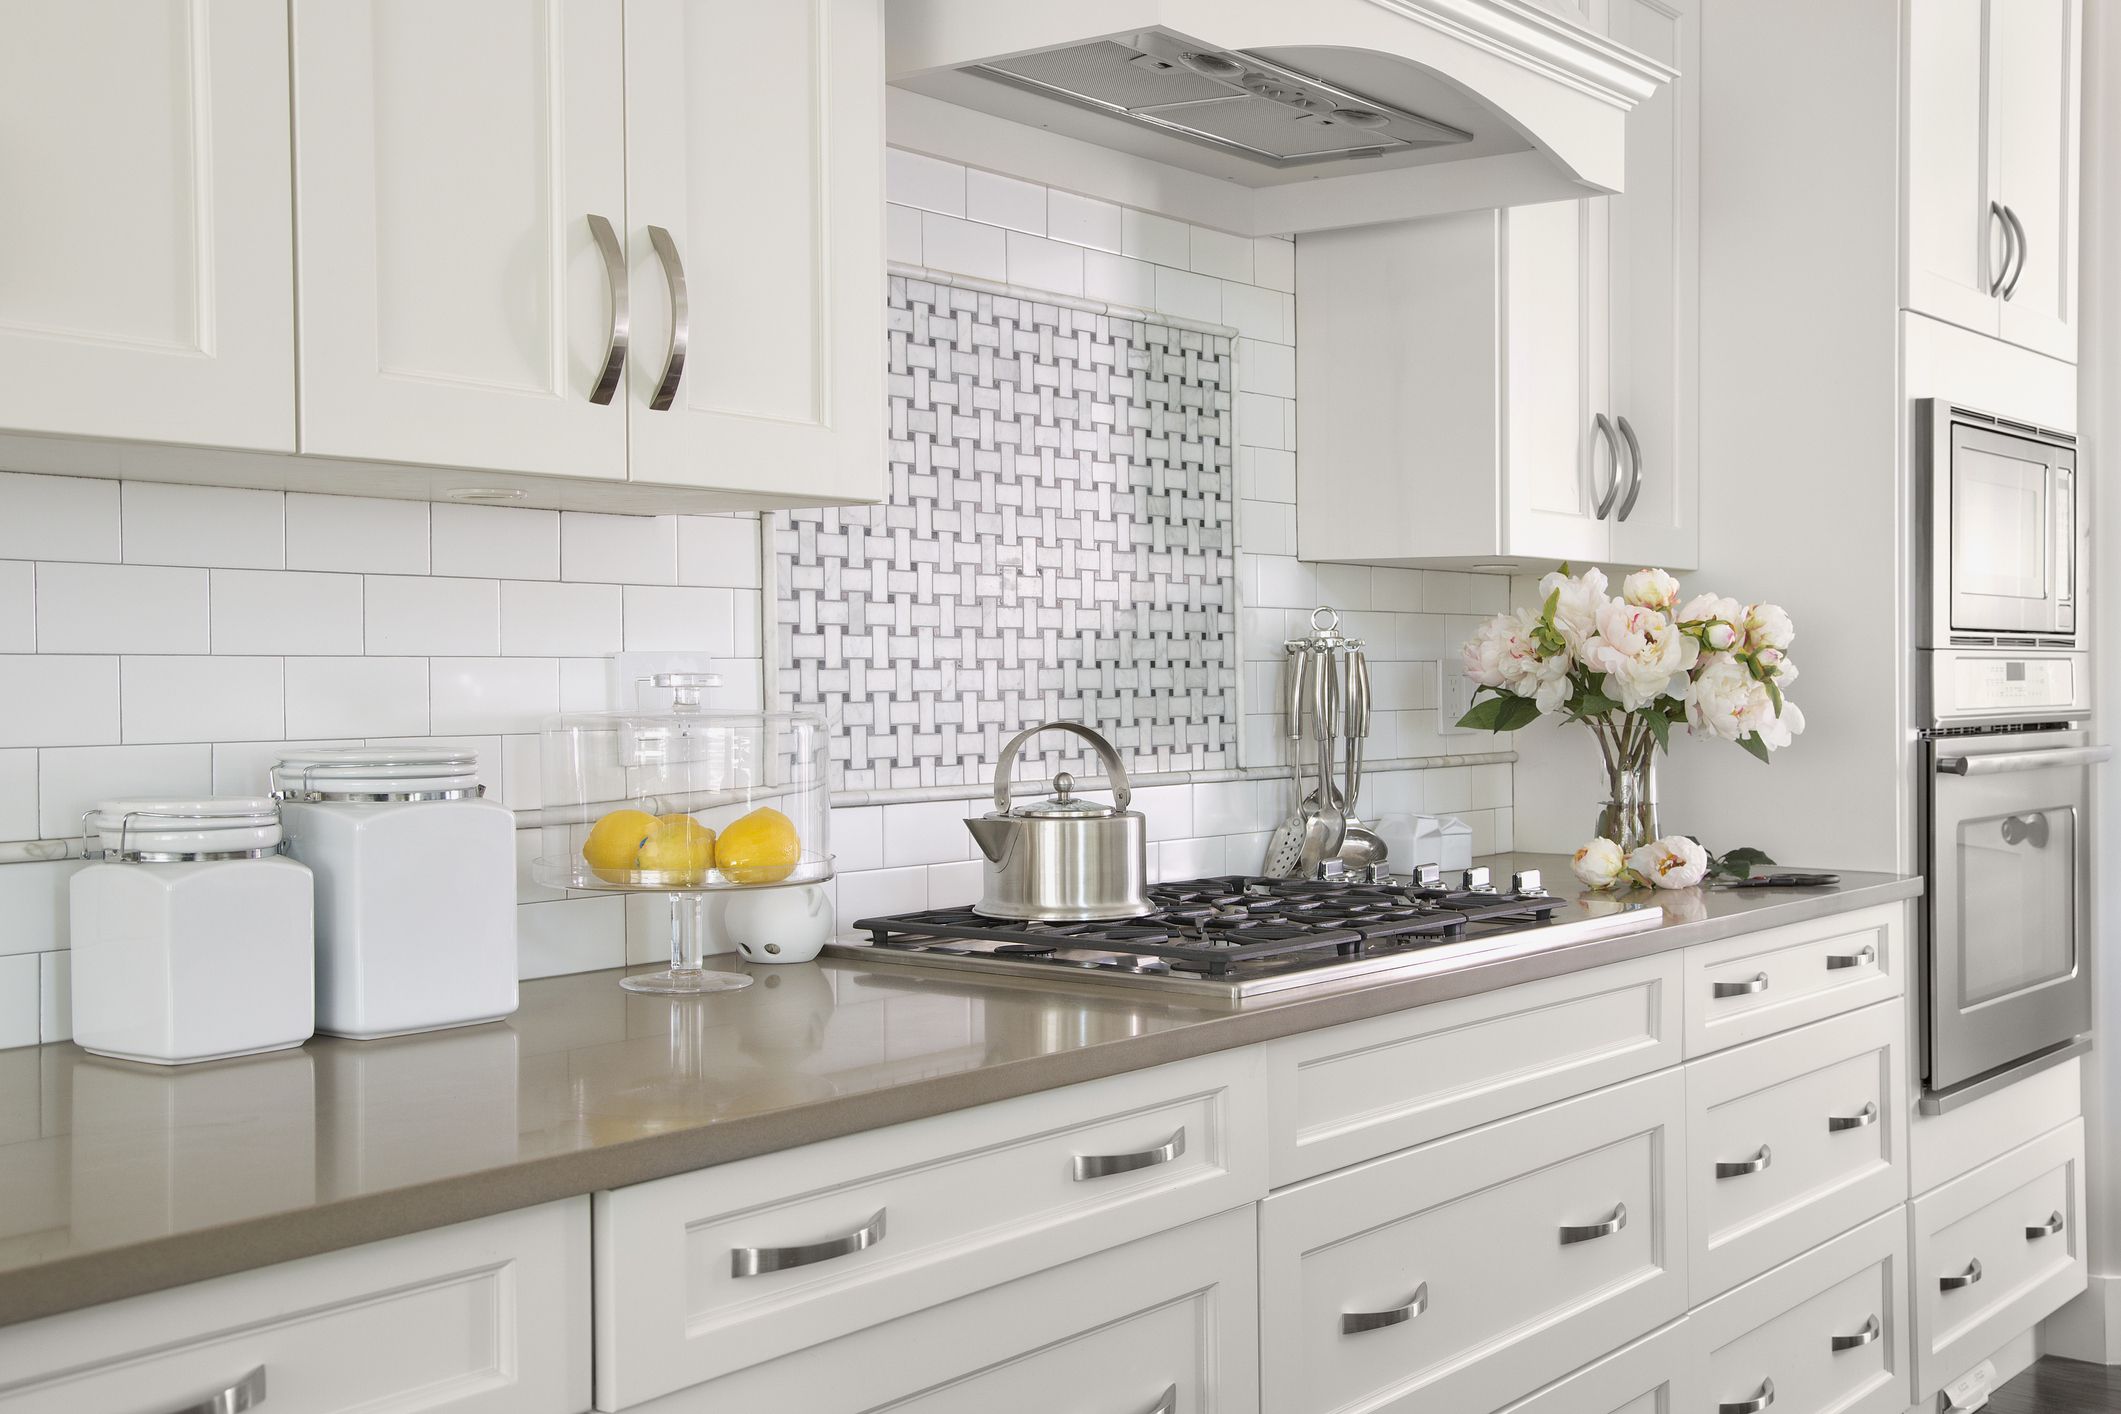
If you're feeling creative, there are endless possibilities for DIY kitchen bar tops. You can use materials such as concrete, wood, tile, or even recycled items to create a unique and personalized bar top. Look for inspiration online or in home improvement magazines and let your imagination run wild. Not only will you have a one-of-a-kind kitchen bar, but you'll also have a sense of pride knowing you made it yourself.5. DIY Kitchen Bar Top Ideas


5. DIY Kitchen Bar Top Ideas


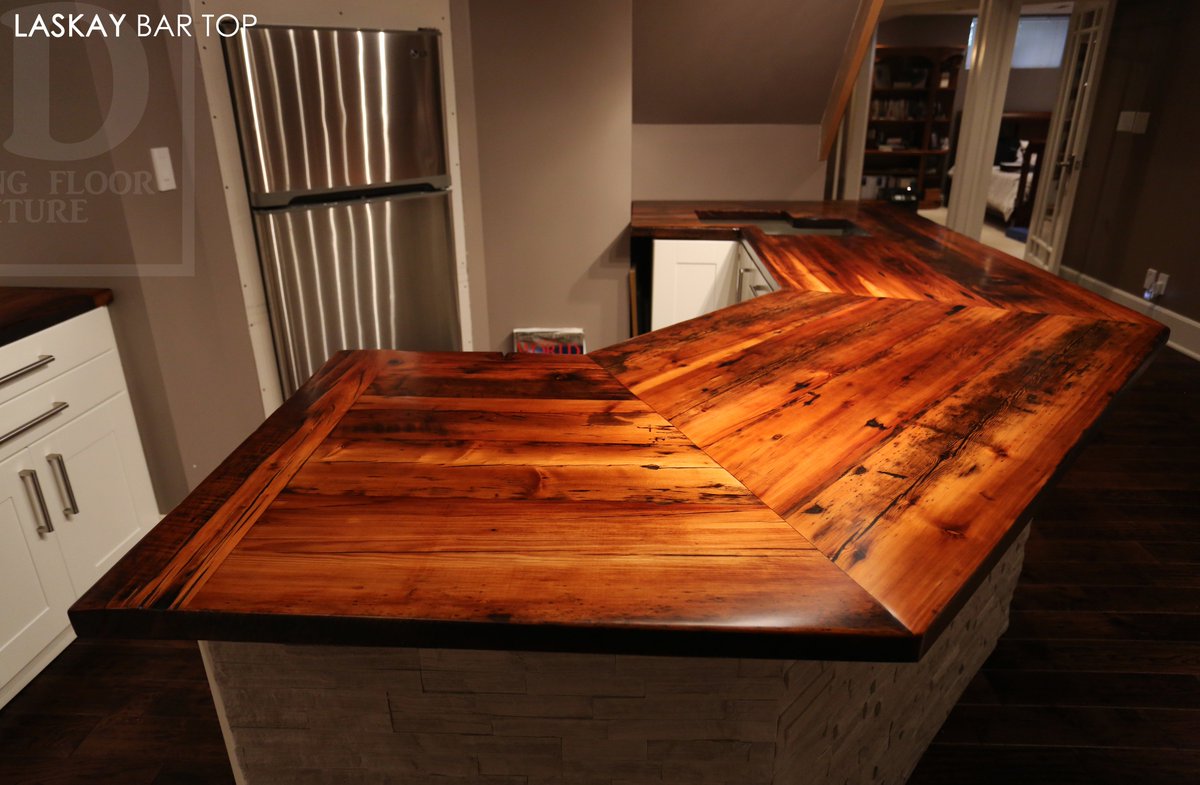
For an eco-friendly and rustic option, consider making a kitchen bar top from reclaimed wood. This not only adds character to your kitchen but also reduces waste and saves you money. Look for reclaimed wood at salvage yards or ask local businesses for discarded wooden pallets. Measure, cut, and sand the wood before securing it to your kitchen bar. You can also add a layer of epoxy resin for a polished look and added durability.6. How to Make a Kitchen Bar Top from Reclaimed Wood


6. How to Make a Kitchen Bar Top from Reclaimed Wood


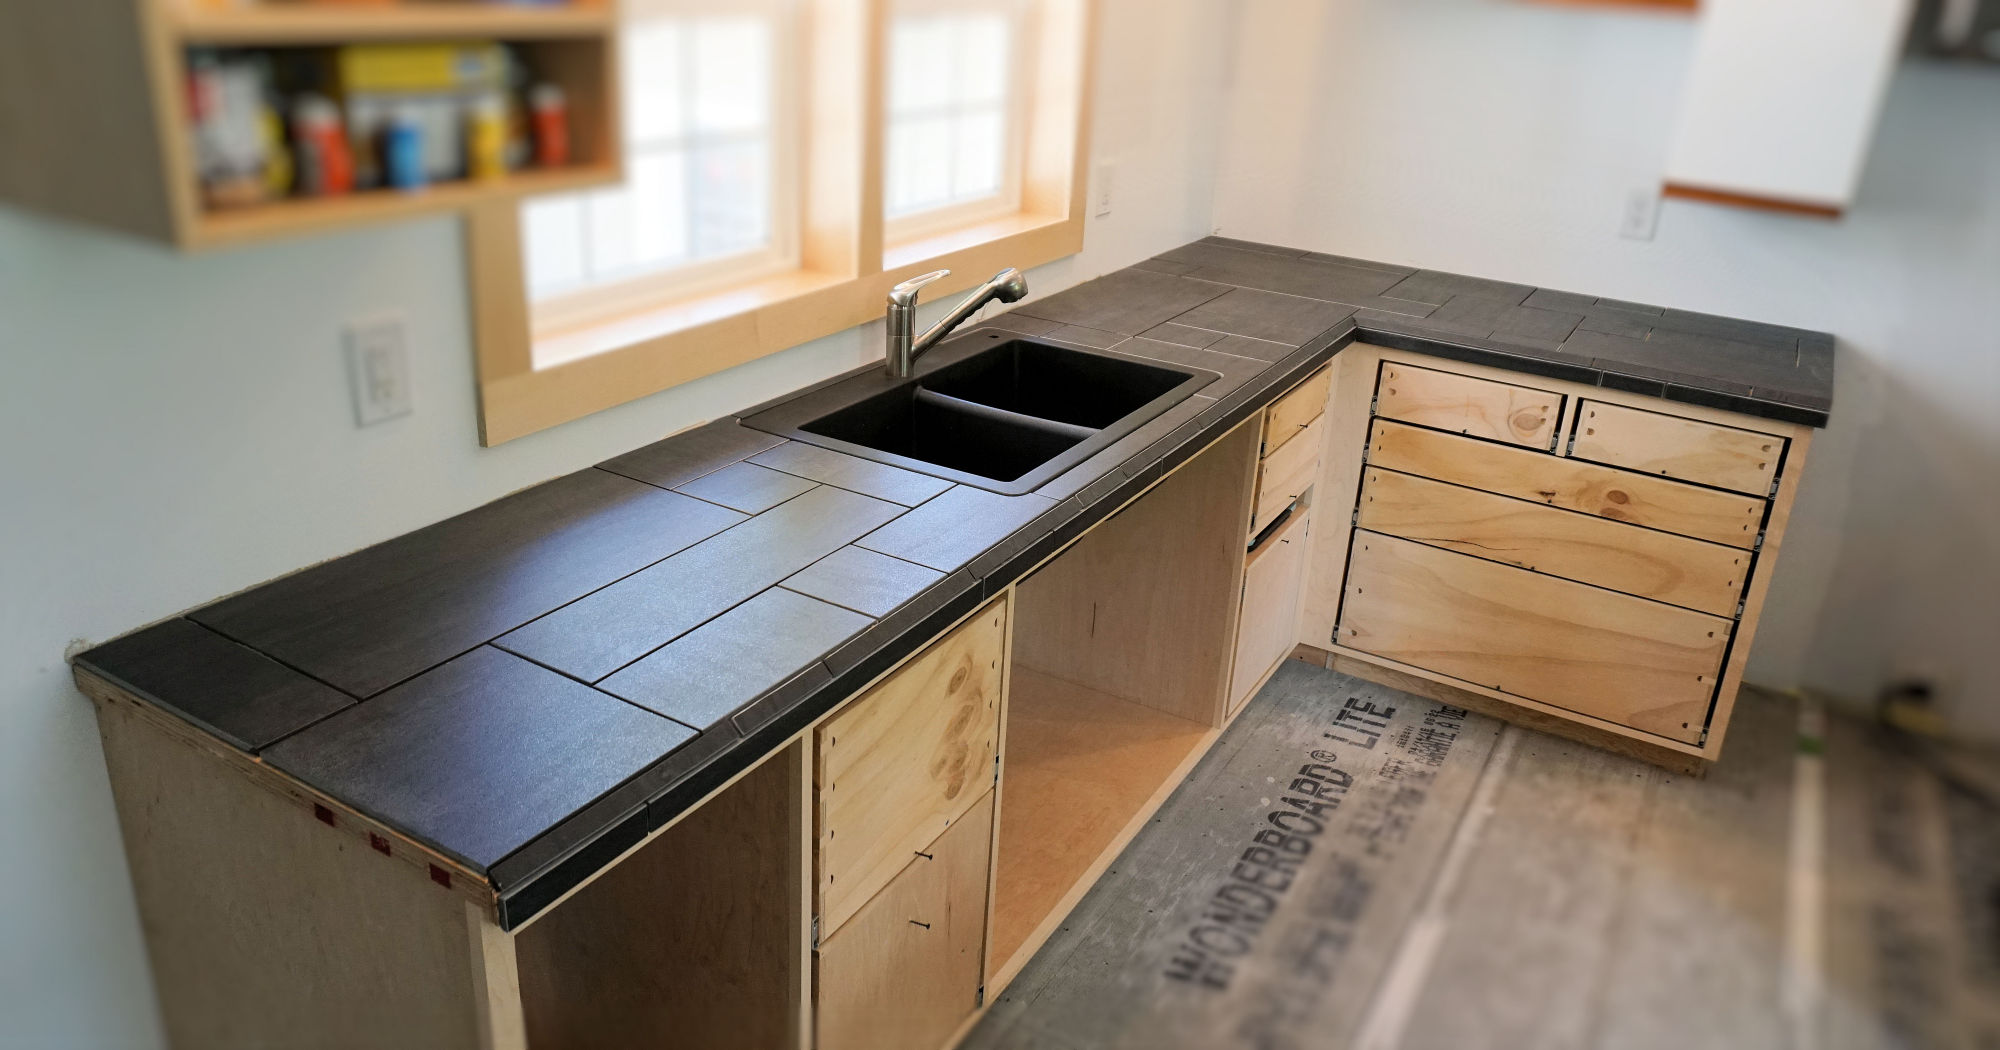
For a sleek and modern kitchen bar top, consider using tile. Choose a tile that matches your kitchen's color scheme and style. Measure and cut the tiles to fit the size of your bar top. Lay them out in a pattern of your choice and secure them with tile adhesive. Once the tiles are set, grout the spaces in between and wipe off any excess. Your DIY tile kitchen bar top will not only be durable but also easy to clean and maintain.7. DIY Kitchen Bar Top with Tile


7. DIY Kitchen Bar Top with Tile


If you want the look of a concrete kitchen bar top without the weight and hassle of pouring a whole slab, consider using a concrete overlay. Start by prepping your kitchen bar and applying a bonding agent. Then, mix the concrete overlay according to the manufacturer's instructions and pour it over your bar top. Use a trowel to spread it evenly and let it dry for at least 24 hours. Finally, seal it with a food-safe concrete sealer for a polished finish.8. How to Build a Kitchen Bar Top with Concrete Overlay


8. How to Build a Kitchen Bar Top with Concrete Overlay


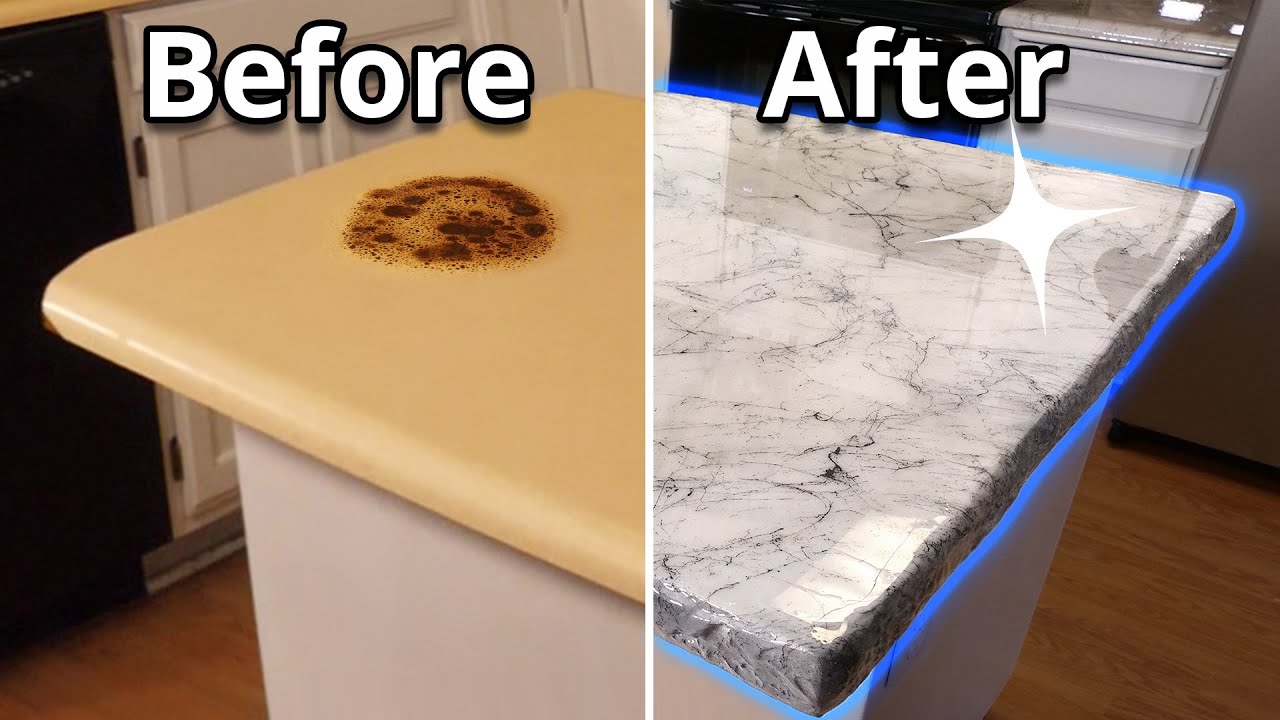
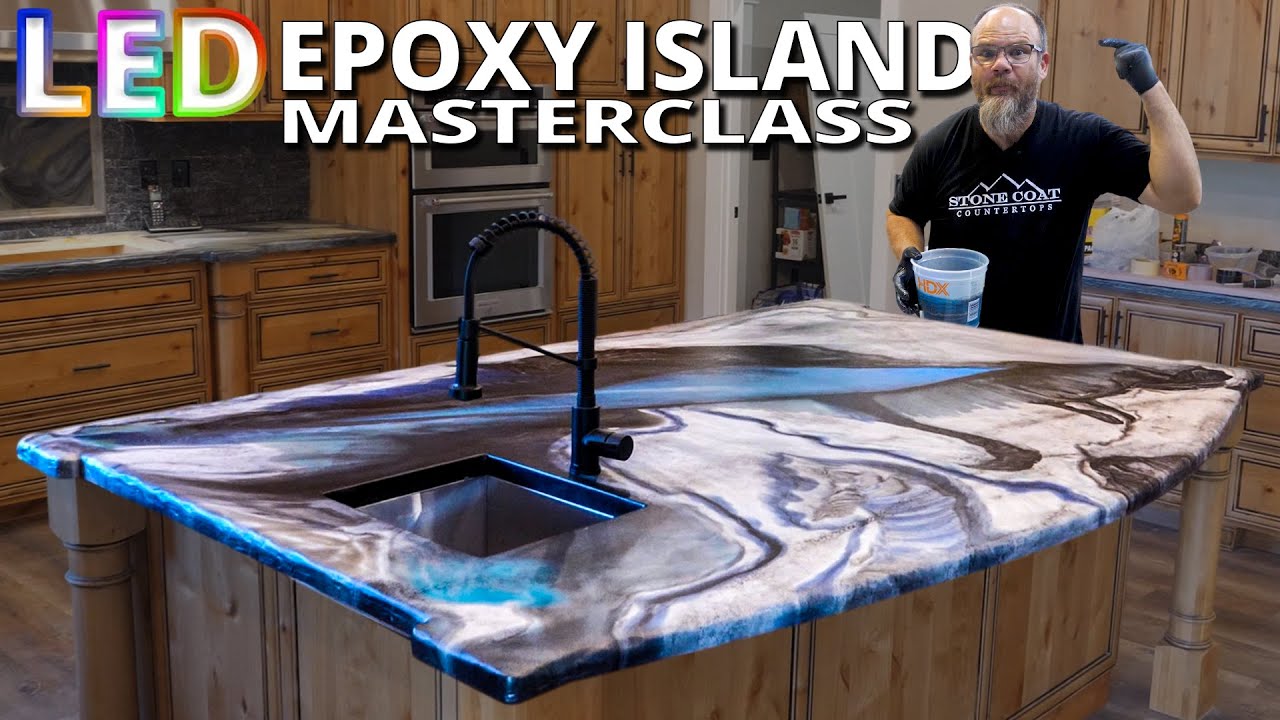
Epoxy resin is a popular choice for kitchen bar tops as it's not only durable but also creates a glossy and seamless finish. To make a DIY epoxy resin kitchen bar top, you'll need to start with a smooth and level surface. Then, mix the epoxy resin according to the manufacturer's instructions and pour it over your bar top. Use a heat gun or a blowtorch to remove any air bubbles and let it cure for at least 24 hours. The result will be a beautiful and unique kitchen bar top that will impress anyone who sees it.9. DIY Kitchen Bar Top with Epoxy Resin


9. DIY Kitchen Bar Top with Epoxy Resin


For a budget-friendly and rustic kitchen bar top, using pallet wood is a great option. Start by dismantling the pallet and sanding down the wood. Then, cut the wood to fit your kitchen bar and secure it with adhesive or screws. You can also add a layer of polyurethane for added durability. This DIY project will not only save you money but also add a cozy and charming touch to your kitchen.10. How to Create a Rustic Kitchen Bar Top with Pallet Wood
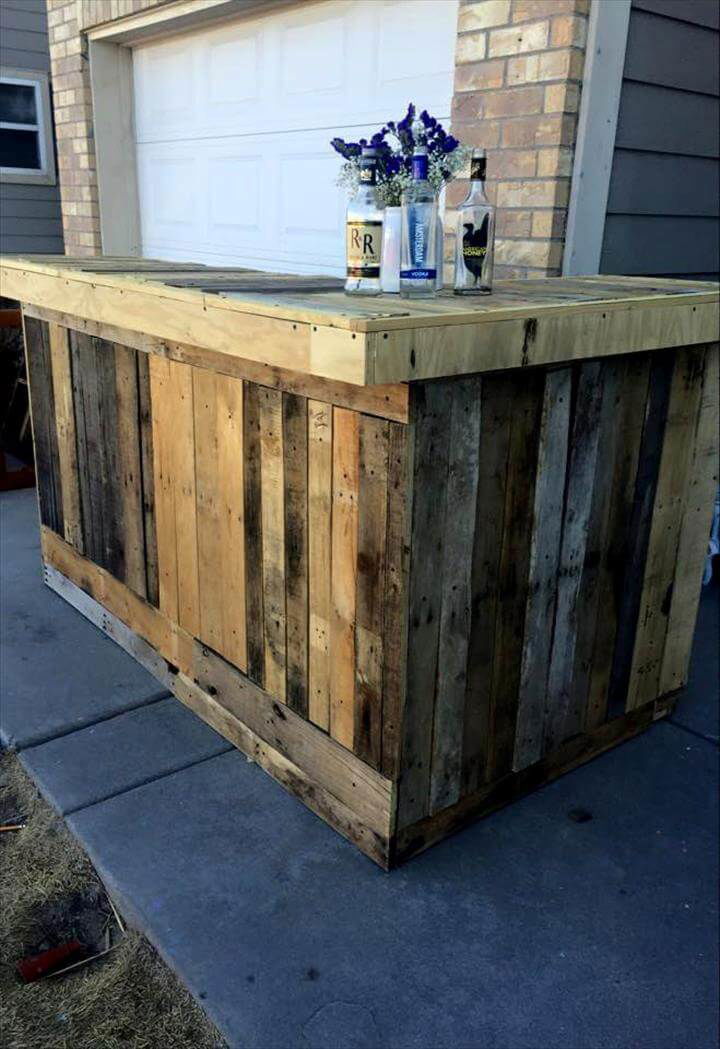

10. How to Create a Rustic Kitchen Bar Top with Pallet Wood


How a DIY Kitchen Bar Top Can Elevate Your Home's Design
 Looking to spruce up your kitchen and add some extra functionality to your space? A DIY kitchen bar top may be just the solution you're looking for. Not only does it provide a stylish focal point, but it also serves as a versatile surface for cooking, dining, and entertaining. With a little creativity and some basic tools, you can easily create a unique and personalized kitchen bar top that will elevate your home's design.
The Benefits of a DIY Kitchen Bar Top
 One of the main benefits of a DIY kitchen bar top is the cost savings. By taking on this project yourself, you can save hundreds, if not thousands, of dollars compared to hiring a professional contractor. Additionally, creating your own bar top allows you to have complete control over the design and materials used. You can choose a style that fits your personal taste and complements the overall aesthetic of your home.
Another advantage of a DIY kitchen bar top is the satisfaction and sense of accomplishment that comes with completing a home improvement project. It can be a fun and rewarding experience to see your vision come to life and have a hand in creating something that adds value to your home.
One of the main benefits of a DIY kitchen bar top is the cost savings. By taking on this project yourself, you can save hundreds, if not thousands, of dollars compared to hiring a professional contractor. Additionally, creating your own bar top allows you to have complete control over the design and materials used. You can choose a style that fits your personal taste and complements the overall aesthetic of your home.
Another advantage of a DIY kitchen bar top is the satisfaction and sense of accomplishment that comes with completing a home improvement project. It can be a fun and rewarding experience to see your vision come to life and have a hand in creating something that adds value to your home.
Choosing the Right Materials
 When it comes to materials, the possibilities are endless for a DIY kitchen bar top. Some popular options include wood, concrete, and butcher block. Each material has its own unique characteristics and can be customized to fit your desired style. For a more rustic and natural look, consider using reclaimed wood. If you prefer a sleek and modern design, concrete may be the way to go. No matter what material you choose, make sure it is durable and can withstand the wear and tear of everyday use.
Pro tip:
Consider using a combination of materials for your bar top to add visual interest and texture.
When it comes to materials, the possibilities are endless for a DIY kitchen bar top. Some popular options include wood, concrete, and butcher block. Each material has its own unique characteristics and can be customized to fit your desired style. For a more rustic and natural look, consider using reclaimed wood. If you prefer a sleek and modern design, concrete may be the way to go. No matter what material you choose, make sure it is durable and can withstand the wear and tear of everyday use.
Pro tip:
Consider using a combination of materials for your bar top to add visual interest and texture.
Tools and Techniques
 Before starting your DIY kitchen bar top project, make sure you have all the necessary tools and equipment. These may include a saw, drill, sander, and measuring tools. It's also important to research and learn the proper techniques for your chosen material. For example, if you're using wood, you may need to sand, stain, and seal the surface to protect it from moisture and scratches.
Pro tip:
Take your time and carefully measure and plan out your bar top to ensure a professional-looking finished product.
Before starting your DIY kitchen bar top project, make sure you have all the necessary tools and equipment. These may include a saw, drill, sander, and measuring tools. It's also important to research and learn the proper techniques for your chosen material. For example, if you're using wood, you may need to sand, stain, and seal the surface to protect it from moisture and scratches.
Pro tip:
Take your time and carefully measure and plan out your bar top to ensure a professional-looking finished product.
Conclusion
 A DIY kitchen bar top is a great way to add both style and function to your home. With the right materials, tools, and techniques, you can create a unique and personalized bar top that will elevate your kitchen's design. So roll up your sleeves and get ready to impress your friends and family with your DIY skills.