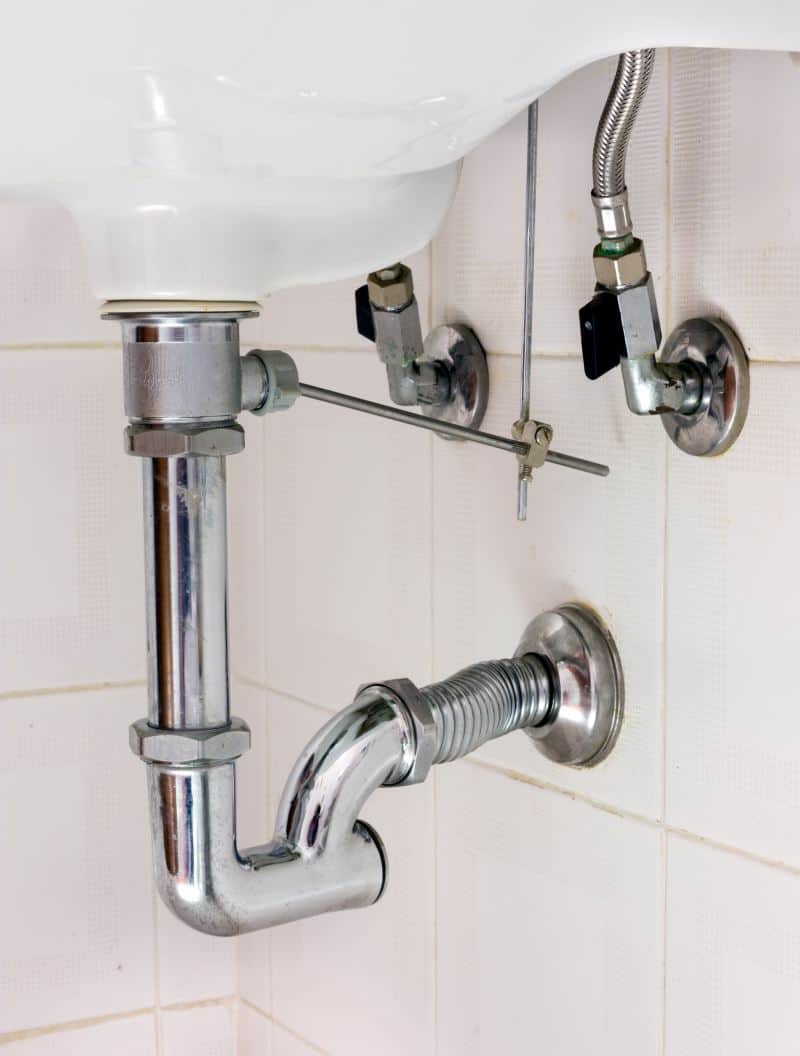
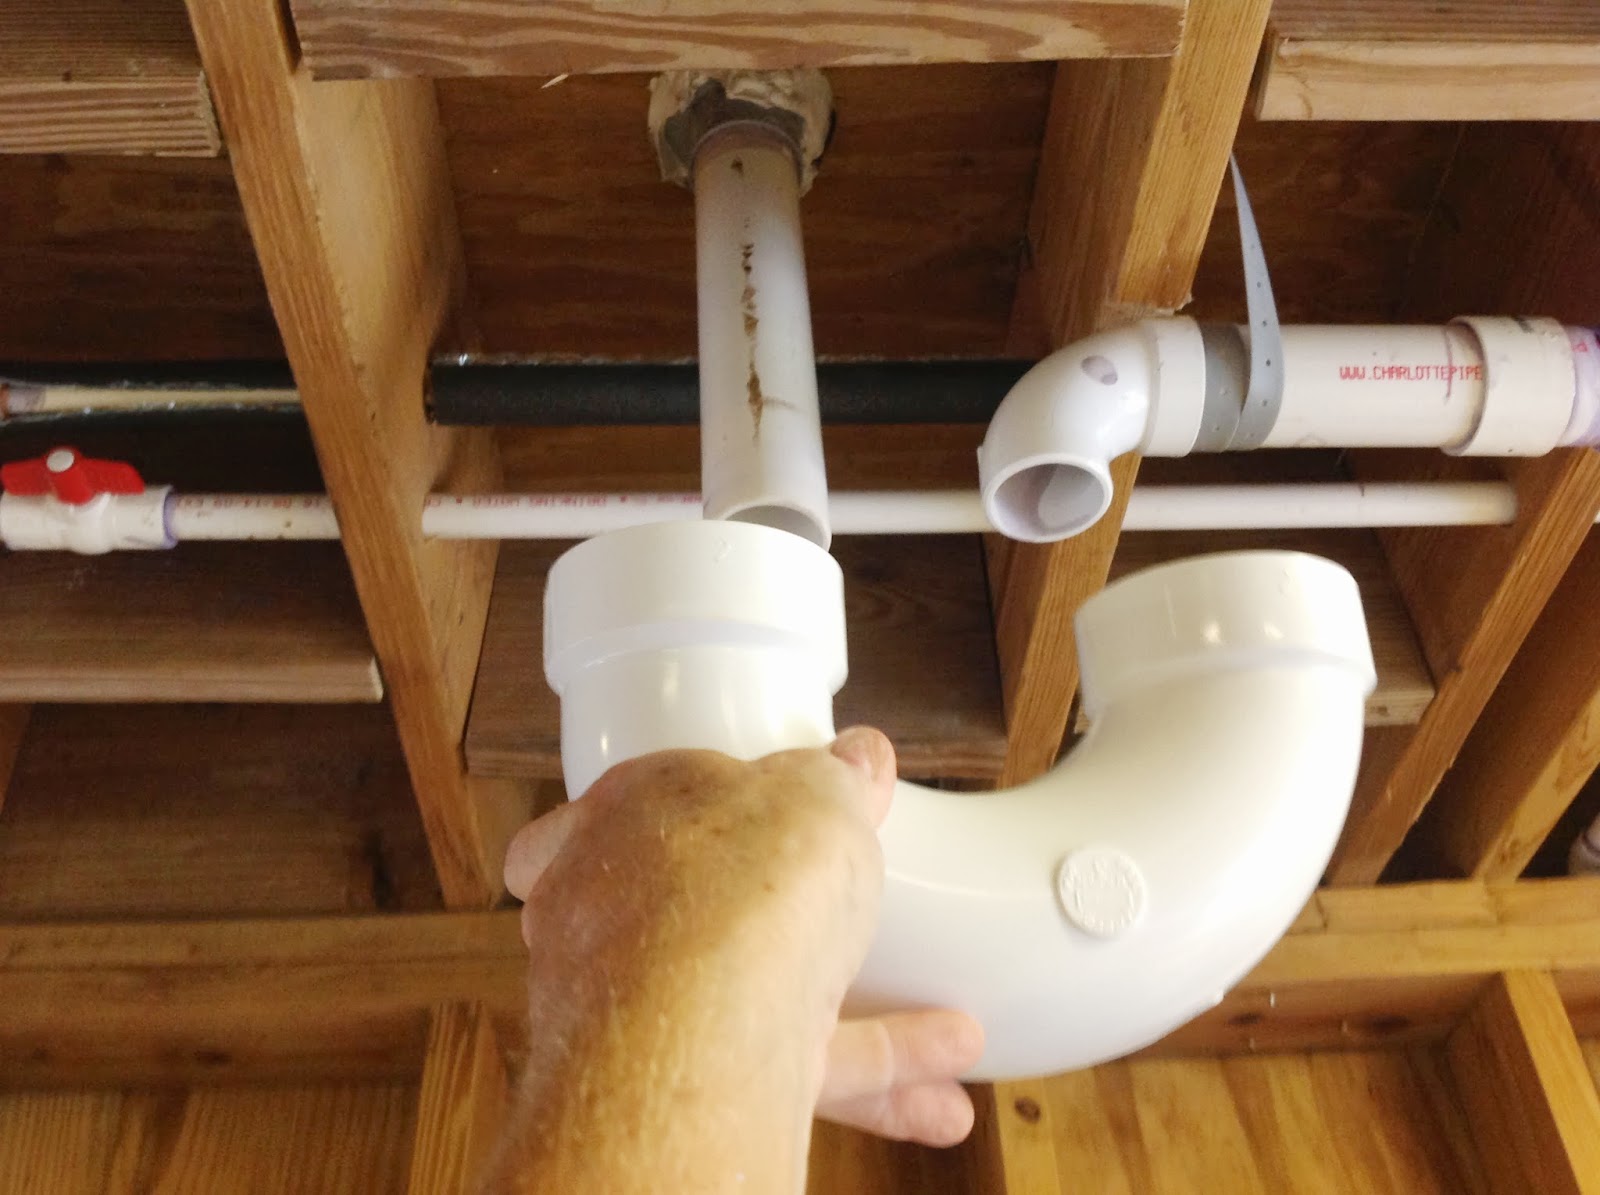
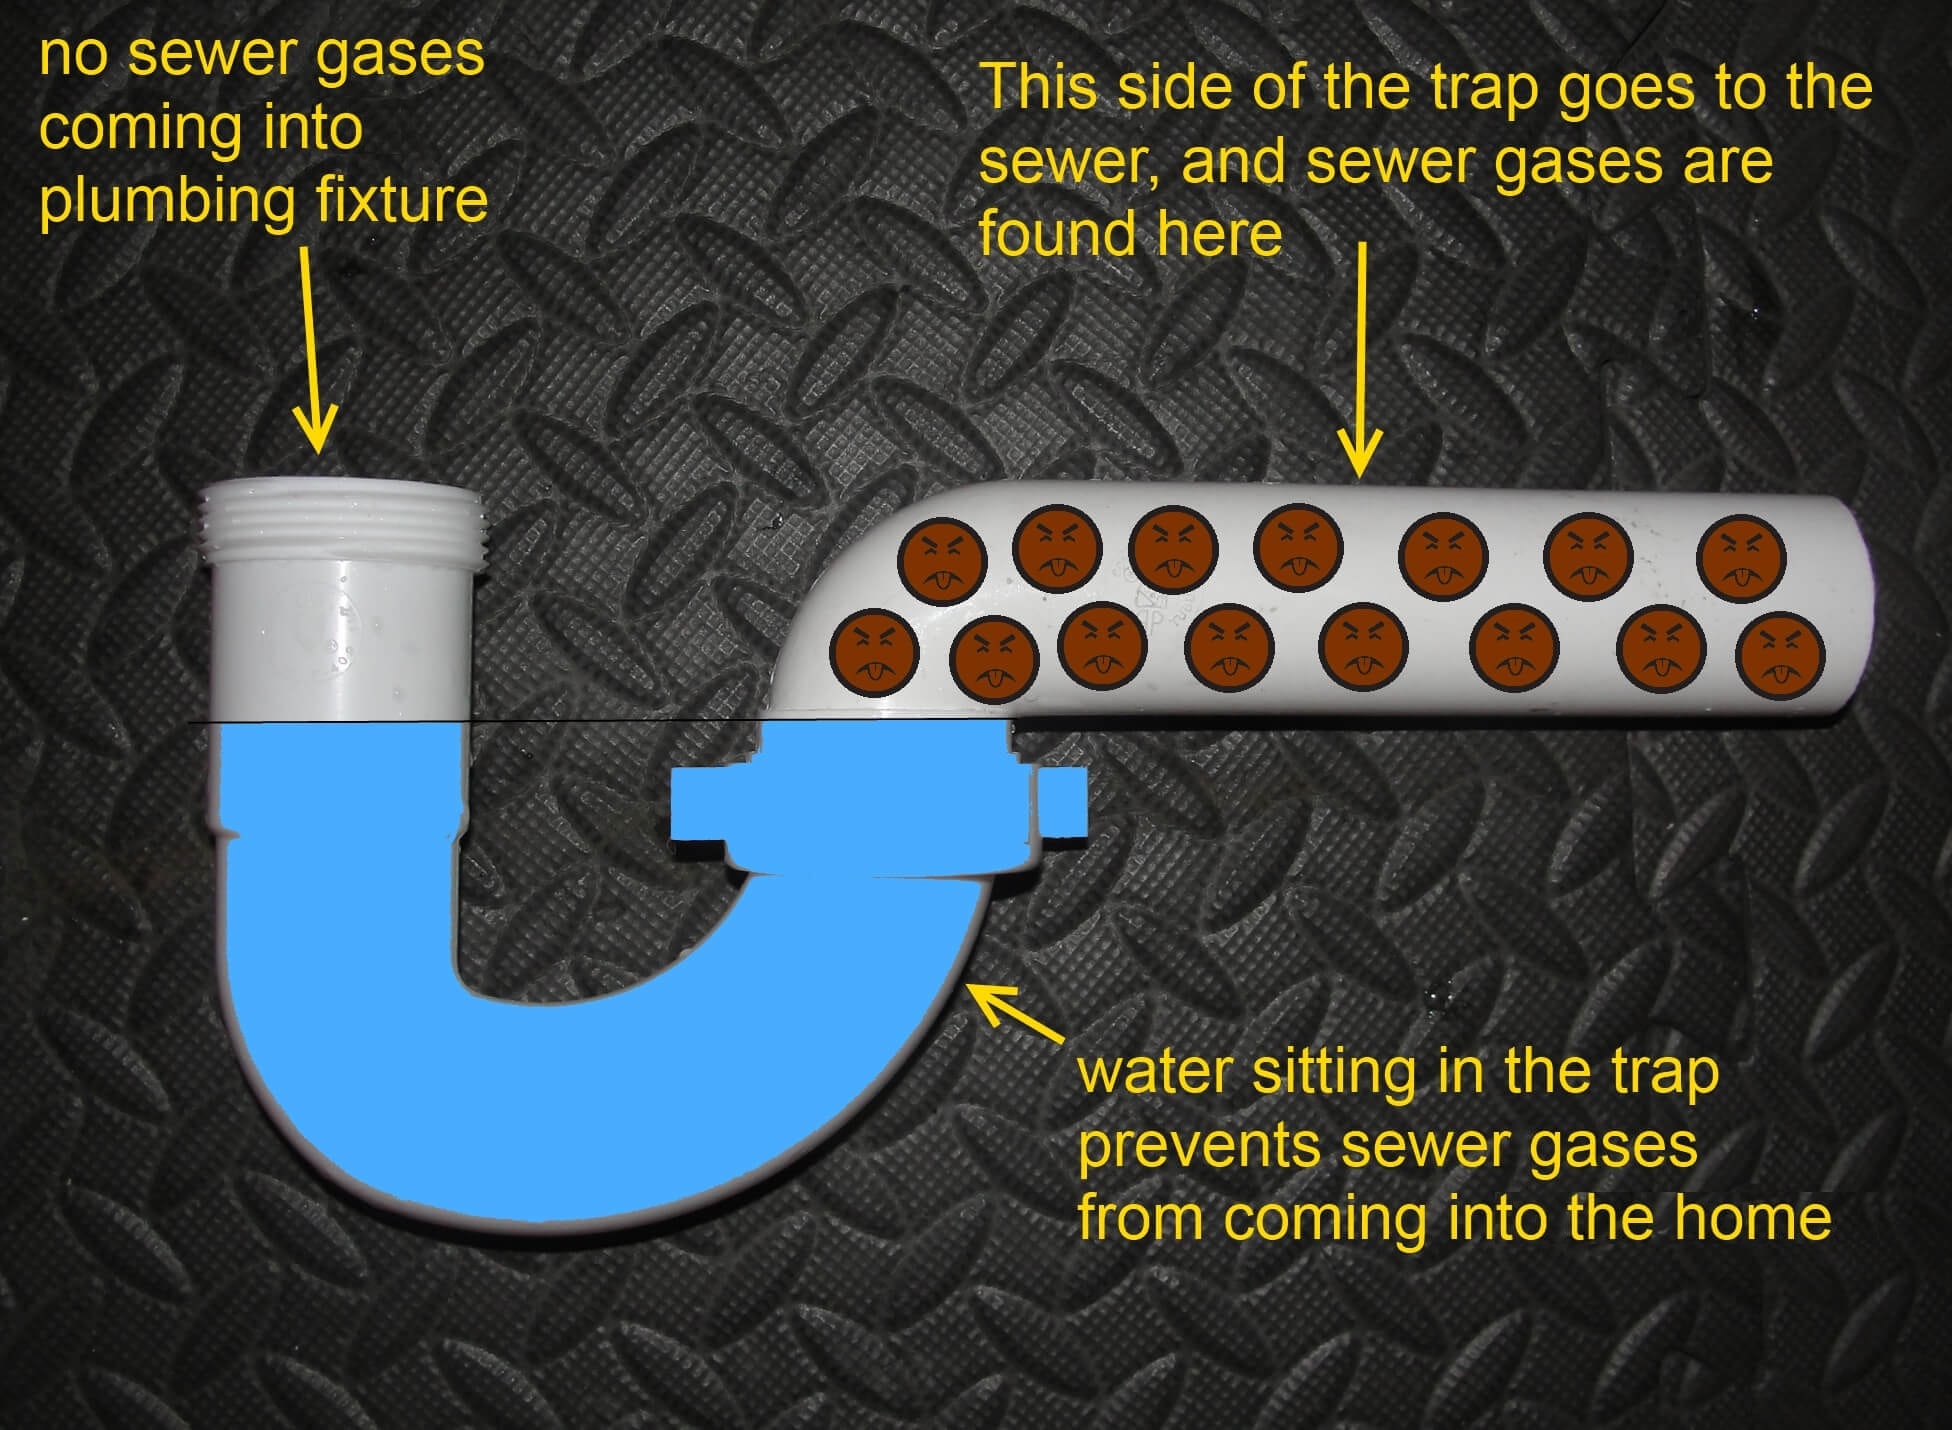
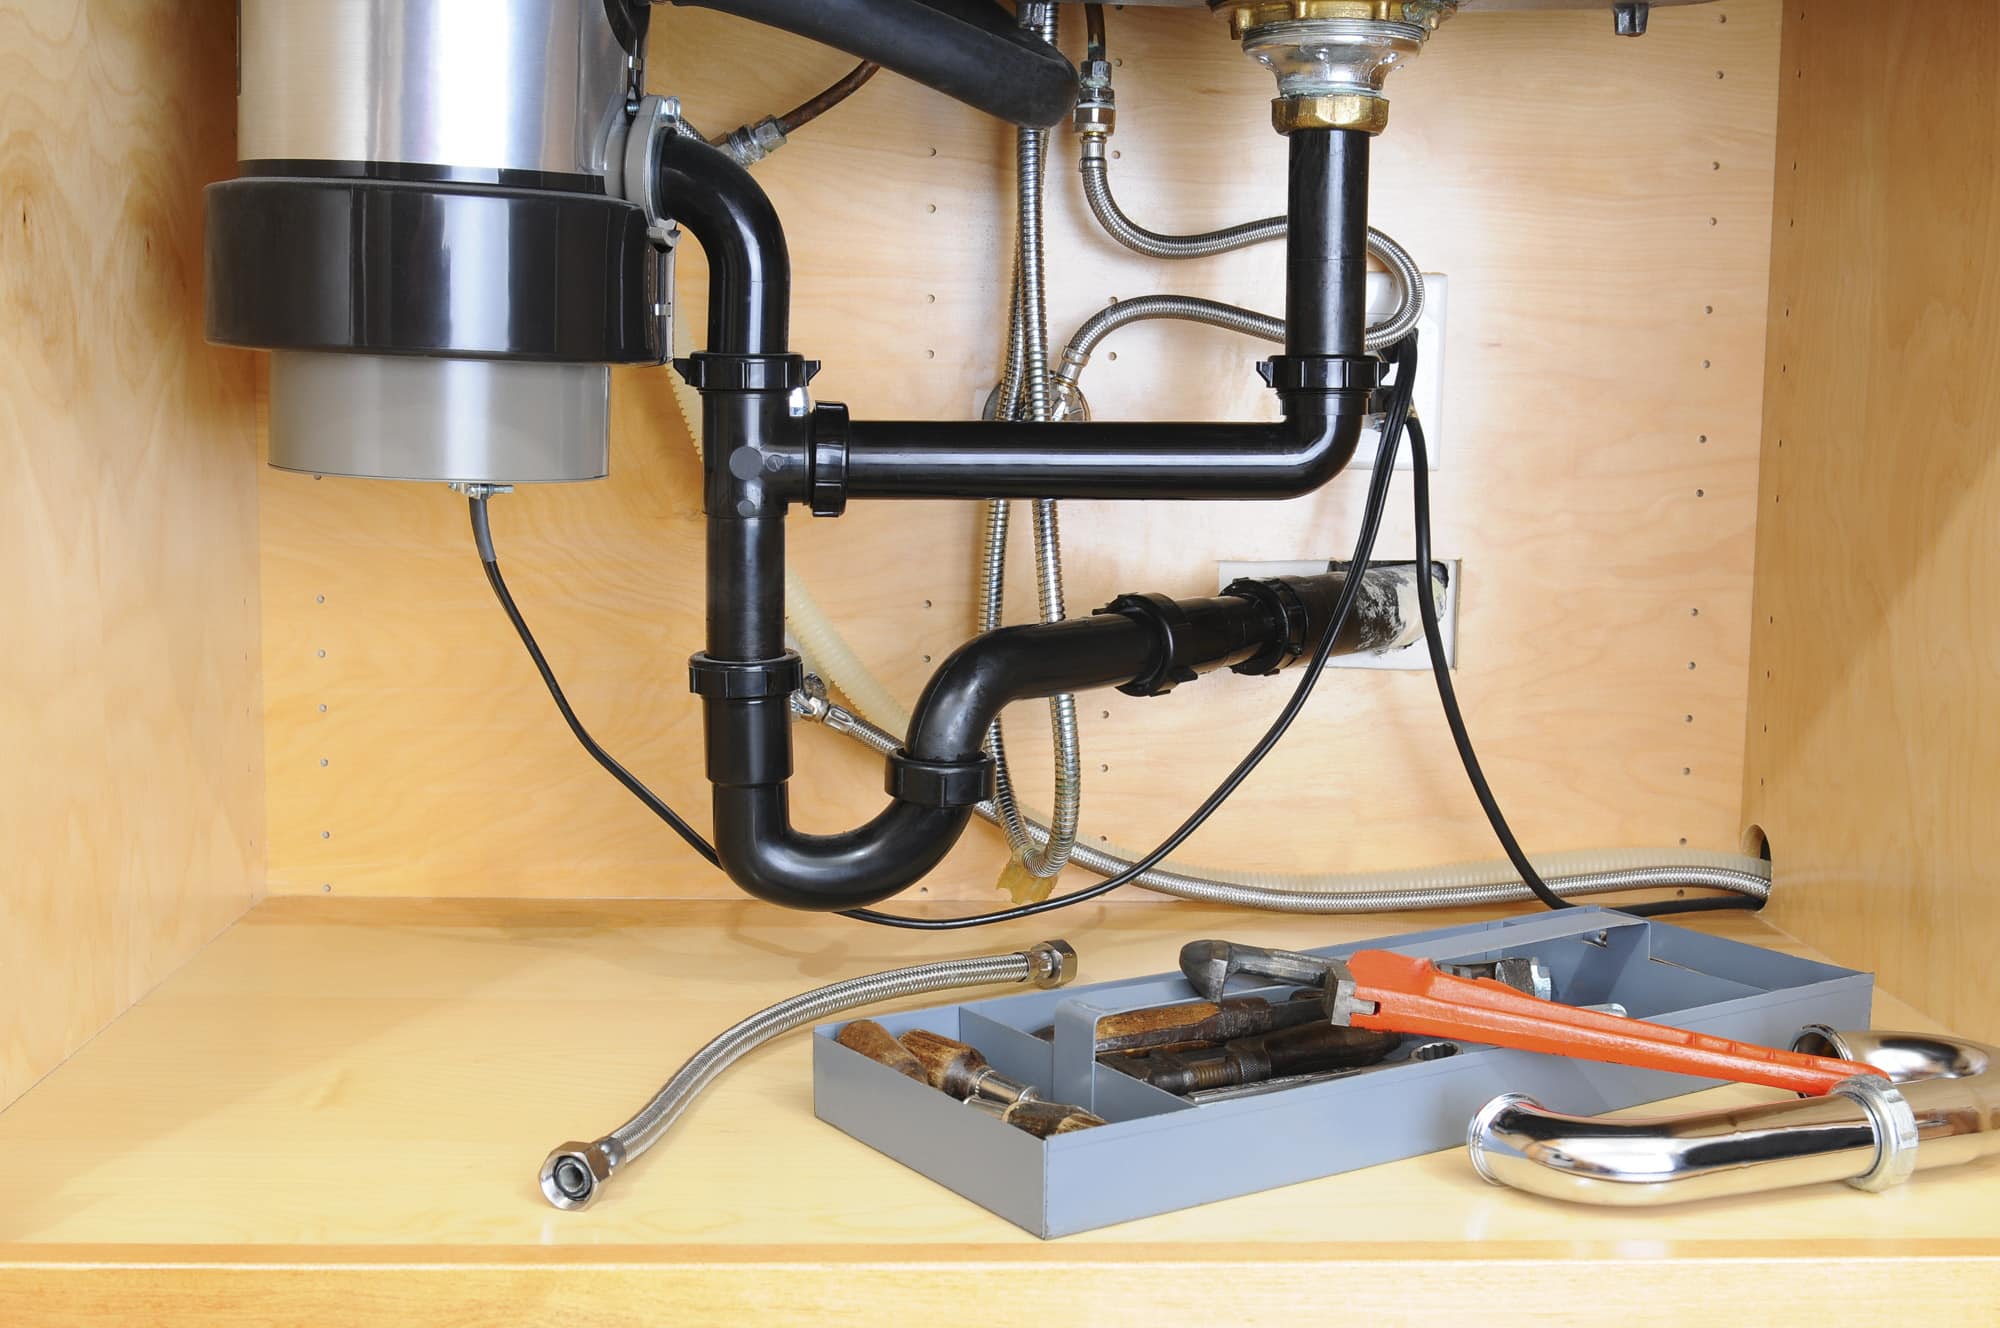
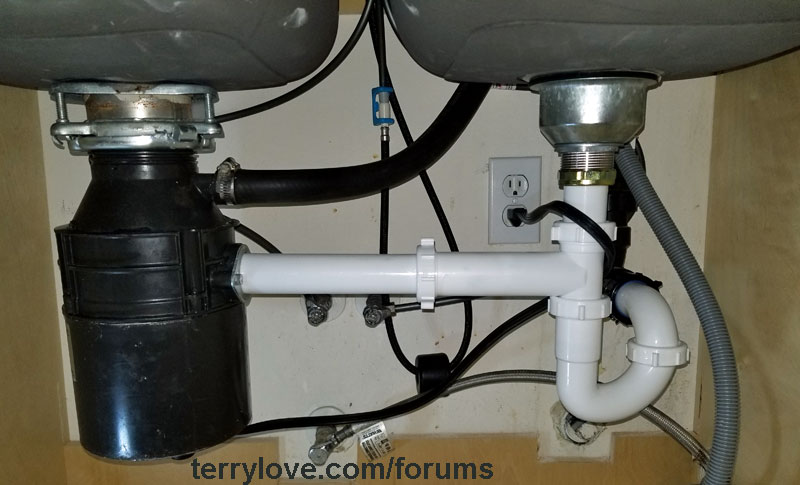
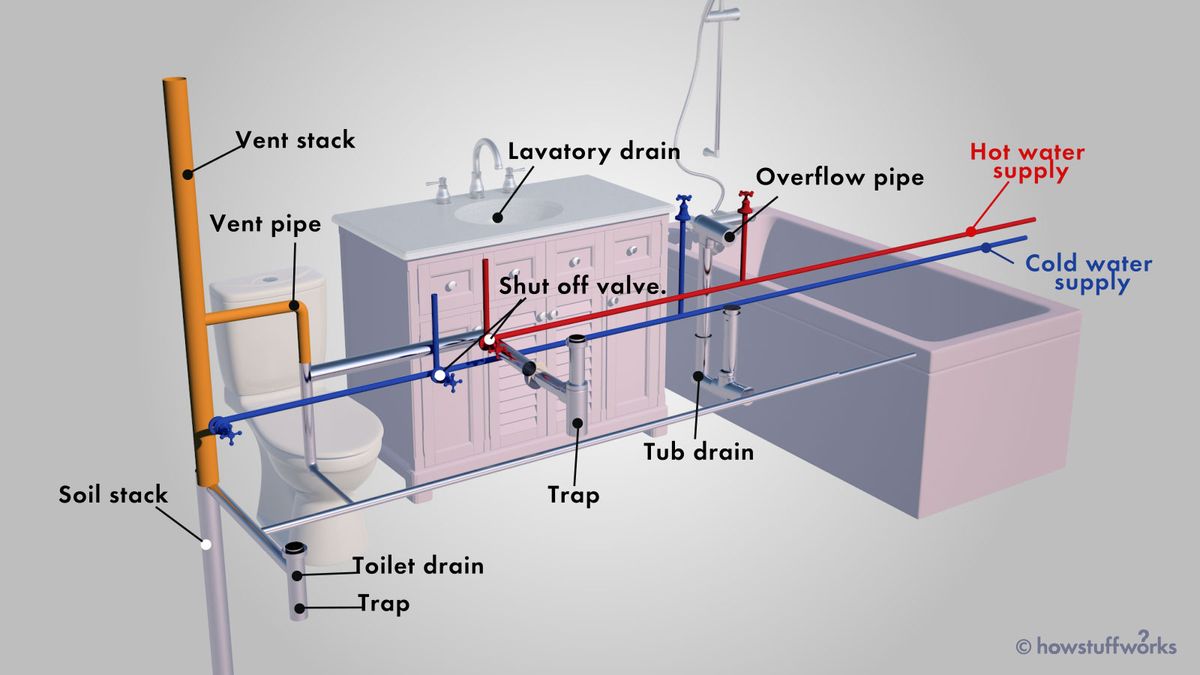
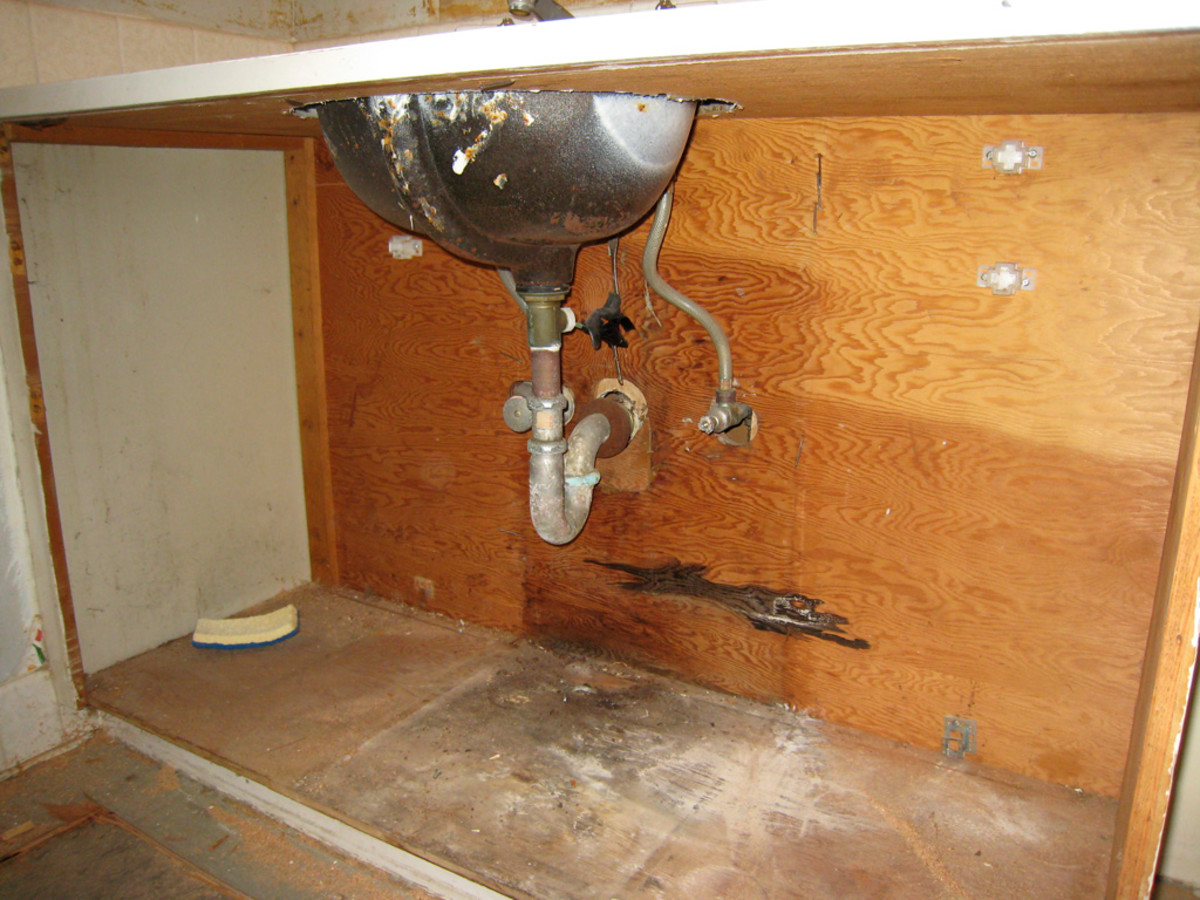
One of the most important steps in plumbing a kitchen sink is installing a P-trap. This curved section of pipe, shaped like the letter "P," is essential for preventing sewer gases from entering your home. It also helps to catch any larger debris that may accidentally go down the drain, preventing clogs in your plumbing system. P-trap installation is relatively simple, but it's important to ensure it is properly aligned and tightly connected to the drain and tailpiece. This will prevent any leaks and ensure the trap functions properly.1. Install a P-trap
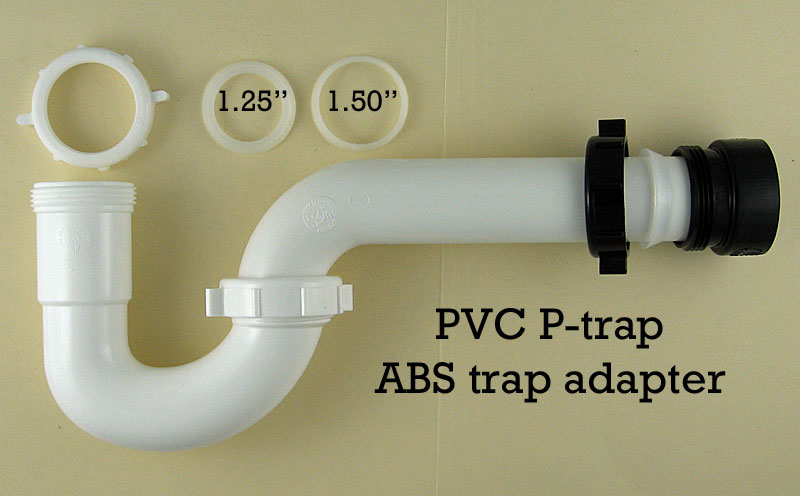
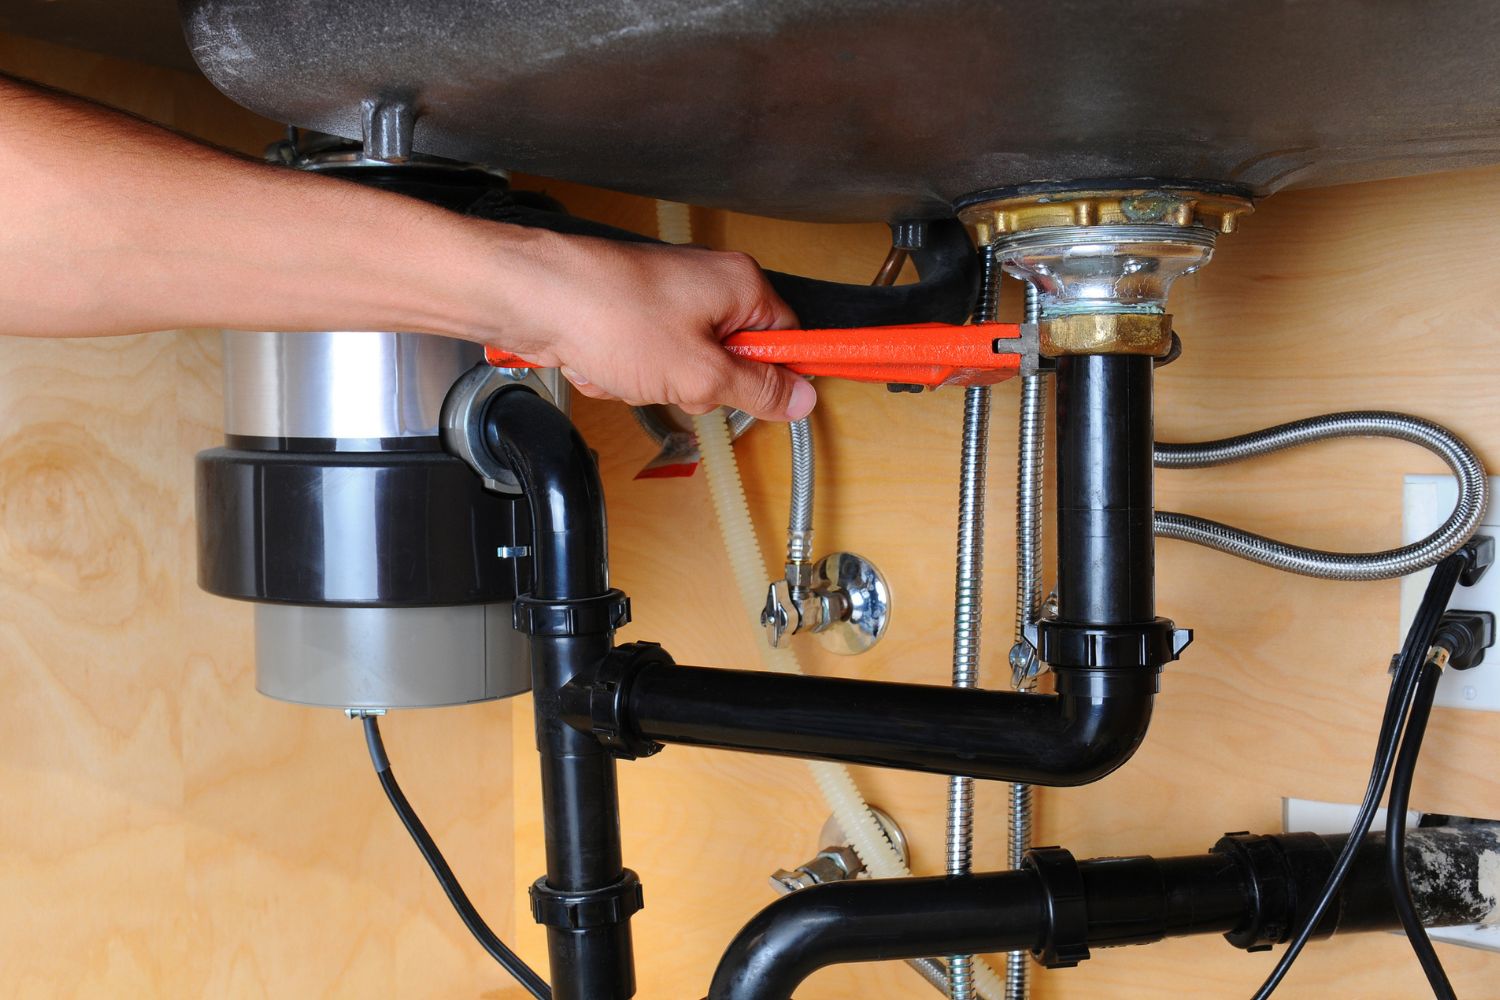
When connecting your sink's drain to the P-trap, you will need a tailpiece and a trap adapter. The tailpiece is a straight pipe that extends from the bottom of the sink to the trap. The trap adapter connects the tailpiece to the trap, creating a secure and watertight seal. It's important to make sure that the tailpiece and trap adapter are the correct sizes for your sink and P-trap. They should also be made of durable materials, such as brass or PVC, to ensure they can withstand the daily wear and tear of a functioning sink.2. Use a tailpiece and a trap adapter
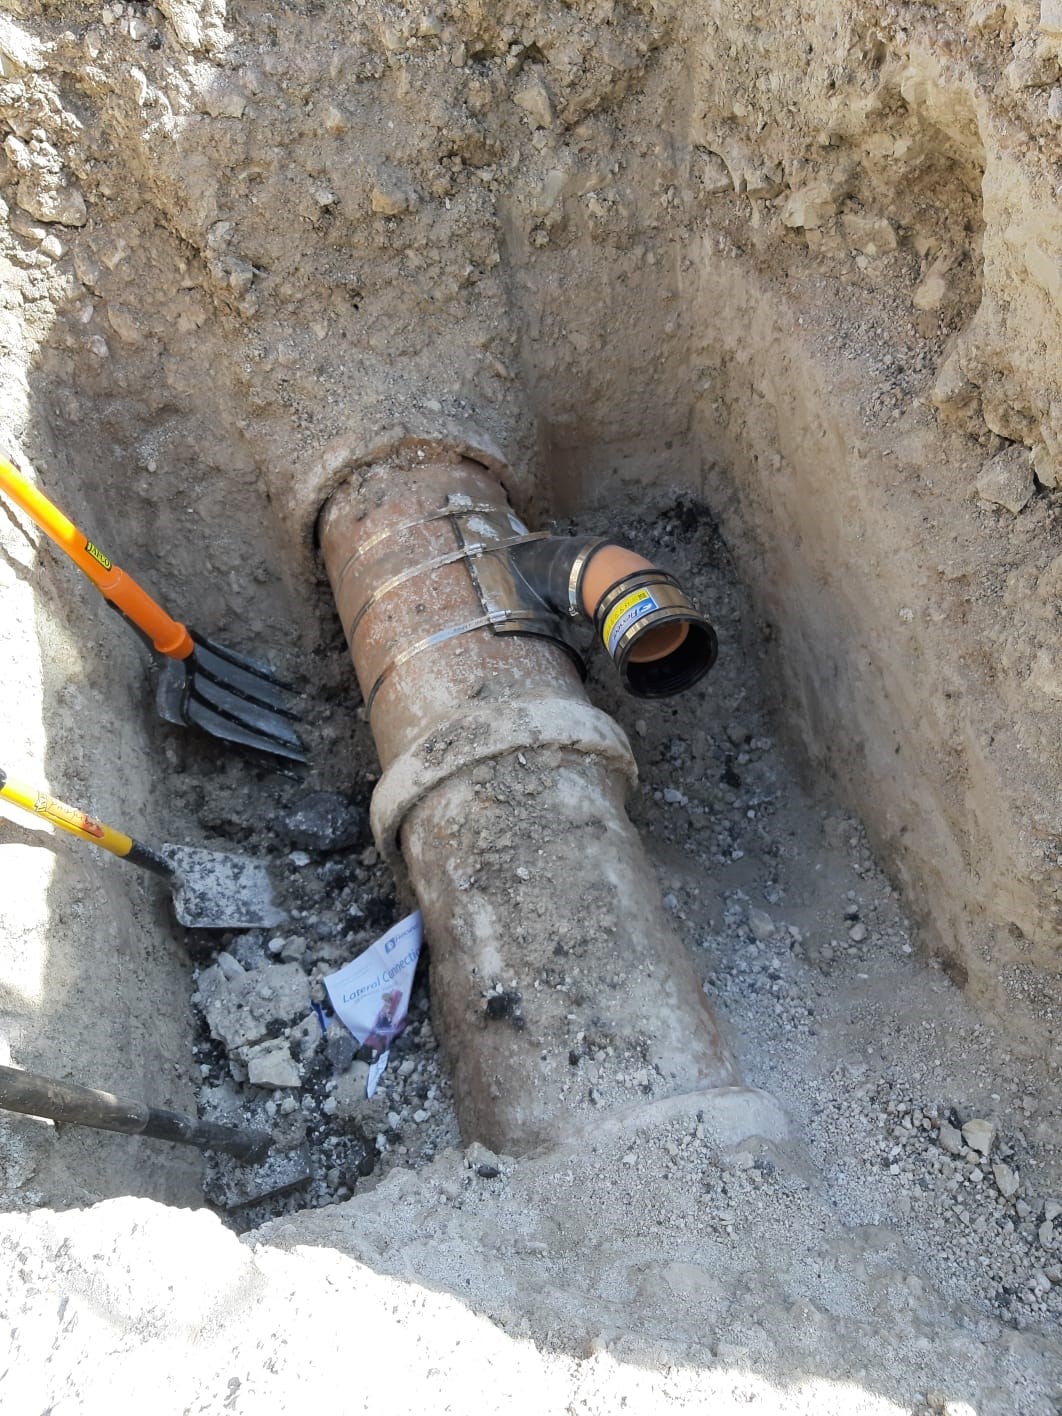
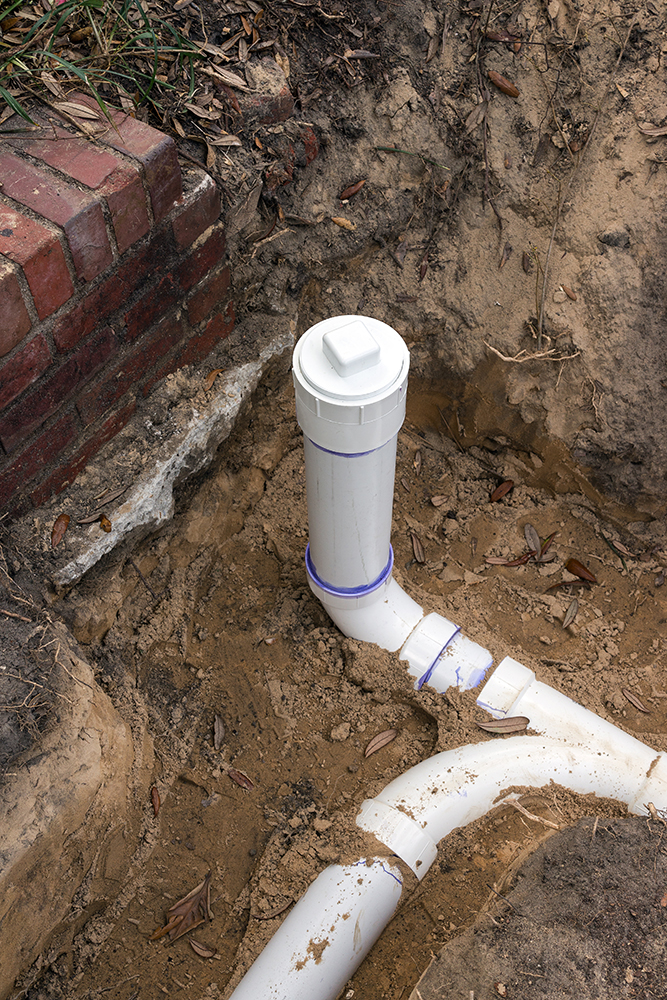
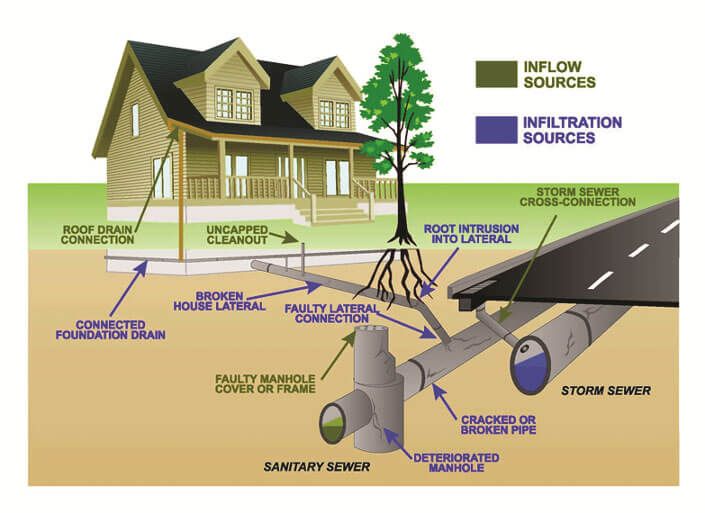
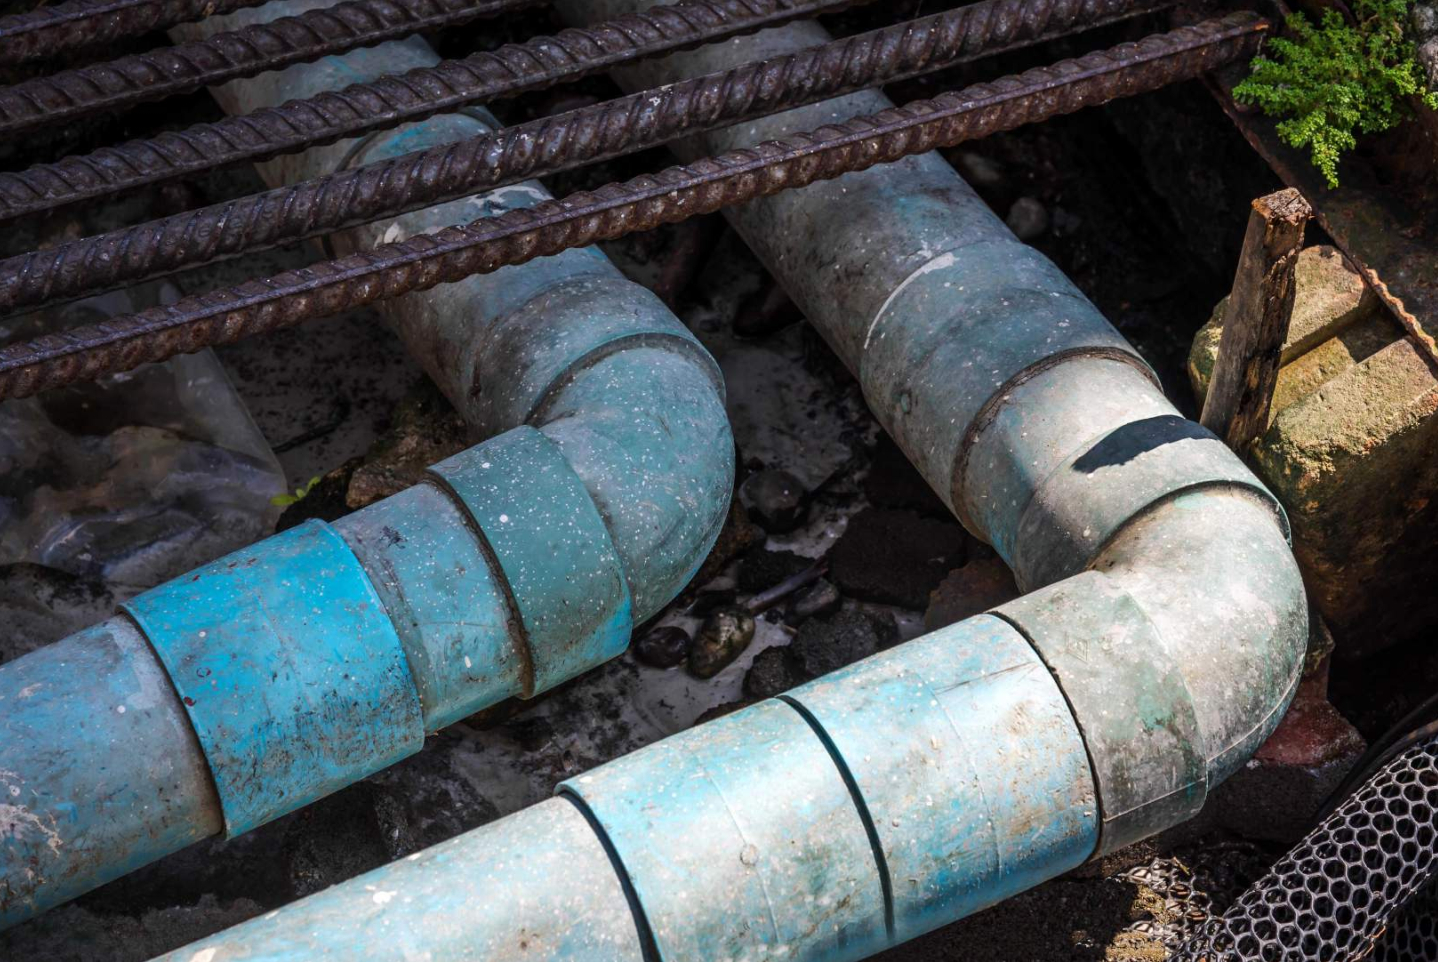
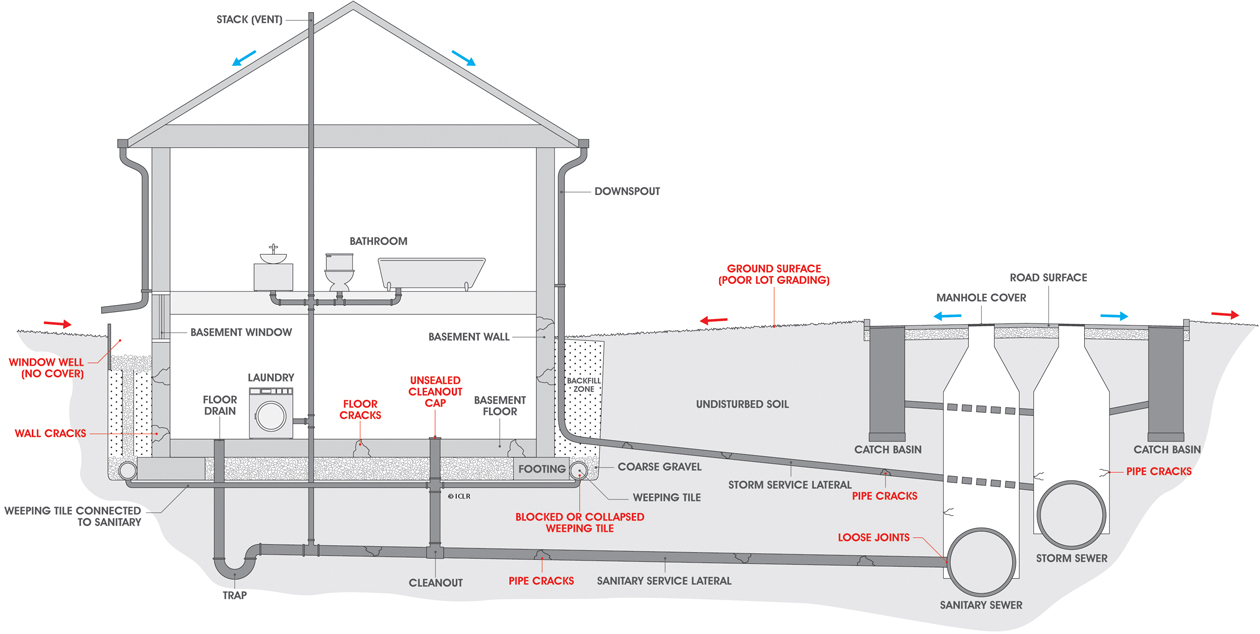
After installing the P-trap, you will need to connect the drain to the main sewer line. This is typically done with a horizontal pipe called a "drain line" or a "drain pipe." The drain line should be sloped downward at a slight angle to allow for proper drainage. It's important to make sure that the drain line is securely connected to both the drain and the main sewer line. Any loose connections or gaps can lead to leaks and foul odors in your kitchen.3. Connect the drain to the main sewer line
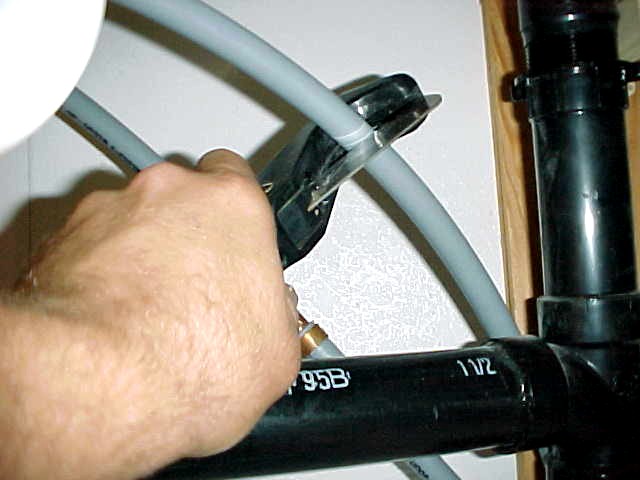
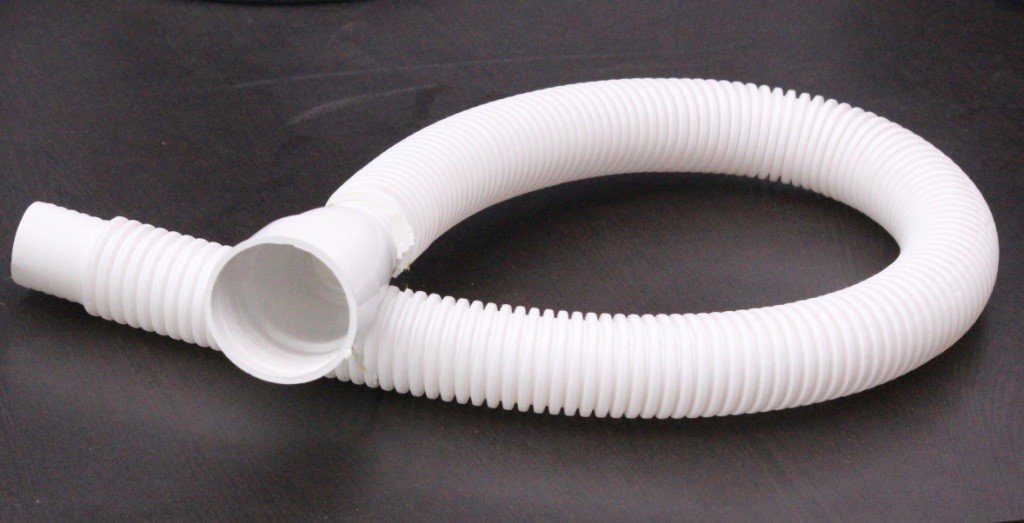
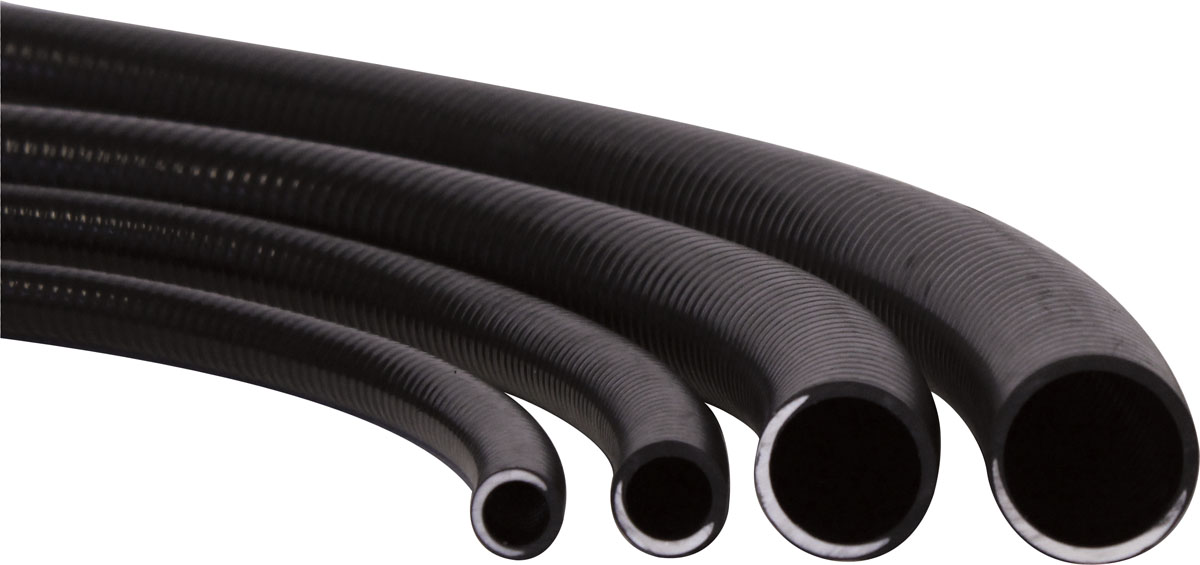
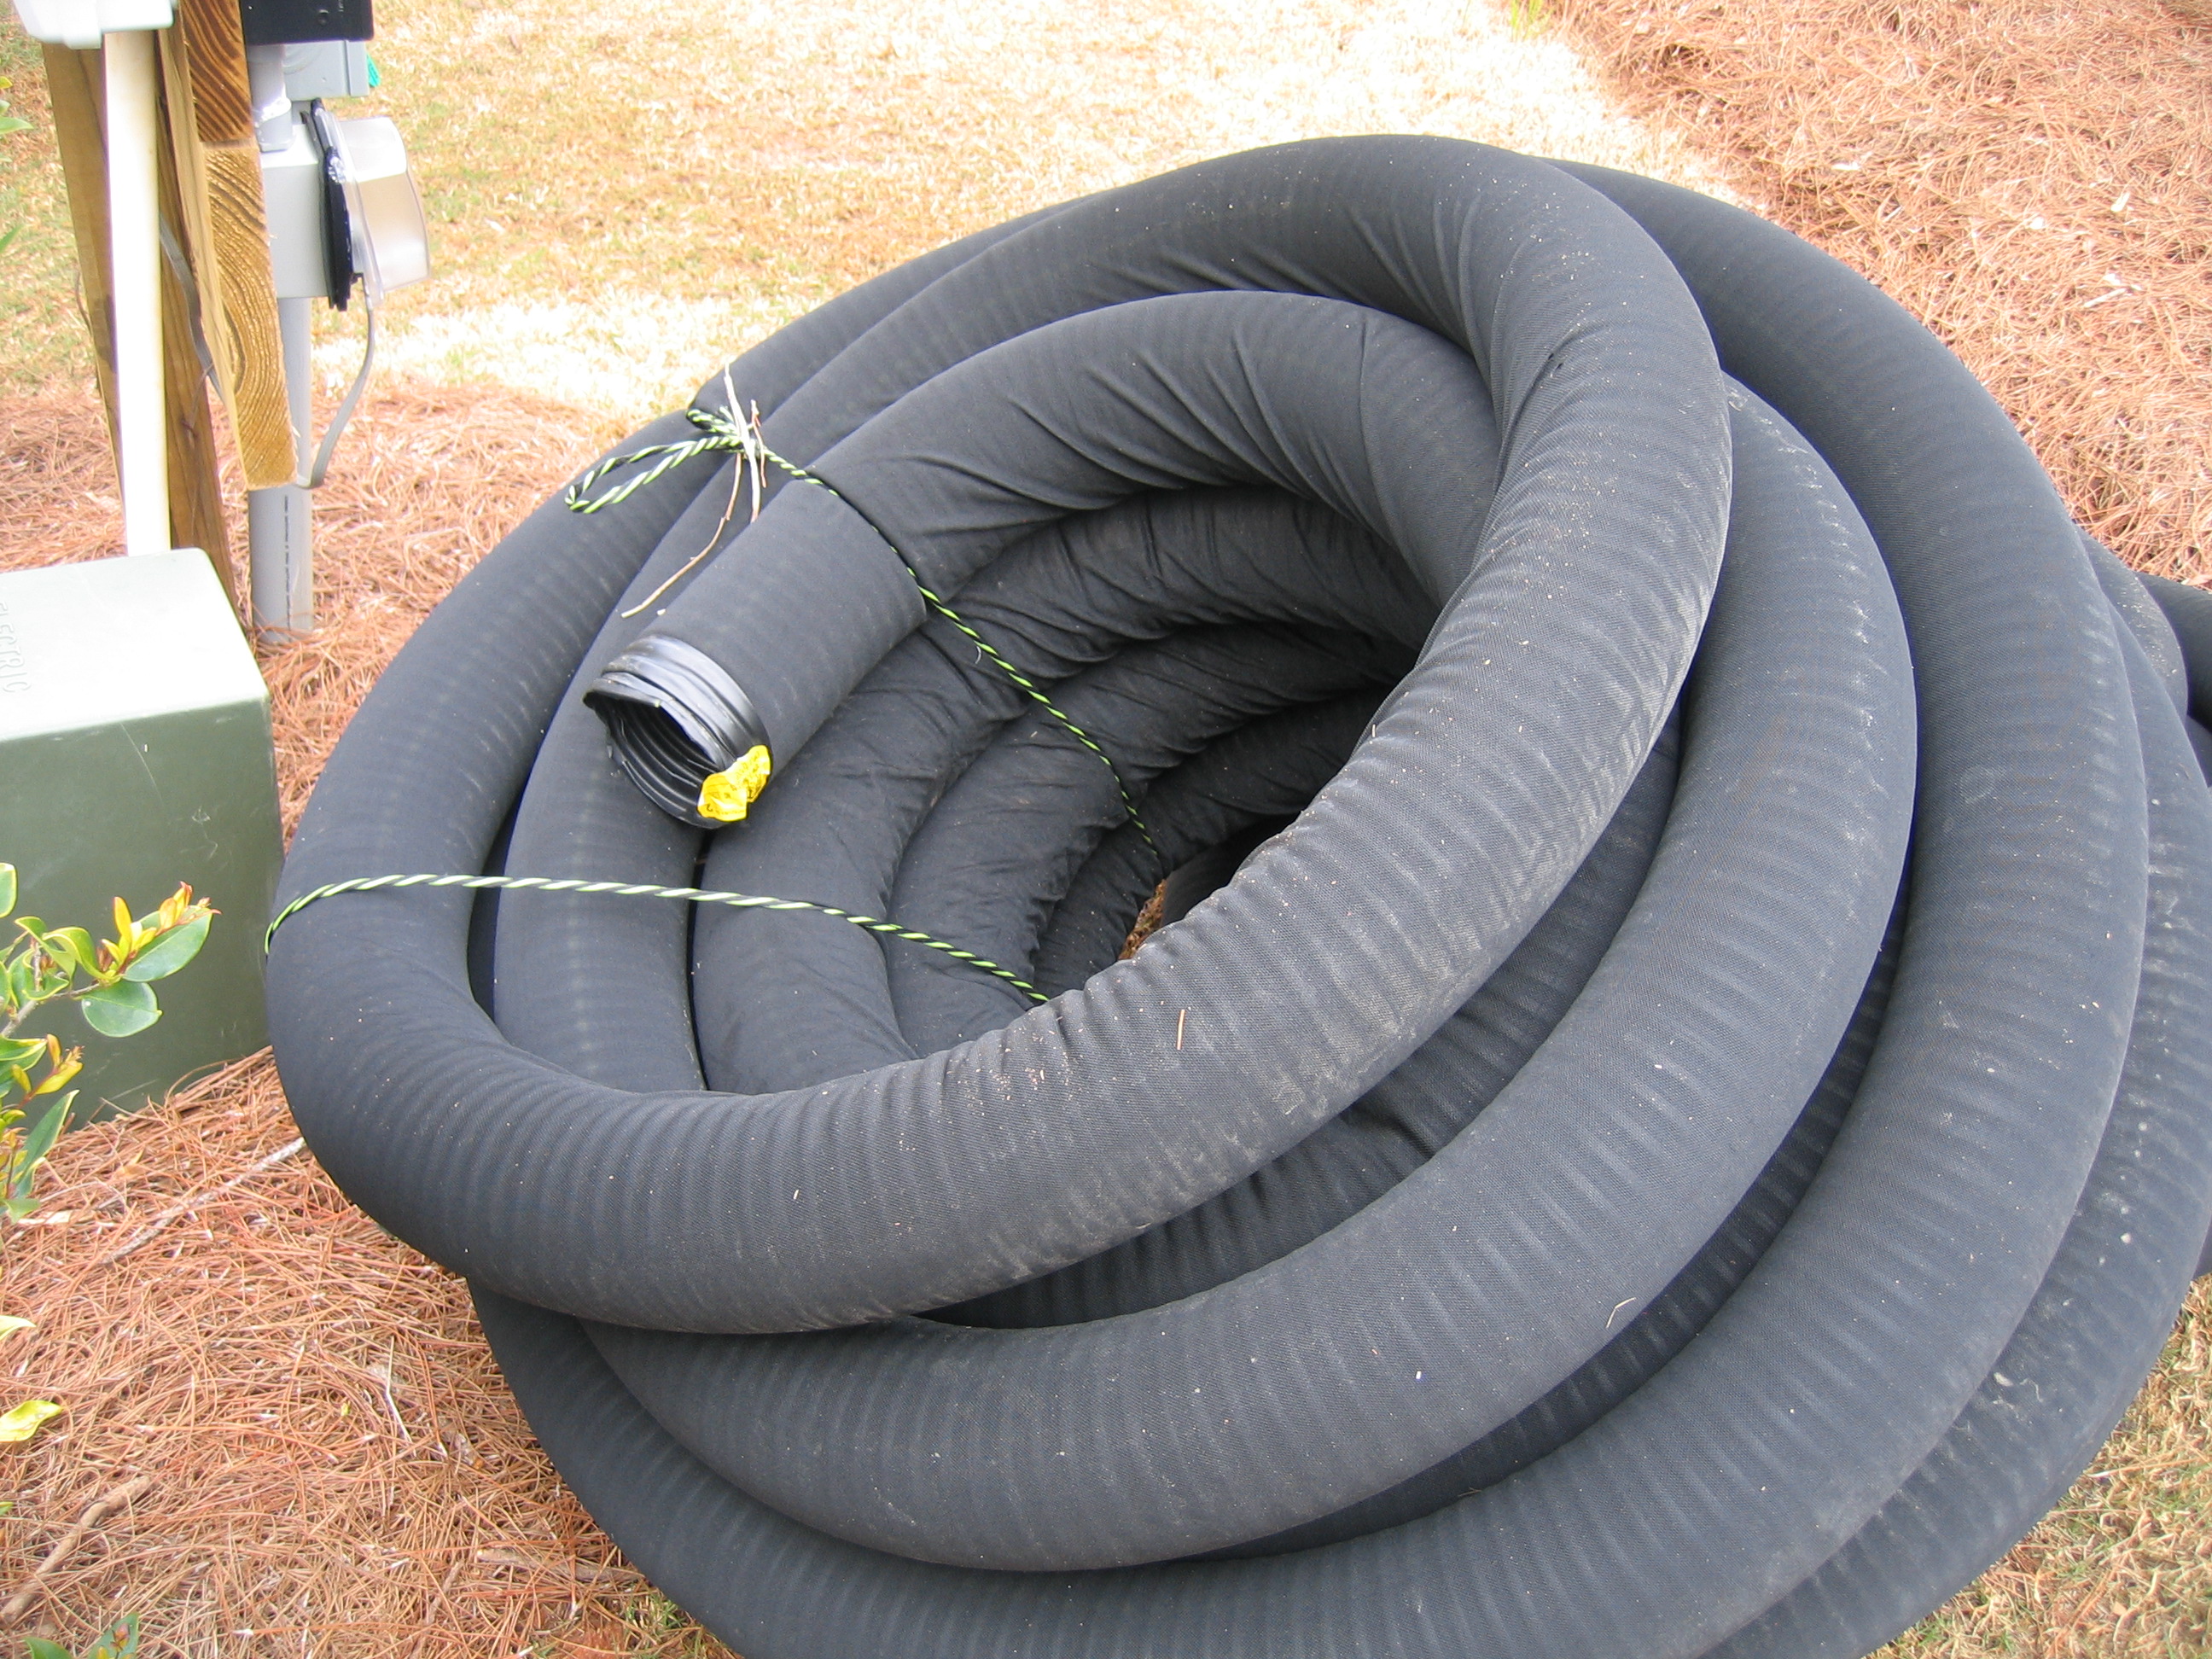
In some cases, you may need to use a flexible drain pipe to connect your sink's drain to the main sewer line. This is especially useful if the sink's location does not align with the existing plumbing or if you are installing a new sink in a different location. A flexible drain pipe, also known as a flexible P-trap, is made of durable plastic and can bend and stretch to fit the desired length and angle. This makes it easier to customize your plumbing setup and ensure a tight and secure connection.4. Use a flexible drain pipe
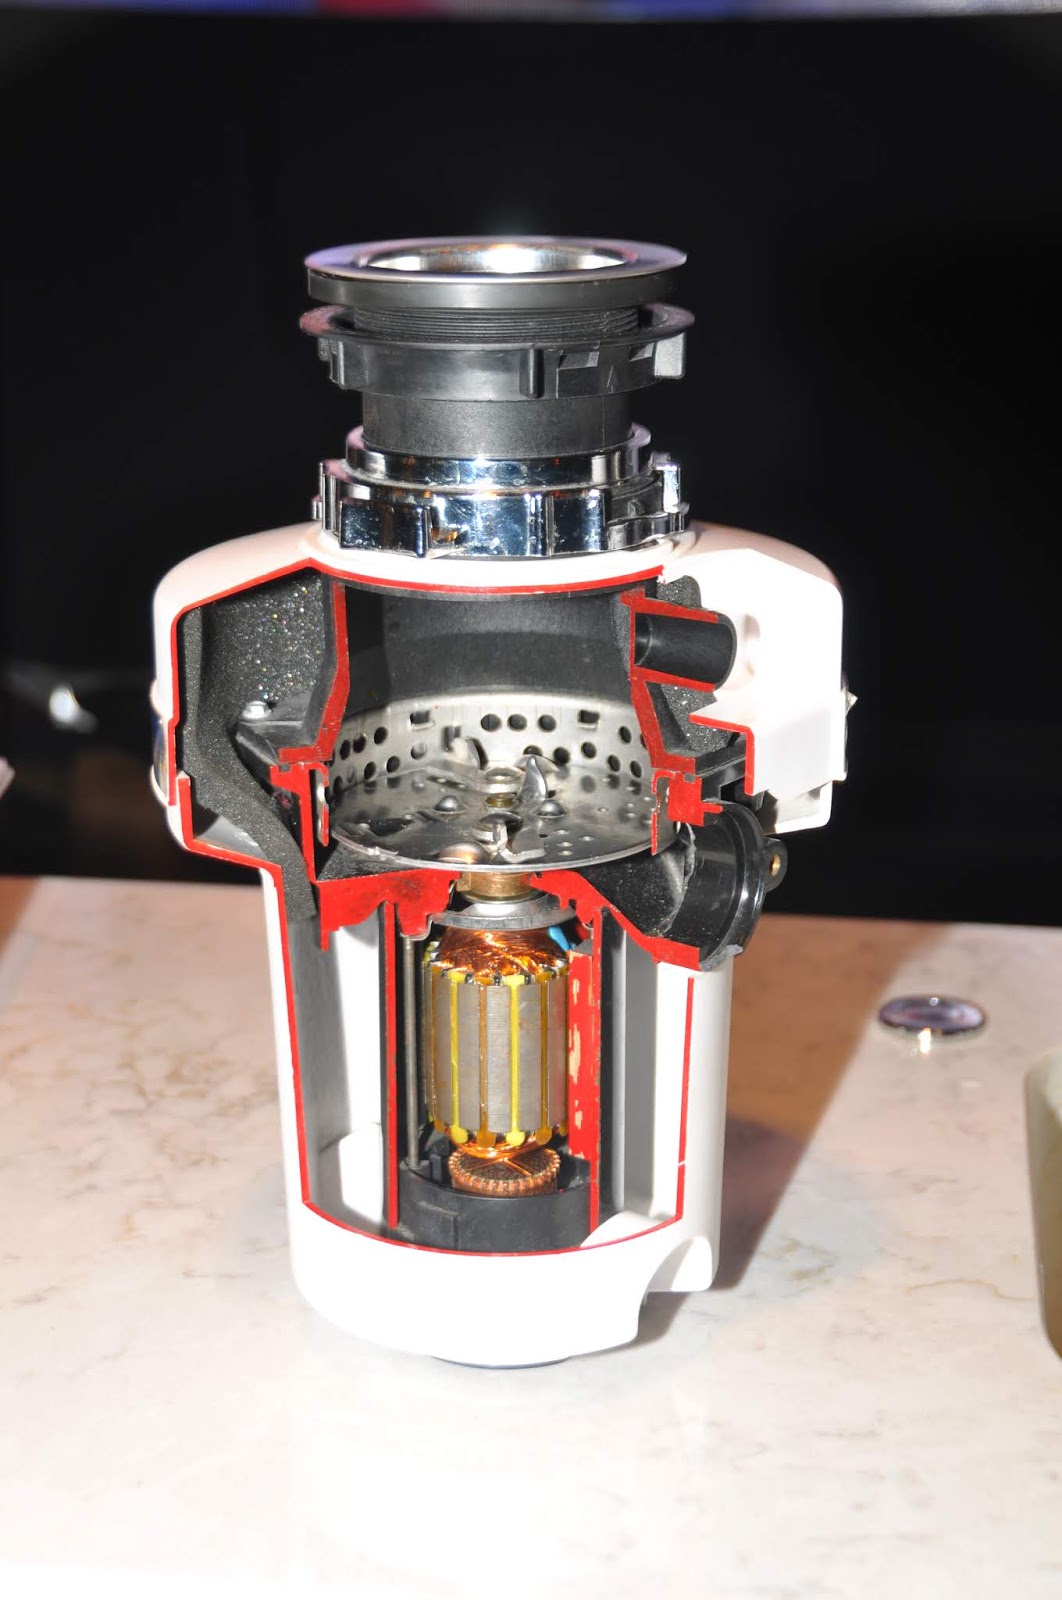
If you plan on using a garbage disposal in your kitchen sink, it's important to install it properly. This will not only ensure it functions correctly but also prevent any damage to your plumbing system. First, you will need to install the mounting assembly for the disposal under the sink. Then, attach the disposal unit to the mounting assembly and connect it to the drain line. Make sure to follow the manufacturer's instructions for proper installation and use.5. Install a garbage disposal
In addition to a garbage disposal, you may also want to install a basket strainer in your kitchen sink. This is a small mesh or perforated basket that sits inside the drain and catches any food particles or debris that may have slipped through the garbage disposal. Basket strainers are easy to install and can be removed and cleaned regularly to prevent clogs and unpleasant odors in your kitchen sink.6. Use a basket strainer
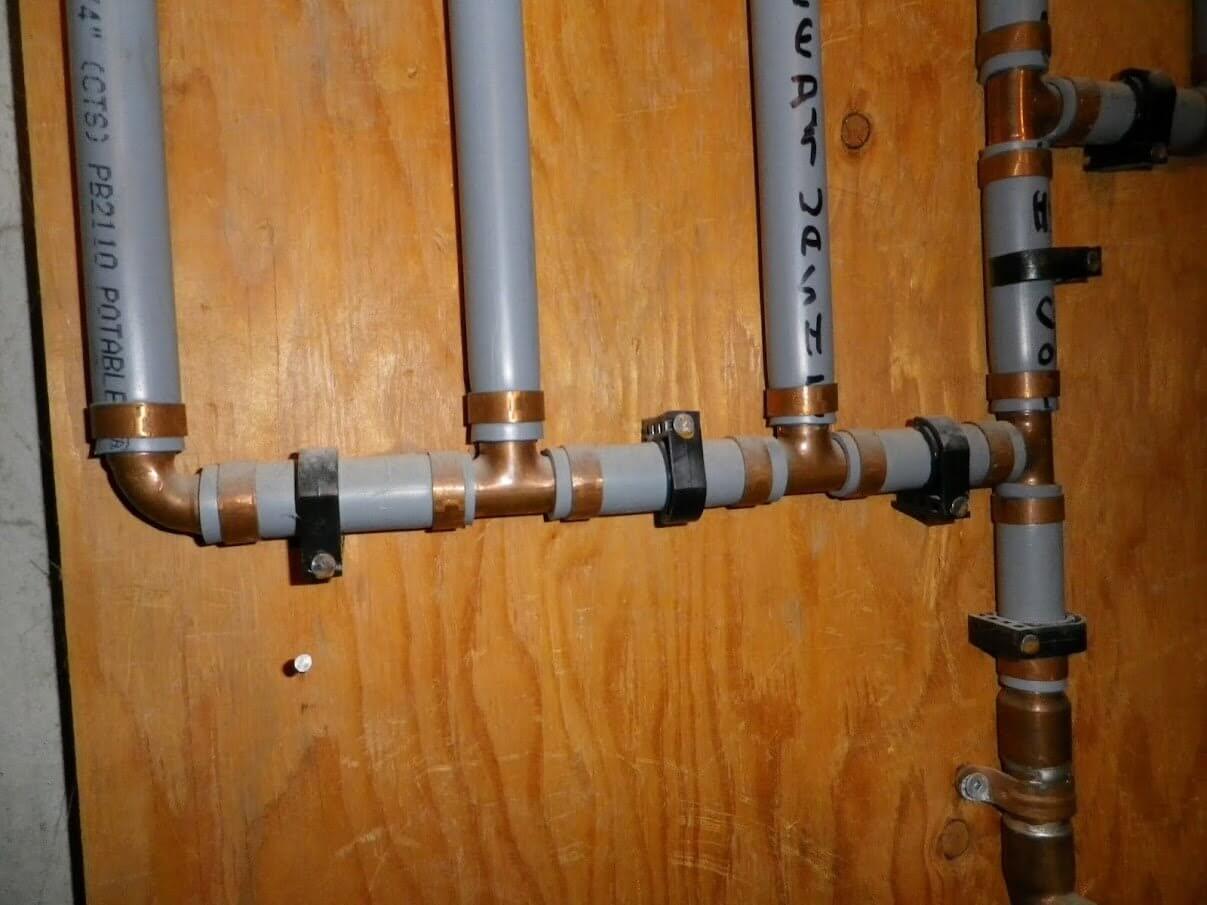
In order to have a functioning kitchen sink, you will need to connect the water supply lines. These are the pipes that deliver hot and cold water to the faucet. Make sure to turn off the main water supply before connecting the lines. Then, attach the hot and cold water supply lines to the corresponding valves and tighten them with a wrench. It's important to check for any leaks before moving on to the next step.7. Connect the water supply lines
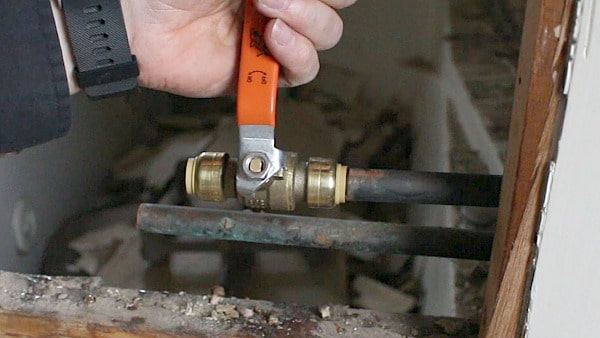
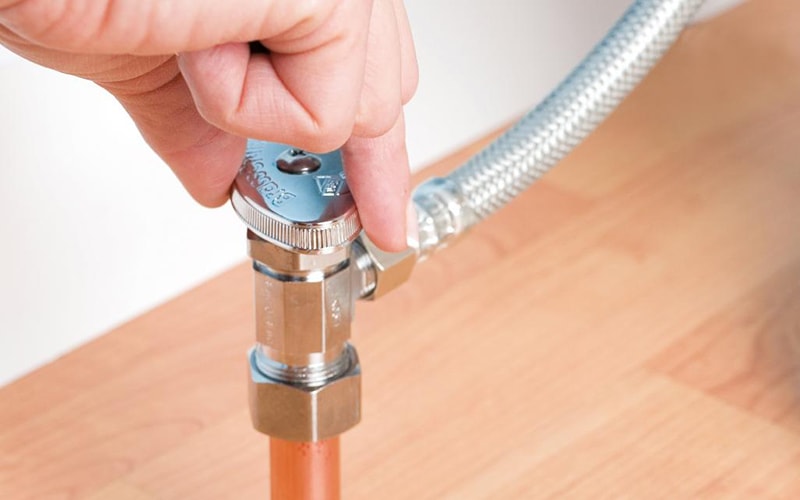
For added convenience and safety, it's a good idea to install a shut-off valve for your kitchen sink. This will allow you to easily turn off the water supply to the sink in case of an emergency or when making repairs. The shut-off valve should be located under the sink, near the water supply lines. Make sure it is securely connected and easily accessible.8. Install a shut-off valve
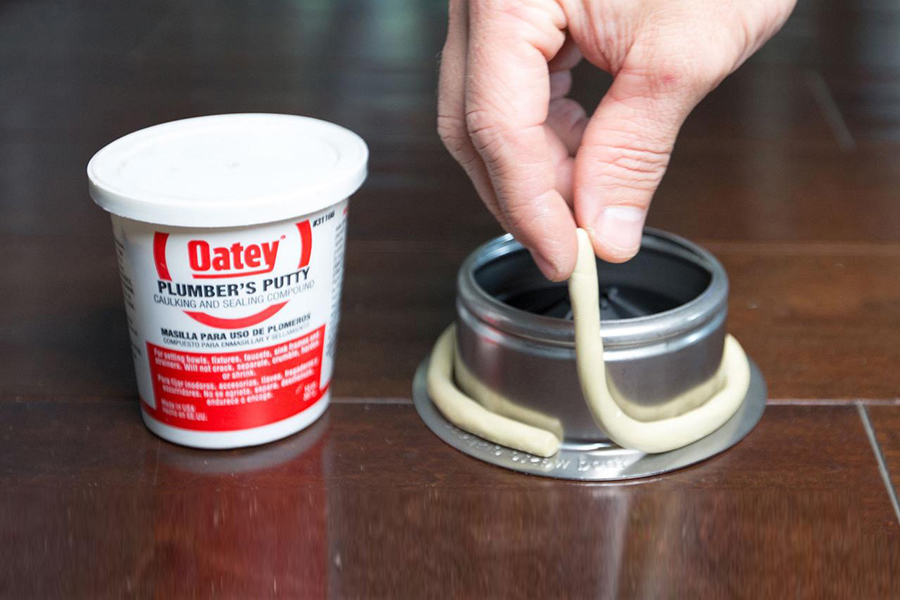
When installing the sink, you will need to create a watertight seal between the sink and the countertop. This can be done using plumber's putty or silicone caulk. Plumber's putty is a soft, moldable substance that is used to create a seal around the edges of the sink. Silicone caulk is a more permanent solution and can also be used to seal around the edges of the sink. Make sure to follow the manufacturer's instructions for proper application and drying time.9. Use plumber's putty or silicone caulk
After completing all the steps to plumb your kitchen sink, it's important to test for any leaks. Turn on the water supply and check all connections for any signs of water dripping or pooling. If you notice any leaks, make sure to tighten the connections or replace any damaged parts. It's important to address leaks immediately to prevent any further damage to your plumbing system. By following these 10 best ways to plumb a kitchen sink, you can ensure a properly functioning and efficient sink in your kitchen. If you are unsure about any step, it's always best to consult a professional plumber for assistance.10. Test for leaks
Why Proper Plumbing is Key for Your Kitchen Sink

The Importance of Quality Plumbing in House Design
 When it comes to designing your dream kitchen, there are countless decisions to make. From choosing the perfect countertops to selecting the right appliances, every detail matters. However, one aspect that is often overlooked but crucial to the functionality of your kitchen is the plumbing. Proper plumbing is key for your kitchen sink, as it ensures efficient water flow and prevents any potential issues in the future. In this article, we'll explore the best way to plumb a kitchen sink and why it's essential for your house design.
Maximizing Space and Functionality
/how-to-install-a-sink-drain-2718789-hero-24e898006ed94c9593a2a268b57989a3.jpg) The first step in plumbing your kitchen sink is to consider the layout of your kitchen. You want to ensure that your sink is placed in a convenient and comfortable location for everyday use. This may involve working with a professional plumber to determine the best placement and design for your sink. With the right layout, you can maximize the space in your kitchen and make it more functional for your daily needs.
One of the main benefits of proper plumbing is the ability to customize the design of your kitchen sink.
You can choose from a variety of styles, materials, and configurations to suit your personal preferences and needs. This allows you to create a unique and personalized kitchen that reflects your taste and lifestyle.
The first step in plumbing your kitchen sink is to consider the layout of your kitchen. You want to ensure that your sink is placed in a convenient and comfortable location for everyday use. This may involve working with a professional plumber to determine the best placement and design for your sink. With the right layout, you can maximize the space in your kitchen and make it more functional for your daily needs.
One of the main benefits of proper plumbing is the ability to customize the design of your kitchen sink.
You can choose from a variety of styles, materials, and configurations to suit your personal preferences and needs. This allows you to create a unique and personalized kitchen that reflects your taste and lifestyle.
Promoting Efficiency and Durability
 Not only does proper plumbing enhance the aesthetics of your kitchen, but it also promotes efficiency and durability. By ensuring that your sink is connected to the right pipes and fittings, you can prevent leaks, clogs, and other plumbing issues that can be costly and disruptive.
It is important to use high-quality materials and work with a reputable plumber to ensure that your kitchen sink will last for years to come.
Proper plumbing also allows for efficient water flow, which is essential for everyday tasks such as washing dishes and preparing meals. With the right design and installation, you can save time and effort in your daily routine and make the most out of your kitchen sink.
The Role of Professionals in Plumbing
 While some may attempt to plumb their kitchen sink themselves, it is always best to leave this task to the professionals.
A professional plumber has the expertise and experience to ensure that your kitchen sink is installed correctly and efficiently.
They can also provide valuable advice and recommendations on the best materials and techniques for your specific kitchen design.
In conclusion, proper plumbing is a crucial aspect of house design, especially when it comes to your kitchen sink. By following the best practices and working with professionals, you can ensure that your sink is functional, efficient, and durable. So don't overlook the importance of quality plumbing when designing your dream kitchen!









/signs-of-a-sewer-drain-clog-2718943_FINAL-7306dab348804135897b63a4411cdfdf.png)






:max_bytes(150000):strip_icc()/about-flexible-drain-parts-2718771-hero-6b39b5bfd70a497eb5554369446069d0.jpg)





:max_bytes(150000):strip_icc()/garbage-disposal-installation-1824830-01-73cf0263b344447488ed8e15f7f2bc78.jpg)

:max_bytes(150000):strip_icc()/garbage-disposal-installation-1824830-07-e7284aea27834f698710558d74c5ebda.jpg)








:max_bytes(150000):strip_icc()/how-to-replace-a-main-water-shutoff-valve-5194137-hero-81d052b6de0a4f9e85bfbf539bc8b11b.jpg)
