How to Uninstall a Bathroom Sink Drain
Are you looking to update your bathroom sink or experiencing issues with your current drain? Uninstalling a bathroom sink drain may seem like a daunting task, but with the right tools and knowledge, it can be a DIY project that saves you time and money. Follow these steps to successfully uninstall your bathroom sink drain.
Removing a Bathroom Sink Drain
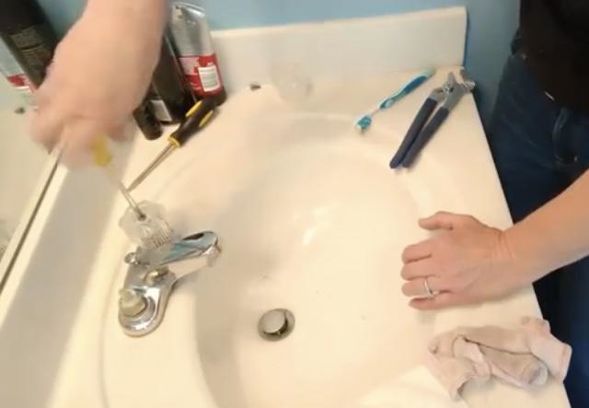
Before beginning the uninstallation process, gather all necessary tools and supplies. You will need a pair of pliers, a screwdriver, and a putty knife. It may also be helpful to have a bucket or towel nearby to catch any excess water.
Step-by-Step Guide to Uninstalling a Bathroom Sink Drain
Step 1: Begin by turning off the water supply to your sink. This can usually be done by turning the shut-off valves under the sink clockwise.
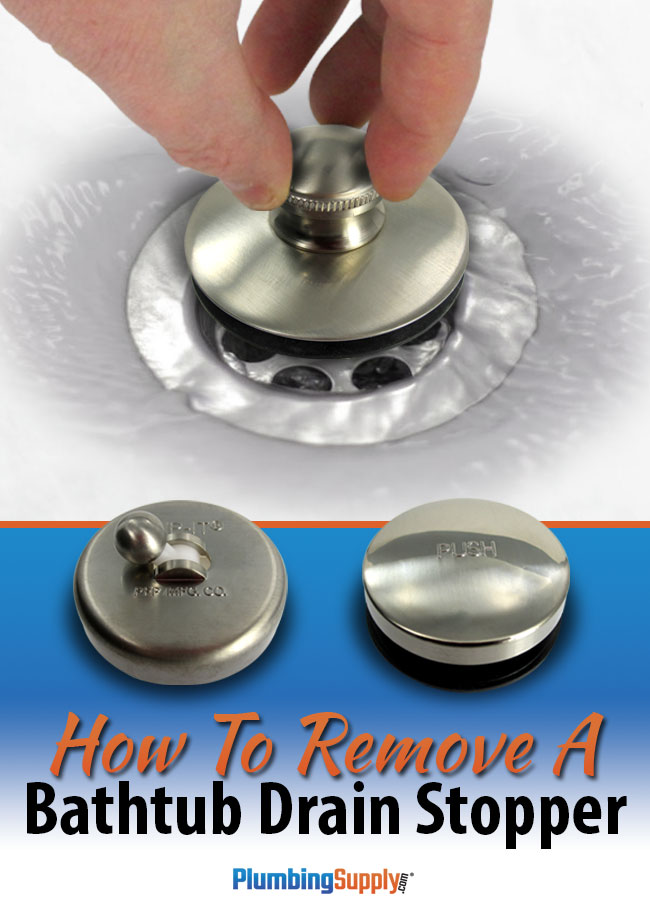
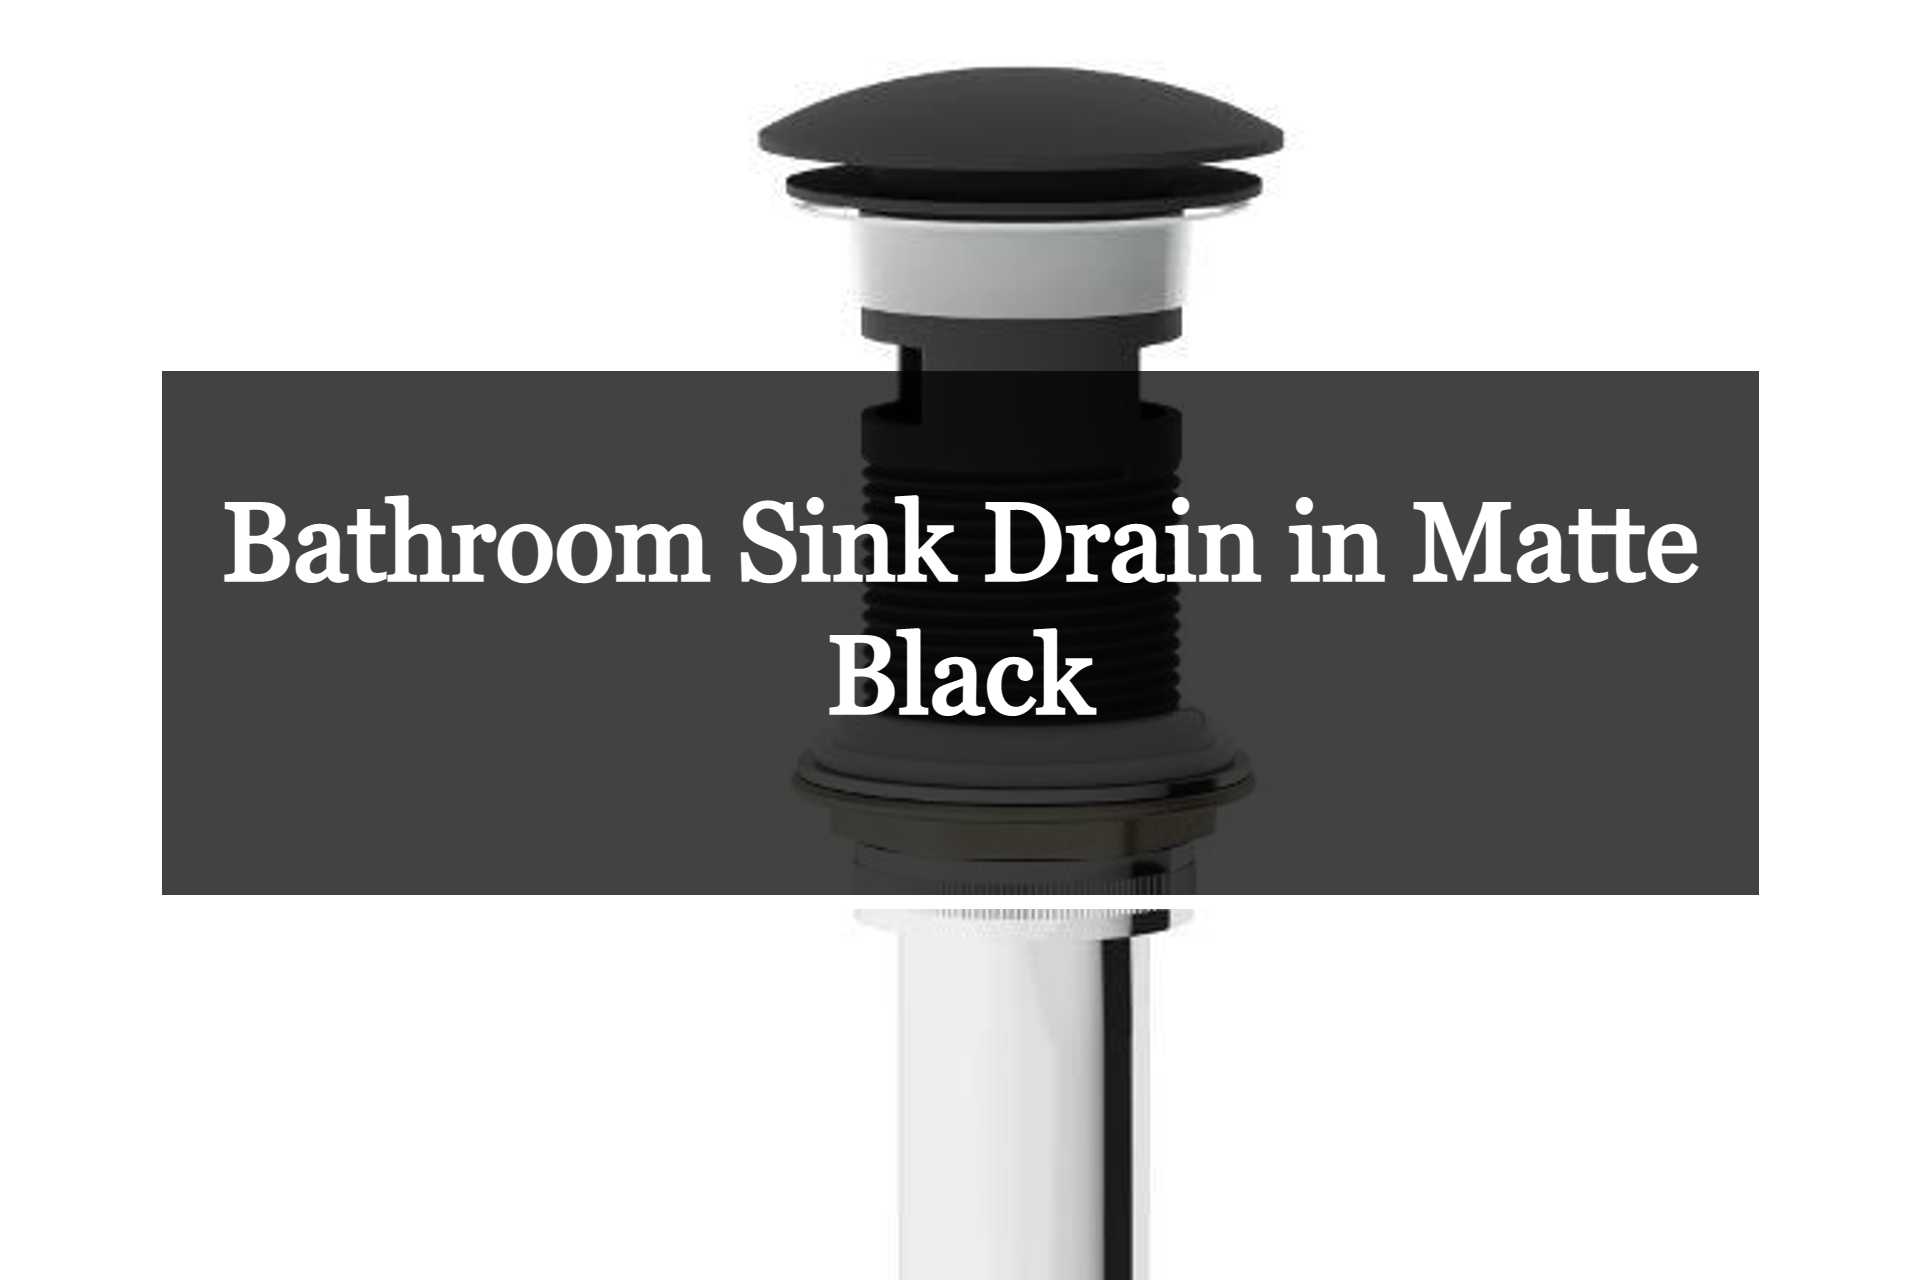
Step 2: Next, remove the sink stopper by unscrewing the nut under the sink and pulling the stopper out.
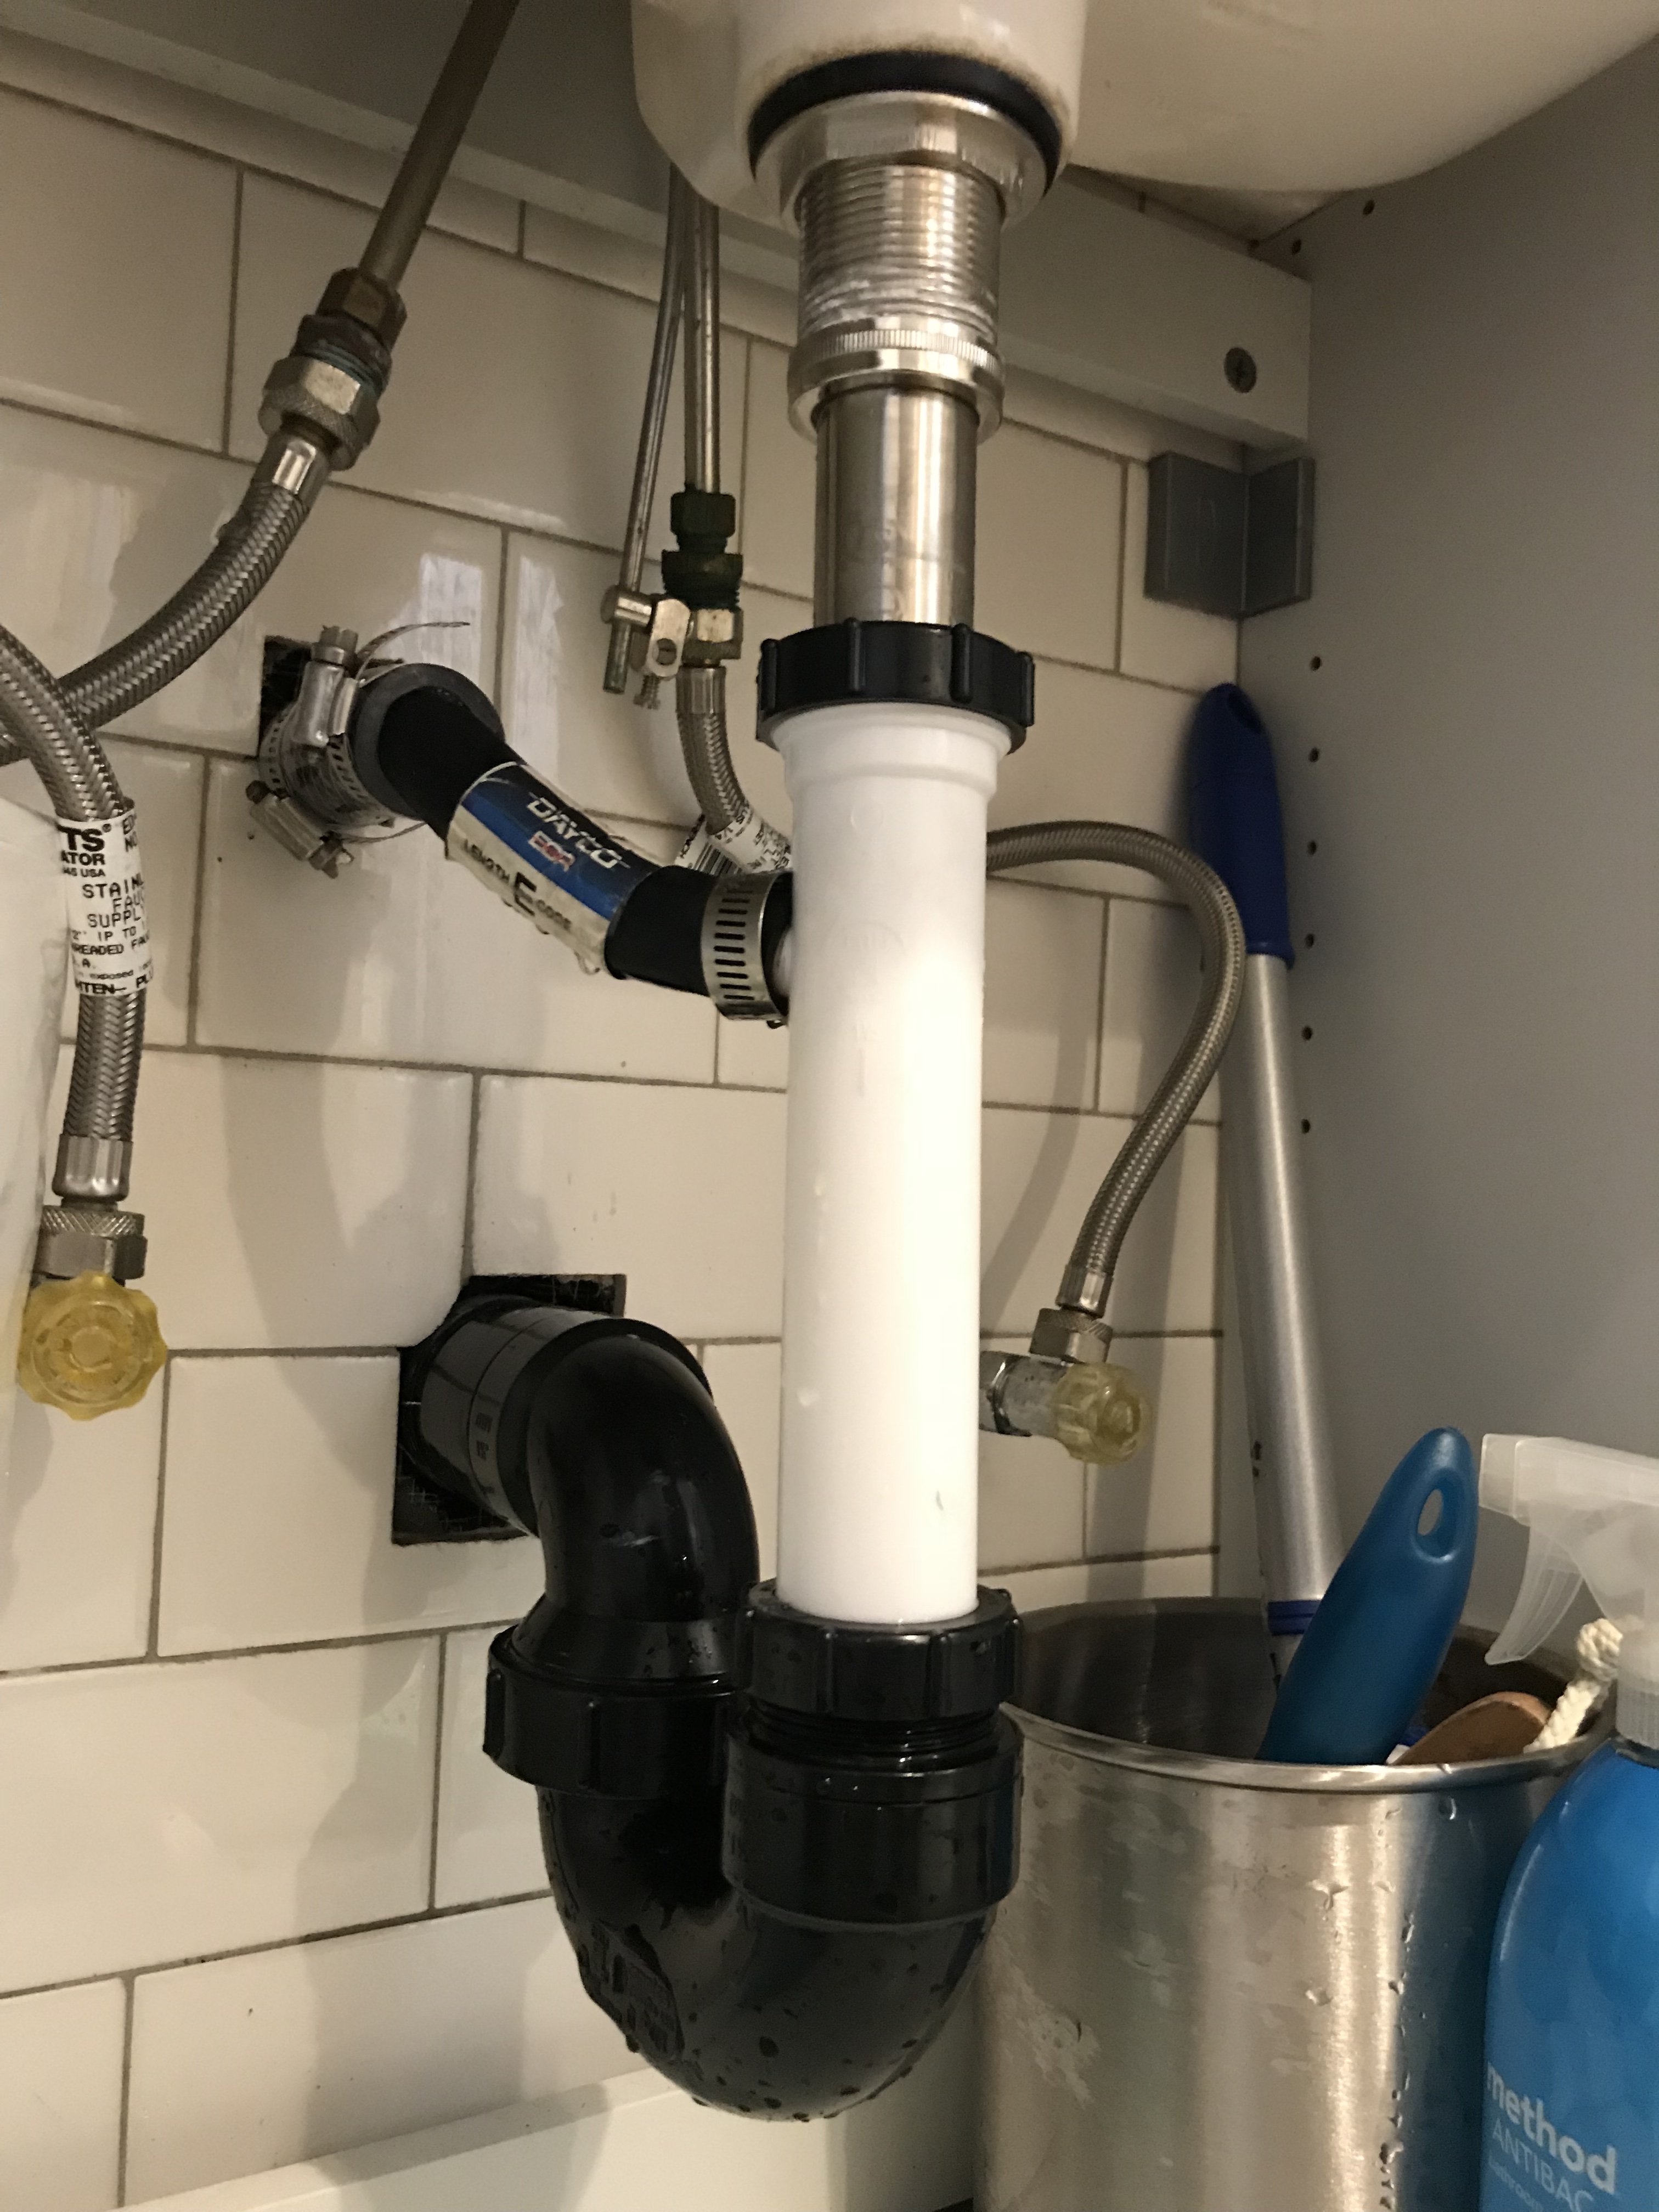
Step 3: Use your pliers to loosen the slip nut connecting the P-trap to the drain pipe. Once it is loosened, you can remove the P-trap and set it aside.
Step 4: Locate the lock nut securing the drain to the sink. This can usually be found underneath the sink near the drain. Use your pliers to loosen and remove the nut.
Step 5: Once the lock nut is removed, you should be able to easily pull the drain out of the sink.
DIY Bathroom Sink Drain Removal
Uninstalling a bathroom sink drain is a DIY task that can save you money on professional plumbing services. By following these steps and using the right tools, you can successfully remove your old drain and replace it with a new one. However, if you are uncomfortable with any step of the process, it is always best to seek professional help.
Tools Needed for Uninstalling a Bathroom Sink Drain
In addition to the pliers, screwdriver, and putty knife mentioned earlier, you may also need a basin wrench to remove the lock nut holding the drain in place. This tool is specifically designed for hard-to-reach areas and can make the process easier.
Tips for Easy Bathroom Sink Drain Uninstallation
To make the uninstallation process smoother, here are a few tips to keep in mind:
Tip 1: Use a hairdryer to loosen any old plumber's putty or silicone holding the drain in place.
Tip 2: If the lock nut is too tight to remove by hand, use a pair of channel locks to loosen and remove it.
Tip 3: Keep all screws and parts in a safe place to avoid losing them during the process.
Common Mistakes to Avoid When Uninstalling a Bathroom Sink Drain
While uninstalling a bathroom sink drain may seem simple, there are a few common mistakes that can cause issues. Avoid these mistakes to ensure a smooth uninstallation process:
Mistake 1: Not turning off the water supply before beginning the process.
Mistake 2: Forgetting to remove the sink stopper before attempting to remove the drain.
Mistake 3: Not having all necessary tools on hand, causing delays and frustration.
Troubleshooting Bathroom Sink Drain Uninstallation
If you encounter any issues during the uninstallation process, here are a few troubleshooting tips:
Issue 1: The drain is stuck and won't budge.
Solution: Use a hairdryer or heat gun to loosen any old putty or silicone holding the drain in place.
Issue 2: The lock nut is too tight to remove by hand.
Solution: Use a pair of channel locks to loosen and remove the nut.
Issue 3: The drain is still leaking after reinstalling it.
Solution: Make sure the drain is properly aligned and the lock nut is tightened enough to create a seal.
Professional vs. DIY Bathroom Sink Drain Uninstallation
While uninstalling a bathroom sink drain can be a DIY project, there are some instances where it may be best to seek professional help. If you encounter any issues or are uncomfortable with any step of the process, it is best to call a plumber to avoid causing further damage.
How to Reinstall a Bathroom Sink Drain After Uninstallation
Once you have successfully uninstalled your old drain, you can now replace it with a new one. Follow these steps to reinstall the new drain:
Step 1: Apply a thin layer of plumber's putty around the opening of the drain hole.
Step 2: Insert the new drain into the hole and secure it with the lock nut.
Step 3: Reattach the P-trap and tighten the slip nut to secure it in place.
Step 4: Replace the sink stopper and screw the nut back in place.
Step 5: Turn the water supply back on and test for any leaks.
By following these steps and using the right tools, you can easily uninstall a bathroom sink drain and replace it with a new one. Remember to take your time and be cautious to avoid any mistakes or issues. If you encounter any difficulties, it is always best to seek professional help. With a little patience and effort, you can successfully complete this DIY project and update your bathroom sink in no time.
Uninstalling a Bathroom Sink Drain: A Step-by-Step Guide

Introduction
 If you're planning a bathroom remodel or simply need to replace a worn-out sink, one of the first steps is to uninstall the existing sink and its components. This includes the bathroom sink drain, which can often be a daunting task for those who are not familiar with plumbing. However, with the right tools and knowledge, you can easily uninstall a bathroom sink drain on your own. In this article, we will guide you through the process of uninstalling a bathroom sink drain, so you can confidently tackle this task and move on to your bathroom design plans.
Step 1: Gather Your Tools
 Before you begin, it's important to have all the necessary tools on hand. This will save you time and frustration in the long run. You will need a pair of pliers, an adjustable wrench, a bucket or container to catch any water that may spill, and a putty knife.
Step 2: Shut Off the Water Supply
 Before working on any plumbing, it's important to shut off the water supply to the sink. This can usually be done by turning off the shut-off valves located under the sink. If there are no shut-off valves, you will need to turn off the main water supply to your house.
Step 3: Remove the Sink Stopper and Drain Cover
 Next, you will need to remove the sink stopper and the drain cover. The sink stopper is usually connected to a horizontal rod underneath the sink, which can be unscrewed with pliers. The drain cover can be removed by unscrewing the screws holding it in place.
Step 4: Loosen the Drain Pipe
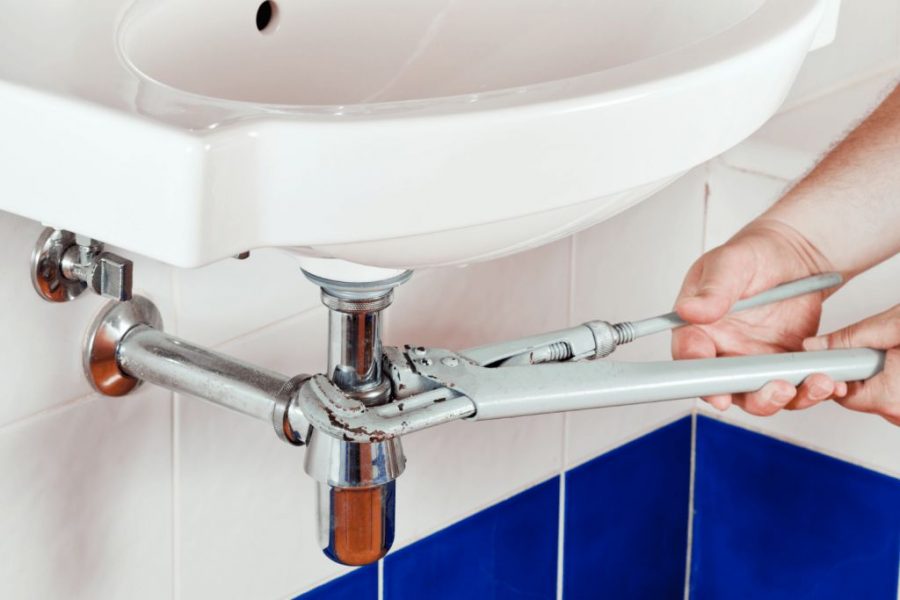 Using an adjustable wrench, loosen the nuts connecting the drain pipe to the sink drain and the P-trap. Be sure to have a bucket or container ready to catch any water that may spill out.
Step 5: Disconnect the Drain Pipe and P-Trap
 Once the nuts are loosened, you can disconnect the drain pipe and P-trap from the sink drain. This may require some force, so be prepared to use some elbow grease.
Step 6: Remove the Sink Drain Flange
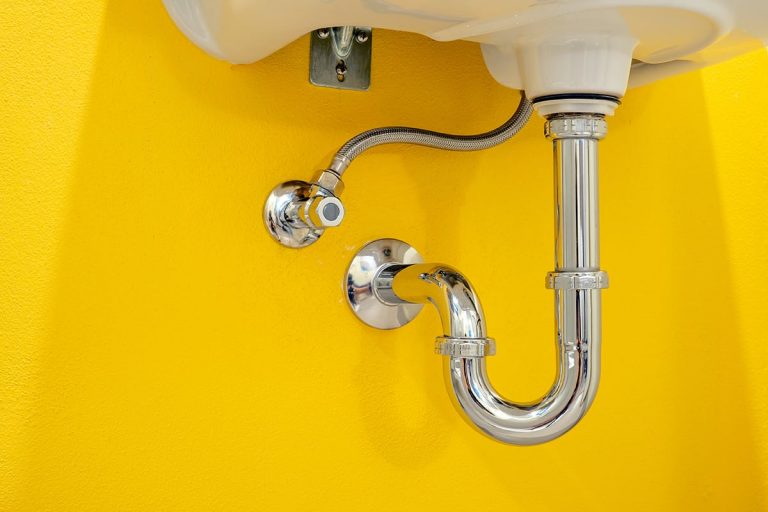 Using a pair of pliers, loosen the nut holding the sink drain flange in place. Once it's loosened, you should be able to easily remove the flange from the sink.
Step 7: Clean the Sink Drain
 Once the old sink drain is removed, use a putty knife to scrape off any old plumber's putty or silicone residue from the sink drain. This will ensure a clean surface for installing the new sink drain.
Conclusion
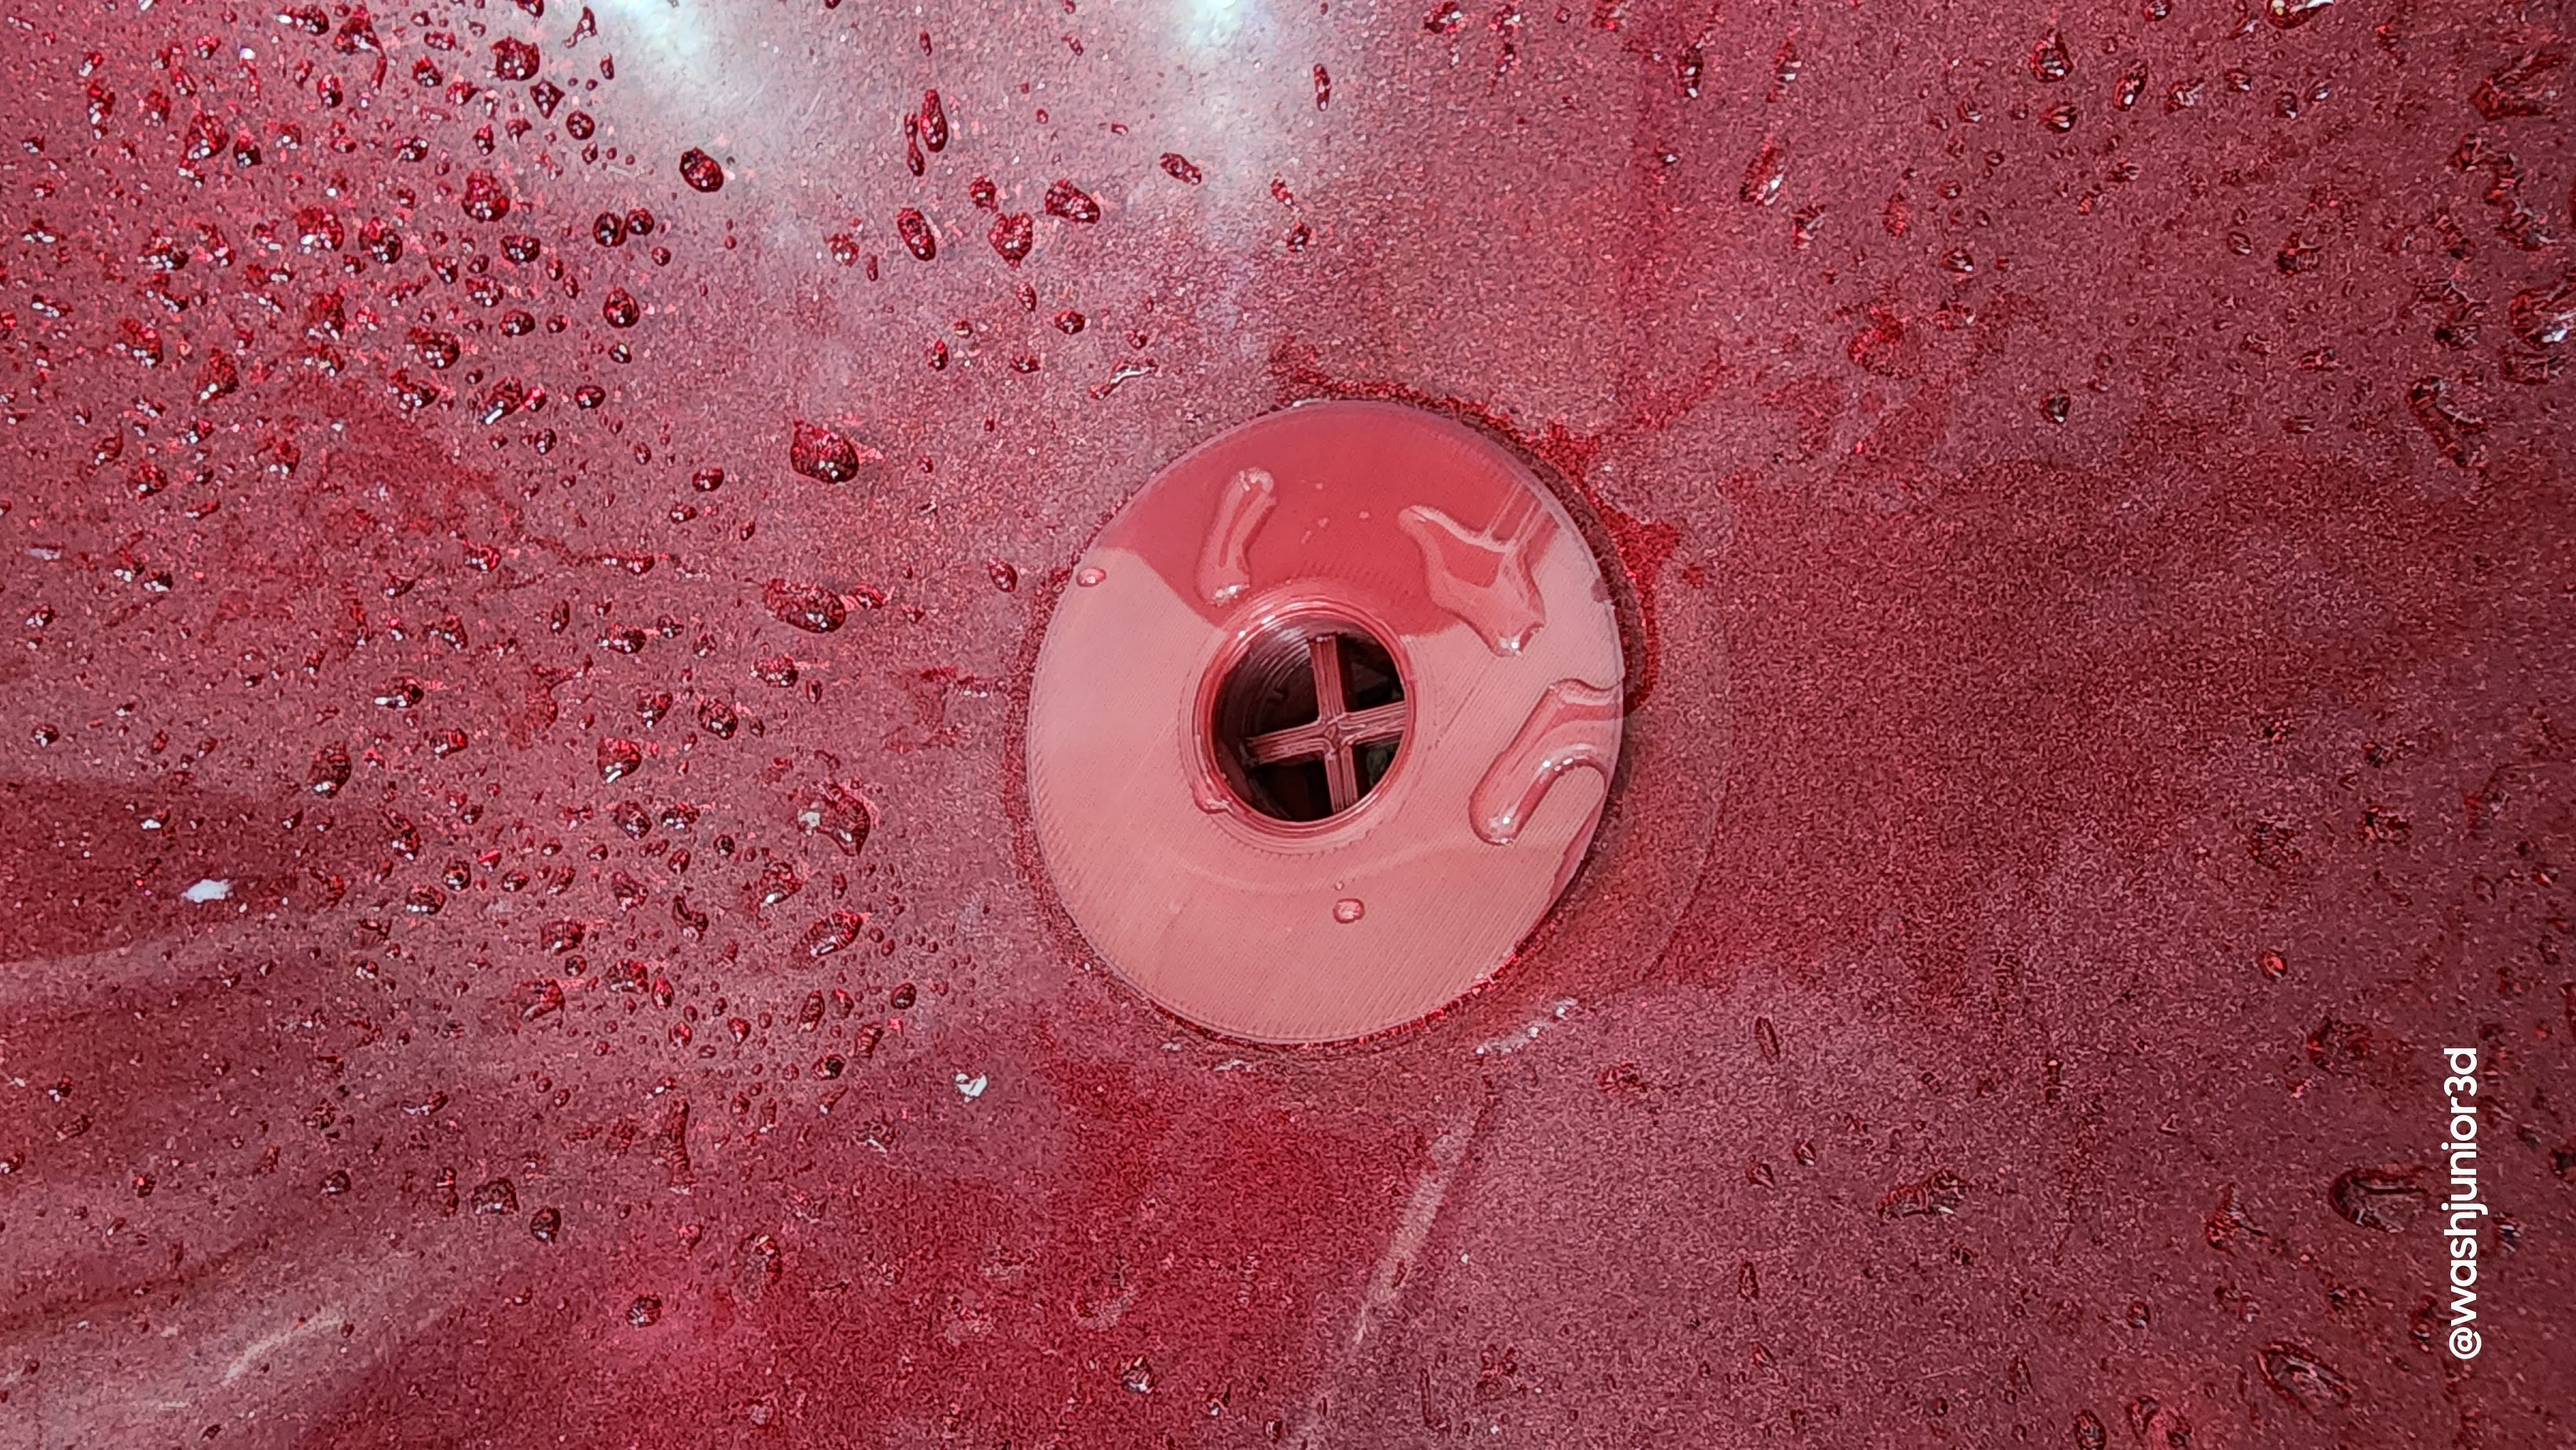 Uninstalling a bathroom sink drain may seem like a daunting task, but with the right tools and knowledge, it can be done easily. By following these simple steps, you can successfully remove your old sink drain and prepare for your new bathroom design. Remember to always turn off the water supply before working on any plumbing and have all the necessary tools on hand. Now that you know how to uninstall a bathroom sink drain, you can confidently move on to the next step in your bathroom renovation journey.






:max_bytes(150000):strip_icc()/bathroom-sink-drain-installation-2718843-11-675b59e962dd4f69b510d5c9e1fd215f.jpg)


