How to Fix a Leak in an Air Mattress
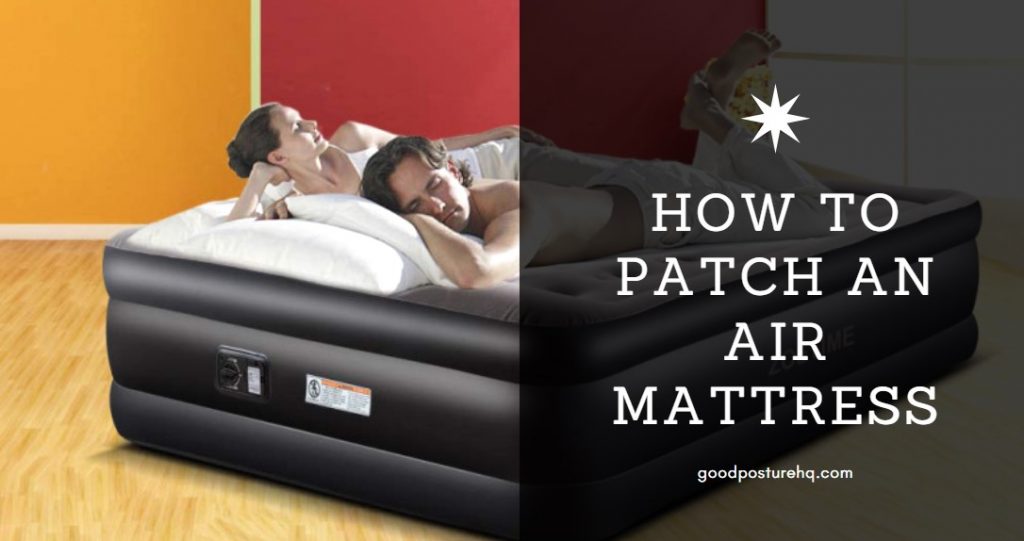
If you're planning a camping trip or have guests coming over, an air mattress can be a quick and convenient bedding option. However, there's nothing more frustrating than waking up in the middle of the night to find your air mattress has deflated. The culprit? A pesky leak. Don't worry, we've got you covered with these simple steps to fix a leak in your air mattress.
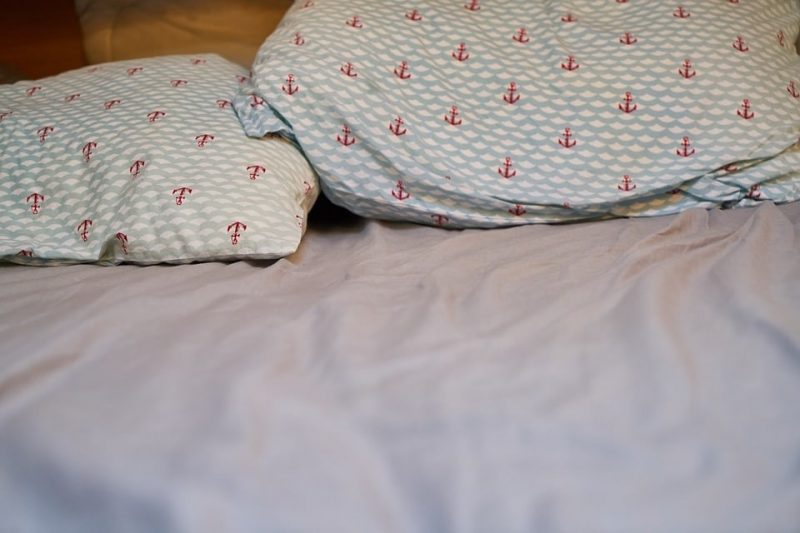
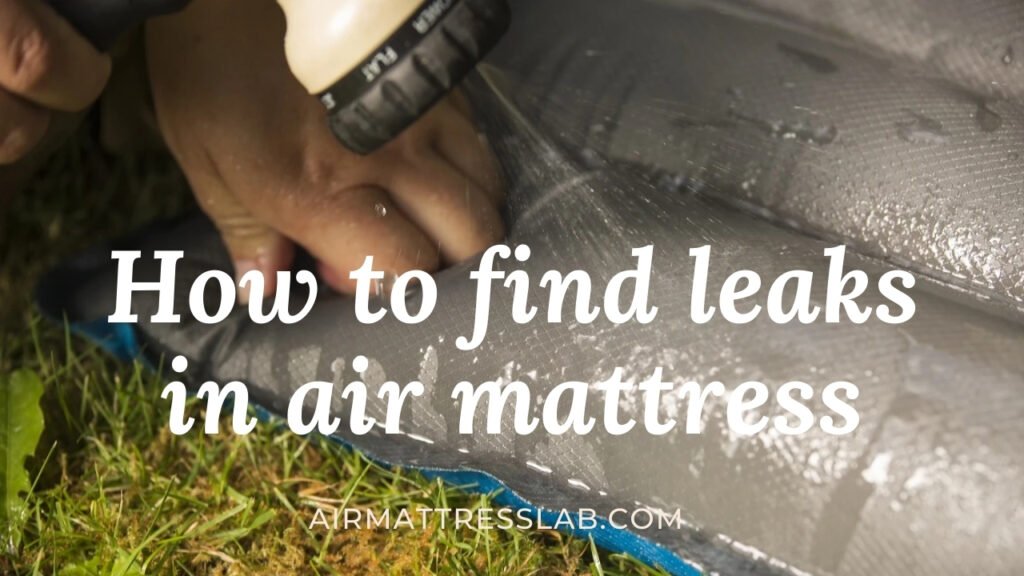
First things first, you'll need to locate the leak. Inflate your air mattress and listen for any hissing sounds. If you can't hear anything, try running your hand over the surface of the mattress to feel for any escaping air. Once you've located the leak, mark it with a piece of tape or a marker so you can easily find it again.
Next, you'll need to clean the area around the leak. Use a damp cloth to wipe away any dirt or debris. This will ensure the patch sticks properly and creates a strong seal. Make sure the area is completely dry before moving on to the next step.
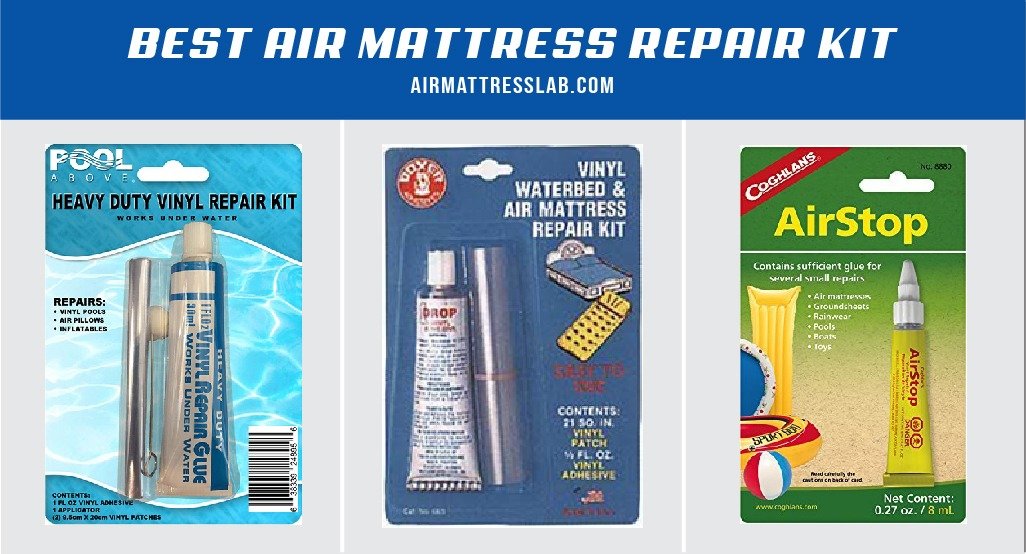
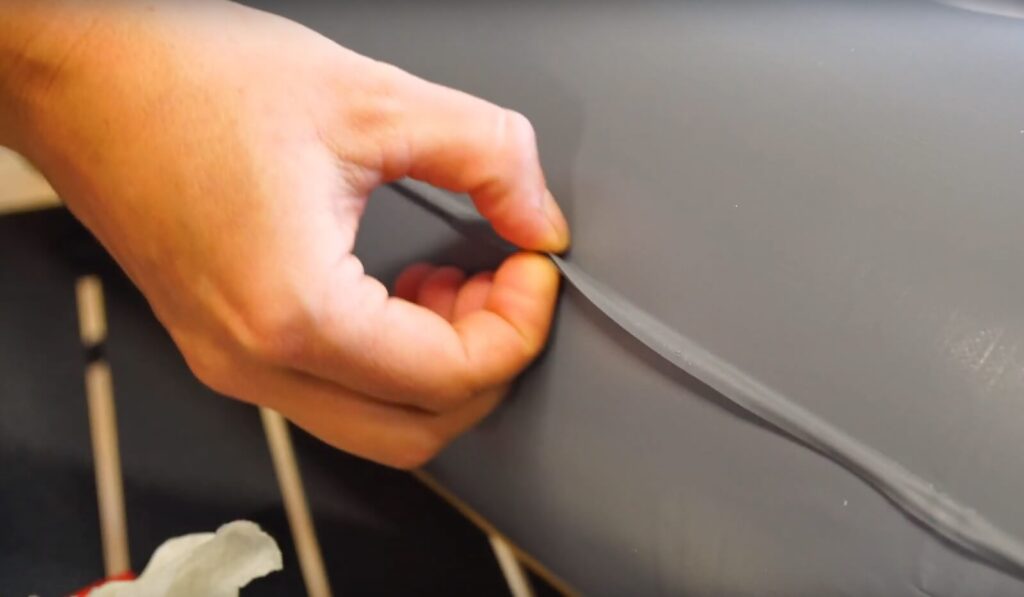
Now it's time to patch the leak. There are a few different ways to do this, depending on the type of air mattress you have. If you have a vinyl air mattress, you can use a vinyl repair kit. If you have a fabric air mattress, you can use a fabric patch or even duct tape. Follow the instructions on your chosen patching material and make sure you cover the entire leak.
Once the patch is in place, apply pressure to help it adhere to the mattress. You can use a heavy book or even sit on the area for a few minutes. This will ensure the patch has a strong bond with the mattress.
After the patch has set, inflate the mattress again to check for any additional leaks. If you find another leak, repeat the patching process. If not, you're good to go! Your air mattress should now hold air without any issues.


How to Fix a Leak in an Air Mattress


How to Patch an Air Mattress
If you have a hole in your air mattress, don't panic. Patching a hole is a simple process that can save you from having to buy a new mattress. Here's how to patch an air mattress in just a few easy steps.
The first step is to clean the area around the hole. Use a damp cloth to wipe away any dirt or debris. This will ensure the patch sticks properly and creates a strong seal. Make sure the area is completely dry before moving on to the next step.
Next, you'll need to find the right patching material. For vinyl air mattresses, you can use a vinyl repair kit. For fabric air mattresses, a fabric patch or duct tape will work. Cut the patch material to cover the entire hole, with an extra inch around the edges.
Peel off the backing of the patch and apply it to the hole. Press down firmly to ensure it adheres properly. You can use a heavy book or sit on the area to apply pressure and help the patch bond with the mattress.
If the hole is on the seam of the mattress, you may need to use a seam sealant in addition to the patch. Follow the instructions on your chosen sealant and make sure to cover the entire seam.
After the patch has set, inflate the mattress again to check for any additional leaks. If you find another leak, repeat the patching process. If not, your air mattress should be good as new!


How to Patch an Air Mattress


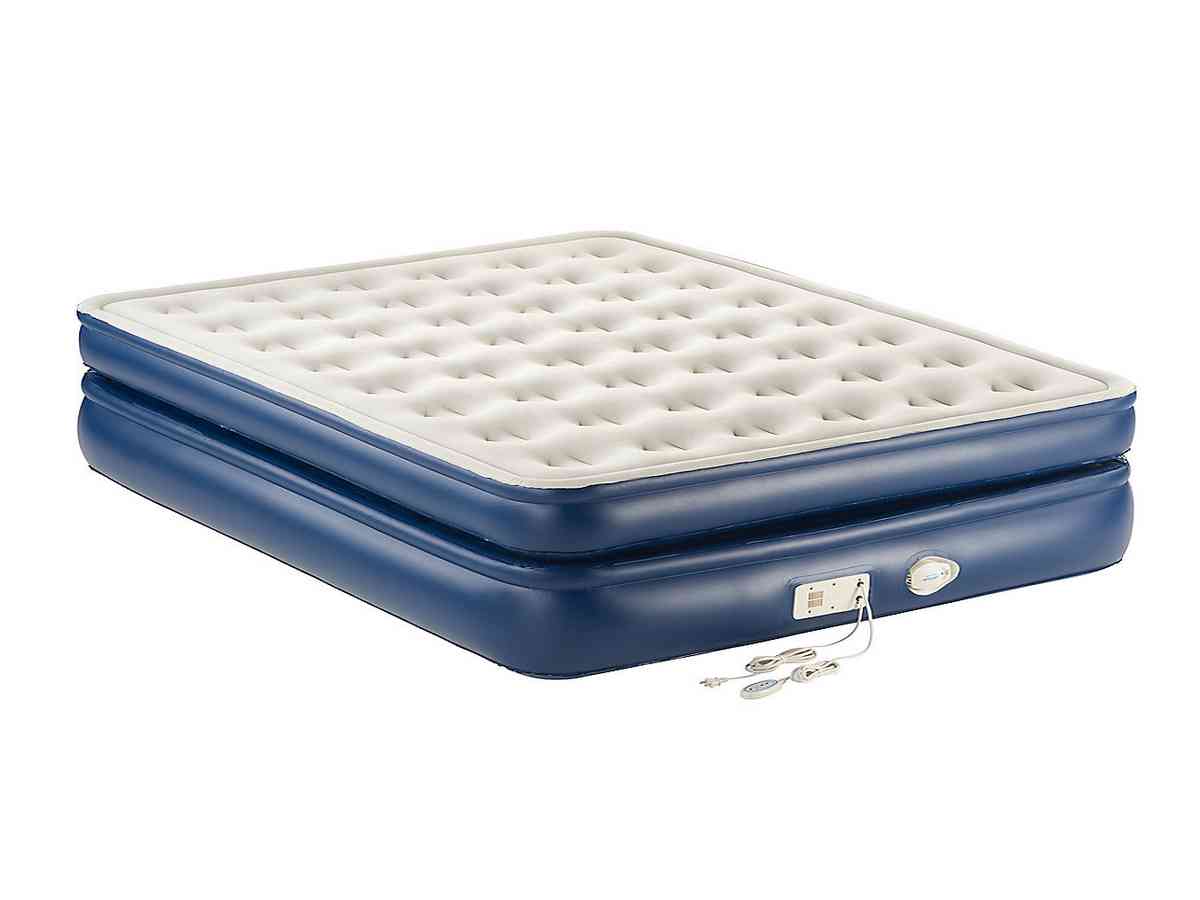
:max_bytes(150000):strip_icc()/inflatable-mattress-in-an-empty-room-1165771286-cdef8878a02c456188562f33c8f66d5d.jpg)

How to Repair an Air Mattress
If your air mattress has multiple leaks or a large tear, you may need to repair it instead of just patching a few holes. Here's what you'll need and how to repair an air mattress.
The first step is to gather your materials. You'll need a vinyl repair kit, scissors, and a patch of vinyl material. If you don't have a vinyl patch, you can use a piece of an old vinyl shower curtain or a vinyl tablecloth.
Next, locate the leaks and mark them with tape or a marker. Then, deflate the mattress and clean the area around the leaks with a damp cloth. Make sure it is completely dry before moving on.
Now it's time to repair the leaks. Cut the patch material to cover each leak, plus an extra inch around the edges. Apply the patch according to the instructions on your repair kit, and press down firmly to ensure it adheres properly.
If you have a larger tear in your mattress, you may need to use the vinyl patch to cover it completely. Follow the instructions on your repair kit to apply the patch and make sure to apply pressure to help it bond with the mattress.
After the repairs have set, inflate the mattress to check for any additional leaks. If you find another leak, repeat the repair process. If not, your air mattress should now be fully repaired and ready for use.


How to Repair an Air Mattress


How to Find a Leak in an Air Mattress
Finding a leak in an air mattress can be tricky, but it's an essential step in fixing it. Here's how to find a leak in your air mattress.
The first step is to inflate the mattress and listen for any hissing sounds. If you can't hear anything, try running your hand over the surface of the mattress to feel for any escaping air. If you still can't find the leak, you can create a soapy water solution and spray it over the mattress. Bubbles will form where the leak is located.
Once you've found the leak, mark it with tape or a marker so you can easily find it again. Then, deflate the mattress and clean the area around the leak with a damp cloth. Make sure it is completely dry before moving on to the next step.
Now you can follow the steps to patch or repair the leak, depending on the size and severity of the leak. Once the patch has set, inflate the mattress again to check for any additional leaks. If you find another leak, repeat the process. If not, your air mattress should now be leak-free.


How to Find a Leak in an Air Mattress


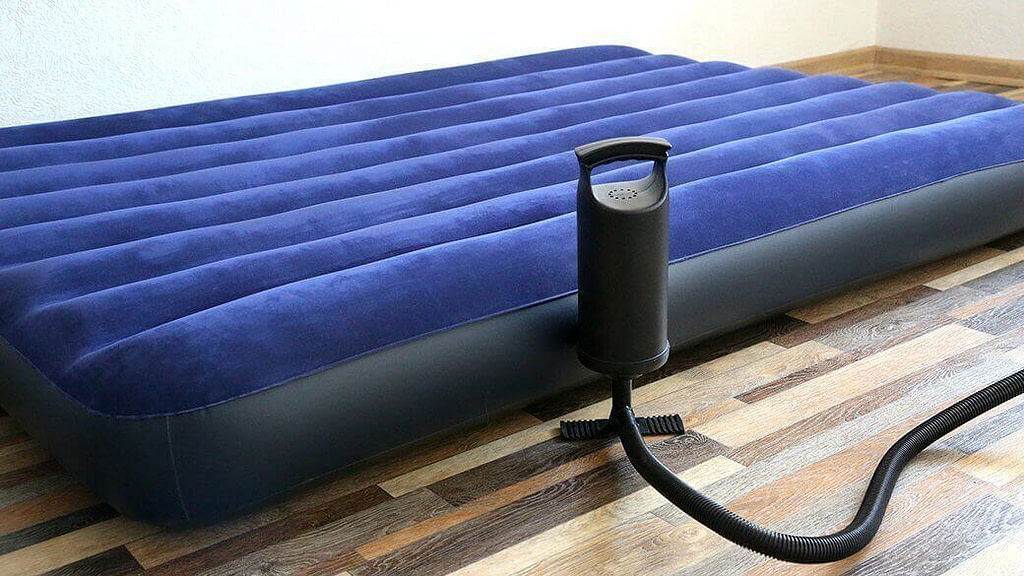
How to Inflate an Air Mattress
If you're using an air mattress for the first time or have just deflated it for storage, you'll need to know how to properly inflate it. Here's how to inflate an air mattress in just a few easy steps.
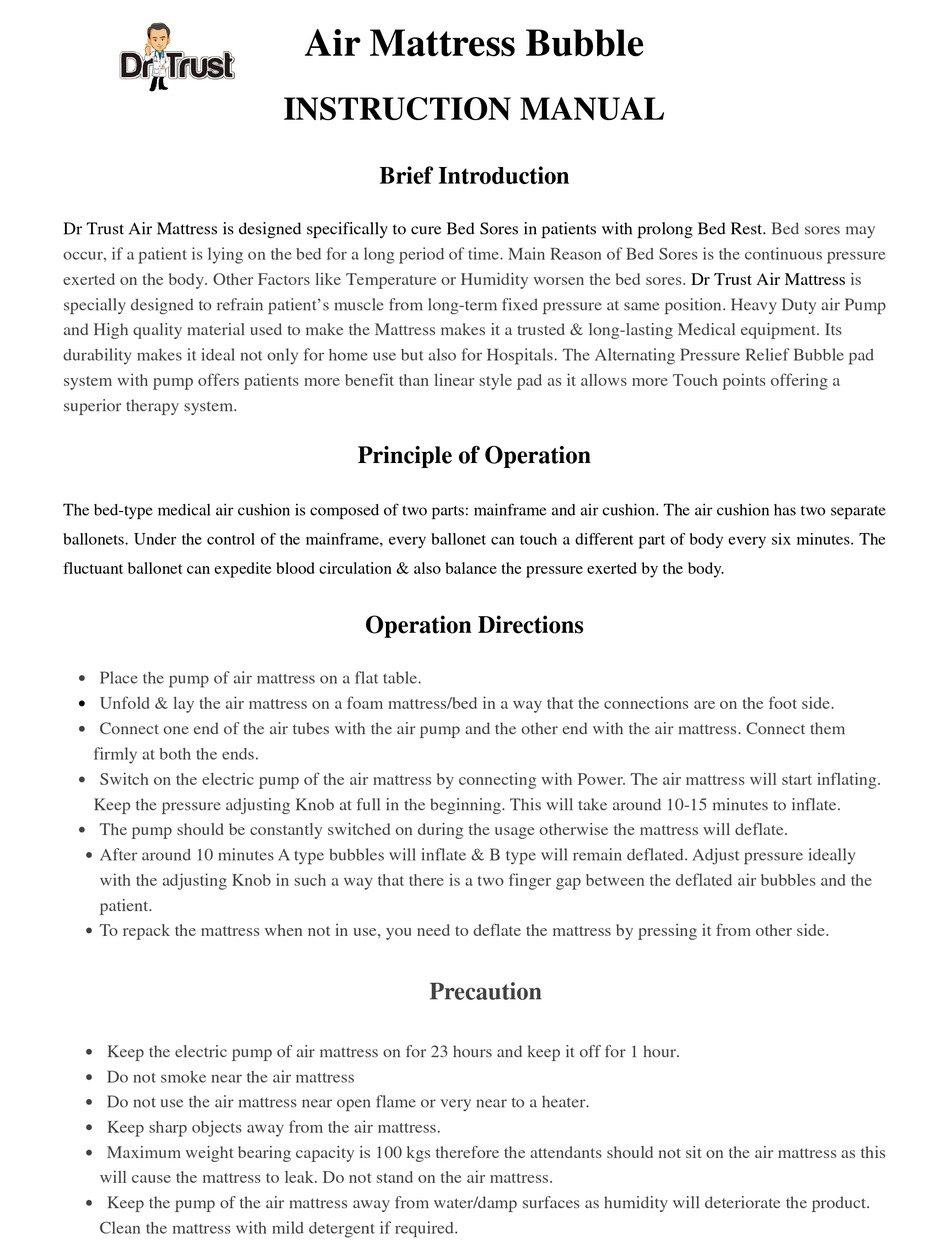
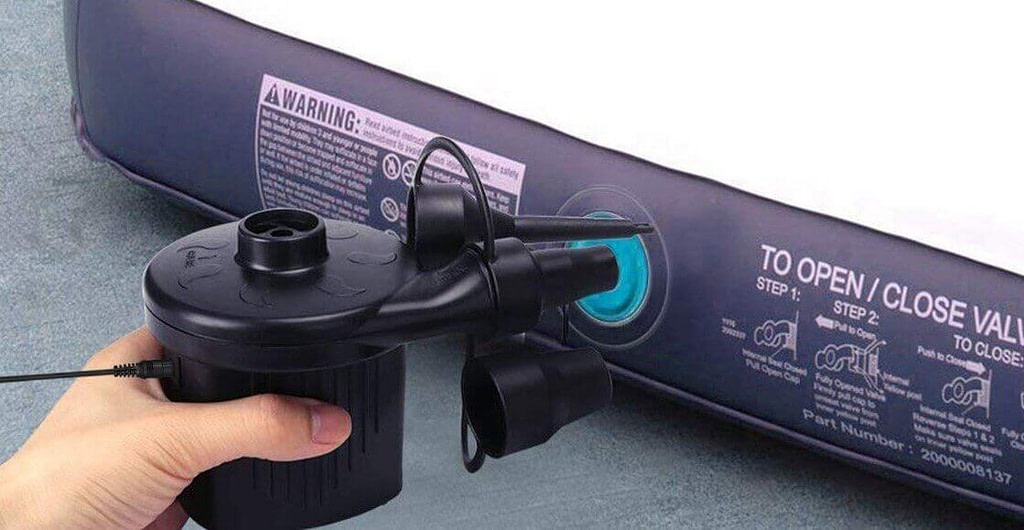
First, you'll need to locate the valve on the mattress. This is where you'll insert the air pump. Make sure the valve is closed before beginning.
Next, attach the air pump to the valve and turn it on. Most air pumps come with different nozzles, so make sure you use the one that fits your mattress valve. If the pump doesn't come with a nozzle that fits, you can purchase one separately.
Once the pump is attached, start inflating the mattress. Keep an eye on the pressure gauge to make sure you're not over-inflating. Most air mattresses have a recommended pressure level listed on the product, so make sure you don't exceed it.
When the mattress is fully inflated, turn off the pump and remove it from the valve. Make sure to close the valve tightly to prevent any air from escaping. Your air mattress is now ready for use!


How to Inflate an Air Mattress


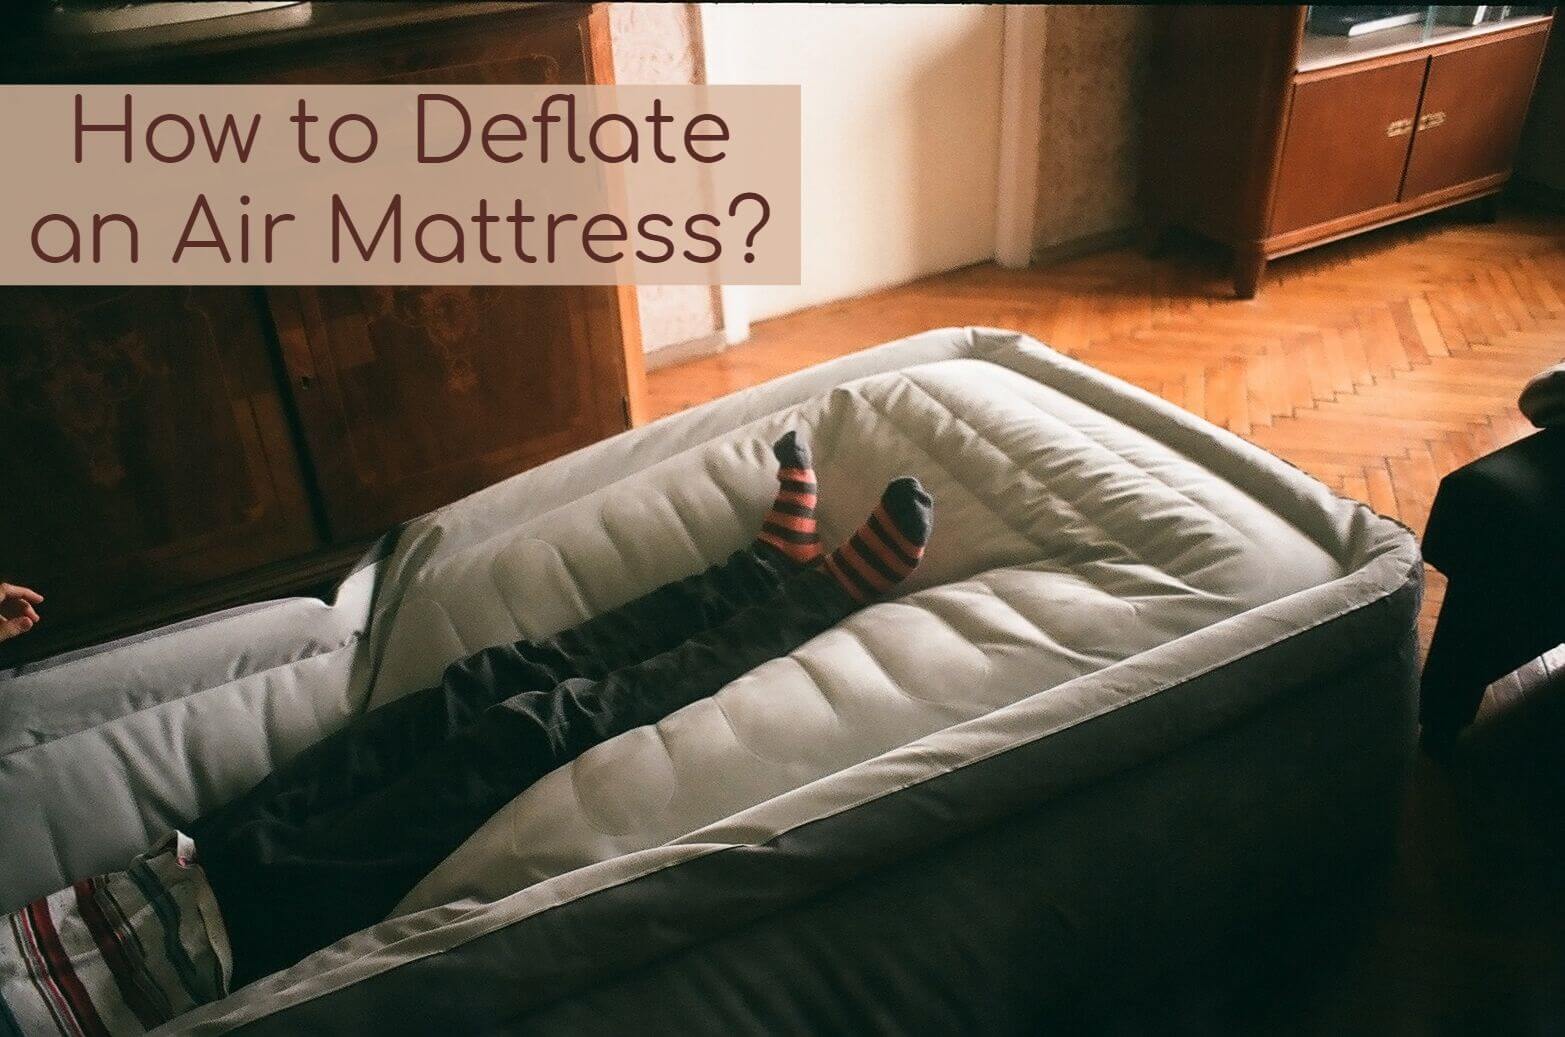
How to Deflate an Air Mattress
When it's time to pack up your air mattress or store it away, you'll need to know how to properly deflate it. Here's how to deflate an air mattress in just a few easy steps.
The first step is to remove any bedding or pillows from the mattress. This will make it easier to deflate and fold up.
Next, locate the valve on the mattress. Make sure it is open before beginning.
Now you can start deflating the mattress. If your air mattress came with a pump, most pumps have a "deflate" option that you can use. If not, you can simply remove the nozzle from the valve and squeeze the air out manually.
Once the mattress is fully deflated, fold it up and press down to remove any remaining air. This will make it easier to pack away and store.
If your air mattress has a storage bag, you can fold it up and place it inside the bag. If not, you can use a plastic bag or simply tie it up with a rope or bungee cord. Now your air mattress is ready to be stored until its next use.


How to Deflate an Air Mattress


How to Store an Air Mattress
Properly storing your air mattress can help prolong its lifespan and prevent any damage. Here's how to store an air mattress to keep it in top condition.
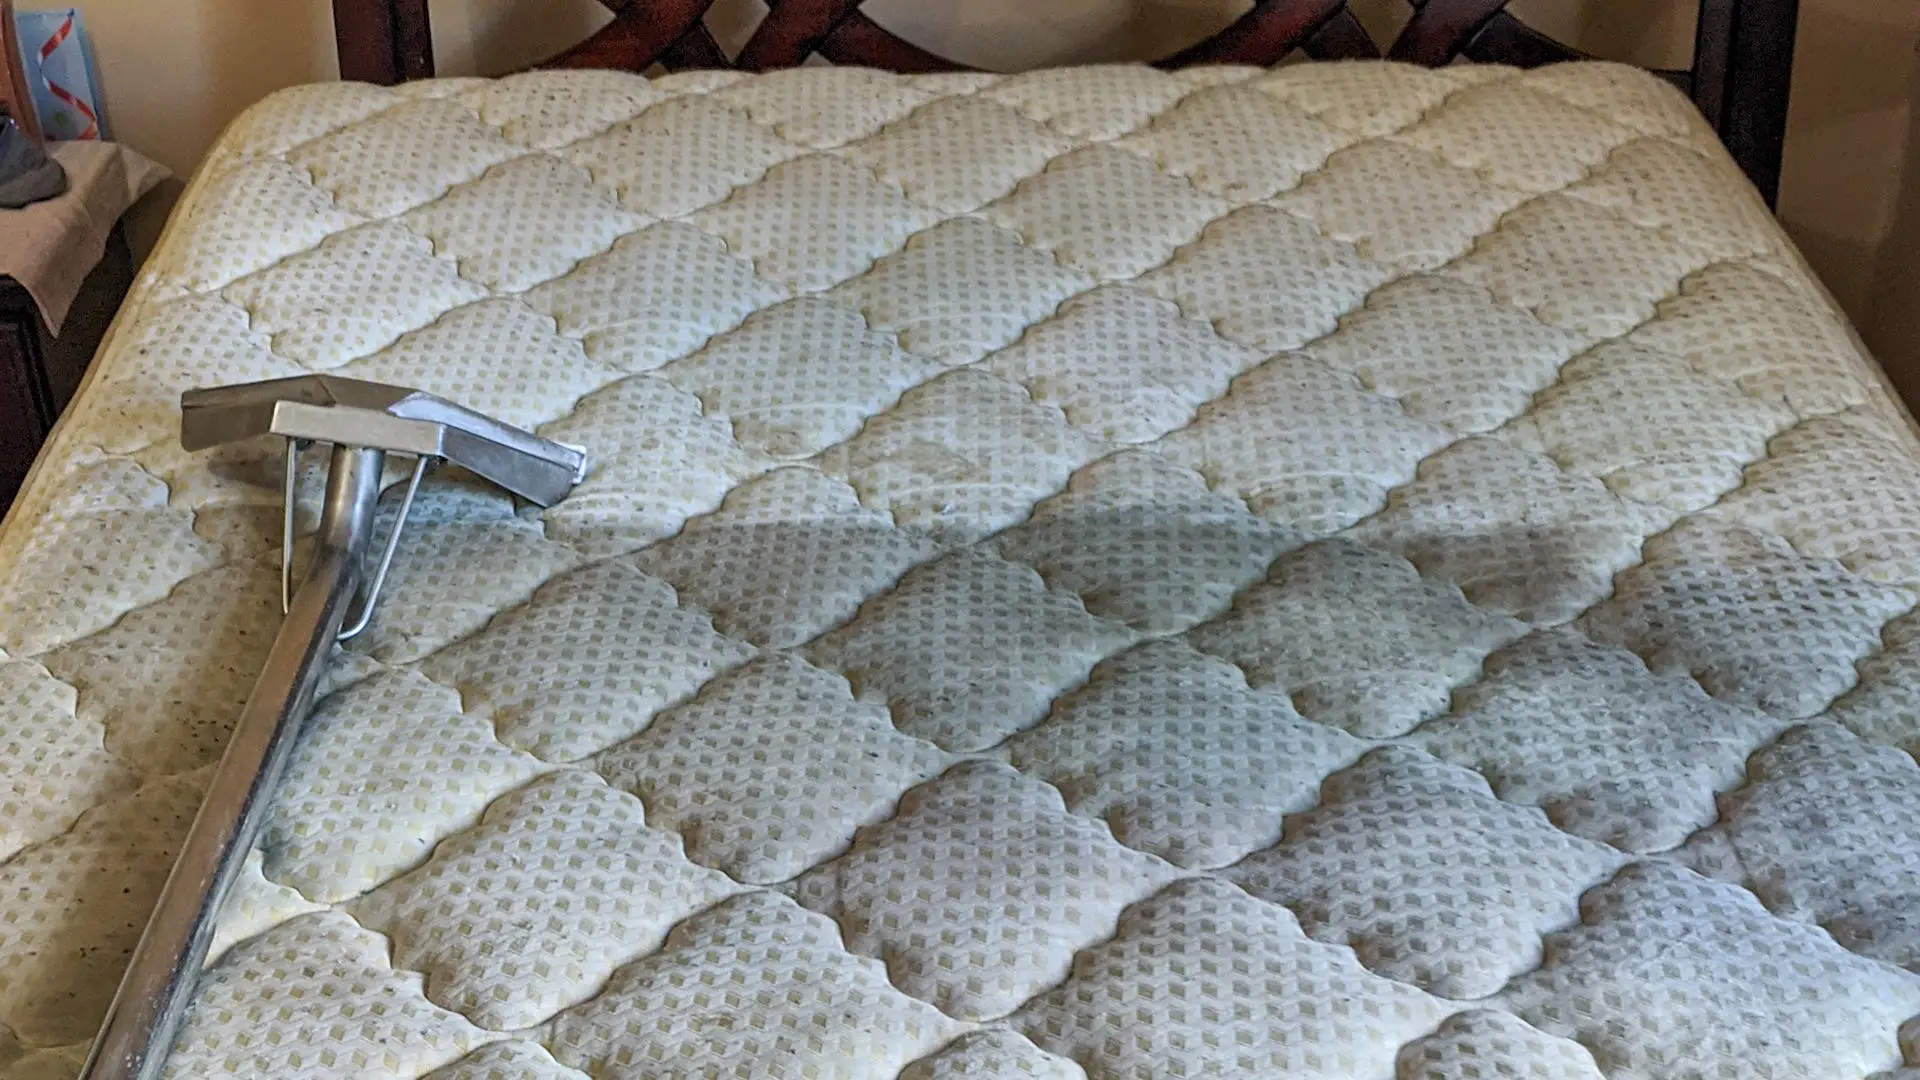
The first step is to make sure the mattress is completely clean and dry. If there are any stains or spills, make sure to clean them before storing. You can use a mild soap and water solution to wipe down the mattress and then let it air dry.
Next, fold the mattress up and remove as much air as possible. You can use the method mentioned in the "How to Deflate an Air Mattress" section to remove the air. Make sure to press down on the folded mattress to remove any remaining air.
If your air mattress came with a storage bag, place it inside the bag and seal it tightly. If not, you can use a plastic bag or tie it up with a rope or bungee cord.
Store the mattress in a cool, dry place. Avoid storing it in extreme temperatures or direct sunlight, as this can cause damage to the material. Make sure to store it away from sharp objects or anything that could puncture or tear the mattress.


How to Store an Air Mattress


How to Clean an Air Mattress
Keeping your air mattress clean is important for both hygiene and prolonging its lifespan. Here's how to clean an air mattress in just a few easy steps.
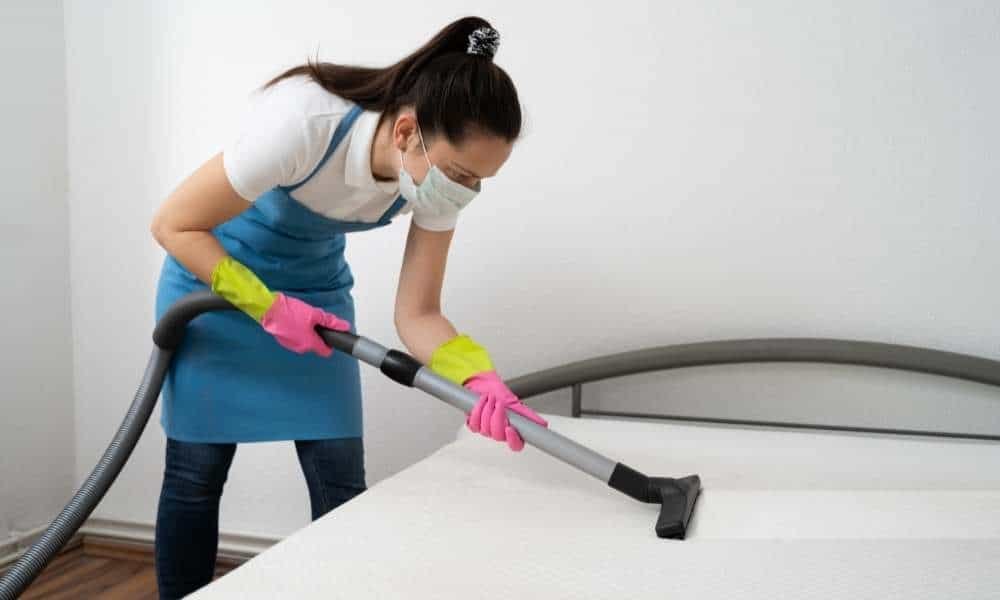
The first step is to remove any bedding or pillows from the mattress. Then, use a vacuum cleaner to remove any dust or debris from the surface.
Next, you can use a mild soap and water solution to clean the mattress. Make sure to use a cloth or sponge that is not abrasive, as this can damage the material. Gently scrub the surface of the mattress and then rinse with clean water.
If there are any stubborn stains or spills, you can use a stain remover specifically designed for the type of material your air mattress is made of. Make sure to follow the instructions on the stain remover and rinse the area thoroughly.
After cleaning, make sure to let the mattress air dry completely before using it again. Avoid using a hairdryer or other heat sources to speed up the drying process, as this can cause damage to the material.


How to Clean an Air Mattress


How to Prevent Leaks in an Air Mattress
The best way to fix a leak in an air mattress is to prevent it from happening in the first place. Here are some tips to help you prevent leaks in your air mattress.
First and foremost, make sure to properly inflate your air mattress. Over-inflating can put unnecessary pressure on the material, causing it to weaken and potentially tear or puncture.
If you're using your air mattress outdoors, make sure to clear the area of any sharp objects or debris that could damage the material. You can also use a ground cover or tarp underneath the mattress for added protection.
When storing your air mattress, make sure to avoid folding or bending it in a way that could cause stress on the material. This can weaken the material over time and lead to leaks.
Lastly, avoid using your air mattress as a trampoline or jumping on it. This can put unnecessary pressure on the material and cause it to weaken or tear.


How to Prevent Leaks in an Air Mattress


How to Use a Patch Kit on an Air Mattress
If you have a vinyl air mattress, you can use a patch kit to fix any leaks or tears. Here's how to use a patch kit on an air mattress.
The first step is to gather your materials. You'll need a vinyl repair kit, scissors, and a patch of vinyl material. If you don't have a vinyl patch, you can use a piece of an old vinyl shower curtain or a vinyl tablecloth.
Next, locate the leak and mark it with tape or a marker. Then, deflate the mattress and clean the area around the leak with a damp cloth. Make sure it is completely dry before moving on to the next step.
Now it's time to use the patch kit. Follow the instructions on your chosen kit to apply the patch and make sure to apply pressure to help it bond with the mattress. Once the patch is set, inflate the mattress to check for any additional leaks.
If you find another leak, repeat the patching process. If not, your air mattress should be good as new and ready for use.


How to Use a Patch Kit on an Air Mattress


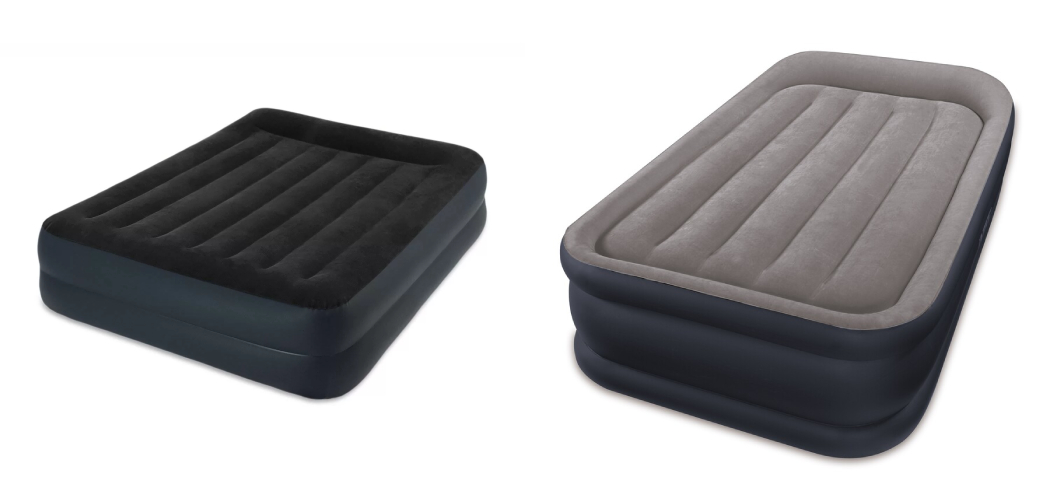
Maximizing Comfort and Durability with Two Caps on an Air Mattress

Why Two Caps are Essential for Your Air Mattress
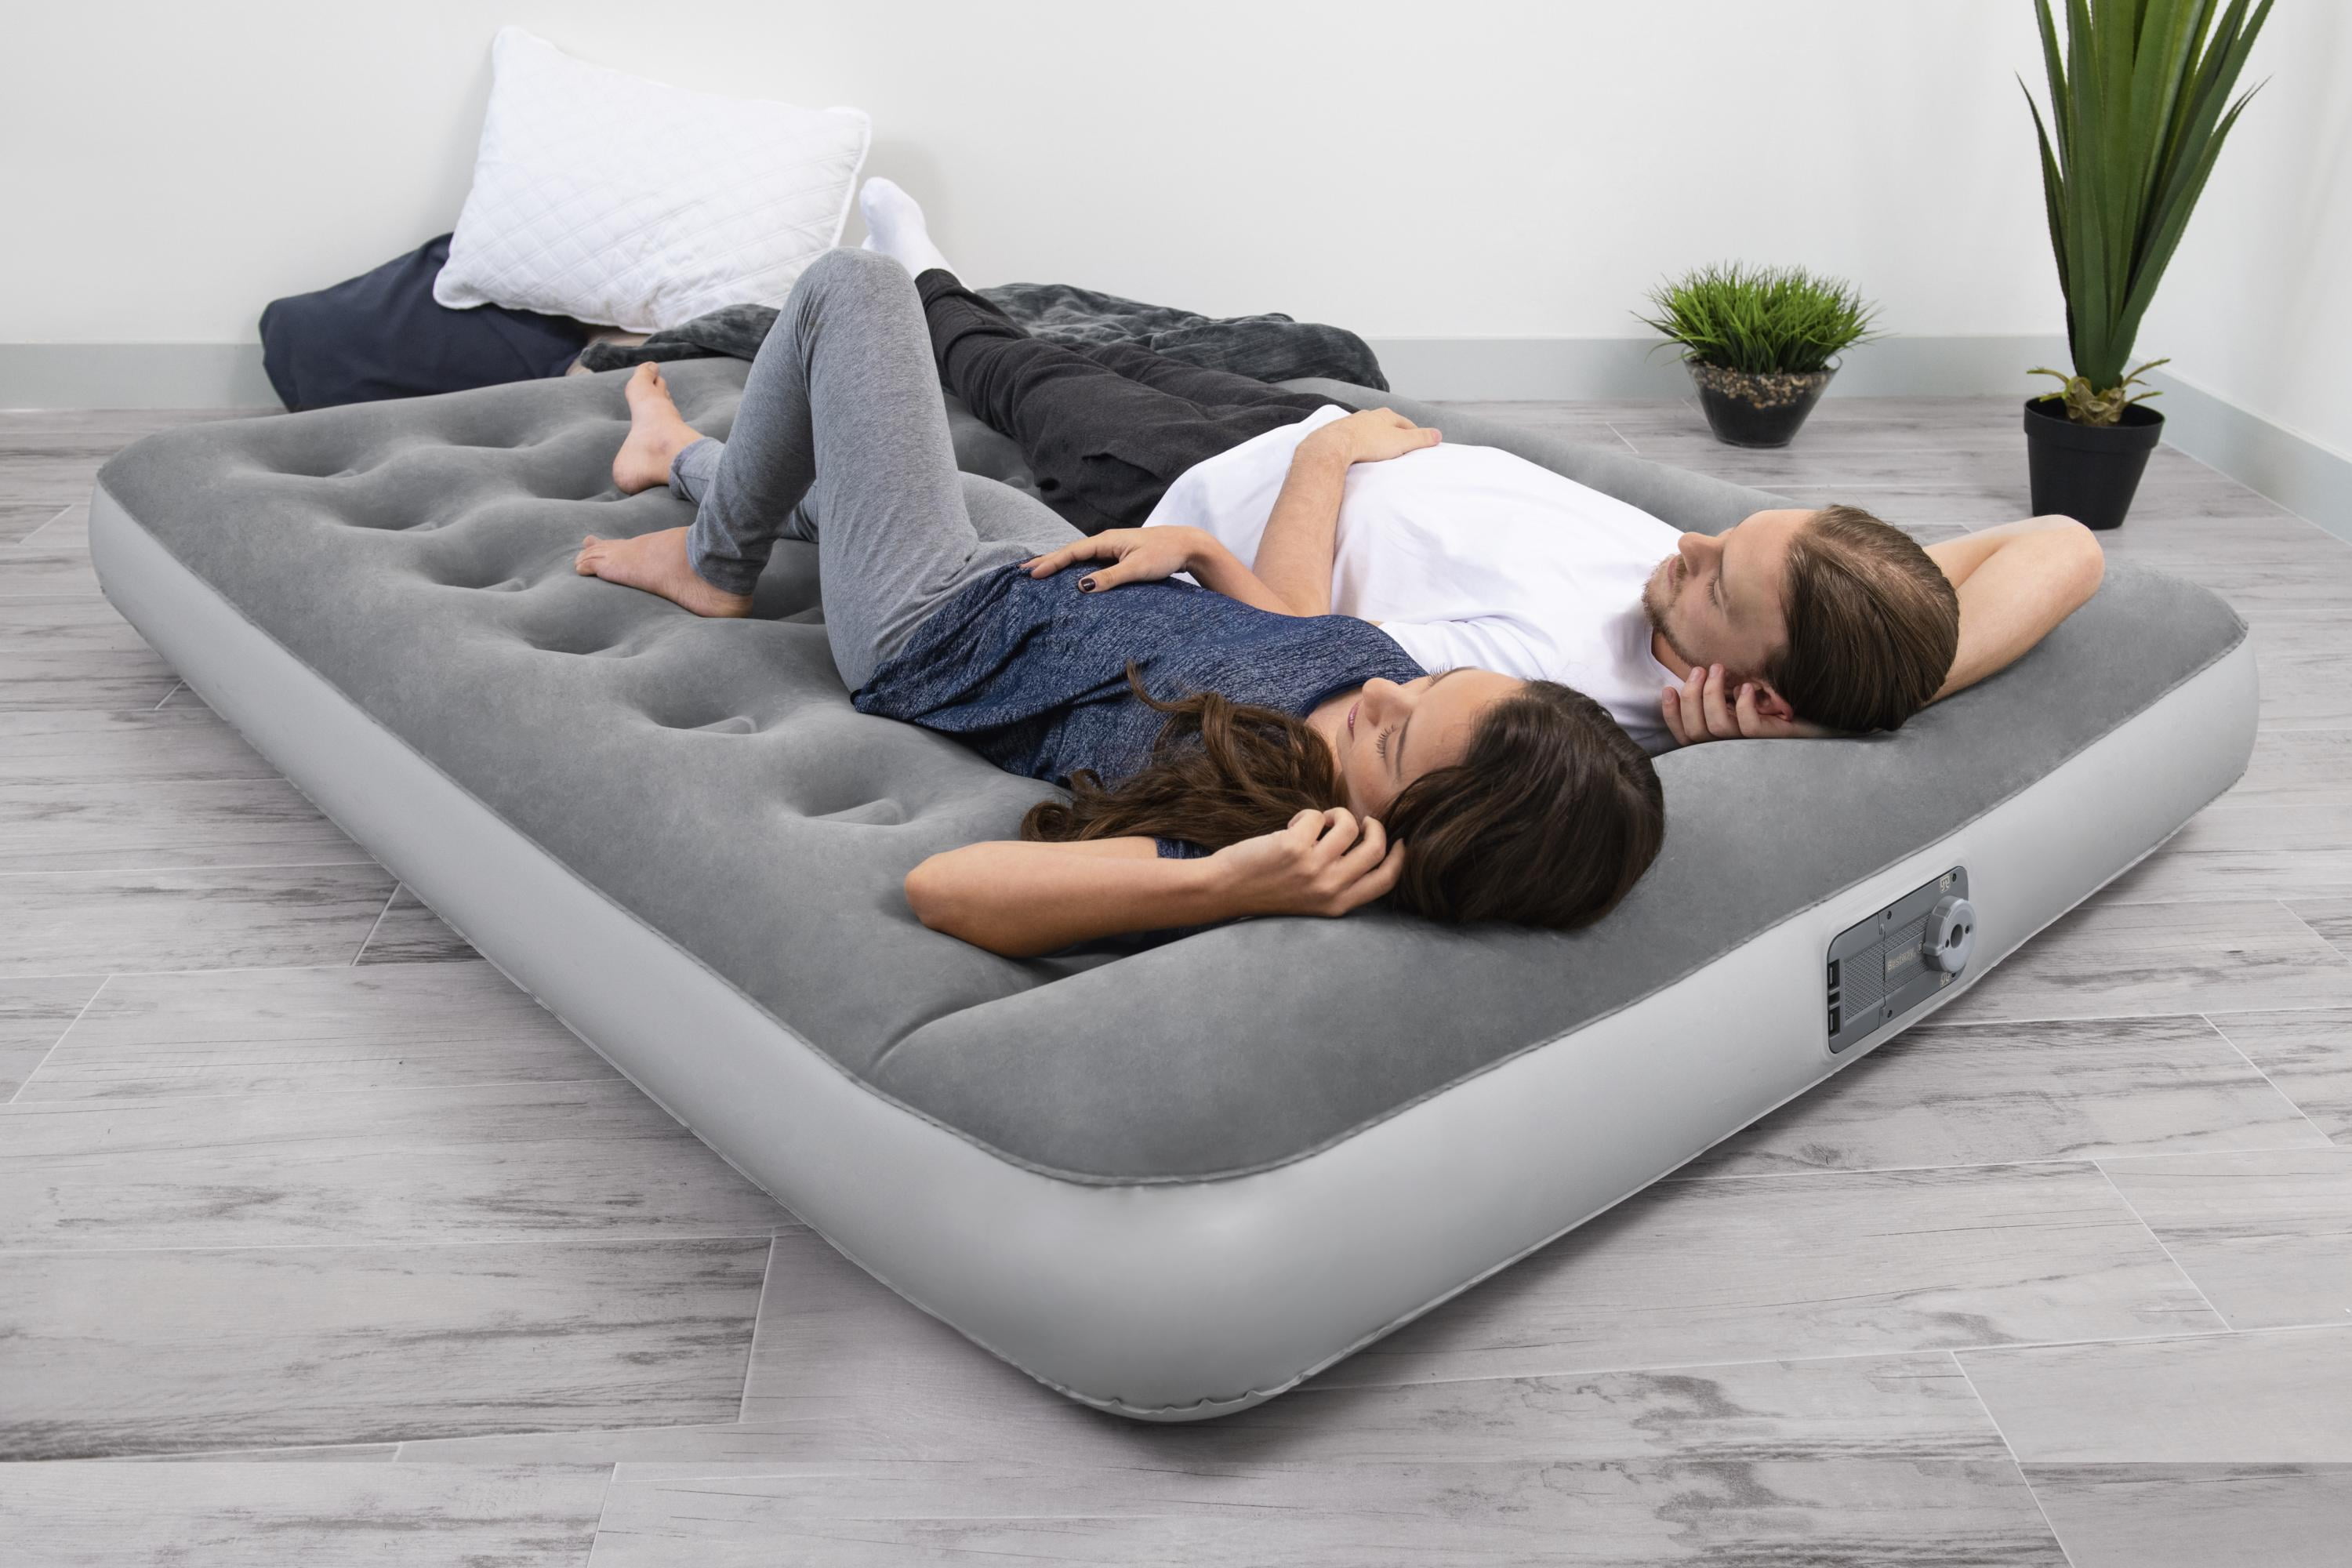
 When it comes to designing a comfortable and durable home, every detail matters. This includes the often-overlooked air mattress, which is a staple in many households. While most air mattresses come with a single cap, opting for one with two caps can make a significant difference in your sleeping experience.
Comfort
is of utmost importance when it comes to any type of mattress, and an air mattress is no exception. By having two caps on an air mattress, you are able to
adjust the firmness
of the mattress to your liking. This is especially beneficial for those who have different sleeping preferences or for guests who may have varying needs. One cap can be inflated to provide a firmer surface, while the other can be left slightly deflated for a softer feel. This flexibility allows you to customize your sleeping experience and ensures a comfortable night's rest for everyone.
When it comes to designing a comfortable and durable home, every detail matters. This includes the often-overlooked air mattress, which is a staple in many households. While most air mattresses come with a single cap, opting for one with two caps can make a significant difference in your sleeping experience.
Comfort
is of utmost importance when it comes to any type of mattress, and an air mattress is no exception. By having two caps on an air mattress, you are able to
adjust the firmness
of the mattress to your liking. This is especially beneficial for those who have different sleeping preferences or for guests who may have varying needs. One cap can be inflated to provide a firmer surface, while the other can be left slightly deflated for a softer feel. This flexibility allows you to customize your sleeping experience and ensures a comfortable night's rest for everyone.
The Importance of Durability
 In addition to comfort, having two caps on an air mattress also greatly increases its
durability
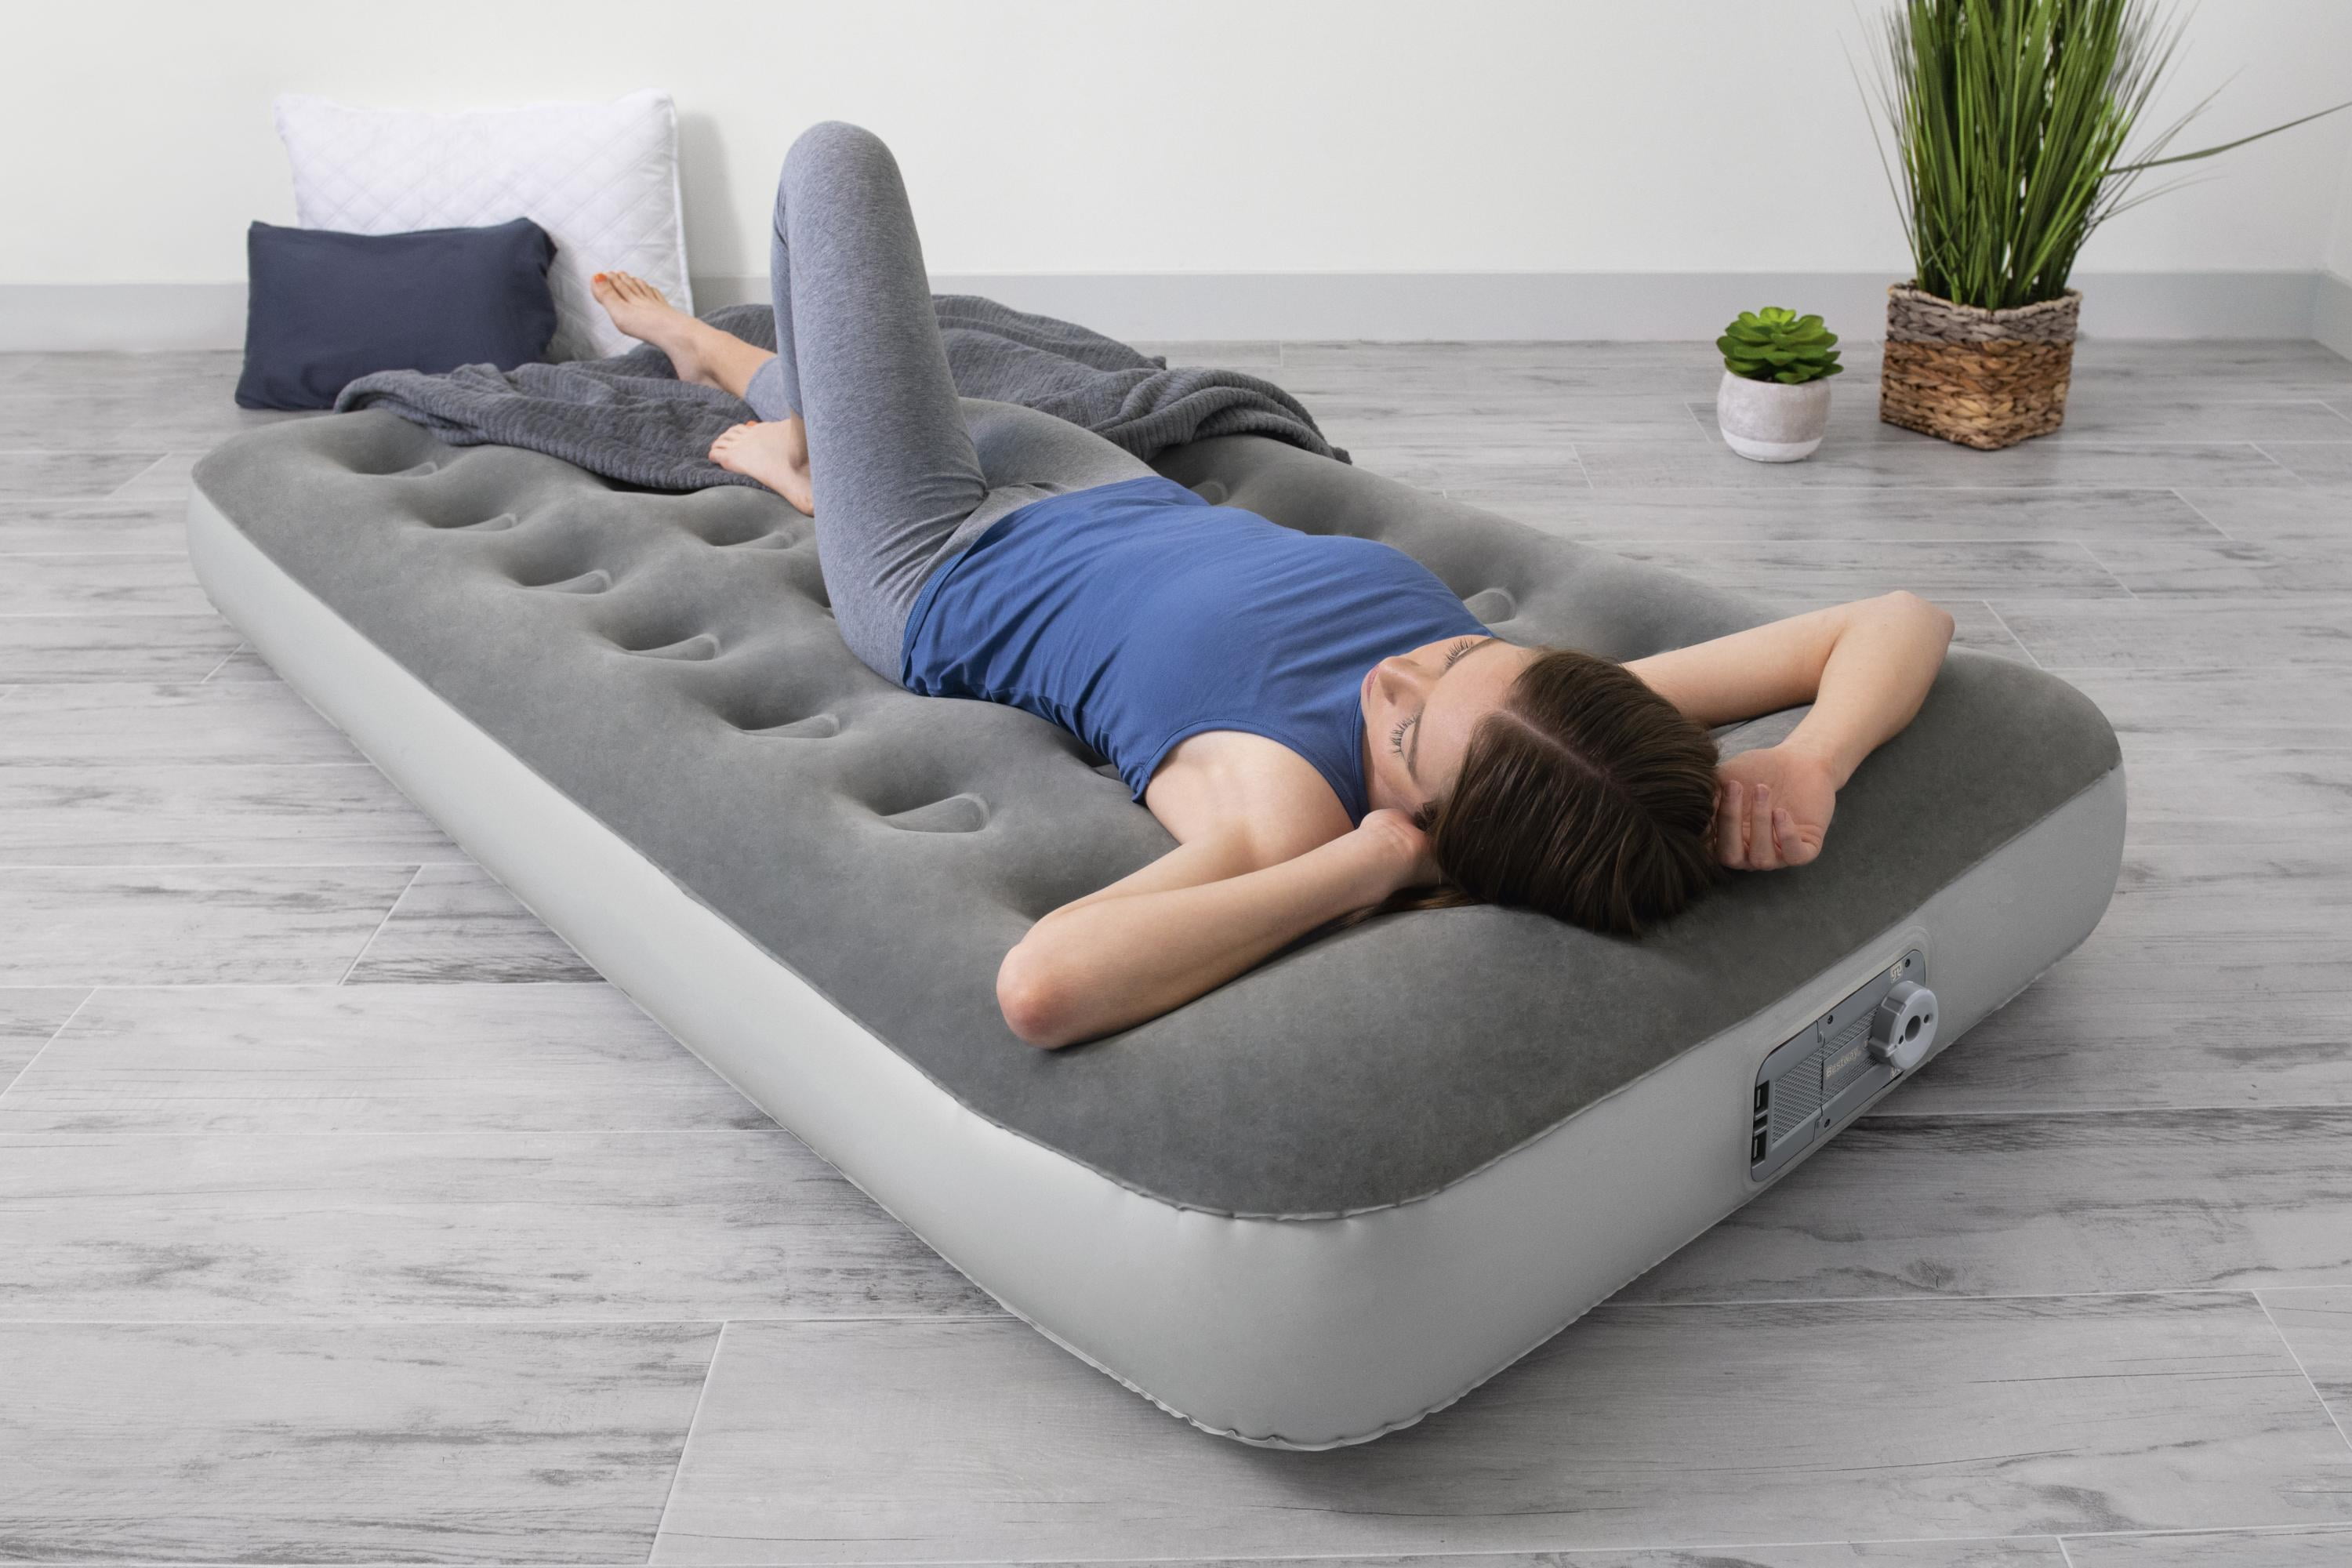
. With just one cap, the air pressure in the mattress may be unevenly distributed, leading to potential leaks or punctures. This can be especially frustrating when you have guests staying over and their sleeping arrangements are compromised. By having two caps, the air pressure is evenly distributed, reducing the risk of leaks and extending the lifespan of your air mattress.
In addition to comfort, having two caps on an air mattress also greatly increases its
durability
. With just one cap, the air pressure in the mattress may be unevenly distributed, leading to potential leaks or punctures. This can be especially frustrating when you have guests staying over and their sleeping arrangements are compromised. By having two caps, the air pressure is evenly distributed, reducing the risk of leaks and extending the lifespan of your air mattress.
Other Benefits of Two Caps
 Apart from comfort and durability, having two caps on an air mattress also offers
convenience
and
versatility
. With two caps, you can easily adjust the air pressure without having to fully deflate or inflate the mattress. This is especially convenient for those who frequently use their air mattress for different purposes, such as camping or accommodating guests. Additionally, the extra cap can serve as a backup in case one gets damaged, ensuring that your air mattress remains usable.
In conclusion, while it may seem like a small detail, having two caps on an air mattress can greatly improve your sleeping experience and the overall longevity of your mattress. So next time you're in the market for a new air mattress, be sure to consider one with two caps for maximum comfort and durability.
Apart from comfort and durability, having two caps on an air mattress also offers
convenience
and
versatility
. With two caps, you can easily adjust the air pressure without having to fully deflate or inflate the mattress. This is especially convenient for those who frequently use their air mattress for different purposes, such as camping or accommodating guests. Additionally, the extra cap can serve as a backup in case one gets damaged, ensuring that your air mattress remains usable.
In conclusion, while it may seem like a small detail, having two caps on an air mattress can greatly improve your sleeping experience and the overall longevity of your mattress. So next time you're in the market for a new air mattress, be sure to consider one with two caps for maximum comfort and durability.