Taking apart a kitchen sink drain may seem like a daunting task, but with the right tools and techniques, it can be a simple DIY project. Whether you need to clean out a clog or replace a broken part, disassembling your kitchen sink drain is a necessary skill for any homeowner. Follow these steps to learn how to take apart a kitchen sink drain.How to Take Apart a Kitchen Sink Drain


How to Take Apart a Kitchen Sink Drain

/how-to-install-a-sink-drain-2718789-hero-b5b99f72b5a24bb2ae8364e60539cece.jpg)


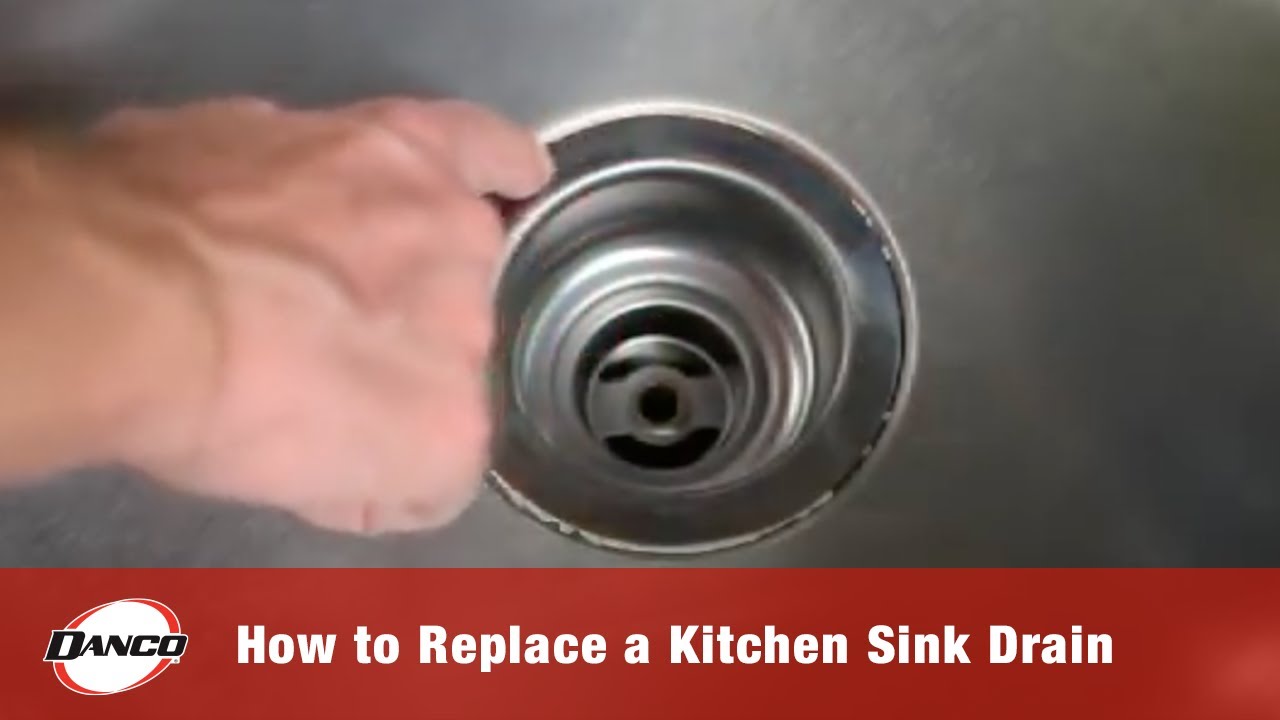
The first step in taking apart a kitchen sink drain is to remove the drain cover. To do this, you will need a pair of pliers or a drain key. Place the pliers or key onto the drain cover and turn counterclockwise to loosen it. Once the cover is loose, you can easily remove it by hand.How to Remove a Kitchen Sink Drain


How to Remove a Kitchen Sink Drain


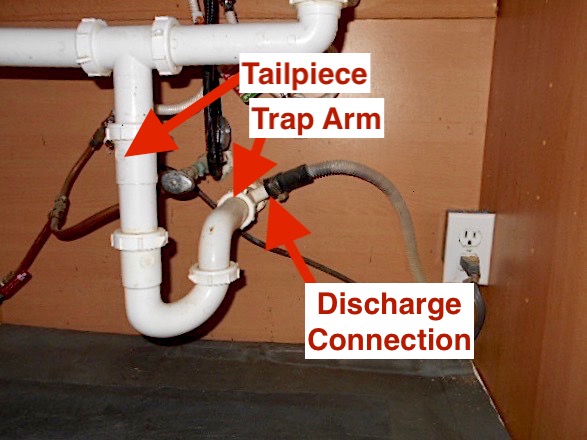
After removing the drain cover, you will see the strainer basket, which is the part of the drain that catches food and debris. To remove the strainer basket, you will need to unscrew the locknut underneath the sink. Use a wrench to turn the locknut counterclockwise until it is loose enough to be removed by hand. Next, you will need to disconnect the tailpiece, which is the pipe that connects the strainer basket to the main drain pipe. Use a pair of pliers to loosen the slip nuts on both ends of the tailpiece. Once the slip nuts are loose, you can remove the tailpiece and set it aside. Now you can remove the strainer basket by pushing it up from underneath the sink. If the basket is stuck, use a flathead screwdriver to carefully pry it loose. Once the strainer basket is removed, you will have access to the main drain pipe.Step-by-Step Guide for Disassembling a Kitchen Sink Drain


Step-by-Step Guide for Disassembling a Kitchen Sink Drain


With the strainer basket and tailpiece removed, you can now focus on the main drain pipe. Use a pipe wrench to loosen the slip nut on the main drain pipe and remove it. You may need to use a pair of pliers to hold the pipe steady while you loosen the slip nut. Once the slip nut is removed, you can take apart the main drain pipe by pulling it down and out of the sink. You may need to twist and turn the pipe to loosen it from the other pipes and fittings. Be sure to have a bucket or towel handy to catch any water that may spill out.DIY: Taking Apart a Kitchen Sink Drain


DIY: Taking Apart a Kitchen Sink Drain


To successfully take apart a kitchen sink drain, you will need the following tools:Tools Needed for Taking Apart a Kitchen Sink Drain
Tools Needed for Taking Apart a Kitchen Sink Drain
/how-to-install-a-sink-drain-2718789-hero-24e898006ed94c9593a2a268b57989a3.jpg)


While taking apart a kitchen sink drain may seem straightforward, there are some common mistakes that you should avoid to ensure a successful disassembly:Common Mistakes to Avoid When Taking Apart a Kitchen Sink Drain

Common Mistakes to Avoid When Taking Apart a Kitchen Sink Drain


Here are some additional tips to keep in mind while taking apart your kitchen sink drain:Tips for Successfully Taking Apart a Kitchen Sink Drain

Tips for Successfully Taking Apart a Kitchen Sink Drain


If you prefer visual instructions, there are many video tutorials available online that can guide you through the process of taking apart a kitchen sink drain. These videos can be helpful in understanding the steps and techniques involved in this DIY project.Video Tutorial: Taking Apart a Kitchen Sink Drain

Video Tutorial: Taking Apart a Kitchen Sink Drain
After cleaning or replacing any necessary parts, it is time to reassemble your kitchen sink drain. Start by reconnecting the main drain pipe and tighten the slip nut with a pipe wrench. Next, attach the tailpiece to the strainer basket and tighten the slip nuts with pliers. Finally, place the strainer basket back into the sink and secure it with the locknut. Once everything is reassembled, turn the water supply back on and check for any leaks. If everything looks good, you have successfully taken apart and reassembled your kitchen sink drain!How to Reassemble a Kitchen Sink Drain After Taking it Apart

How to Reassemble a Kitchen Sink Drain After Taking it Apart
If you are unsure about taking apart your kitchen sink drain or encounter any difficulties during the process, it is always best to consult a professional plumber. They have the knowledge and experience to handle any issues and can also provide valuable advice on maintaining your kitchen sink drain in the future. Now that you know how to take apart a kitchen sink drain, you can confidently tackle this DIY project and keep your kitchen sink running smoothly. Remember to use the right tools, take your time, and follow the steps carefully to ensure a successful disassembly and reassembly. Happy plumbing!Professional Plumbers' Advice for Taking Apart a Kitchen Sink Drain
Professional Plumbers' Advice for Taking Apart a Kitchen Sink Drain


Taking Apart a Kitchen Sink Drain: A Necessary Step in Kitchen Design
:max_bytes(150000):strip_icc()/how-to-install-a-sink-drain-2718789-hero-24e898006ed94c9593a2a268b57989a3.jpg)
Why Take Apart a Kitchen Sink Drain?
 When it comes to kitchen design, every detail matters. This includes the often overlooked but essential part of a kitchen sink - the drain. Over time, kitchen sink drains can become clogged with food debris, grease, and other gunk, causing water to drain slowly or not at all. This not only creates an unpleasant smell but can also lead to more significant plumbing issues. That's why taking apart a kitchen sink drain is a necessary step in maintaining a functional and efficient kitchen.
Tools Required
 Before starting the process, it's essential to gather the necessary tools. This includes a pair of pliers, a screwdriver, a bucket or bowl, and a wire brush. It's also helpful to have some gloves and towels on hand to protect your hands and keep the workspace clean.
Step-by-Step Process
 Now that you have your tools ready let's dive into the step-by-step process of taking apart a kitchen sink drain.
Step 1: Clear the Area
Before getting started, clear out the area under the sink. This will give you more room to work and prevent any items from getting in the way.
Step 2: Turn off the Water Supply
Locate the water supply valves under the sink and turn them off to avoid any water leakage.
Step 3: Loosen the Slip Nuts
Using your pliers, loosen the slip nuts on the P-trap, the curved pipe under the sink that connects to the drain. These nuts hold the pipes together and need to be unscrewed to take apart the drain.
Step 4: Remove the P-Trap
Once the slip nuts are loosened, carefully remove the P-trap from the drain. Be sure to have a bucket or bowl underneath to catch any residual water or debris.
Step 5: Remove the Drain Pipe
Next, use your pliers to loosen the slip nut on the drain pipe, which connects the sink drain to the main plumbing line. Carefully remove the pipe and place it in the bucket or bowl.
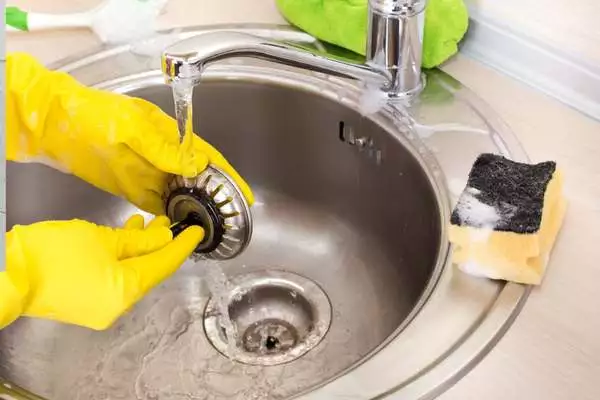
Step 6: Clean the Parts
Now that the drain is disassembled, it's time to clean the parts thoroughly. Use a wire brush to remove any built-up debris and gunk from the pipes and P-trap. You can also use a mixture of hot water and vinegar to help break down any stubborn grime.
Step 7: Reassemble the Drain
Once all the parts are clean, reassemble the drain by following the steps in reverse order. Be sure to tighten the slip nuts securely to prevent any leaks.
Now that you have your tools ready let's dive into the step-by-step process of taking apart a kitchen sink drain.
Step 1: Clear the Area
Before getting started, clear out the area under the sink. This will give you more room to work and prevent any items from getting in the way.
Step 2: Turn off the Water Supply
Locate the water supply valves under the sink and turn them off to avoid any water leakage.
Step 3: Loosen the Slip Nuts
Using your pliers, loosen the slip nuts on the P-trap, the curved pipe under the sink that connects to the drain. These nuts hold the pipes together and need to be unscrewed to take apart the drain.
Step 4: Remove the P-Trap
Once the slip nuts are loosened, carefully remove the P-trap from the drain. Be sure to have a bucket or bowl underneath to catch any residual water or debris.
Step 5: Remove the Drain Pipe
Next, use your pliers to loosen the slip nut on the drain pipe, which connects the sink drain to the main plumbing line. Carefully remove the pipe and place it in the bucket or bowl.
Step 6: Clean the Parts
Now that the drain is disassembled, it's time to clean the parts thoroughly. Use a wire brush to remove any built-up debris and gunk from the pipes and P-trap. You can also use a mixture of hot water and vinegar to help break down any stubborn grime.
Step 7: Reassemble the Drain
Once all the parts are clean, reassemble the drain by following the steps in reverse order. Be sure to tighten the slip nuts securely to prevent any leaks.
Conclusion
 Taking apart a kitchen sink drain may seem like a daunting task, but it's an essential step in kitchen design and maintenance. By following these steps and regularly cleaning your drain, you can keep your kitchen sink functioning properly and avoid any potential plumbing issues. But if you encounter any difficulties or feel uncomfortable with the process, it's always best to consult a professional plumber for assistance. Happy cleaning!


:max_bytes(150000):strip_icc()/ikealivingroom-1e05a5e6b79443dabe1b78c2ce18ac70.jpg)