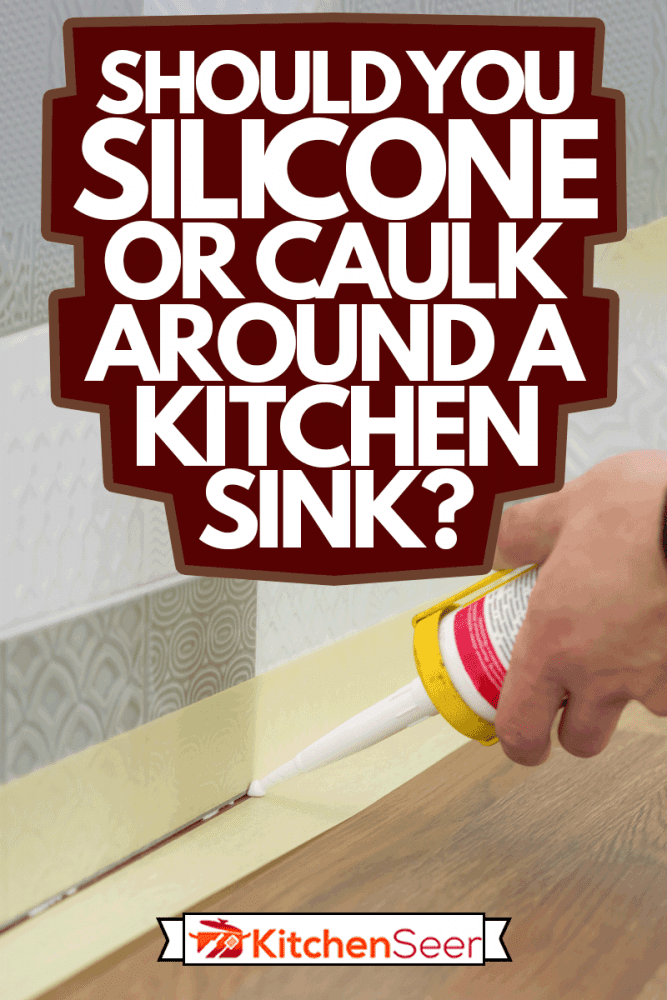
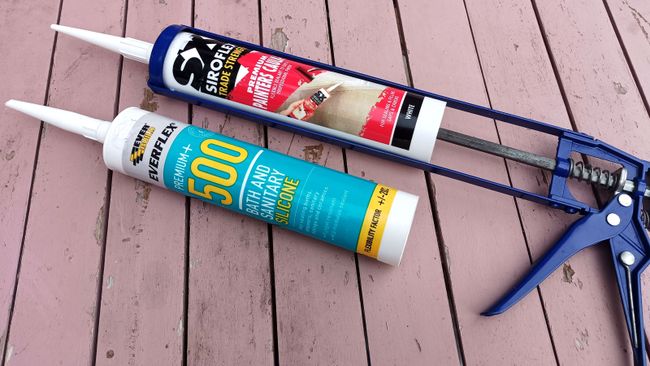
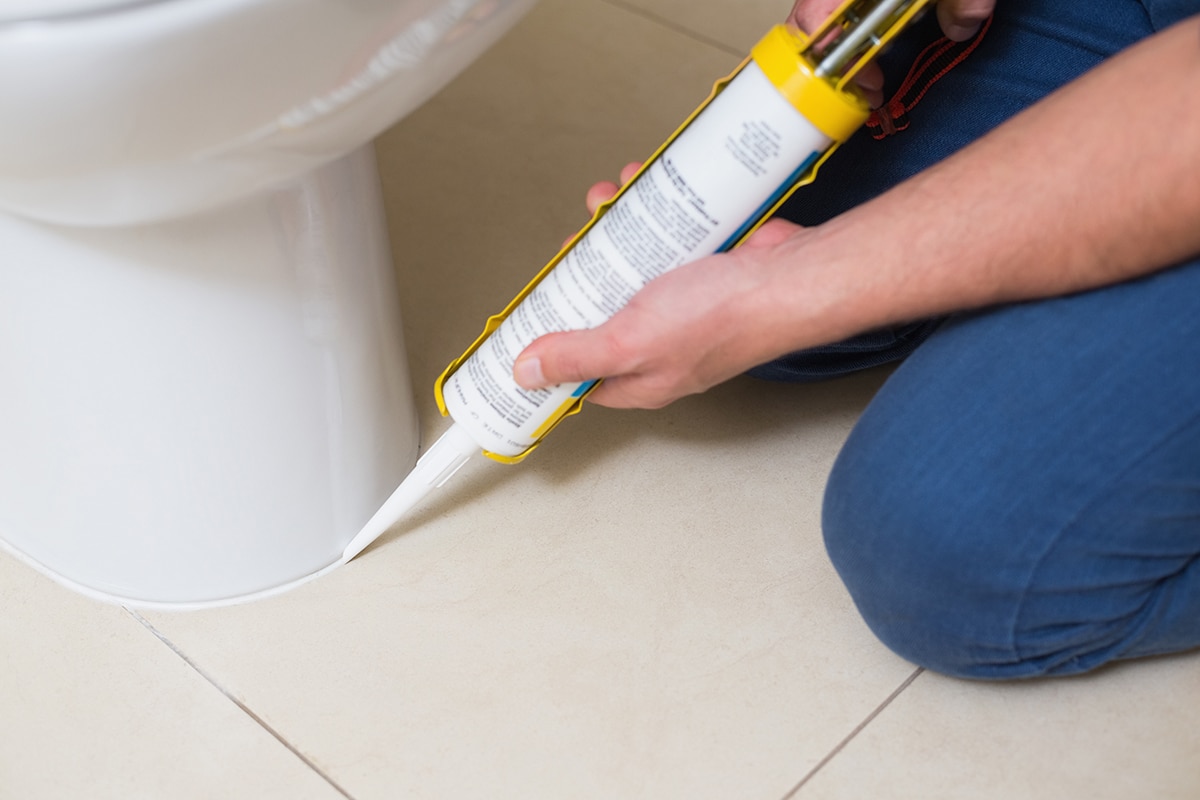
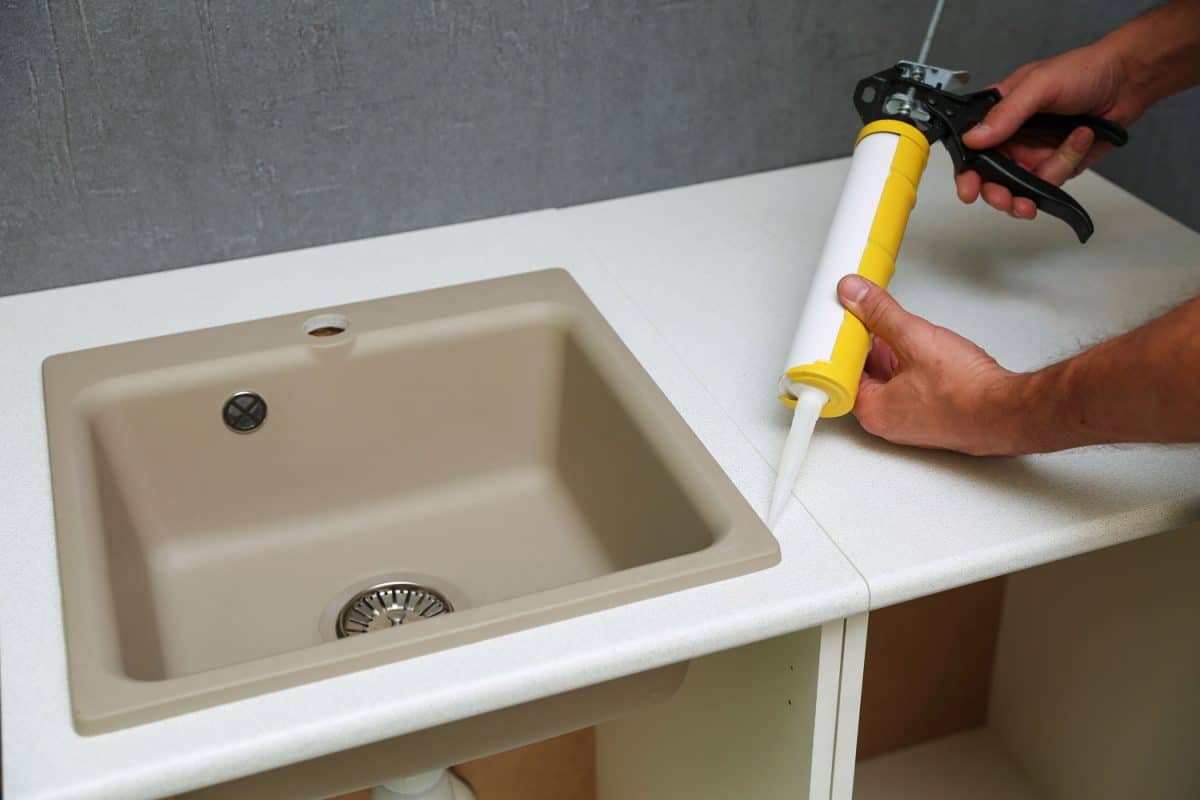
How to Apply Silicone Caulk Around a Kitchen Sink
Silicone caulk is a versatile and durable material commonly used for sealing and waterproofing gaps around kitchen sinks. It is especially useful for filling in gaps between the sink and the countertop, as well as around the edges of the sink where water and food particles can easily accumulate. Here are the steps to properly apply silicone caulk around your kitchen sink:
Step 1: Prepare the area by thoroughly cleaning and drying the surface around the sink. Use a mild detergent and warm water to remove any dirt, grime, or old caulk. Make sure to dry the surface completely to ensure proper adhesion.
Step 2: Cut the tip of the silicone caulk tube at a 45-degree angle using a utility knife. The size of the cut will determine the thickness of the caulk line. For a small gap, make a small cut, and for larger gaps, make a bigger cut.
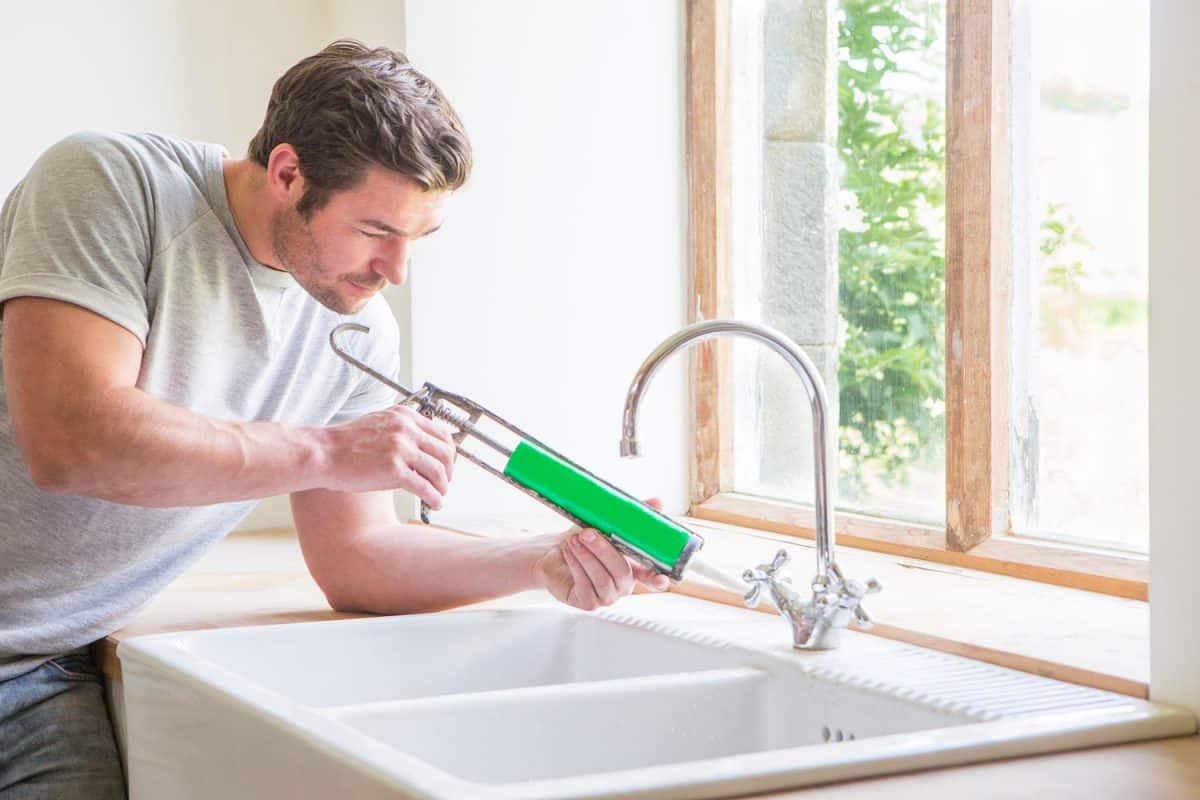
Step 3: Insert the caulk tube into a caulk gun and apply gentle pressure to release the caulk. Start at one end of the sink and slowly move along the edges, applying a thin and even line of caulk. Be sure to keep the caulk gun at a 45-degree angle to the surface for a smooth and consistent application.
Step 4: Use your finger or a caulk smoothing tool to smooth out the caulk and remove any excess. Wet your finger or the tool with water to prevent the caulk from sticking. This will also help create a neat and professional finish.
Step 5: Let the caulk dry for at least 24 hours before using the sink or getting it wet. This will ensure that the caulk has fully cured and is ready to withstand water and moisture.


How to Apply Silicone Caulk Around a Kitchen Sink


How to Remove Silicone Caulk from a Kitchen Sink
Over time, silicone caulk can become discolored, cracked, or moldy, making it necessary to remove and replace it. Here’s how to remove silicone caulk from your kitchen sink:
Step 1: Use a sharp utility knife or razor blade to carefully cut along the edges of the caulk line, both on the sink and the countertop. This will help loosen the caulk and make it easier to remove.
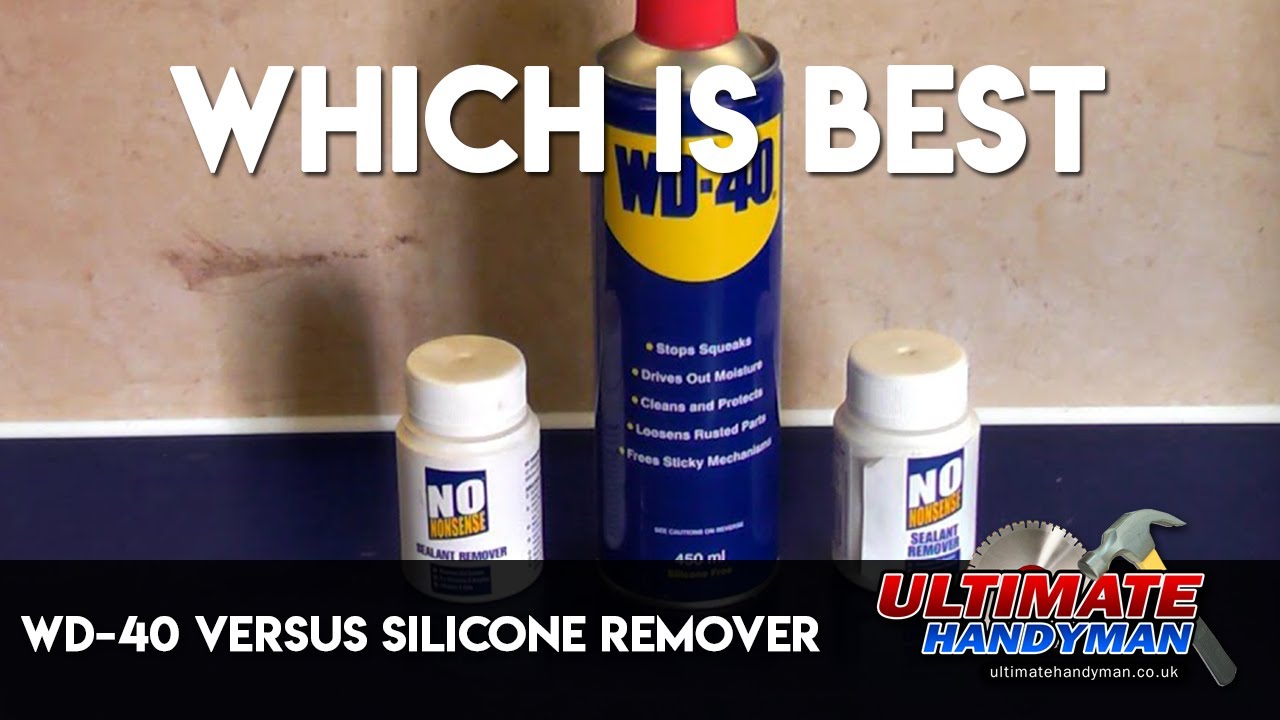
Step 2: Use a caulk removal tool or a silicone caulk remover to scrape off as much of the caulk as possible. These tools are designed specifically for removing caulk and can help make the job easier.
Step 3: Once you have removed as much caulk as possible, use a cloth or sponge to apply a caulk remover or denatured alcohol to the remaining caulk. This will help soften the caulk and make it easier to remove.
Step 4: Use a plastic scraper or putty knife to gently scrape off the remaining caulk. Be careful not to damage the surface of the sink or countertop.
Step 5: Once all the caulk has been removed, clean and dry the surface before applying new caulk.


How to Remove Silicone Caulk from a Kitchen Sink


Best Silicone Caulk for Kitchen Sink
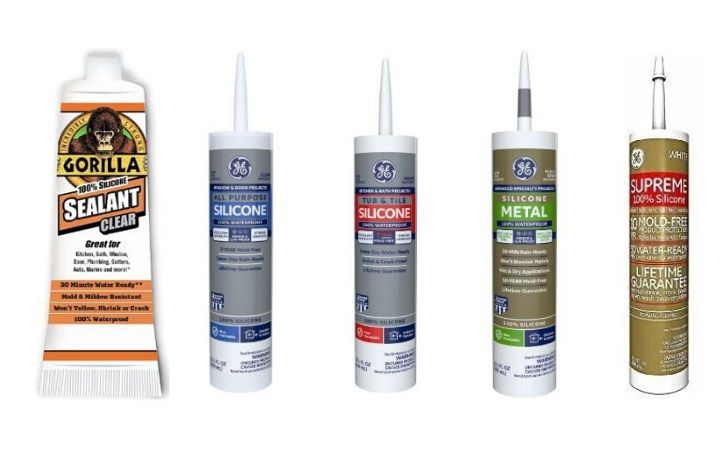
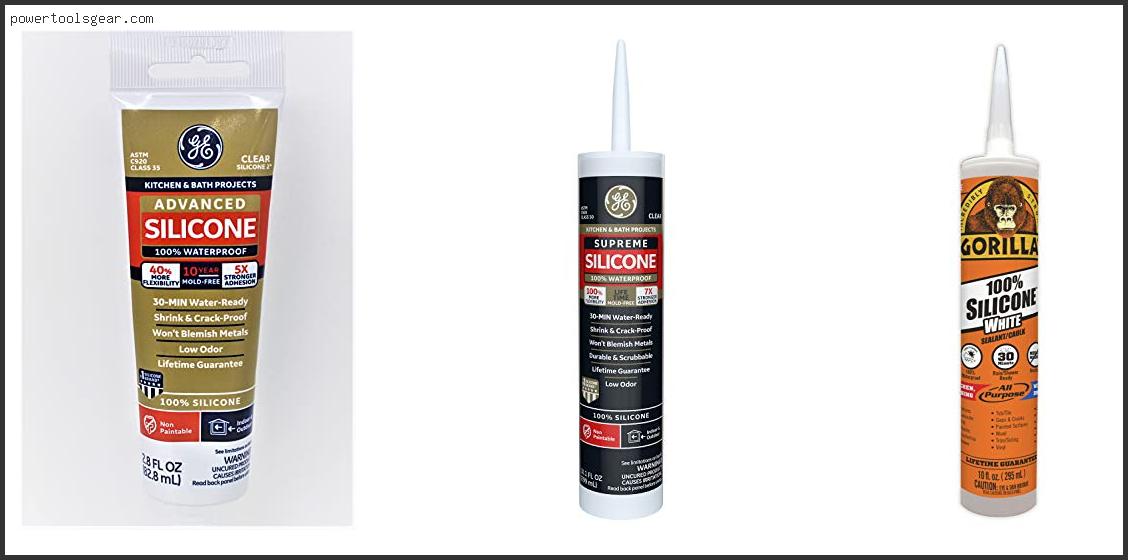
When it comes to choosing the best silicone caulk for your kitchen sink, there are a few factors to consider. The most important factors include durability, flexibility, and mold and mildew resistance. Here are some top-rated silicone caulks for kitchen sinks:
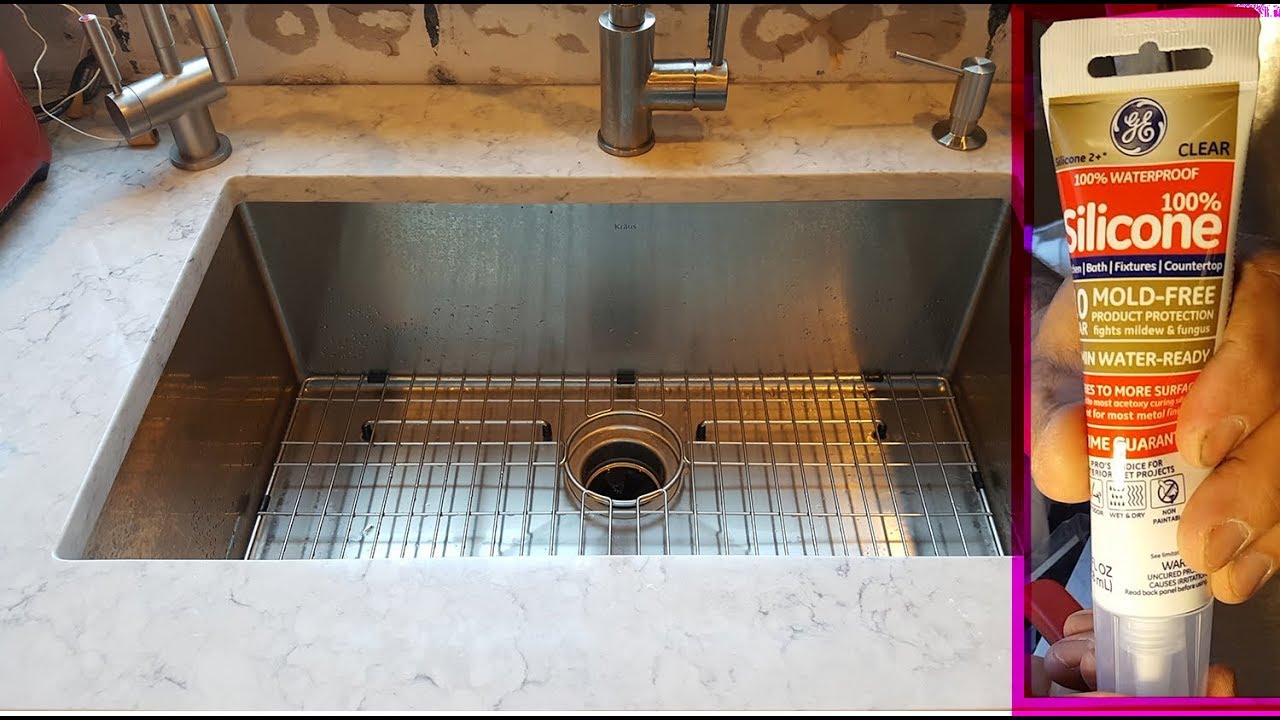
1. GE Silicone 2+ Kitchen and Bath Caulk: This caulk is specifically designed for use in kitchens and bathrooms and is mold and mildew resistant. It also has a fast-drying formula, making it a great option for quick projects.
2. Dap 08640 Bathroom Silicone Caulk: This caulk is a waterproof and flexible formula that is ideal for sealing gaps around kitchen sinks. It is also resistant to mold and mildew and has a 100% silicone formula for maximum durability.
3. Gorilla 100% Silicone Sealant: This caulk is known for its toughness and ability to withstand extreme temperatures and weather conditions. It is also mold and mildew resistant and can be used for both interior and exterior applications.


Best Silicone Caulk for Kitchen Sink


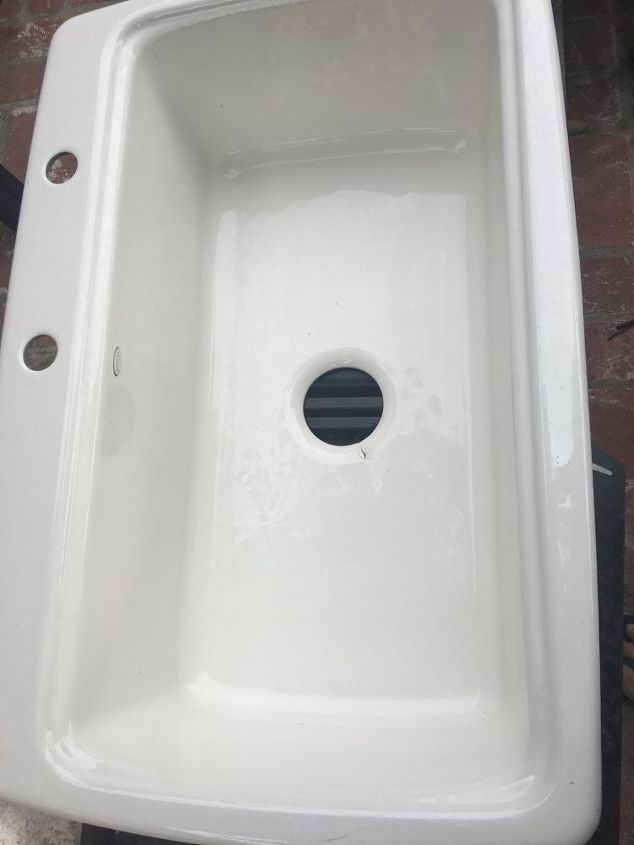
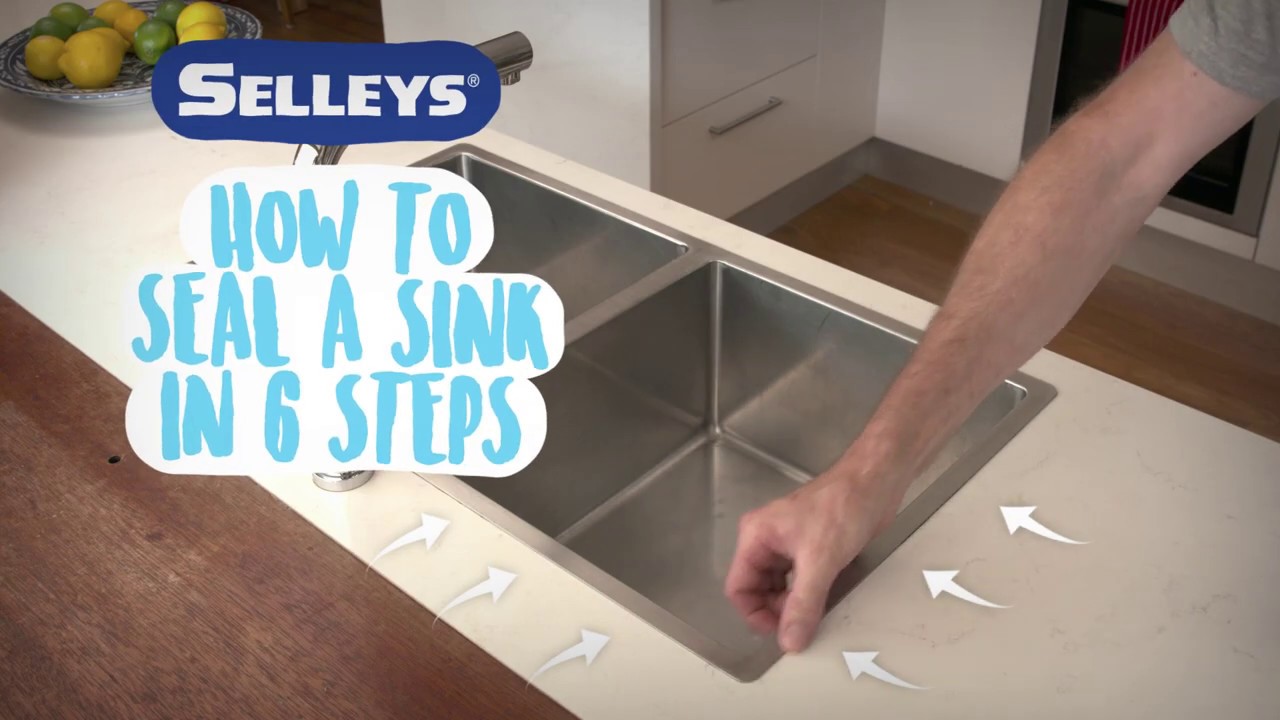
How to Seal a Kitchen Sink with Silicone
Sealing a kitchen sink with silicone caulk is an essential step in keeping your sink clean and preventing leaks. Here’s how to seal a kitchen sink with silicone:
Step 1: Remove any old caulk or debris from the sink and countertop. Use a caulk remover or denatured alcohol to clean and dry the surface thoroughly.
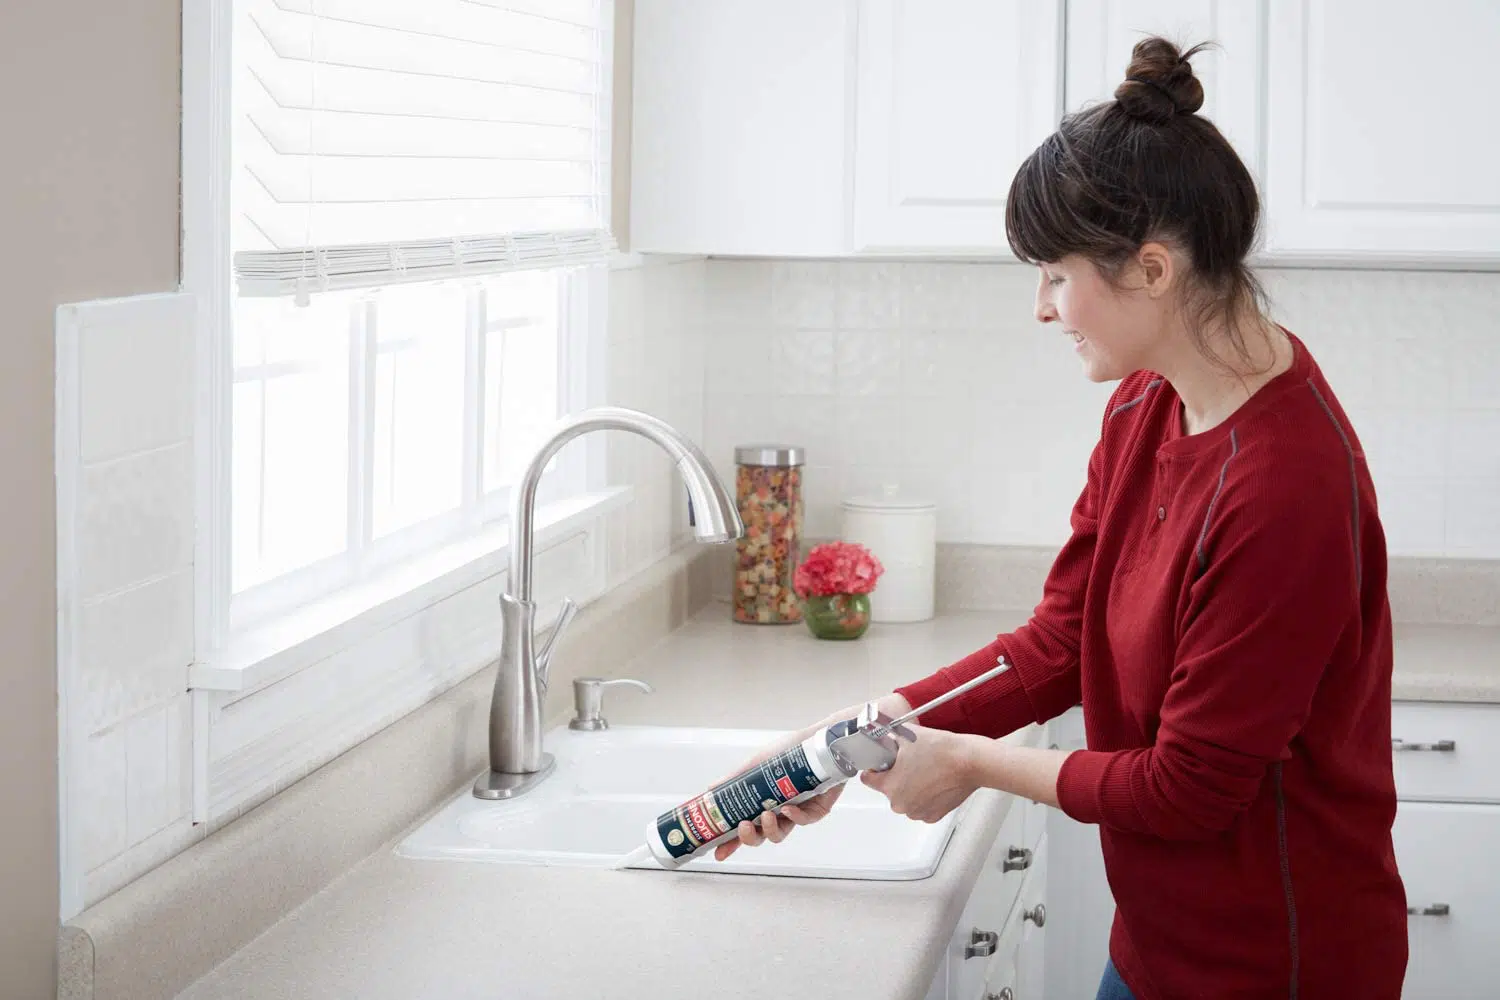
Step 2: Apply a thin and even line of silicone caulk around the edges of the sink. Be sure to cover any gaps or spaces between the sink and the countertop to prevent water from seeping in.
Step 3: Use a caulk smoothing tool or your finger to smooth out the caulk and remove any excess. Wet the tool or your finger with water to prevent the caulk from sticking.
Step 4: Let the caulk dry for at least 24 hours before using the sink or getting it wet. This will ensure that the caulk has fully cured and is ready to withstand water and moisture.


How to Seal a Kitchen Sink with Silicone


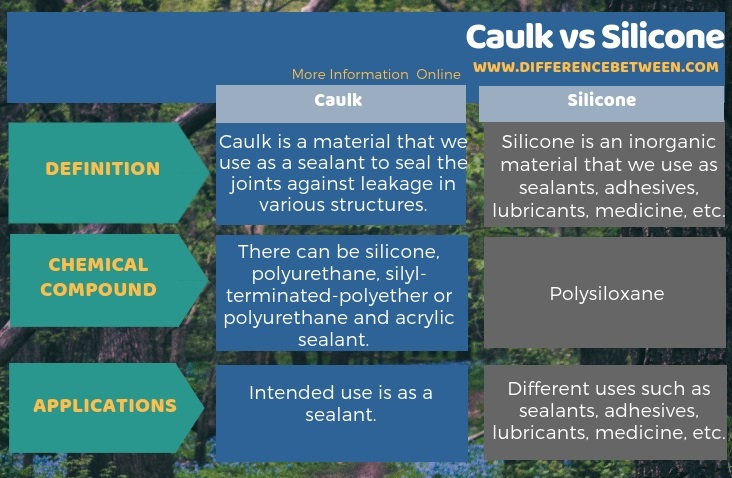
Silicone Caulk vs. Acrylic Caulk for Kitchen Sink
When it comes to sealing a kitchen sink, silicone caulk and acrylic caulk are two common options. While both are suitable for sealing gaps and preventing leaks, there are some differences between the two. Here are some key points to consider when choosing between silicone caulk and acrylic caulk for your kitchen sink:
1. Durability: Silicone caulk is known for its durability and can withstand extreme temperatures and weather conditions. Acrylic caulk, on the other hand, is not as durable and can shrink or crack over time.
2. Flexibility: Silicone caulk is more flexible than acrylic caulk, making it ideal for use on surfaces that may expand and contract, such as around a kitchen sink.
3. Waterproofing: Both silicone caulk and acrylic caulk are waterproof, but silicone caulk is more resistant to water and moisture than acrylic caulk.
4. Mold and mildew resistance: Silicone caulk is highly resistant to mold and mildew, making it a better option for use in wet areas, such as around a kitchen sink.


Silicone Caulk vs. Acrylic Caulk for Kitchen Sink


How to Clean Silicone Caulk Around Kitchen Sink
Over time, silicone caulk around a kitchen sink can become dirty and discolored from exposure to water, soap, and food particles. Here are some simple steps to effectively clean silicone caulk around your kitchen sink:
Step 1: Mix equal parts of water and white vinegar in a spray bottle. This solution is both safe and effective for cleaning silicone caulk.
Step 2: Spray the solution directly onto the caulk and let it sit for a few minutes. This will help loosen any dirt, grime, or mildew on the surface.
Step 3: Use a soft-bristled brush or toothbrush to scrub the caulk gently. Be sure to use circular motions and avoid using harsh chemicals or abrasive materials that could damage the caulk.
Step 4: Rinse the caulk with warm water and wipe it dry with a clean cloth. This will help remove any residue and restore the caulk’s original color and shine.


How to Clean Silicone Caulk Around Kitchen Sink


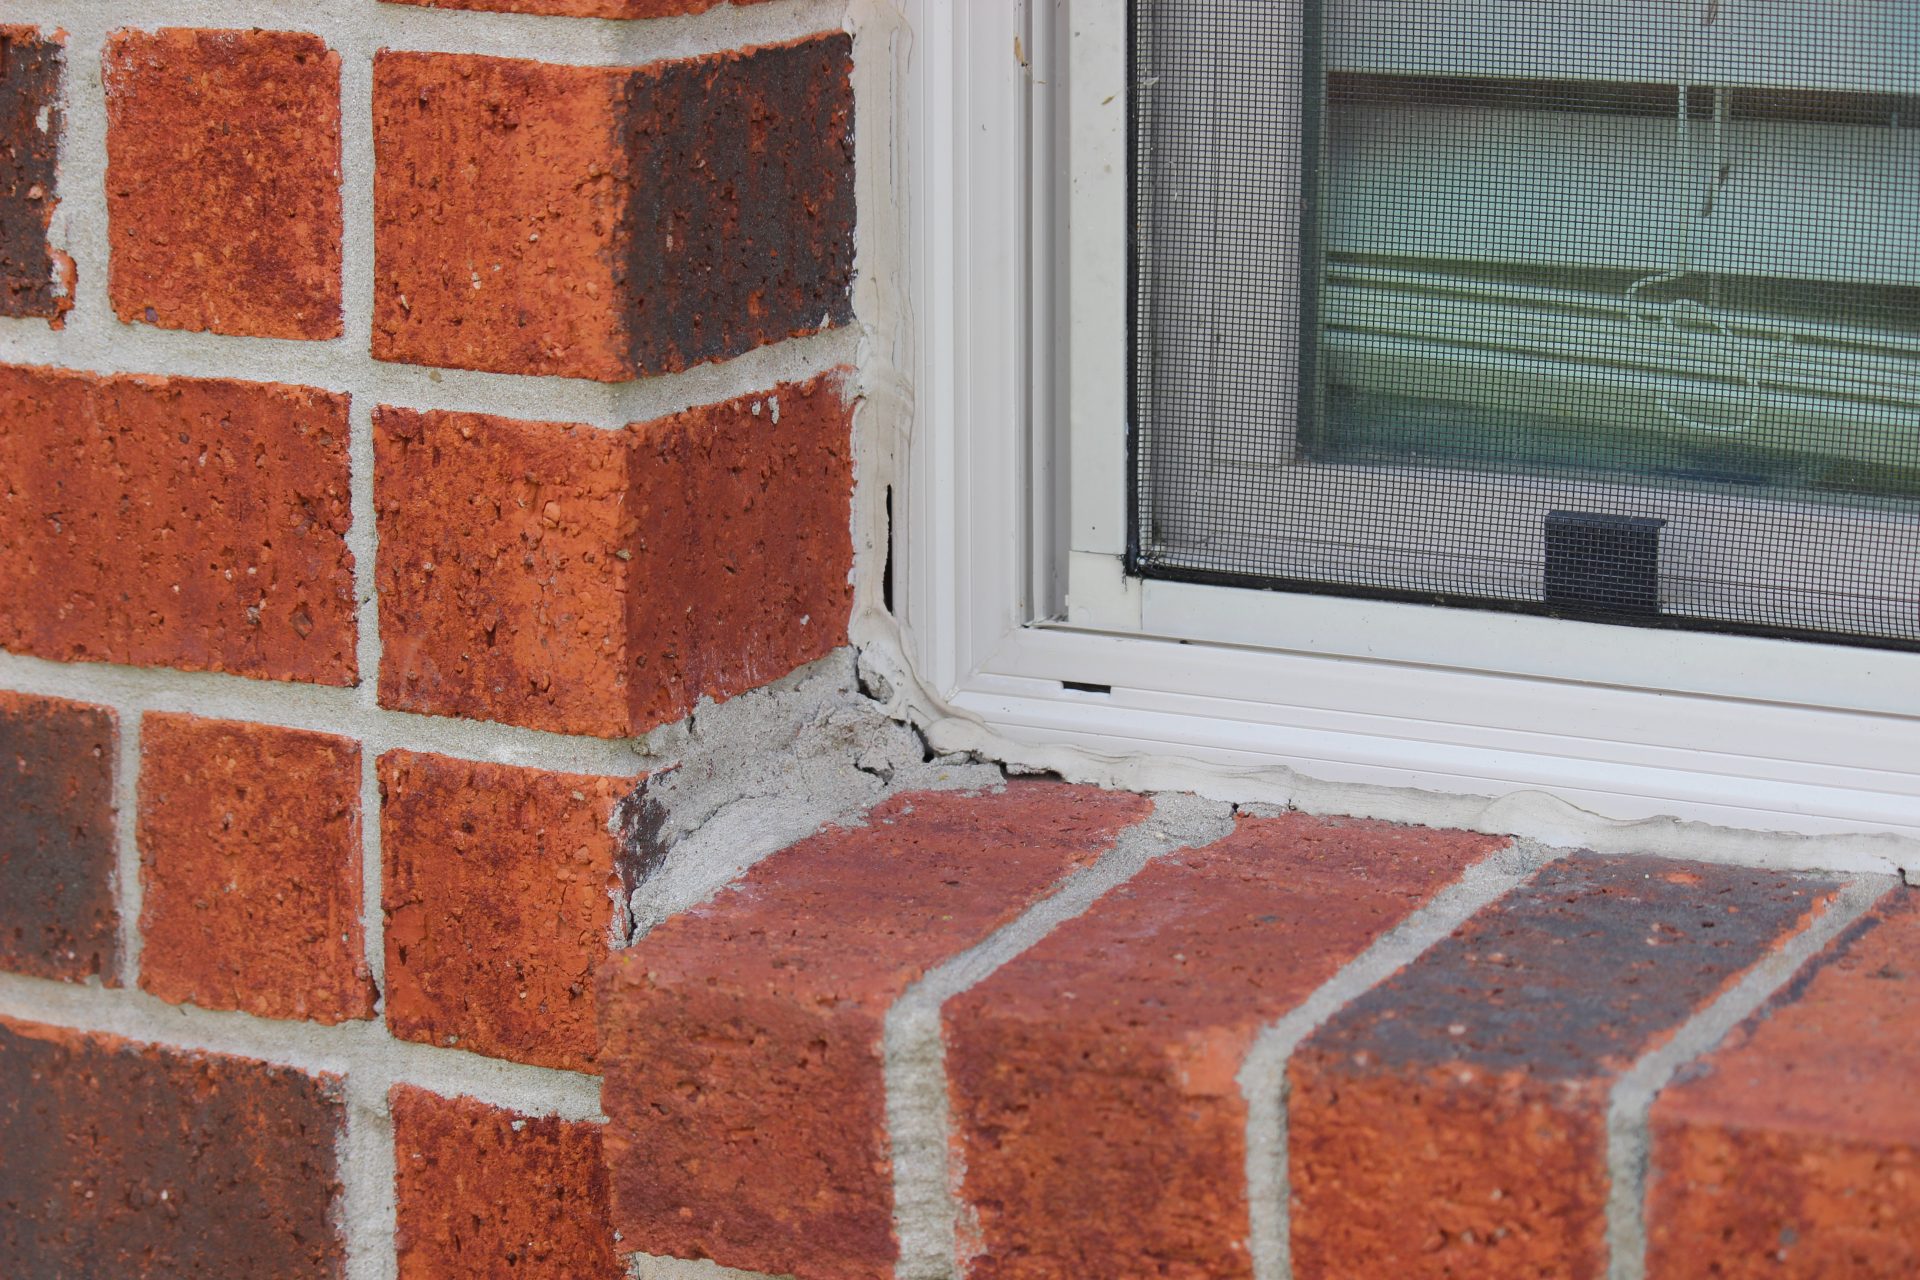
How to Repair Cracked Silicone Caulk Around Kitchen Sink
Cracked silicone caulk around a kitchen sink can not only be unsightly but can also lead to leaks and water damage. Here’s how to repair cracked silicone caulk around your kitchen sink:
Step 1: Use a caulk remover or denatured alcohol to clean and dry the cracked caulk and the surrounding area.
Step 2: Apply a small amount of silicone caulk to the crack, making sure to fill it completely. Use a caulk smoothing tool or your finger to smooth out the caulk and remove any excess.
Step 3: Let the caulk dry for at least 24 hours before using the sink or getting it wet. This will ensure that the caulk has fully cured and is ready to withstand water and moisture.


How to Repair Cracked Silicone Caulk Around Kitchen Sink


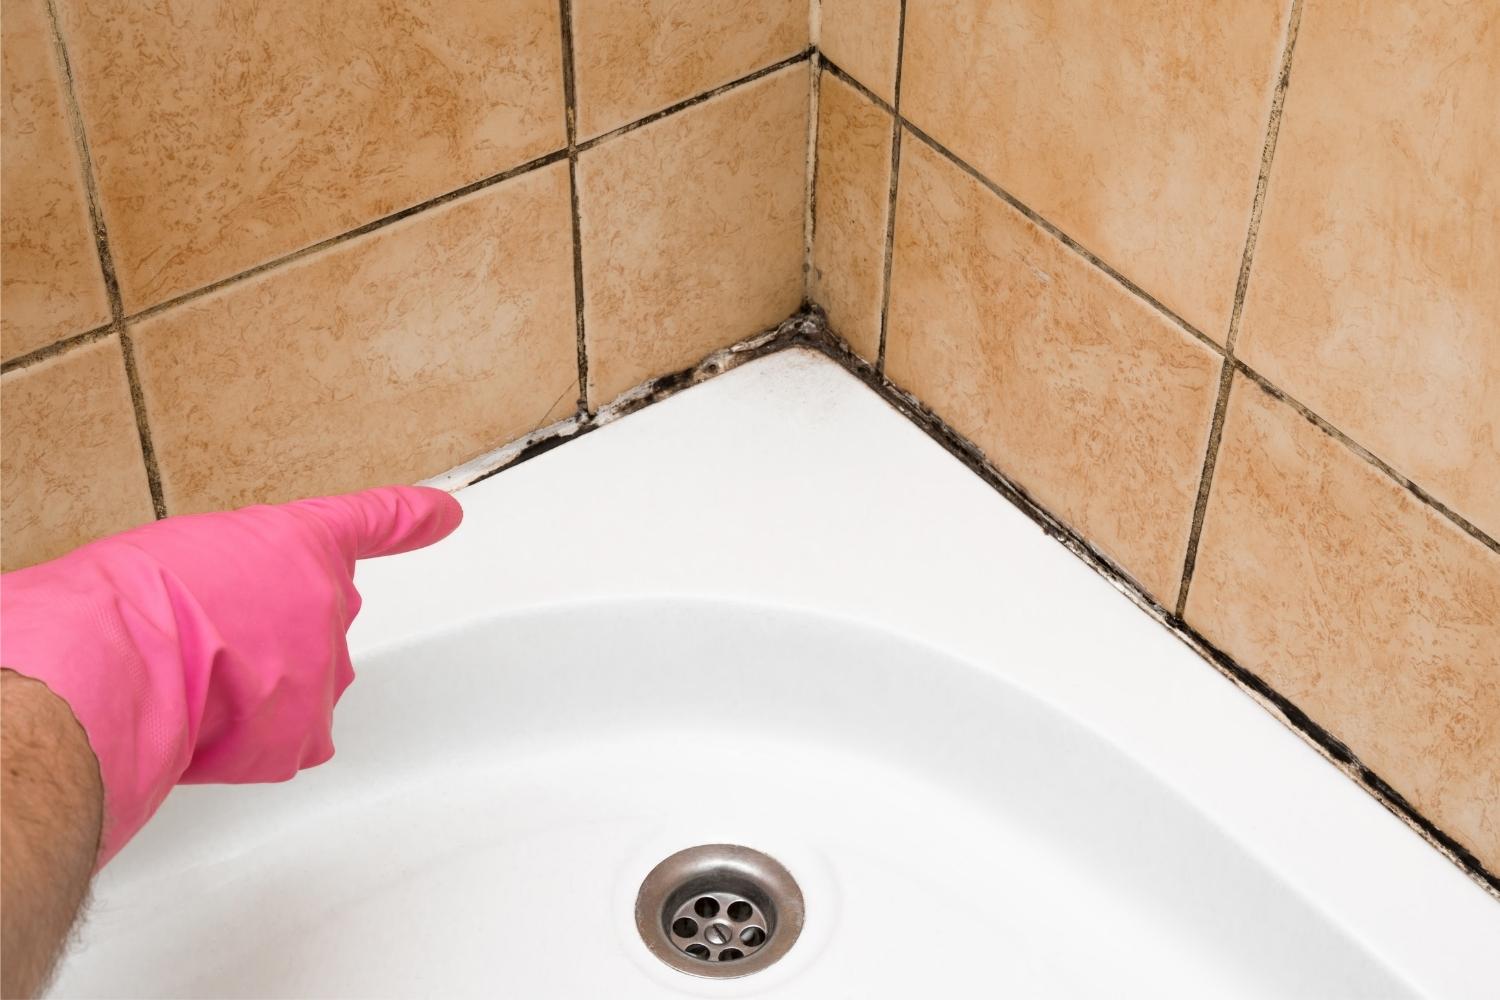
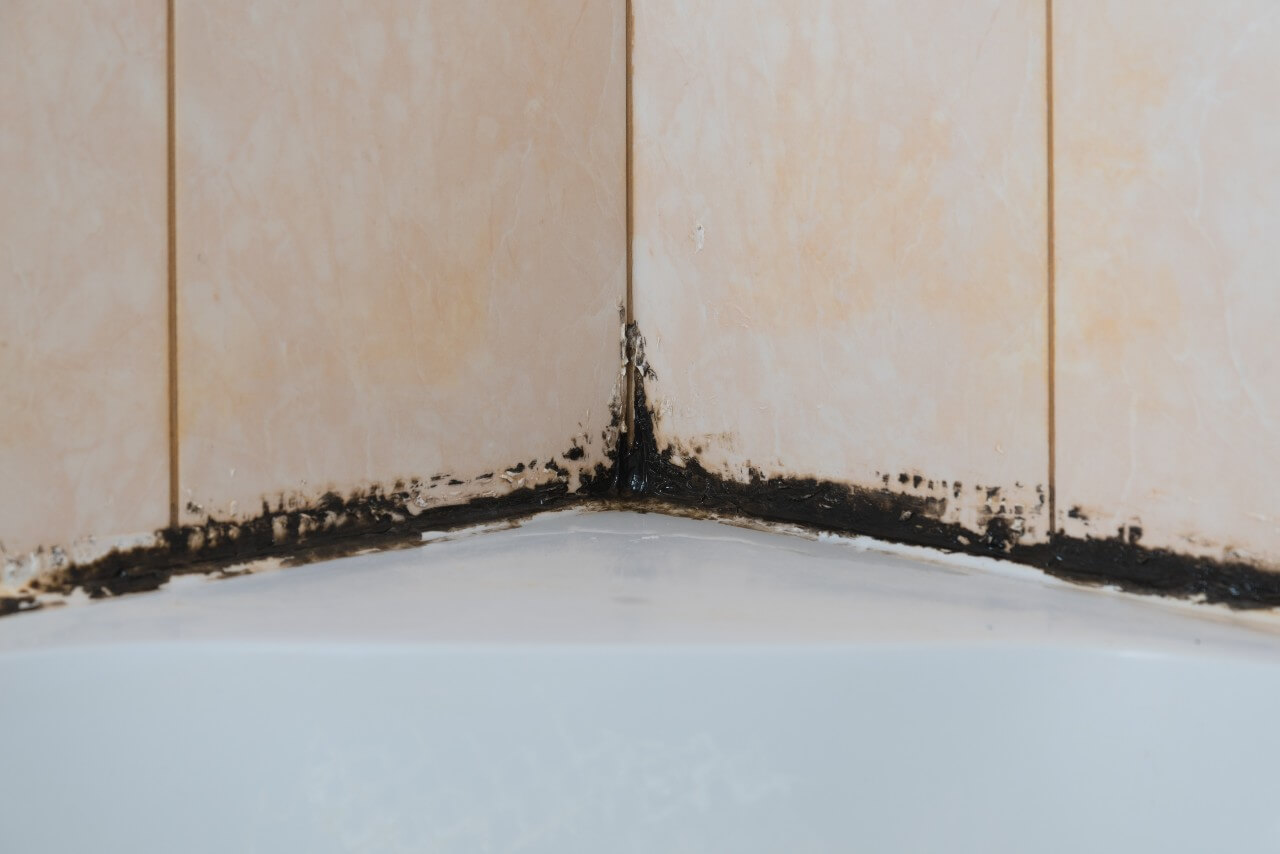
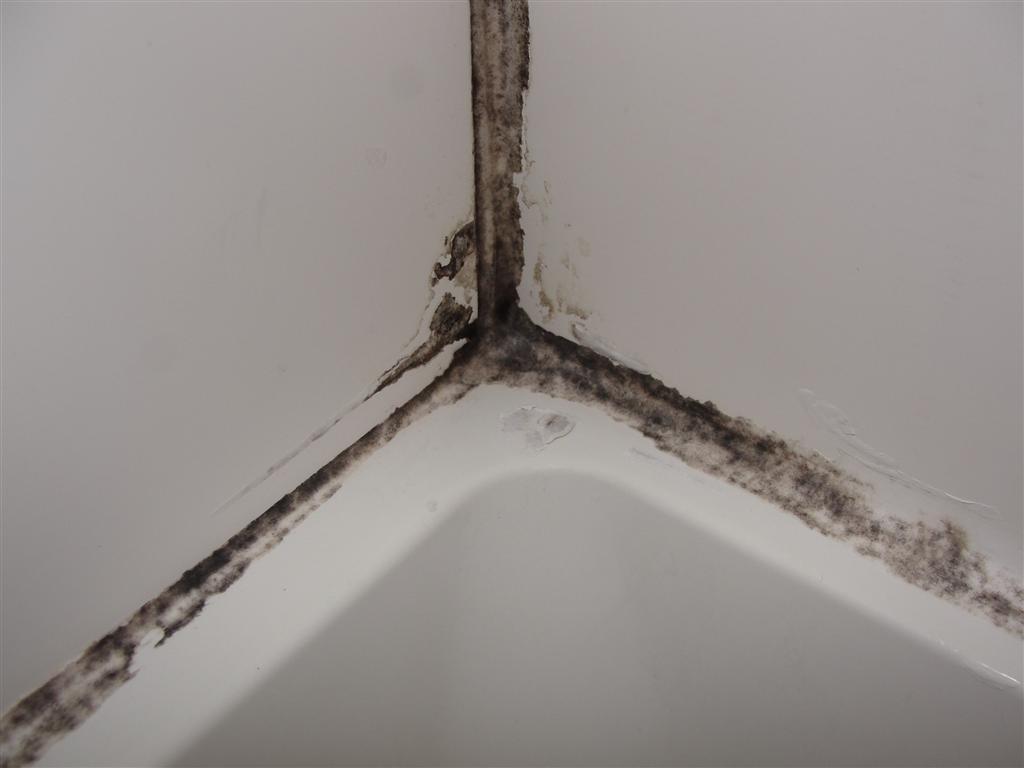
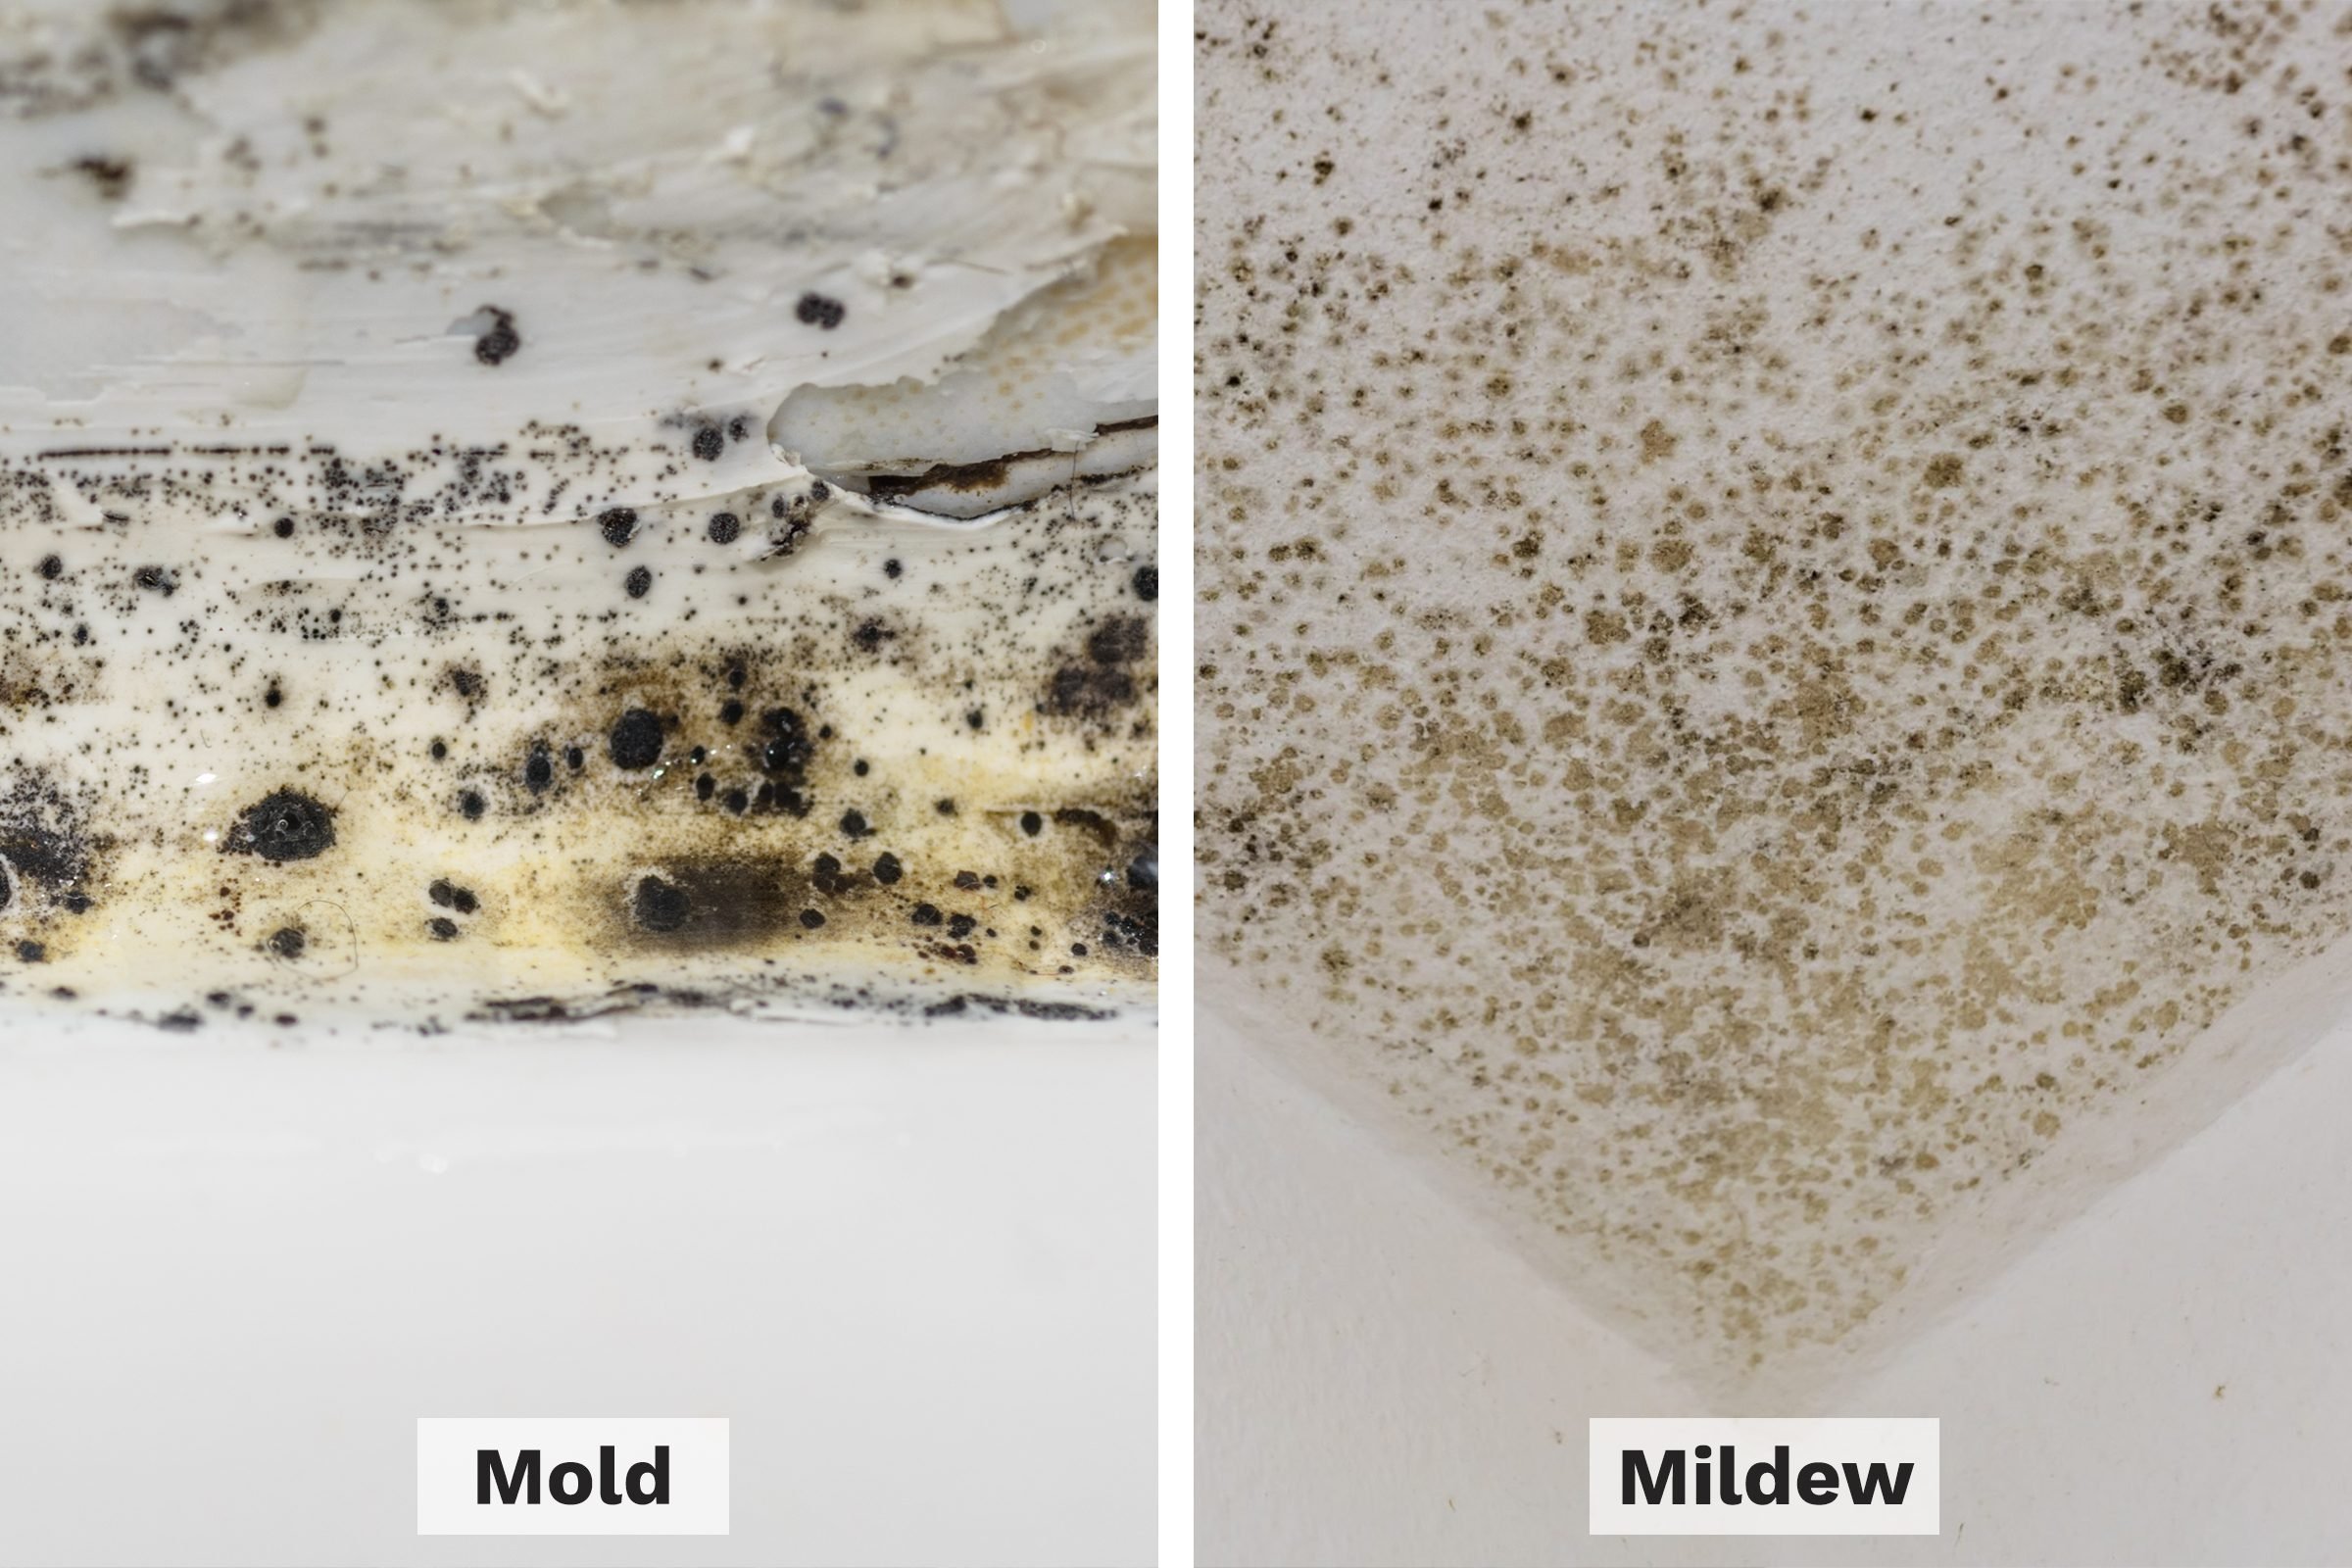
How to Prevent Mold and Mildew in Silicone Caulk Around Kitchen Sink
Mold and mildew can easily grow in the damp and dark environment around a kitchen sink. Here are some tips to help prevent mold and mildew from forming in silicone caulk around your kitchen sink:
1. Keep the area clean and dry: Wipe down the sink and countertop after each use to prevent water and food particles from accumulating and creating a breeding ground for mold and mildew.
2. Use a mold and mildew resistant caulk: Look for silicone caulks that are specifically designed to resist mold and mildew, and use these around your kitchen sink for added protection.
3. Regularly clean the caulk: As mentioned earlier, cleaning the caulk with a vinegar and water solution can help prevent mold and mildew from forming. Make sure to do this regularly to keep the caulk clean and free from any organic growth.


How to Prevent Mold and Mildew in Silicone Caulk Around Kitchen Sink

How to Choose the Right Color Silicone Caulk for Kitchen Sink
Choosing the right color silicone caulk for your kitchen sink is important not only for aesthetic purposes but also for functionality. Here are some tips to help you choose the right color silicone caulk for your kitchen sink:
1. Match the color of your sink: The easiest way to choose the right color caulk is to match it with the color of your sink. This will create a seamless and cohesive look.
2. Consider the color of your countertop: If your sink and countertop are different colors, choose a caulk color that complements both and helps create a cohesive look.
3. Go for a neutral color: If you’re unsure about which color to choose, opt for a neutral color like white or clear. These colors can easily blend in with any sink or countertop color.


How to Choose the Right Color Silicone Caulk for Kitchen Sink


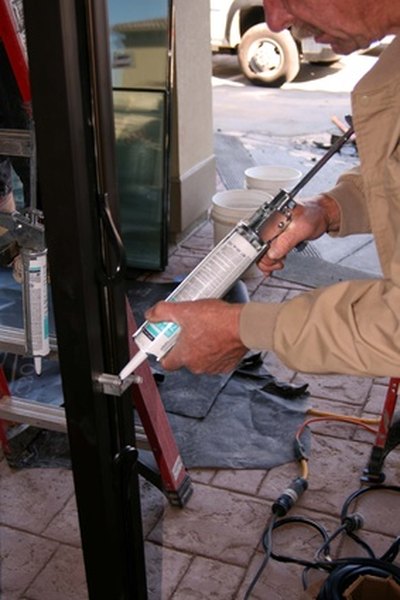
How to Remove Old Silicone Caulk and Reapply Around Kitchen Sink
If your kitchen sink is in need of a fresh coat of silicone caulk, it’s important to properly remove the old caulk before applying the new one. Here’s how to remove old silicone caulk and reapply it around your kitchen sink:
Step 1: Use a caulk remover or denatured alcohol to clean and dry the old caulk and the surrounding area.
Step 2: Use a caulk removal tool or a razor blade to carefully scrape off as much of the old caulk as possible. Be sure to avoid damaging the sink or countertop surface.
Step 3: Once all the old caulk has been removed, clean the area with a vinegar and water solution and let it dry completely.
Step 4: Apply a new line of silicone caulk around the edges of the sink, following the steps outlined in the “How to Apply Silicone Caulk Around a Kitchen Sink” section above.
Step 5: Let the caulk dry for at least 24 hours before using the sink or getting it wet. This will ensure that the caulk has fully cured and is ready to withstand water and moisture.

How to Remove Old Silicone Caulk and Reapply Around Kitchen Sink
:max_bytes(150000):strip_icc()/how-to-remove-old-caulk-1824827-01-3d0370c59e124dbbaa6560c68bab111c.jpg)


Why Silicone Around Your Kitchen Sink is Essential for a Polished and Functional Design
 Kitchen sinks are an essential element in any home, serving as a hub for meal prep, washing dishes, and other daily tasks. When it comes to designing your kitchen, every detail counts, including the
silicone around your sink
. This often overlooked component plays a crucial role in not only the aesthetics of your kitchen but also its functionality. Here's why silicone around your kitchen sink is an
essential
element for a polished and functional design.
Kitchen sinks are an essential element in any home, serving as a hub for meal prep, washing dishes, and other daily tasks. When it comes to designing your kitchen, every detail counts, including the
silicone around your sink
. This often overlooked component plays a crucial role in not only the aesthetics of your kitchen but also its functionality. Here's why silicone around your kitchen sink is an
essential
element for a polished and functional design.
Prevents Water Damage
 The primary purpose of silicone around a kitchen sink is to create a waterproof barrier between the sink and the countertop. Without this barrier, water can seep into the seam between the sink and the counter, causing damage over time. This can lead to
mold growth
, rotting of the countertop, and even structural damage. By properly sealing your kitchen sink with silicone, you can prevent these issues and save yourself from costly repairs in the future.
The primary purpose of silicone around a kitchen sink is to create a waterproof barrier between the sink and the countertop. Without this barrier, water can seep into the seam between the sink and the counter, causing damage over time. This can lead to
mold growth
, rotting of the countertop, and even structural damage. By properly sealing your kitchen sink with silicone, you can prevent these issues and save yourself from costly repairs in the future.
Seamless and Sleek Look
 One of the most noticeable benefits of having silicone around your kitchen sink is the seamless and sleek look it creates. Silicone comes in a variety of colors to match your sink and countertop, making it virtually invisible. This creates a clean and
polished appearance
for your kitchen, adding to its overall design aesthetic.
One of the most noticeable benefits of having silicone around your kitchen sink is the seamless and sleek look it creates. Silicone comes in a variety of colors to match your sink and countertop, making it virtually invisible. This creates a clean and
polished appearance
for your kitchen, adding to its overall design aesthetic.
Easy to Clean
 Another advantage of using silicone around your kitchen sink is that it is easy to clean. Unlike other caulking materials, silicone is resistant to mold and mildew, making it a hygienic option for your kitchen. It is also heat resistant, so it won't crack or peel when exposed to hot water or steam from the sink. This makes it a low-maintenance addition to your kitchen design.
Flexible and Durable
 Silicone is a flexible and durable material that can withstand the constant use and movement of a kitchen sink. It can expand and contract with temperature changes, preventing it from cracking or breaking. This makes it a long-lasting solution for sealing your sink and eliminates the need for frequent repairs or replacements.
In conclusion, the
silicone around your kitchen sink
may seem like a small detail, but it plays a significant role in the overall design and functionality of your kitchen. From preventing water damage to creating a seamless look, silicone is an essential component for a polished and functional kitchen. So, if you're planning a kitchen renovation or simply looking to update your sink, don't forget to include silicone in your design plans. Your kitchen will thank you for it in the long run.
Silicone is a flexible and durable material that can withstand the constant use and movement of a kitchen sink. It can expand and contract with temperature changes, preventing it from cracking or breaking. This makes it a long-lasting solution for sealing your sink and eliminates the need for frequent repairs or replacements.
In conclusion, the
silicone around your kitchen sink
may seem like a small detail, but it plays a significant role in the overall design and functionality of your kitchen. From preventing water damage to creating a seamless look, silicone is an essential component for a polished and functional kitchen. So, if you're planning a kitchen renovation or simply looking to update your sink, don't forget to include silicone in your design plans. Your kitchen will thank you for it in the long run.


:max_bytes(150000):strip_icc()/_hero_4109254-feathertop-5c7d415346e0fb0001a5f085.jpg)
