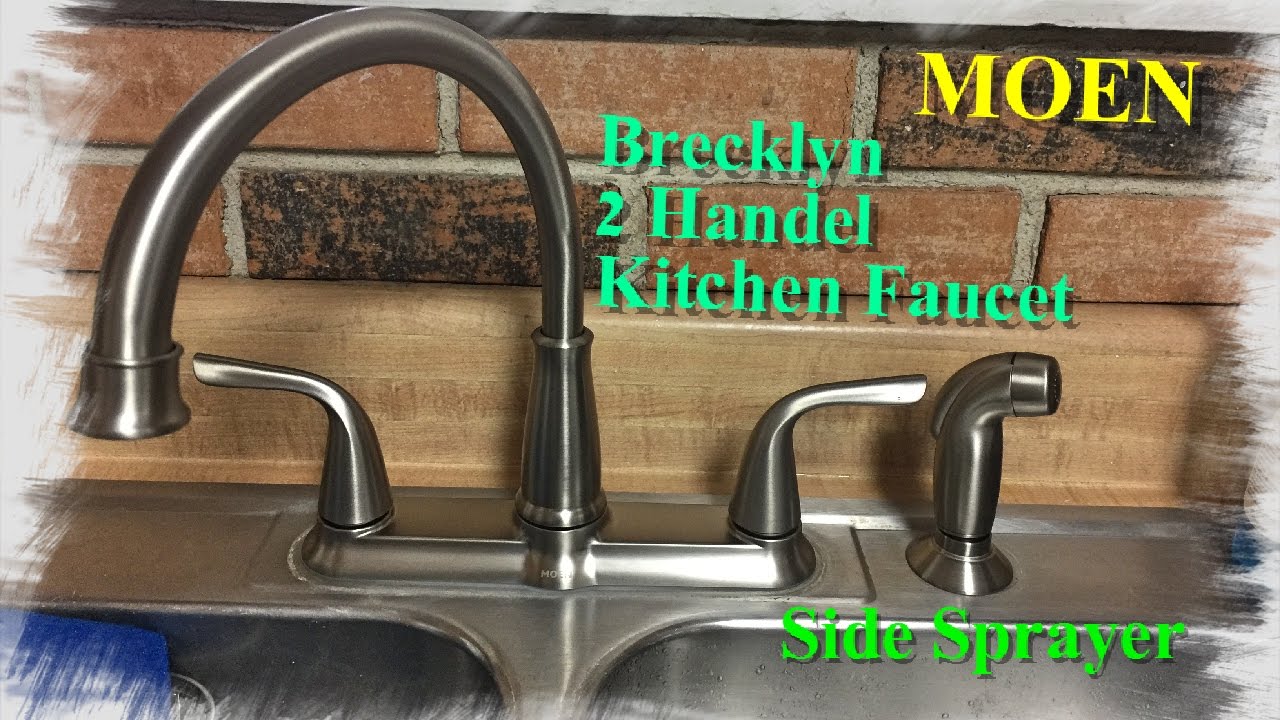
Is your kitchen sink hose starting to leak or show signs of wear and tear? It may be time to replace it. Moen is a trusted brand known for their durable and high-quality kitchen faucets, including their single handle side sprayer models. If you're unsure of how to replace your Moen kitchen sink hose, don't worry. We've got you covered with this step-by-step guide.How to Replace a Moen Single Handle Side Sprayer Kitchen Sink Hose


How to Replace a Moen Single Handle Side Sprayer Kitchen Sink Hose

Replacing a Moen kitchen faucet hose may seem daunting at first, but it's actually a simple and straightforward process. With the right tools and a little bit of patience, you can have your kitchen sink hose replaced in no time. Let's take a look at the steps involved.How to Replace a Moen Kitchen Faucet Hose


How to Replace a Moen Kitchen Faucet Hose


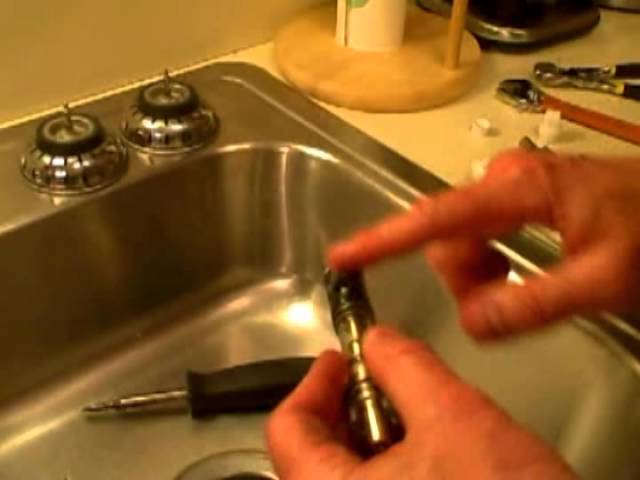
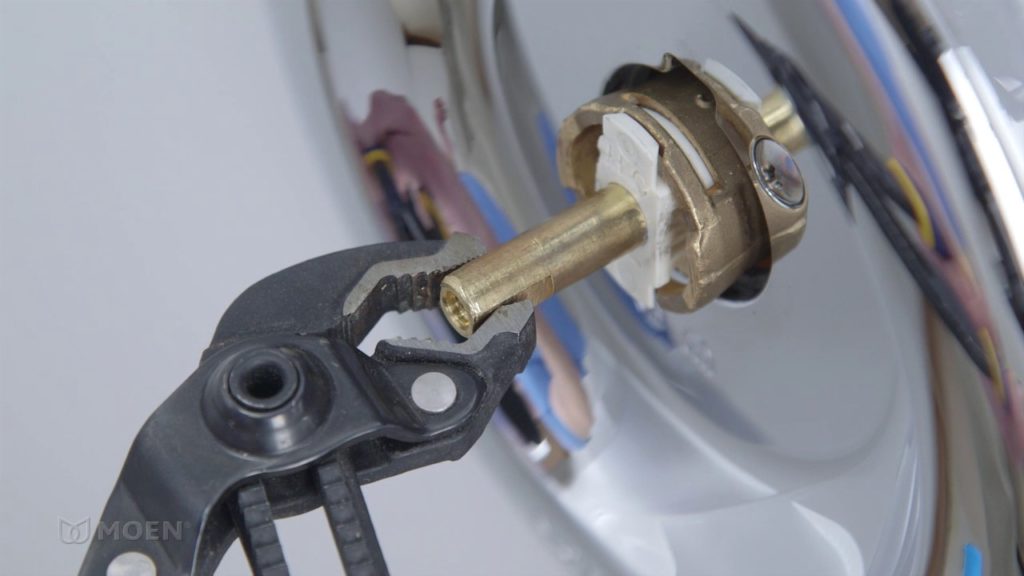
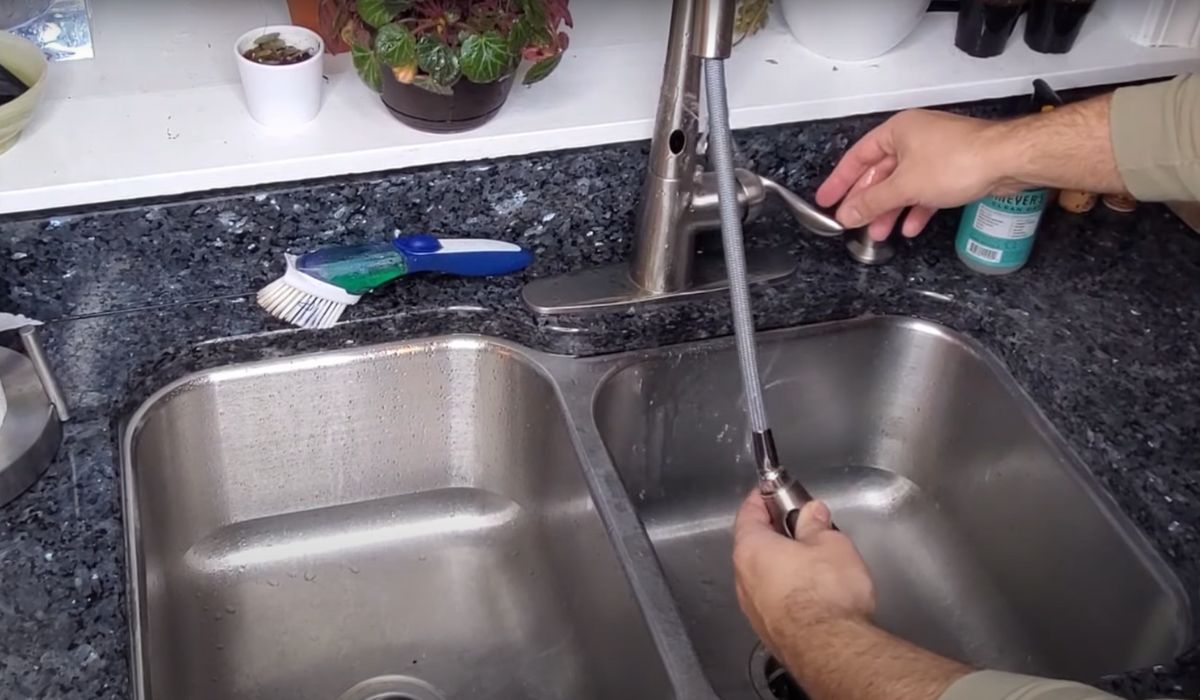
Before we get started, make sure to turn off the water supply to your kitchen sink. This will prevent any water from spilling out while you're working on the hose. Once the water is off, you can follow these steps to replace your Moen kitchen faucet hose: Step 1: Remove the old hose by unscrewing the mounting nut that connects it to the faucet. You may need a pair of pliers to loosen the nut if it's too tight. Step 2: Pull out the old hose from the faucet. You may need to wiggle it a bit to loosen it from the base. Step 3: Remove the spray head from the old hose and attach it to the new one. Step 4: Insert the new hose into the faucet base and screw on the mounting nut to secure it in place. Step 5: Turn the water supply back on and test the new hose to make sure there are no leaks. Step 6: If everything looks good, reattach the spray head to the hose and you're done!Step-by-Step Guide to Replacing a Moen Kitchen Faucet Hose


Step-by-Step Guide to Replacing a Moen Kitchen Faucet Hose


If you have a Moen single handle side sprayer kitchen faucet, replacing the hose is just as easy. Follow these 10 simple steps to get the job done: Step 1: Turn off the water supply to your kitchen sink. Step 2: Disconnect the sprayer hose from the base of the faucet. Step 3: Remove the old hose by pulling it out from the faucet. Step 4: Connect the new hose to the faucet base, making sure it's securely attached. Step 5: Connect the other end of the hose to the sprayer head. Step 6: Turn on the water supply and test the sprayer to make sure it's working properly. Step 7: If there are no leaks, reattach the sprayer head to the hose. Step 8: Turn off the water supply again and detach the sprayer head from the hose. Step 9: Apply plumber's tape to the threads of the sprayer head. Step 10: Reattach the sprayer head to the hose and turn the water supply back on. Your new hose should now be functioning perfectly!Replacing a Moen Single Handle Side Sprayer Hose in 10 Easy Steps


Replacing a Moen Single Handle Side Sprayer Hose in 10 Easy Steps


Replacing a Moen kitchen sink hose is a task that many homeowners can easily do themselves. Not only will it save you money on hiring a professional, but it's also a great way to learn some basic plumbing skills. With our step-by-step guide, you can confidently replace your kitchen sink hose and have your faucet working like new again.DIY: How to Replace a Moen Kitchen Sink Hose


DIY: How to Replace a Moen Kitchen Sink Hose


If you've never replaced a kitchen sink hose before, it can seem like a daunting task. However, with the right tools and instructions, it's a simple and straightforward process. This comprehensive guide will walk you through the steps of replacing a Moen kitchen faucet hose, so you can tackle the job with ease.Moen Kitchen Faucet Hose Replacement: A Comprehensive Guide

Moen Kitchen Faucet Hose Replacement: A Comprehensive Guide


/installing-a-moen-kitchen-faucet-2718847-05-18a8625ea2ea4e04a984f3df633399cc.jpg)


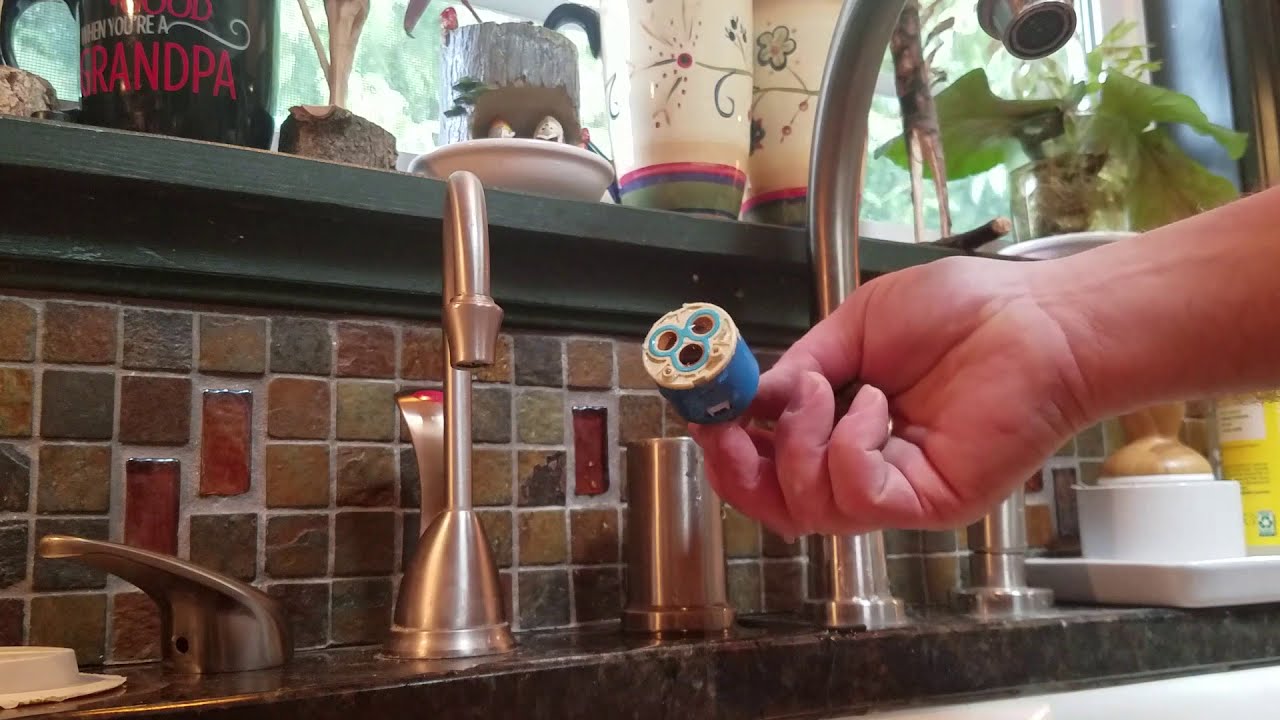
When it comes to replacing your Moen single handle side sprayer hose, there are a few tips and tricks that can make the process even easier: - Before attaching the new hose to the faucet base, make sure to clean any debris or buildup from the area to ensure a secure connection. - Use a towel or cloth to protect the finish of your faucet while working on the hose. - Apply plumber's tape to the threads of the sprayer head to prevent any leaks. - If the mounting nut is too tight, use a pair of pliers to loosen it, but be careful not to damage the nut or the faucet base.Replacing a Moen Single Handle Side Sprayer Hose: Tips and Tricks


Replacing a Moen Single Handle Side Sprayer Hose: Tips and Tricks

If you're short on time but need to replace your Moen kitchen sink hose, this quick and easy guide is for you. Follow these steps and you'll have your new hose installed in no time: Step 1: Turn off the water supply to your kitchen sink. Step 2: Disconnect the old hose from the faucet base. Step 3: Connect the new hose to the faucet base and the spray head. Step 4: Turn the water supply back on and test the new hose for any leaks. Step 5: If everything looks good, reattach the spray head and you're done!Quick and Easy Guide to Replacing a Moen Kitchen Sink Hose

Quick and Easy Guide to Replacing a Moen Kitchen Sink Hose


For a more detailed and visual guide to replacing a Moen single handle side sprayer hose, here are some step-by-step instructions: - Step 1: Turn off the water supply to your kitchen sink. - Step 2: Disconnect the old hose from the faucet base and remove it. - Step 3: Connect the new hose to the faucet base and the spray head. - Step 4: Turn on the water supply and test the sprayer for leaks. - Step 5: If everything looks good, reattach the spray head and you're done!Step-by-Step Instructions for Replacing a Moen Single Handle Side Sprayer Hose


Step-by-Step Instructions for Replacing a Moen Single Handle Side Sprayer Hose


Now that you've learned how to replace a Moen kitchen faucet hose, you have all the knowledge and skills to tackle this task confidently. Remember to always turn off the water supply before starting and follow these steps carefully for a successful replacement. With a new hose, your Moen kitchen faucet will continue to serve you well for years to come.Moen Kitchen Faucet Hose Replacement: Everything You Need to Know
Moen Kitchen Faucet Hose Replacement: Everything You Need to Know

Why You Should Replace Your Kitchen Sink Hose

Improve Functionality and Aesthetics
 When it comes to designing a functional and stylish kitchen, the sink is one of the most important elements. A kitchen sink with a side sprayer is a convenient addition that allows for easier cleaning and filling of pots and pans. However, over time, the hose of the side sprayer can become worn out and cause issues such as leaks and reduced water flow. This can not only affect the functionality of your sink but also make it look less appealing. In order to maintain the efficiency and aesthetics of your kitchen, it is important to replace your
Moen single handle side sprayer kitchen sink hose
when necessary.
When it comes to designing a functional and stylish kitchen, the sink is one of the most important elements. A kitchen sink with a side sprayer is a convenient addition that allows for easier cleaning and filling of pots and pans. However, over time, the hose of the side sprayer can become worn out and cause issues such as leaks and reduced water flow. This can not only affect the functionality of your sink but also make it look less appealing. In order to maintain the efficiency and aesthetics of your kitchen, it is important to replace your
Moen single handle side sprayer kitchen sink hose
when necessary.
Prevent Water Damage
 A damaged kitchen sink hose can lead to water leakage, which can cause significant damage to your kitchen. Water can seep into the cabinets and flooring, causing them to warp, rot, and grow mold. This can lead to costly repairs and even potential health hazards. By regularly replacing your kitchen sink hose, you can prevent these issues and ensure the safety and longevity of your kitchen.
Save Money in the Long Run
 While it may seem like a hassle and an extra expense to replace your kitchen sink hose, it can actually save you money in the long run. A damaged hose can cause water wastage, leading to higher water bills. It can also put strain on your kitchen faucet, causing it to wear out faster and require replacement sooner. By investing in a good quality
Moen single handle side sprayer kitchen sink hose
, you can avoid these costs and ensure the efficiency of your kitchen for years to come.
While it may seem like a hassle and an extra expense to replace your kitchen sink hose, it can actually save you money in the long run. A damaged hose can cause water wastage, leading to higher water bills. It can also put strain on your kitchen faucet, causing it to wear out faster and require replacement sooner. By investing in a good quality
Moen single handle side sprayer kitchen sink hose
, you can avoid these costs and ensure the efficiency of your kitchen for years to come.
Upgrade to a Better Model
 If you have been using the same kitchen sink hose for several years, chances are there have been advancements in technology that can provide a better experience. By replacing your old hose with a newer model, you can enjoy features such as adjustable water flow and spray patterns, making your kitchen tasks even easier. Additionally, newer models are often more durable and can withstand wear and tear for longer periods of time.
In conclusion, replacing your
Moen single handle side sprayer kitchen sink hose
is an important aspect of maintaining a functional and visually appealing kitchen. Not only does it prevent potential water damage and save you money, but it also allows you to upgrade to a better model for an improved kitchen experience. So, if you notice any signs of wear and tear on your kitchen sink hose, don't hesitate to replace it and keep your kitchen running smoothly.
If you have been using the same kitchen sink hose for several years, chances are there have been advancements in technology that can provide a better experience. By replacing your old hose with a newer model, you can enjoy features such as adjustable water flow and spray patterns, making your kitchen tasks even easier. Additionally, newer models are often more durable and can withstand wear and tear for longer periods of time.
In conclusion, replacing your
Moen single handle side sprayer kitchen sink hose
is an important aspect of maintaining a functional and visually appealing kitchen. Not only does it prevent potential water damage and save you money, but it also allows you to upgrade to a better model for an improved kitchen experience. So, if you notice any signs of wear and tear on your kitchen sink hose, don't hesitate to replace it and keep your kitchen running smoothly.


/GettyImages-1206150622-1c297aabd4a94f72a2675fc509306457.jpg)
