Silicone caulk is a common choice for sealing and waterproofing around a kitchen sink. However, over time, this caulk can become discolored, cracked, or moldy, making it necessary to remove and replace it. Removing silicone caulk from a kitchen sink may seem like a daunting task, but with the right tools and techniques, it can be a relatively simple process. In this guide, we will walk you through the steps of removing silicone caulk from your kitchen sink and provide tips and tricks to make the process even easier.How to Remove Silicone Caulk from a Kitchen Sink


How to Remove Silicone Caulk from a Kitchen Sink


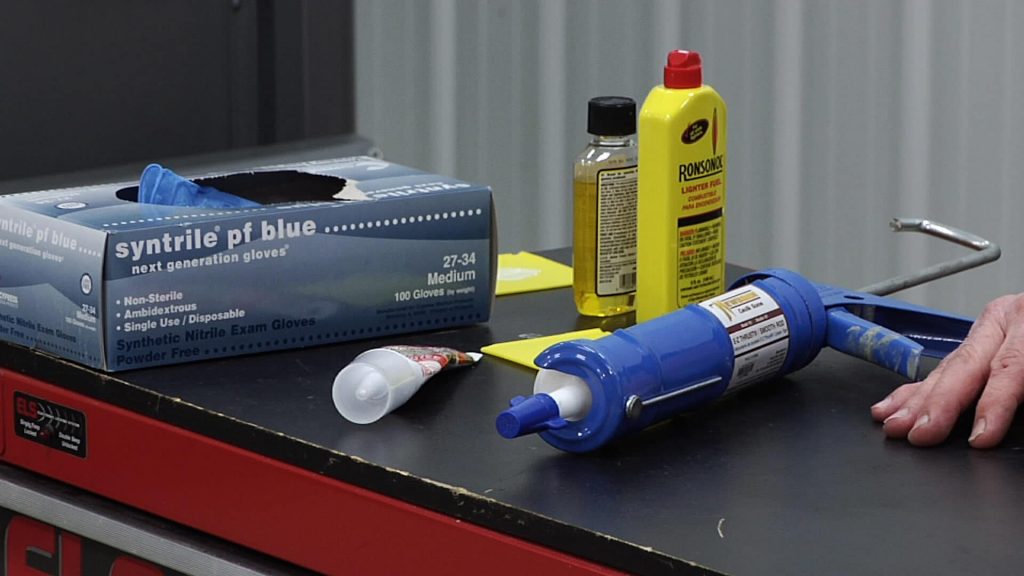
Before starting the process of removing silicone caulk from your kitchen sink, it is important to gather all the necessary tools and materials. You will need a caulk removal tool, a putty knife, a utility knife, a scraper, a sponge, rubbing alcohol, and a cleaning solution. Once you have these items, follow these steps:Removing Silicone Caulk from a Kitchen Sink: A Step-by-Step Guide


Removing Silicone Caulk from a Kitchen Sink: A Step-by-Step Guide


Using a caulk softener or a hairdryer on a low setting, heat up the silicone caulk to soften it. This will make it easier to remove and prevent damage to the surrounding surfaces.Step 1: Soften the Caulk


Best Methods for Removing Silicone Caulk from a Kitchen Sink


Using a utility knife, carefully cut along the edges of the caulk to create a clean and straight line. This will make it easier to remove the caulk without damaging the sink or countertop.Step 2: Cut the Caulk


Removing Silicone Caulk from a Kitchen Sink: Tips and Tricks


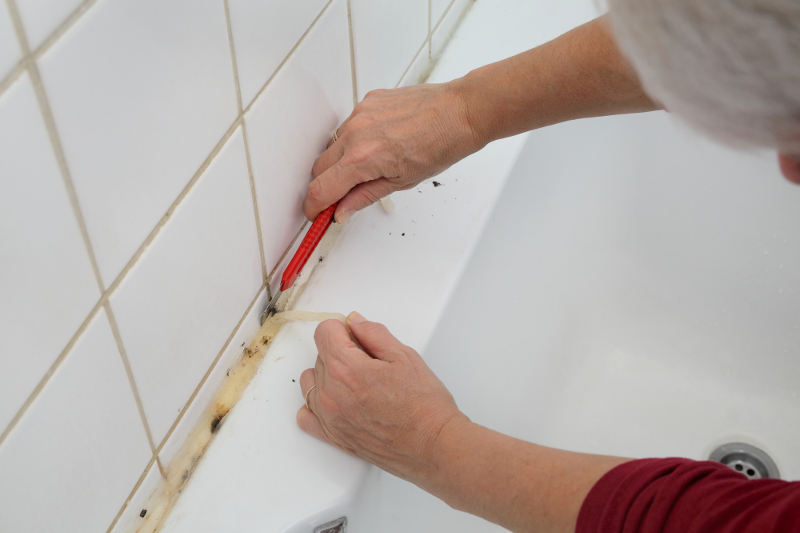
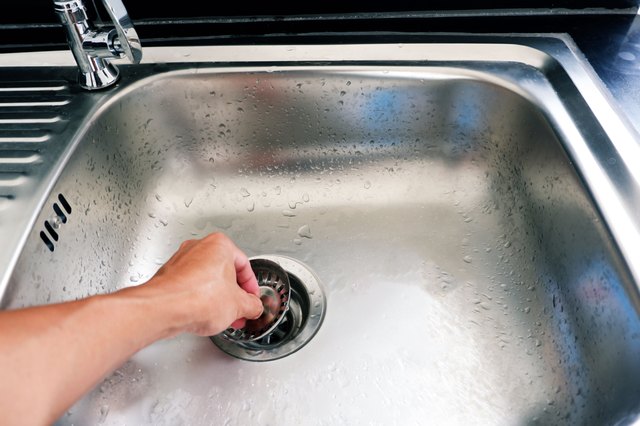
Using a caulk removal tool or a putty knife, gently scrape away the softened caulk. Be sure to work slowly and carefully to avoid damaging the sink or countertop. If there are any stubborn or hard-to-reach areas, use a scraper to gently loosen the caulk.Step 3: Scrape the Caulk


The Ultimate Guide to Removing Silicone Caulk from a Kitchen Sink


Once all the caulk has been removed, use a sponge and rubbing alcohol to clean the area. This will remove any remaining caulk residue and prepare the surface for the new caulk.Step 4: Clean the Area


Removing Silicone Caulk from a Kitchen Sink: Common Mistakes to Avoid

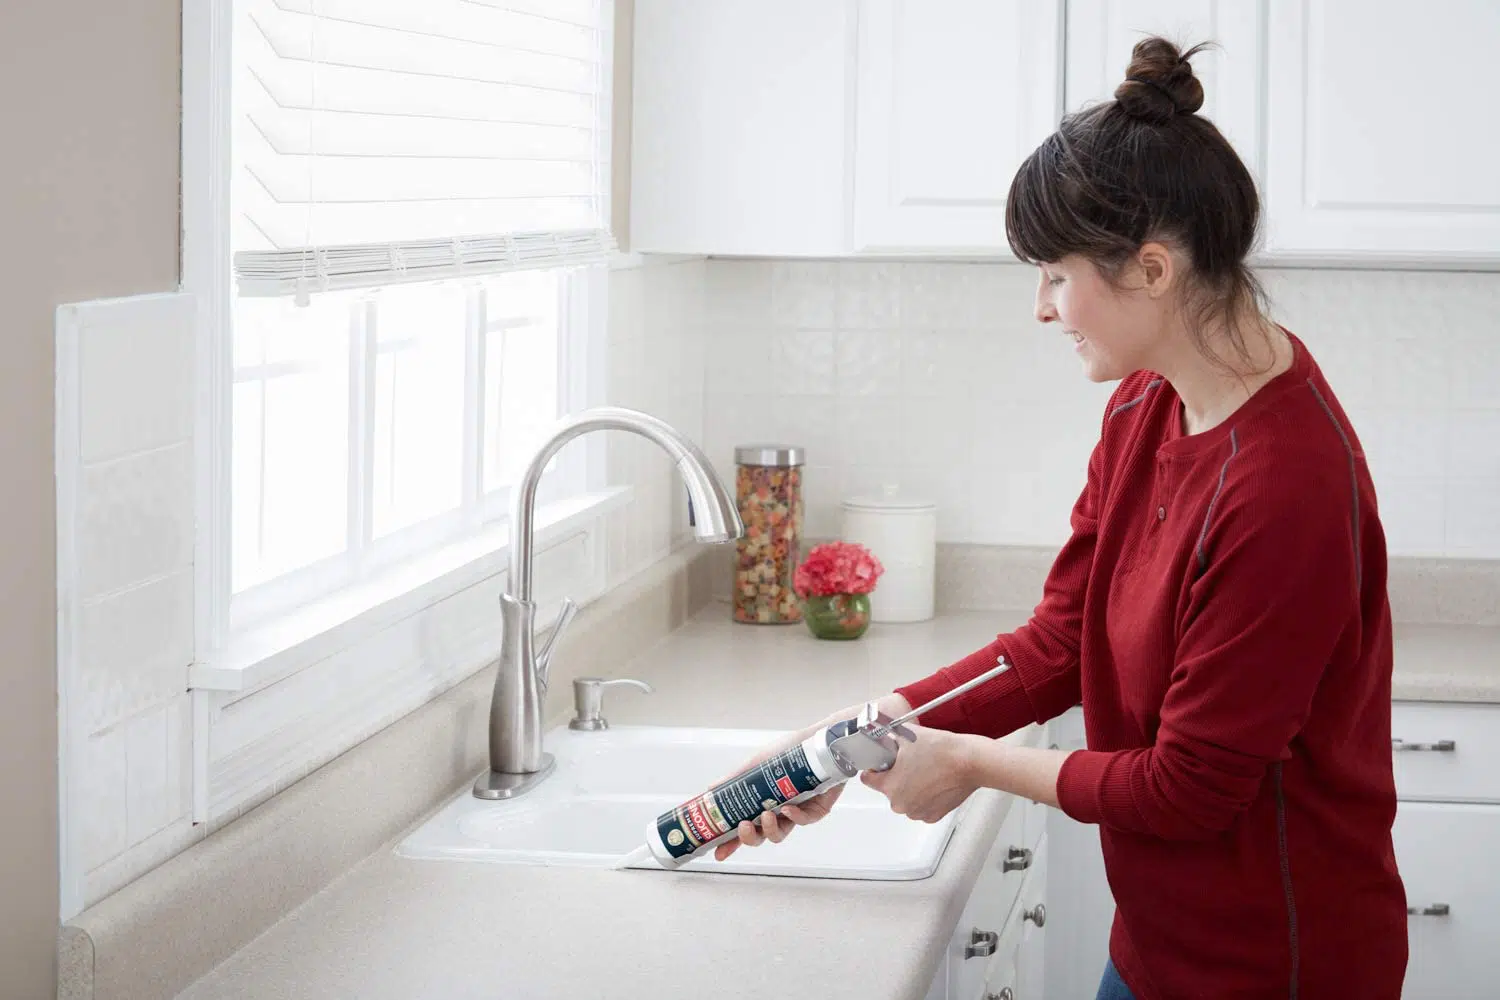
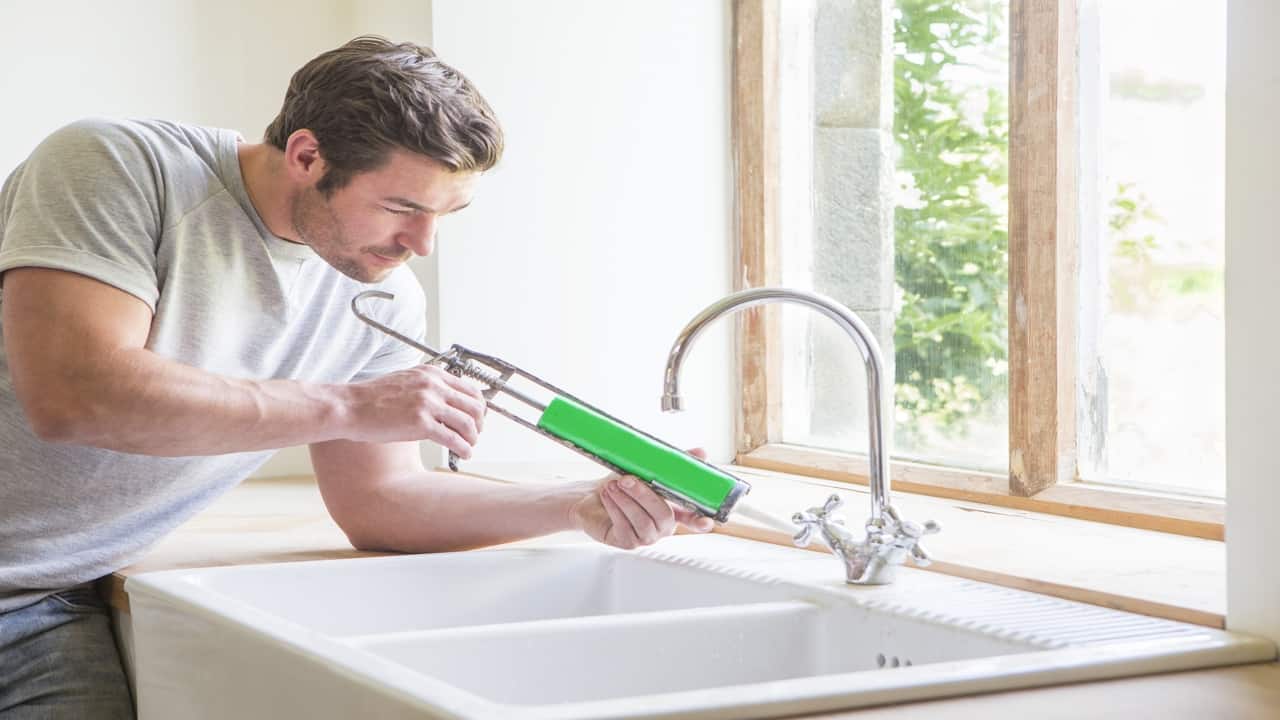
After the area is clean and dry, use a caulk gun to apply a new bead of silicone caulk. Use a wet finger or a caulk smoothing tool to create a smooth and even seal. Allow the caulk to dry completely before using the sink.Step 5: Apply New Caulk
DIY Solutions for Removing Silicone Caulk from a Kitchen Sink
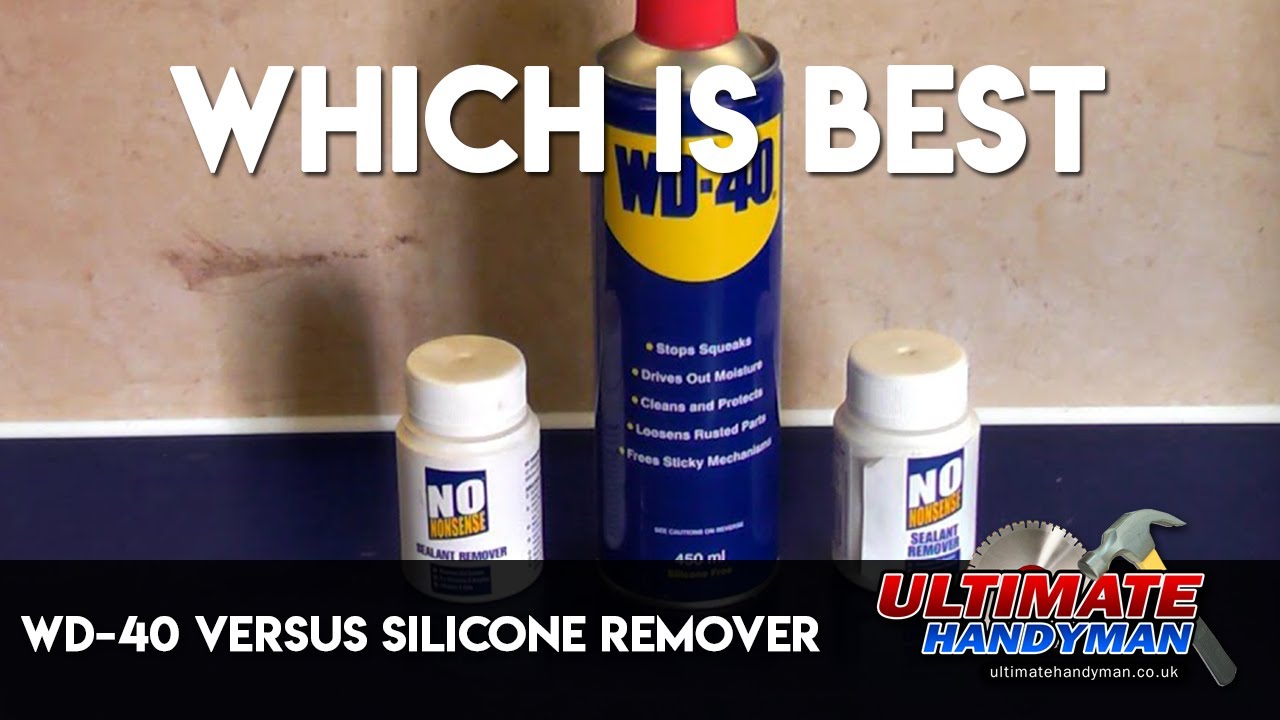
While the above method is the most common way to remove silicone caulk from a kitchen sink, there are a few alternative methods you can try. These include using a caulk removal gel, a citrus-based cleaner, or a homemade solution of vinegar and baking soda. These methods may take longer to work but can be just as effective.Best Methods for Removing Silicone Caulk from a Kitchen Sink
Removing Silicone Caulk from a Kitchen Sink: Products and Tools You'll Need
/cdn.vox-cdn.com/uploads/chorus_image/image/66555250/removing_caulk.0.jpg)
Here are a few additional tips and tricks to keep in mind when removing silicone caulk from a kitchen sink:Removing Silicone Caulk from a Kitchen Sink: Tips and Tricks


Step-by-Step Video Tutorial: Removing Silicone Caulk from a Kitchen Sink

Removing silicone caulk from a kitchen sink can be a tedious task, but with the right tools and techniques, it can be a relatively simple process. By following the steps outlined in this guide, you can remove old, discolored, or moldy caulk and replace it with a new, clean seal. With a little bit of patience and some elbow grease, your kitchen sink will look as good as new.The Ultimate Guide to Removing Silicone Caulk from a Kitchen Sink


Expert Tips for Removing Silicone Caulk from a Kitchen Sink

Why Removing Silicone Caulk Is Essential for a Clean and Tidy Kitchen Sink

Prevent Mold and Mildew Growth
 One of the main reasons why it is important to remove silicone caulk from your kitchen sink is to prevent the growth of mold and mildew. Over time, caulk can become worn out and develop cracks and gaps, allowing moisture to seep in and create the perfect environment for mold and mildew to thrive. These fungi not only look unsightly, but they can also pose health risks to you and your family. By regularly removing and replacing old silicone caulk, you can keep your kitchen sink and surrounding areas free from mold and mildew growth.
Maintain a Hygienic Environment
 In a kitchen, cleanliness is essential for food preparation and cooking. However, if your kitchen sink is surrounded by old and deteriorating silicone caulk, it can become a breeding ground for bacteria and germs. As the caulk breaks down, it can collect dirt, grime, and food particles, creating a perfect environment for harmful bacteria to thrive. By removing old caulk and replacing it with new, you can maintain a hygienic environment and prevent the spread of germs and bacteria in your kitchen.
Enhance the Aesthetics of Your Kitchen
 Silicone caulk that is discolored, stained, or peeling can greatly impact the overall appearance of your kitchen sink. It can make the sink area look dirty and unkempt, even if the rest of your kitchen is spotless. By regularly removing and replacing old caulk, you can keep your kitchen sink looking clean and well-maintained. This can enhance the overall aesthetics of your kitchen and make it a more pleasant space to work in.
Ensure Proper Seal to Prevent Water Damage
 Silicone caulk serves as a sealant between your kitchen sink and the surrounding countertop or backsplash. If the caulk is old and damaged, it can no longer provide a proper seal, leading to water leaks and potential water damage. This can not only be costly to repair but can also cause structural damage to your kitchen. By removing old caulk and replacing it with a new, waterproof seal, you can prevent water damage and ensure the longevity of your kitchen sink.
In Conclusion
/cdn.vox-cdn.com/uploads/chorus_image/image/66555250/removing_caulk.0.jpg) Removing old silicone caulk from your kitchen sink is an essential part of maintaining a clean and hygienic kitchen. It not only helps prevent the growth of mold and mildew, but it also enhances the aesthetics of your kitchen and ensures a proper seal to prevent water damage. By regularly performing this simple maintenance task, you can keep your kitchen sink looking and functioning at its best. So don't neglect your caulk, and make sure to replace it when needed for a clean and tidy kitchen sink.
Removing old silicone caulk from your kitchen sink is an essential part of maintaining a clean and hygienic kitchen. It not only helps prevent the growth of mold and mildew, but it also enhances the aesthetics of your kitchen and ensures a proper seal to prevent water damage. By regularly performing this simple maintenance task, you can keep your kitchen sink looking and functioning at its best. So don't neglect your caulk, and make sure to replace it when needed for a clean and tidy kitchen sink.