Are you tired of dealing with a clogged or slow-draining sink? Removing a Delta bathroom sink drain may be the solution you need. This simple DIY project can save you time and money by avoiding the need for a plumber. In this article, we will guide you through the process of removing a Delta bathroom sink drain in 10 easy steps. Delta Bathroom Sink Drain Removal
Before we dive into the steps, it's important to gather all the necessary tools and materials. You will need a pair of pliers, a flathead screwdriver, a bucket, and a Delta sink drain removal tool (if available). Now let's get started! How to Remove a Delta Bathroom Sink Drain
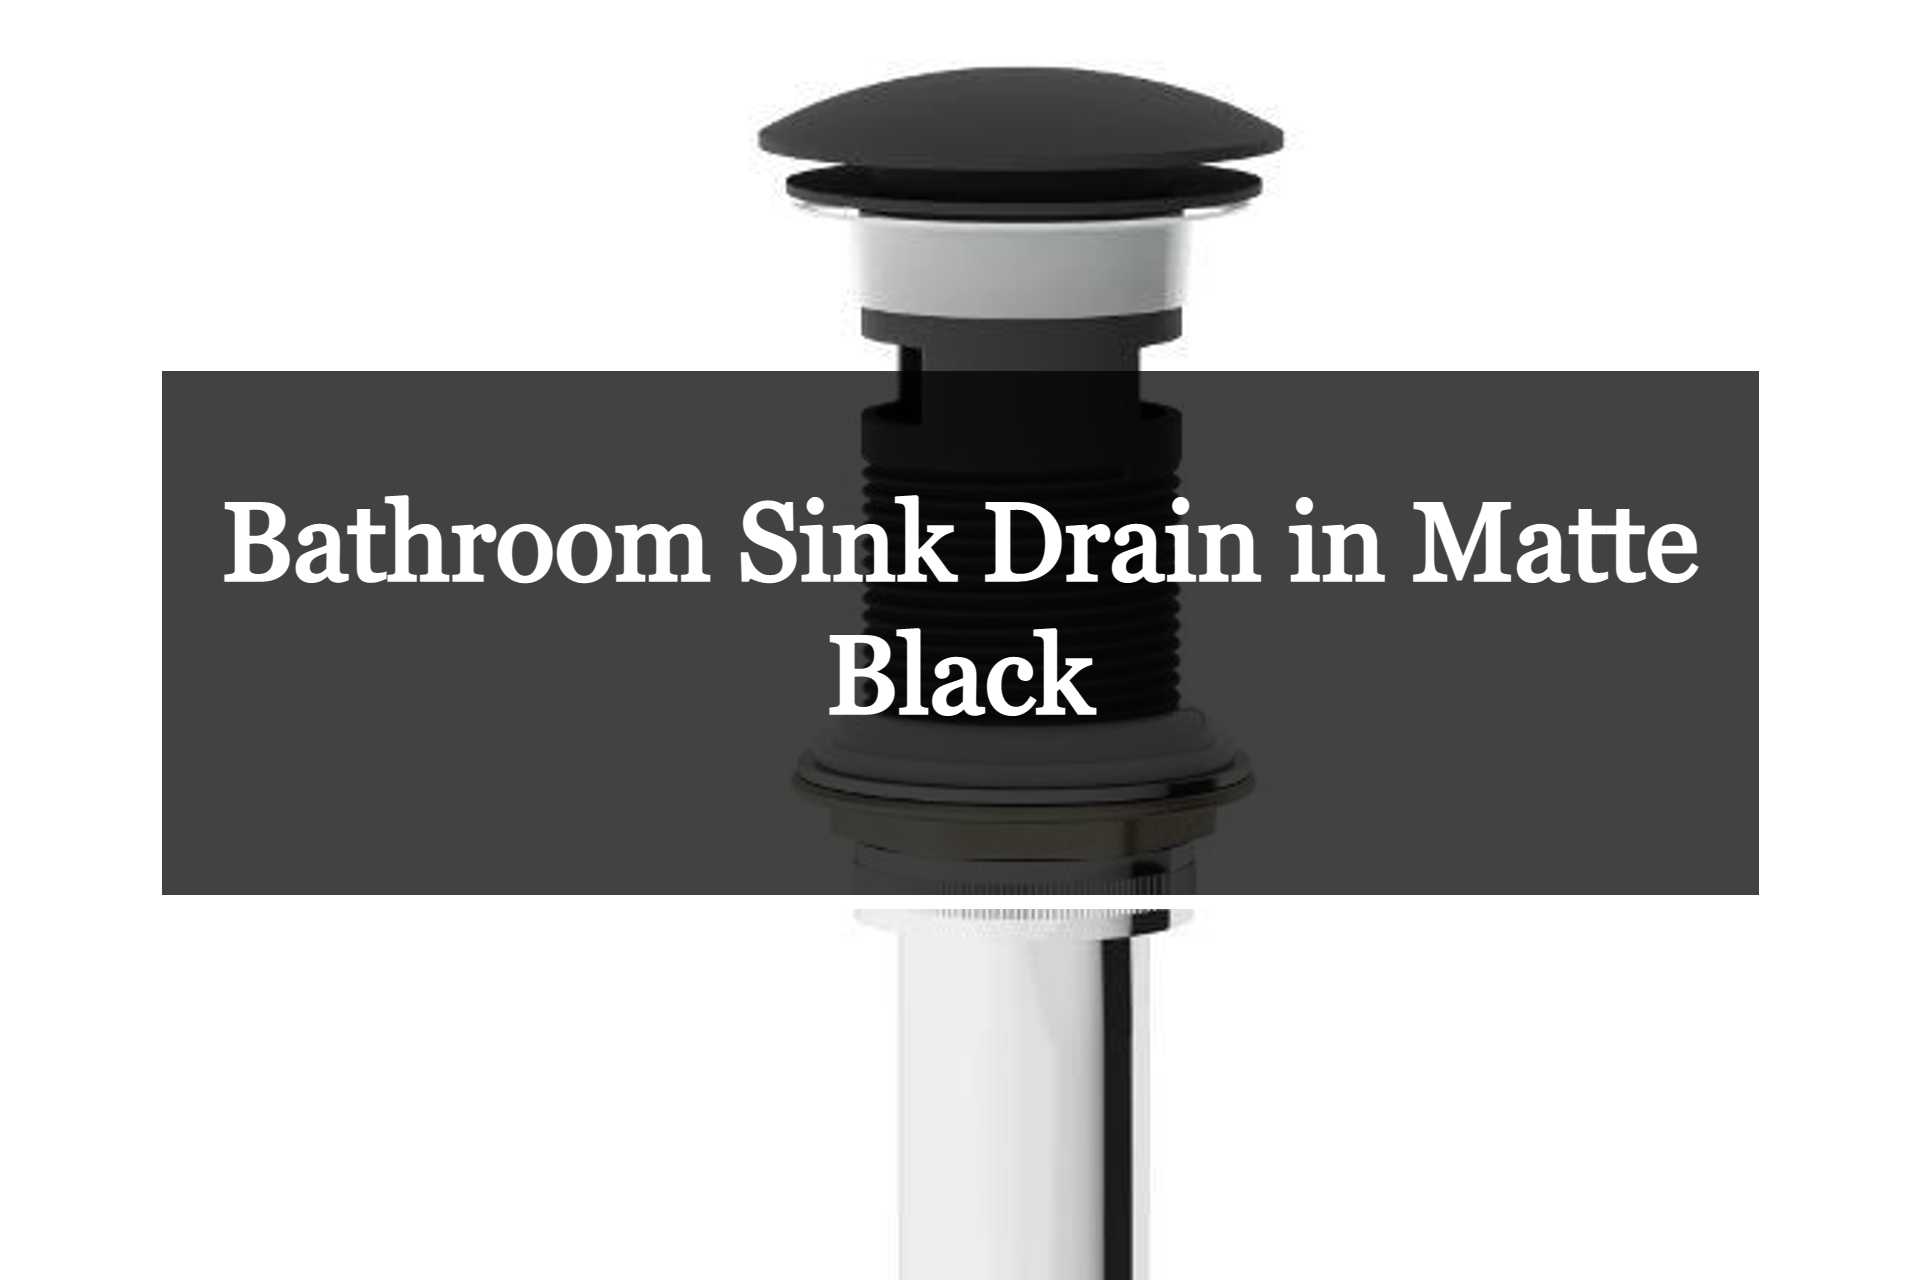
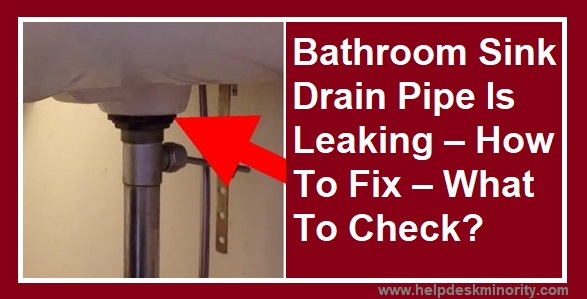
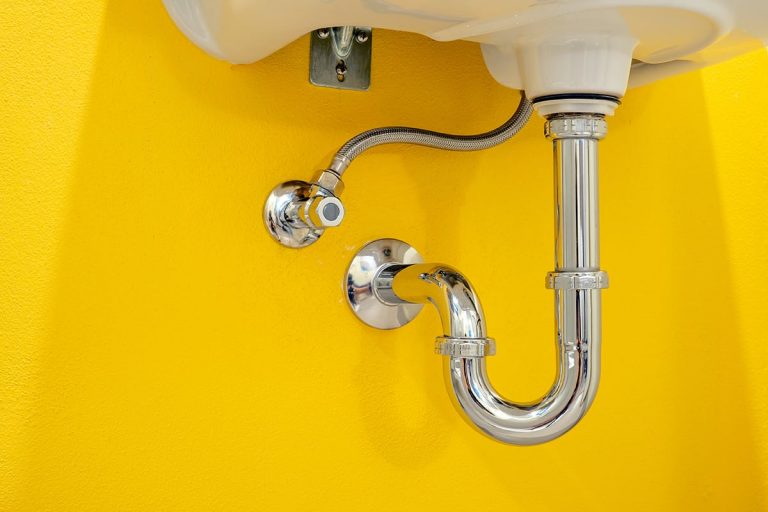
Step 1: Prepare the workspace. Clear out any items from under the sink and place a bucket underneath the drain to catch any water. Step 2: Locate the set screw. Look for a small screw on the side of the drain, near the bottom. Use a flathead screwdriver to loosen and remove the screw. Step 3: Remove the stopper. If your sink has a lift rod or pull knob, gently remove it and set it aside. Then, pull the stopper up and out of the sink. Step 4: Loosen the nut. With the pliers, grip the nut located underneath the sink and turn it counterclockwise to loosen it. You may need to use a little force to break it loose. Step 5: Remove the nut and gasket. Once the nut is loose, you can remove it by hand. Set aside the gasket and make sure to keep track of it for reinstallation. Step 6: Use a drain removal tool (if available). If you have a Delta sink drain removal tool, use it to unscrew the drain from the sink. This tool is specifically designed to fit Delta bathroom sink drains. Step 7: If no removal tool is available, use pliers. If you don't have a drain removal tool, you can use pliers to grip the drain and twist it counterclockwise to remove it. Step 8: Clean the area. Once the drain is removed, use a rag or paper towel to clean any debris or buildup from the area. Step 9: Inspect the drain. Take a look at the drain and make sure there are no cracks or damage. If there is, you may need to replace it before reinstalling. Step 10: Reinstall the drain. Follow the steps in reverse order to reinstall the drain. Make sure the gasket is in place and the nut is tightened securely. Step-by-Step Guide for Removing a Delta Bathroom Sink Drain
Removing a Delta bathroom sink drain is a simple DIY project that can save you time and money. With the right tools and following the steps outlined above, you can easily tackle this project on your own. DIY Delta Bathroom Sink Drain Removal
Here are a few tips and tricks to keep in mind when removing a Delta bathroom sink drain: Tip 1: Use a drain removal tool if available for easier removal. Tip 2: Place a rag or paper towel over the drain opening to prevent small parts from falling down the drain. Tip 3: If the drain is difficult to remove, try using a lubricant such as WD-40 to help loosen it. Removing a Delta Bathroom Sink Drain: Tips and Tricks
Here is a list of the tools you will need to remove a Delta bathroom sink drain: Bold: Pliers, flathead screwdriver, bucket, Delta sink drain removal tool (if available) Tools Needed for Removing a Delta Bathroom Sink Drain
Here are a few common mistakes to avoid when removing a Delta bathroom sink drain: Bold: Forgetting to turn off the water supply before starting the project. Bold: Not having the necessary tools and materials ready before starting. Bold: Using excessive force and damaging the sink or drain. Common Mistakes to Avoid When Removing a Delta Bathroom Sink Drain
If you encounter any issues while removing a Delta bathroom sink drain, here are a few troubleshooting tips: Tip 1: If the drain is stuck or difficult to remove, try using a lubricant to help loosen it. Tip 2: If the drain is damaged or cracked, you may need to replace it before reinstalling. Tip 3: If you are unable to remove the drain, it may be best to call a professional plumber for assistance. Troubleshooting: Issues with Removing a Delta Bathroom Sink Drain
While removing a Delta bathroom sink drain may seem like a simple DIY project, sometimes it's best to leave it to the professionals. If you encounter any issues or are unsure of how to proceed, it's always a good idea to call a plumber for help. Professional vs. DIY: Removing a Delta Bathroom Sink Drain
When working on any DIY project, it's important to prioritize safety. Here are a few safety precautions to keep in mind when removing a Delta bathroom sink drain: Italic: Always turn off the water supply before starting the project. Italic: Use caution when using tools and avoid using excessive force. Italic: If you encounter any issues, seek professional help. Safety Precautions for Removing a Delta Bathroom Sink Drain
Why Removing a Delta Bathroom Sink Drain is Essential for a More Functional and Aesthetic Bathroom

The Importance of Drain Maintenance in a Bathroom
 The bathroom sink is an essential part of any bathroom. It is where we wash our hands, brush our teeth, and perform other daily hygiene tasks. However, if the bathroom sink drain is not functioning properly, it can cause major inconvenience and even lead to more significant problems in the long run. That's why regular maintenance of the bathroom sink drain is crucial in keeping your bathroom functional and aesthetically pleasing.
The Benefits of Using a Delta Bathroom Sink Drain
 Delta is a trusted brand when it comes to bathroom fixtures, and their sink drains are no exception. They are known for their durability, functionality, and sleek design. However, even the best-quality drains can get clogged and worn out over time due to constant use. This is why knowing how to remove a Delta bathroom sink drain is essential in keeping your bathroom in top condition.
Step-by-Step Guide on Removing a Delta Bathroom Sink Drain
 Before starting the process, make sure to have the necessary tools such as pliers, a screwdriver, and a bucket to catch any water that may spill out. First, locate the drain stopper and unscrew it from the drain. Then, use the pliers to remove the retaining nut that holds the drain in place. Once the nut is removed, you can pull the drain out of the sink. Make sure to clean any debris or buildup that may have accumulated in the drain before reinstalling it.
The Benefits of a Clean and Functional Bathroom Sink Drain
 By regularly removing and cleaning your Delta bathroom sink drain, you can prevent clogs and keep the water flowing smoothly. This not only saves you from the hassle of dealing with a clogged sink but also helps maintain the overall cleanliness and hygiene of your bathroom. Additionally, a functional drain can prevent water from pooling in the sink, which can lead to discoloration and damage to the sink's surface.
Conclusion
 In conclusion, removing a Delta bathroom sink drain is essential for maintaining a functional and aesthetically pleasing bathroom. By following the simple steps outlined in this guide, you can easily remove and clean your drain, ensuring its longevity and preventing any potential issues in the future. Remember to regularly perform this maintenance task to enjoy a clean and efficient bathroom sink for years to come.




:max_bytes(150000):strip_icc()/bathroom-sink-drain-installation-2718843-02-61e5ecbee1e949be8d8f45ac4f5a6797.jpg)
