Removing a kitchen sink may seem like a daunting task, but with the right tools and knowledge, it can be a simple and straightforward process. Whether you're renovating your kitchen or replacing a damaged sink, knowing how to properly remove it is essential. In this article, we'll guide you through the steps of removing a kitchen sink, so you can tackle this project with confidence.How to Remove a Kitchen Sink


How to Remove a Kitchen Sink


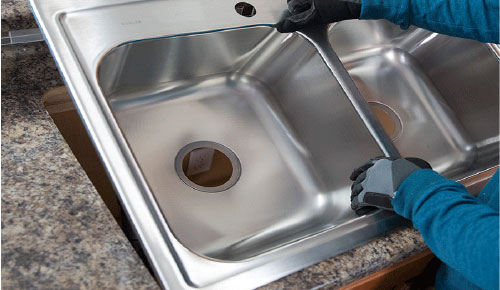
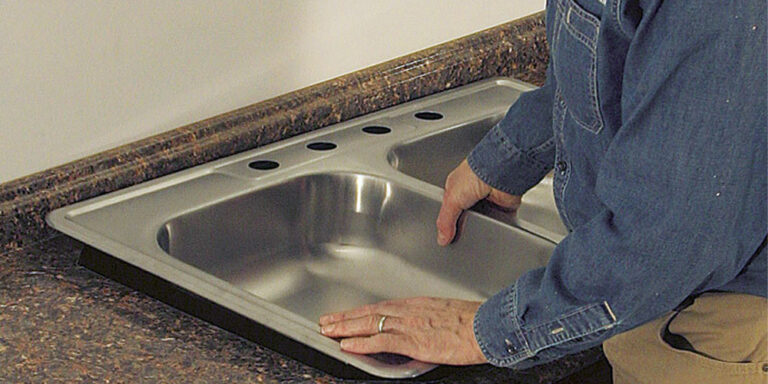
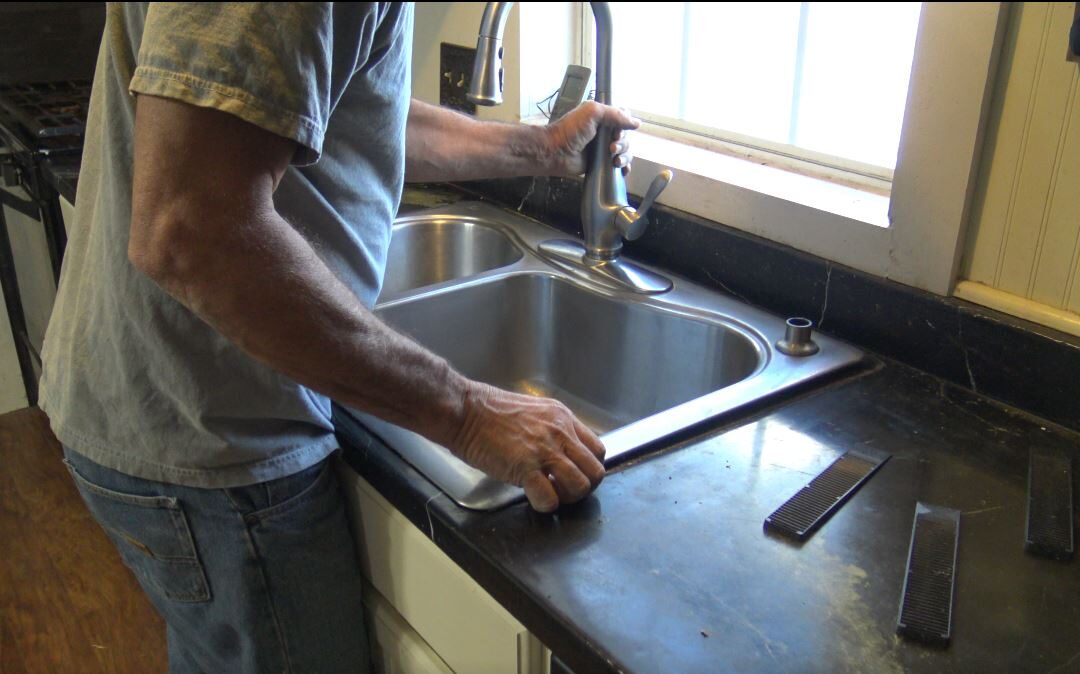
Before you begin, make sure to turn off the water supply to the sink. You can typically do this by turning off the valves located under the sink. Once the water is turned off, follow these steps to remove a kitchen sink: Step 1: Clear the Area Before you start removing the sink, clear out any items from the area, including dishes, cleaning supplies, and clutter. This will make it easier to work and prevent any damage to your belongings during the process. Step 2: Disconnect the Plumbing Using a wrench, loosen the nuts connecting the drain pipes to the sink. Place a bucket or container underneath to catch any water that may spill out. Once the pipes are disconnected, remove them from the sink and set them aside. Step 3: Loosen the Sink Clips Most kitchen sinks are held in place by clips that are attached to the countertop. Use a screwdriver to loosen these clips and remove them from the sink. If your sink doesn't have clips, it may be attached with adhesive caulk, in which case you will need to carefully pry it off the countertop. Step 4: Remove the Sink With the clips and plumbing disconnected, the sink should now be free to be removed. Carefully lift the sink up and out of the countertop. If the sink is attached with caulk, use a putty knife to gently pry it off. Step 5: Clean the Area Once the sink is removed, clean the area where it was installed. Remove any remaining caulk or debris and wipe down the countertop to prepare it for the new sink installation.Removing a Kitchen Sink: A Step-by-Step Guide


Removing a Kitchen Sink: A Step-by-Step Guide


If you're feeling handy, removing a kitchen sink can be a DIY project. However, it's important to note that if you're not confident in your abilities, it's best to hire a professional. Here are some tips to keep in mind if you're attempting to remove a kitchen sink on your own: Tip 1: Use the Right Tools Having the right tools for the job is crucial when it comes to removing a kitchen sink. Make sure to have a wrench, screwdriver, pliers, and a putty knife on hand. This will make the process much smoother and prevent any potential damage to your sink or countertop. Tip 2: Follow Safety Precautions Make sure to turn off the water supply and unplug any electrical connections before starting the removal process. Safety should always be a top priority when working with plumbing. Tip 3: Take Your Time Removing a kitchen sink requires patience and attention to detail. Rushing through the process can lead to mistakes and potential damage. Take your time and follow the steps carefully to ensure a successful removal.DIY: Removing a Kitchen Sink


DIY: Removing a Kitchen Sink


Here are some additional tips and tricks to keep in mind when removing a kitchen sink: Tip 1: Have a Plan for the Old Sink Before removing the sink, make sure you have a plan for what you will do with it. If it's in good condition, you may be able to sell or donate it. If it's damaged, you will need to dispose of it properly. Tip 2: Have a Helper Removing a kitchen sink can be a two-person job, especially if it's a larger sink or if you're dealing with a heavier material like cast iron. Having a helper can make the process much easier and safer. Tip 3: Consider Hiring a Professional If you're not confident in your abilities or if you're dealing with a complex sink installation, it may be best to hire a professional. This will ensure the job is done correctly and save you time and potential frustration.Removing a Kitchen Sink: Tips and Tricks

Removing a Kitchen Sink: Tips and Tricks


When it comes to removing a kitchen sink, there is no one "right" way to do it. The best method will depend on the type of sink and how it is attached to the countertop. However, following the steps outlined in this article will help you safely and effectively remove your kitchen sink.The Best Way to Remove a Kitchen Sink


The Best Way to Remove a Kitchen Sink


While removing a kitchen sink may seem like a simple task, there are some common mistakes that can happen. Avoid these missteps to ensure a smooth and successful removal process: Mistake 1: Not Turning Off the Water Supply Forgetting to turn off the water supply can lead to a mess and potential damage to your plumbing. Always make sure to shut off the water before starting any work on your sink. Mistake 2: Forgetting to Disconnect the Plumbing Attempting to remove a sink while the plumbing is still connected can lead to frustration and potential damage. Make sure to disconnect all plumbing before attempting to remove the sink. Mistake 3: Rushing Through the Process Removing a kitchen sink takes time and patience. Rushing through the process can lead to mistakes and potential damage. Take your time and follow the steps carefully for a successful removal.Removing a Kitchen Sink: Common Mistakes to Avoid


Removing a Kitchen Sink: Common Mistakes to Avoid


To help you visualize the process, here is a step-by-step guide for removing a kitchen sink: Step 1: Clear the area. Step 2: Disconnect the plumbing. Step 3: Loosen the sink clips. Step 4: Remove the sink. Step 5: Clean the area.Step-by-Step Guide for Removing a Kitchen Sink


Step-by-Step Guide for Removing a Kitchen Sink


To successfully remove a kitchen sink, you will need the following tools: 1. Wrench 2. Screwdriver 3. Pliers 4. Putty KnifeRemoving a Kitchen Sink: Tools You'll Need


Removing a Kitchen Sink: Tools You'll Need

To ensure a successful removal, make sure to follow these tips: 1. Turn off the water supply before starting. 2. Disconnect all plumbing before attempting to remove the sink. 3. Have a plan for the old sink. 4. Consider hiring a professional if you're unsure of your abilities.How to Properly Remove a Kitchen Sink


How to Properly Remove a Kitchen Sink


Before attempting to remove a kitchen sink, here are some important things to keep in mind: 1. Different sinks may require different removal methods. 2. Safety should always be a top priority when working with plumbing. 3. Rushing through the process can lead to mistakes and potential damage. Now that you know the steps and tips for removing a kitchen sink, you can confidently tackle this project on your own. Remember to take your time, use the right tools, and follow safety precautions for a successful and stress-free removal process.Removing a Kitchen Sink: What You Need to Know


Removing a Kitchen Sink: What You Need to Know


Why Removing a Kitchen Sink is Essential for House Design

The Importance of Kitchen Sinks in House Design
 When it comes to house design, the kitchen is often considered the heart of the home. It is a space where families and friends gather to cook, eat, and socialize. The kitchen sink is an essential feature of this space, serving as the main point for food preparation and dishwashing. However, there may come a time when removing the kitchen sink is necessary, whether it's due to a renovation or plumbing issues. While some may see this as a daunting task, it is actually a crucial step in creating a functional and aesthetically pleasing kitchen.
Creating More Space
 One of the main reasons for removing a kitchen sink is to create more space. A cluttered and cramped kitchen can be a source of frustration and hinder the overall flow of the space. By removing the sink, you can open up the area and make room for other features such as a kitchen island or additional cabinets. This can not only improve the functionality of the kitchen but also create a more visually appealing and spacious environment.
Upgrading the Sink
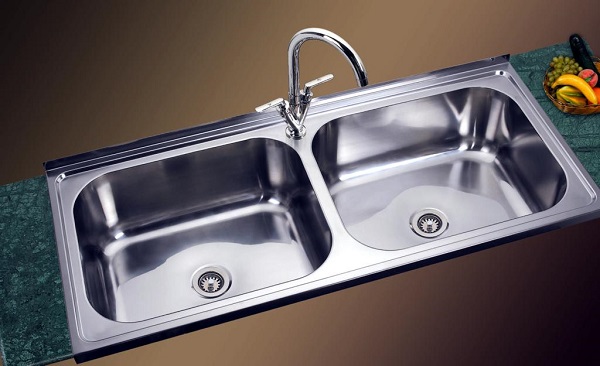
 Another reason for removing a kitchen sink is to upgrade to a new and improved model. Over time, sinks can become outdated and worn out, leading to leaks and other plumbing problems. By replacing the old sink with a new one, you can improve the functionality and aesthetics of your kitchen. This can also be a great opportunity to switch to a larger or more modern sink, providing you with more space and convenience for daily tasks.
Better Design and Layout
 Removing a kitchen sink also offers the opportunity to rethink and improve the overall design and layout of the kitchen. With the sink no longer taking up space, you can rearrange the layout to create a more efficient and practical workspace. This could mean moving the sink to a different location or even adding a second sink for added convenience. By carefully planning and designing the new layout, you can create a kitchen that is not only beautiful but also functional.
Final Thoughts
 In conclusion, removing a kitchen sink may seem like a daunting task, but it is an essential step in creating a well-designed and functional kitchen. It allows for more space, upgrades to a better sink, and the opportunity to improve the overall layout and design. So, whether you are renovating your kitchen or simply looking to upgrade your sink, don't be afraid to take the plunge and remove your old kitchen sink for a better and more efficient space.