Are you tired of looking at your old, stained, and scratched white solid surface kitchen sink? It's time to give it a facelift and bring back its shine. Rehabbing a white solid surface kitchen sink is not only a cost-effective way to upgrade your kitchen, but it also adds value to your home. With the right products and techniques, you can easily transform your sink into a beautiful and functional centerpiece. Here are 10 steps to help you achieve a brand new sink that you'll be proud to show off.Rehab a White Solid Surface Kitchen Sink


Rehab a White Solid Surface Kitchen Sink
Before you start the rehab process, you need to gather the necessary tools and materials. You will need a mild abrasive cleaner, a soft sponge, a microfiber cloth, a scrub brush, a white vinegar solution, baking soda, and a polishing compound. These products can be found at your local home improvement store or online. Once you have everything, you can begin the transformation process.How to Rehab a White Solid Surface Kitchen Sink


How to Rehab a White Solid Surface Kitchen Sink
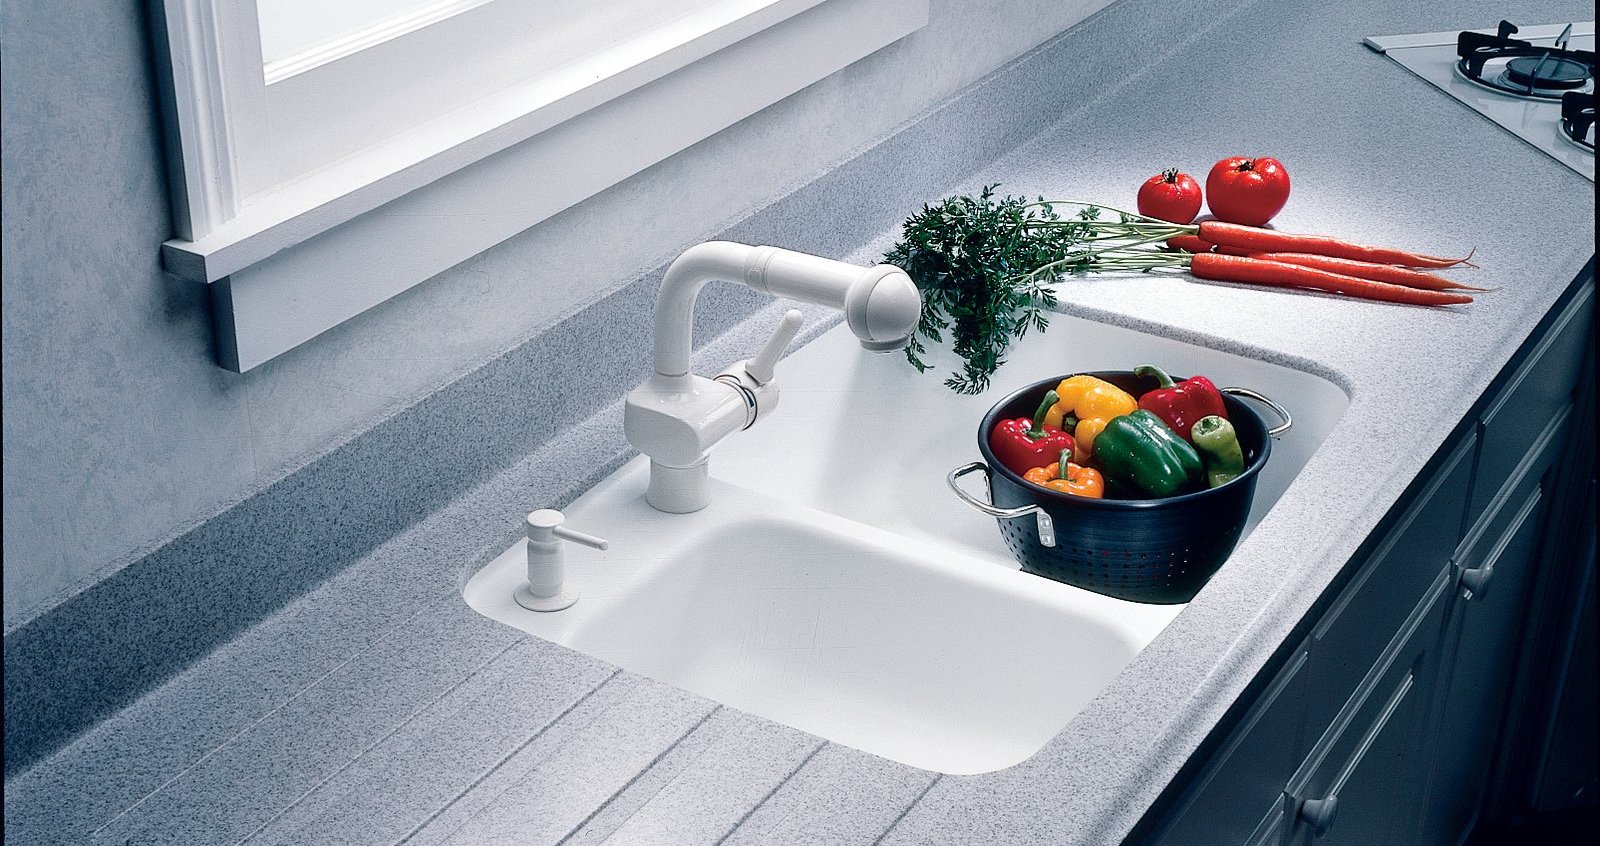
/IMAGE-1-Sink-1-56a4a2d95f9b58b7d0d7f01f.jpg)
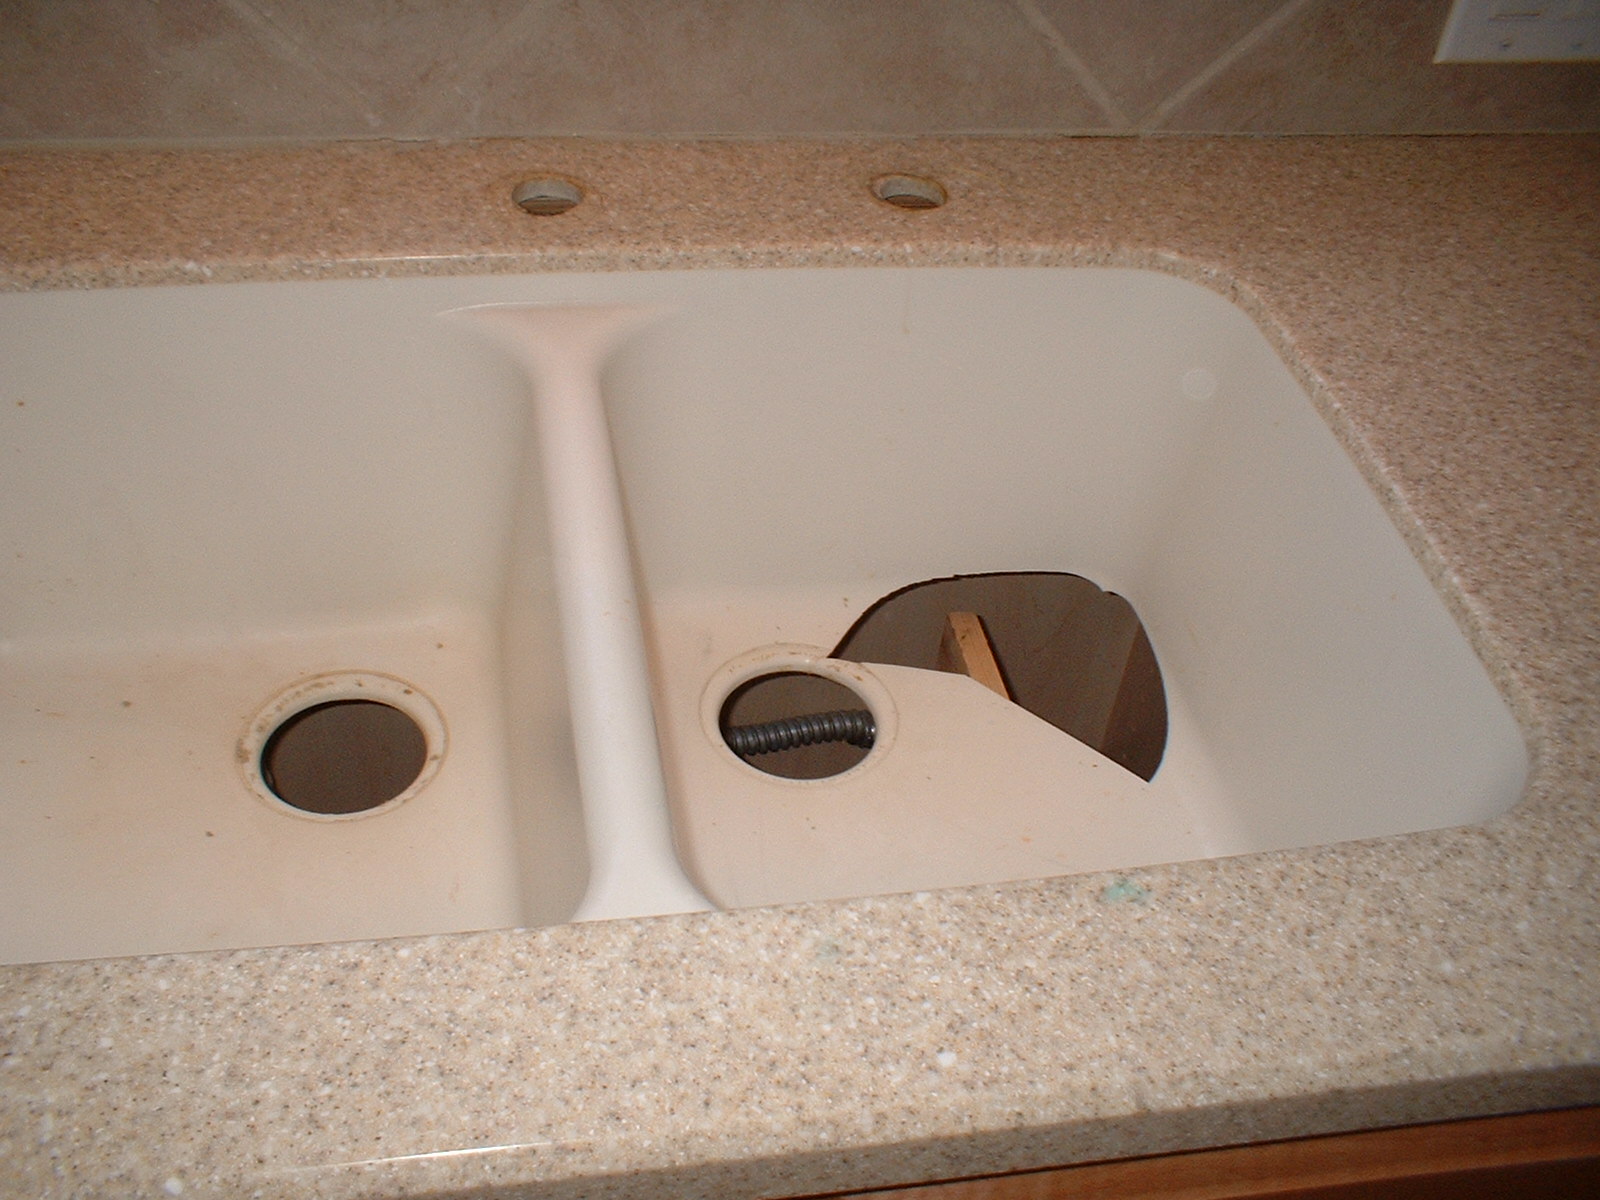
/IMAGE-3-Sink-3-56a4a2d95f9b58b7d0d7f025.jpg)

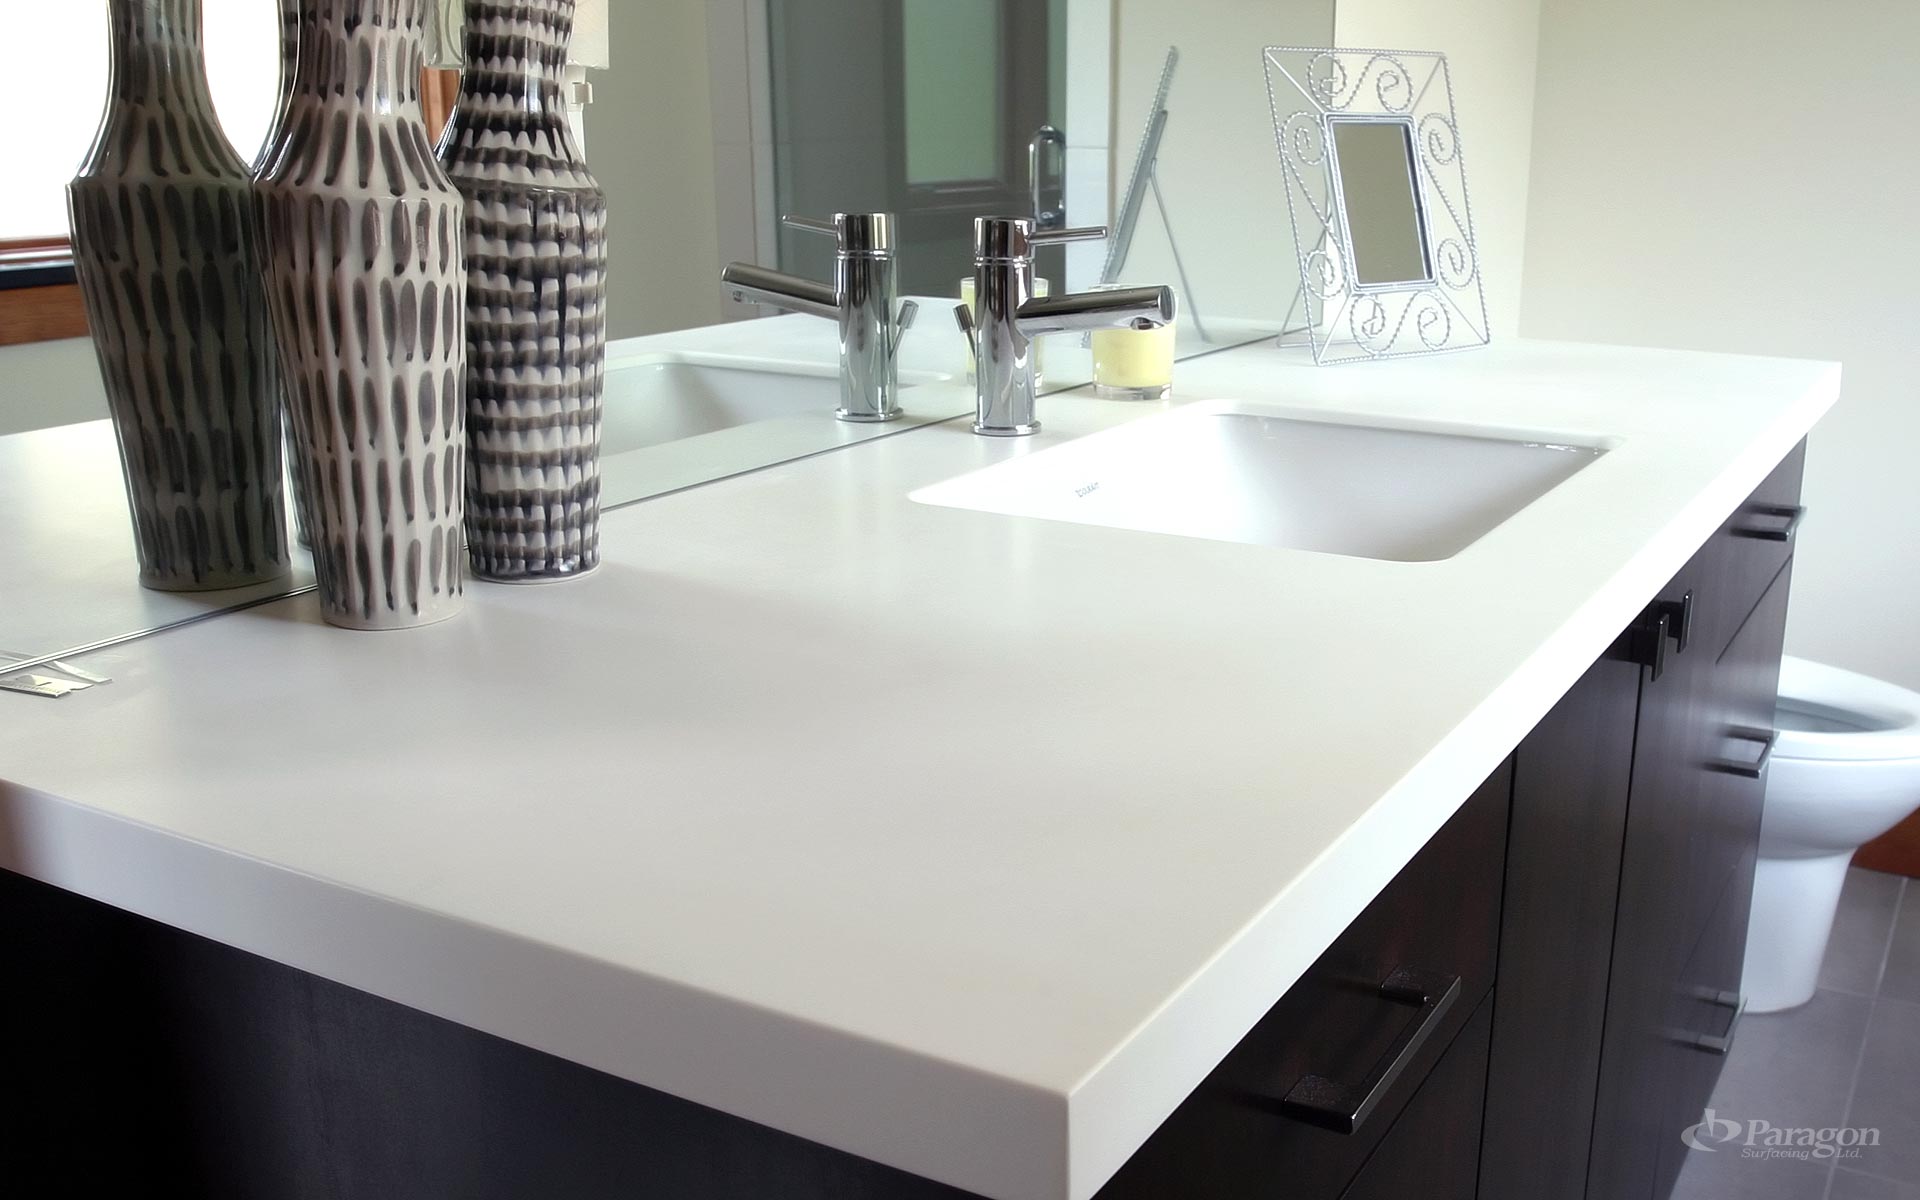
:max_bytes(150000):strip_icc()/IMAGE-9-Finished-Sink-56a4a2db3df78cf772835d5b.jpg)

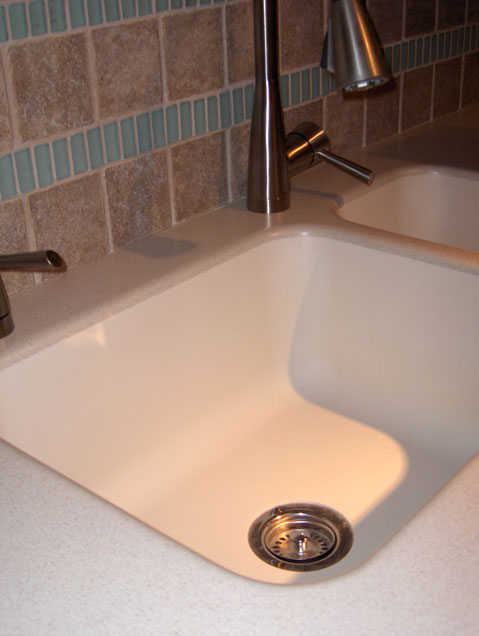
The first step is to clean your sink thoroughly. Use a mild abrasive cleaner and a soft sponge to scrub the surface of the sink. Make sure to clean the entire sink, including the edges and corners. If there are any stubborn stains, use a scrub brush to gently scrub them away. Rinse the sink with water and dry it with a microfiber cloth. Next, create a paste using baking soda and water, and apply it to any scratches or stains on the sink. Let it sit for a few minutes and then scrub it with a soft sponge. The baking soda will help buff out any scratches and remove tough stains. Rinse the sink and dry it with a cloth. If your sink has any hard water deposits or mineral buildup, you can use a solution of white vinegar and water to remove them. Spray the solution on the affected areas and let it sit for a few minutes. Then, scrub the area with a soft sponge and rinse with water. For an extra shine, you can use a polishing compound specifically designed for solid surface sinks. Apply a small amount of the compound on a soft cloth and buff the entire sink. This will give your sink a smooth and glossy finish.Steps to Rehab a White Solid Surface Kitchen Sink


Steps to Rehab a White Solid Surface Kitchen Sink


Rehabbing your sink on your own is not only cost-effective, but it also allows you to have full control over the process. You can choose the products and techniques that work best for your sink and your budget. Plus, the satisfaction of seeing your sink transform before your eyes is unbeatable. With a little bit of time and effort, you can achieve professional-looking results.DIY Rehab for a White Solid Surface Kitchen Sink


DIY Rehab for a White Solid Surface Kitchen Sink


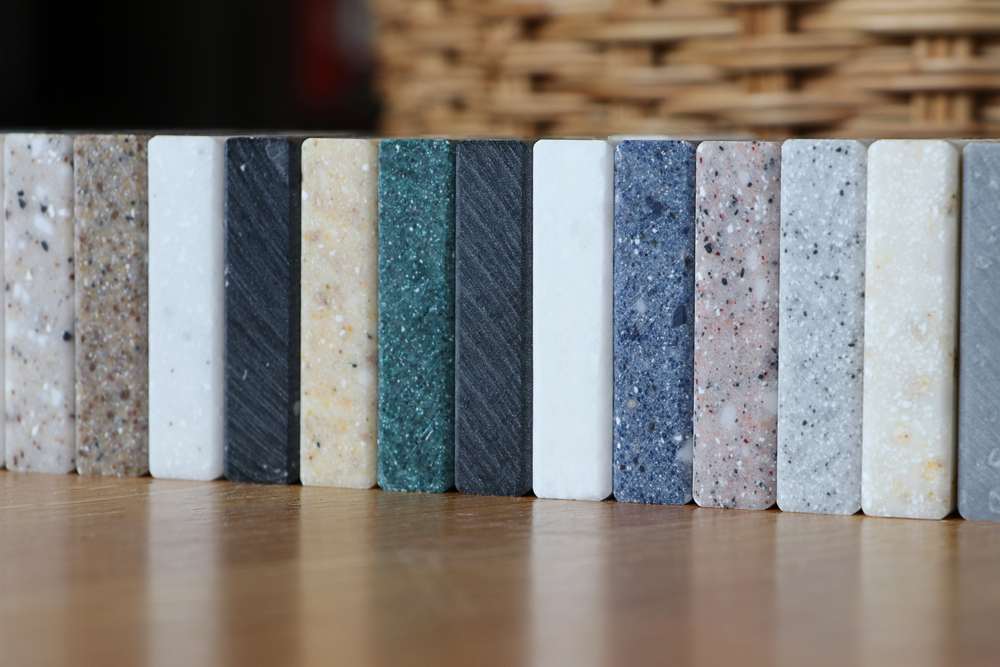
When it comes to rehabbing a white solid surface kitchen sink, it's important to use the right products. You want to avoid harsh chemicals that can damage your sink and opt for mild cleaners and abrasives. White vinegar, baking soda, and a polishing compound are all great options to have on hand. You can also consider investing in a solid surface sink repair kit for any major damages.Best Products for Rehabbing a White Solid Surface Kitchen Sink


Best Products for Rehabbing a White Solid Surface Kitchen Sink


Here are some tips to keep in mind when rehabbing your white solid surface kitchen sink:Tips for Rehabbing a White Solid Surface Kitchen Sink


Tips for Rehabbing a White Solid Surface Kitchen Sink


Rehabbing a white solid surface kitchen sink doesn't have to break the bank. With a little bit of research and DIY skills, you can save money while achieving great results. Opt for affordable products and techniques, such as using baking soda and vinegar, to clean and restore your sink. You can also consider purchasing a solid surface sink repair kit to fix any damages instead of hiring a professional.Cost-effective Ways to Rehab a White Solid Surface Kitchen Sink


Cost-effective Ways to Rehab a White Solid Surface Kitchen Sink

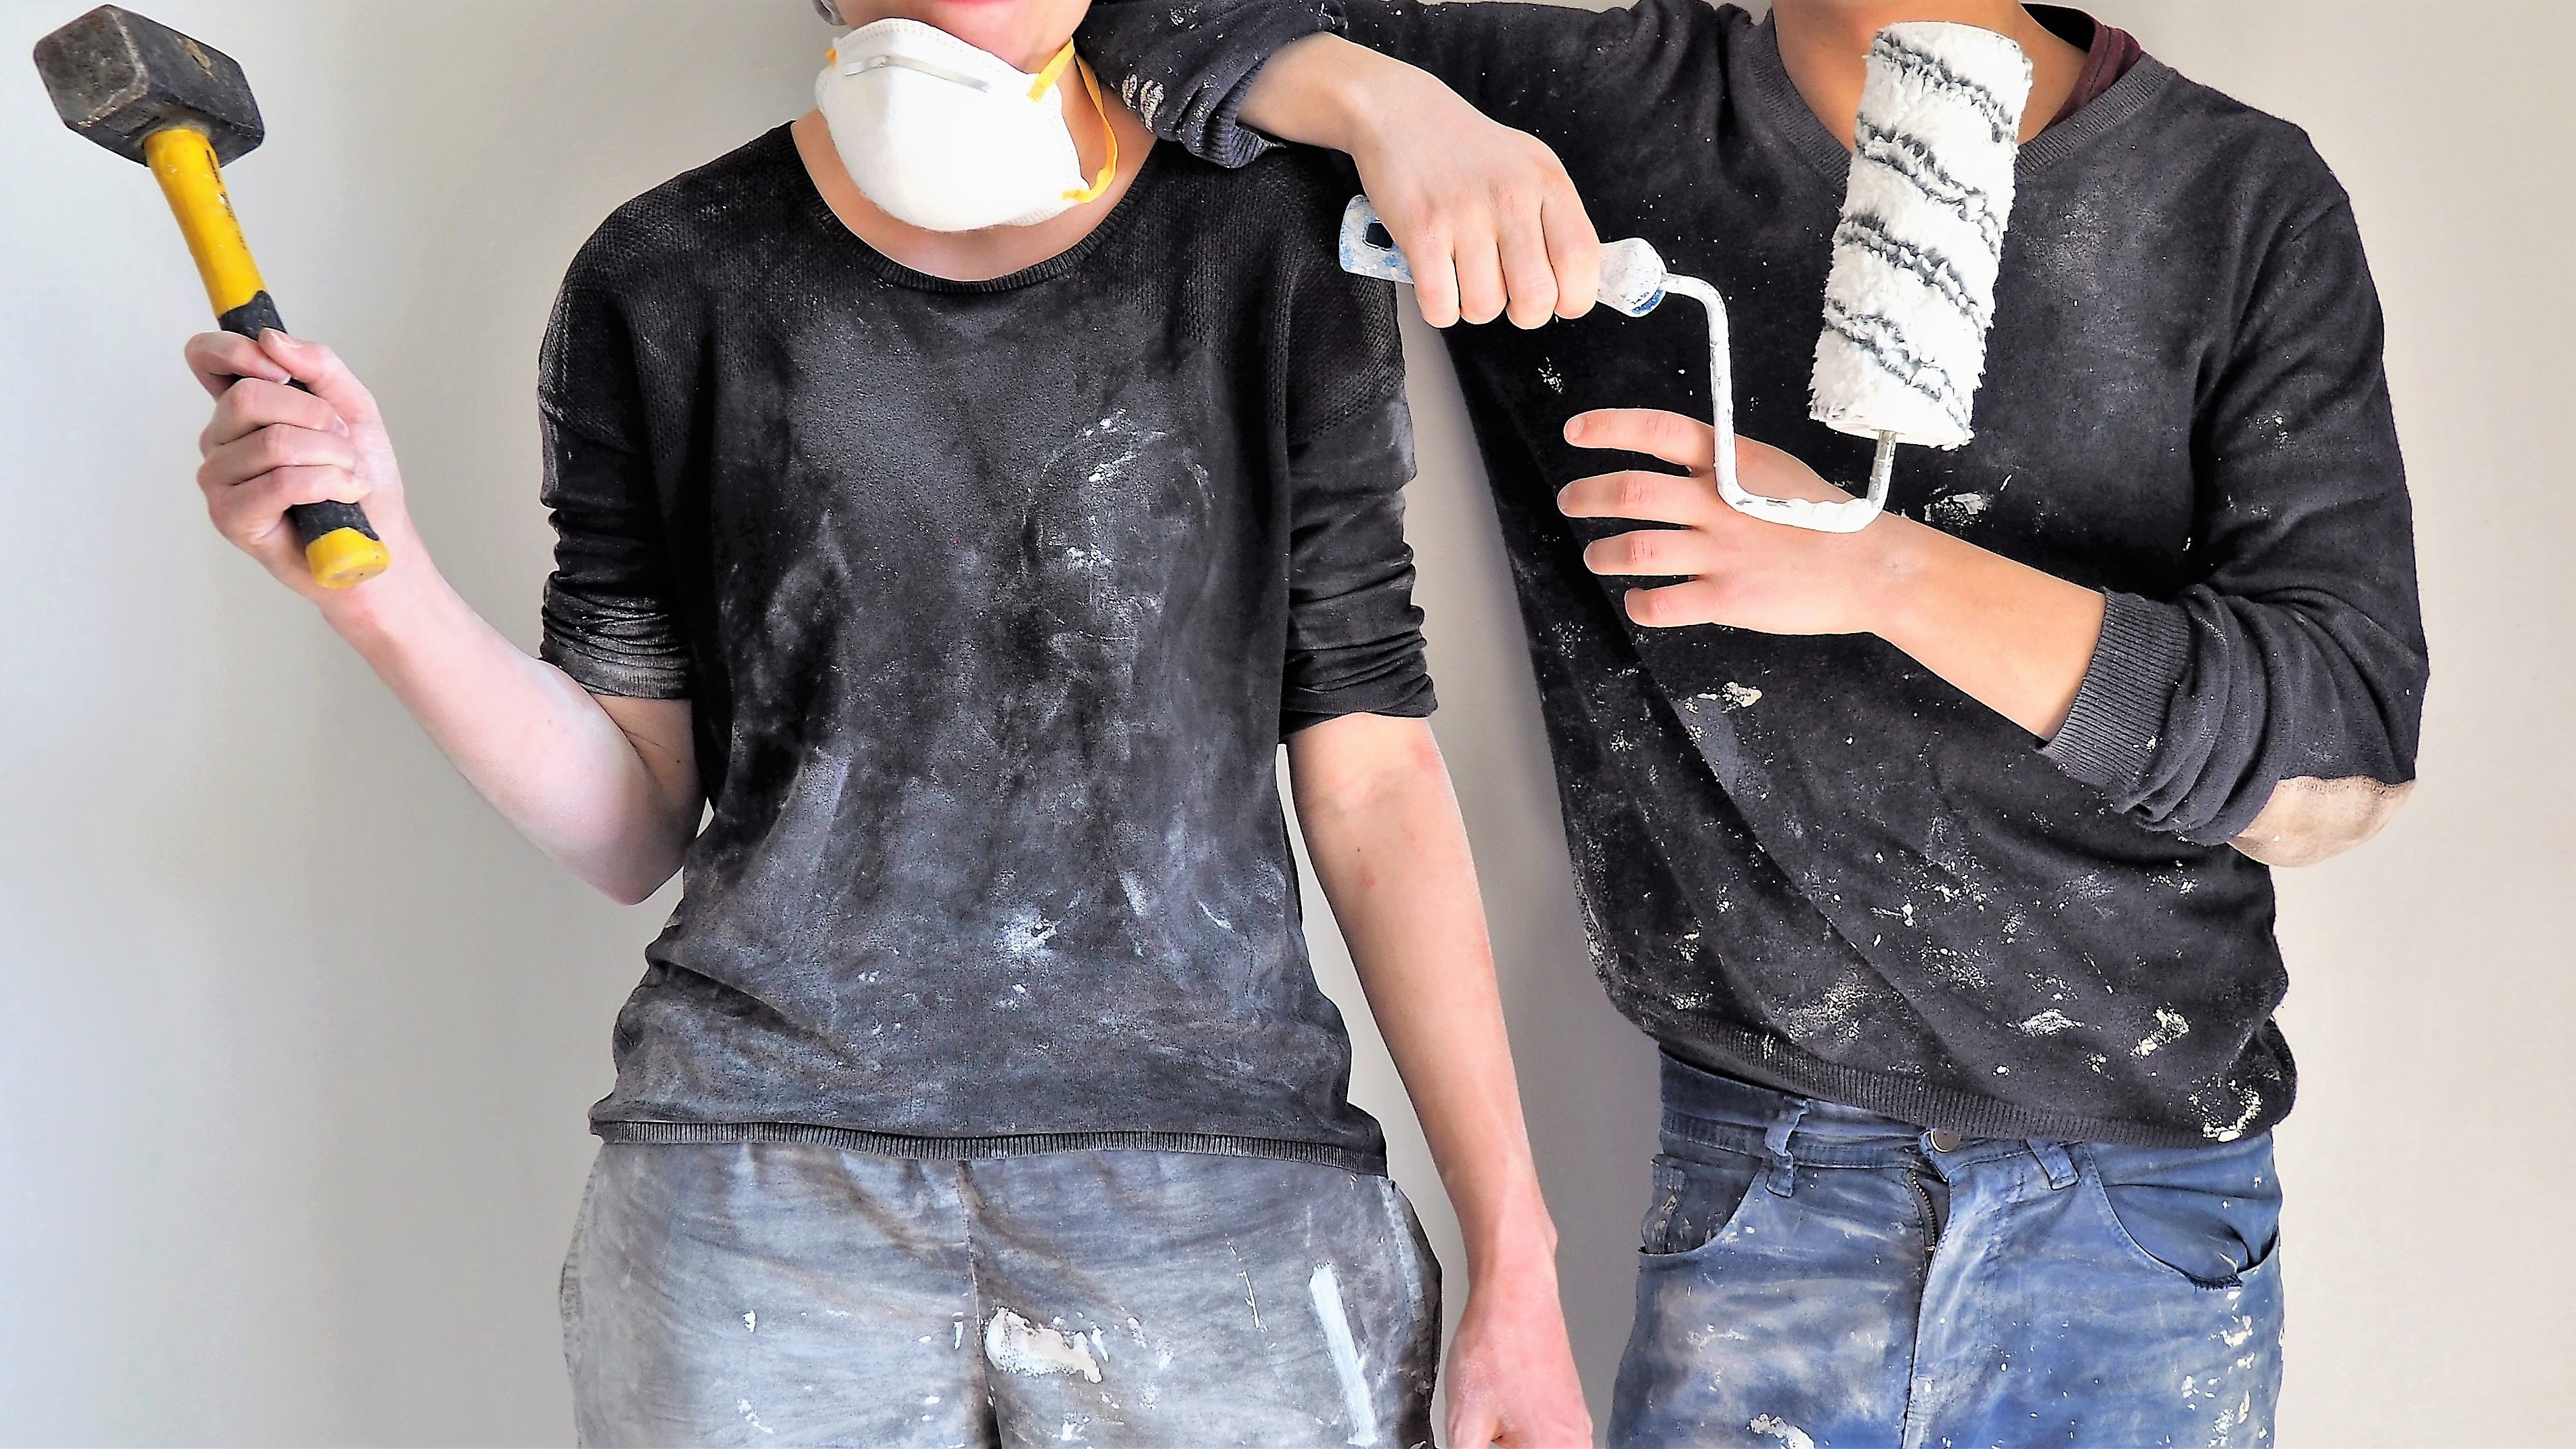
If you're not confident in your DIY skills or your sink requires major repairs, you can always hire a professional to rehab your white solid surface kitchen sink. They have the knowledge, skills, and tools to ensure your sink looks brand new. However, this option may be more expensive than doing it yourself, so be sure to compare prices and services before making a decision.Professional Services for Rehabbing a White Solid Surface Kitchen Sink


Professional Services for Rehabbing a White Solid Surface Kitchen Sink
While rehabbing a white solid surface kitchen sink may seem like a simple task, there are some common mistakes you'll want to avoid:Common Mistakes to Avoid When Rehabbing a White Solid Surface Kitchen Sink


Common Mistakes to Avoid When Rehabbing a White Solid Surface Kitchen Sink


Once your sink has been rehabbed, it's important to maintain it to keep it looking like new. Here are some tips to help you maintain your newly rehabbed white solid surface kitchen sink:How to Maintain a Rehabbed White Solid Surface Kitchen Sink


How to Maintain a Rehabbed White Solid Surface Kitchen Sink
How to Rehab a White Solid Surface Kitchen Sink
Introduction
 A kitchen sink is one of the most used and essential parts of a kitchen. It is where we wash our dishes, prep our food, and even fill up our glasses with water. Over time, our kitchen sinks can start to look dull and worn out, especially if it is a white solid surface sink. But before you decide to replace it, there are ways to rehab your white solid surface kitchen sink and make it look brand new again. In this article, we will guide you through the steps of rehabilitating your white solid surface kitchen sink and give it a fresh and sleek look that will enhance the overall design of your kitchen.
Step 1: Clean the Sink
 The first step in rehabbing your white solid surface kitchen sink is to clean it thoroughly. Use a gentle cleanser or a mixture of baking soda and water to scrub away any stains, dirt, and grime that have accumulated over time. Be sure to rinse the sink thoroughly and dry it with a soft cloth.
Step 2: Sand the Surface
 After cleaning the sink, the next step is to sand the surface to remove any scratches or imperfections. Use a fine-grit sandpaper and gently sand the sink in a circular motion. This will help to smooth out the surface and create a clean canvas for the next step.
Step 3: Apply a White Solid Surface Repair Kit
 Once the surface is sanded, it's time to apply a white solid surface repair kit. These kits are specially designed to repair chips, scratches, and cracks in solid surface sinks. Follow the instructions carefully and apply the repair compound to the damaged areas. Use a plastic scraper to smooth out the compound and let it dry completely.
Step 4: Sand the Repaired Areas
 After the repair compound has dried, use the fine-grit sandpaper again to sand down the repaired areas. This will help to blend the repaired areas with the rest of the sink and create a seamless finish.
Step 5: Buff the Sink
 To bring back the shine of your white solid surface kitchen sink, use a buffing compound and a soft cloth to buff the entire surface. This will give the sink a polished and shiny look, making it look like new again.
Step 6: Seal the Sink
 The final step in rehabbing your white solid surface kitchen sink is to seal it. Apply a sealant designed for solid surface sinks and let it dry completely. This will help to protect the sink from future stains and damage, keeping it looking new for longer.
Conclusion
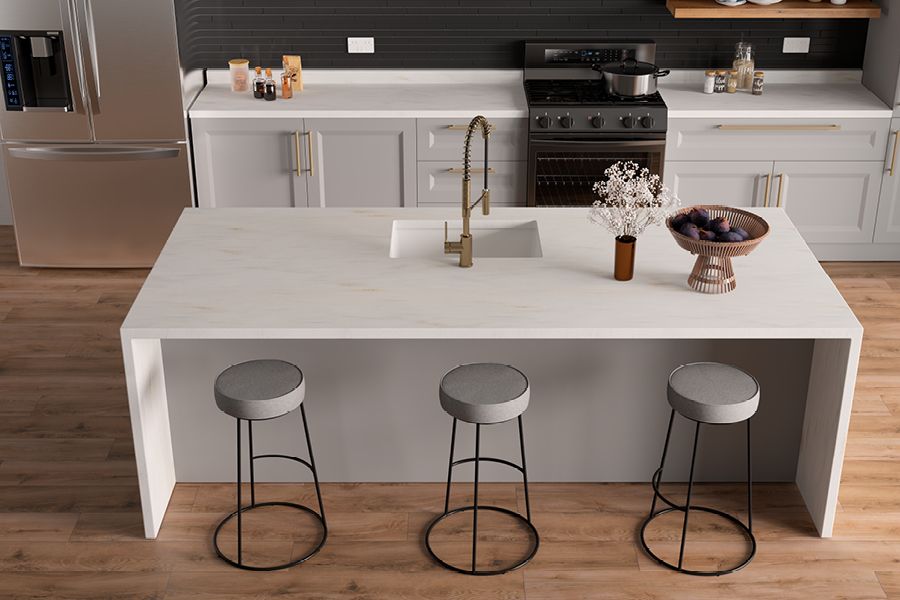
 By following these steps, you can easily rehab your white solid surface kitchen sink and give it a fresh and updated look. Remember to regularly clean and maintain your sink to keep it looking its best. With a little bit of effort, you can transform your worn-out sink into a sleek and elegant focal point in your kitchen.