1. How to Patch a Canvas Air Mattress
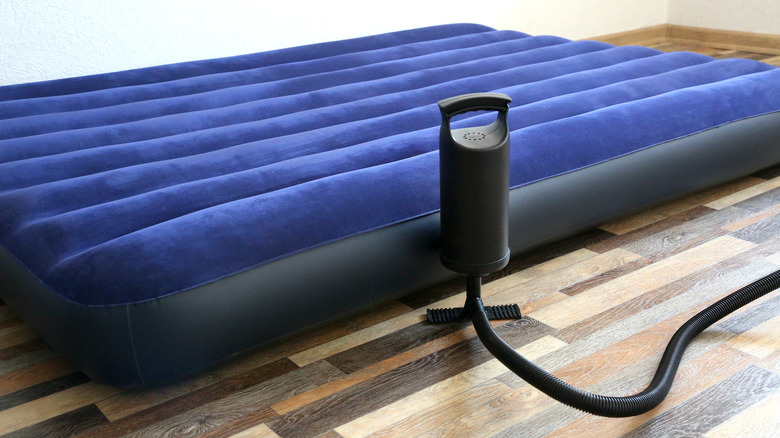
If you're an avid camper or simply a fan of outdoor adventures, chances are you have a canvas air mattress in your gear. While these mattresses are durable and comfortable, they are not immune to holes and tears. However, with the right tools and techniques, you can easily patch up any damage and continue using your air mattress for many more trips to come.
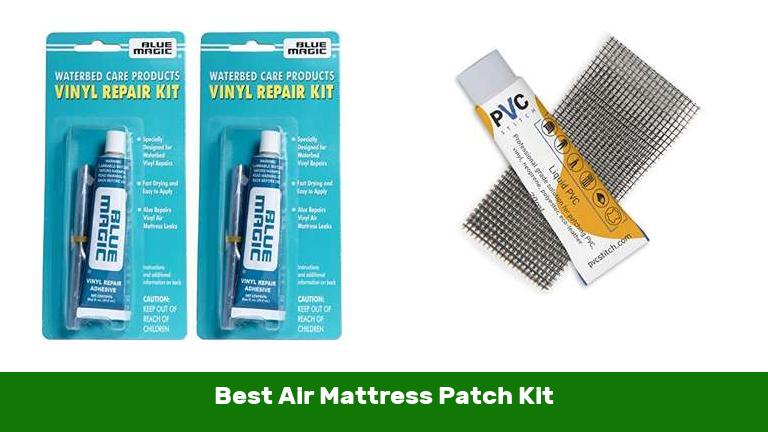
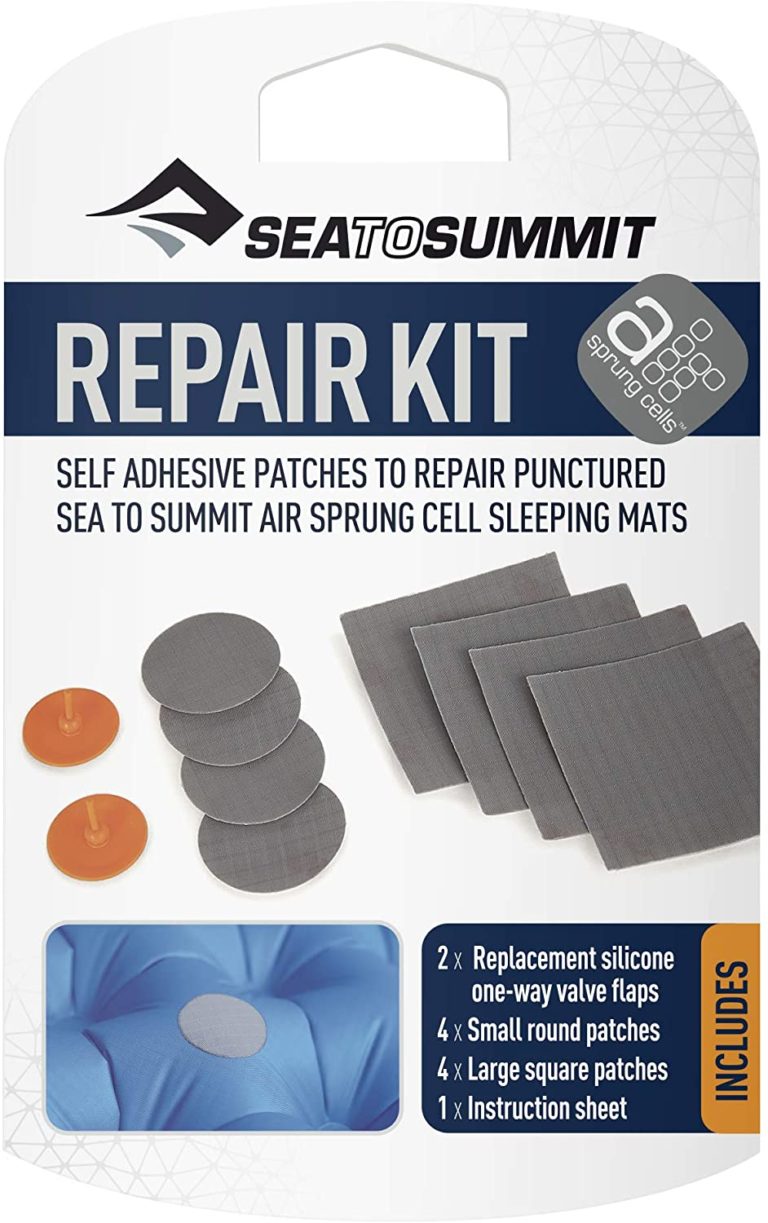
First, you'll need to gather your materials. A canvas air mattress patch kit is essential, which typically includes patches, glue, and a patching tool. You'll also need some rubbing alcohol and a clean cloth to prep the surface of the mattress for patching.
Next, locate the hole or tear on your air mattress. It's best to do this in a well-lit area and to mark the area with a pencil or tape so you can easily find it again.
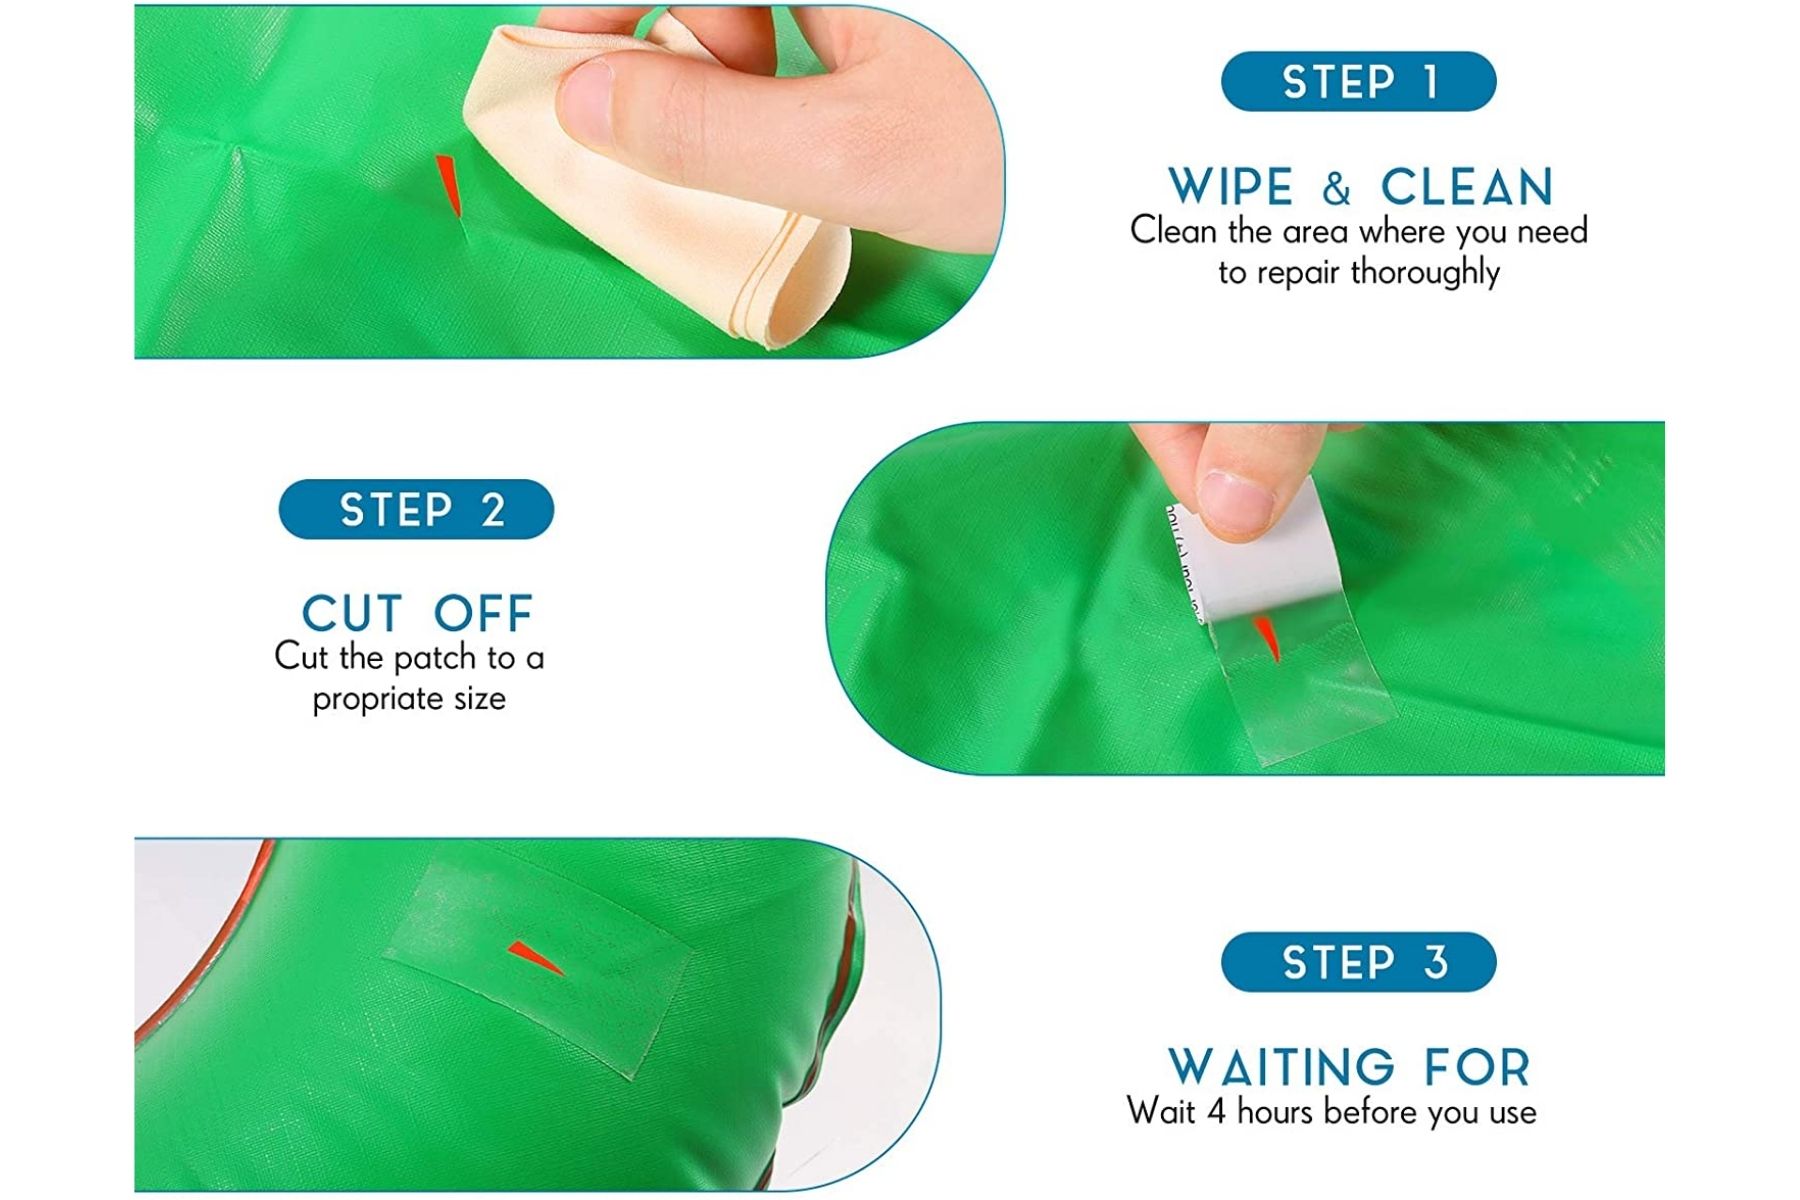
Using the rubbing alcohol and cloth, clean the area around the hole or tear. This will help the patch adhere to the surface better. Let it dry completely before moving on to the next step.
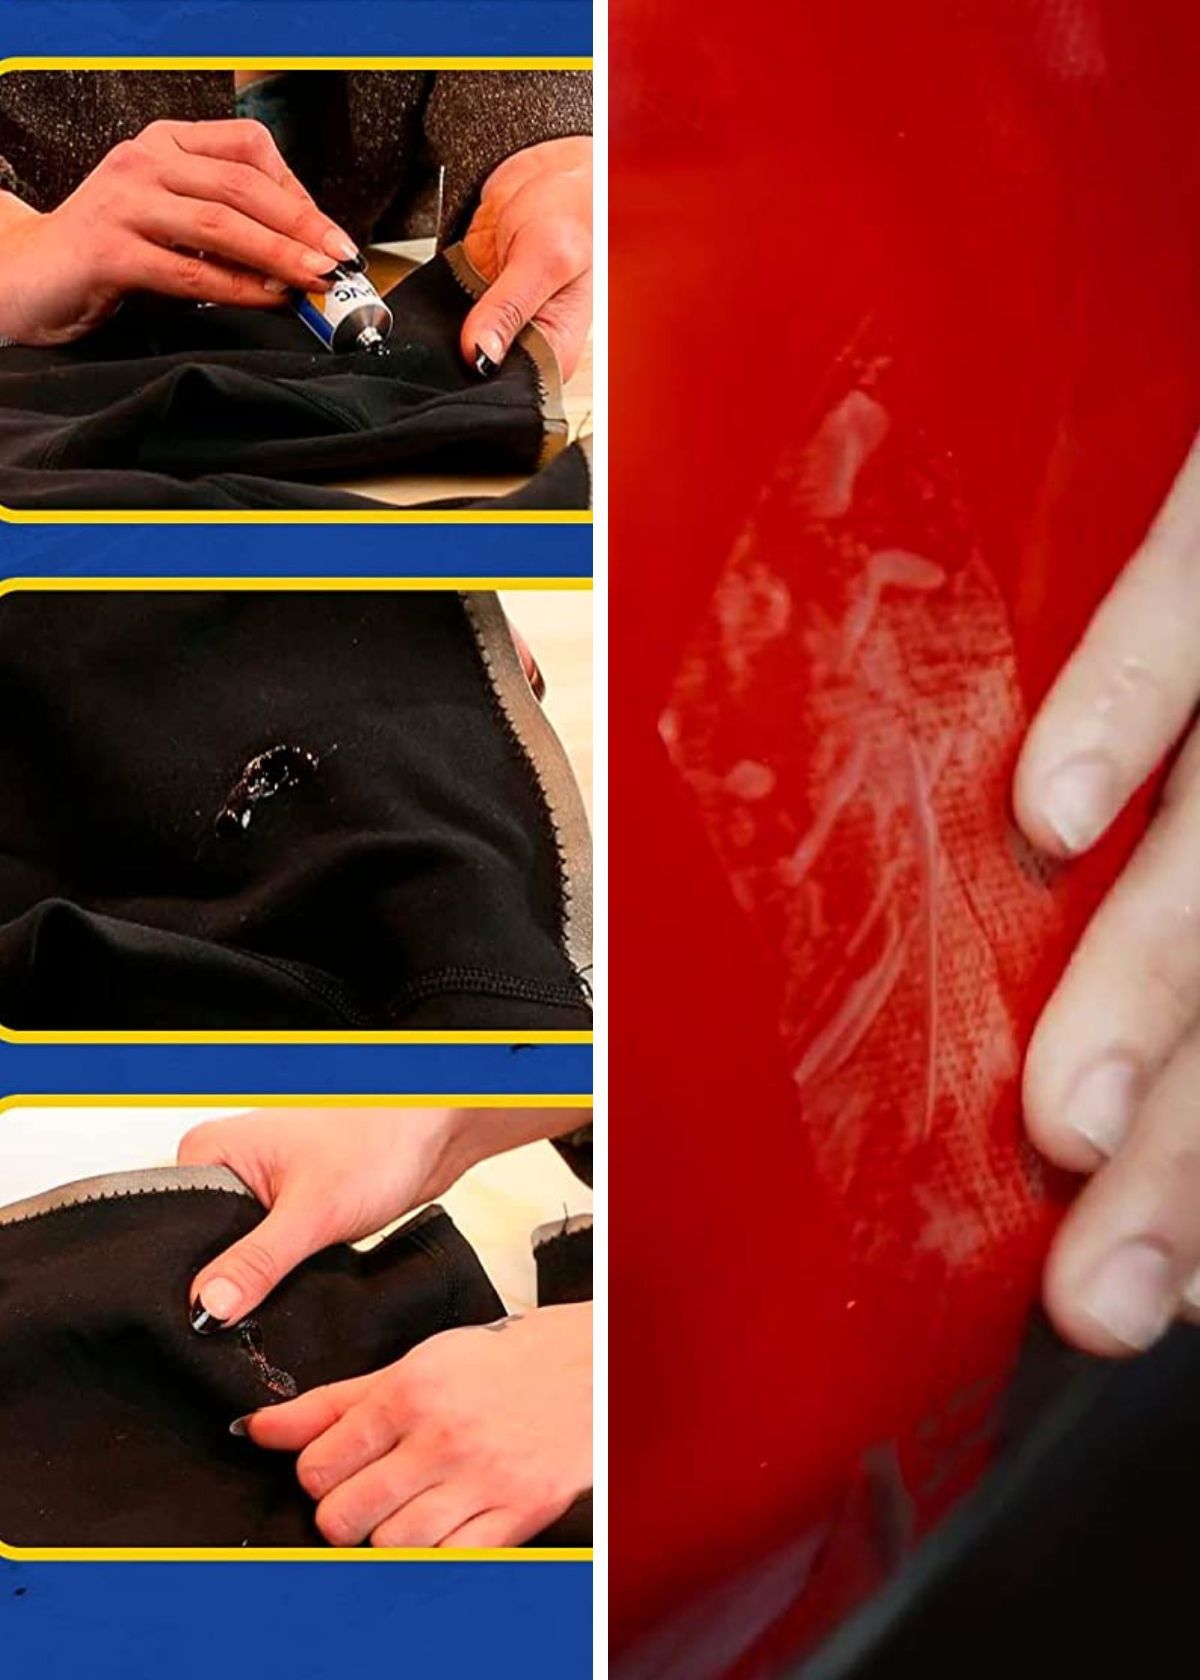
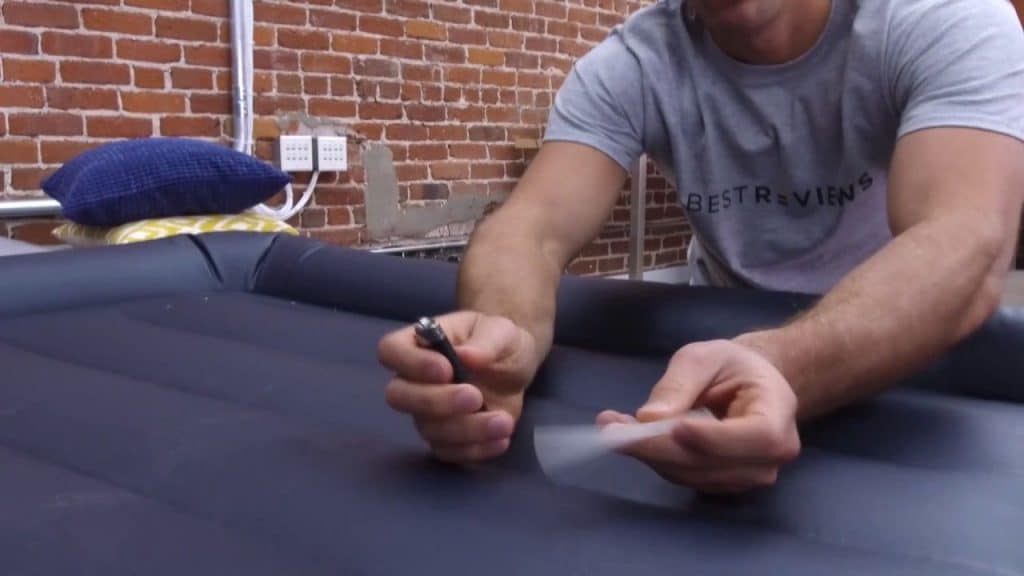
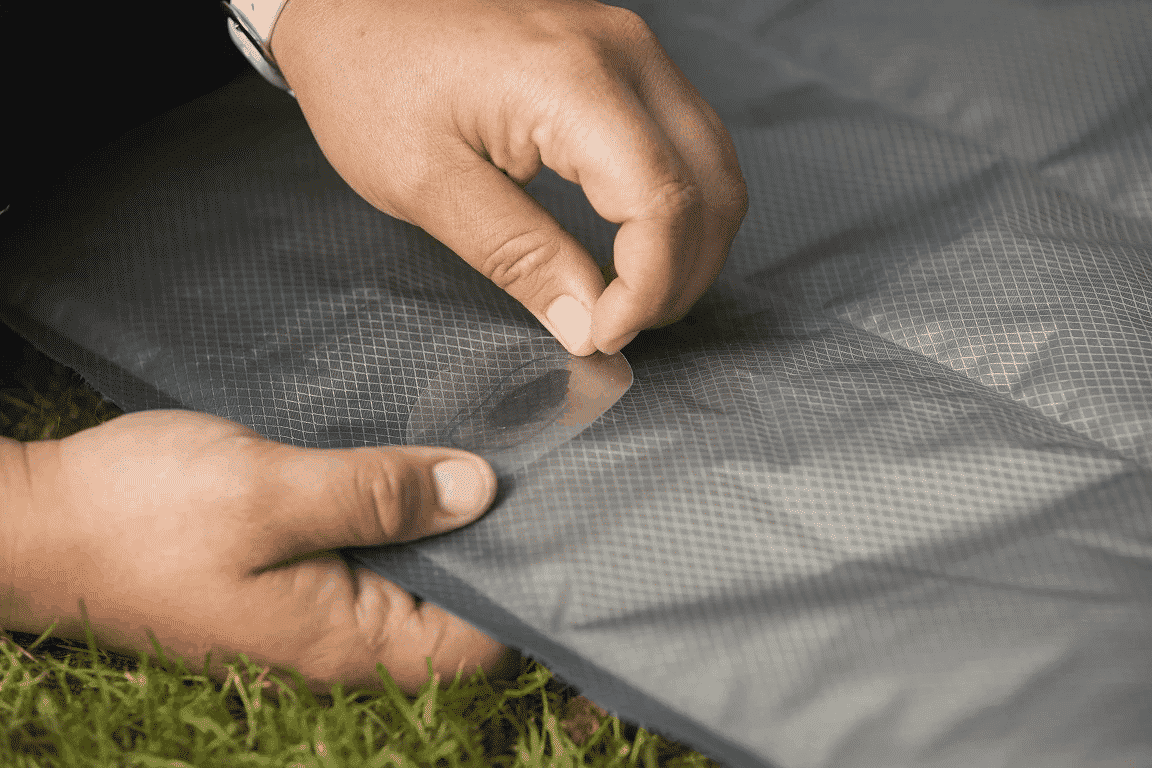
Now, it's time to apply the patch. Most patch kits come with self-adhesive patches, making it a quick and easy process. Simply peel off the backing and place the patch over the hole or tear, pressing down firmly to ensure it sticks.
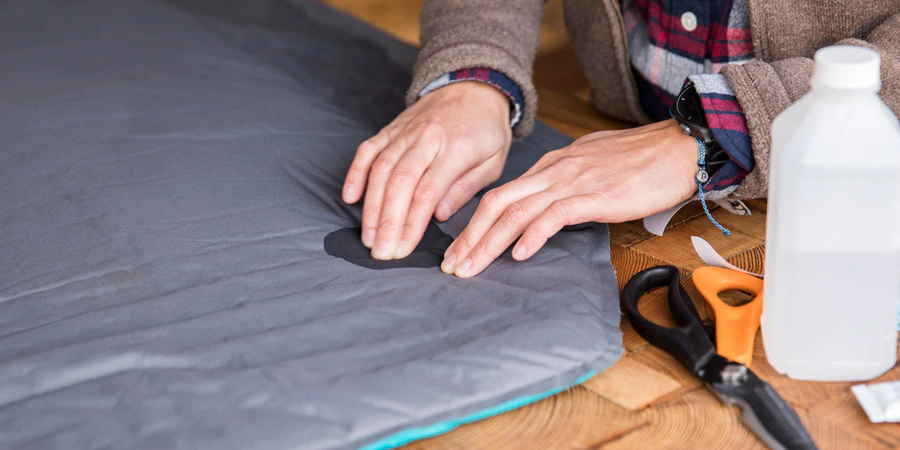
For larger holes or tears, you may need to use the glue provided in the patch kit. Apply a thin layer of glue around the edges of the hole or tear, and then press the patch onto the glue. Be sure to smooth out any air bubbles and hold the patch in place for a few minutes to ensure it sticks.
Once the glue has dried completely, you can inflate your air mattress to check for any leaks. If the patch holds and there are no signs of air escaping, you're good to go. If there is still a leak, you may need to repeat the patching process or try a different method.
With these simple steps, you can easily patch up your canvas air mattress and get back to enjoying the great outdoors. Just be sure to follow the instructions on your patch kit and take your time to ensure a thorough and effective patch job.
2. DIY Canvas Air Mattress Patch
If you don't have a patch kit on hand or prefer a more DIY approach, there are a few household items you can use to patch up your canvas air mattress. One option is using duct tape. Simply cut a piece of duct tape to cover the hole or tear, and press it down firmly over the damaged area. This method is not as long-lasting as using a patch kit, but it can get you through a camping trip in a pinch.
Another household item you can use is a bicycle tire patch kit. These kits typically come with patches and glue, similar to a canvas air mattress patch kit. Just follow the same steps as outlined above, and you should have a sturdy and effective patch on your air mattress.
Some campers also swear by using super glue for patching their air mattress. This method requires extra caution, as super glue can be quite strong and may not be as easy to remove if you need to replace the patch in the future. But if you're in a bind and need a quick fix, super glue can do the trick.
Whichever method you choose, be sure to let the glue or tape dry completely before testing for leaks. And keep in mind that these DIY solutions may not be as long-lasting as using a proper patch kit.
3. Canvas Air Mattress Repair: Patching Holes
Air mattresses made of canvas material are prone to developing holes, especially with frequent use. So, it's important to know how to properly patch up these holes to avoid any disruptions to your outdoor adventures.
One of the main reasons for holes in a canvas air mattress is sharp objects, such as rocks or sticks, puncturing the material. To prevent this, it's a good idea to lay down a tarp or groundsheet under your air mattress before inflating it. This will provide an extra layer of protection and prevent any potential punctures.
If your air mattress does end up developing a hole, you can use the methods mentioned above to patch it up. Just make sure to thoroughly clean the area and apply the patch or tape with care to ensure a strong bond.
It's also a good idea to regularly inspect your canvas air mattress for any signs of wear and tear. This way, you can catch any potential holes before they become larger and more difficult to fix.
4. Quick and Easy Canvas Air Mattress Patch
When you're out in the wilderness, you want to spend more time enjoying your surroundings and less time dealing with repairs. That's why having a quick and easy method for patching your canvas air mattress is essential.
An effective and efficient way to patch up small holes on your air mattress is by using a waterproof adhesive patch. These patches are designed for outdoor gear and can withstand the elements, making them perfect for patching up your air mattress on the go.
Simply clean the area around the hole, apply the patch, and press down firmly to ensure a strong bond. These patches are also great for adding an extra layer of protection to areas that are prone to developing holes, such as seams.
5. Patching a Tear on a Canvas Air Mattress
While small holes can be easily patched up, tears on a canvas air mattress may require a bit more effort. The first step is to determine the size and location of the tear. If the tear is along a seam, it may be easier to repair than a tear in the middle of the mattress.
If the tear is relatively small, you can use the same methods as mentioned above, such as using a patch kit or duct tape. However, if the tear is larger, you may need to use a canvas repair patch. These patches are specifically designed for repairing tears in canvas material and are usually self-adhesive, making them easy to use.
Follow the instructions on the patch kit or repair patch carefully to ensure a successful repair. It's also a good idea to test the patched area for leaks before using the air mattress again.
6. Canvas Air Mattress Patch Kit: What You Need
As mentioned earlier, a canvas air mattress patch kit is essential for any camper or outdoor enthusiast. But what exactly do you need in a patch kit?
First and foremost, you'll need patches. These can come in various sizes and shapes, so be sure to choose one that will cover the size of the hole or tear on your air mattress. You'll also need adhesive or glue to secure the patch onto the mattress. Typically, patch kits come with self-adhesive patches, but if you're using a canvas repair patch, you may need to use glue as well.
A patching tool can also be helpful, especially for larger holes or tears. This tool is used to smooth out the patch and ensure there are no air bubbles, which can cause the patch to lift or come loose.
Some patch kits may also come with additional items, such as sandpaper for prepping the surface of the mattress, or a tarp or groundsheet for added protection. Be sure to read the instructions and use all the items provided for the best results.
7. Step-by-Step Guide to Patching a Canvas Air Mattress
To recap, here's a step-by-step guide to patching a canvas air mattress:
Step 1: Gather your materials, including a patch kit, rubbing alcohol, and a clean cloth.
Step 2: Locate the hole or tear on your air mattress.
Step 3: Clean the area around the hole or tear with rubbing alcohol and a cloth.
Step 4: Let the area dry completely.
Step 5: Apply the patch according to the instructions on your patch kit.
Step 6: Let the patch dry completely.
Step 7: Inflate the air mattress and check for leaks.
Step 8: If there are no leaks, your patch job is complete. If there are still leaks, repeat the process or try a different method.
8. Tips for Finding the Leak on a Canvas Air Mattress
Before you can patch up a hole or tear on your canvas air mattress, you need to find the source of the leak. Here are a few tips to help you locate the leak:
Tip 1: Inflate the air mattress and listen for any hissing sounds. This is a telltale sign of a leak.
Tip 2: Apply a mixture of water and dish soap to the surface of the mattress. If there's a leak, bubbles will form and indicate the location of the hole or tear.
Tip 3: Submerge the air mattress in a bathtub or pool and look for air bubbles escaping from the mattress.
Tip 4: If all else fails, try using a flashlight to inspect the surface of the mattress for any holes or wear and tear.
9. Common Mistakes to Avoid When Patching a Canvas Air Mattress
While patching a canvas air mattress is a fairly simple process, there are some common mistakes you'll want to avoid to ensure the patch job is effective and long-lasting.
Mistake 1: Not properly prepping the surface of the mattress before applying the patch. Cleaning the area with rubbing alcohol and ensuring it's completely dry is crucial for a strong bond.
Mistake 2: Using too much or too little adhesive or glue. Be sure to follow the instructions on your patch kit or repair patch carefully to ensure the right amount is used.
Mistake 3: Rushing the patching process. Take your time to ensure the patch is applied correctly and securely. This will save you from having to repeat the process or deal with a patch that won't hold.
Mistake 4: Not testing the patch before using the air mattress again. Once the patch is applied, be sure to inflate the mattress and check for leaks before using it for sleeping.
10. How to Prevent Future Holes on Your Canvas Air Mattress
While it's inevitable that your canvas air mattress will eventually develop holes or tears, there are a few things you can do to prolong its life and prevent the need for frequent patching.
As mentioned earlier, laying down a tarp or groundsheet under your air mattress can provide an extra layer of protection against sharp objects. You can also avoid placing your air mattress on rough or rocky surfaces to prevent punctures.
When inflating your air mattress, be sure not to over-inflate it. This can put unnecessary strain on the material and cause it to weaken over time.
Lastly, be sure to store your air mattress properly when not in use. Avoid folding or rolling it too tightly, as this can cause stress on the material and potentially lead to tears or holes.
How to Patch a Leak on a Canvas Air Mattress

The Importance of a Good Night's Sleep
 Getting a good night's sleep is crucial for our overall health and well-being. A comfortable and supportive mattress can make all the difference in getting the restful sleep we need. However, no matter how careful we are, accidents can happen, and our beloved air mattress may develop a leak. This can be frustrating and disruptive to our sleep routine, but fear not, as it is possible to patch a leak on a canvas air mattress and restore it to its former comfort.
Gather Your Materials
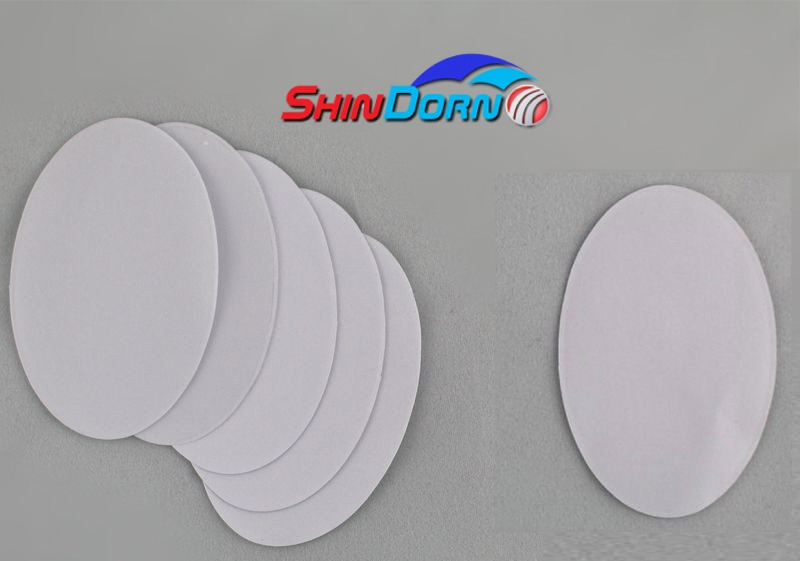
 Before starting the patching process, it's essential to gather all the necessary materials. You will need a patch kit specifically designed for air mattresses, which can be easily found in most hardware or outdoor stores. Make sure the kit includes a tube of vinyl adhesive, a piece of patching material, and a small applicator or brush. You may also need scissors, a clean cloth, and rubbing alcohol.
Locate the Leak
 The first step in patching a leak on a canvas air mattress is to locate the leak. This may seem like an obvious step, but it's crucial to pinpoint the exact location of the leak to ensure successful patching. Begin by inflating the mattress fully and placing it in a tub or pool filled with water. Look for bubbles or air escaping from the mattress, indicating the leak's location.
Clean and Dry the Area
 Once you have located the leak, use a clean cloth and rubbing alcohol to thoroughly clean and dry the area around the leak. This step is important as it will help the adhesive bond properly with the mattress material, ensuring a strong and lasting patch.
Apply the Patch
 Using the small applicator or brush, apply a thin layer of vinyl adhesive to the area around the leak. Then, cut a piece of patching material from the patch kit, ensuring it is slightly larger than the leak. Press the patch firmly onto the adhesive, smoothing out any air bubbles or wrinkles. Allow the patch to dry completely before inflating the mattress again.
Enjoy Your Restful Sleep
 Congratulations, you have successfully patched a leak on your canvas air mattress! Once the patch is dry, you can inflate the mattress and enjoy a comfortable and restful sleep once again. Remember to follow the instructions on the patch kit carefully and allow the adhesive to dry completely before using the mattress.
In conclusion, a leak on a canvas air mattress may seem like a daunting issue, but with the right materials and a little bit of patience, it can be easily patched. Taking care of your mattress and promptly addressing any leaks will ensure that you can continue to enjoy a good night's sleep for years to come.










:max_bytes(150000):strip_icc()/81QHm8NXr2L._AC_SL1500_1-17bafdc326cf4922b0d8acca4d9b5639.jpg)

