Mounting a kitchen sink may seem like a daunting task, but with the right tools and knowledge, it can be a simple DIY project. Whether you're replacing an old sink or installing a new one, it's important to follow the correct steps to ensure a secure and sturdy mount. In this article, we will provide a step-by-step guide on how to mount a kitchen sink and also discuss common mistakes to avoid and troubleshooting tips. So, let's get started!How to Mount a Kitchen Sink


How to Mount a Kitchen Sink


The first step in mounting a kitchen sink is to gather all the necessary tools and materials. You will need a drill, a screwdriver, a measuring tape, silicone caulk, plumber's putty, and the sink mounting hardware that usually comes with the sink. Before you begin, make sure to read the manufacturer's instructions carefully to ensure you have all the required tools and materials. Once you have all your tools and materials ready, the second step is to prepare the sink for installation. This involves attaching the mounting hardware to the sink. The type of mounting hardware used may vary depending on the type of sink you have. For top-mounted sinks, you will need to attach clips or brackets to the underside of the sink. For undermount sinks, you will need to use epoxy or special clips to secure the sink to the countertop. Next, you will need to make sure the sink will fit properly in the designated space. Using a measuring tape, measure the sink and the opening in the countertop. It's important to have accurate measurements to ensure a proper fit. If necessary, use a jigsaw to make any adjustments to the countertop opening. Now it's time to position the sink in place. Carefully lower the sink into the countertop opening, making sure it is centered and level. It's a good idea to have someone hold the sink in place while you work on securing it. Once the sink is in place, you can begin securing it. For top-mounted sinks, use the mounting clips to attach the sink to the countertop. For undermount sinks, use epoxy or clips to secure the sink to the underside of the countertop. Make sure to tighten all screws and clips evenly to ensure a stable mount.Mounting a Kitchen Sink: Step-by-Step Guide


Mounting a Kitchen Sink: Step-by-Step Guide


:no_upscale()/cdn.vox-cdn.com/uploads/chorus_asset/file/19495086/drain_0.jpg)
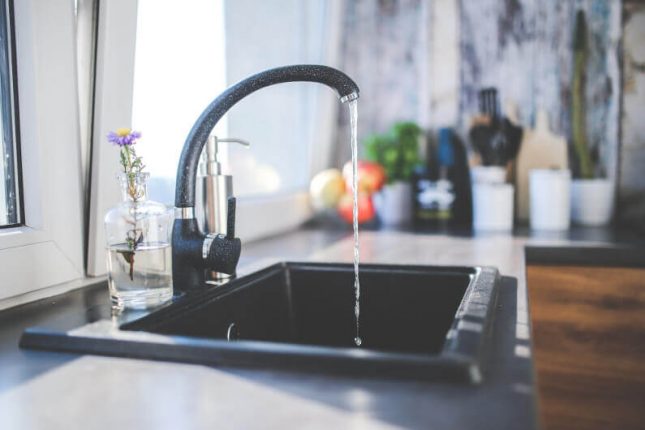
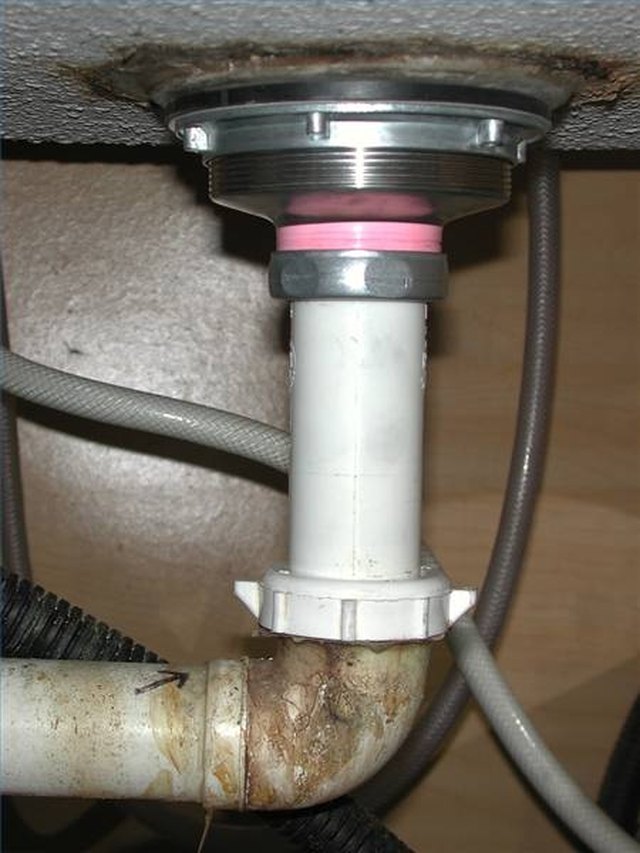
If you're a DIY enthusiast, installing a kitchen sink can be a fun and rewarding project. However, it's important to follow the correct steps to avoid any potential problems down the line. In addition to the steps mentioned above, here are a few extra tips to keep in mind when installing a kitchen sink: Use plumber's putty or silicone caulk: To create a watertight seal between the sink and the countertop, it's important to use plumber's putty or silicone caulk. Apply it around the edges of the sink before securing it in place. Check for leaks: After installing the sink, make sure to check for any leaks by running water and checking for any water dripping from the sink or piping. If you notice any leaks, tighten the connections or add more putty or caulk as needed. Secure the garbage disposal: If your sink has a garbage disposal, make sure to secure it properly to the sink before attaching the drain pipes. This will prevent any movement or vibrations that can cause leaks.DIY: How to Install a Kitchen Sink


DIY: How to Install a Kitchen Sink


Here are a few extra tips and tricks to keep in mind when mounting a kitchen sink: Clean the sink and surrounding area: Before installing the sink, make sure to clean the area thoroughly. This will ensure a clean and tidy installation and prevent any dirt or debris from getting trapped between the sink and the countertop. Use a level: To ensure the sink is level, use a level tool throughout the installation process. This will prevent any unevenness and potential problems with drainage. Don't overtighten: When securing the sink, make sure not to overtighten the screws or clips. This can cause damage to the sink or countertop and may lead to leaks.Mounting a Kitchen Sink: Tips and Tricks


Mounting a Kitchen Sink: Tips and Tricks


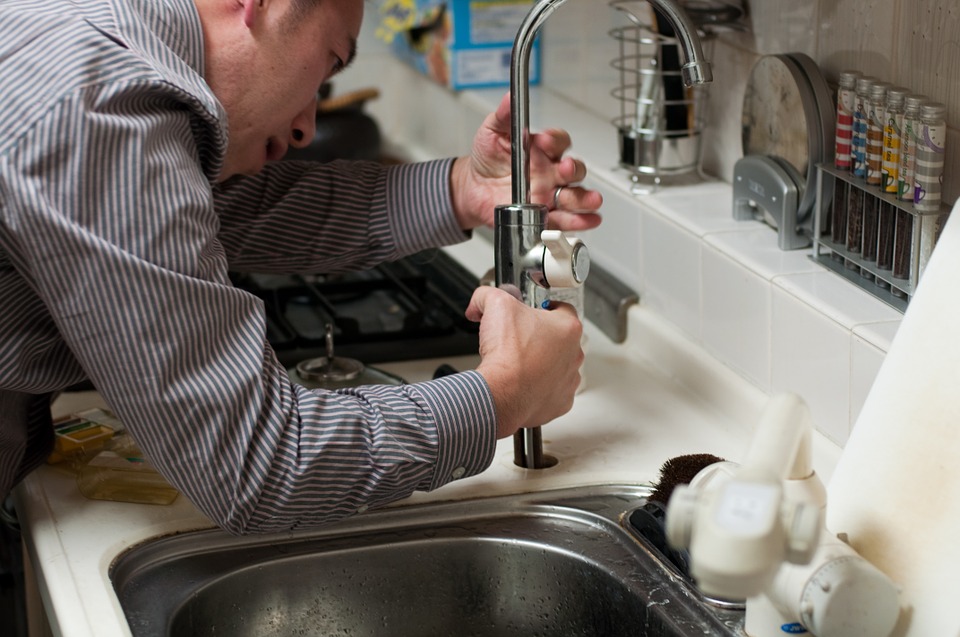
If you're new to DIY projects, mounting a kitchen sink may seem like a daunting task. However, with the right tools and knowledge, it can be a manageable project for beginners. Here are a few extra tips for first-time sink installers: Read the instructions carefully: Before beginning the installation, make sure to read the manufacturer's instructions thoroughly. This will help you understand the process and ensure you have all the necessary tools and materials. Ask for help: It's always a good idea to have someone help you when installing a sink, especially if it's a heavy or awkwardly shaped sink. This will make the process easier and safer. Take your time: Installing a sink may take some time, especially if you're new to it. Don't rush the process and make sure to double-check your work to ensure a proper installation.Installing a Kitchen Sink: A Beginner's Guide

Installing a Kitchen Sink: A Beginner's Guide


Despite following the correct steps, there are some common mistakes that can happen when mounting a kitchen sink. Here are a few to avoid: Not using enough sealant: It's important to use enough plumber's putty or silicone caulk to create a strong and watertight seal. Not using enough can lead to leaks. Not checking for levelness: As mentioned earlier, using a level tool is crucial to ensure proper drainage. Not checking for levelness can cause water to pool in the sink instead of draining properly. Not tightening screws evenly: When securing the sink, make sure to tighten the screws or clips evenly. Uneven tightening can cause the sink to tilt or become unstable.Mounting a Kitchen Sink: Common Mistakes to Avoid


Mounting a Kitchen Sink: Common Mistakes to Avoid


To summarize, here is a step-by-step guide to mounting a kitchen sink: Step 1: Gather tools and materials - Make sure you have all the necessary tools and materials before beginning the installation. Step 2: Prepare the sink - Attach the mounting hardware to the sink according to the manufacturer's instructions. Step 3: Measure and adjust - Measure the sink and the countertop opening and make any necessary adjustments for a proper fit. Step 4: Position the sink - Lower the sink into the opening, making sure it is centered and level. Step 5: Secure the sink - Use the appropriate methods to secure the sink to the countertop. Step 6: Apply sealant - Use plumber's putty or silicone caulk to create a watertight seal around the edges of the sink. Step 7: Check for leaks - Turn on the water and check for any leaks. Make adjustments as needed.Step-by-Step Guide to Mounting a Kitchen Sink

Step-by-Step Guide to Mounting a Kitchen Sink


Here is a list of the tools and materials you will need to mount a kitchen sink: Tools: Drill, screwdriver, measuring tape, jigsaw (if needed) Materials: Silicone caulk, plumber's putty, sink mounting hardwareMounting a Kitchen Sink: Tools and Materials You'll Need


Mounting a Kitchen Sink: Tools and Materials You'll Need


Properly mounting a kitchen sink is essential for a sturdy and long-lasting installation. By following the steps outlined above and avoiding common mistakes, you can ensure a proper and secure mount. Properly mounting a kitchen sink also involves regularly checking for leaks and making any necessary repairs.How to Properly Mount a Kitchen Sink


How to Properly Mount a Kitchen Sink


If you encounter any problems while mounting a kitchen sink, here are a few troubleshooting tips: Leaking sink: If your sink is leaking, check for any loose connections or gaps in the sealant. Tighten connections or add more sealant as needed. Sink not level: If your sink is not level, use a level tool to adjust the sink and ensure proper drainage. Sink not fitting properly: If the sink is not fitting properly in the opening, use a jigsaw to make any necessary adjustments to the countertop. Now that you have a comprehensive guide on how to mount a kitchen sink, you can confidently take on this DIY project. By following the correct steps and avoiding common mistakes, you can have a sturdy and functional kitchen sink in no time.Mounting a Kitchen Sink: Troubleshooting Common Issues


Mounting a Kitchen Sink: Troubleshooting Common Issues

Maximizing Space and Functionality in Your Kitchen: How to Mount a Kitchen Sink

Why Mounting a Kitchen Sink is a Must-Have in Your House Design
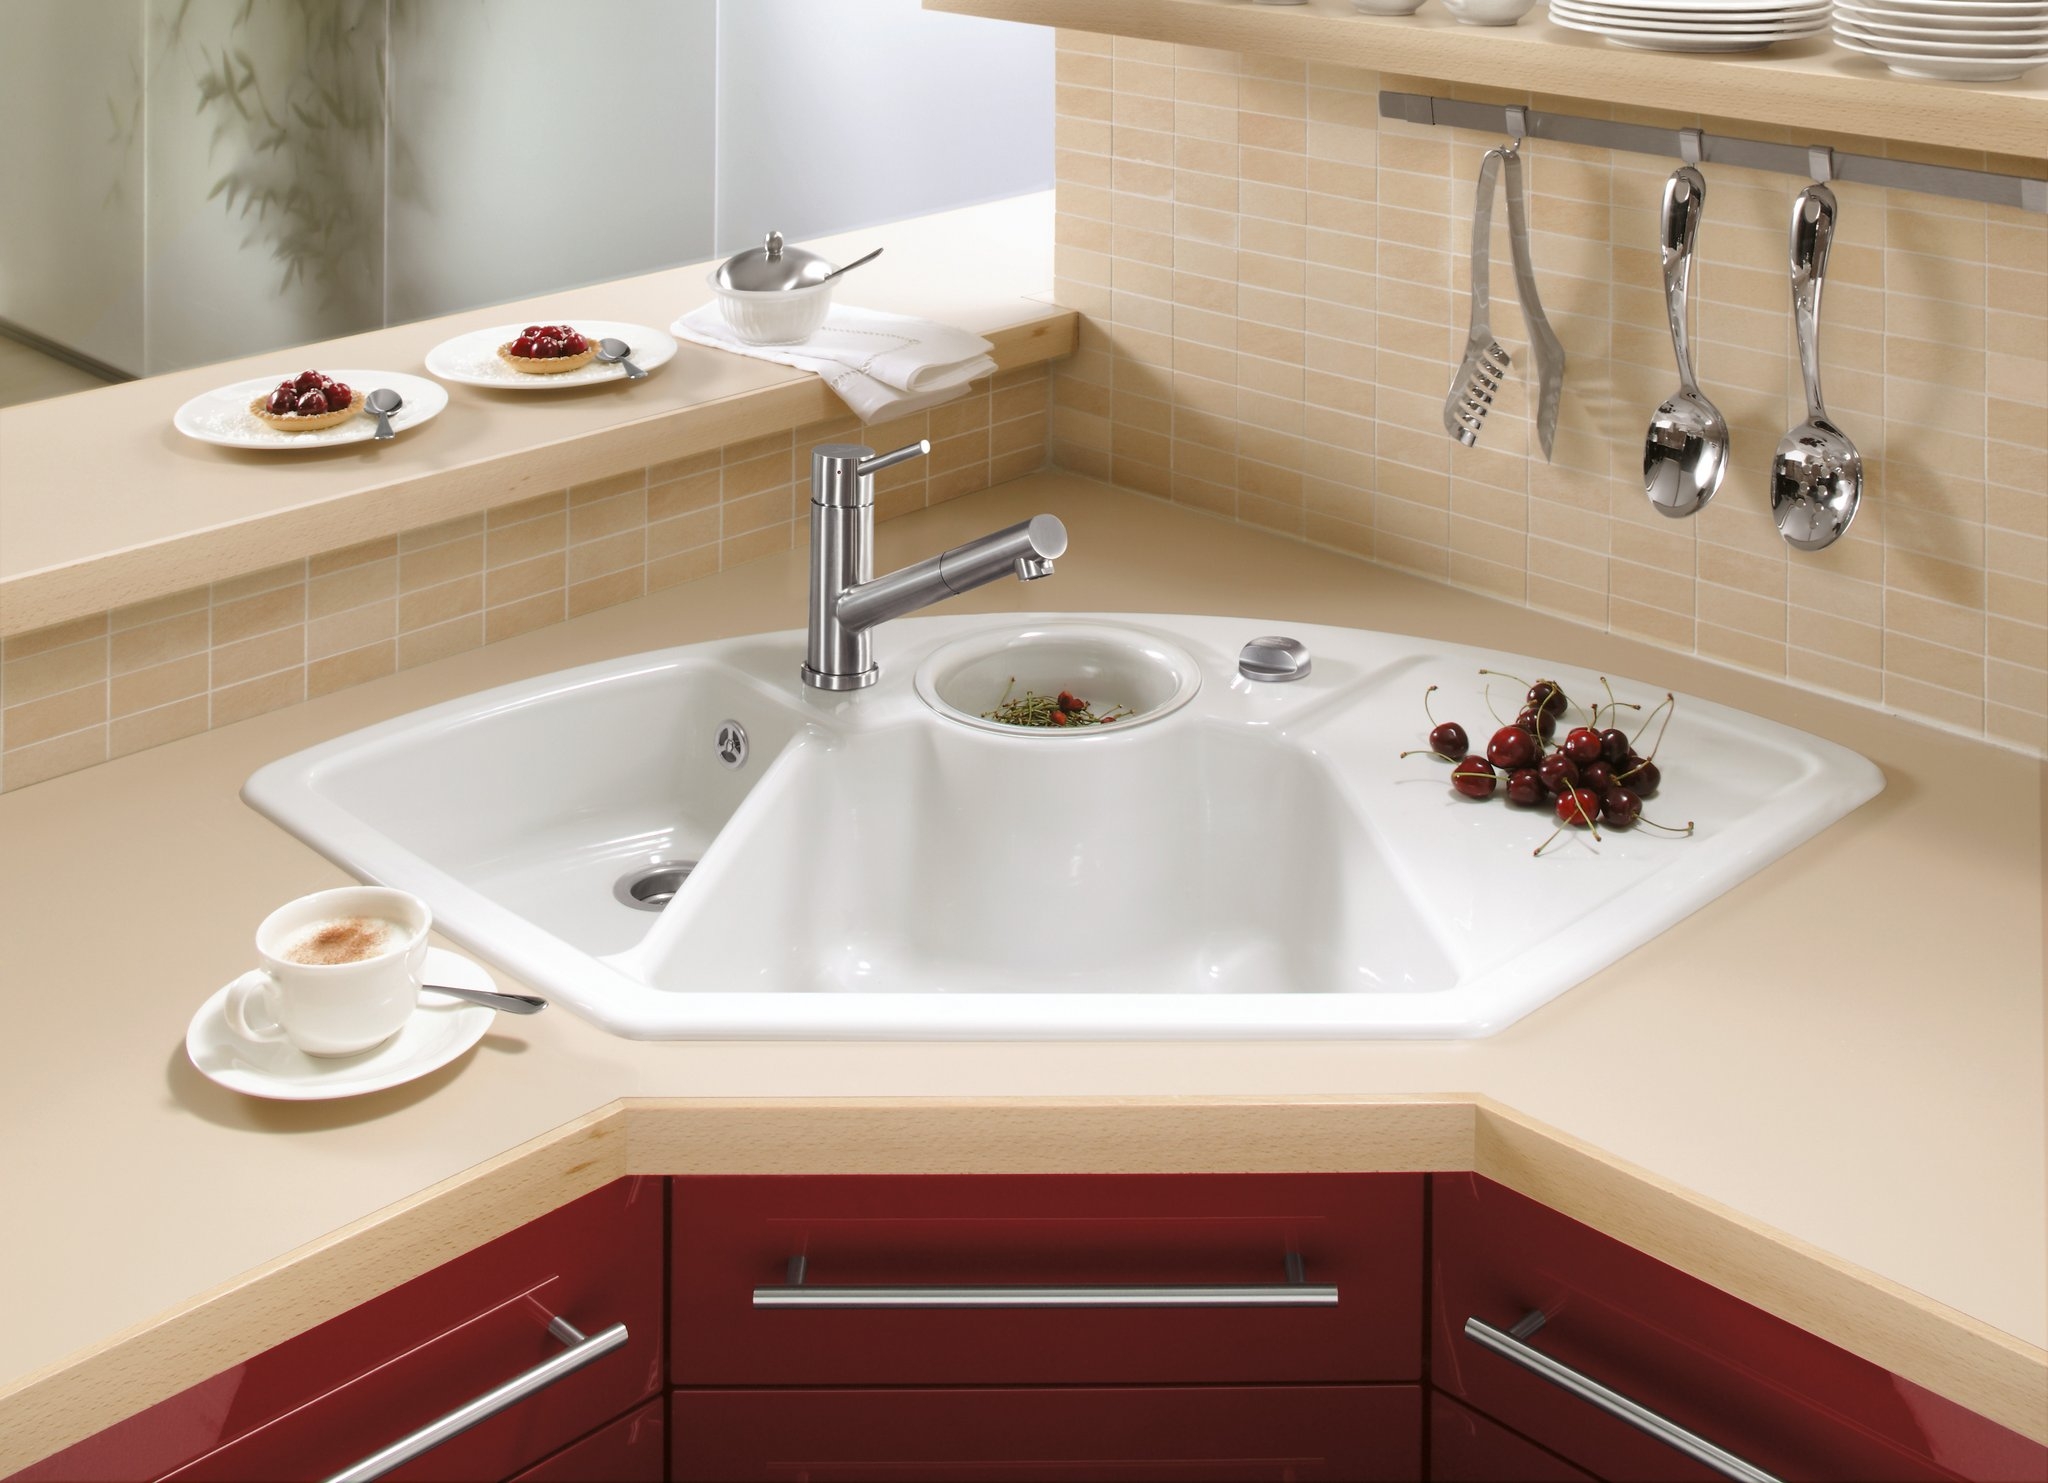
 When it comes to designing your dream kitchen, one of the most important elements to consider is the kitchen sink. Not only is it a functional necessity for daily tasks such as washing dishes and preparing food, but it also serves as a focal point in the overall aesthetic of your kitchen.
Mounting a kitchen sink
is a popular choice for modern homes, and for good reason. Not only does it save space, but it also adds a sleek and streamlined look to your kitchen design.
When it comes to designing your dream kitchen, one of the most important elements to consider is the kitchen sink. Not only is it a functional necessity for daily tasks such as washing dishes and preparing food, but it also serves as a focal point in the overall aesthetic of your kitchen.
Mounting a kitchen sink
is a popular choice for modern homes, and for good reason. Not only does it save space, but it also adds a sleek and streamlined look to your kitchen design.
The Benefits of Mounting a Kitchen Sink
 Mounting a kitchen sink
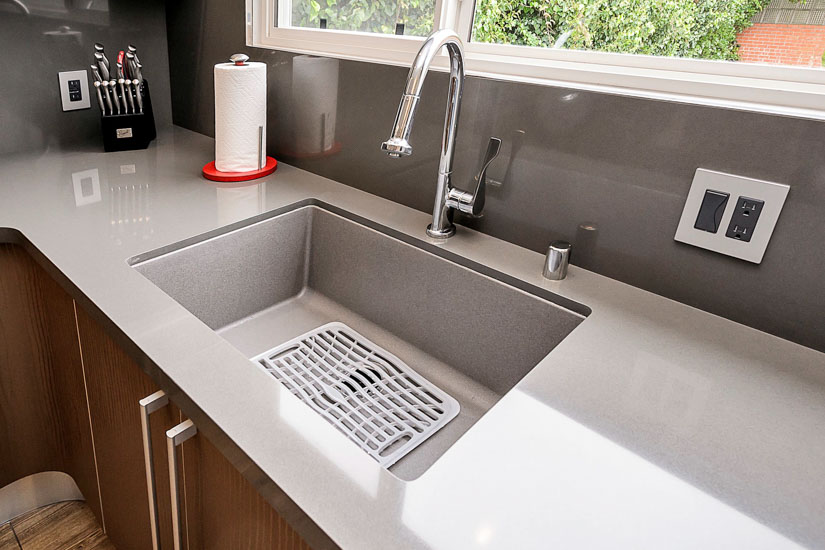
involves attaching the sink directly to the countertop, rather than having it sit on top of the counter. This not only creates a seamless and clean look, but it also frees up valuable counter space. For smaller kitchens, this can make a significant difference in the overall functionality and flow of the space.
Mounting a kitchen sink
also allows for easier cleaning, as there are no edges or crevices for dirt and grime to get trapped in.
Mounting a kitchen sink
involves attaching the sink directly to the countertop, rather than having it sit on top of the counter. This not only creates a seamless and clean look, but it also frees up valuable counter space. For smaller kitchens, this can make a significant difference in the overall functionality and flow of the space.
Mounting a kitchen sink
also allows for easier cleaning, as there are no edges or crevices for dirt and grime to get trapped in.
How to Mount a Kitchen Sink
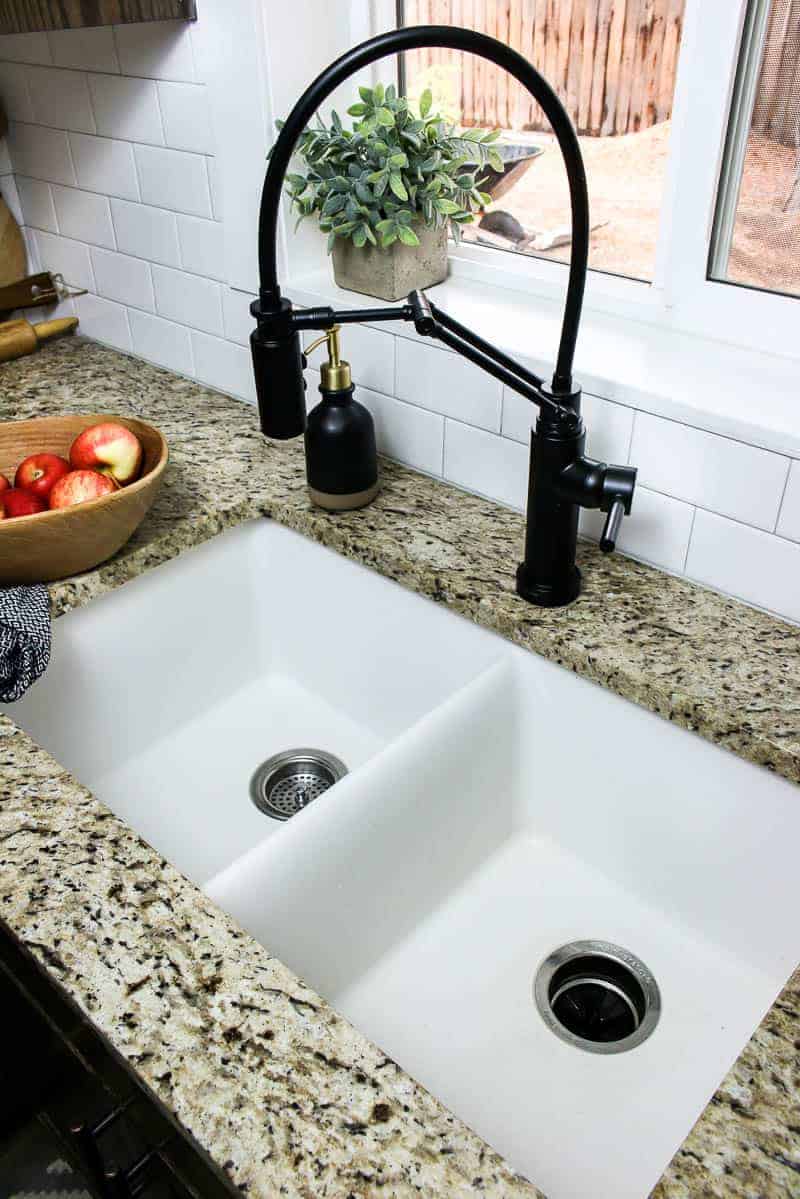
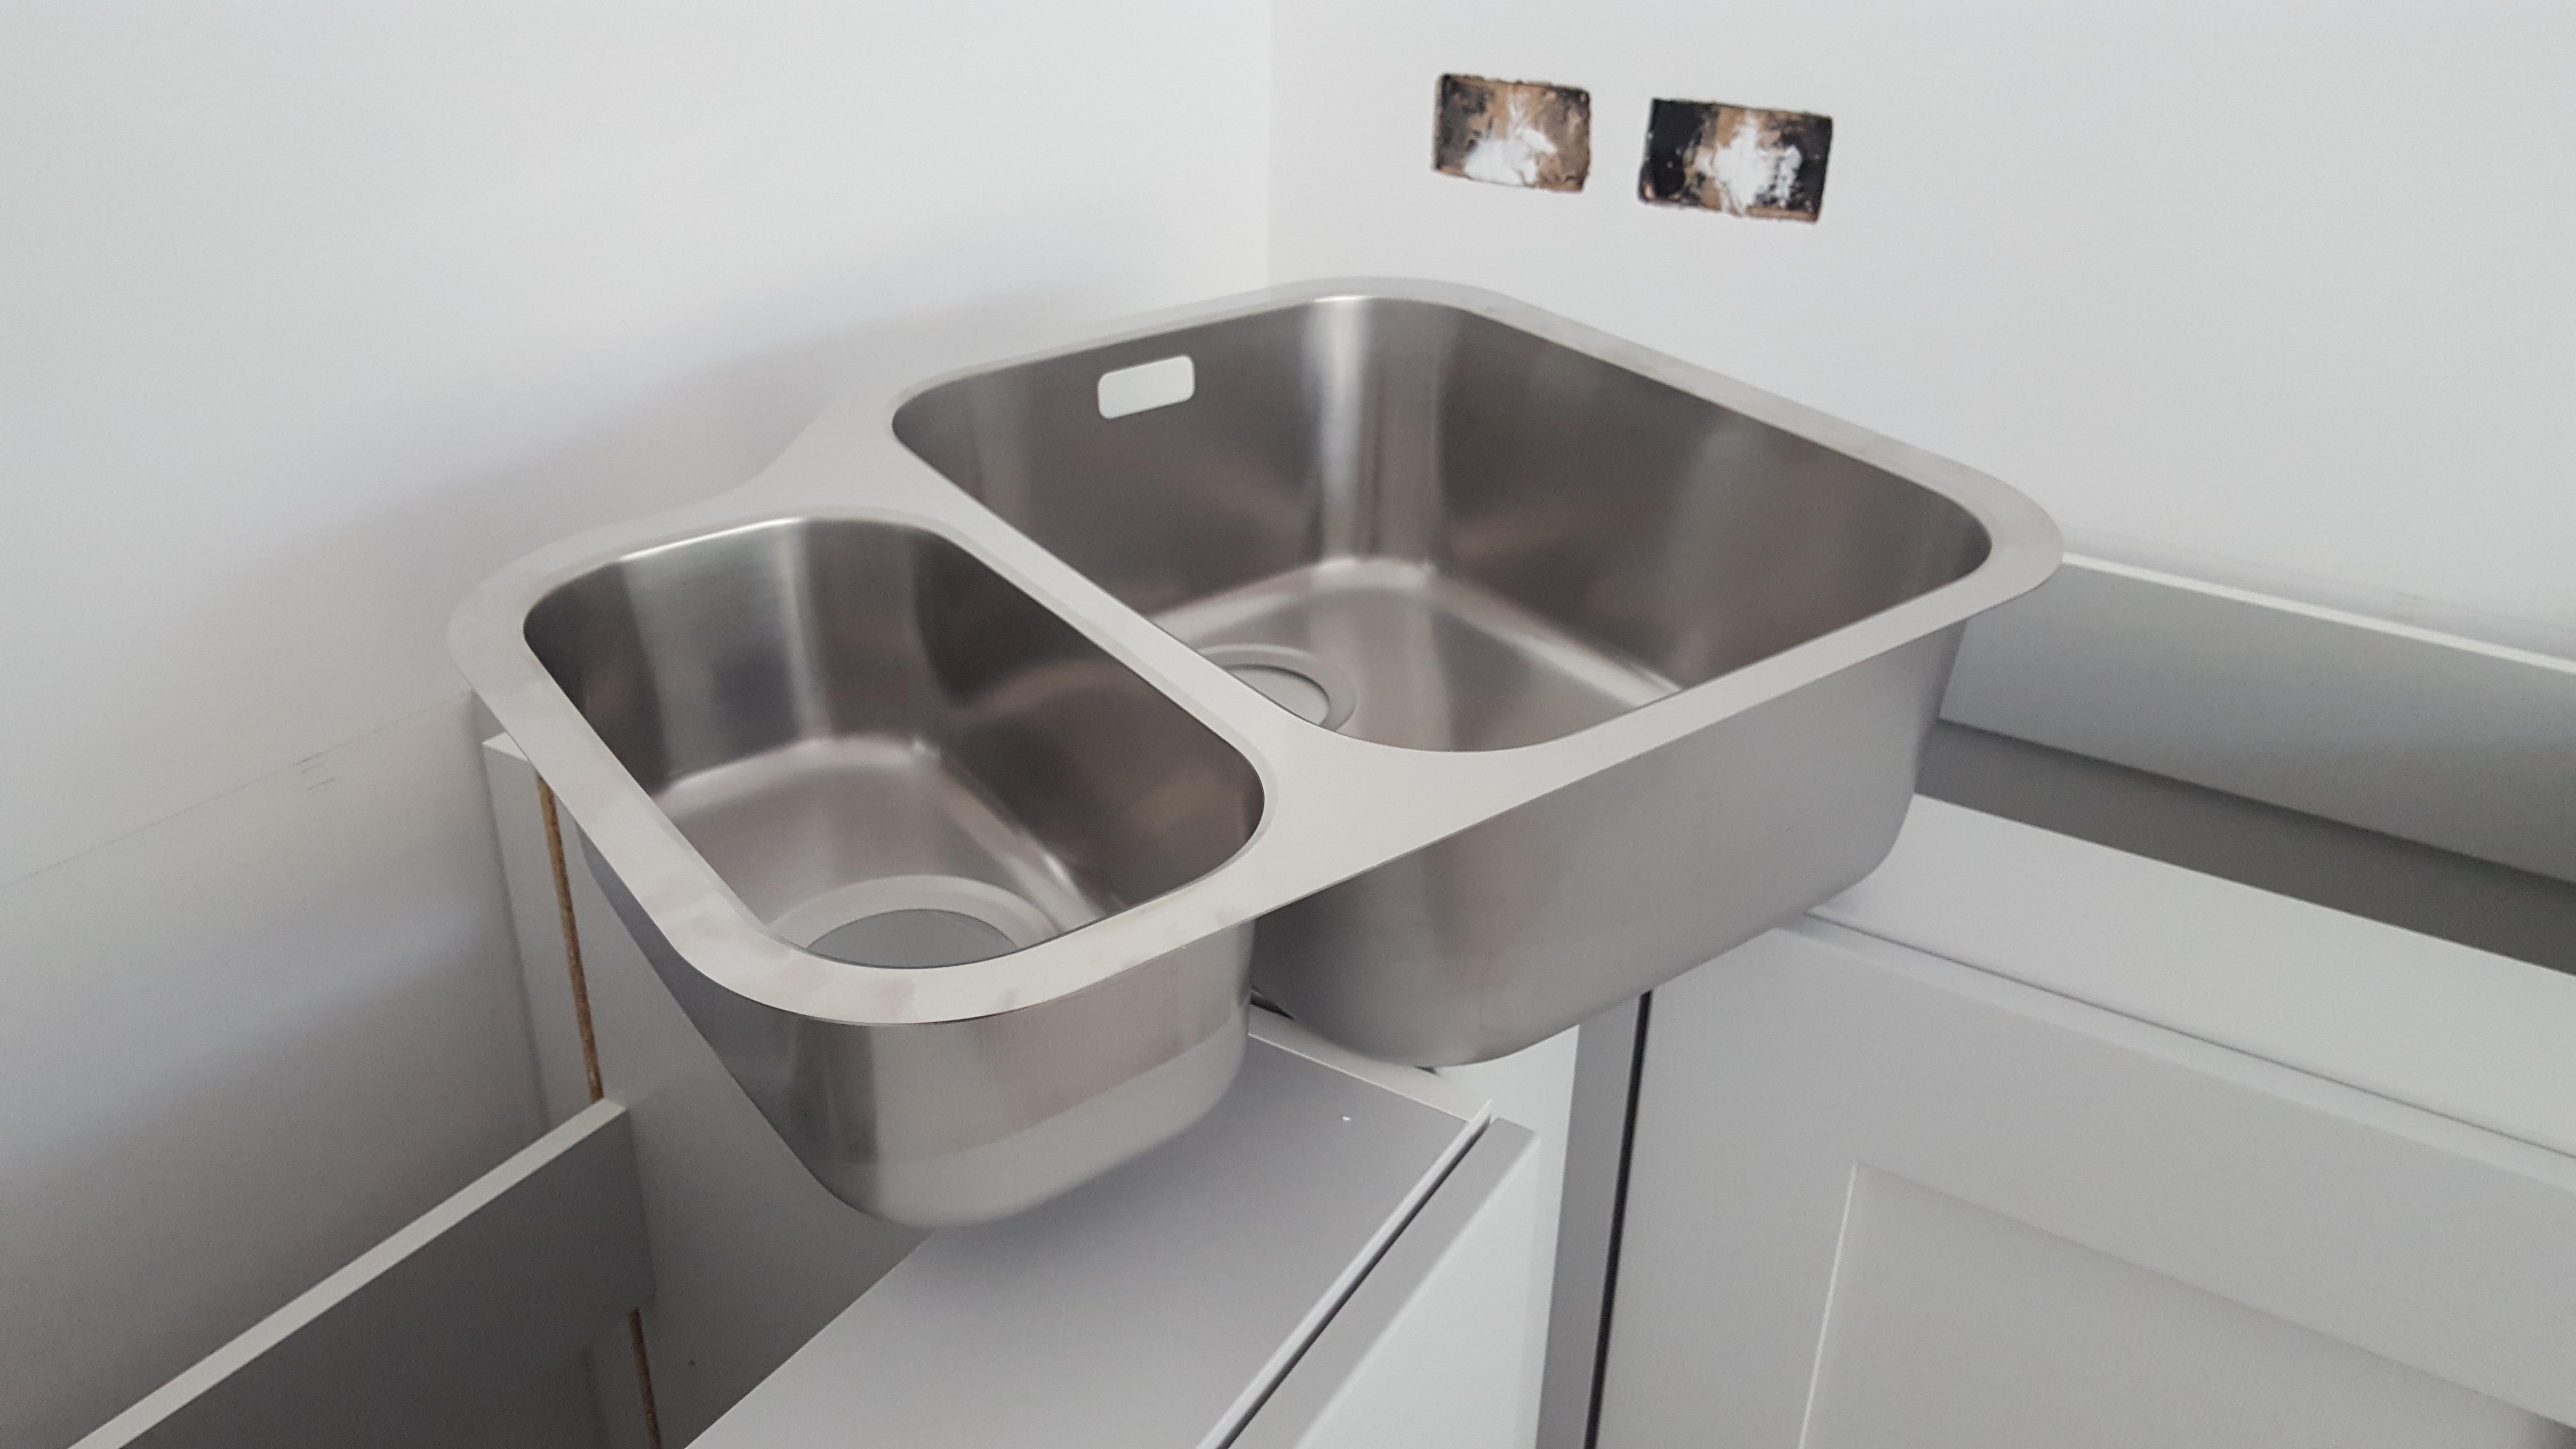
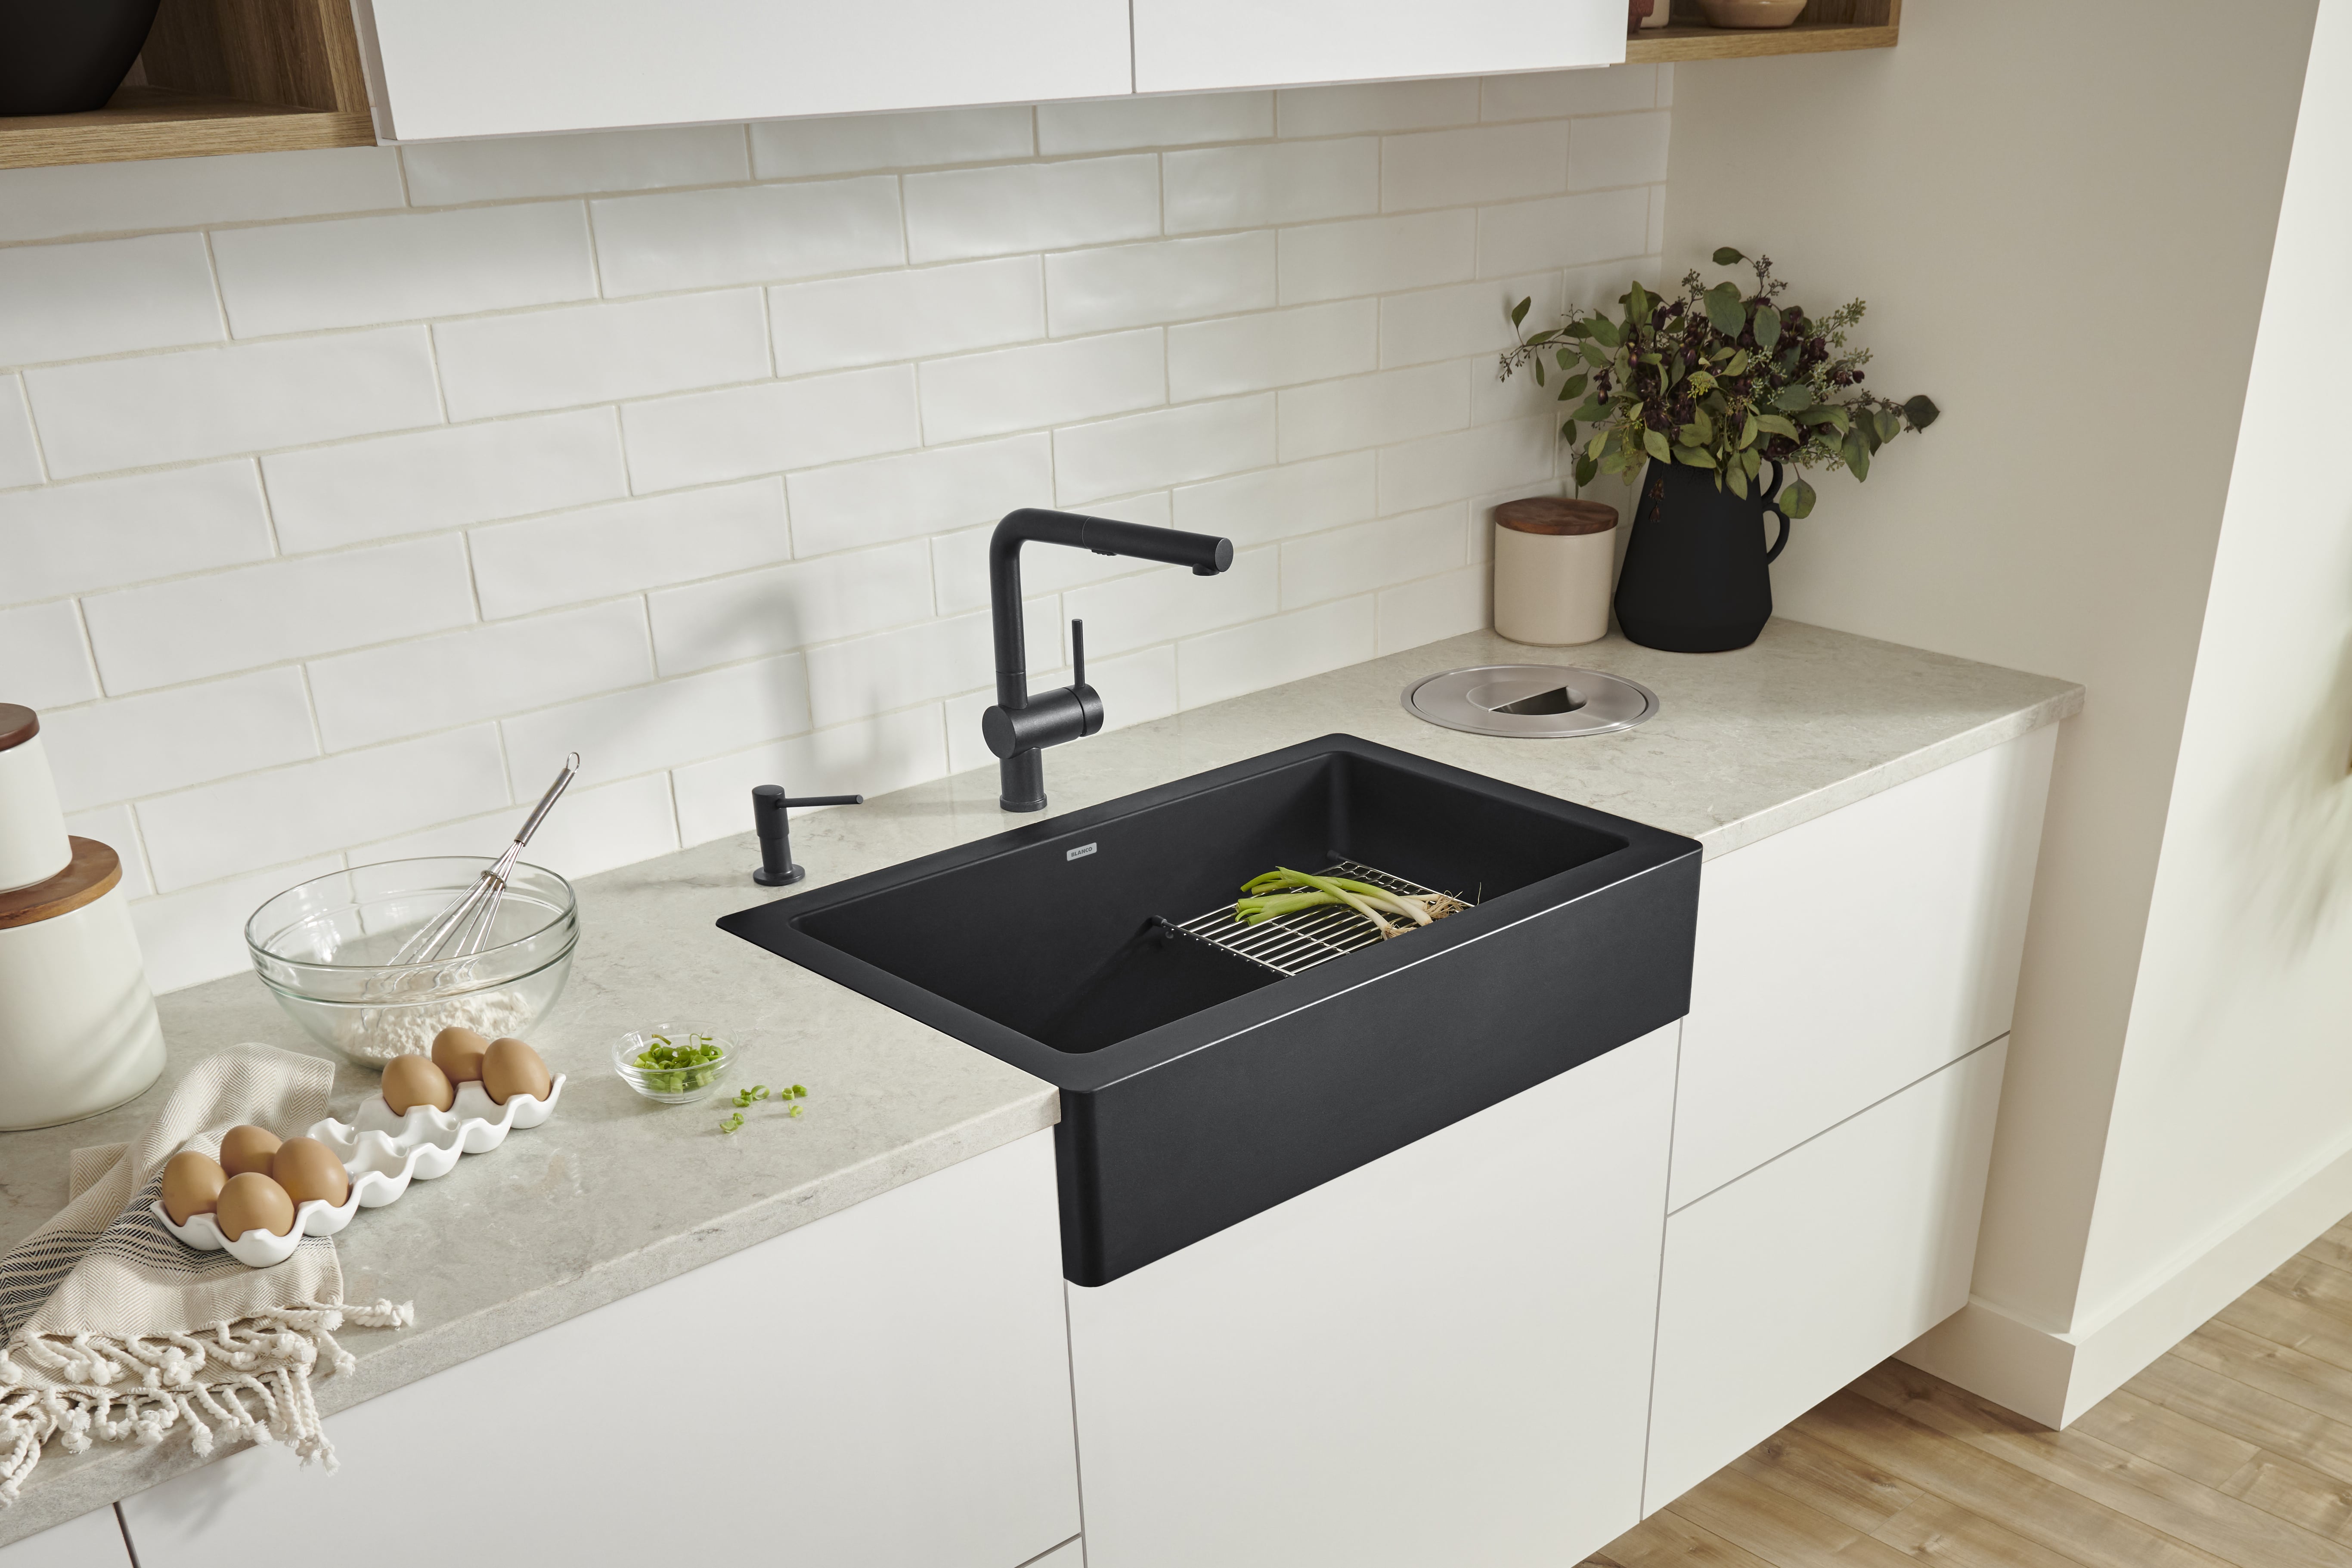 Firstly, you will need to choose a sink that is suitable for mounting. Undermount sinks, which are attached to the underside of the countertop, are the most common choice for this type of installation. Once you have your sink, you will need to
install support brackets
on the inside of the cabinet to hold the weight of the sink. Next, you will need to
create a template
of the sink's shape and use it to cut a hole in the countertop. Finally, the sink can be
secured to the countertop
using clips or adhesive, depending on the type of sink.
Firstly, you will need to choose a sink that is suitable for mounting. Undermount sinks, which are attached to the underside of the countertop, are the most common choice for this type of installation. Once you have your sink, you will need to
install support brackets
on the inside of the cabinet to hold the weight of the sink. Next, you will need to
create a template
of the sink's shape and use it to cut a hole in the countertop. Finally, the sink can be
secured to the countertop
using clips or adhesive, depending on the type of sink.
Design Considerations for Mounting a Kitchen Sink
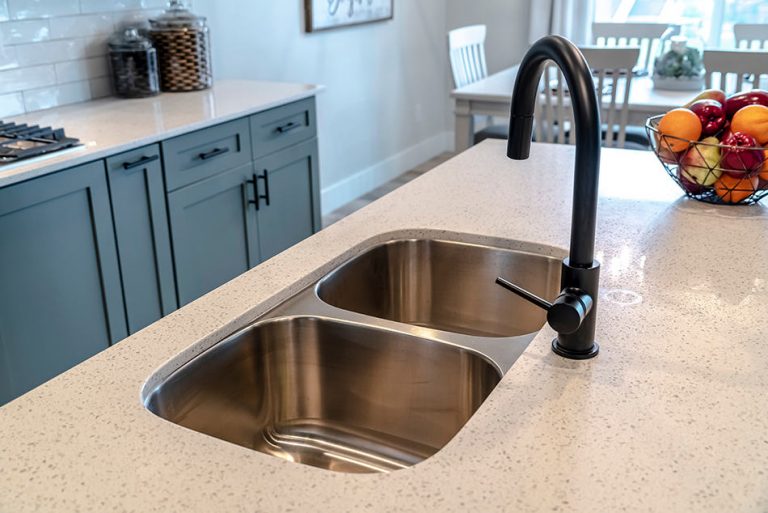
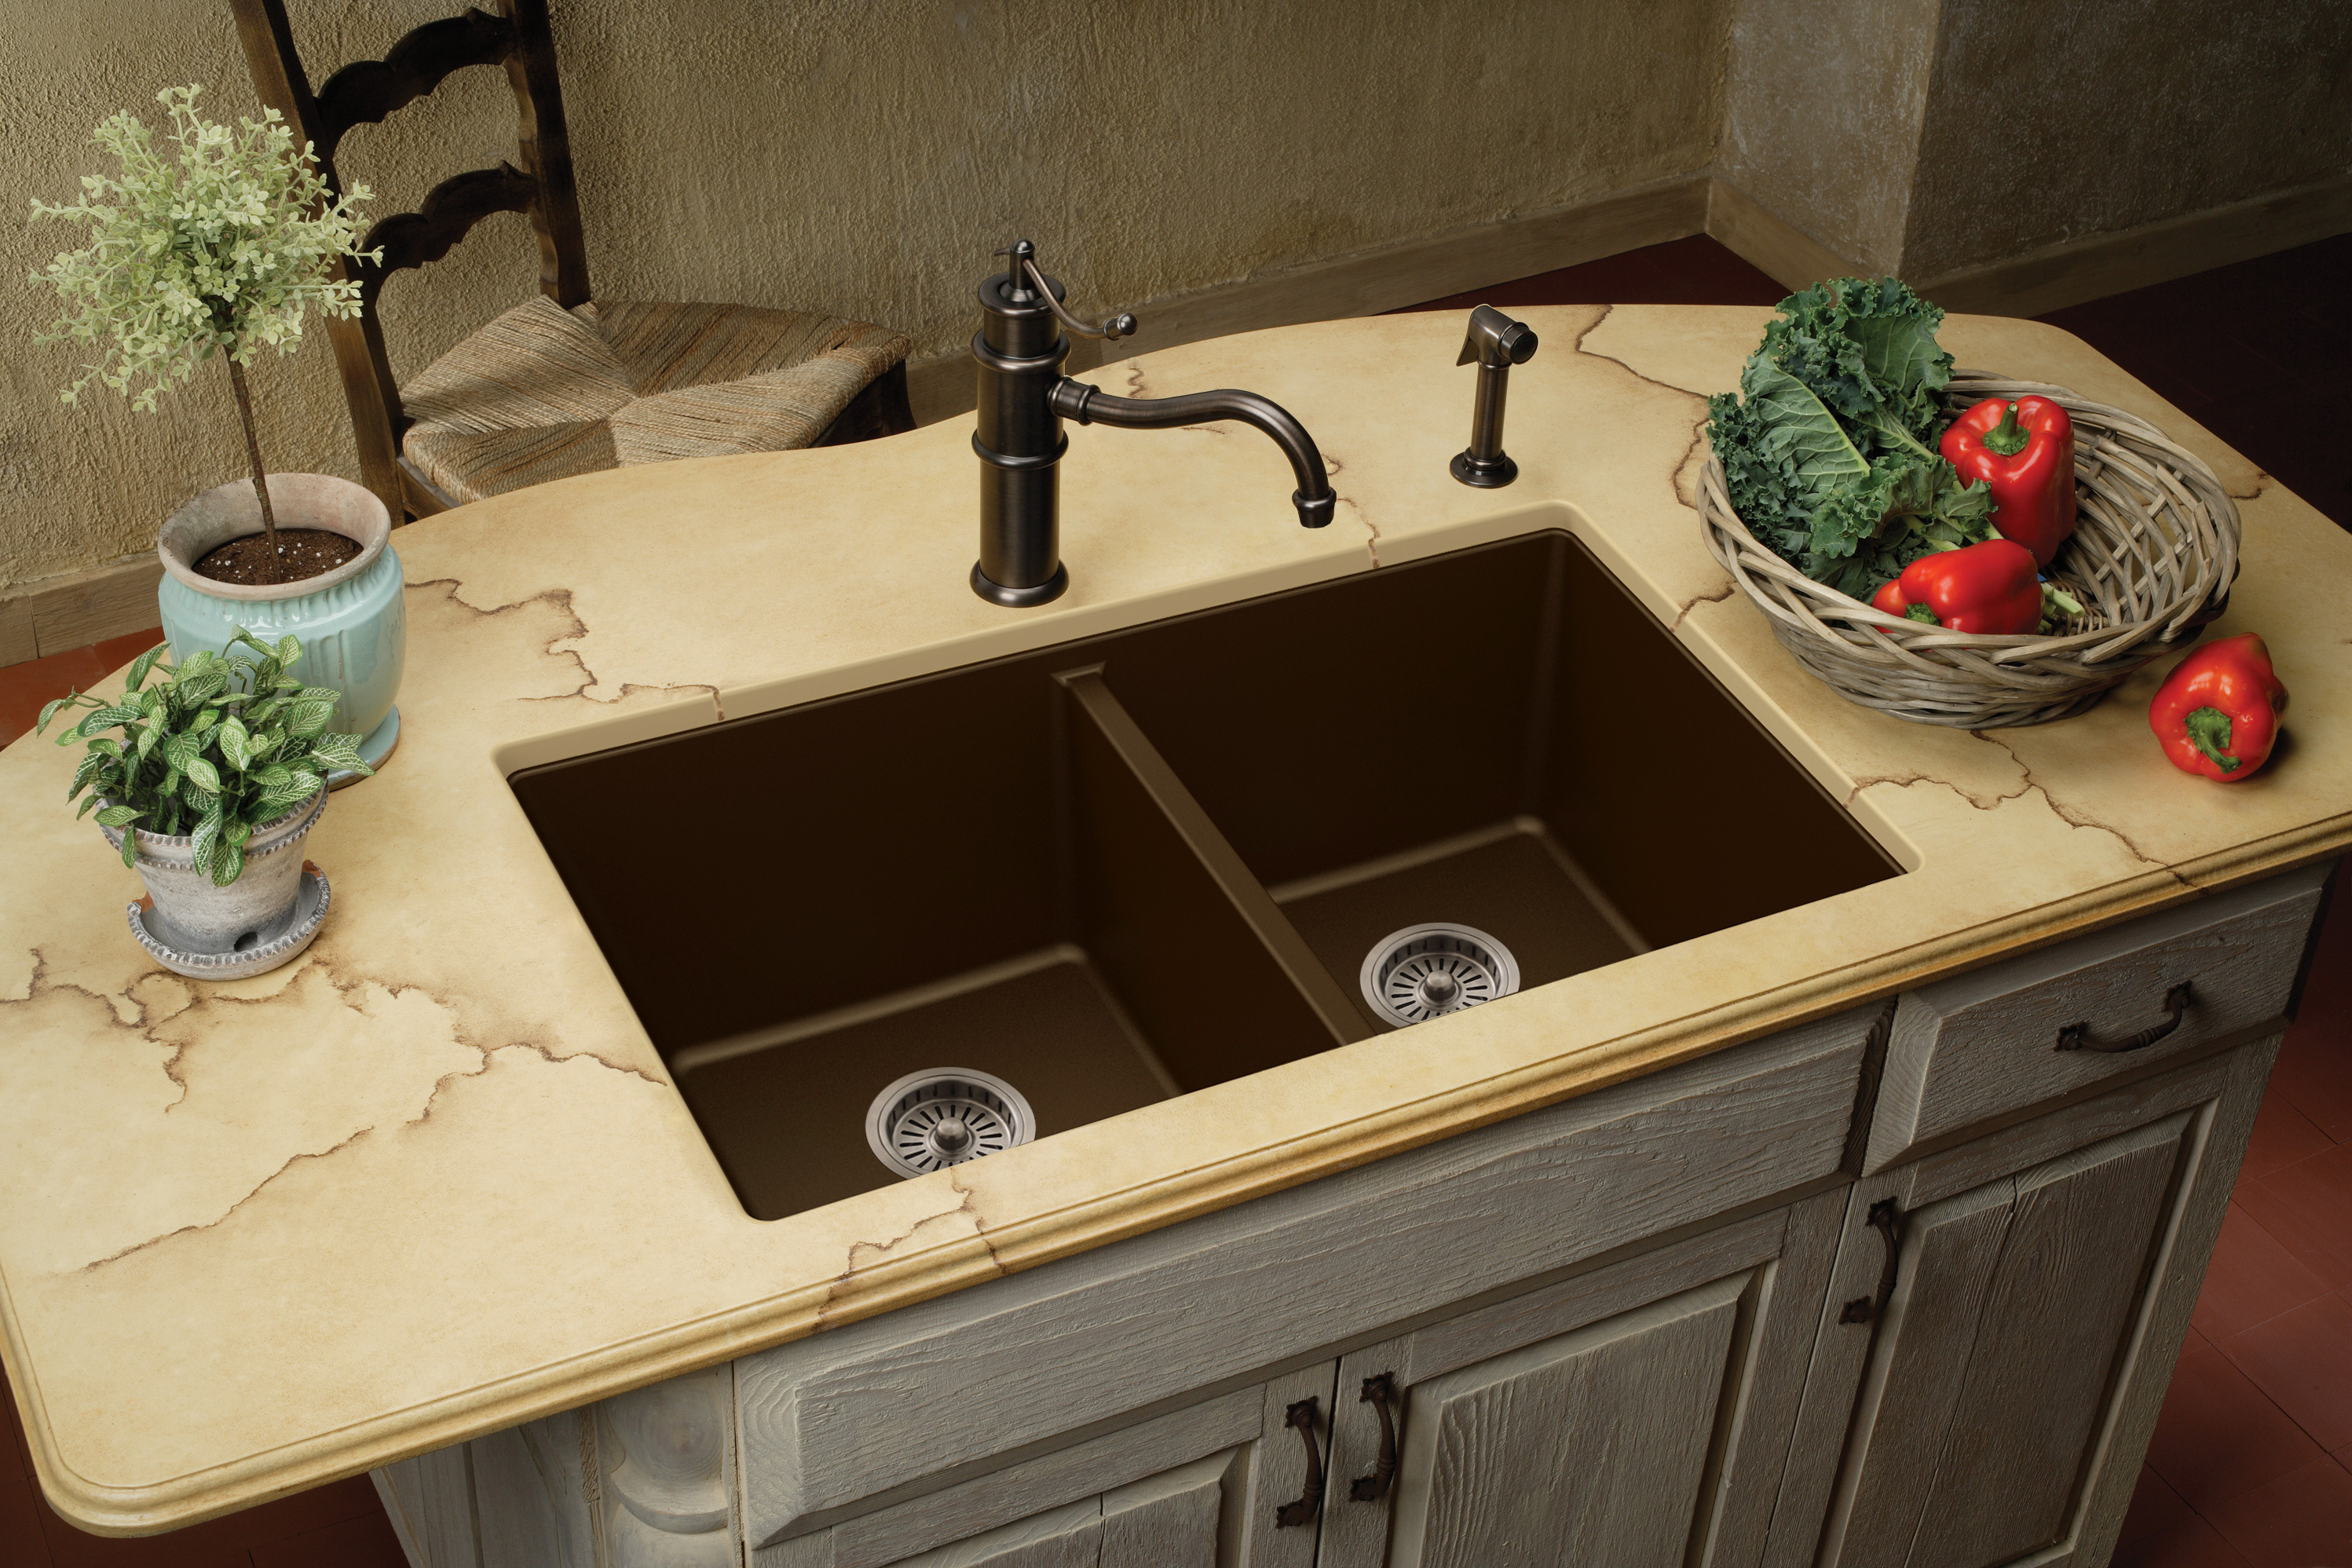
 When choosing to mount a kitchen sink, there are a few design considerations to keep in mind. Firstly, the type of countertop material you have will affect the installation process. For example, granite and quartz countertops may require professional installation due to their weight and density. Additionally, you will need to decide whether you want a single or double bowl sink, as well as the size and shape that best suits your needs and kitchen layout.
In conclusion,
mounting a kitchen sink
is a practical and stylish choice for any modern kitchen design. Not only does it save space and create a streamlined look, but it also adds value and functionality to your home. With the right tools and a little bit of know-how, you can easily mount a kitchen sink and elevate the overall design of your kitchen.
When choosing to mount a kitchen sink, there are a few design considerations to keep in mind. Firstly, the type of countertop material you have will affect the installation process. For example, granite and quartz countertops may require professional installation due to their weight and density. Additionally, you will need to decide whether you want a single or double bowl sink, as well as the size and shape that best suits your needs and kitchen layout.
In conclusion,
mounting a kitchen sink
is a practical and stylish choice for any modern kitchen design. Not only does it save space and create a streamlined look, but it also adds value and functionality to your home. With the right tools and a little bit of know-how, you can easily mount a kitchen sink and elevate the overall design of your kitchen.