If you have a Moen kitchen faucet, you may have encountered the frustrating and wasteful problem of a leaky faucet. Not only is a leaky faucet annoying, but it can also lead to higher water bills and potential damage to your sink and cabinets. The good news is that fixing a leaky Moen kitchen faucet under the sink is a relatively simple task that you can do yourself with the right tools and a little know-how.How to Fix a Leaky Moen Kitchen Faucet Under the Sink
Before we dive into the steps to fix a leaky Moen kitchen faucet under the sink, it's important to understand the common causes of this issue. The most common culprit is a worn out O-ring, which is a small rubber ring that helps to create a watertight seal between the faucet and the sink. Other potential causes include a damaged cartridge or valve, loose connections, or a crack in the faucet itself.Common Causes of a Leaking Moen Kitchen Faucet Under the Sink
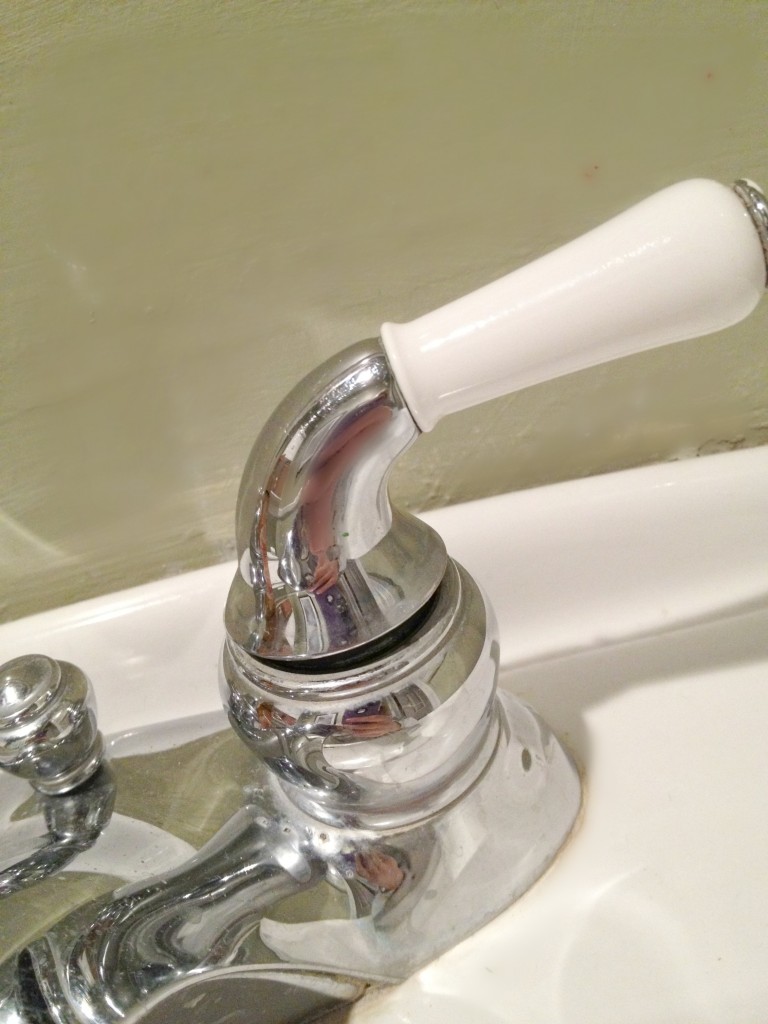
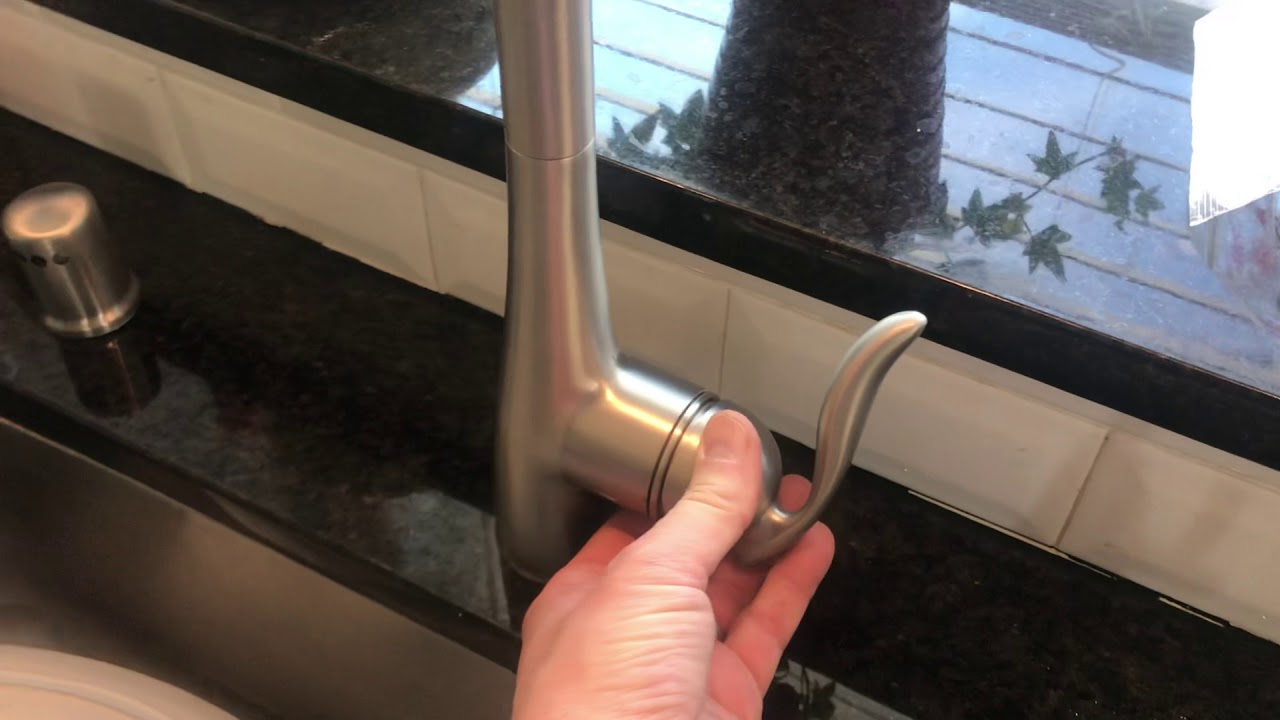
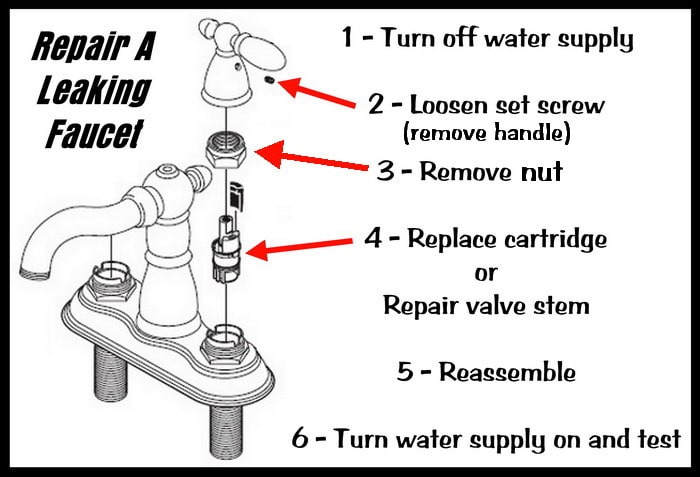
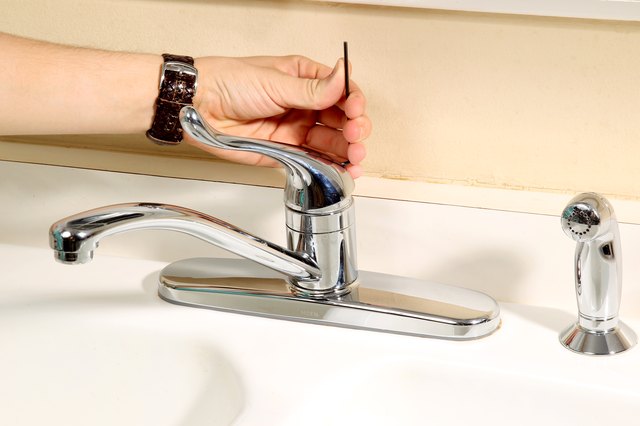
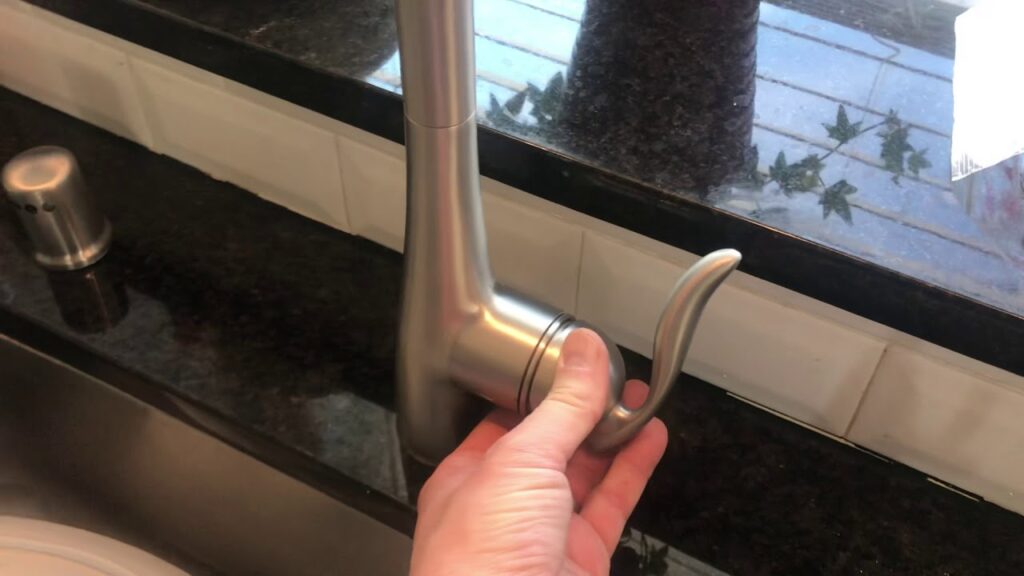
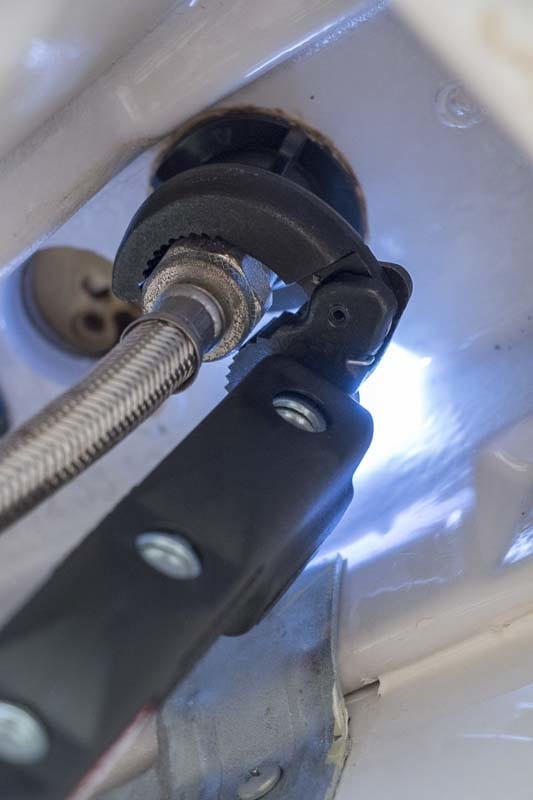
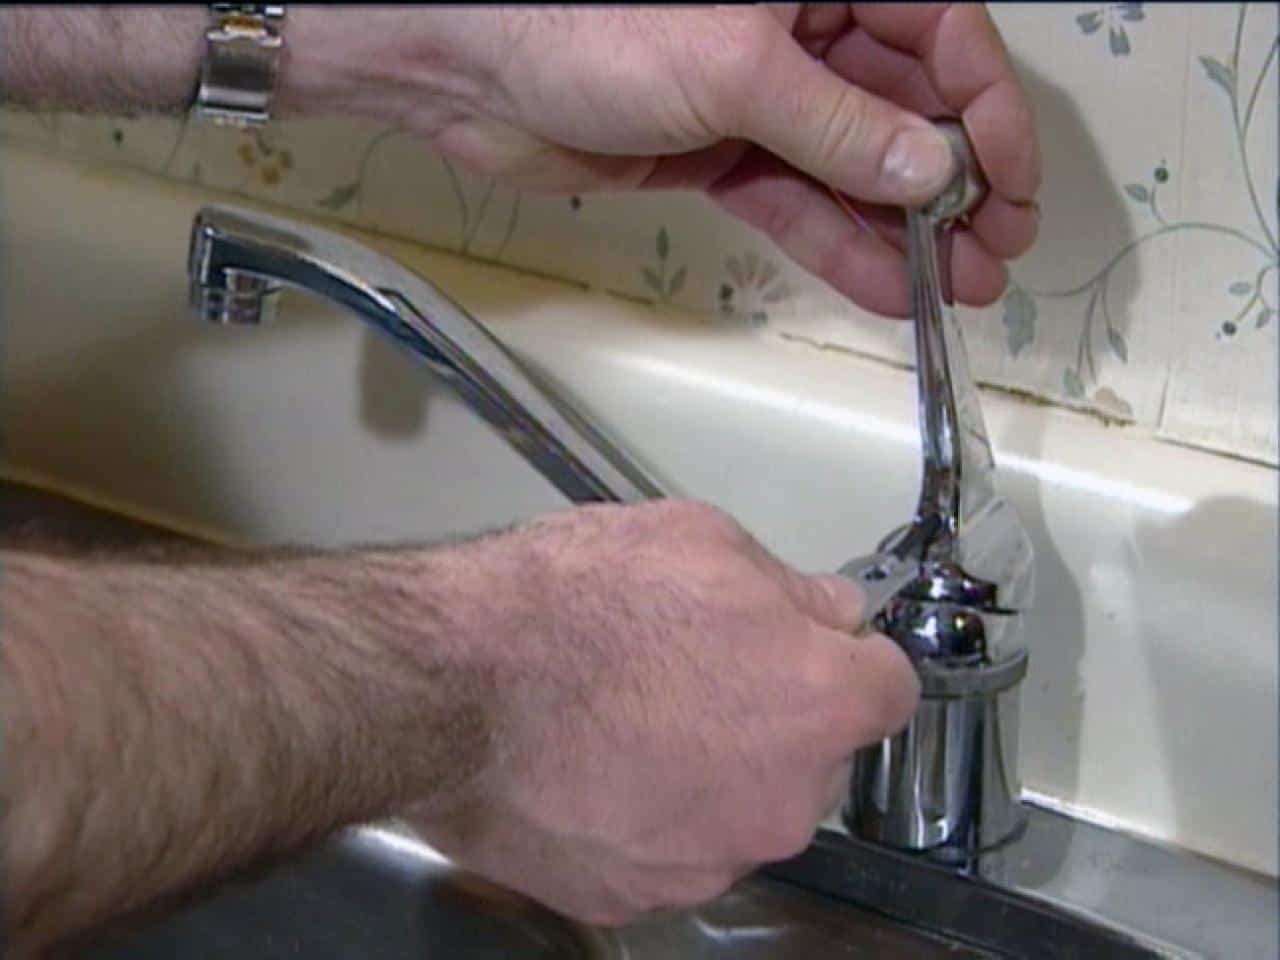
Now that you have an idea of what could be causing your Moen kitchen faucet to leak under the sink, let's go through the steps to fix it. Step 1: Shut off the water supply. Before you begin any repairs, it's important to turn off the water supply to your faucet. Look for the shut-off valves under your sink and turn them off in a clockwise direction. Step 2: Remove the faucet handle. Use a screwdriver to remove the screw holding the faucet handle in place. Once the screw is removed, you should be able to lift off the handle and expose the cartridge or valve inside. Step 3: Inspect the O-ring. The O-ring is a small, circular rubber ring that sits around the valve or cartridge. If it appears worn or damaged, this is likely the cause of your leak. Use pliers to carefully remove the O-ring and replace it with a new one. Step 4: Check the cartridge or valve. If the O-ring looks fine, the issue may be with the cartridge or valve itself. Use pliers to remove the cartridge or valve and inspect it for any cracks or damage. If you notice any issues, you will need to replace the entire cartridge or valve. Step 5: Reassemble the faucet. Once you have replaced the O-ring or the cartridge/valve, reassemble the faucet in the reverse order you took it apart. Make sure everything is tightly screwed in place to prevent any future leaks. Step 6: Turn the water supply back on. With the faucet reassembled, it's time to turn the water supply back on. Slowly turn the shut-off valves back on in a counterclockwise direction and check for any leaks. If you don't see any, congratulations! You have successfully fixed your leaky Moen kitchen faucet under the sink.Step-by-Step Guide to Repairing a Leaky Moen Kitchen Faucet Under the Sink
If you prefer a visual guide, check out this helpful video tutorial on how to fix a leaky Moen kitchen faucet under the sink.Video Tutorial: How to Fix a Leaky Moen Kitchen Faucet Under the Sink
If your Moen kitchen faucet is beyond repair and needs to be replaced, here are five top-rated options to consider: 1. Moen Arbor MotionSense Touchless Kitchen Faucet – This high-tech faucet allows for hands-free operation and comes with a limited lifetime warranty. 2. Moen Align High Arc Pulldown Kitchen Faucet – This sleek and modern faucet features a high arc design for added convenience and a spot-resistant finish to keep it looking clean. 3. Moen Brantford High Arc Pulldown Kitchen Faucet – With a classic and elegant design, this faucet adds a touch of sophistication to any kitchen and features a pull-down sprayer for easy cleaning. 4. Moen Kaden Single Handle Pullout Kitchen Faucet – This budget-friendly option offers a simple and functional design, with a pull-out sprayer and a limited lifetime warranty. 5. Moen Noell Single Handle Standard Kitchen Faucet – This traditional-style faucet offers a simple and timeless design, with a convenient pull-down sprayer and a spot-resistant finish.Top 5 Moen Kitchen Faucets for Under Sink Leaks
The best way to deal with a leaky Moen kitchen faucet under the sink is to prevent it from happening in the first place. Here are a few tips to help keep your faucet in good working condition: 1. Regularly clean and maintain your faucet. Wipe down your faucet regularly to prevent the build-up of mineral deposits and grime, which can cause leaks and other issues. 2. Don't use excessive force. When turning your faucet on or off, avoid using too much force, as this can cause damage to the valve or cartridge and lead to leaks. 3. Call a professional for installation. If you're installing a new Moen kitchen faucet, it's best to leave it to the professionals to ensure it's done correctly and avoid any potential leaks or issues.How to Prevent a Moen Kitchen Faucet from Leaking Under the Sink
It's essential to keep an eye out for any signs that your Moen kitchen faucet is leaking under the sink so you can address the issue before it becomes a bigger problem. Look out for the following signs: 1. Dripping or puddles of water under the sink. This is the most obvious sign of a leaky faucet and should be addressed as soon as possible. 2. Reduced water pressure. If you notice a decrease in water pressure, it could be a sign that your faucet is leaking and needs to be repaired. 3. Rust or mineral build-up around the faucet. If you notice any rust or mineral deposits around the base of your faucet, it could be a sign of a leak.Signs that Your Moen Kitchen Faucet is Leaking Under the Sink
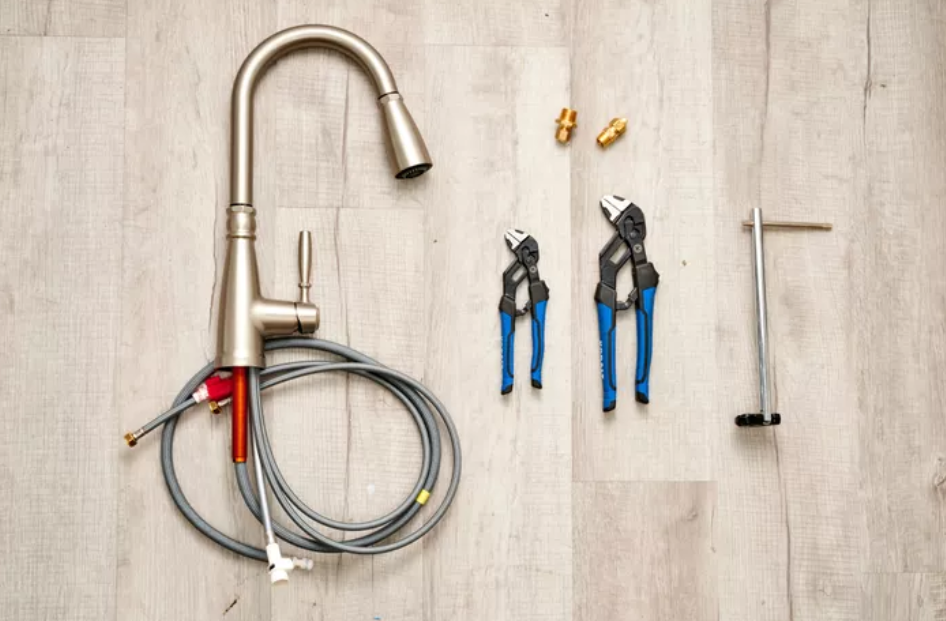
Here are a few additional tips from experts to help you successfully fix a leaky Moen kitchen faucet under the sink: 1. Use the correct tools. Make sure you have the right tools for the job, including a set of pliers, screwdriver, and replacement parts if needed. 2. Take your time. Rushing through the repair process can lead to mistakes and potentially make the issue worse. Take your time and follow the steps carefully. 3. Keep a towel handy. Have a towel on hand to soak up any water that may spill out during the repair process.Expert Tips for Fixing a Leaky Moen Kitchen Faucet Under the Sink
While fixing a leaky Moen kitchen faucet under the sink is a relatively straightforward task, there are a few common mistakes to avoid: 1. Not turning off the water supply. Forgetting to turn off the water supply can lead to a big mess and potential damage to your sink and cabinets. 2. Using the wrong size or type of O-ring. Make sure to use the correct size and type of O-ring for your faucet to prevent further leaks. 3. Reassembling the faucet incorrectly. If the faucet is not reassembled correctly, it can lead to more leaks and even damage to the faucet itself.Common Mistakes to Avoid When Repairing a Leaky Moen Kitchen Faucet Under the Sink
If you're not comfortable or confident in your ability to fix a leaky Moen kitchen faucet under the sink, it's best to call a professional plumber. Additionally, if you've followed all the steps and the faucet is still leaking, it may be a sign of a more significant issue that requires professional attention. In conclusion, a leaky Moen kitchen faucet under the sink is a common and fixable problem. With the right tools and knowledge, you can easily repair the leak yourself and save yourself time and money in the long run.When to Call a Professional for a Leaky Moen Kitchen Faucet Under the Sink
How to Fix a Leaky Moen Kitchen Faucet Under Your Sink

A Common Household Problem
 If you have a Moen kitchen faucet, you may have experienced the frustration of a leak at some point. Not only can this be an annoyance, but it can also lead to wasted water and potentially damage to your sink and cabinets. One of the most common places for a Moen kitchen faucet to leak is under the sink. But don't worry, this is a fixable problem that you can easily tackle on your own.
Identifying the Source of the Leak
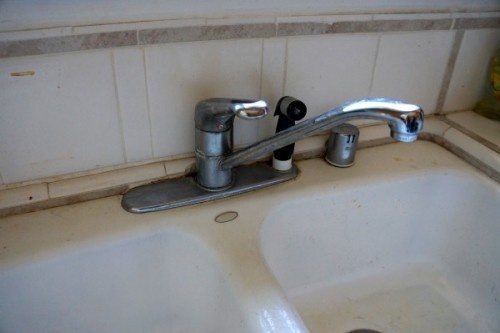
 Before you can fix the leak, you need to determine where it's coming from. Start by turning off the water supply to your faucet. Then, dry off the area under your sink to get a better look. Look for any visible cracks or holes in the pipes or connections. If you see any, those will need to be replaced. However, if the pipes and connections look intact, the leak is likely coming from the faucet itself.
Replacing the O-Ring
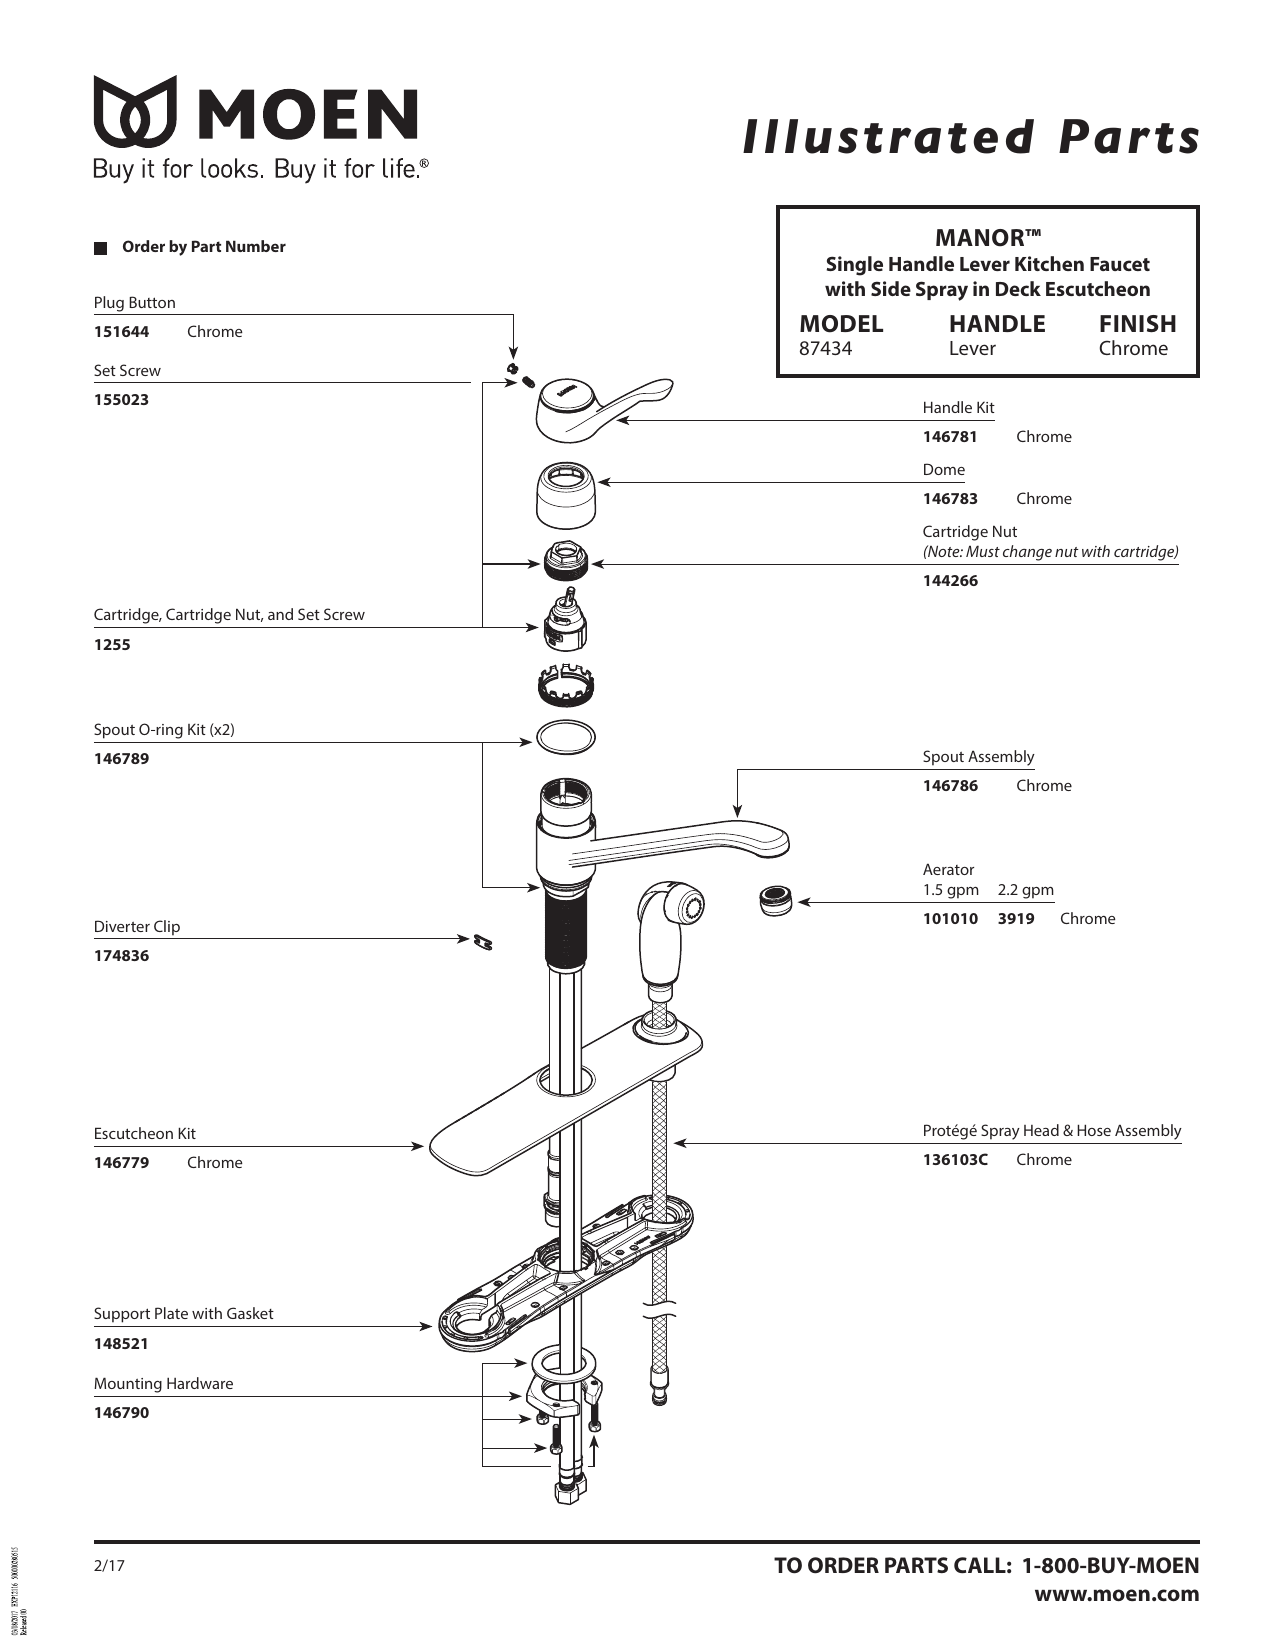
 The most common cause of a leaky Moen kitchen faucet is a worn out O-ring. This small rubber ring is located at the base of the faucet and helps create a tight seal. Over time, it can become cracked or worn, causing water to leak out. To fix this, you'll need to turn off the water supply and then remove the handle and spout of your faucet. The O-ring can then be replaced with a new one. Make sure to clean and lubricate the area before reassembling the faucet.
Fixing the Cartridge
 If the O-ring replacement doesn't solve the problem, the issue may be with the cartridge. This is a small piece inside the faucet that controls the flow of water. Over time, it can become worn or damaged, leading to leaks. To replace the cartridge, you'll need to disassemble the faucet and remove the old one. Make sure to clean the area and replace it with a new cartridge before reassembling.
Calling in a Professional
:max_bytes(150000):strip_icc()/installing-a-moen-kitchen-faucet-2718847-05-18a8625ea2ea4e04a984f3df633399cc.jpg) If you're not comfortable tackling this repair on your own, don't hesitate to call in a professional plumber. They have the expertise and tools to quickly fix any issues with your Moen kitchen faucet. They can also inspect your entire plumbing system to ensure there are no other hidden leaks or problems.
Conclusion:
A leaky Moen kitchen faucet under your sink is a common household issue, but with the right tools and knowledge, it's an easy problem to fix. By identifying the source of the leak and replacing the necessary parts, you can have your faucet working like new in no time. And if you're not confident in your DIY skills, a professional plumber is always just a phone call away. Don't let a leaky faucet disrupt your daily routine and waste water – take action to fix the problem today.
If you're not comfortable tackling this repair on your own, don't hesitate to call in a professional plumber. They have the expertise and tools to quickly fix any issues with your Moen kitchen faucet. They can also inspect your entire plumbing system to ensure there are no other hidden leaks or problems.
Conclusion:
A leaky Moen kitchen faucet under your sink is a common household issue, but with the right tools and knowledge, it's an easy problem to fix. By identifying the source of the leak and replacing the necessary parts, you can have your faucet working like new in no time. And if you're not confident in your DIY skills, a professional plumber is always just a phone call away. Don't let a leaky faucet disrupt your daily routine and waste water – take action to fix the problem today.























:no_upscale()/cdn.vox-cdn.com/uploads/chorus_asset/file/18325730/ColdBeer_31.jpg)


