How to Fix a Leaky Kitchen Sink Faucet
If you're dealing with a leaky kitchen sink faucet, you're not alone. This common household problem can be frustrating and lead to wasted water and higher water bills. However, fixing a leaky kitchen sink faucet is not as daunting as it may seem. With a few simple tools and some basic knowledge, you can easily repair your faucet and save yourself the hassle and expense of hiring a professional.
How to Repair a Leaky Kitchen Faucet
Before you begin the repair process, it's important to understand the common causes of a leaky kitchen sink faucet. The most common cause is a worn out or damaged O-ring or cartridge. These are small rubber pieces that help create a watertight seal inside your faucet. Over time, they can wear out and cause leaks. Other possible causes include loose connections, corroded pipes, or a damaged valve seat.
Common Causes of a Leaky Kitchen Sink Faucet
1. Worn or Damaged O-ring or Cartridge: As mentioned, this is the most common cause of a leaky kitchen sink faucet.
2. Loose Connections: If any of the connections between the faucet and the water supply pipes are loose, it can cause a leak.
3. Corroded Pipes: Over time, pipes can corrode and develop holes, leading to leaks.
4. Damaged Valve Seat: The valve seat is the part of the faucet that connects the spout to the base. If it becomes damaged, it can cause leaks.
Steps to Fix a Leaky Kitchen Sink Faucet
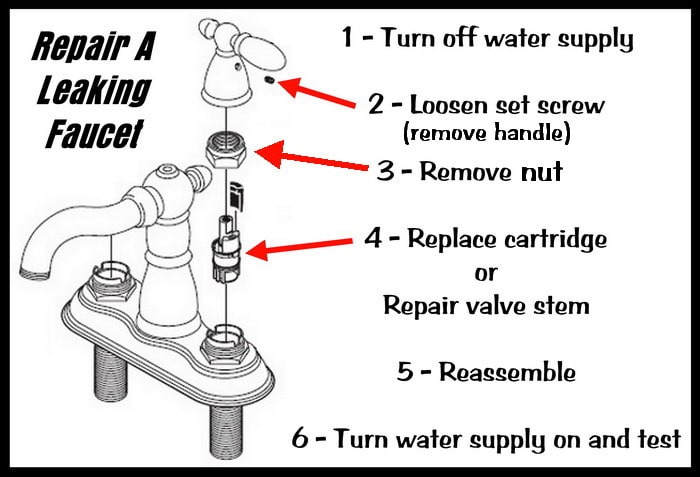
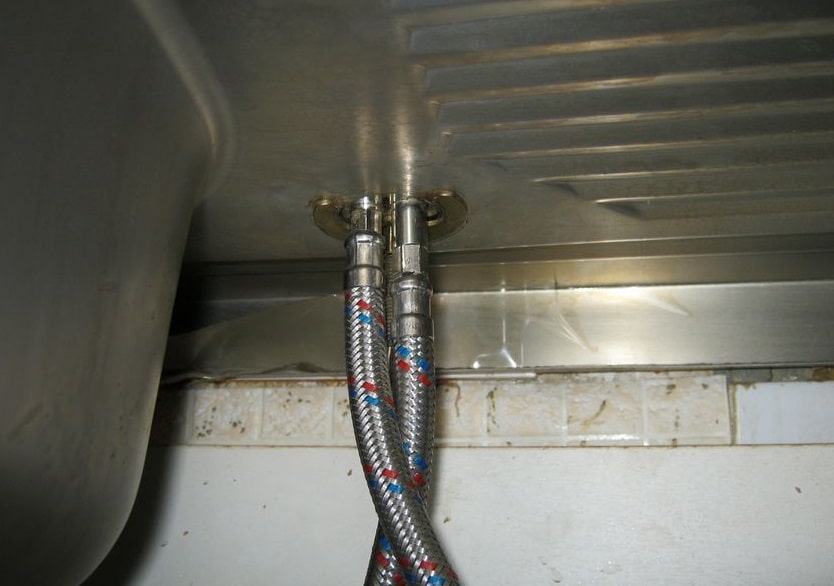
1. Turn Off the Water Supply: Before you begin any repairs, make sure to turn off the water supply to your faucet. There should be a shut-off valve under your sink.
2. Gather Your Tools: You will need a basin wrench, pliers, screwdrivers, and possibly an adjustable wrench.
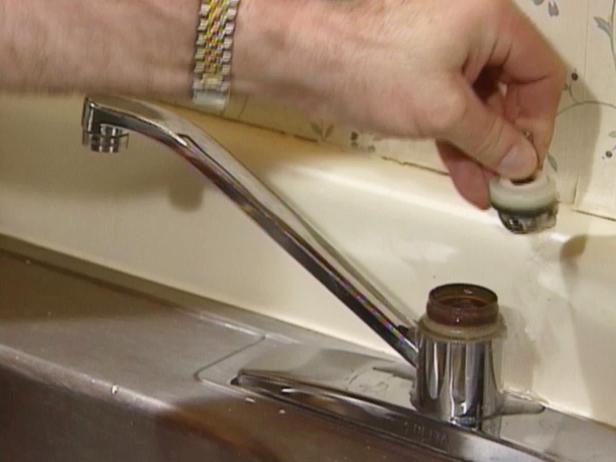
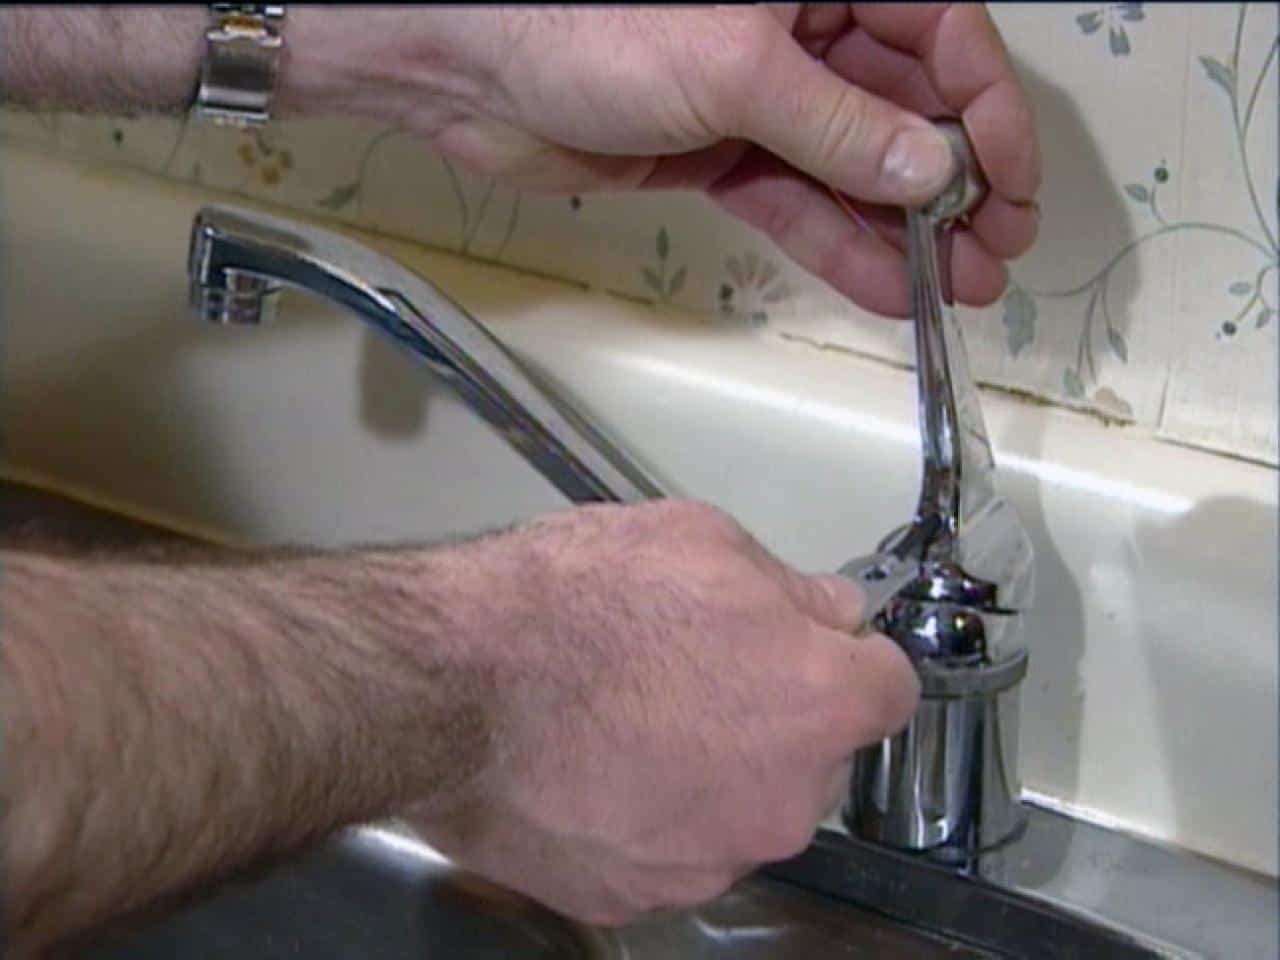
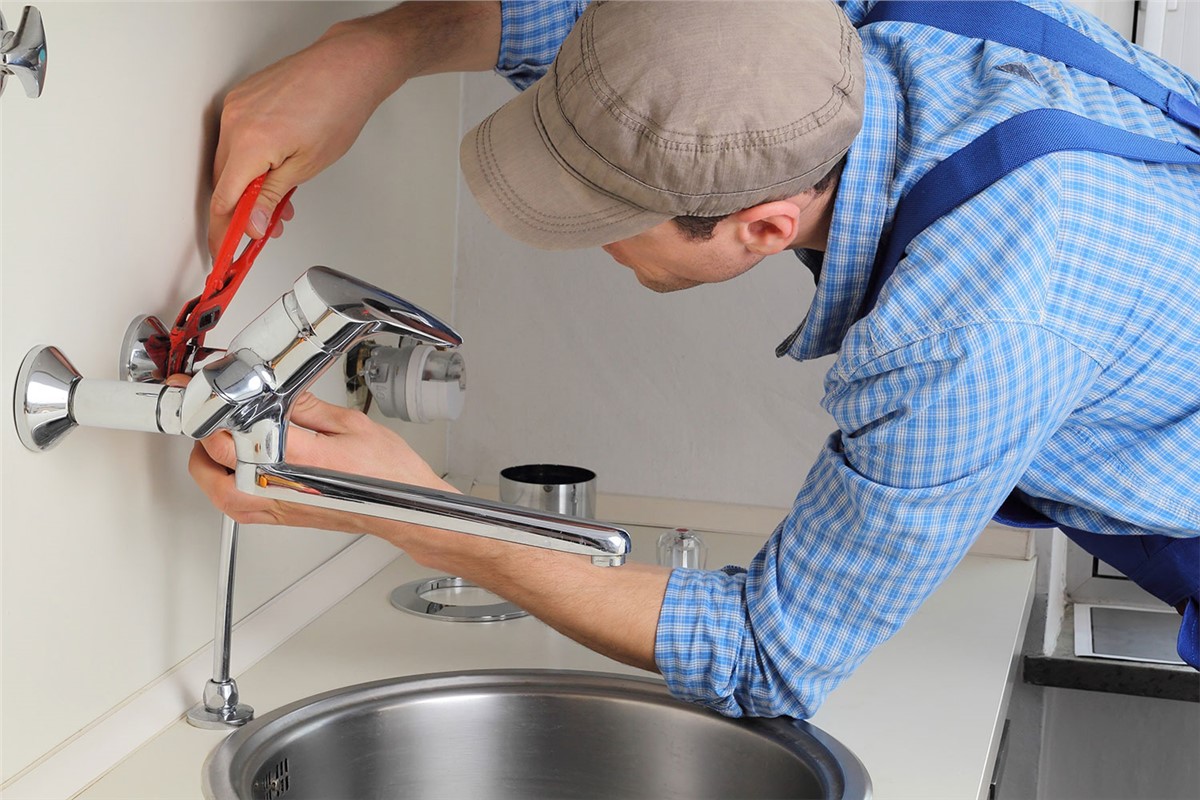
3. Disassemble the Faucet: Using your basin wrench, remove the handle and any decorative pieces from the faucet. Then, using pliers, remove the retaining nut and pull out the cartridge or O-ring.
4. Inspect and Replace Parts: Check the O-ring and cartridge for any signs of damage. If they are worn or damaged, replace them with new ones. You may also want to clean any debris or buildup from the faucet while it is disassembled.
5. Reassemble the Faucet: Once you have replaced any damaged parts and cleaned the faucet, reassemble it in the reverse order of disassembly. Make sure all connections are tight and secure.
6. Turn the Water Supply Back On: Once you have reassembled the faucet, turn the water supply back on and test for leaks. If there are still leaks, you may need to repeat the process or call a professional for further assistance.
DIY Kitchen Sink Faucet Leak Repair
Repairing a leaky kitchen sink faucet can save you time and money. However, it's important to know your limits. If you are not comfortable or confident in your ability to fix the faucet yourself, it's best to call a professional plumber. Attempting to fix a leak without proper knowledge or tools can cause more damage and end up costing you more in the long run.
Tools Needed to Fix a Leaky Kitchen Sink Faucet
1. Basin Wrench: This specialized tool is designed to help you reach and loosen nuts in tight spaces, such as under the sink.
2. Pliers: Pliers can be helpful for removing and tightening connections on the faucet.
3. Screwdrivers: You will likely need a flathead and Phillips head screwdriver for disassembling and reassembling the faucet.
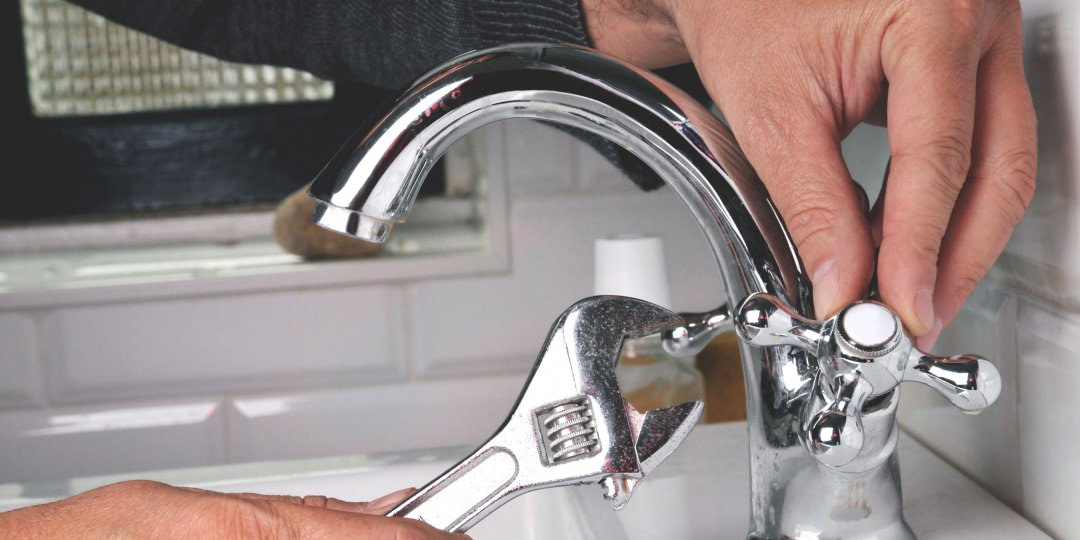
4. Adjustable Wrench: This may be needed to remove the faucet's retaining nut.
How to Replace a Kitchen Sink Faucet
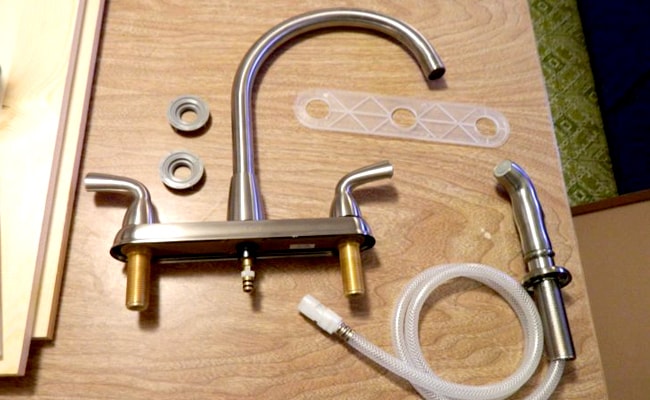
If your kitchen sink faucet is beyond repair, or if you simply want to upgrade to a new one, replacing it is a relatively straightforward process. Follow these steps:
1. Turn off the water supply to the faucet.
2. Gather your tools, including a basin wrench, pliers, and screwdrivers.
3. Disconnect the water supply lines from the faucet.
4. Remove the old faucet using your basin wrench.
5. Install the new faucet according to the manufacturer's instructions.
6. Reconnect the water supply lines and turn the water supply back on.
Signs of a Leaky Kitchen Sink Faucet
It's important to be able to recognize the signs of a leaky kitchen sink faucet so you can address the issue before it becomes a bigger problem. Signs of a leak may include:
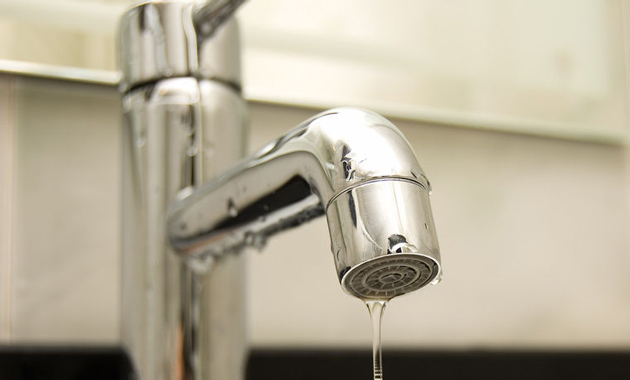
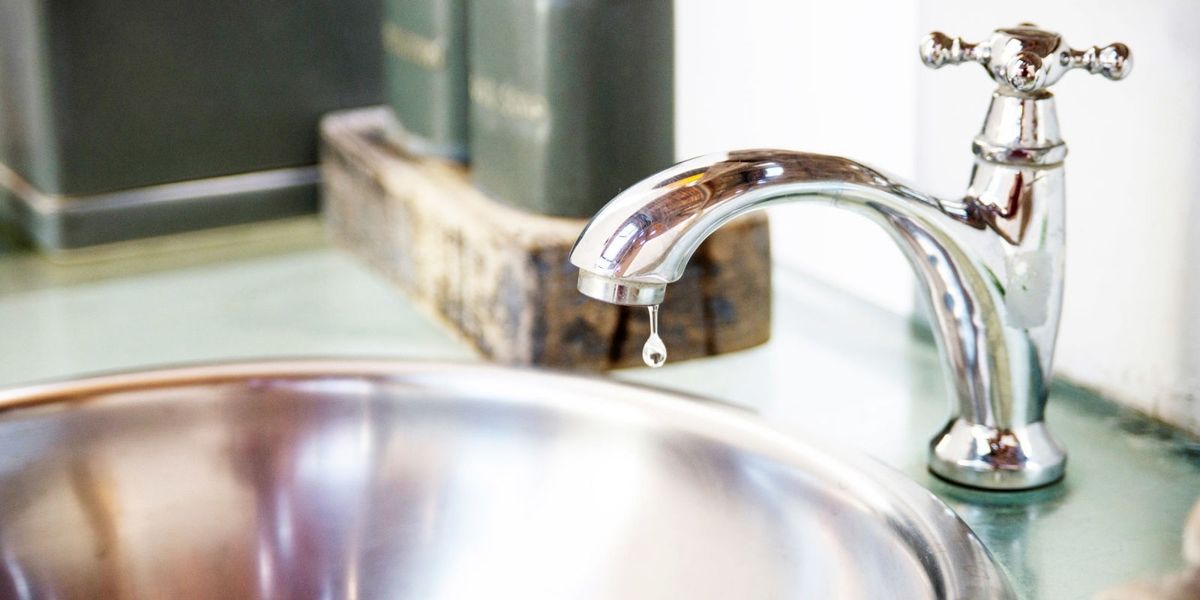
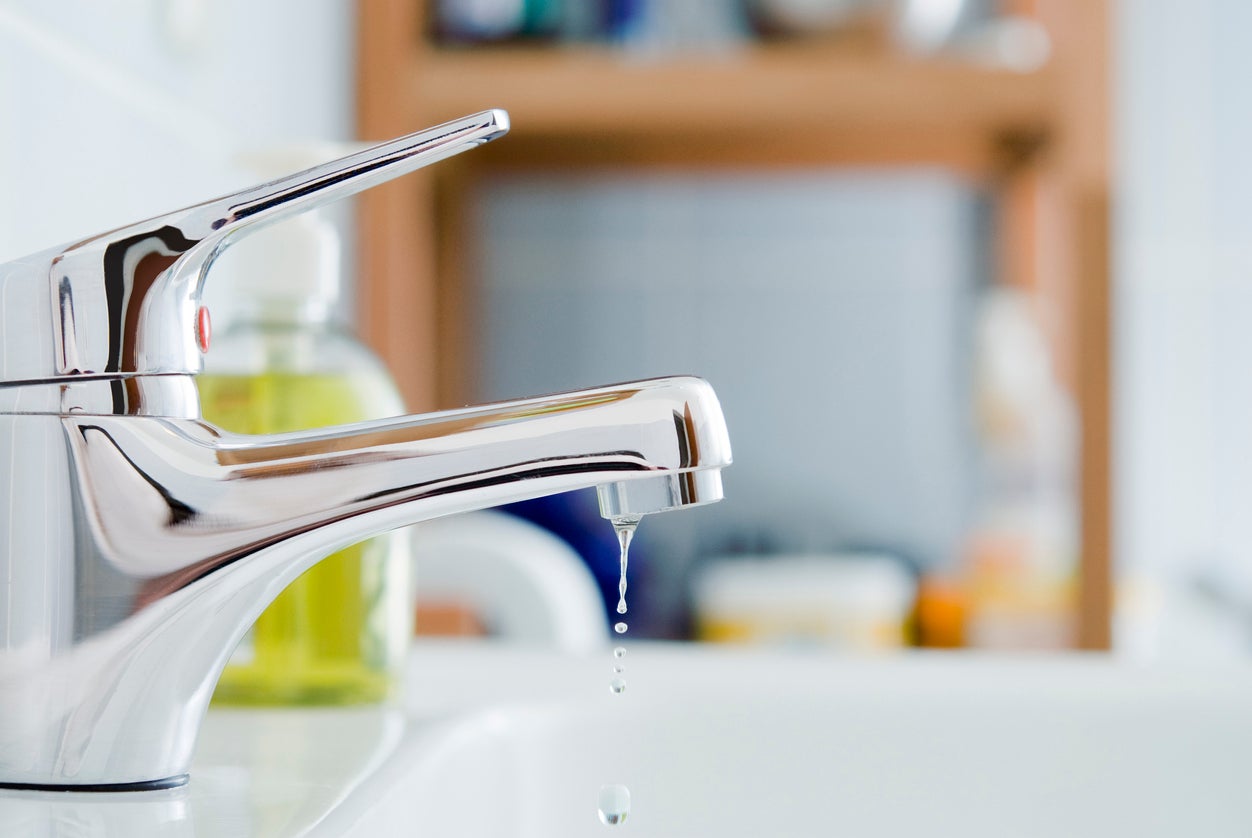
- Dripping or running water from the faucet when it is turned off
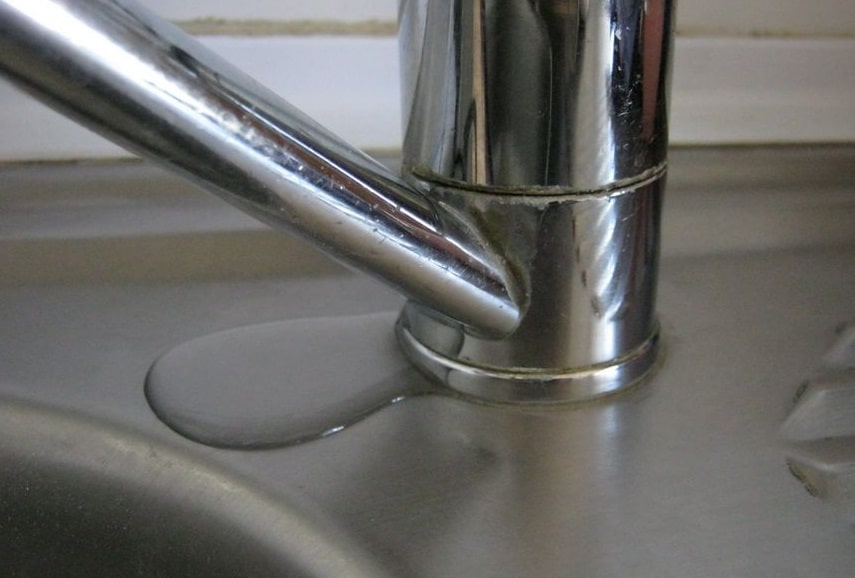
- Water pooling around the base of the faucet
- Decreased water pressure
- An increase in your water bill
How to Prevent a Kitchen Sink Faucet from Leaking
Prevention is key when it comes to avoiding a leaky kitchen sink faucet. Here are a few tips:
- Check your faucet regularly for any signs of wear or damage.
- Be gentle with the handles and turn them off completely to prevent wear and tear on the O-ring or cartridge.
- Don't overtighten connections, as this can also cause damage.
- Consider replacing your faucet every 10-15 years to prevent buildup and wear.
When to Call a Professional for a Leaky Kitchen Sink Faucet
While fixing a leaky kitchen sink faucet can be a DIY project, there are times when it's best to call a professional plumber. If you are unsure of the cause of the leak, or if you have attempted to fix it yourself with no success, it may be time to call in a professional. Additionally, if you are not comfortable or confident in your ability to fix the faucet, it's best to leave it to the experts.
The Inconvenient Reality of a Leaking Kitchen Sink at the Base of the Faucet
Signs of a Leaking Kitchen Sink
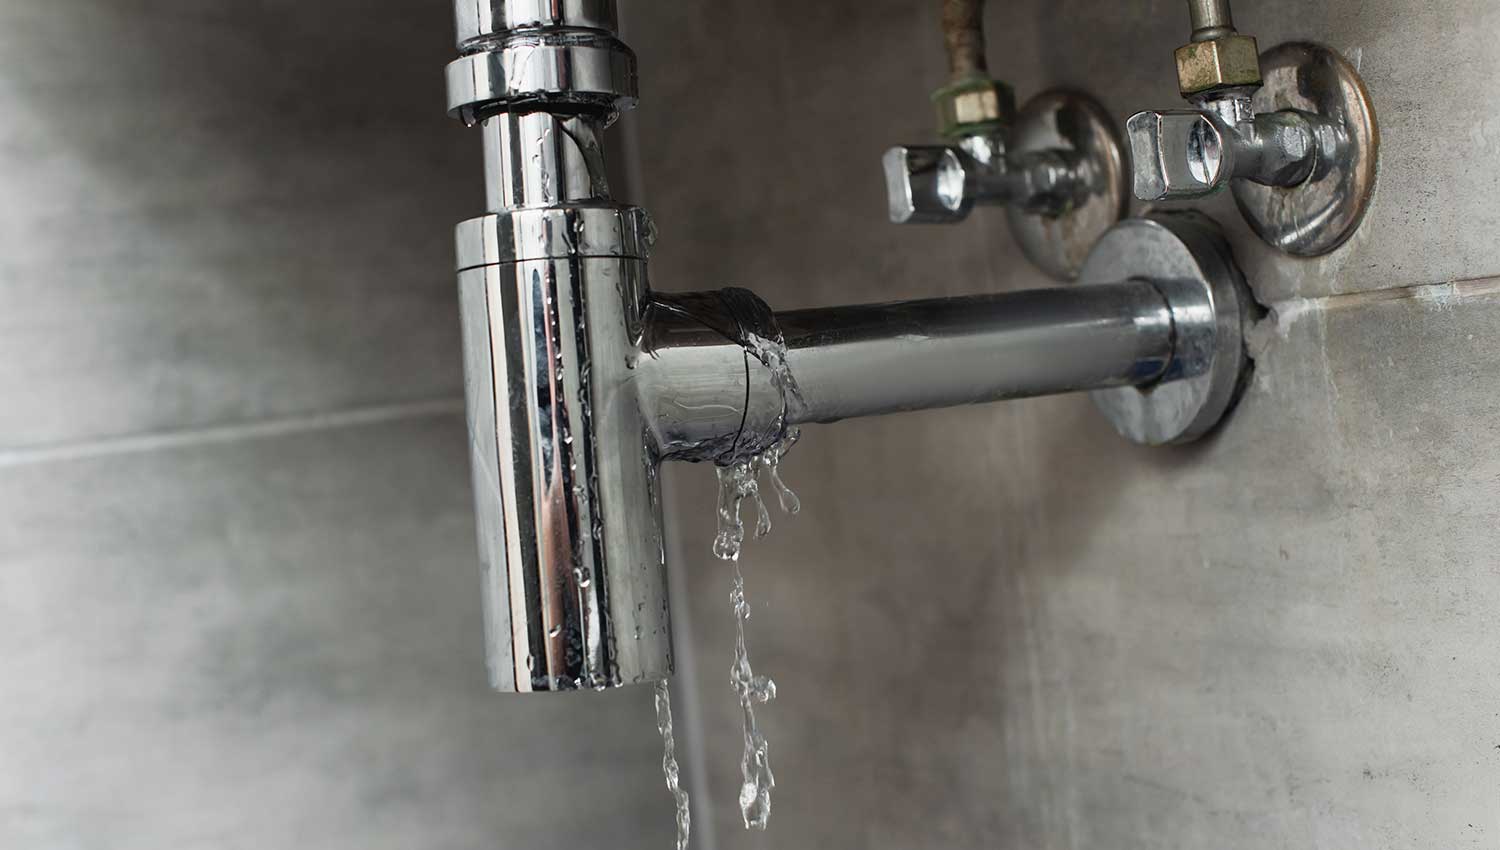
 A leaking kitchen sink is not only a nuisance but also a potential hazard for your home. If you have noticed water pooling around the base of your faucet, it is a clear indication that something is not right. Other signs of a leaking sink include damp cabinets, mold or mildew growth, and a musty odor in your kitchen. Ignoring these signs can lead to further damage and costly repairs.
The Causes of a Leaking Base Faucet
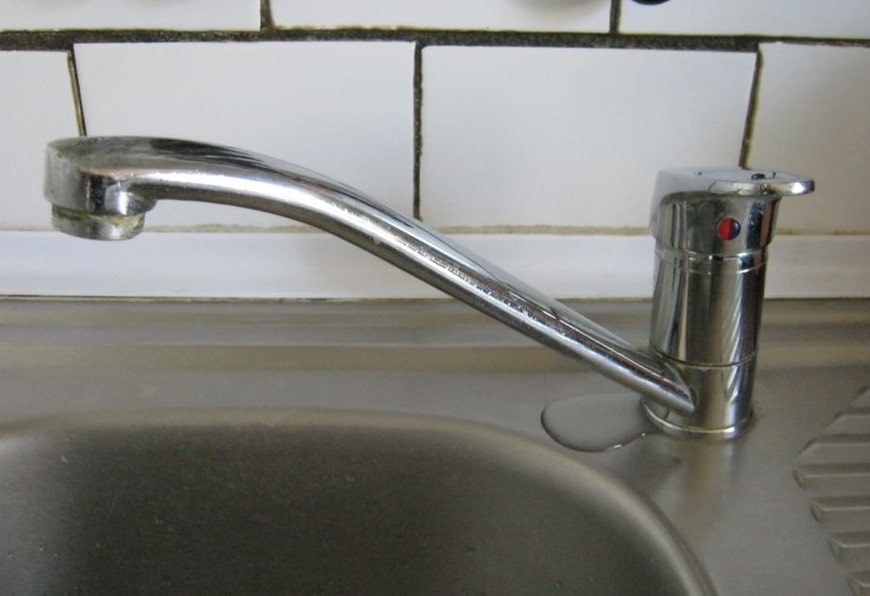 There are several possible reasons for a leaking kitchen sink at the base of the faucet. The most common cause is a worn-out or damaged O-ring, which is a small rubber ring that helps create a watertight seal between the faucet and the sink. Another possible culprit is a loose or corroded connection between the faucet and the water supply line. In some cases, the issue may also be caused by a cracked or damaged faucet body.
The Importance of Addressing the Issue
 A leaking kitchen sink may seem like a small problem, but it can lead to major consequences if left untreated. The constant presence of water can cause damage to your cabinets, flooring, and even the structural integrity of your home. Additionally, a leaking sink can waste a significant amount of water, leading to a higher water bill and a negative impact on the environment.
How to Fix a Leaking Kitchen Sink at the Base of the Faucet
 The good news is that a leaking kitchen sink at the base of the faucet is a common issue and can be easily fixed with some simple steps. First, turn off the water supply to your sink to prevent further leakage. Then, using a wrench, tighten the faucet's mounting nuts and connections. If the O-ring is damaged, it will need to be replaced. You can find a replacement at your local hardware store. It is also a good idea to check the faucet body for any cracks or damage and replace it if necessary.
Preventative Measures for the Future
 To avoid future leaks, it is essential to take preventative measures. Regularly check the connections and mounting nuts of your faucet for any signs of wear or damage. It is also a good idea to invest in a high-quality faucet with a durable O-ring to ensure a longer lifespan. Additionally, make sure to turn off the water supply before leaving your home for an extended period to prevent any potential leaks.
In conclusion, a leaking kitchen sink at the base of the faucet is a common issue that can lead to major consequences if left untreated. By understanding the signs, causes, and importance of addressing the issue, and taking preventative measures, you can avoid the inconvenience and potential damage of a leaking sink. Remember to always consult a professional plumber if you are unsure or uncomfortable with fixing the issue yourself. Don't let a leaking kitchen sink dampen your home design dreams.


