How to Fix a Leaky Kitchen Faucet: 10 Steps (with Pictures)
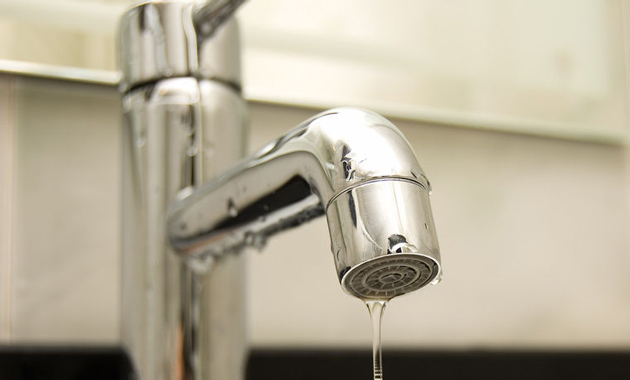
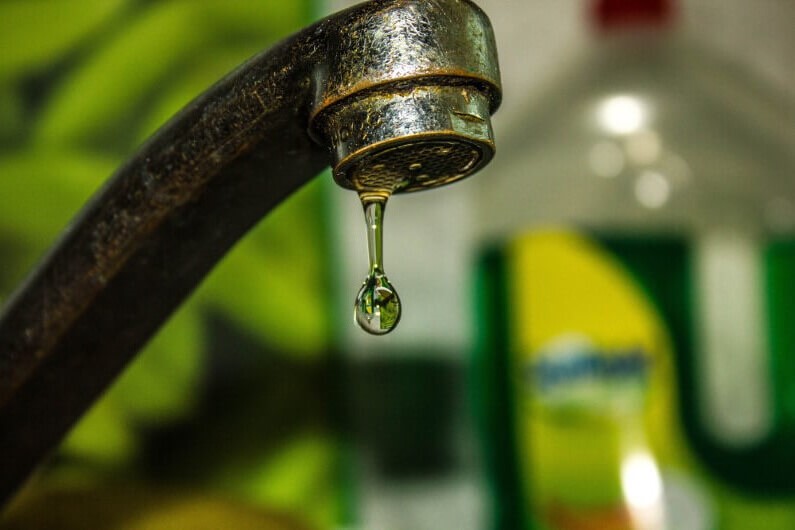
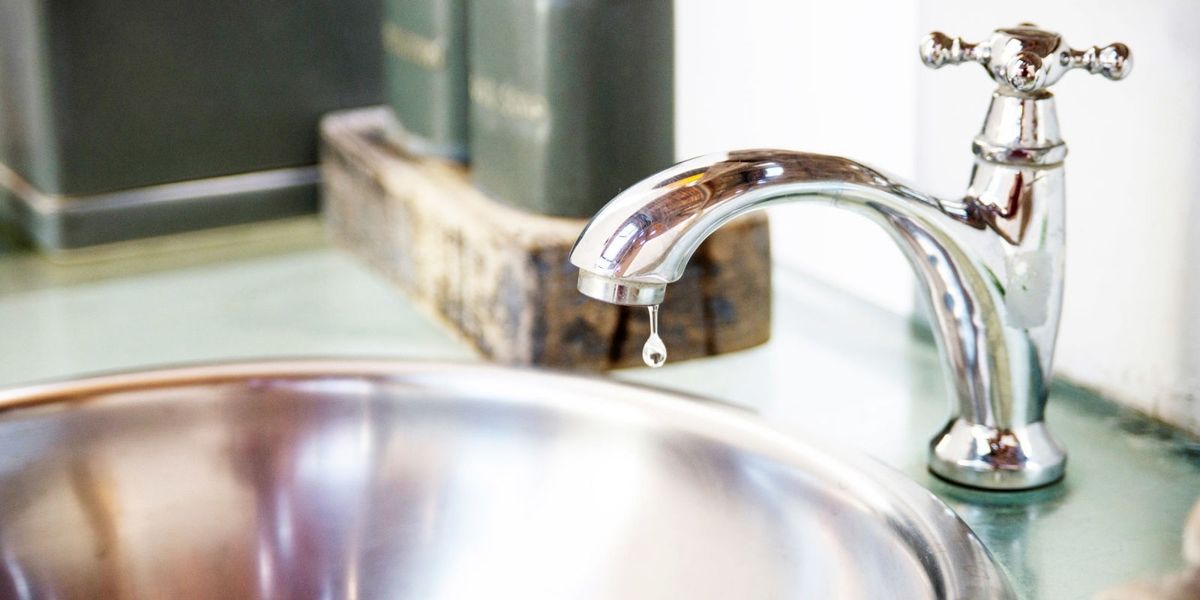
If you're constantly being greeted by a dripping sound every time you enter your kitchen, it's time to take action. Not only is a leaky kitchen faucet annoying, but it can also waste a significant amount of water and lead to higher water bills. The good news is that fixing a leaky kitchen faucet valve is a relatively simple task that you can do yourself. Follow these 10 steps to stop that drip and save some money.


How to Fix a Leaky Kitchen Faucet: 10 Steps (with Pictures)


Step 1: Gather Your Tools
Before you start the repair, make sure you have all the necessary tools. This includes an adjustable wrench, a flathead screwdriver, a Phillips head screwdriver, and replacement parts for your specific faucet. If you're not sure what parts you need, take a photo of your faucet and bring it to your local hardware store for assistance.


How to Repair a Leaky Kitchen Faucet Valve


Step 2: Shut Off the Water Supply
Before you start disassembling your faucet, make sure to shut off the water supply. Look for the shut-off valves under the sink and turn them clockwise to stop the water flow.


How to Fix a Leaky Faucet - The Home Depot


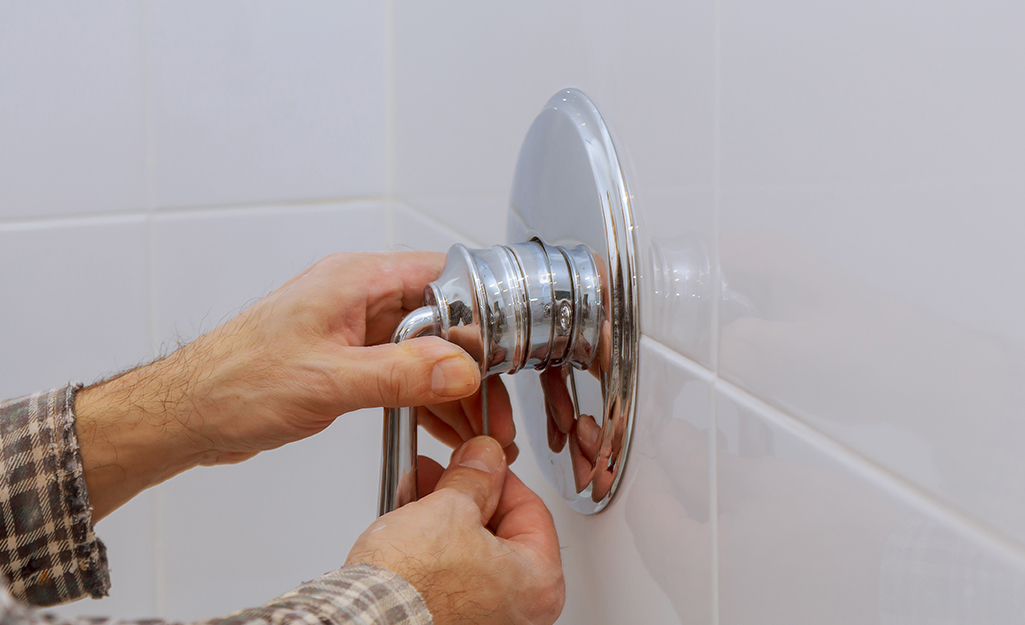


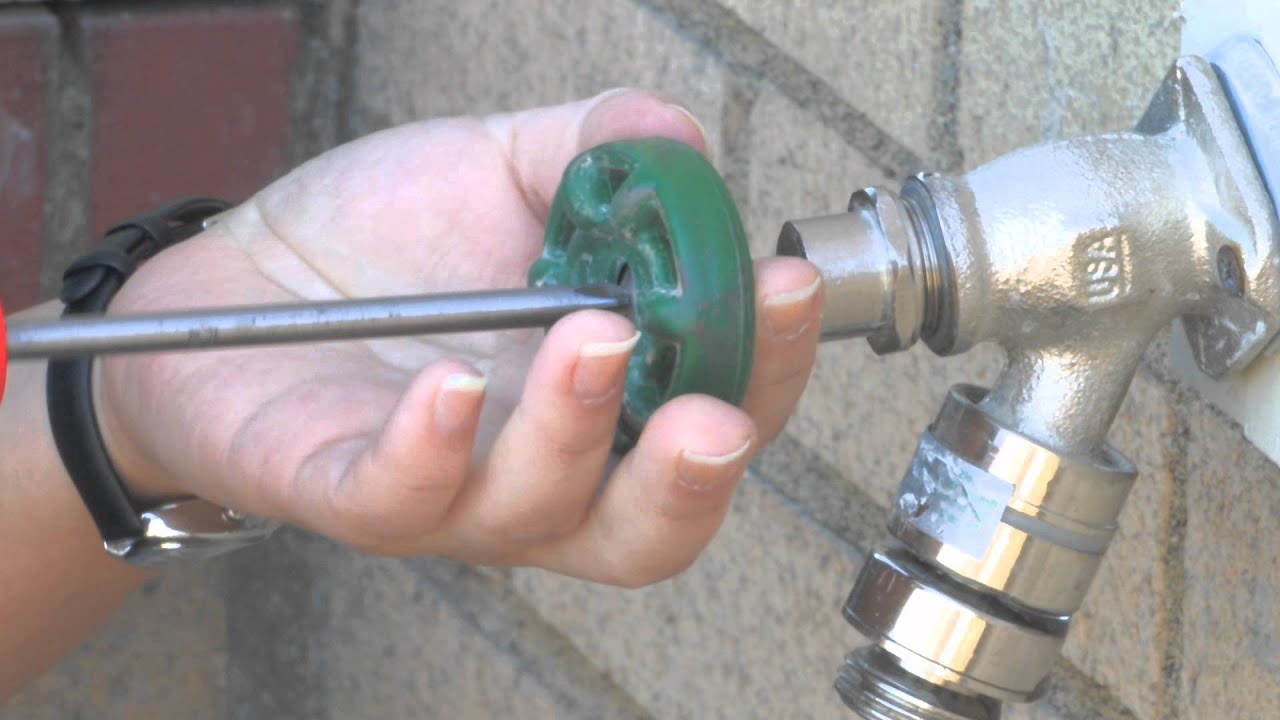
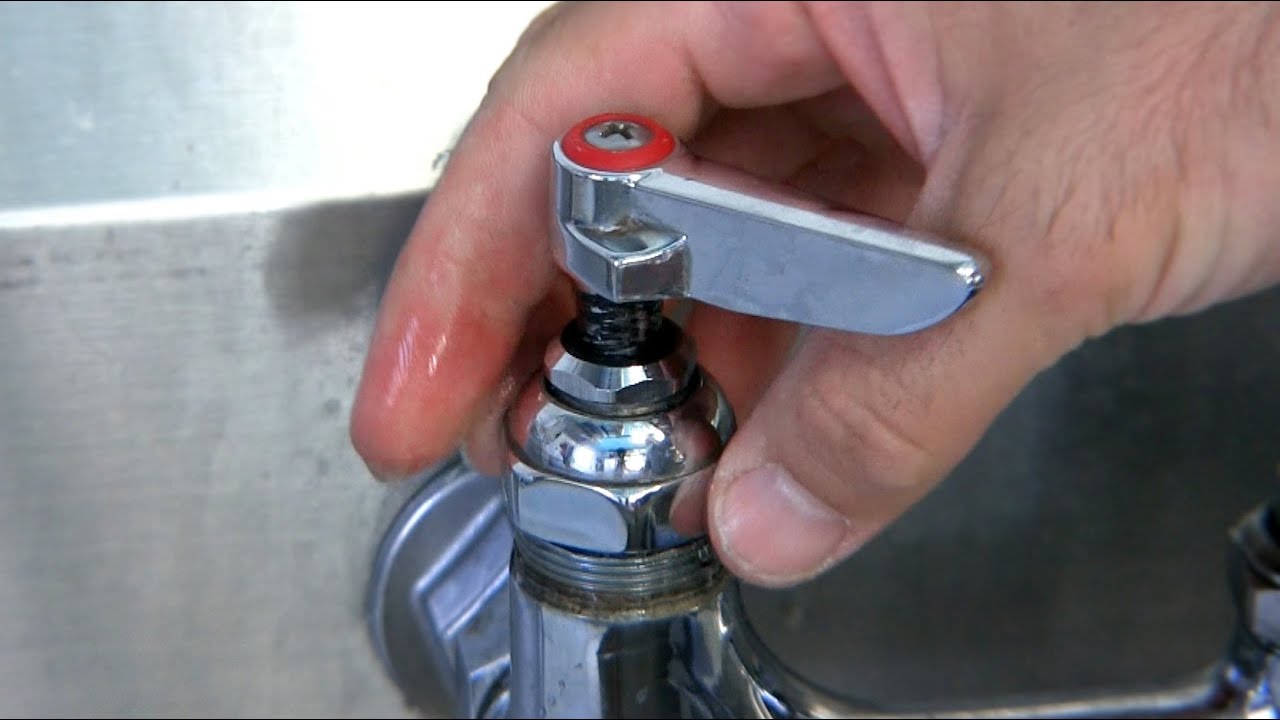
Step 3: Remove the Handle
Using your screwdriver, remove the handle of your faucet by unscrewing the screw that holds it in place. Some handles may have a cap covering the screw, so make sure to remove that first. Once the screw is removed, gently pull the handle off the faucet.


How to Fix a Leaky Faucet - Lowe's


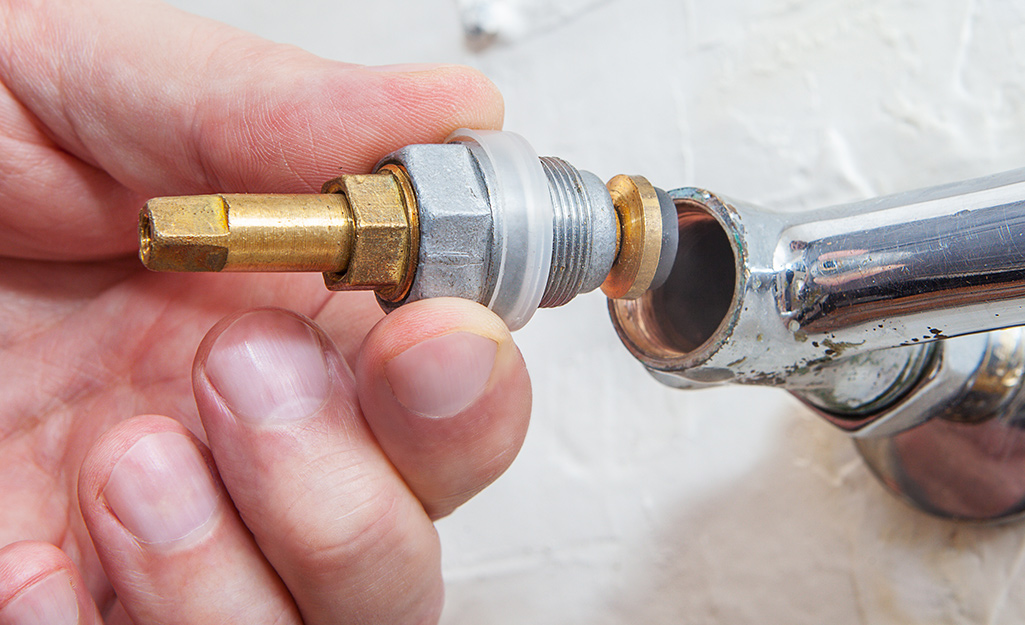
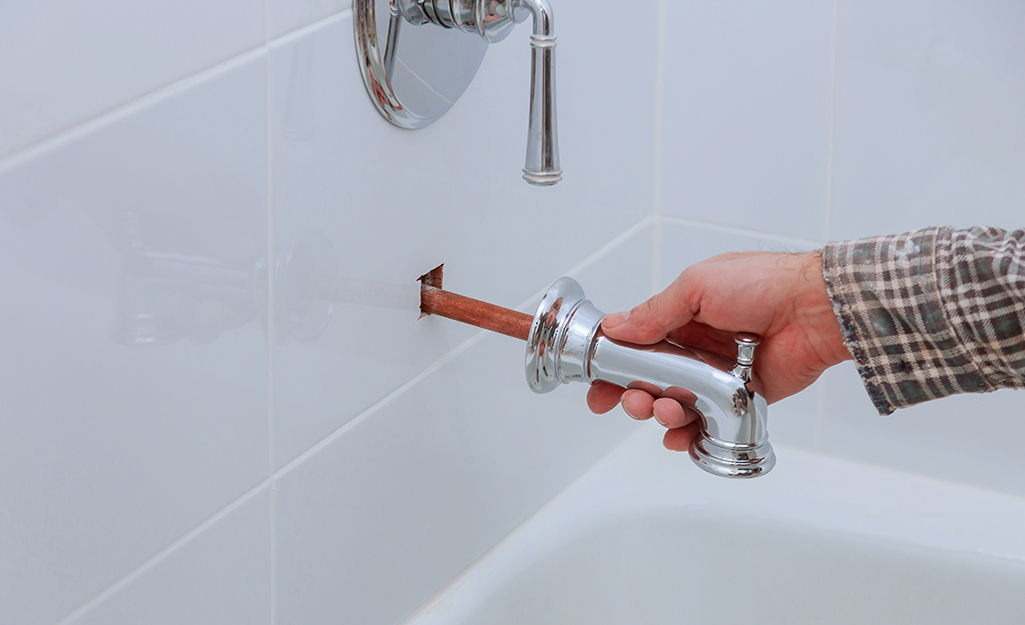
Step 4: Remove the Nut and Cartridge
Underneath the handle, you will see a large nut holding the cartridge in place. Use your adjustable wrench to loosen and remove the nut. Once the nut is removed, you can pull out the cartridge and set it aside.
How to Fix a Leaky Faucet - This Old House


Step 5: Inspect the Cartridge
Take a close look at the cartridge to see if it is damaged or worn out. If there are any cracks or breaks, it will need to be replaced. If it looks fine, clean it with a mixture of equal parts vinegar and water to remove any buildup or debris.


How to Fix a Leaky Faucet - Family Handyman


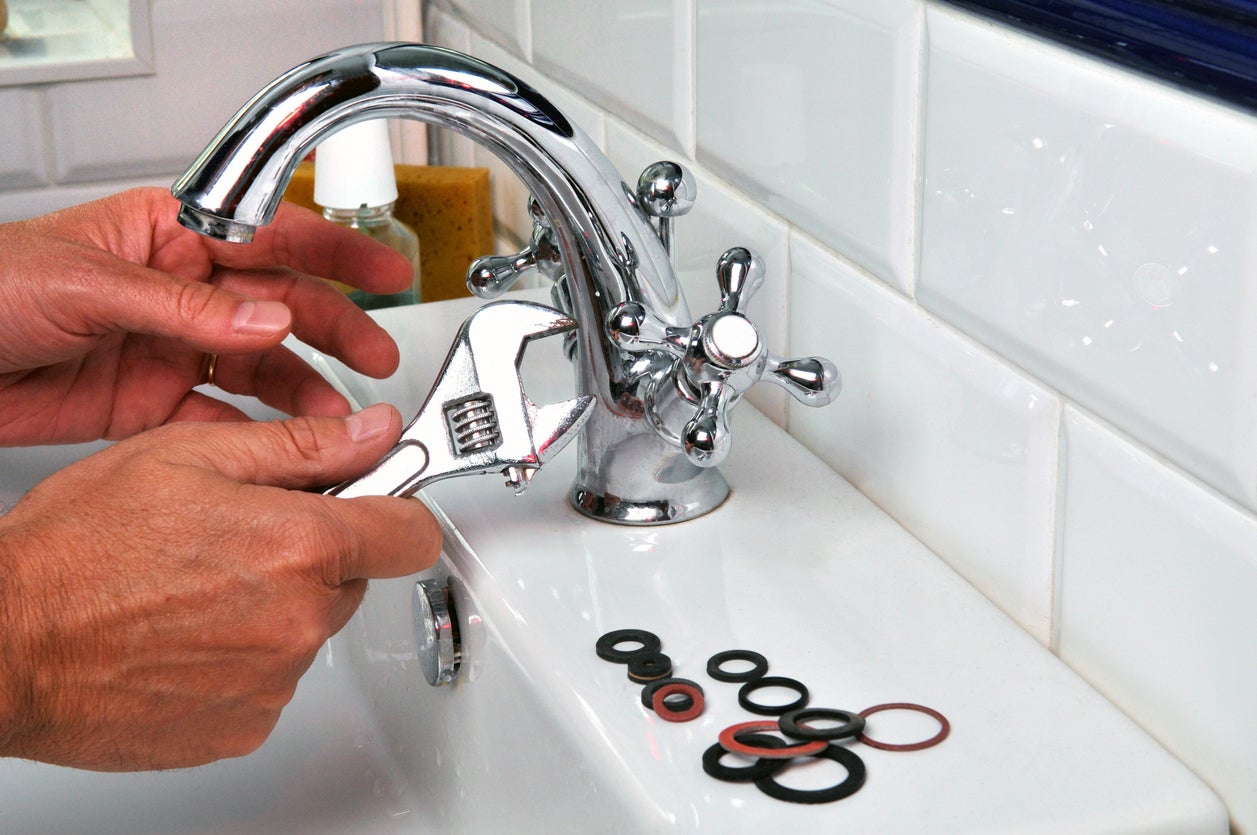
Step 6: Replace the O-Rings
If your cartridge is in good condition, the issue may be with the O-rings. These small rubber rings can wear out over time, causing leaks. Carefully remove the old O-rings and replace them with new ones. Make sure to lubricate them with plumber's grease before putting them back in place.


How to Fix a Leaky Faucet - Bob Vila


Step 7: Reassemble the Faucet
Put the cartridge back into the faucet, followed by the nut and handle. Tighten everything back into place with your wrench and screwdriver. Make sure to put the handle back on the correct way, as it may only fit one way.


How to Fix a Leaky Faucet - DIY Network

Step 8: Turn the Water Supply Back On
Once everything is reassembled, turn the water supply back on and check for any leaks. If there are still leaks, you may need to replace the entire cartridge or call a professional for assistance.

How to Fix a Leaky Faucet - Popular Mechanics
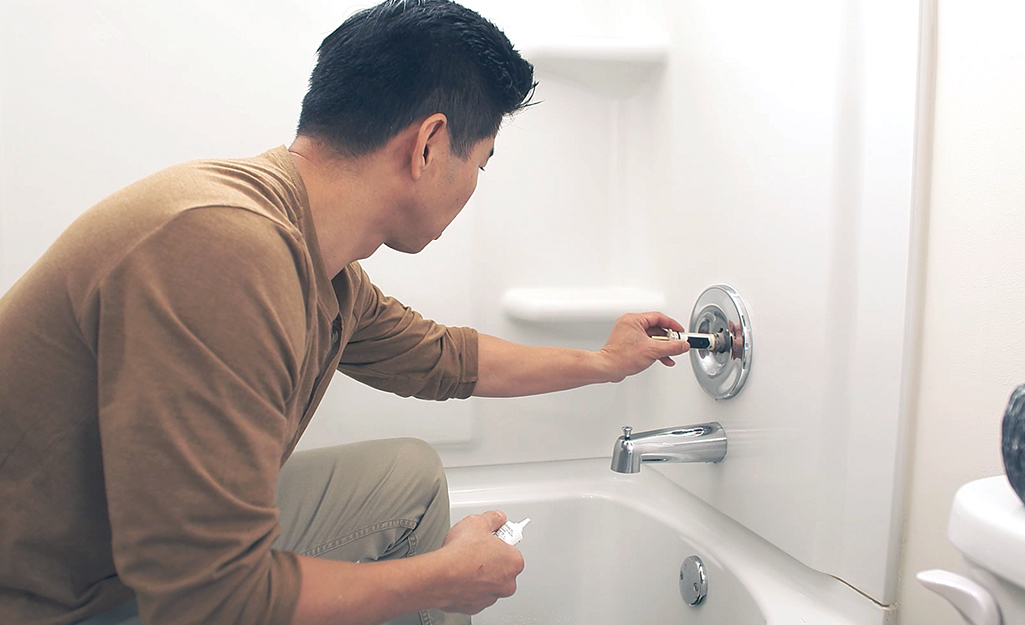
Step 9: Maintain Your Faucet
To prevent future leaks, it's important to maintain your faucet properly. This includes cleaning it regularly and checking for any signs of wear and tear. If you notice any issues, address them immediately to avoid bigger problems down the road.

How to Fix a Leaky Faucet - HGTV


Kitchen Sink Faucet Repair: A Guide to Fixing a Leaking Valve

Introduction
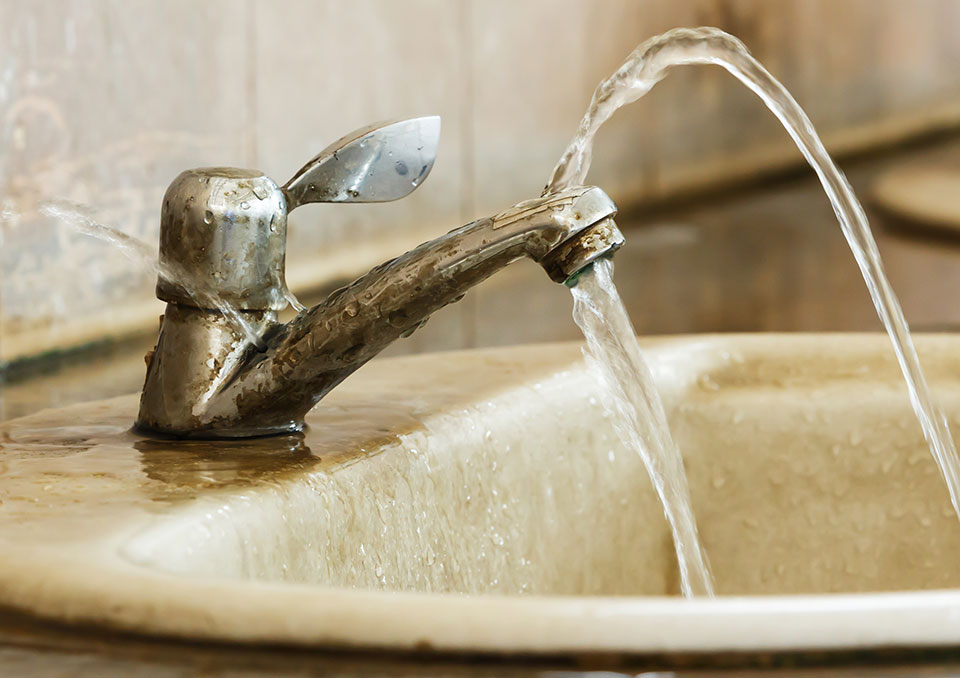
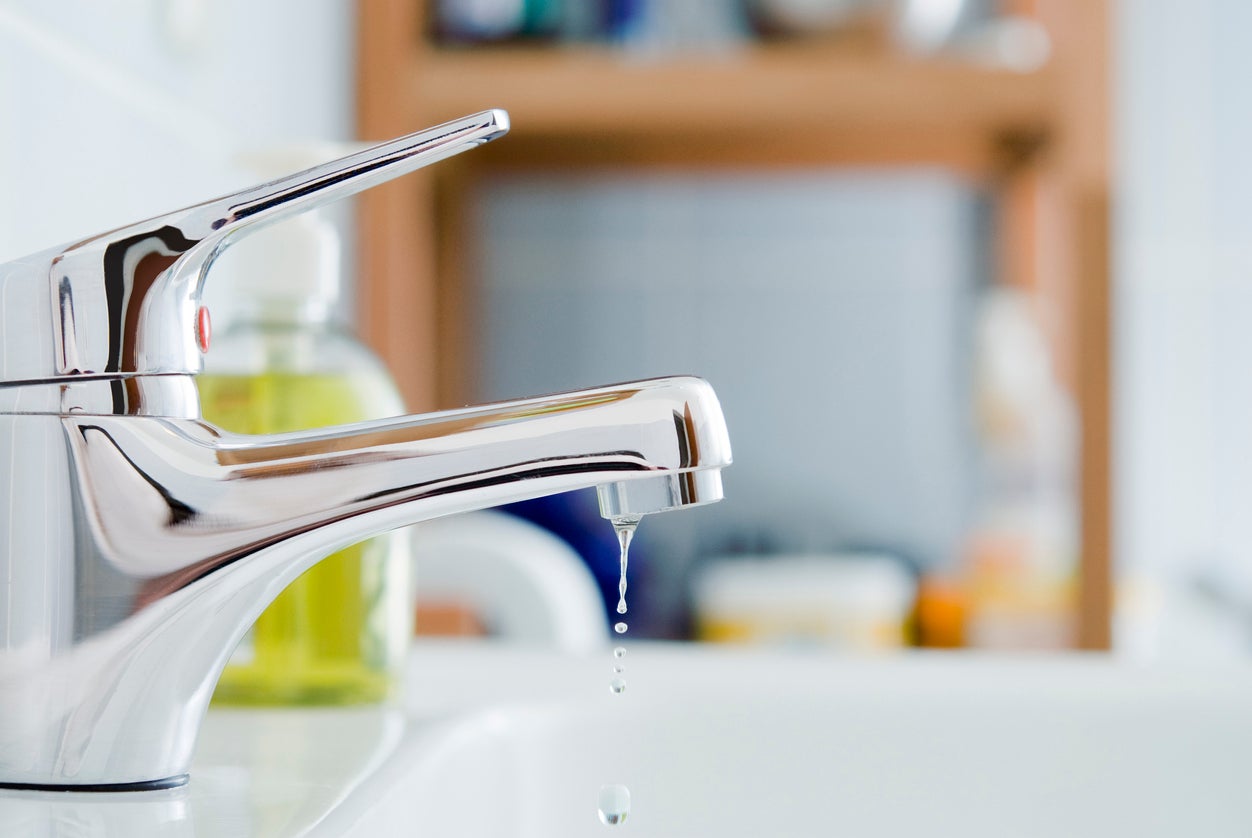
 A kitchen sink faucet is an essential part of any household, allowing us to easily access clean water for cooking, cleaning, and other daily tasks. However, over time, these faucets may start to leak, causing frustration and potential water damage. One common cause of a leaky faucet is a faulty valve, which can be a daunting issue for homeowners to tackle. But fear not, with the right knowledge and tools, you can easily repair a leaking valve on your kitchen sink faucet.
The Importance of Fixing a Leaking Valve
 A leaking valve on your kitchen sink faucet may seem like a minor inconvenience, but it can lead to bigger problems if left unrepaired. Not only can it cause a significant increase in your water bill, but it can also lead to water damage in your home. Excess water can seep into your cabinets or walls, causing mold and mildew growth, which can be harmful to your health and costly to fix. Therefore, it is crucial to address a leaking valve as soon as you notice it.
Gather Your Tools
 Before you begin the repair process, gather all the necessary tools and materials. This includes an adjustable wrench, pliers, screwdriver, replacement valve, and plumber's tape. It is also helpful to have a bucket and towels on hand to catch any excess water and keep your workspace clean.
Step-by-Step Guide to Fixing a Leaking Valve
 Now that you have all the tools and materials, follow these simple steps to fix a leaking valve on your kitchen sink faucet:
Step 1:
Turn off the water supply to your kitchen sink faucet by closing the shut-off valves under the sink.
Step 2:
Use your adjustable wrench to loosen and remove the nuts that hold the water supply lines to the faucet.
Step 3:
Using your pliers, remove the retaining clip that holds the valve in place.
Step 4:
Take out the old valve and replace it with a new one, making sure to align it properly.
Step 5:
Secure the new valve with the retaining clip and reattach the water supply lines with the nuts.
Step 6:
Turn the water supply back on and check for any leaks. If there are no leaks, you have successfully fixed the leaking valve.
Now that you have all the tools and materials, follow these simple steps to fix a leaking valve on your kitchen sink faucet:
Step 1:
Turn off the water supply to your kitchen sink faucet by closing the shut-off valves under the sink.
Step 2:
Use your adjustable wrench to loosen and remove the nuts that hold the water supply lines to the faucet.
Step 3:
Using your pliers, remove the retaining clip that holds the valve in place.
Step 4:
Take out the old valve and replace it with a new one, making sure to align it properly.
Step 5:
Secure the new valve with the retaining clip and reattach the water supply lines with the nuts.
Step 6:
Turn the water supply back on and check for any leaks. If there are no leaks, you have successfully fixed the leaking valve.
Preventative Measures
 To prevent future valve leaks, it is essential to maintain your kitchen sink faucet regularly. Inspect the faucet for any signs of wear and tear, such as corrosion or loose parts, and address them promptly. It is also a good idea to clean and lubricate the faucet regularly to keep it functioning smoothly.
In Conclusion
 A leaking valve on your kitchen sink faucet may seem like a daunting issue, but with the right tools and knowledge, it is a relatively simple fix. By following the steps outlined above and regularly maintaining your faucet, you can keep your kitchen sink running efficiently and avoid costly water damage in your home.