Installing tile on a kitchen wall is a great way to add a stylish and durable element to your kitchen. Not only does it protect your walls from splashes and stains, but it also adds a beautiful touch to the overall design. However, tile installation may seem like a daunting task for beginners. But with the right tools and knowledge, you can easily transform your kitchen with a stunning tile backsplash. In this guide, we will take you through the step-by-step process of installing tile on a kitchen wall.How to Install Tile on a Kitchen Wall
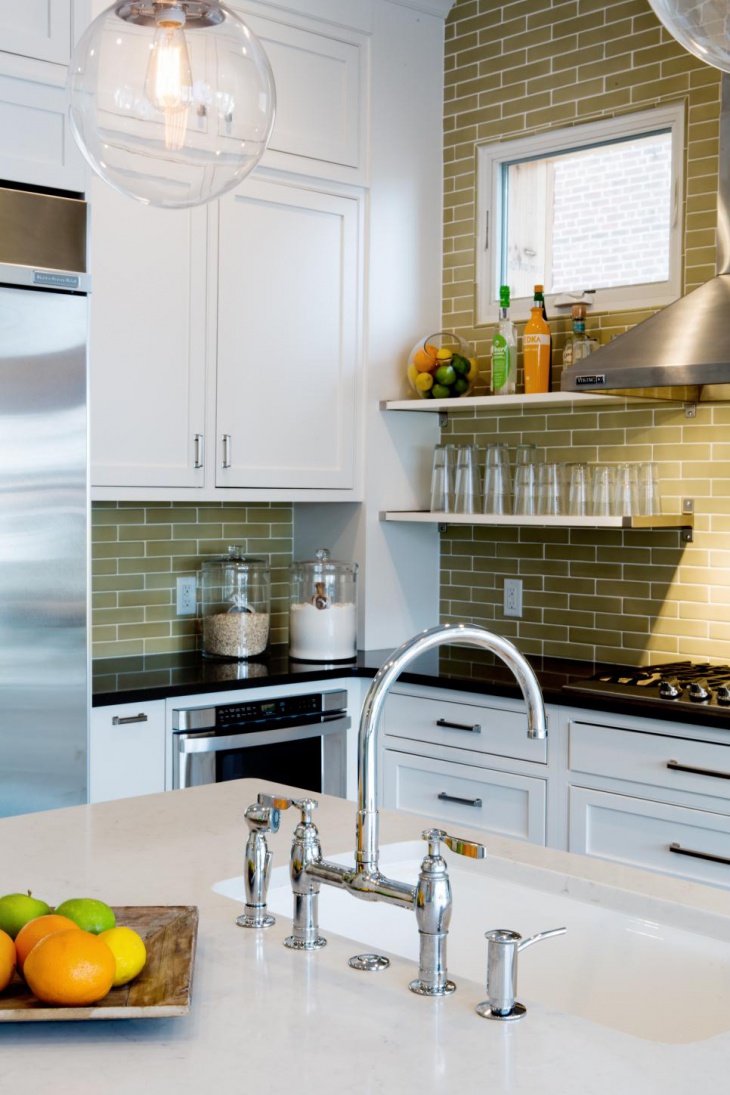
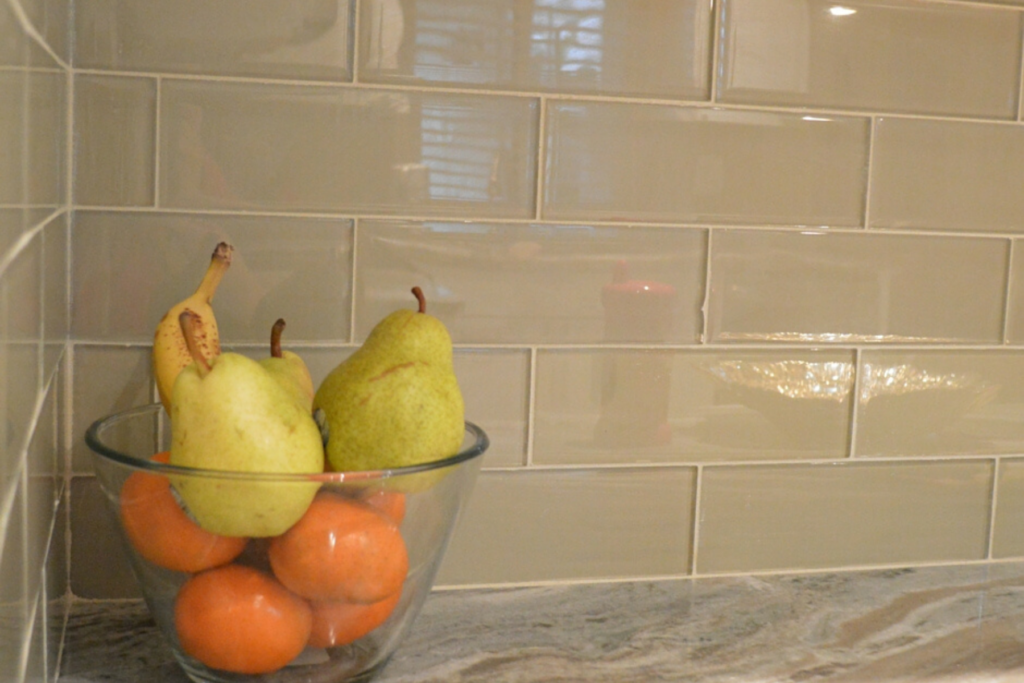
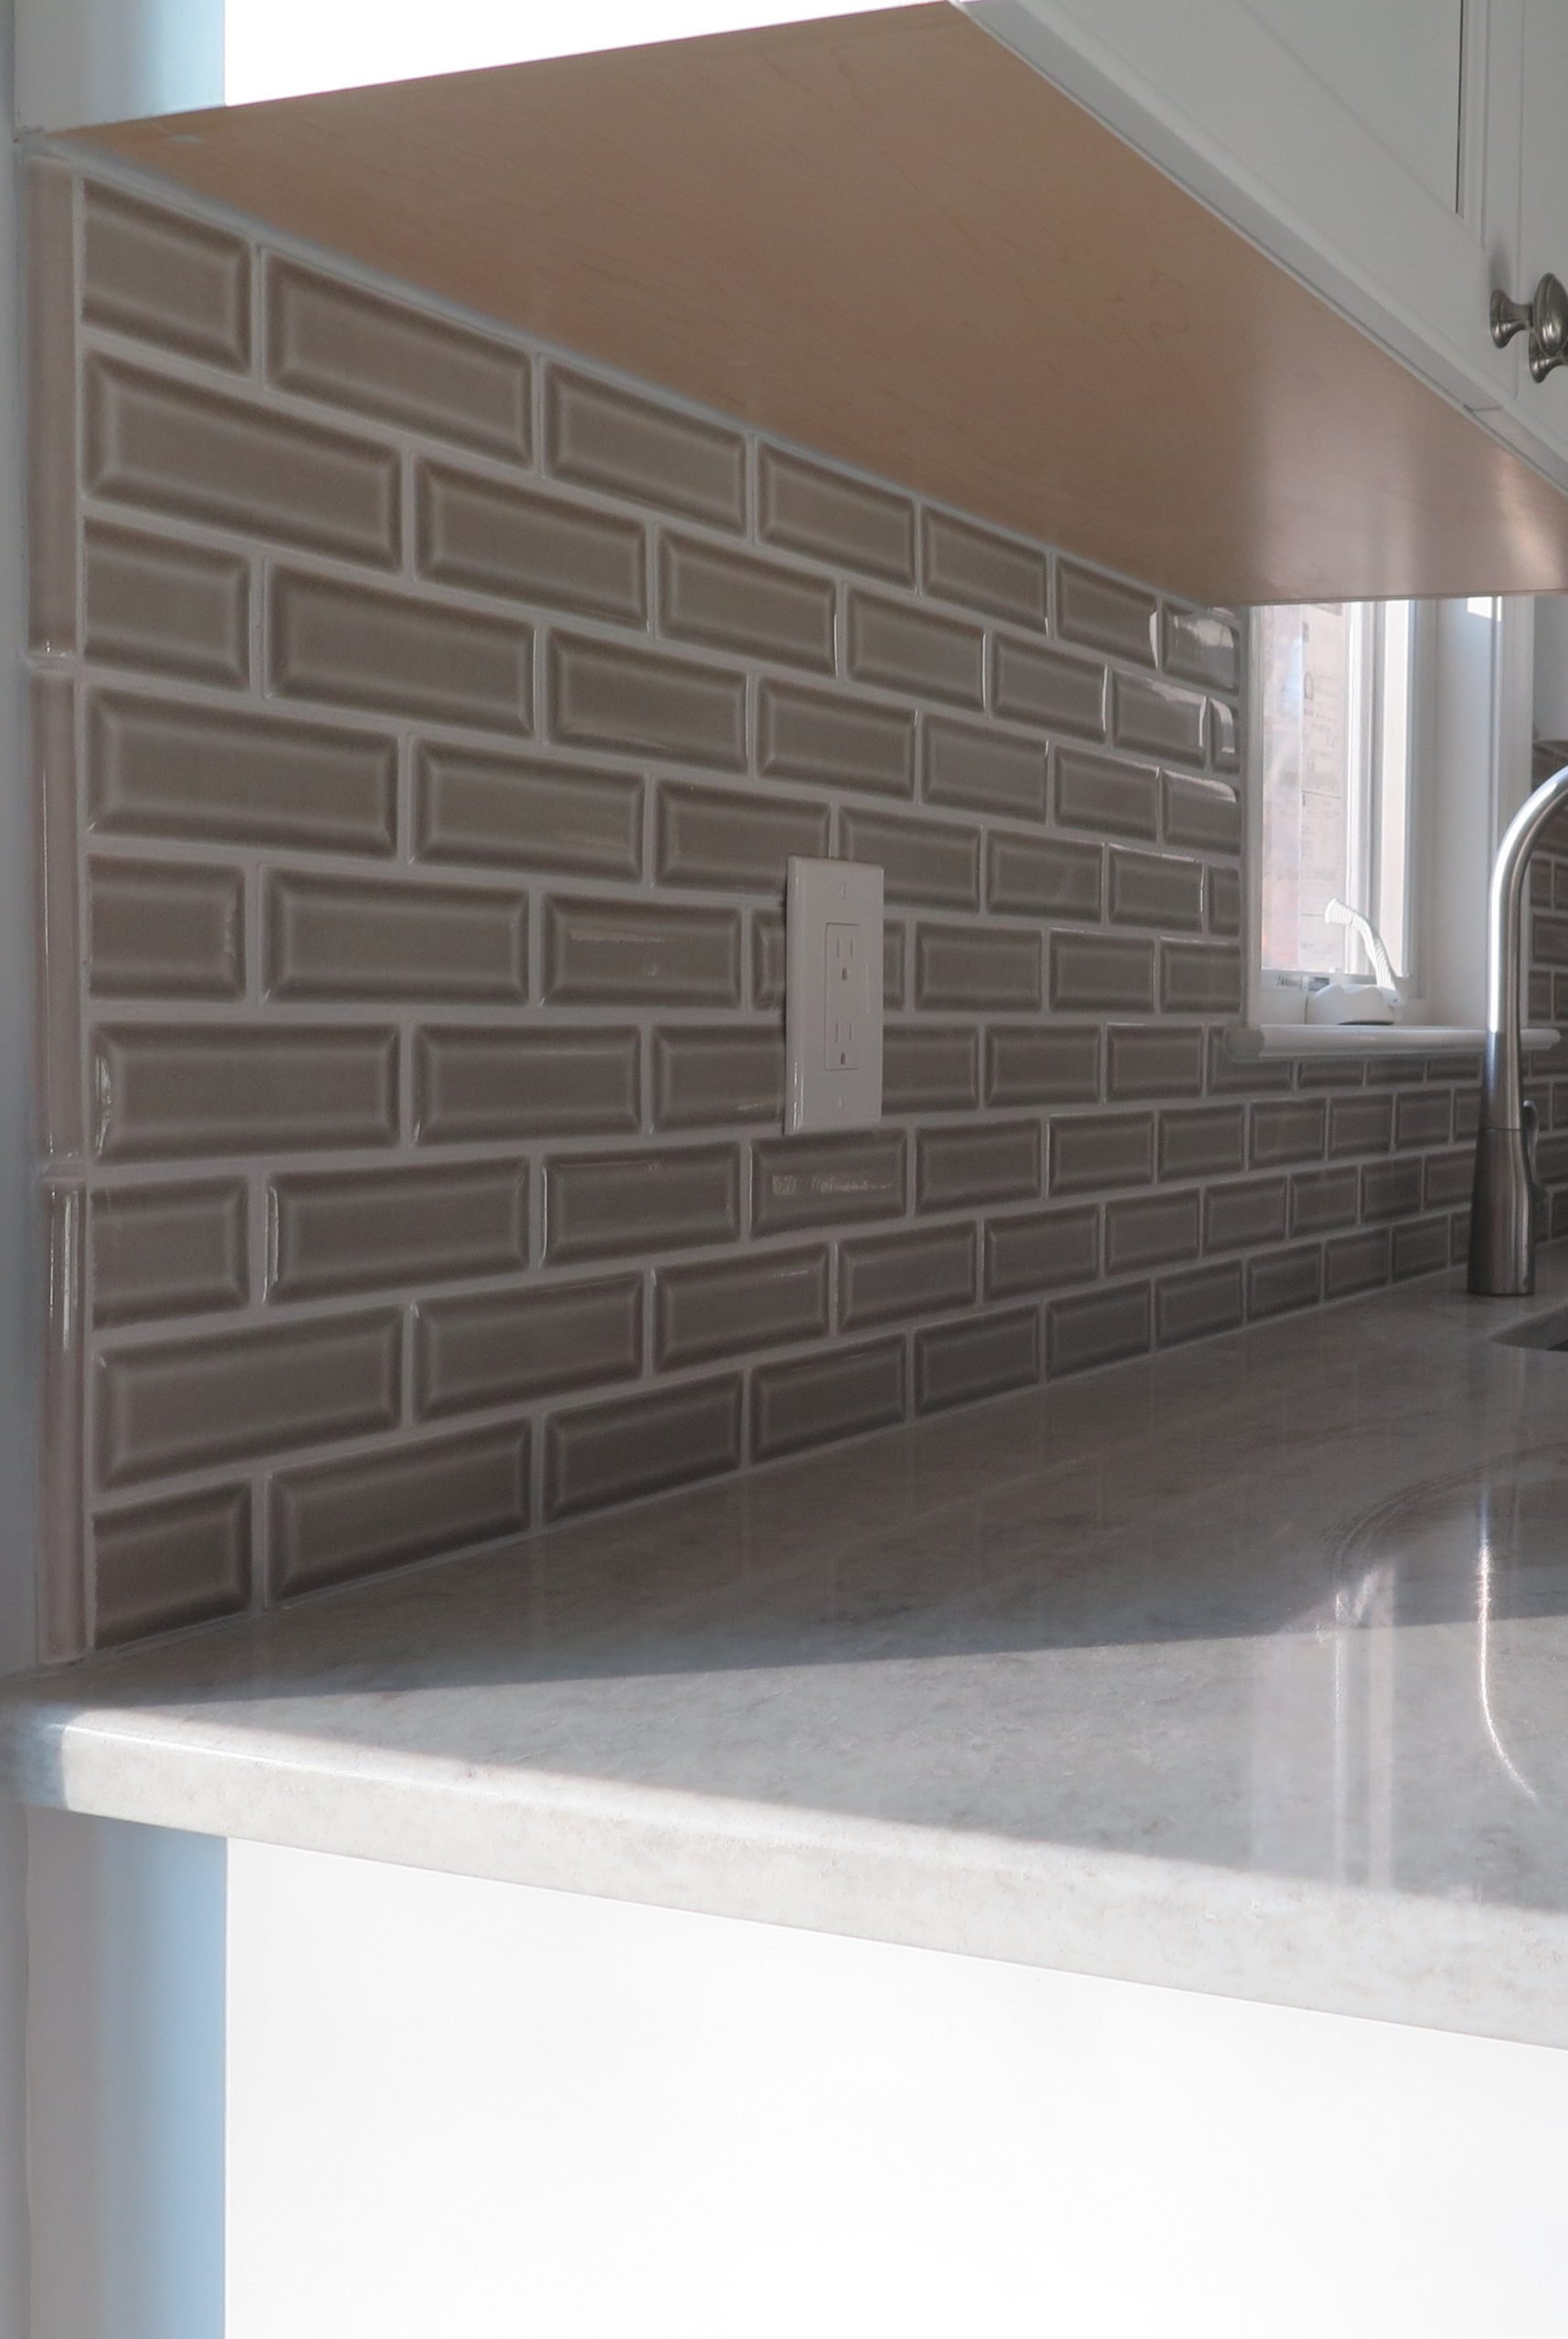
Before we get into the nitty-gritty of tile installation, let's first understand what a tile backsplash is. A tile backsplash is a decorative wall covering made of ceramic, porcelain, or stone tiles. It is installed on the wall behind the stove, sink, or countertop to protect the walls from moisture and spills. It also serves as a visual focal point in the kitchen, adding a pop of color and texture. Now, let's dive into the steps of installing a tile backsplash in your kitchen.How to Install a Tile Backsplash
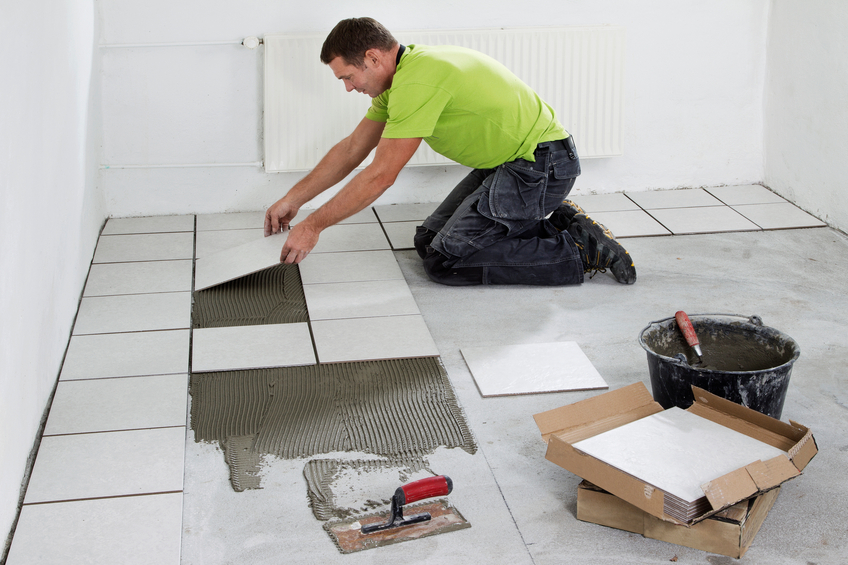
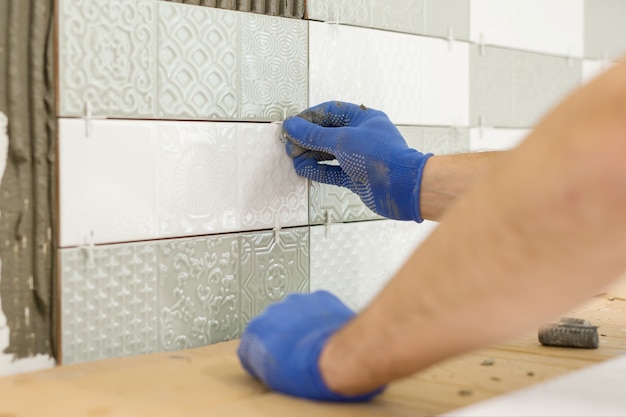
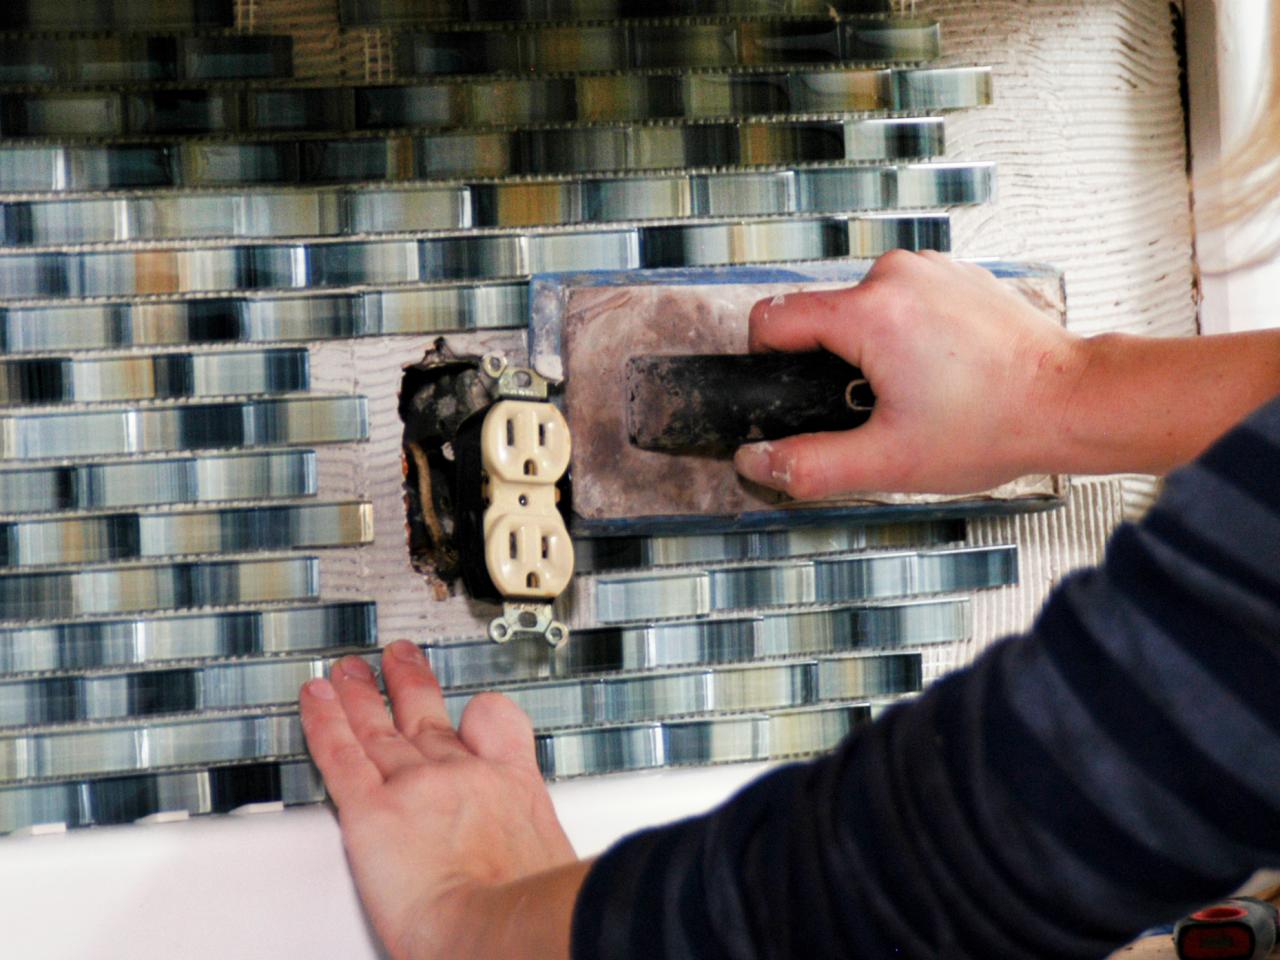
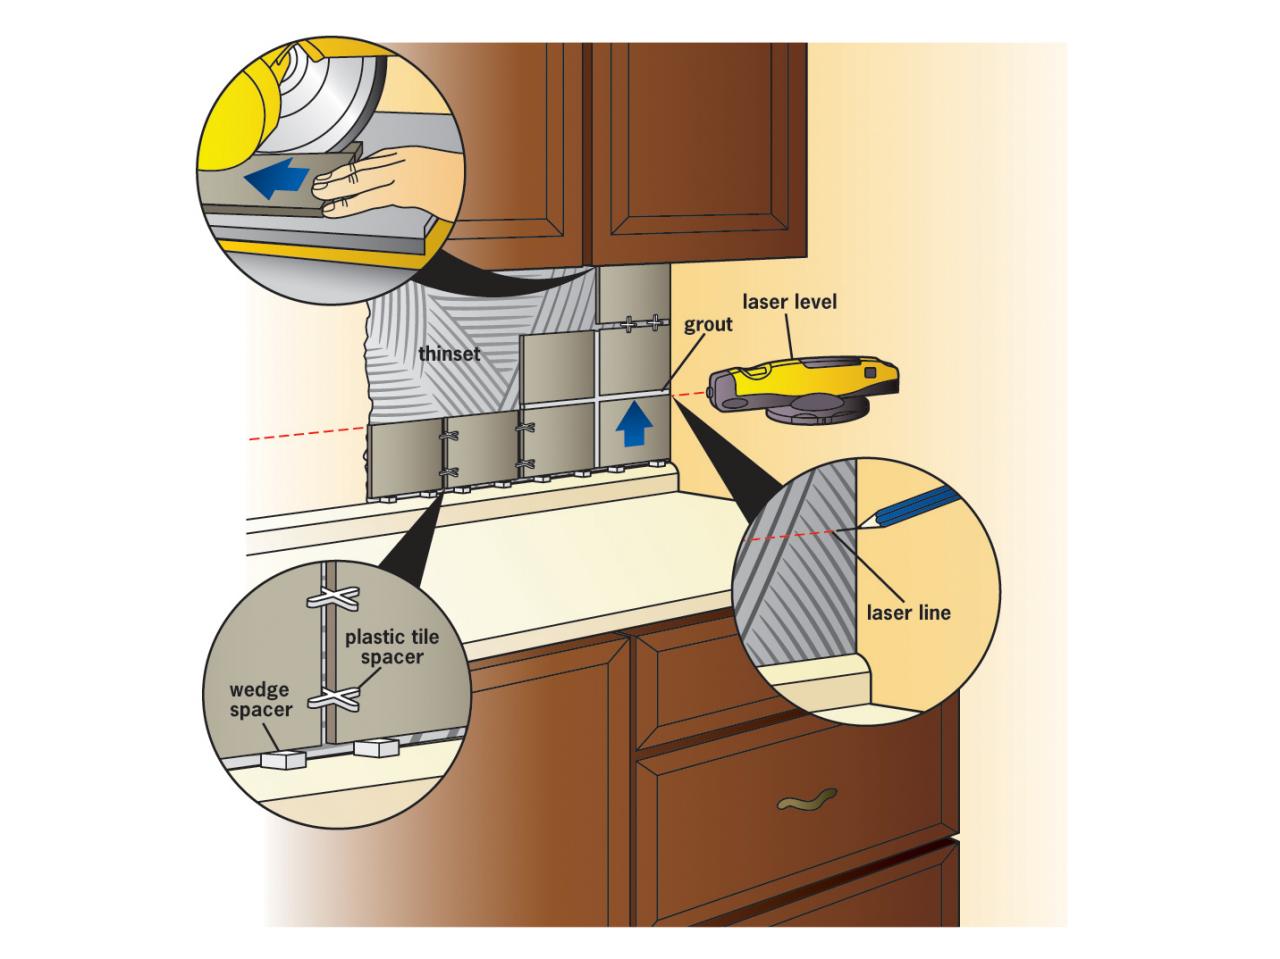
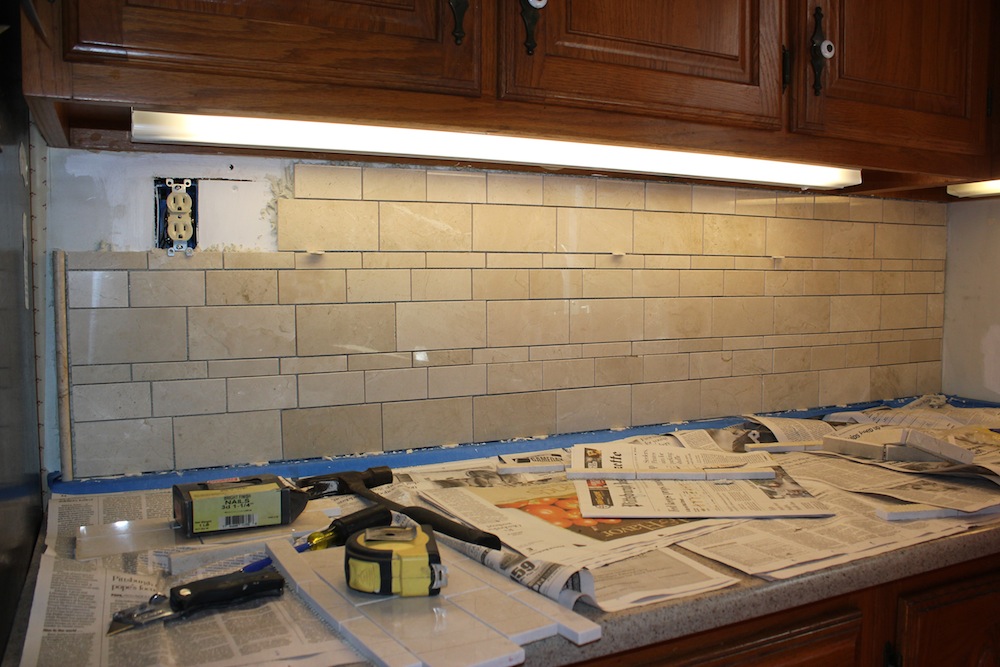
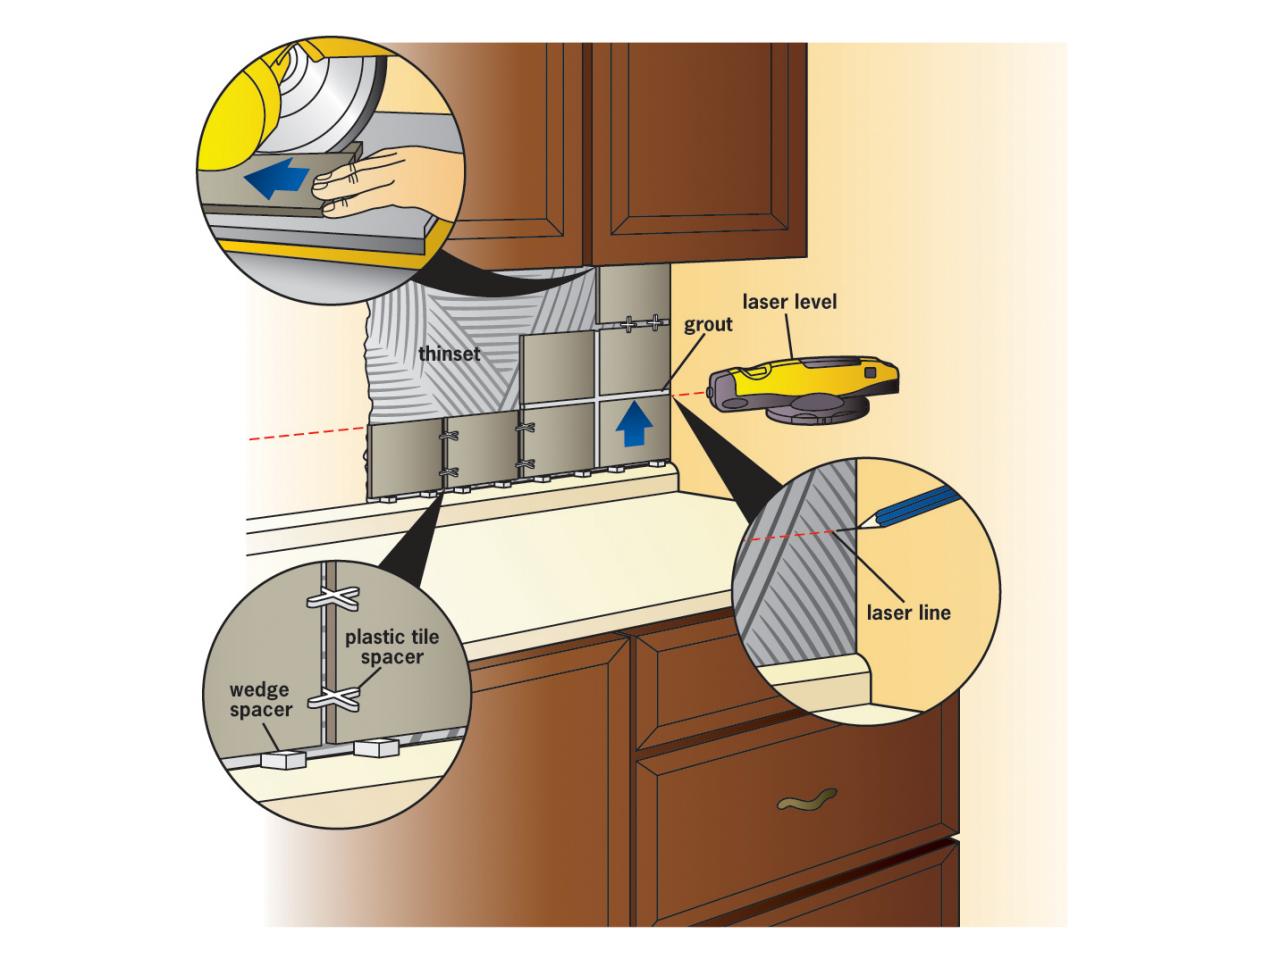
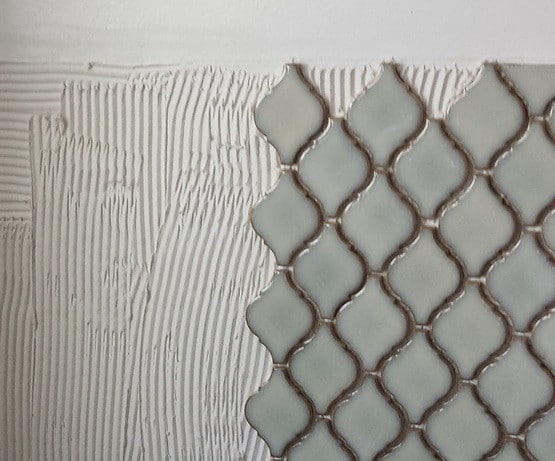
Step 1: Prepare the surface - Before you start installing tile, make sure the wall is clean, dry, and flat. Remove any existing wallpaper or loose paint and fill in any holes or cracks with spackling paste. Sand the wall to create a smooth surface for the tile to adhere to. Step 2: Gather your tools and materials - You will need a trowel, tile spacers, a level, a tile cutter, grout, and adhesive to install the tile. Make sure to choose the right type of adhesive and grout for your specific tile material. Step 3: Measure and mark the layout - Use a measuring tape to determine the size of the area you want to tile. Mark the center point of the wall and use a level to draw a vertical and horizontal line to create a grid. This will help you keep the tile aligned and evenly spaced. Step 4: Apply the adhesive - Using a notched trowel, spread the adhesive onto the wall in a thin, even layer. Make sure to only apply enough adhesive that you can tile within 15 minutes to prevent it from drying out. Step 5: Place the tile - Start at the center point of the wall and place your first tile. Use tile spacers to create even gaps between each tile. Continue placing the tiles along the guideline, making sure they are level and evenly spaced. Step 6: Cut the tiles - Use a tile cutter to cut the tiles to fit around any outlets, corners, or edges. Measure twice and cut once to ensure a precise fit. Step 7: Let the adhesive dry - Allow the adhesive to dry for at least 24 hours before moving on to the next step. Step 8: Apply grout - Once the adhesive is completely dry, remove the tile spacers and use a grout float to apply grout between the tiles. Use a damp sponge to wipe off any excess grout and let it dry for 24 hours. Step 9: Clean and seal - After the grout is dry, use a grout sealer to protect it from stains and water damage. Wipe off any excess sealer and let it dry for at least 48 hours before using your newly installed tile backsplash.Step-by-Step Guide to Installing Tile on a Kitchen Wall
Installing tile on a kitchen wall can be a DIY project, but it requires some patience and precision. Here are some tips and tricks to help you achieve a professional-looking tile backsplash: - Start with a clean and flat surface to ensure the tiles adhere properly. - Use tile spacers to create even gaps between each tile for a polished finish. - When cutting tiles, be sure to wear safety goggles and gloves to protect yourself from sharp edges. - Use a level frequently to ensure your tiles are straight and evenly aligned. - Choose a grout color that complements your tile and overall kitchen design. - Seal your grout to protect it from moisture and stains.DIY Kitchen Tile Installation: Tips and Tricks
Before you start your tile installation project, there are some important things to keep in mind: - Make sure to choose the right type of tile and adhesive for your kitchen wall, taking into consideration factors like moisture and heat. - Measure and plan carefully to ensure you have enough tiles and materials to complete the project. - If you are not confident in your DIY skills, consider hiring a professional to install the tile for you. - Be patient and take your time to ensure a high-quality end result.Installing Tile on a Kitchen Wall: What You Need to Know
If you are new to tile installation, don't worry! With this beginner's guide, you will be able to successfully install a tile backsplash in your kitchen. Remember to follow the steps carefully and don't be afraid to ask for help if needed. - Prepare the surface by cleaning and sanding the wall. - Gather your tools and materials. - Measure and mark the layout using a level and gridlines. - Apply the adhesive and start placing the tiles. - Cut tiles to fit around edges and corners. - Let the adhesive dry for 24 hours. - Apply grout and let it dry for 24 hours. - Seal the grout and let it dry for 48 hours.Beginner's Guide to Installing Tile on a Kitchen Wall
If you are interested in learning more about tile installation, you can find many resources online or attend a workshop at your local home improvement store. Understanding the basics of tile installation will help you feel more confident and prepared for your project. Remember to always follow the manufacturer's instructions for the specific type of tile and adhesive you are using.Tile Installation 101: How to Install Tile on a Kitchen Wall
For a professional-looking tile backsplash, consider these expert tips: - Use a tile leveling system to ensure your tiles are evenly aligned and eliminate lippage. - Invest in a high-quality tile cutter for precise and clean cuts. - Apply a waterproofing membrane before installing the tile to prevent moisture damage. - Use a grout release agent to make the grout easier to clean off the tile surface. - Consider adding a decorative border or accent tiles to elevate the design of your backsplash.Expert Tips for Installing Tile on a Kitchen Wall
To ensure a successful and stress-free tile installation, here are some dos and don'ts to keep in mind: Do: - Use a level to keep your tiles straight and even. - Take your time and be patient. - Seal your grout to protect it from stains and moisture. - Measure and plan carefully. Don't: - Rush through the process. - Apply too much adhesive, as it can cause the tiles to slip. - Skimp on tools and materials, as it can affect the end result.The Dos and Don'ts of Installing Tile on a Kitchen Wall
Even with the best intentions, mistakes can happen during a tile installation project. Here are some common mistakes to avoid: - Not properly preparing the wall before installing the tile. - Not using enough adhesive to properly secure the tiles. - Not using spacers to create even gaps between tiles. - Rushing through the process and not taking the time to ensure a high-quality finish. - Not sealing the grout, which can lead to stains and water damage.Common Mistakes to Avoid When Installing Tile on a Kitchen Wall
Why Choose Tile for Your Kitchen Wall?
Enhance the Aesthetics of Your Kitchen
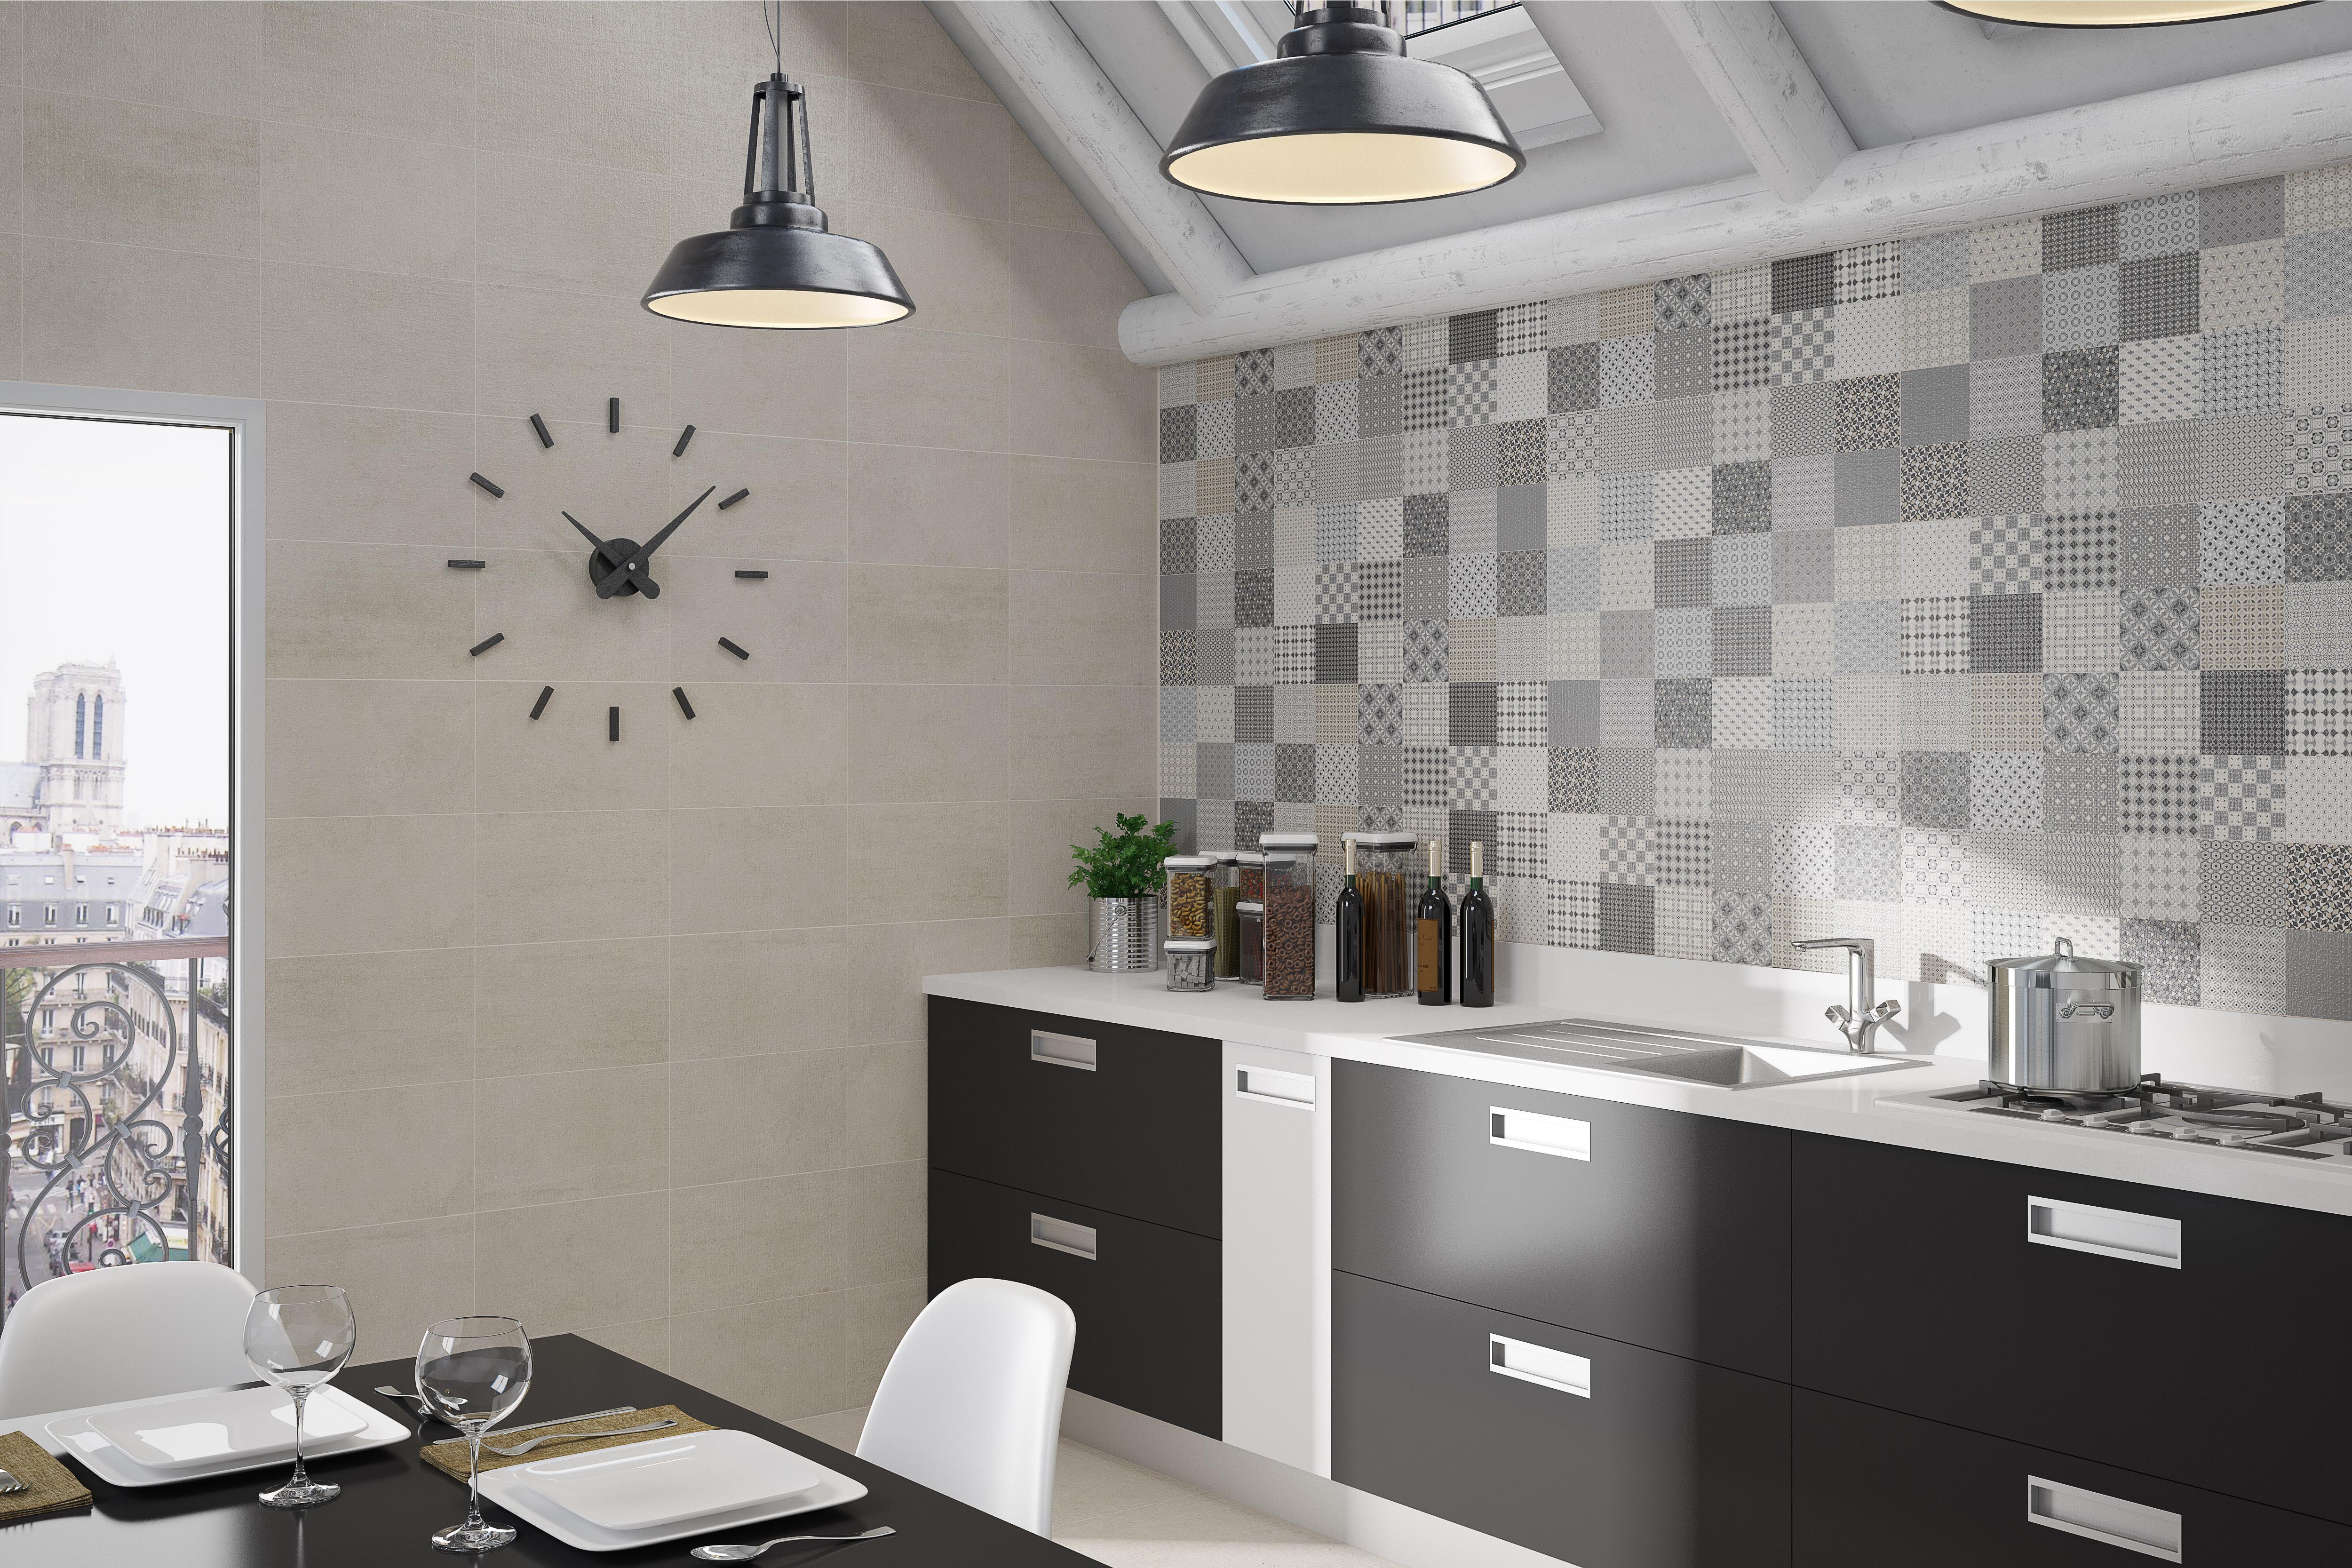
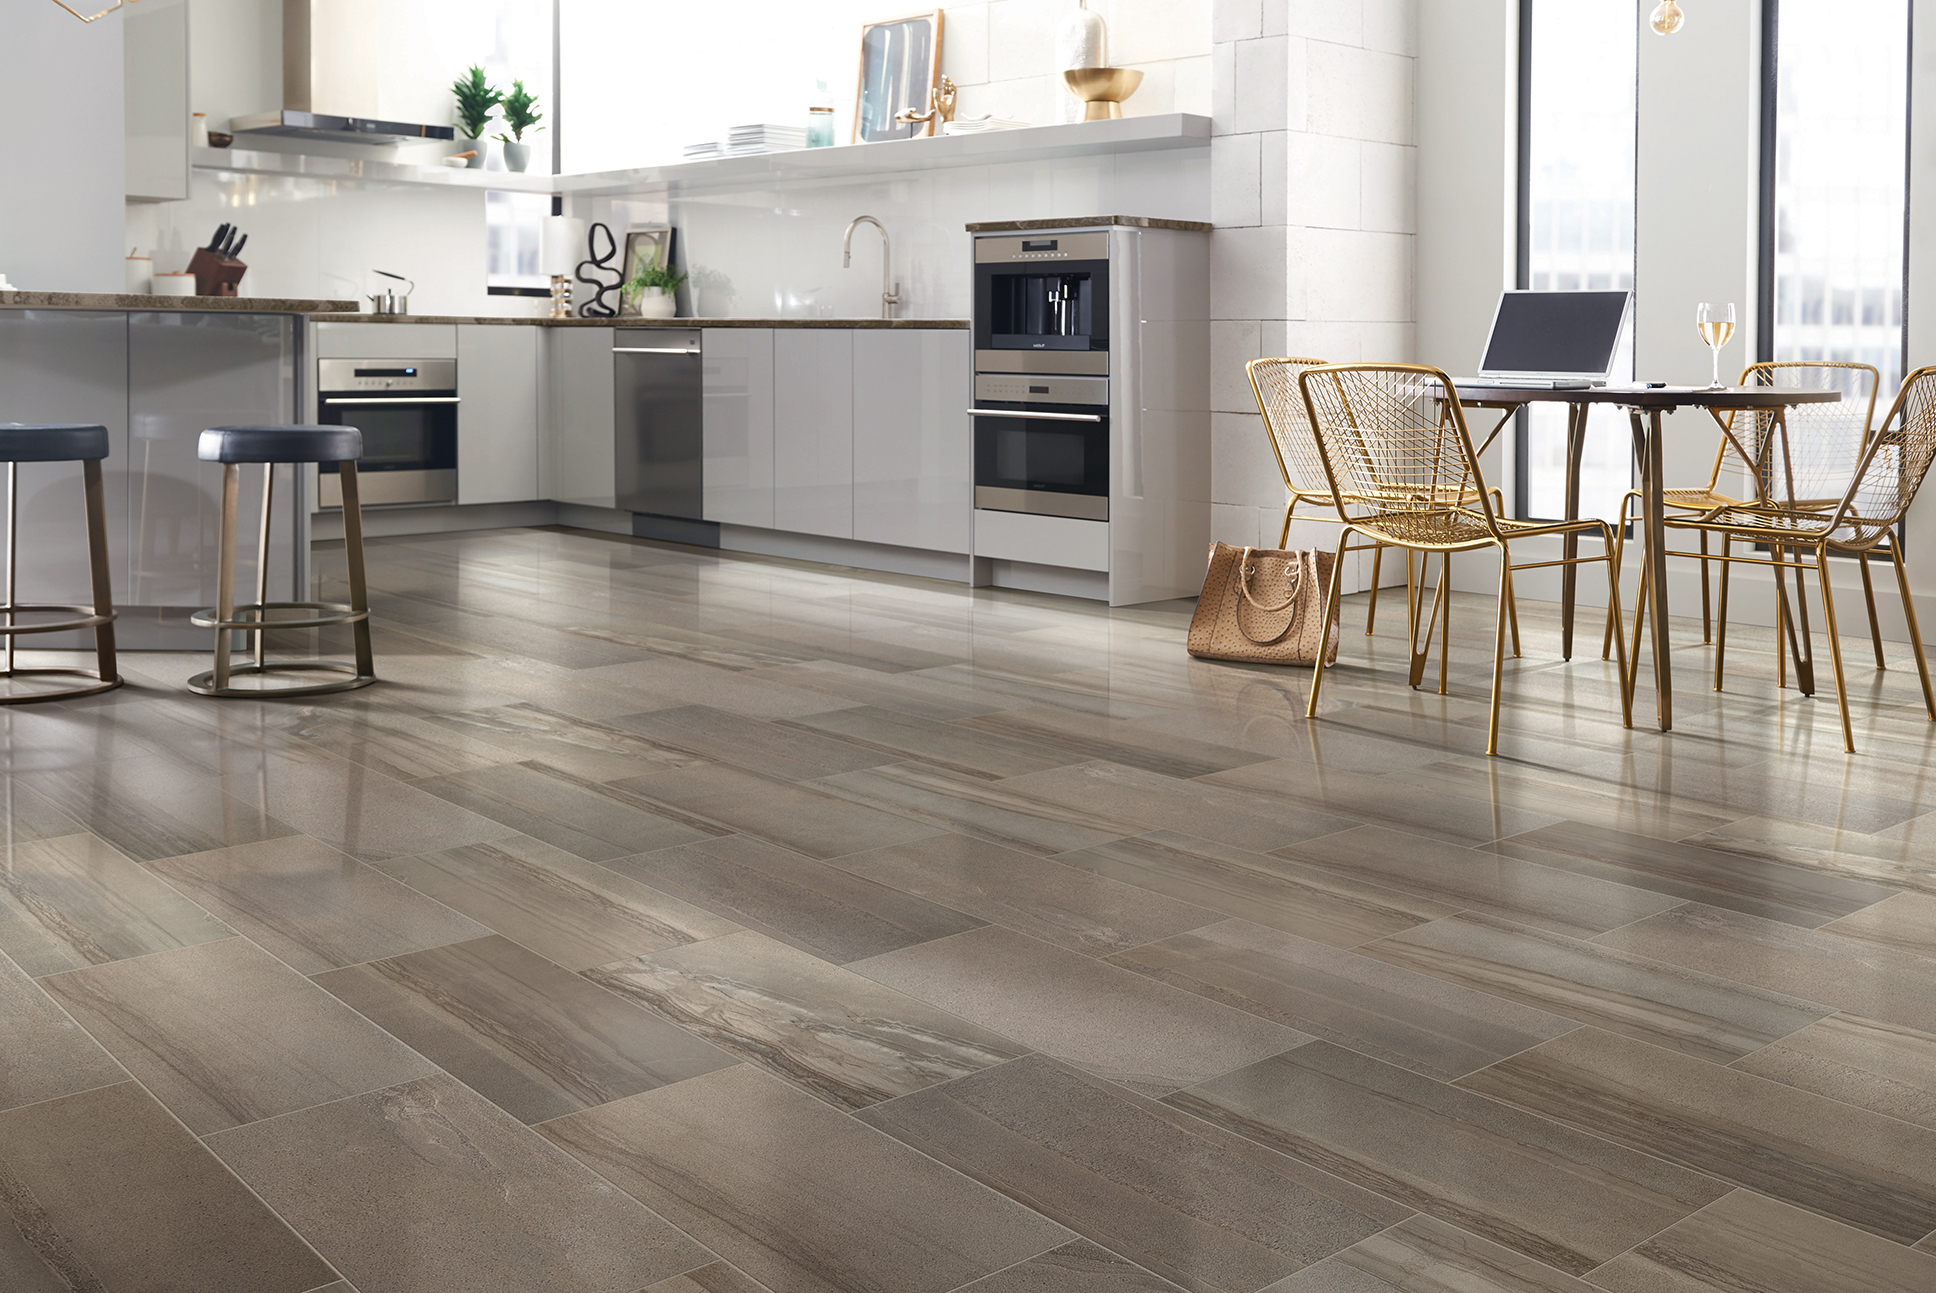
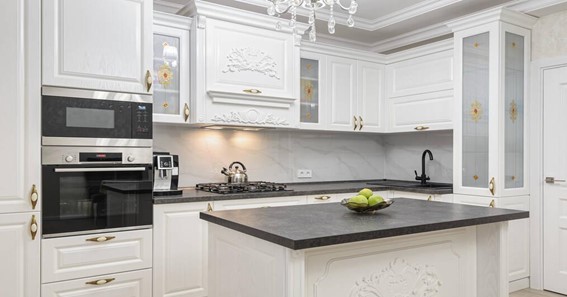
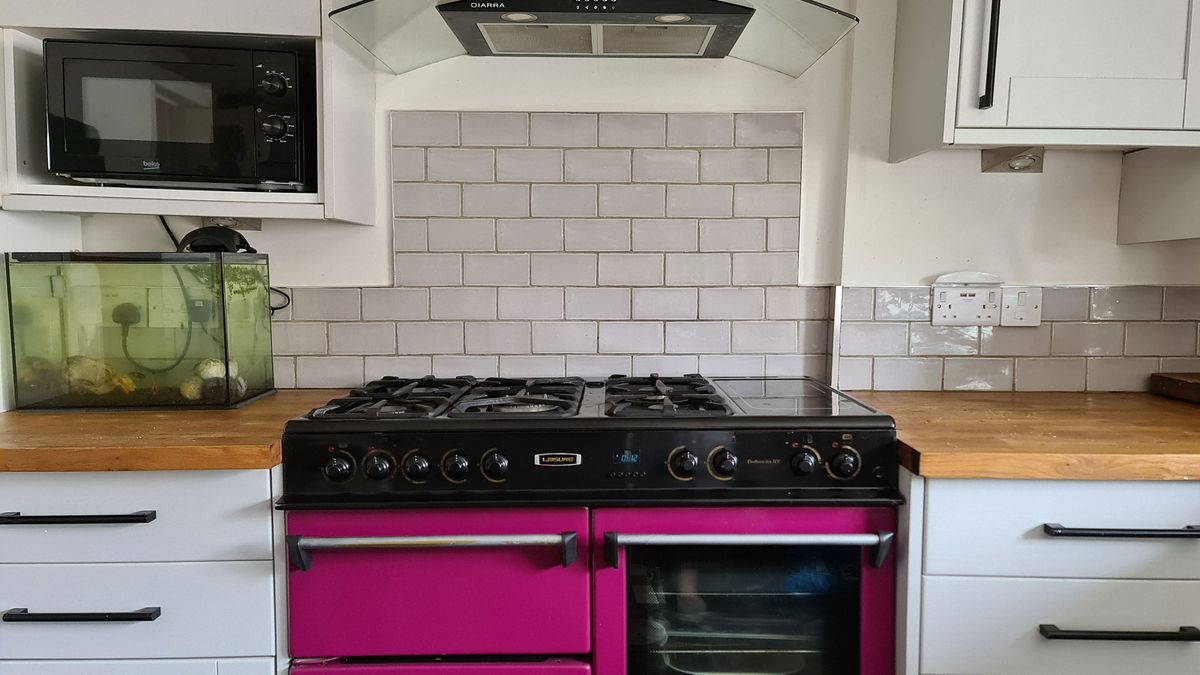
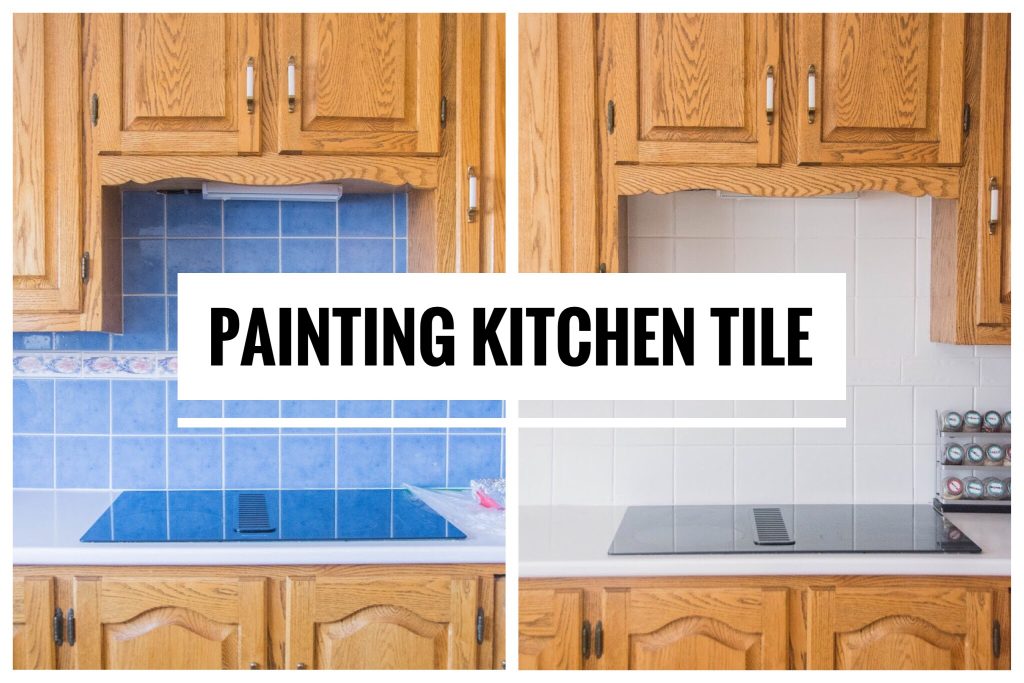
 One of the main reasons to consider installing tile on your kitchen wall is the aesthetic appeal it brings to the space. With a vast array of colors, patterns, and textures to choose from, you can easily find the perfect tile to complement your kitchen design. Whether you prefer a sleek and modern look or a rustic, traditional feel, there is a tile option that will elevate the style of your kitchen.
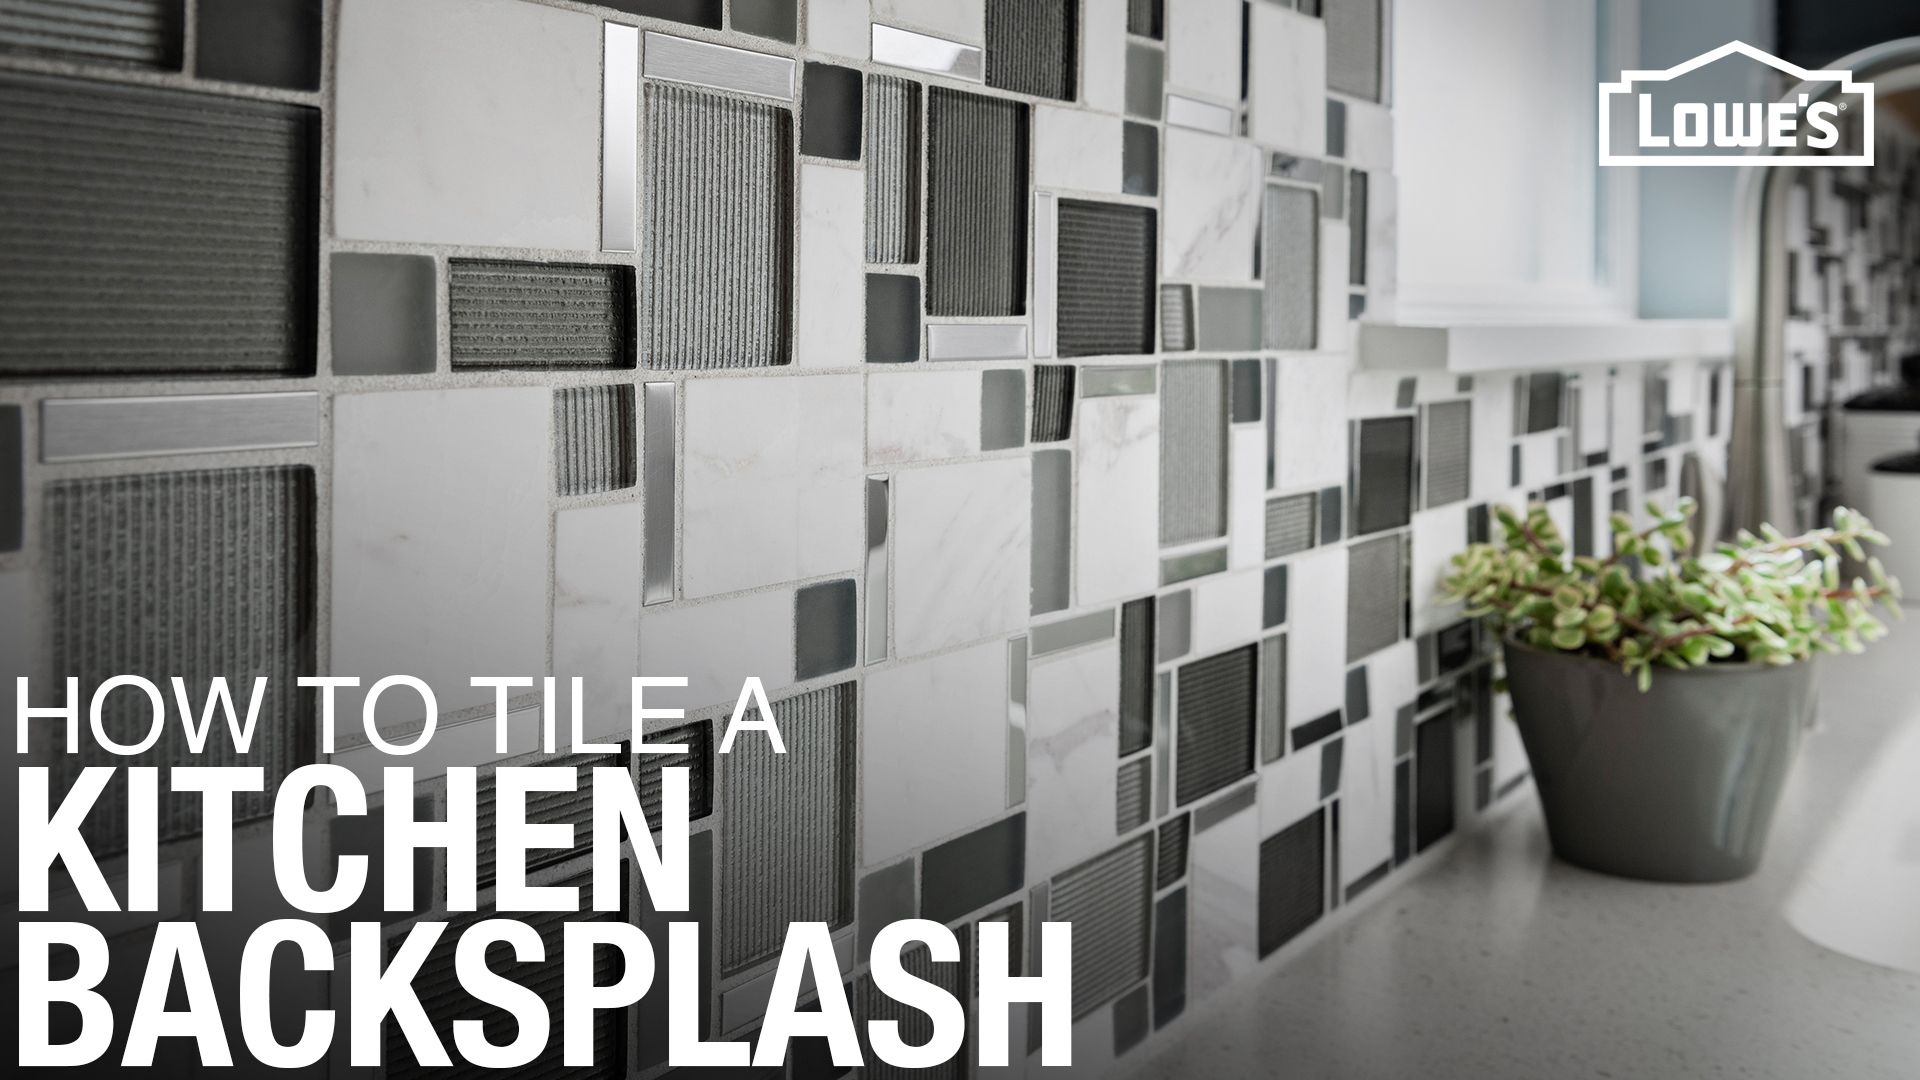
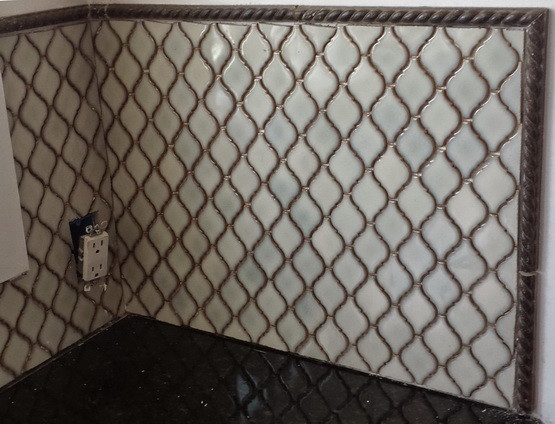
Tile also offers versatility in design, allowing you to create a unique and personalized look for your kitchen. You can mix and match different tiles to create a mosaic pattern or use different sizes and shapes to add visual interest to your wall. The possibilities are endless, and with the right tile choice, you can transform your kitchen into a beautiful and inviting space.
Durable and Easy to Maintain
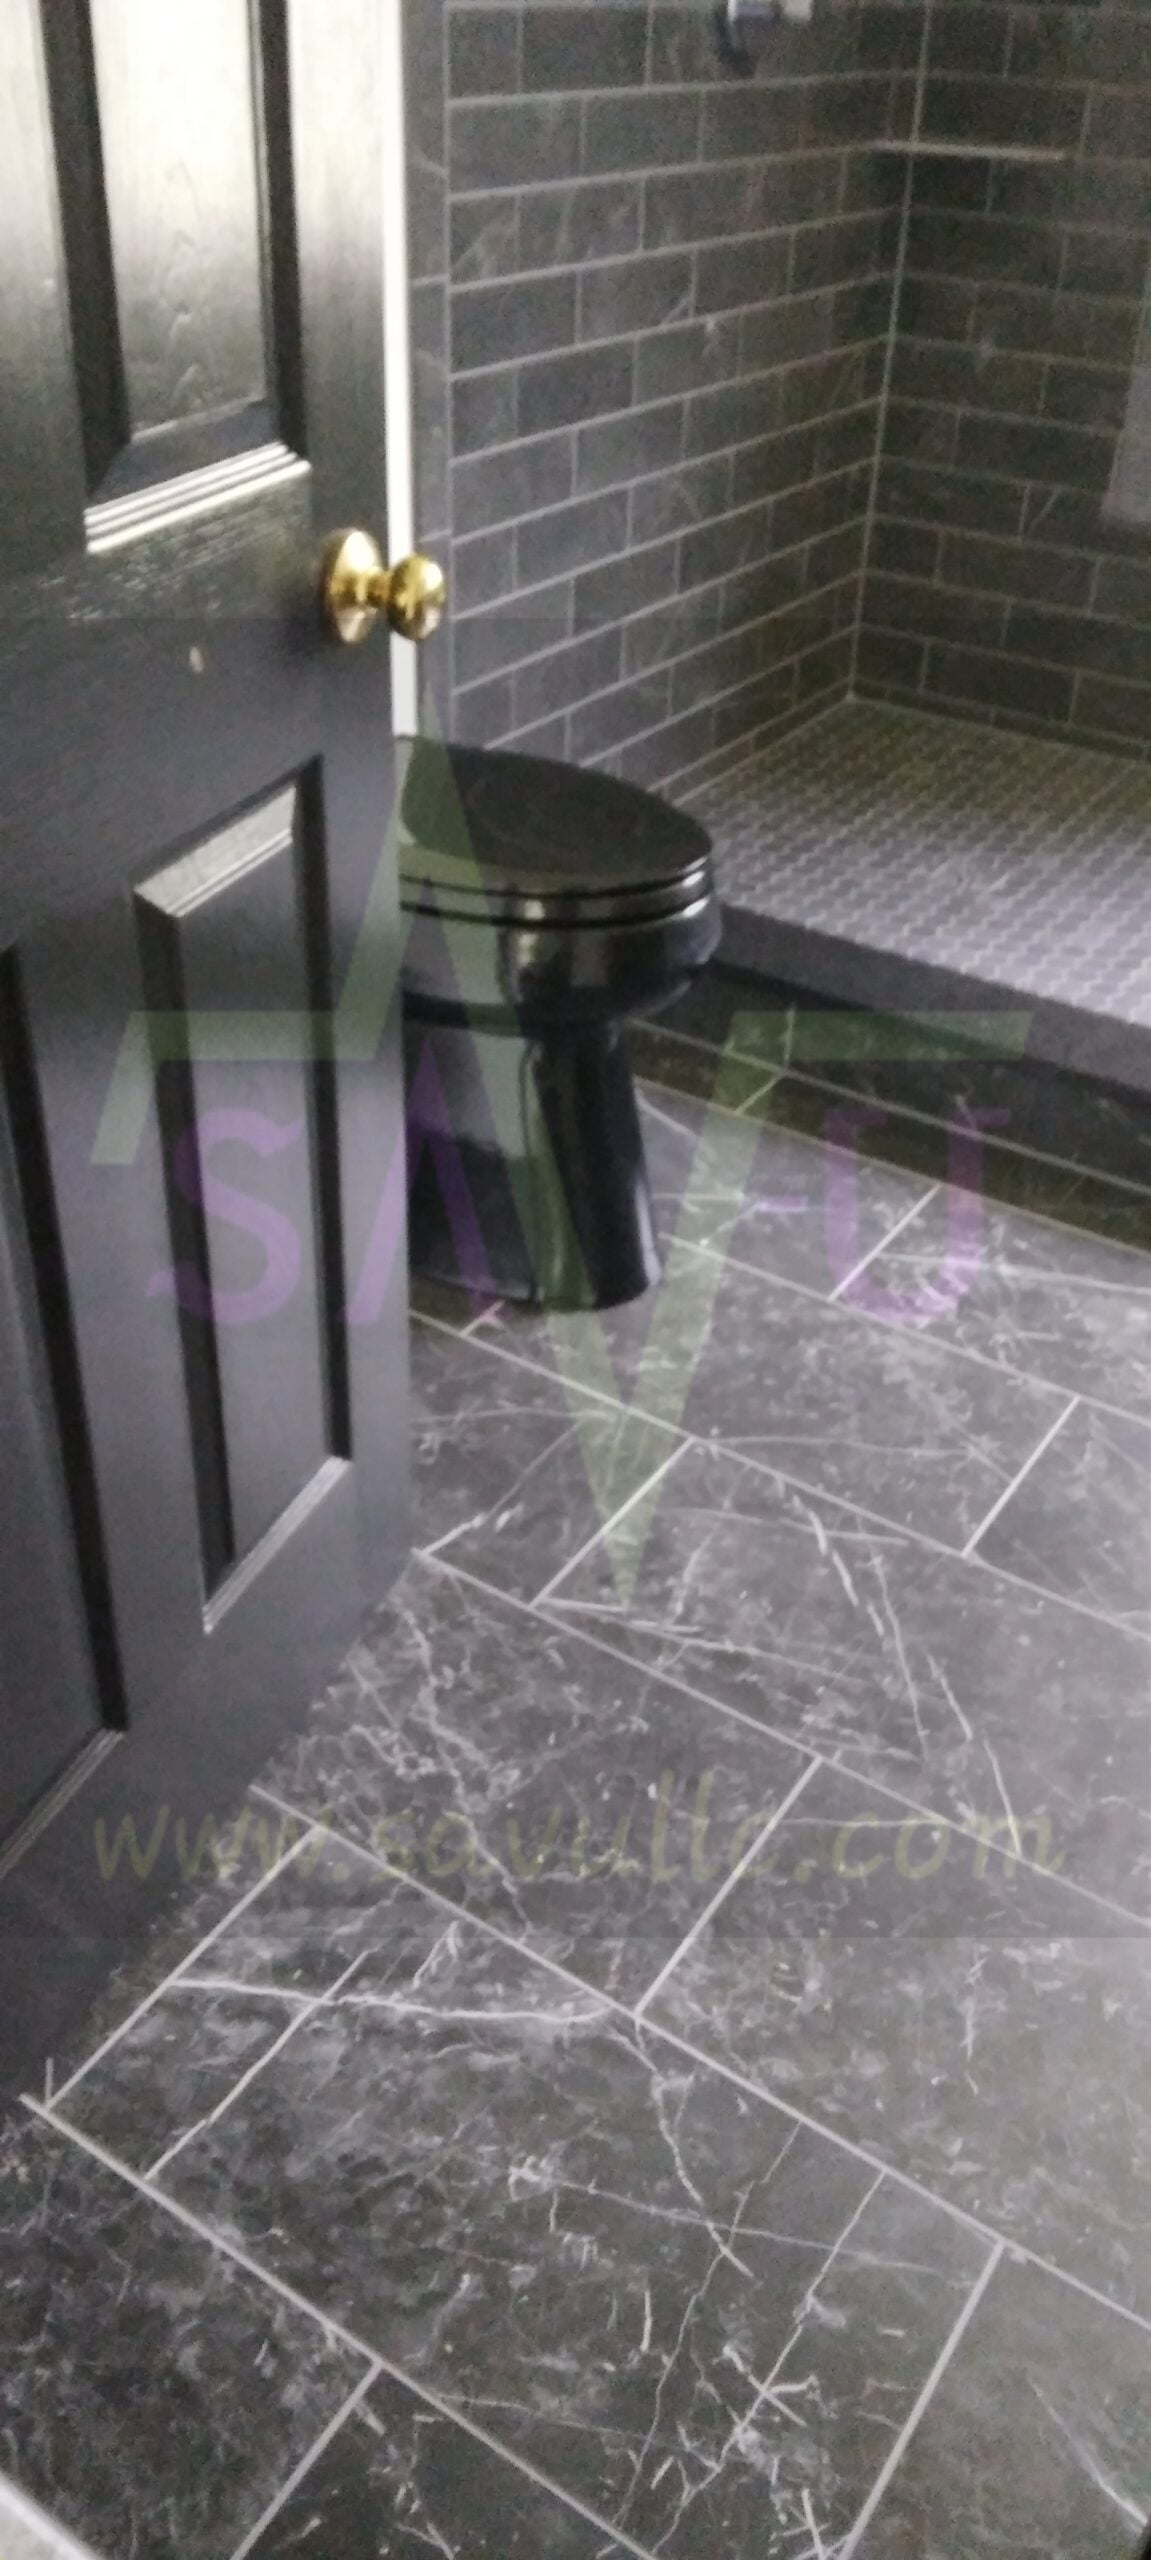
 Aside from its aesthetic value, tile is also a practical choice for kitchen walls. It is highly durable and can withstand high levels of moisture, heat, and stains, making it perfect for a busy kitchen. With regular cleaning and maintenance, tile can last for decades, making it a cost-effective investment for your home.
Furthermore, cleaning and maintaining tile is a breeze. Unlike other materials, tile is non-porous, which means it is resistant to water, bacteria, and dirt. This makes it easy to wipe clean with just a damp cloth, making it a hygienic and low-maintenance option for your kitchen wall.
Protect Your Walls
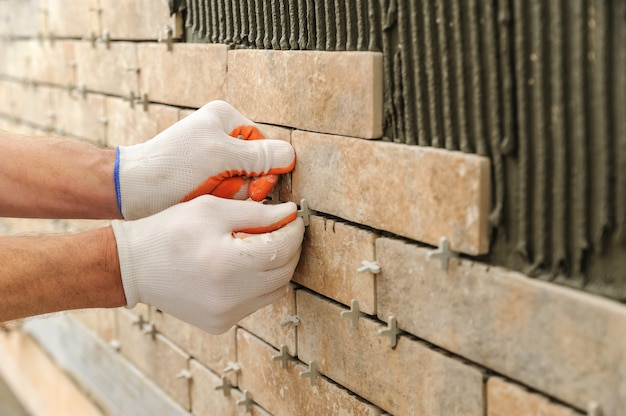 Another benefit of installing tile on your kitchen wall is its ability to protect your walls from damage. Splatters from cooking, grease, and moisture can all take a toll on your wall's paint or wallpaper. By installing tile, you create a protective barrier that not only enhances the look of your kitchen but also prevents damage to your walls.
Tile is also heat-resistant, so it is perfect for the area behind your stove or oven, where temperatures can reach high levels. It acts as a shield, protecting your walls from scorching and discoloration. This not only prolongs the life of your walls but also saves you time and money on repainting or repairing them.
In conclusion, tile is a versatile, durable, and aesthetically pleasing option for your kitchen wall. It offers endless design possibilities, is easy to maintain, and protects your walls from damage. So why settle for a plain and boring kitchen wall when you can elevate its style and functionality with the right tile? Consider adding tile to your kitchen wall and see the transformation it brings to your home.

Enhance the Aesthetics of Your Kitchen
 One of the main reasons to consider installing tile on your kitchen wall is the aesthetic appeal it brings to the space. With a vast array of colors, patterns, and textures to choose from, you can easily find the perfect tile to complement your kitchen design. Whether you prefer a sleek and modern look or a rustic, traditional feel, there is a tile option that will elevate the style of your kitchen.
Tile also offers versatility in design, allowing you to create a unique and personalized look for your kitchen. You can mix and match different tiles to create a mosaic pattern or use different sizes and shapes to add visual interest to your wall. The possibilities are endless, and with the right tile choice, you can transform your kitchen into a beautiful and inviting space.
Durable and Easy to Maintain
 Aside from its aesthetic value, tile is also a practical choice for kitchen walls. It is highly durable and can withstand high levels of moisture, heat, and stains, making it perfect for a busy kitchen. With regular cleaning and maintenance, tile can last for decades, making it a cost-effective investment for your home.
Furthermore, cleaning and maintaining tile is a breeze. Unlike other materials, tile is non-porous, which means it is resistant to water, bacteria, and dirt. This makes it easy to wipe clean with just a damp cloth, making it a hygienic and low-maintenance option for your kitchen wall.
Protect Your Walls
 Another benefit of installing tile on your kitchen wall is its ability to protect your walls from damage. Splatters from cooking, grease, and moisture can all take a toll on your wall's paint or wallpaper. By installing tile, you create a protective barrier that not only enhances the look of your kitchen but also prevents damage to your walls.
Tile is also heat-resistant, so it is perfect for the area behind your stove or oven, where temperatures can reach high levels. It acts as a shield, protecting your walls from scorching and discoloration. This not only prolongs the life of your walls but also saves you time and money on repainting or repairing them.
In conclusion, tile is a versatile, durable, and aesthetically pleasing option for your kitchen wall. It offers endless design possibilities, is easy to maintain, and protects your walls from damage. So why settle for a plain and boring kitchen wall when you can elevate its style and functionality with the right tile? Consider adding tile to your kitchen wall and see the transformation it brings to your home.


:max_bytes(150000):strip_icc()/how-to-install-ceramic-wall-tile-1824817-10-473071b2fef94af381ad02bc4c1ba8a8.jpg)










:max_bytes(150000):strip_icc()/how-to-install-ceramic-wall-tile-1824817-10-473071b2fef94af381ad02bc4c1ba8a8.jpg)


